Can anyone upset the upcoming wall decoration work? It would seem such a trifle. A layer of plaster and a couple of cans of paint - that’s the whole issue price.
On the other hand, this is your bedroom, where you meet every new day, maybe work, relax and spend a lot of time. This is not such a trifle, if you think about it - decorating the wall.
Natural wood continues to enjoy wide popularity in interior design. The most common planed boards in the hands of a craftsman turn our home into a cozy nest where you can’t wait to return after a long working day.
Comparatively, this is a very inexpensive material, since its production is quite simple and inexpensive.
In addition, it is not necessary to use wood of the highest quality. With proper processing, even boards cut from dead pine will look amazing and will last a very long time.
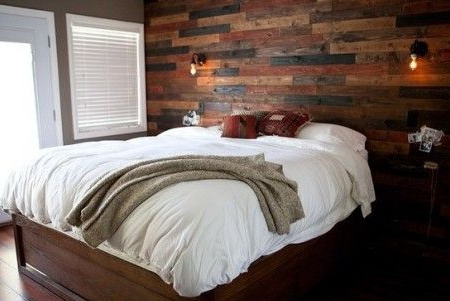
The author of this workshop, Kristen Eldridge, followed the gusts of fashion and decided to decorate her bedroom with the most ordinary planed board. The result was impressive. However, judge for yourself.
In order to decorate the wall with natural wood, you will need:
1. Materials:
- natural pine board (any wood species can be used);
- nails;
- paints and varnishes for wood processing.
2. Tools:
- a wood hacksaw, miter saw, jigsaw, circular saw or any other tool for sawing wooden boards;
- Planer, if using old or non-planed boards;
- grinder;
- a hammer or pneumatic nail gun;
- construction tape measure;
- square;
- a pencil.
Step One: Material Selection
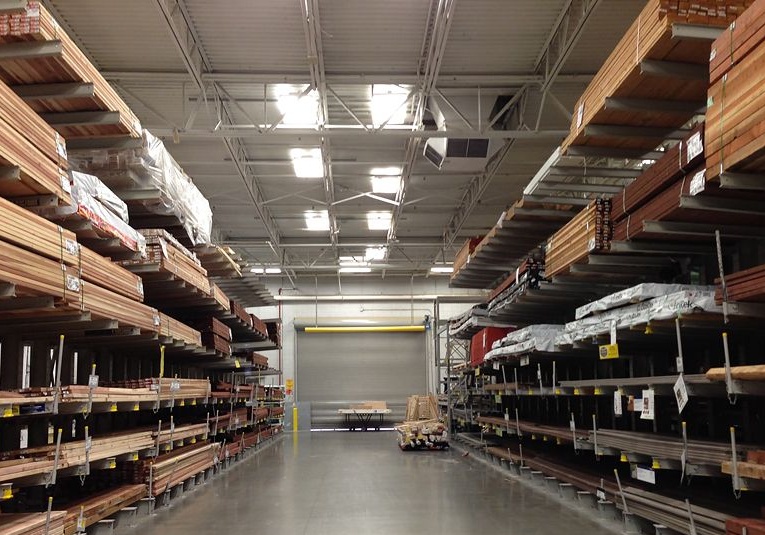
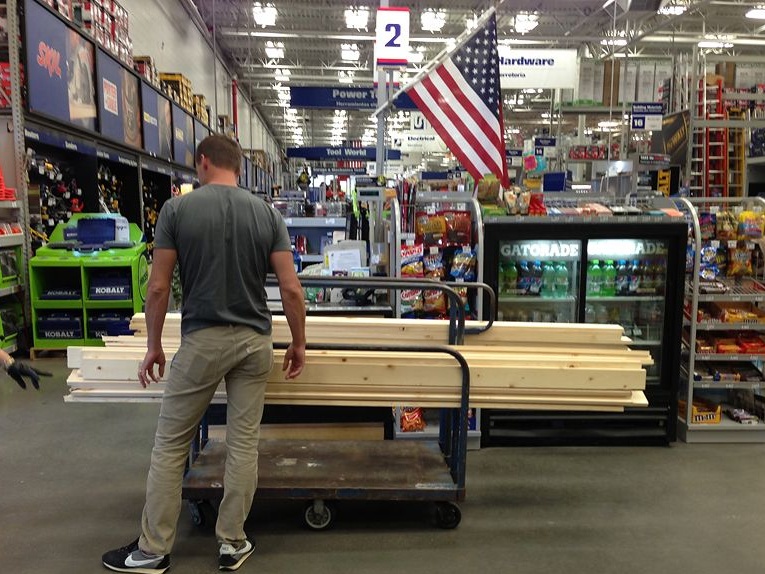
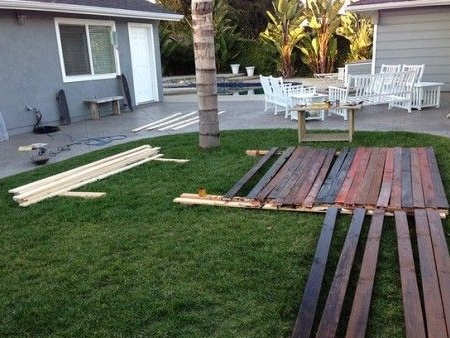
The author used new pine boards, previously planed, which she acquired in the construction hypermarket. This is one of the options for the extraction of materials. The simplest, but not too economical.
For the sake of economy, you can buy short cuts of boards, which, as usual, are sold at a good discount. They are of the same quality as the full-length ones, but are suitable only for small finishing works and crafts. In a word, perfect for decorating walls.
Finally, you can use second-hand material. All that is required of you in this case is to plan the boards so that they acquire their former fresh appearance.
Do not use too soft woods, such as linden, for the purpose of decoration, as they are prone to dents with the slightest noticeable damage.
Step Two: Material Pretreatment
It all depends on the quality and properties of the material that you use. New boards should be pre-planed and have the same thickness. Pay special attention to this, otherwise your wall after finishing will turn out to be chipped.
Did you choose scraps? Do not be discouraged if you are not able to find a sufficient amount of material of the required width, which often happens. You can fix the boards to the wall in the form of a mosaic. Of course, it will take a little longer for this, but the result may even be more original than the sample conceived by the author.
Trimming should also be planed and the same thickness as in the case of full-length boards.
The pretreatment of previously used wood looks much larger.
First of all, evaluate the strength of the material. Feel free to discard rotten and rotten specimens, because in matters of decoration they have no place.
I must say that all the old boards look gray, dirty and unattractive. However, this is just an illusion. It is necessary to remove the upper aged layer and the boards will regain their former appearance.
This is also achieved by planing. However, as is the fitting of different-sized material to the same thickness, which, as you have already figured out, is very important.
Before carrying out paintwork, you can resort to grinding. It is up to you to sand the wood or not. This is not such a mandatory procedure. However, if there are notches, dirt on the boards, their surface is rough and porous - then sanding can not be dispensed with.
In order not to play on the thickness of the boards, use a belt sander. With a certain skill, it will allow you to remove the same layer of wood and the surface of the material will remain flat.
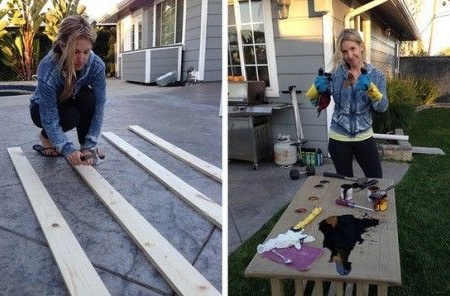
Step Three: Wood Painting
Painting is the very, most creative stage of all the conceived work of decorating the wall.
A huge selection of professional compounds for processing and protecting wood is presented to you. We will build on the type of material used.
- paint;
- stain;
- oils;
- varnish.
What is the difference between one product from another. Let's take a closer look at them.
Paint. Decide for a start with the type and type of paint. They are produced on a water basis, oil, as well as on the basis of solvents. There are interesting modern mixed compounds. The safest paint that is virtually odorless is water-based paint. For example, the most common is acrylic paint.
Acrylic paints come with a dense and loose, that is, a translucent coating. In the second case, after painting, the tree retains its natural texture.
Stain. Stains also have a different basis. Choose formulations that are safe to use in residential areas. Most likely your bedroom will need several hours in airing mode, but this, believe me, is insignificant.
The wood stain gives the tree a certain tone, imitating valuable wood species. This is her trick. It preserves the natural texture of the tree without painting it completely.
Oils. Natural oils and protective and decorative oils with additives from wax, paraffin, antiseptics and antifungal agents are on the market.
Natural oils do not tint wood, but only emphasize its natural texture.
Decorative oils are usually part-toners and give the wood the desired shade, velvet and sometimes just magical texture.
Lacquer. With varnish the same story as with paints.Choose varnishes without a strong odor, persistent, preferably a proven brand and a solid company.
They are transparent, and there are varnish toners, by analogy with oils. Also, varnishes differ in the degree of gloss - matte, semi-gloss and glossy.
The main task of varnish is to protect wood from various kinds of damage. Use it for this purpose and remember that the varnish you choose must be combined in type with the paint you use.
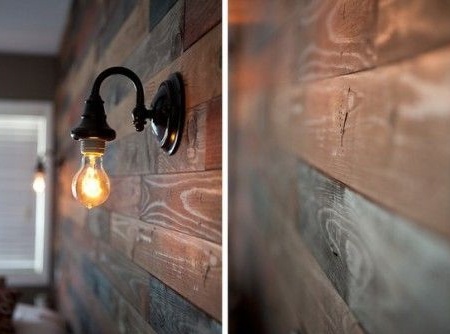
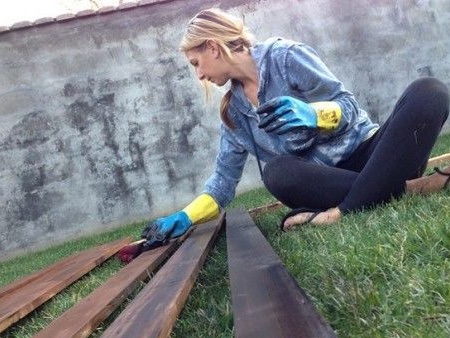
The author did not go into details, but most likely used decorative oil or varnish-toner. She chose several shades and mixed them as necessary to achieve a smooth transition of the color scheme.
Step Four: Fix Boards to the Wall
So, you sawed the boards into pieces, painted them and thoroughly dried them.
Before you start decorating the wall with boards, make sure that it is even enough for these purposes.
There are two of the most common methods for preparing a wall.
The first method is to sheathe the surface of the wall with cheaper sheet material like plywood or OSB and fasten the boards to a completely flat surface. This is the most convenient, but again, not the most economical method.
In the second case, you need to make a frame of wooden battens, taking into account the length of the boards intended for decoration.
Such a frame should be firmly fixed to the wall and make sure that the horizontal surface remains strictly vertical. The building level will help you with this.
Fasten the boards to the wall with nails using a conventional hammer or pneumatic nail gun.
You can use regular nails or purchase nails with decorative hats. True, proceeding from the fact that you will need a lot of them, in the case of decorative hats the price of the question increases slightly.
Start nailing boards from the floor. If you have a small gap at the ceiling, you can hide it under a decorative wooden baseboard.
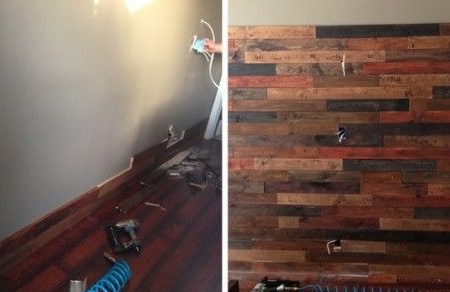
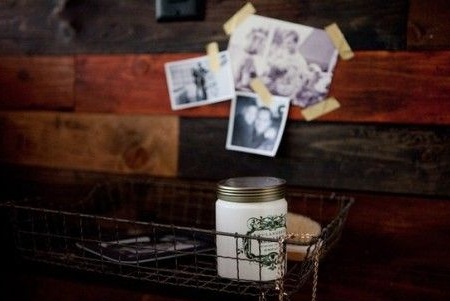
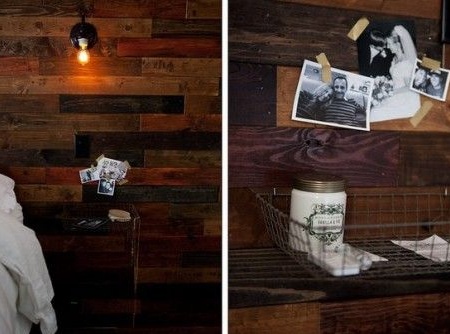
So, the work on decorating the wall in the bedroom is over, some more stylish little things for the photo - and you yourself can judge how successful the transformation turned out to be!