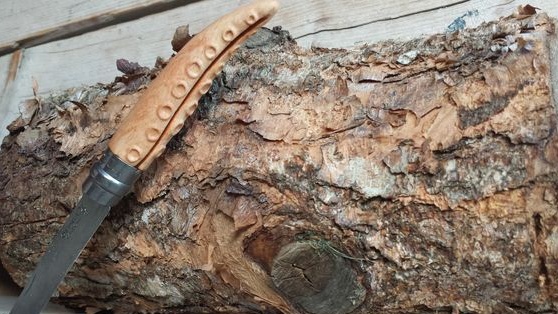
A personal knife for some people is of extraordinary value. It is like a favorite piece of jewelry or a favorite tool. He should always be there, and he is always special.
Known in narrow circles, knife manufacturers offer their consumers many models with wooden handles. Such knives are usually practical, high-quality, but do not differ in the original design. Such a knife is a good workhorse designed to serve for many years.
However, there are several ways to turn an ordinary ordinary knife into, I am not afraid of the word, a work of art, or at least into something individual and original.
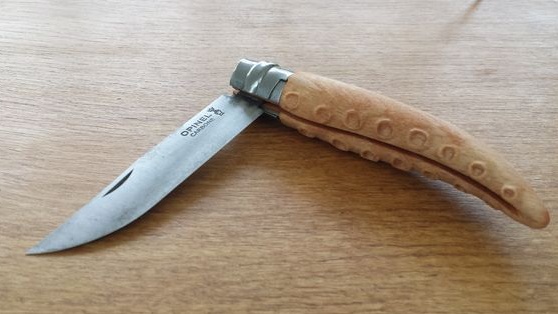
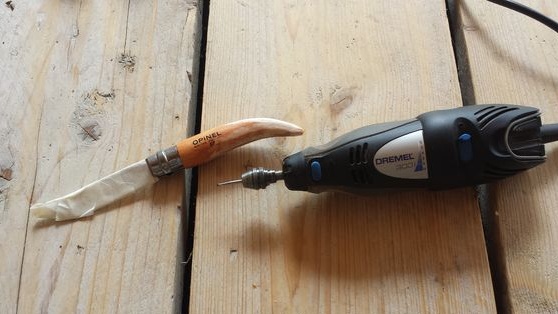
In his master class, the author will tell and show in detail how to transform the wooden handle of a knife by applying woodcarvings to it. In this he will be helped by the engraver-boron of the Dremel company, which everyone loved.
As a model, the author chose the Opinel knife from the budget series, which has a number of remarkable characteristics.
In order to turn your knife into a real pirate blade, you will need:
1. Materials:
- actually a knife with a wooden handle, you can fold;
- oil for wood impregnation.
2. Tools:
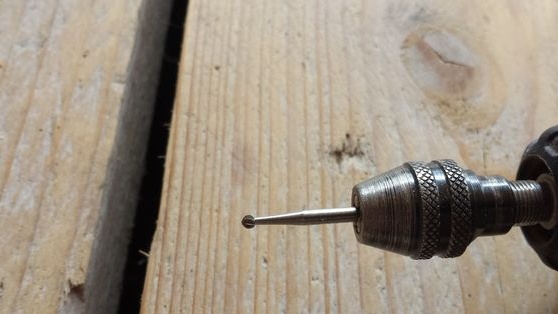
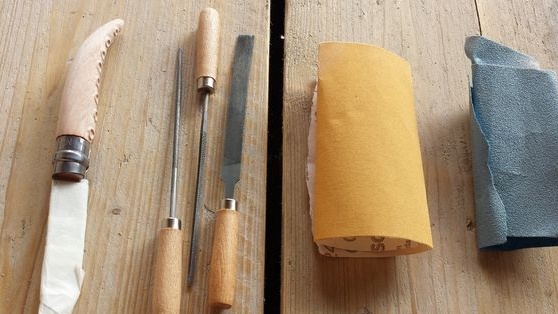
- Dremel 3001 engraver with a set of nozzles suitable for carving and grinding;
- belt sander or grinder;
- sandpaper;
- a pencil;
- soft lint-free cloth for wood impregnation;
- masking tape or tape.
Step One: Idea and Sketch
First things first, decide on a general concept. Boron in capable hands is able to perform even the finest and most elegant carvings, but the idea itself should have some sacred meaning, especially for you.
The author was just engaged in the reconstruction of a pirate costume when he was visited by the idea of remaking a knife.
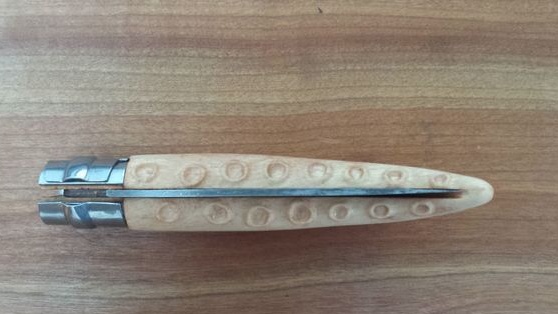
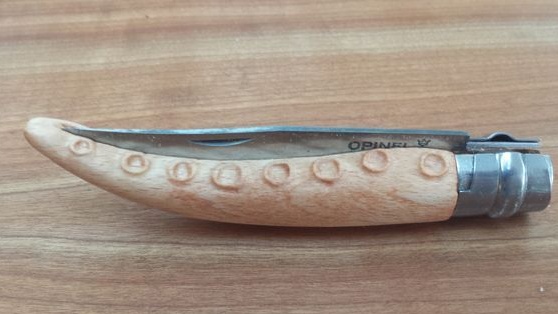
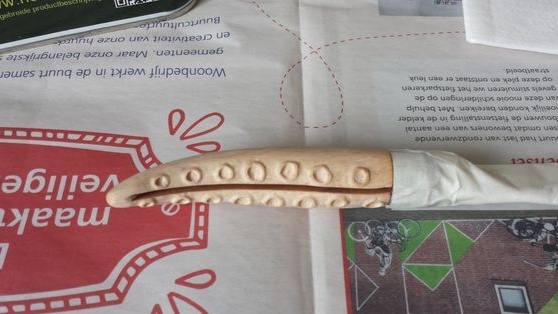
Therefore, the idea was born to become a pirate theme - to turn the hilt of a knife into the tentacle of a sea monster.
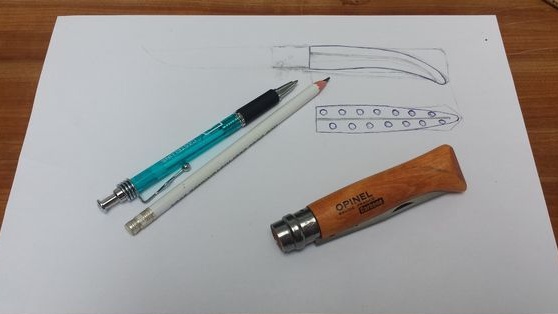
After deciding on the plans for transforming the knife, sketch a sketch on paper. So you can think through the smallest elements and not miss anything important. Let the drawing be schematic - it doesn’t matter. If only you have carefully considered your every step.
Mark on the paper a side view and a top view. Such comprehensive schemes will help you better imagine your upcoming work.
The author proceeded from the fact that the handle of the knife is just very very curved and it will take not so much effort to give it the shape of a tentacle.
You must also build on the basic properties of the subject you are working with. Especially if it is so small in size.
The author worked with a folding knife and eventually planned to redo the handle so that its blade protruded more from the groove when folded, since it was quite inconvenient to open the knife each time.
Step Two: Preparatory Work
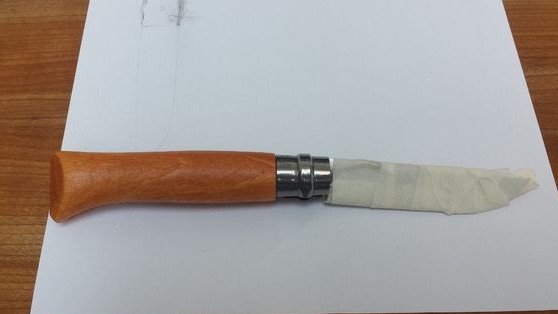
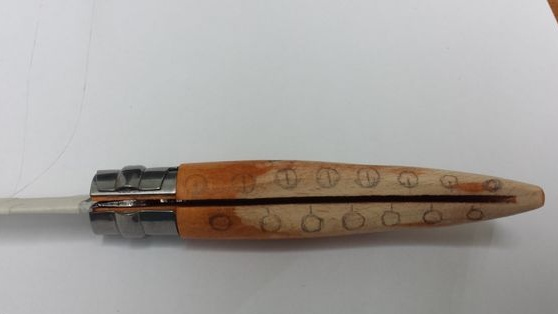
Transfer the sketch to the pen with a pencil. Start with the biggest changes and move on to the finer details.
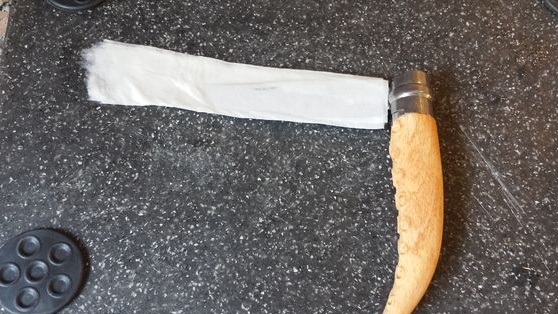
In order to comply with all safety measures, wrap the blade with masking tape or ordinary tape.
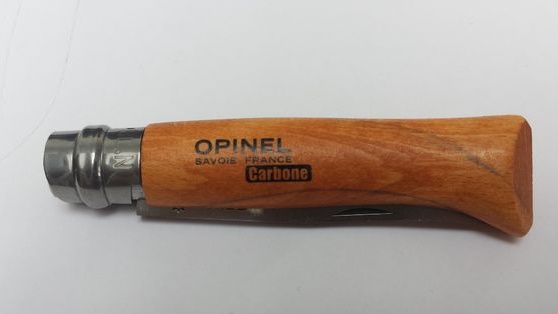
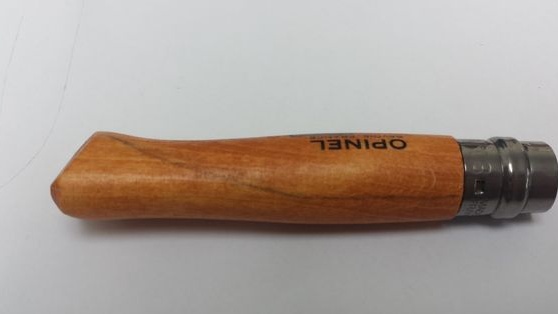
Step Three: Create a Form
Start by creating the form you need.
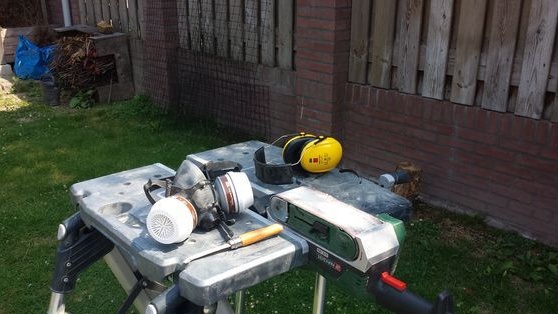
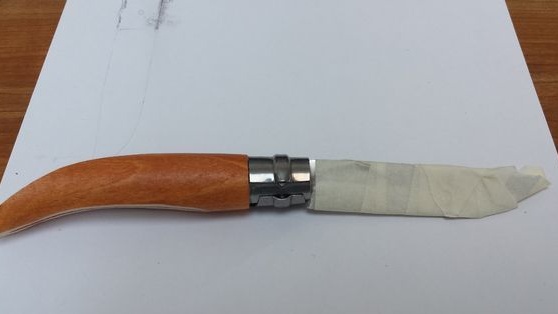
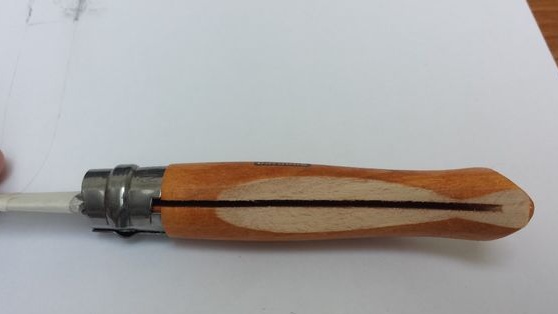
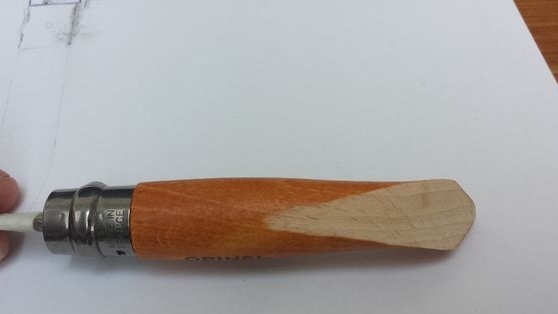
Removing a large volume of wood is not the strongest side of boron, so the author resorted to using a belt sander.
Remove the bulk of the material using a grinding hand tool, preferably a band tool, or a machine tool.
Refresh the markup of small parts if any signs are erased.
Step Four: Wood Carving
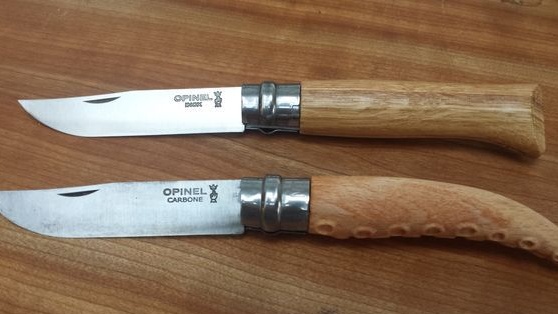
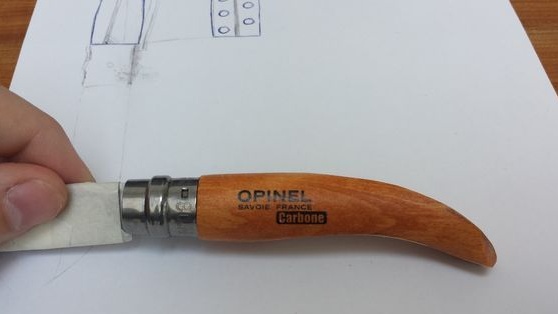
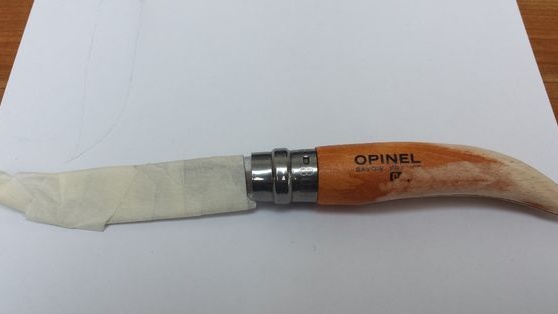
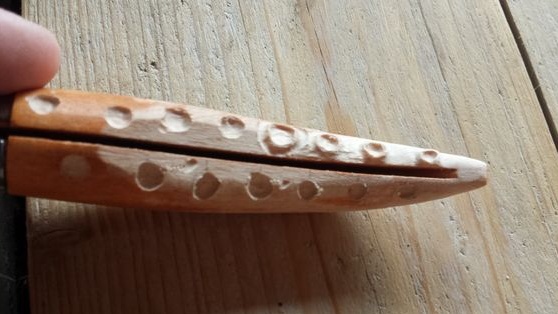
Armed with boron, proceed to the study of small parts. But first, adjust the shape of the handle, because after the grinder its outlines turned out to be very rough.
Carefully process the tip of the blade to give it the desired shape. Try not to overdo it, so as not to remove the excess material on which the thread will be located.
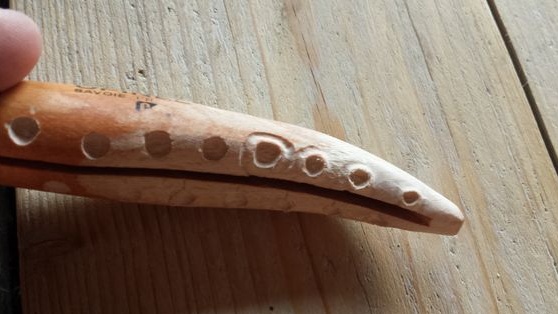
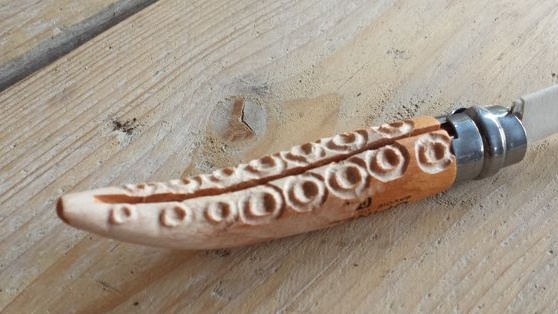
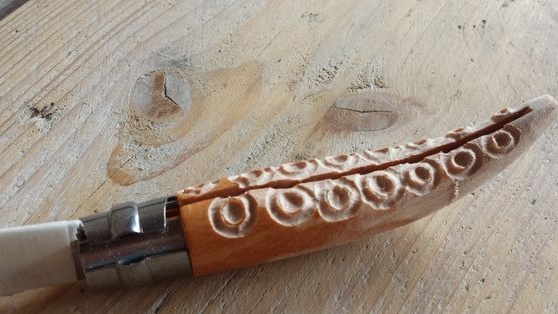
The author began with round recesses, then made a restrictive groove to indicate the relief of the recesses.
In the end, he removed excess wood around the recesses so that they protruded slightly above the surface of the handle.
Step Five: Grinding and Finishing
In order to smooth the surface and give the thread a finished look, the handle must be sanded.
The author used fine grain sandpaper. Coarse sandpaper can ruin a thread.
Carefully walk with emery paper over the entire surface of the handle until you achieve smooth, pleasant to the touch.
It's time to process the wood with a suitable composition that would protect it from adverse effects.
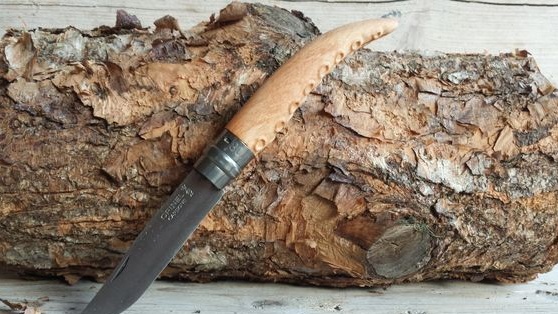
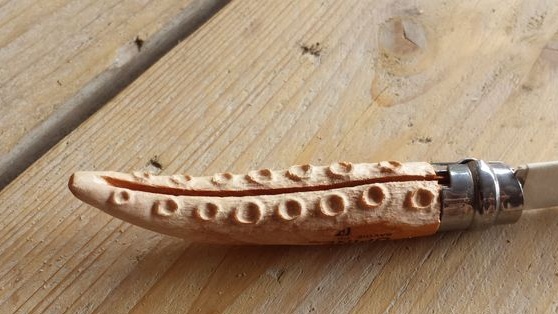
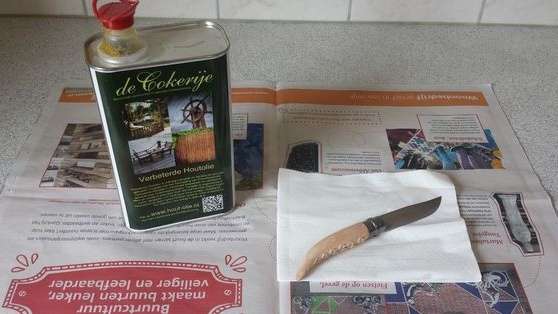
For this purpose, the author used natural tung oil in several layers. It will give the tree a deeper shade without changing its color.
Apply oil with a soft, lint-free cloth, trying to rub it onto the surface of the wood. Let the remaining oil soak and repeat the procedure.
Oil can be applied as long as the tree takes it. Remove excess with a dry cloth and allow the handles to dry properly.
You can also consider other wood processing options, such as roasting, varnishing, industrial toner oil treatment, staining and even painting. It all depends on your imagination and the ultimate goal.
Step Six: Patina
Rust can be very dangerous for your blade, but there is something like useful rust, which, in addition to its decorative function, extends the life of metal products. The knife blade is no exception. And her name is patina.
You can provoke the formation of patina on the blade yourself in home conditions. That is what the author wanted to achieve.
He tried to use vinegar for this purpose. I applied enough food vinegar to the surface of the blade and wrapped it in a paper towel, also soaked in vinegar for an hour, then carefully rinsed the knife with water.
If you manage to achieve patina formation, now keep the blade dry and enjoy its decorative appearance.
The author is out of luck. He did not succeed in observing all the features of the procedure, either the metal turned out to be inappropriate, but only a couple of small spots appeared on the blade.
After failure, he treated the blade with a special protective compound and stopped there.
The author of this workshop advises using more valuable wood species for the manufacture of the handle.
He also advises experimenting with patina, because in the case of a pirate blade, it would be a wonderful addition to the image.
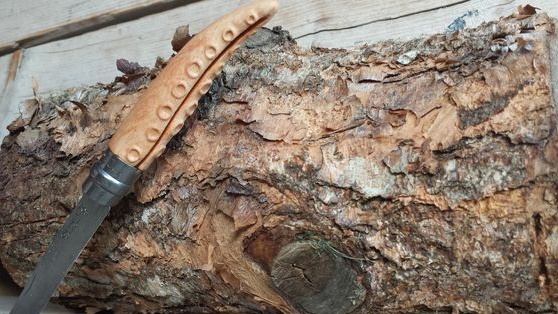
In any case, the transformation of the knife is over, and you can enjoy the result in plenty!
