Each parent knows how difficult it can sometimes be to occupy a child with a business in order to carve out at least half an hour for cleaning, rest and socializing with relatives.
Children have a phenomenal supply of energy and they certainly will not leave you alone until you help them realize it.
In part, this is what prompted mankind for centuries to come up with a variety of games, develop toys and exciting learning systems. And, it would seem, what else could we invent for our children? But no!
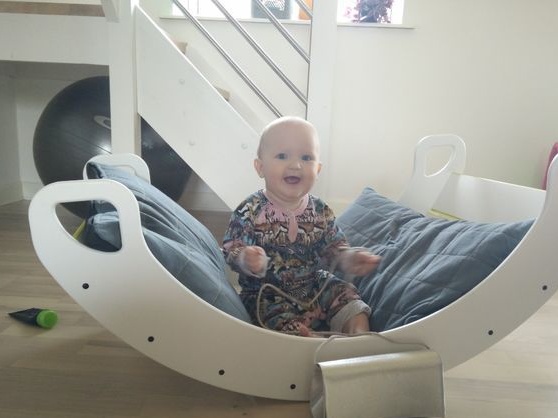
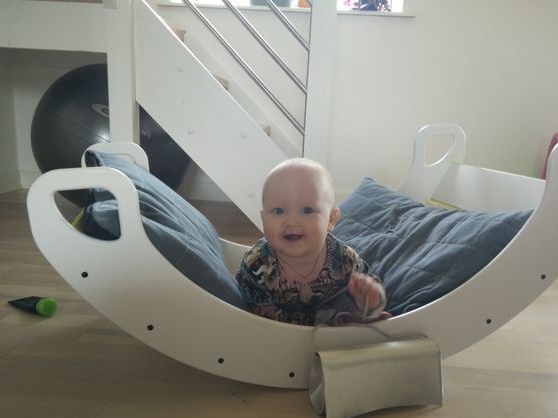
The author of this master class came up with a wonderful swing and cot concurrently and is ready to share with us instructions for its manufacture. You yourself can do something similar. Moreover, it is not at all difficult and will not require specific professional skills.
So, in order to make a swing bed you will need:
1. Materials:
- MDF sheets or plywood;
- glue;
- water-based paint;
- water-based varnish;
- screws if necessary.
2. Tools:
- jigsaw and grinder, if you are working with plywood;
- electric drill;
- a mill for cutting grooves under the crossbars for a drill or manual milling cutter with a mill of the appropriate size;
- a screwdriver or Phillips screwdriver;
- marker;
- a screw and thread for use instead of a compass in the process of marking parts;
- sandpaper;
- construction tape measure;
- paint brushes and roller, paint tray;
- finished mattress.
Step One: Material Selection
The author works as a CNC operator, constantly deals with such material as MDF, so it is not surprising that the choice fell on him.
However, you can successfully use glued plywood, as well as combine it with natural wood boards.
Pay the most careful attention to the choice of plywood, because the swing is designed for the child, which means that the issue of material safety is an edge.
When buying plywood, pay attention to the smell. In no case should it exude an unpleasant odor of glue and chemicals. Good plywood smells like fresh wood and nothing more.
When choosing an adhesive, consult a specialist, because the adhesive composition for working with plywood and wood, as well as for gluing parts from MDF can have significant differences.
Do not choose glue that dries instantly, as it is not suitable for this kind of work. You must have at least a couple of minutes of handicap to adjust the structure before the glue sets.
When choosing paint, pay attention to water-based paint. They are quite safe for children, but, nevertheless, have a sufficient supply of wear resistance. Water-based varnishes work well with this paint. They are virtually non-toxic and approved for use in the production of children's goods.
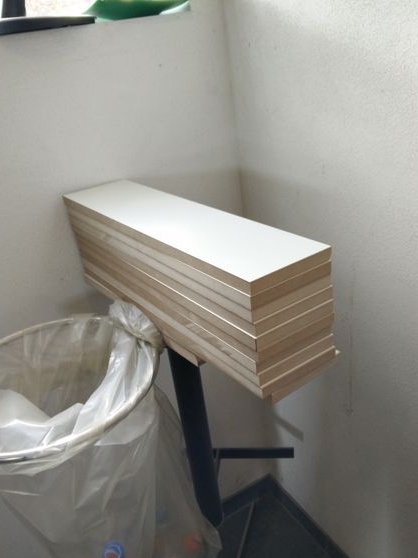
Step Two: Parts Manufacturing
If you followed the author’s example and chose MDF, make the necessary calculations and estimate how much material you need. In the event that you do not have experience with MDF, order the finished parts to a specialist.
Before you start manufacturing parts from plywood, determine the size of the finished product.
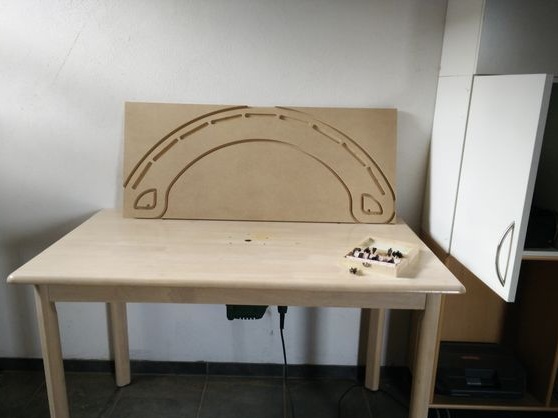
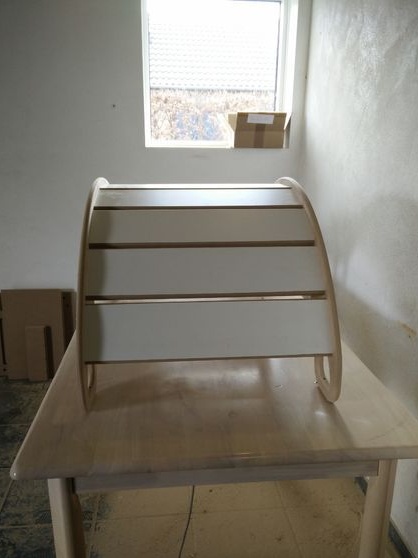
You need to prepare the profile side parts. They are curly, so when sawing without a jigsaw you can not do.
Sketch the sidewalls on paper and start drawing details on a plywood sheet.
To do this, you need a piece of thread or cord and a small screw. From these simple objects you can quickly make something like a compass, and since the shape of the sidewalls is strictly round, you can’t do without a compass. Draw a sidewall on the plywood sheet and mark the holes on the sides.
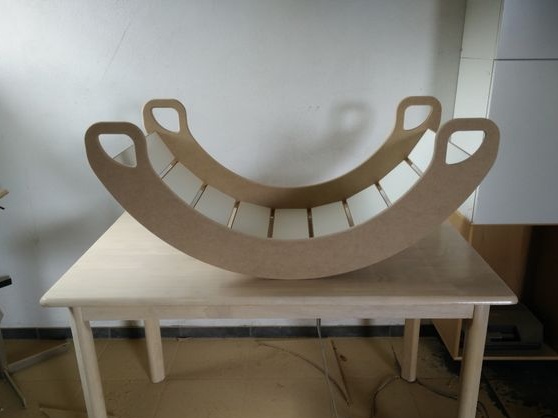
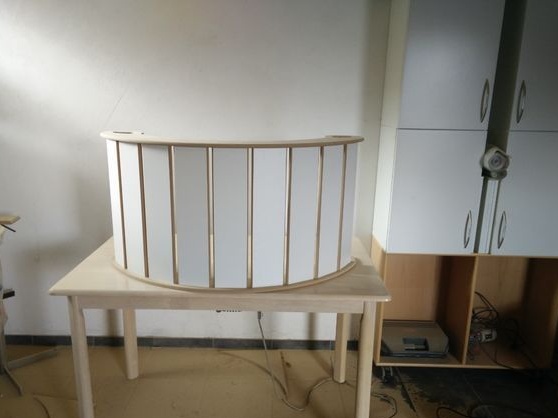
The width of the sidewall along the entire length will be approximately 25 cm. This is enough for the child to be able to get out of the swing himself, without injuring himself. Too high sides can be a real problem for this reason.
To cut two absolutely identical parts, put a sheet with your drawing on the second piece of plywood and cut both sheets at once with a jigsaw. So that they do not meddle in the process, fix the sheets of plywood between each other with self-tapping screws.
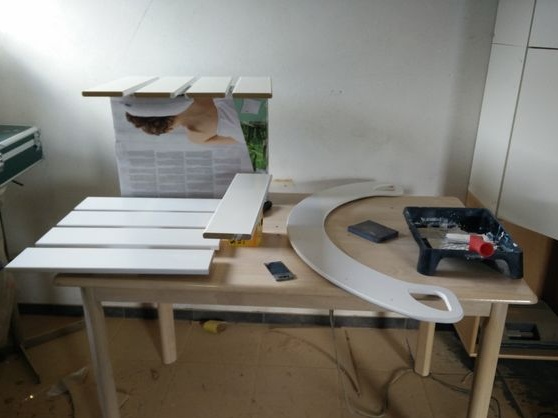
Start making bars. Calculate the amount you need based on the width of the material you are using. Squeeze here a couple of centimeters between the bars. The author got 9 rungs made of MDF.
If you are working with plywood, carefully sand all edges until you achieve a perfectly smooth surface.
Step Three: Groove Making
For the strength of the joints, the author cut out grooves for the crossbars in the side parts of the swing.
In this case, all work was carried out on the machine, however, such work can be easily handled in conditions home workshop.
For the manufacture of grooves, you can use the choice of a manual mill or an electric drill with a nozzle from the mill.
Of course, it is much more convenient to work with a milling cutter, since, among other advantages, it also has a limiter on the depth of cutting of the material. But, in extreme cases, a drill will do. Just do a few workouts before you begin the finishing work.
Mark on the side parts and cut out the grooves to fit the crossbars. Try to do without extra gaps.
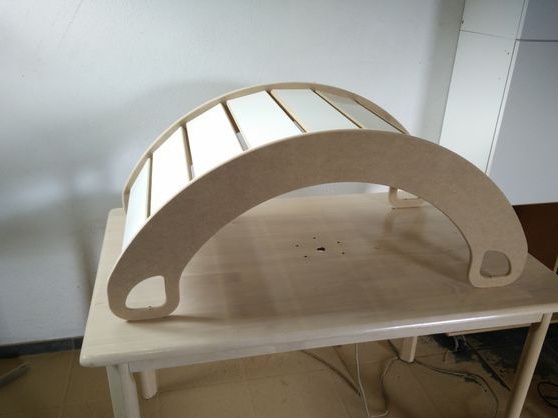
Fourth step: assembly of the structure
Collect all parts dry and check if they are all sized. Prepare for bonding.
Thoroughly glue each groove with glue, put the crossbars in place and evenly place the load on top until the glue completely dries.
Actually, glue can and will be limited. But you can also use furniture screws to add structural strength.
In this case, there is no need to wait until the glue has completely set. Just screw in the screws, making holes in advance with a drill.
Step Five: Painting
You can start painting at this stage. Although all paintwork can be done before assembly. Decide for yourself how you feel comfortable.
At this point, you have already decided on the paint and varnish and selected the materials that are as safe as possible for your child.
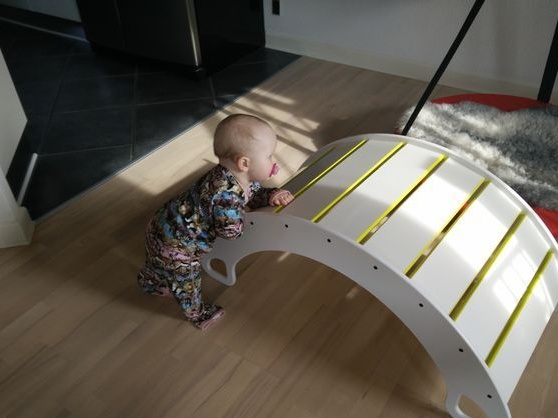
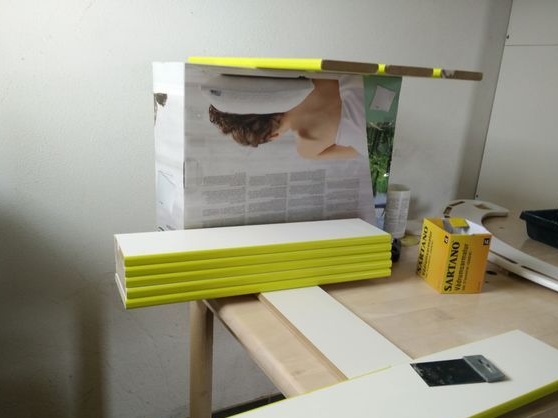
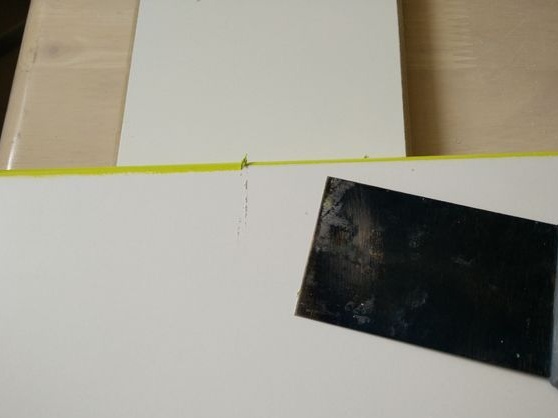
The author opted for white acrylic paint, and painted the edges of the crossbars in a bright green shade. You can decorate the swing to your liking.
The final coat should be varnish. It protects the surface from adverse effects and damage, and also provides you with the ability to regularly clean the unit.
Apply varnish in several layers. Usually 2-5 layers are sufficient, each of which should dry thoroughly before applying the next. You can also layer-polish the varnish with fine sandpaper to make the coating even more durable and wear-resistant.
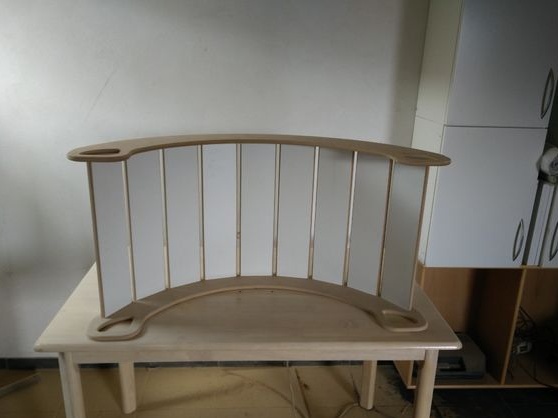
Step Six: The Final Touch
The swing is ready and it's time to pick up a mattress on which your child will feel as comfortable as possible.
You can buy a ready-made mattress, or you can make it yourself using foam rubber between two layers of fabric, or even better - a silicone filler. It is very popular in the composition of children's products, as it is considered a safe and hypoallergenic filler.
So, the swing-rolling is ready! Many thanks to the author for this original idea.