
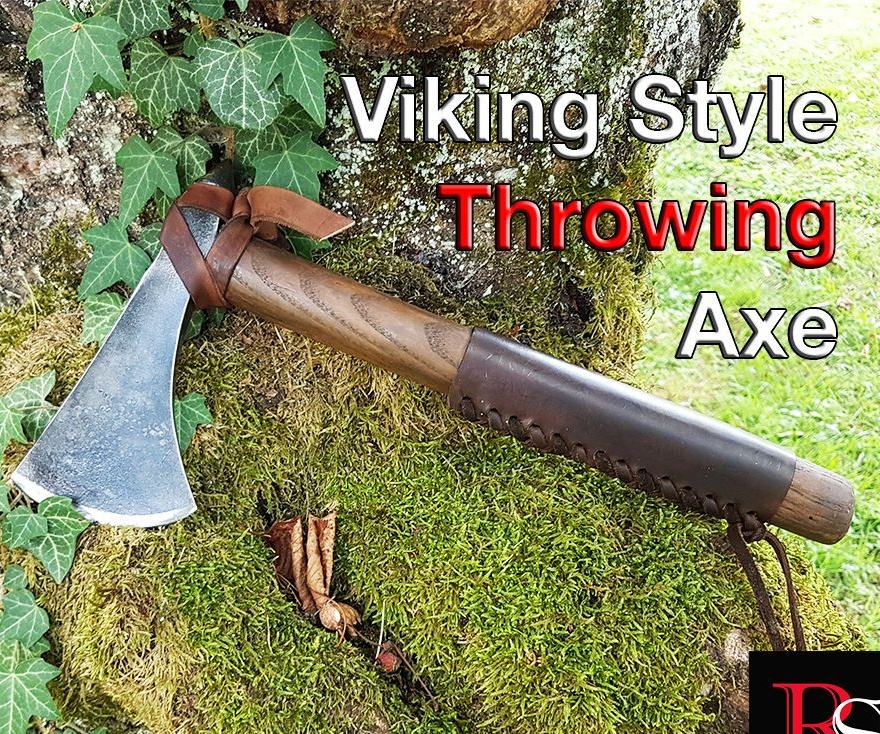

In this article, together with the author, we will consider how to make a beautiful Viking-style ax from an old lumberjack ax.
Tools and materials:
-Old ax;
-Leather;
-Dye for skin;
- Belt grinding machine;
-Ushm-ka;
-Saw;
- Files;
-Hammer;
-Bath with oil;
-Angle;
-Forge;
-Marker;
-Forceps;
-Brush for metal;
-Rasp:
- brush;
-Rule;
-Knife;
-Tools for working with skin (punches, cutters);
- Personal protective equipment (gloves, mask, etc.);
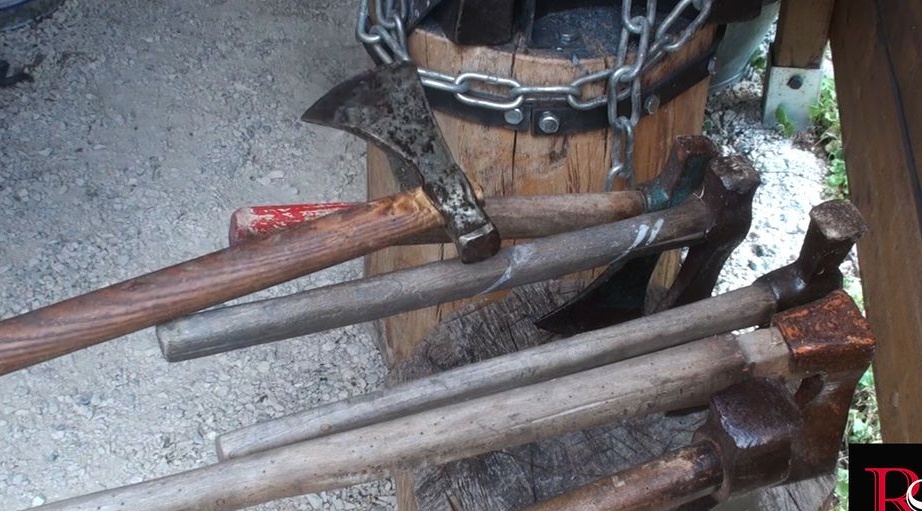
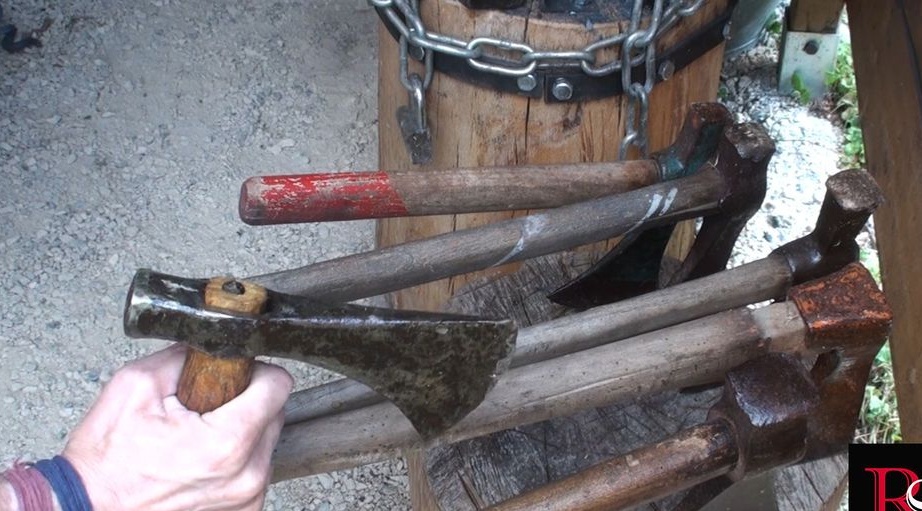
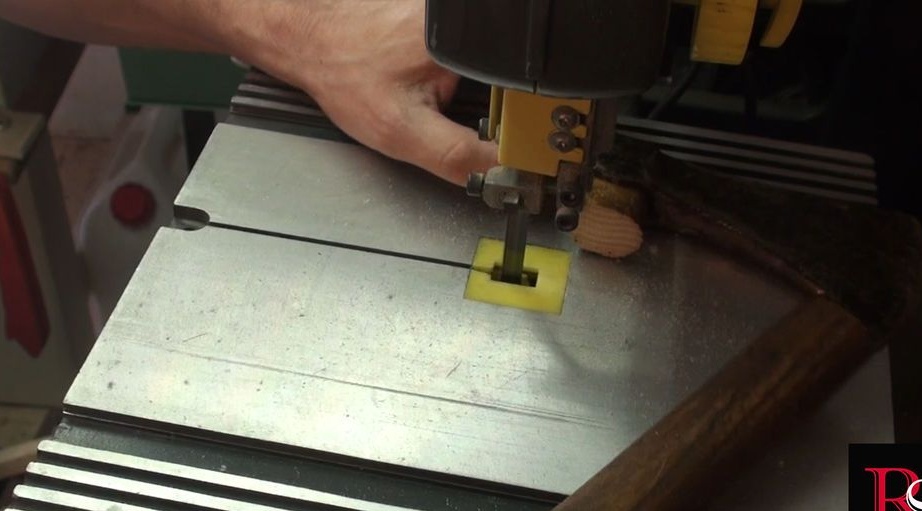
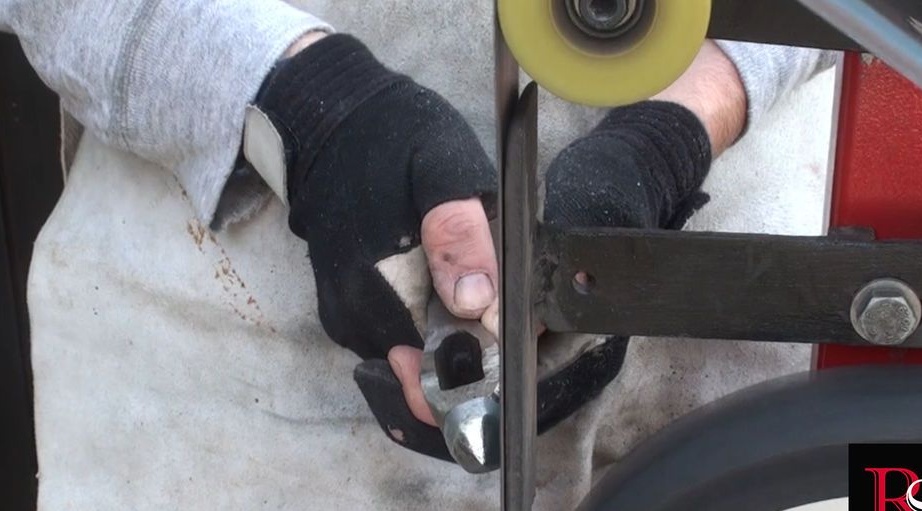
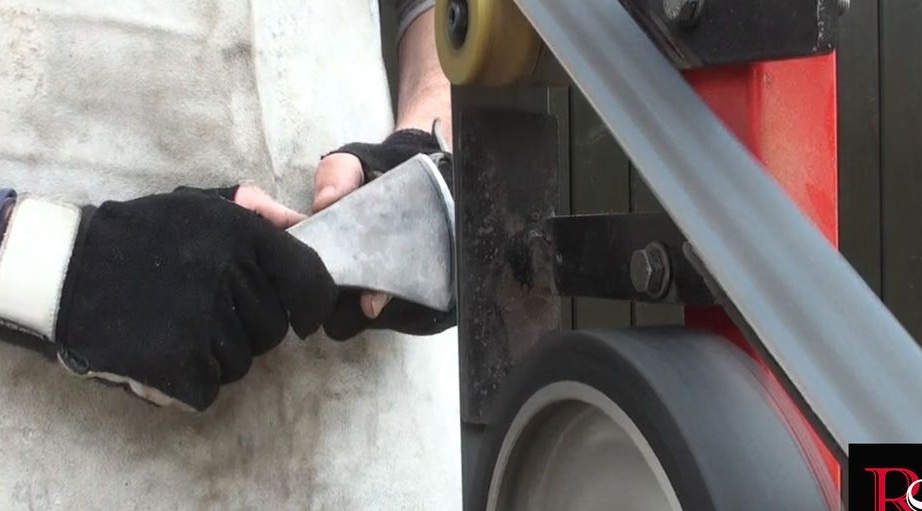
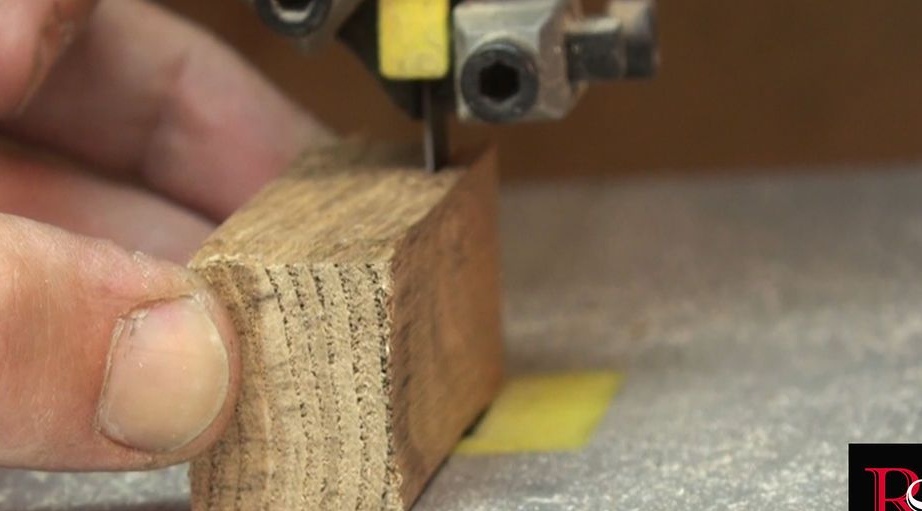
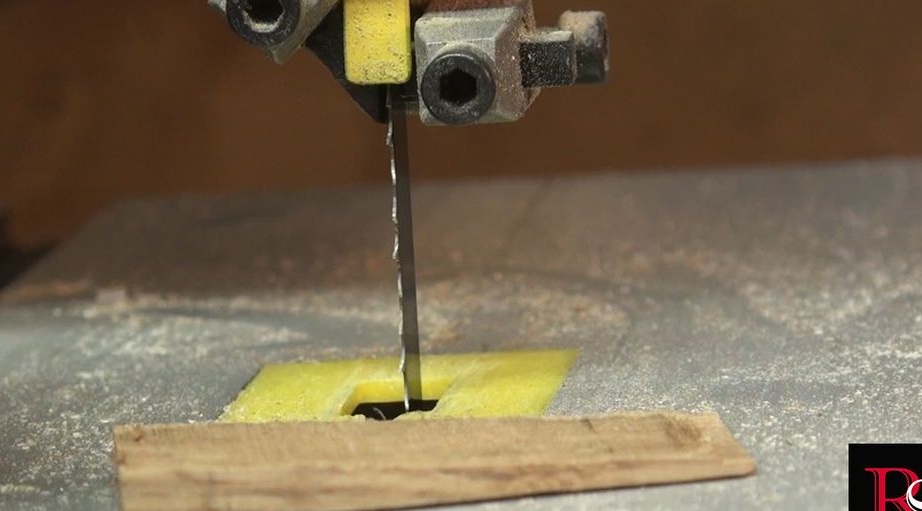
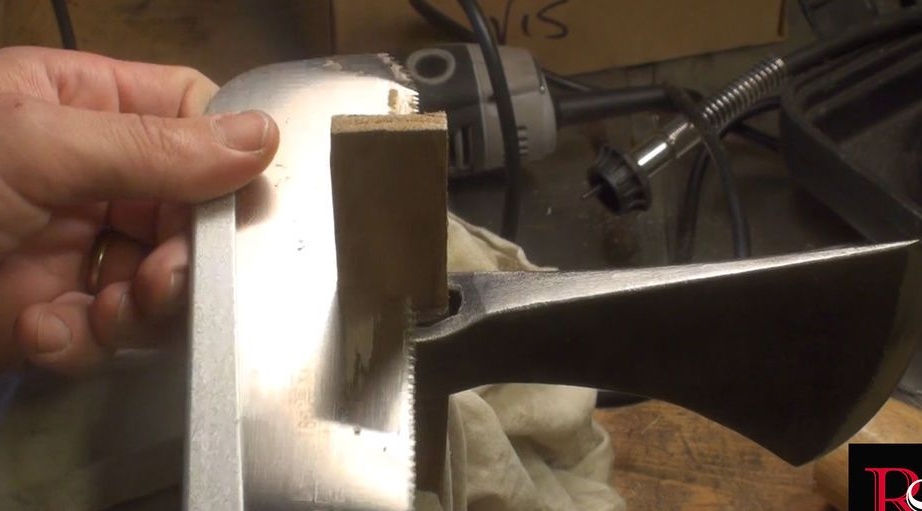
Step One: Choosing and Preparing an Ax
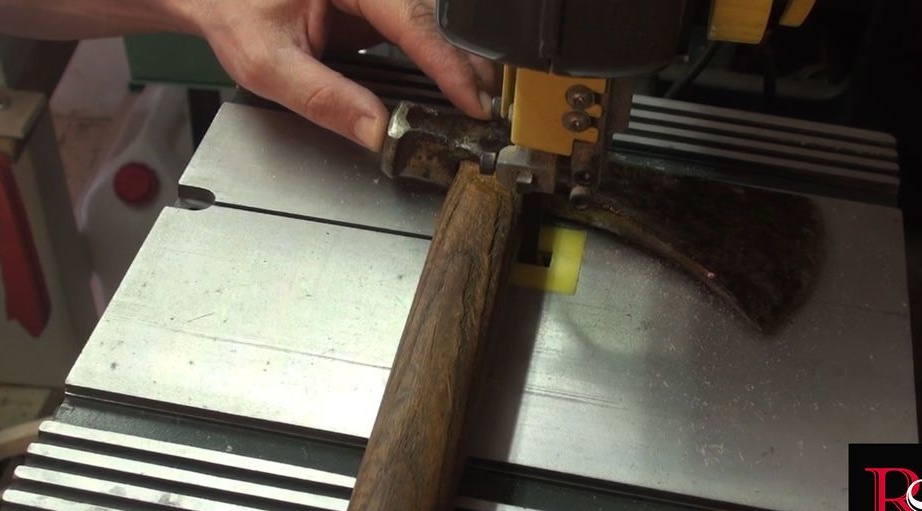
First, the author selected an ax without cracks and chips. Then sawed off a wooden handle (it is still useful), knocked out a wedge. An ax was polished on a belt grinder. The author draws attention to the fact that when processing an ax, it is necessary to prevent its overheating, if necessary, to cool with water.
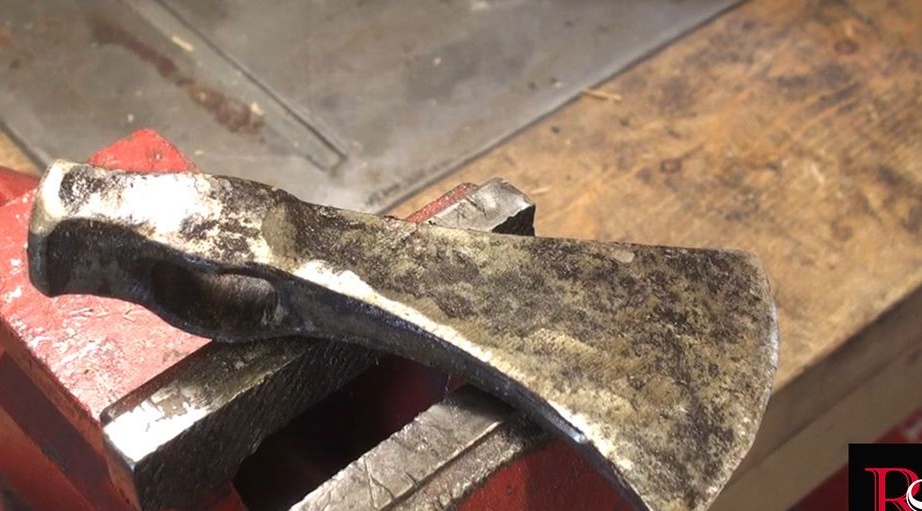


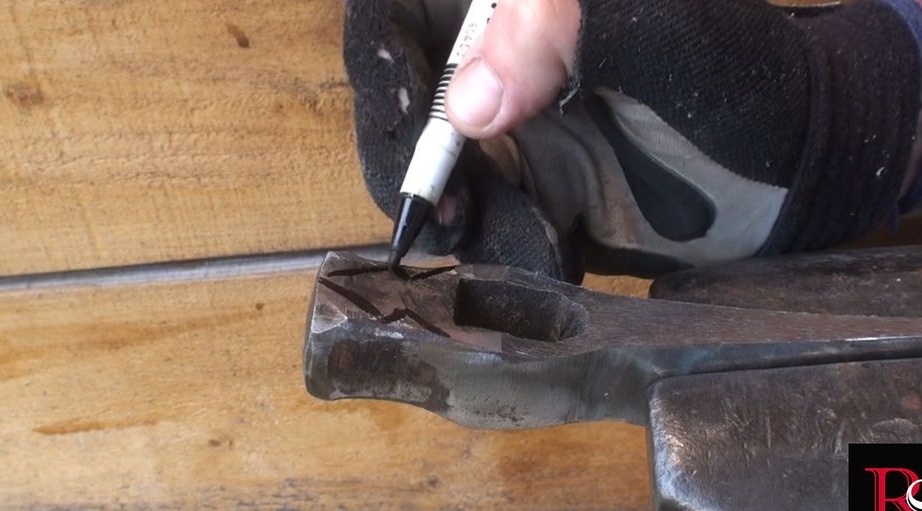
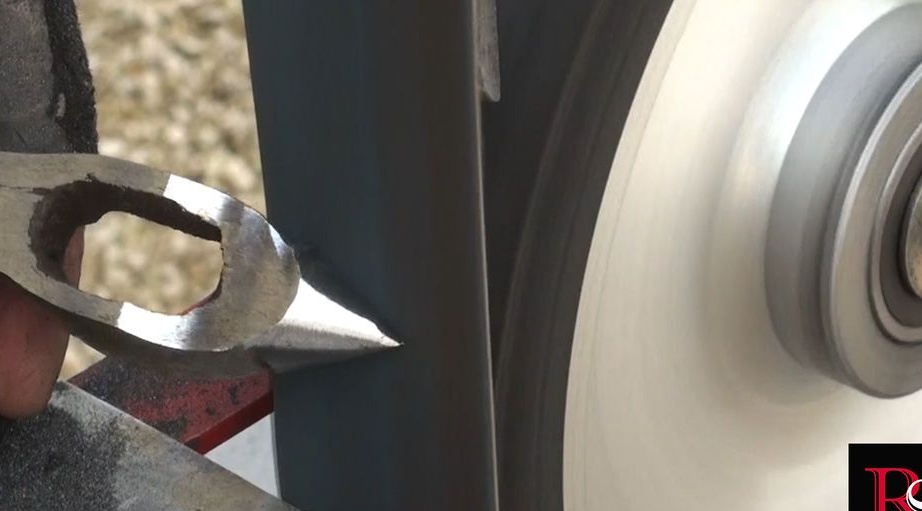
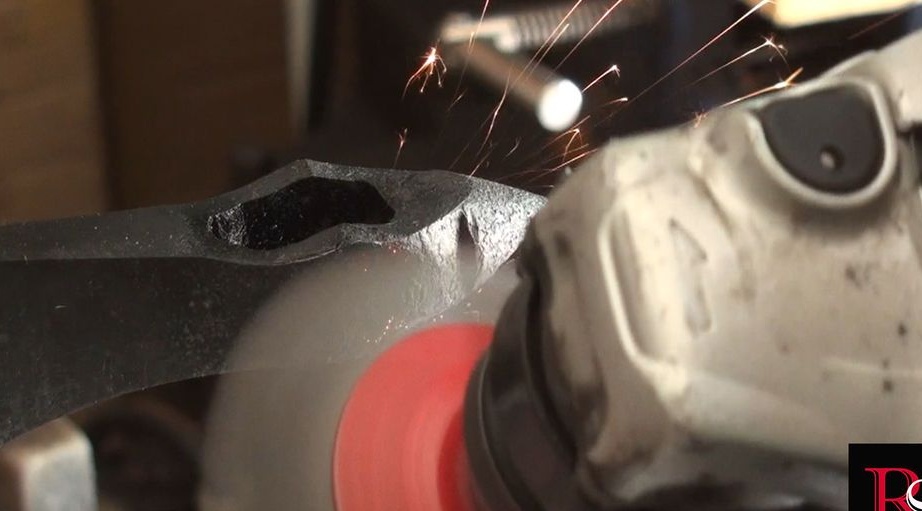
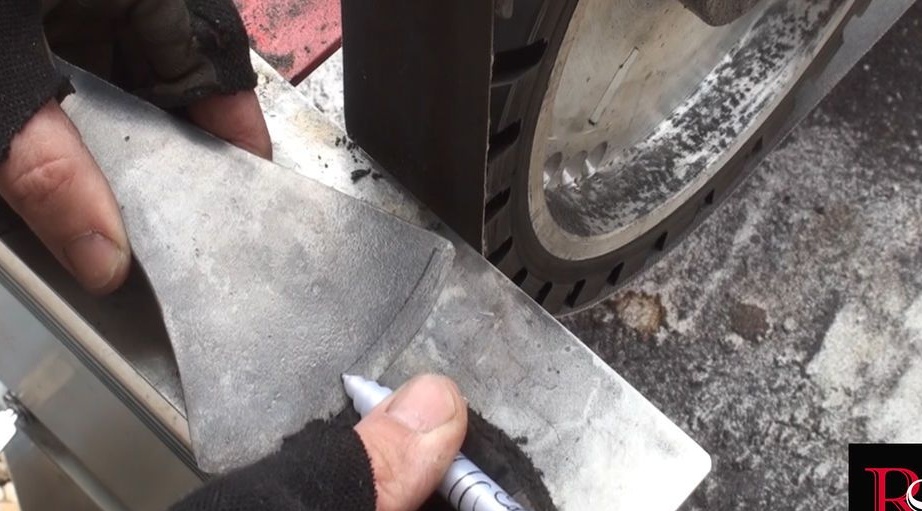
Step Two: Form
The author decided to give a hatchet an ax shape. Marker made markup. Ushm-koi cut off excess metal.
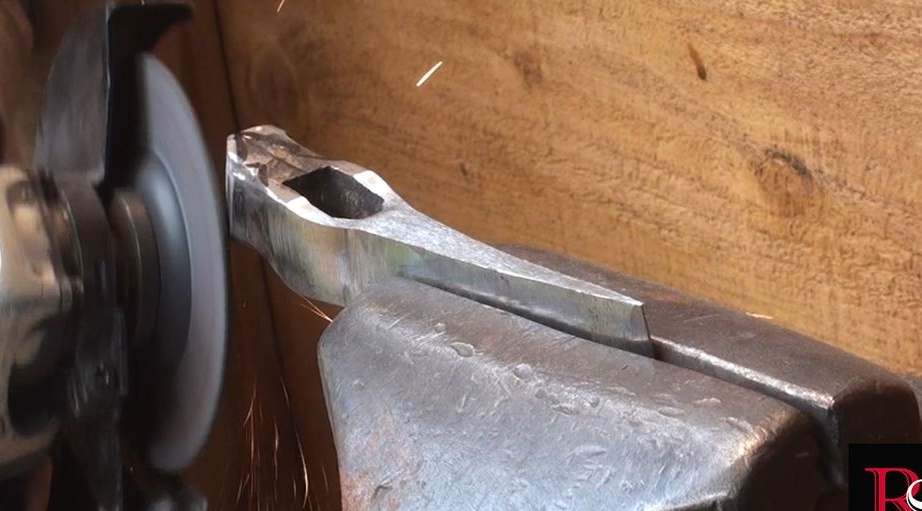
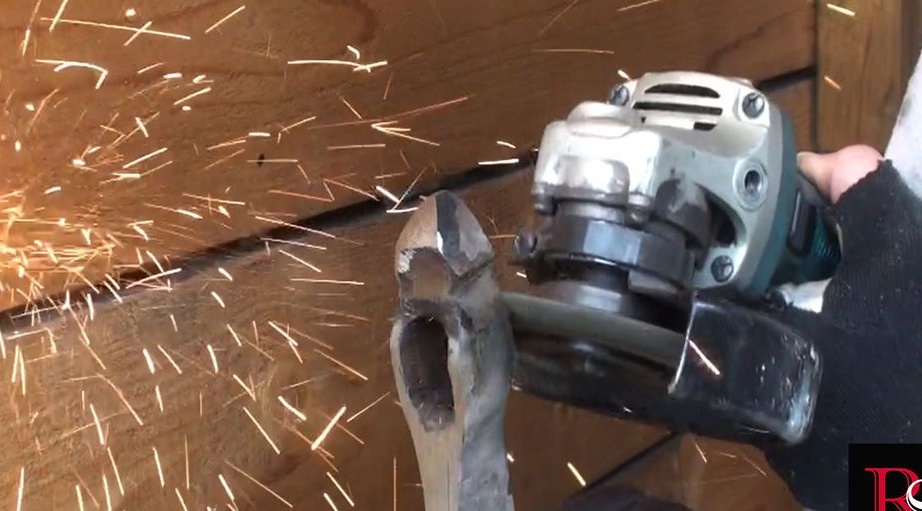
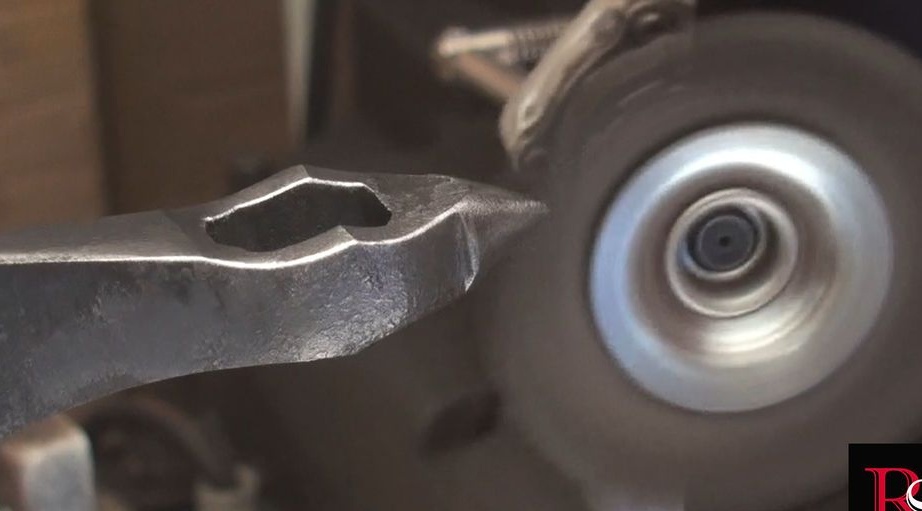
Final grinding of the butt.
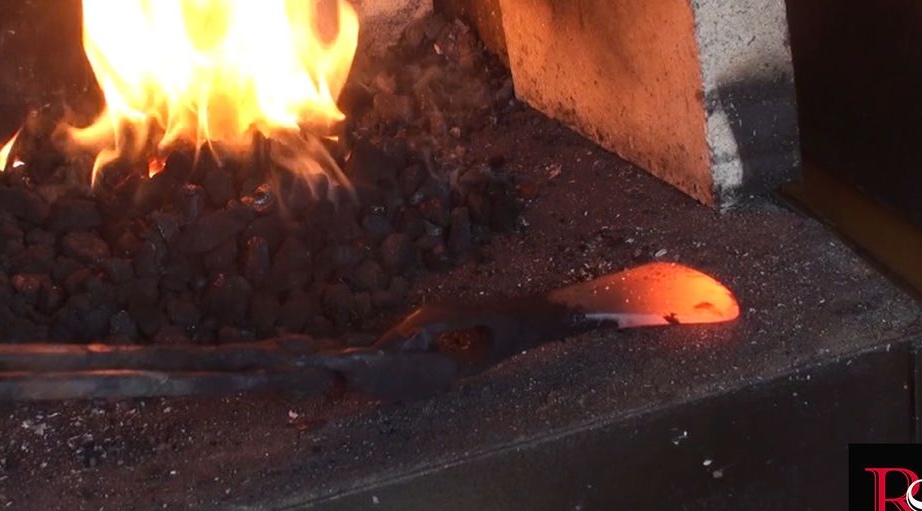
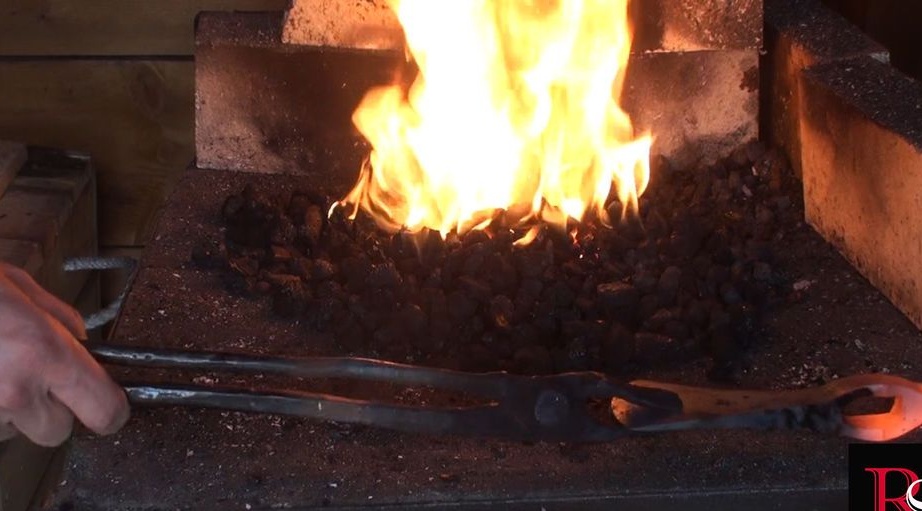
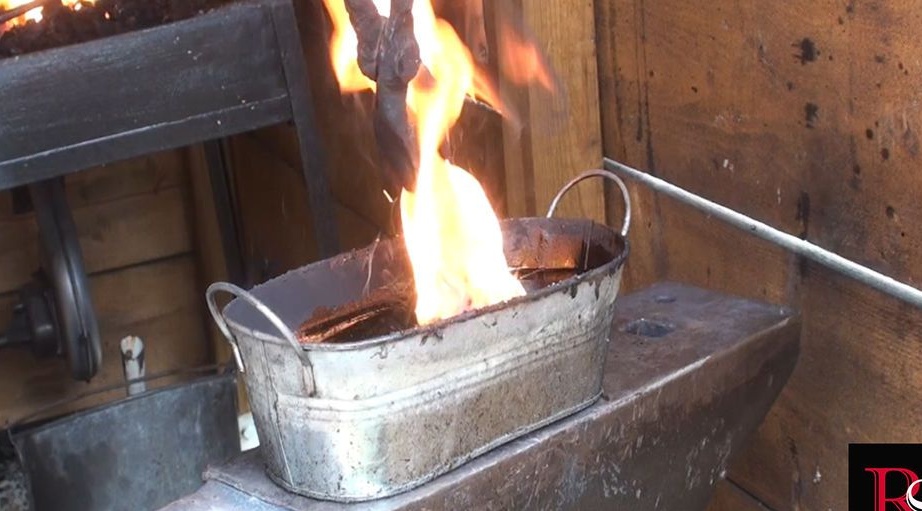
Step Three: Heat Treatment
First, the author normalized the metal. He heated the ax to a red-cherry color, with a temperature of about 650 ° C. Cool the ax in the air. I repeated the procedure two more times.
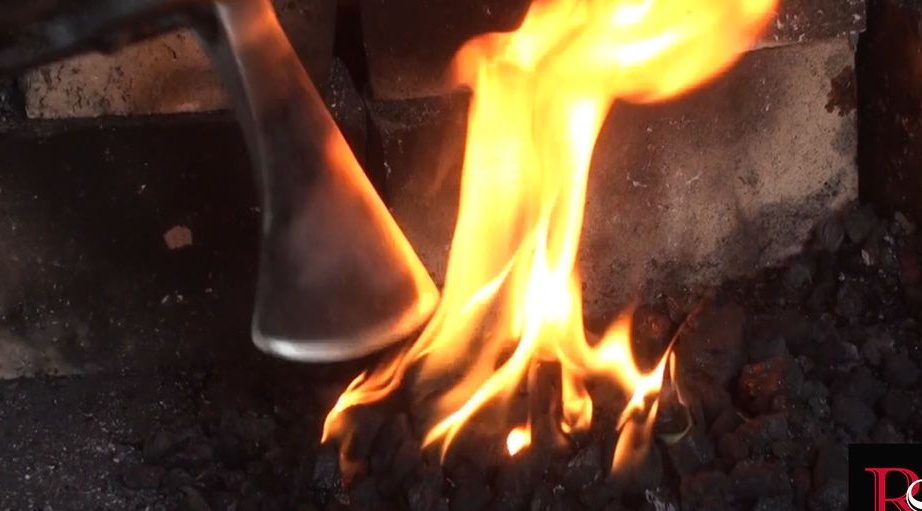
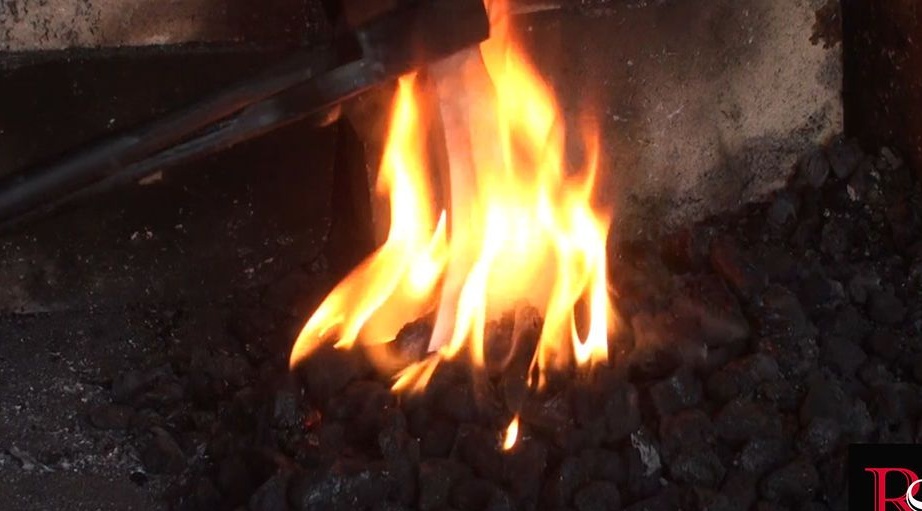
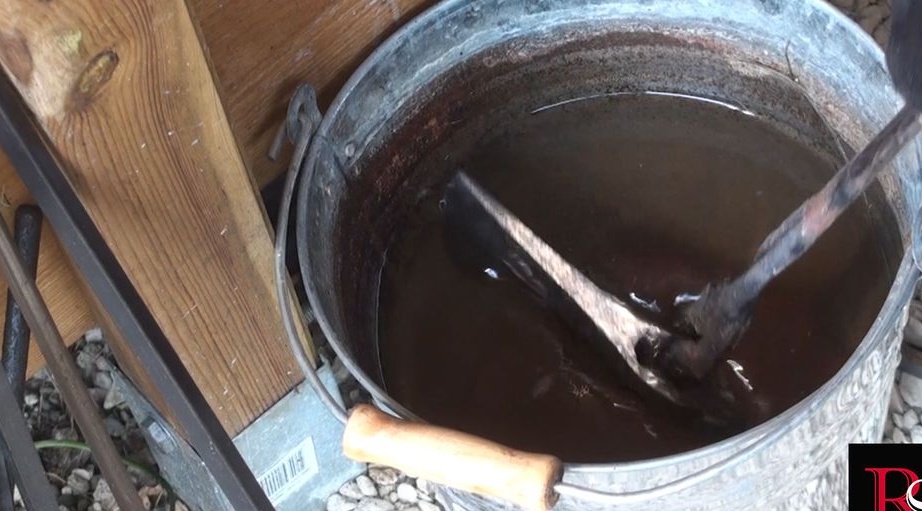
Then the author hardened the ax. Heated the butt to a light red color. He lowered his butt into the oil bath. When the hot metal is lowered into the liquid, a water jacket is formed and the part is not in uniform contact with the liquid. To avoid this, it is necessary to "write out" a figure eight in oil.
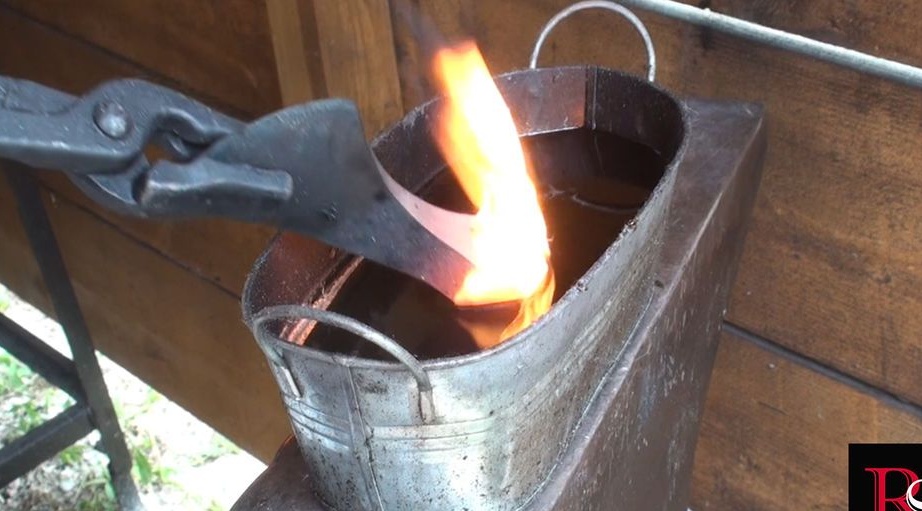
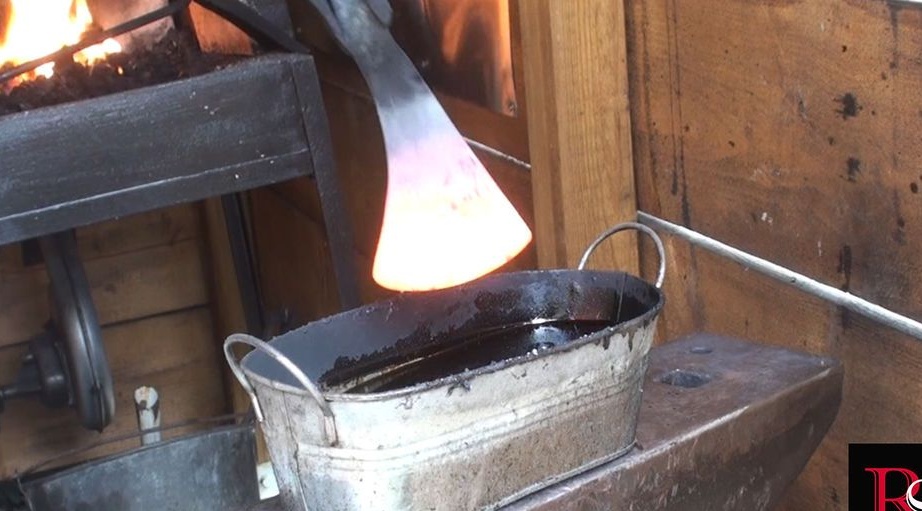
The same procedure was performed on the side of the ax blade.
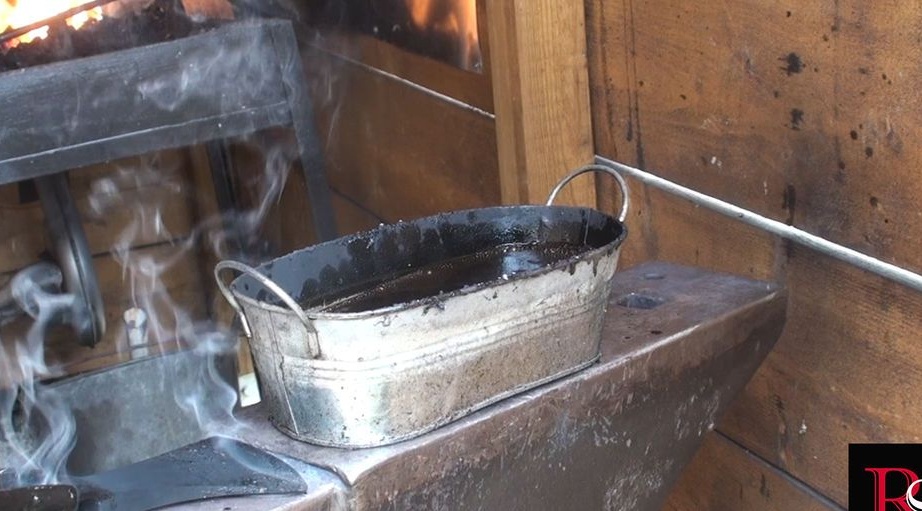
Checked the hardening. With successful hardening, the file glides over the part practically without “catching” it.

Then the author brushed the surface and placed the ax in the kitchen oven at a temperature of 230 ° C for 1.5 hours.
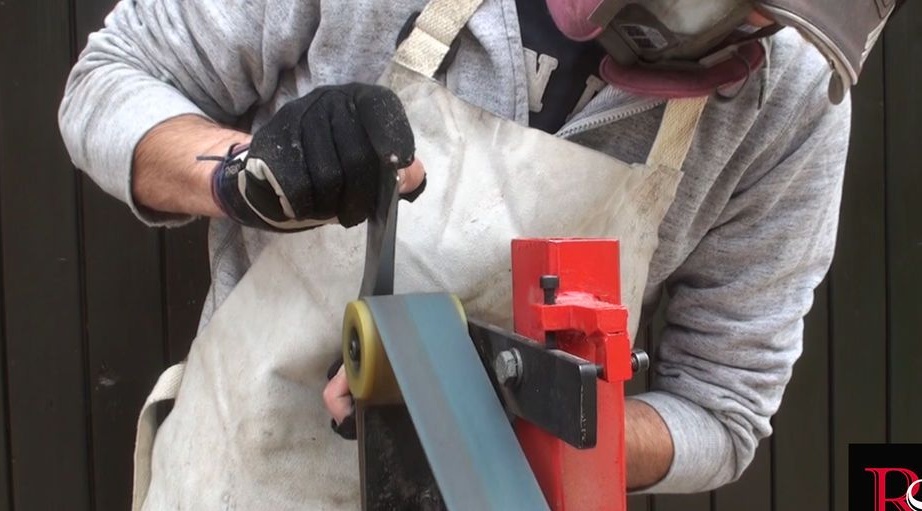
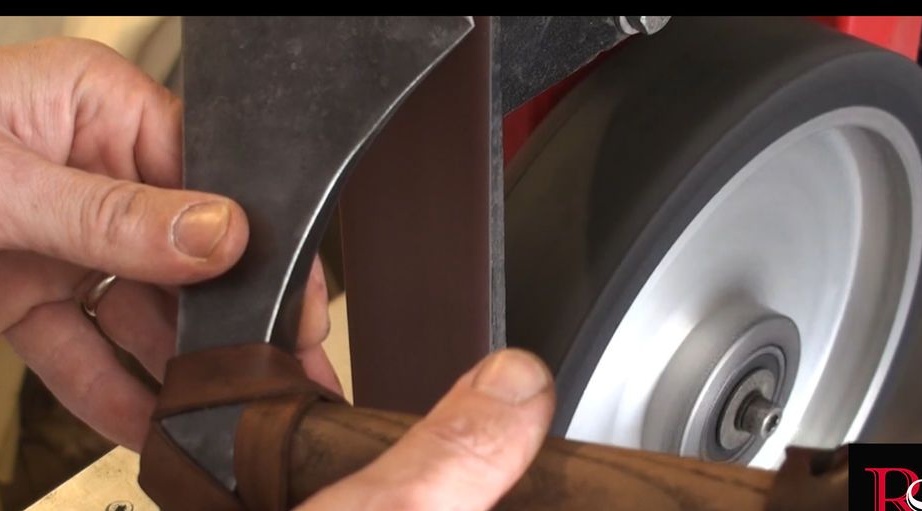
Step Four: Stripping
Because the author wanted to leave the ax gray, then he cleaned it with a brush, and only processed the blade and tip of the butt on a belt grinder.
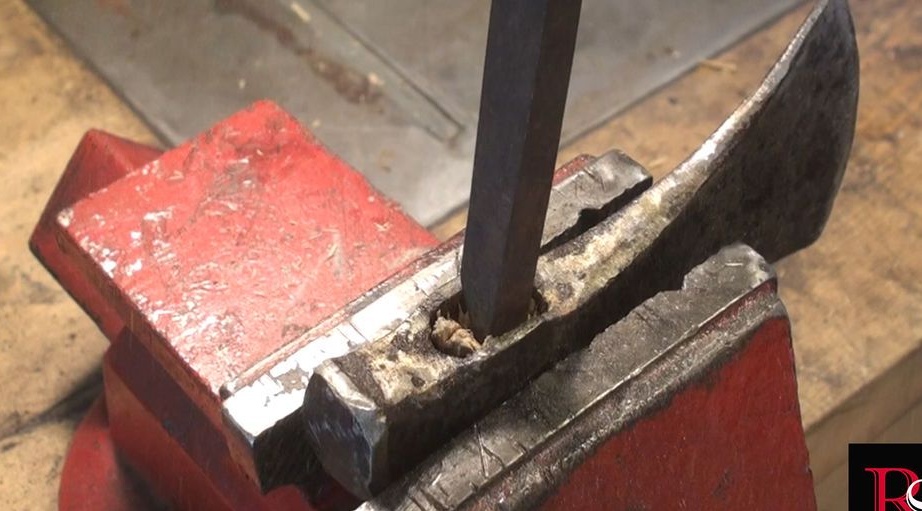
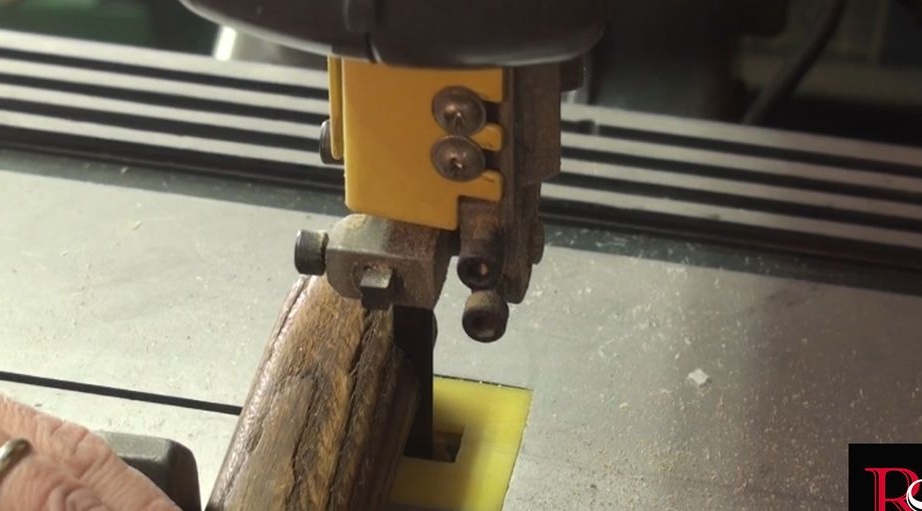
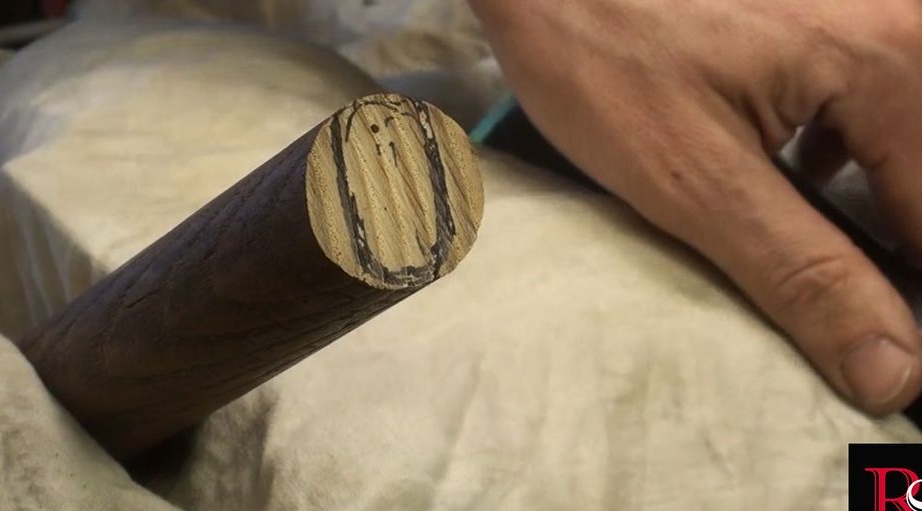
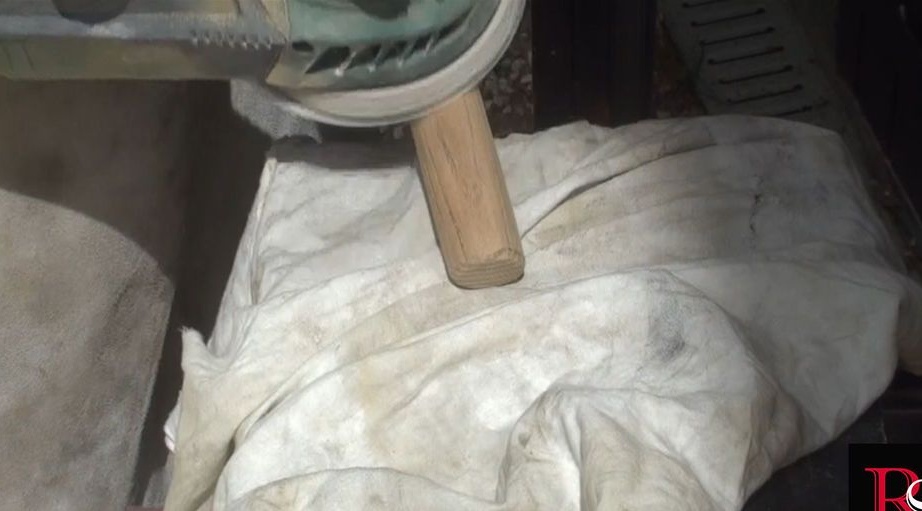
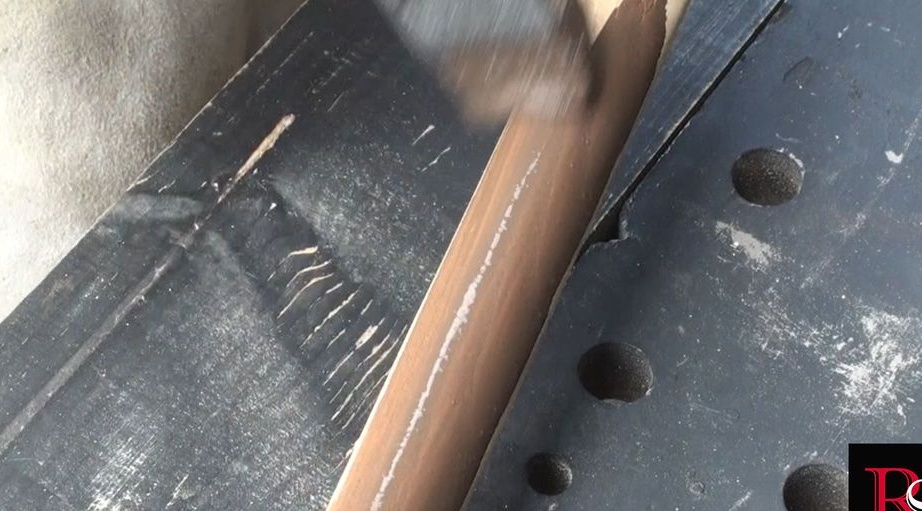
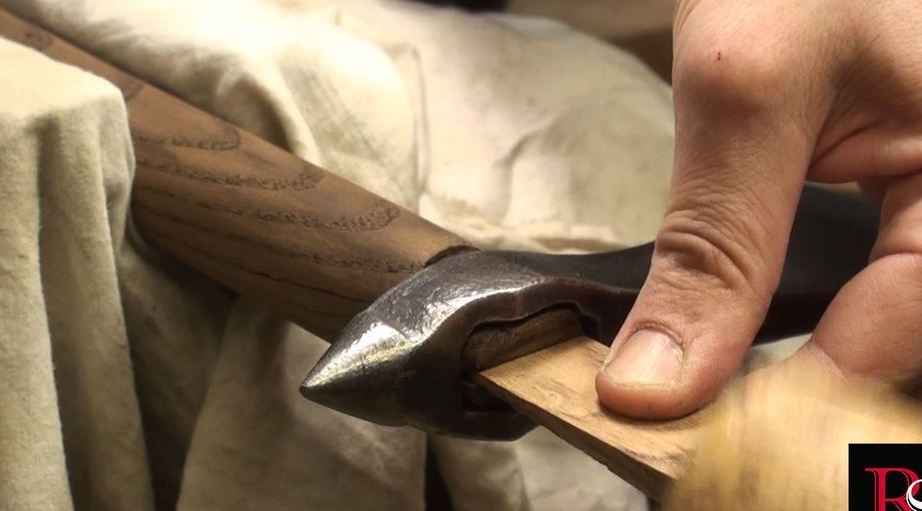
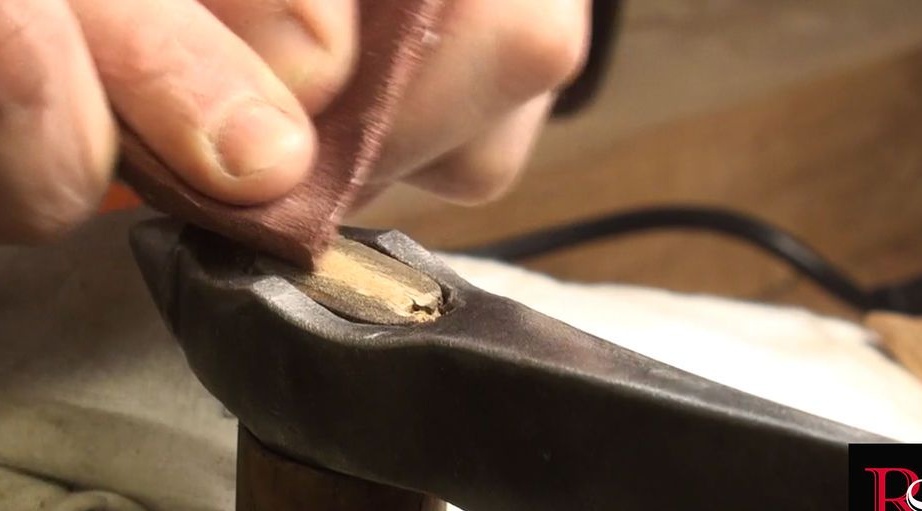
Step Five: Pen
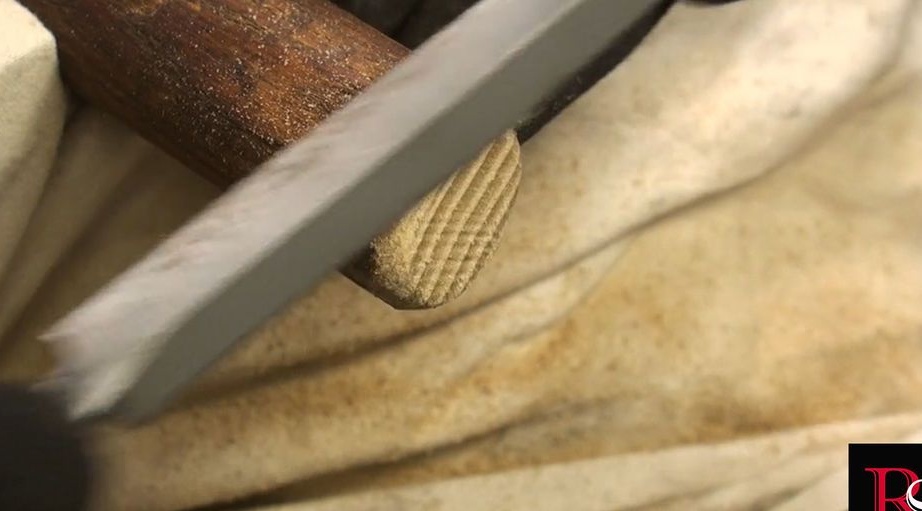
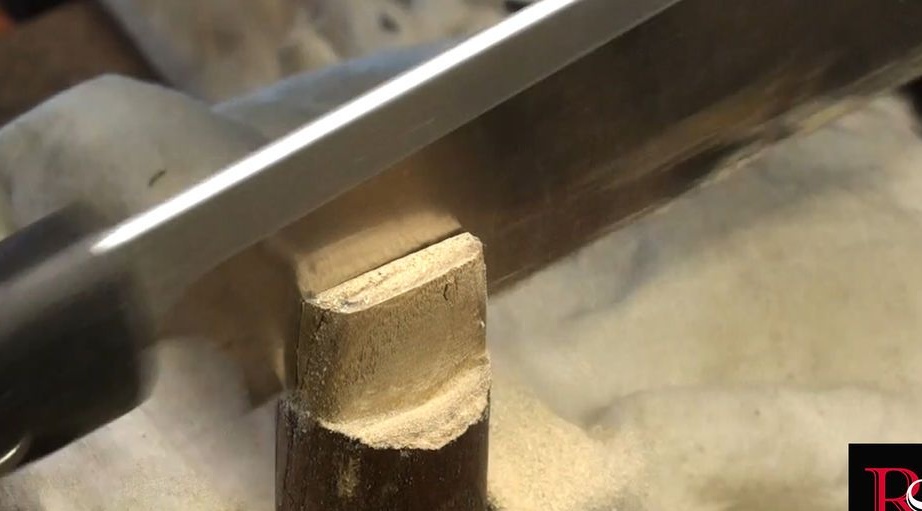
For his ax, the author used the old pen. Shortened it to the desired length. He worked the edge with a rasp so that he would go into the eye.
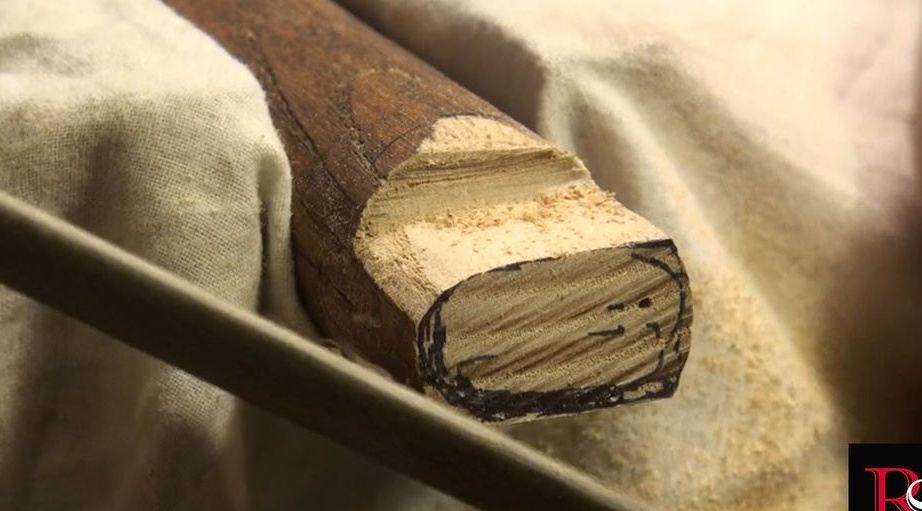
Made a wedge.
I polished the pen and painted it.

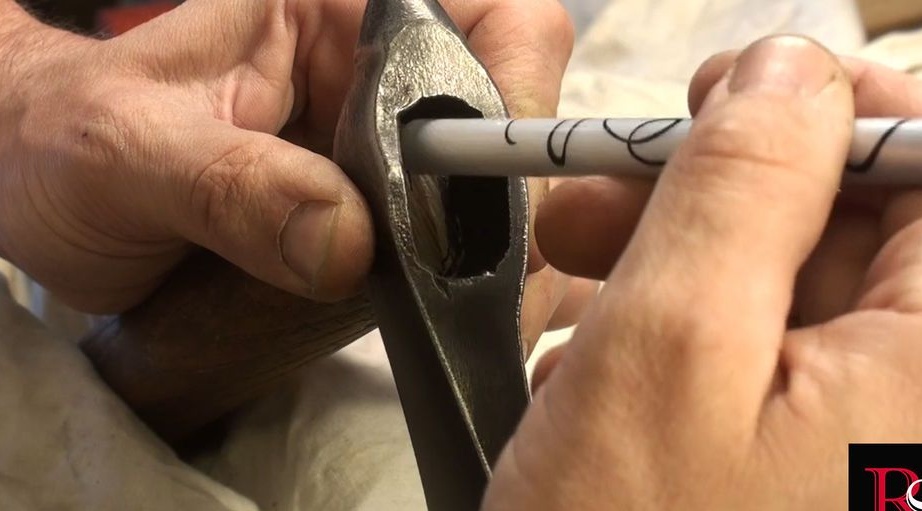
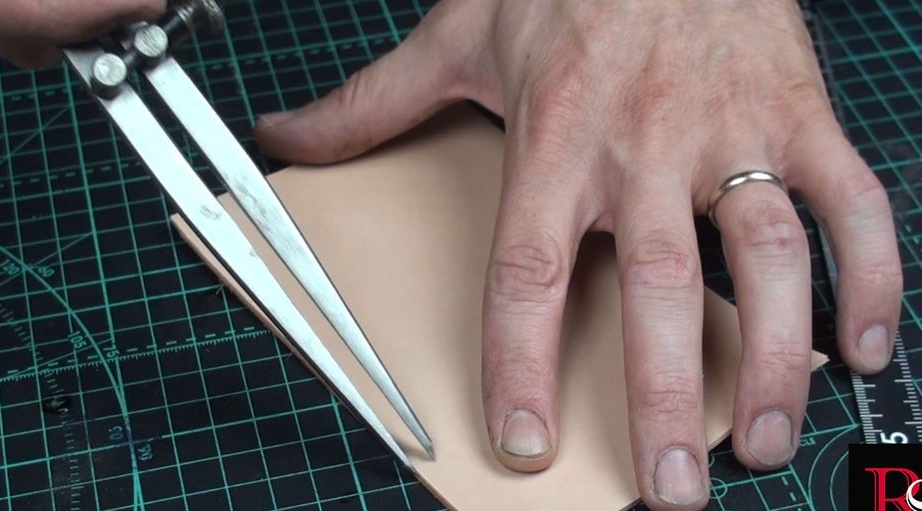
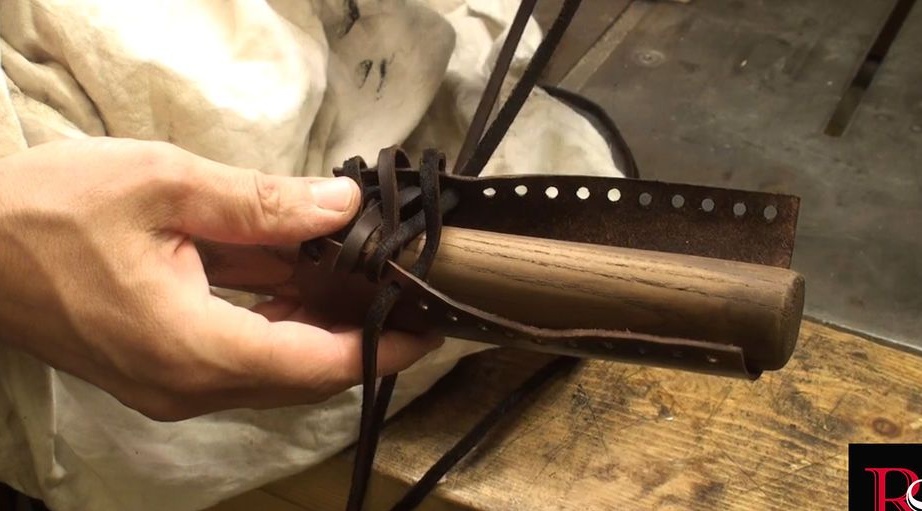
Step Six: Leather
For decoration, the author added several elements of leather.
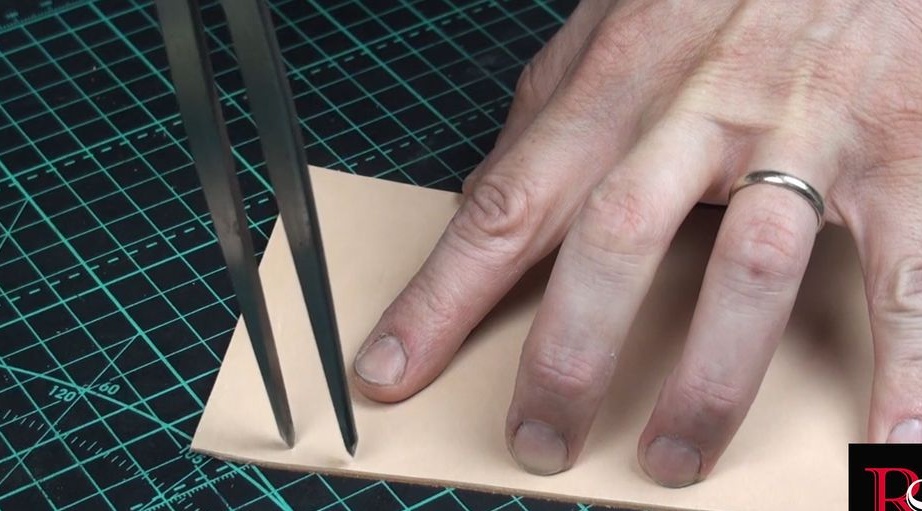
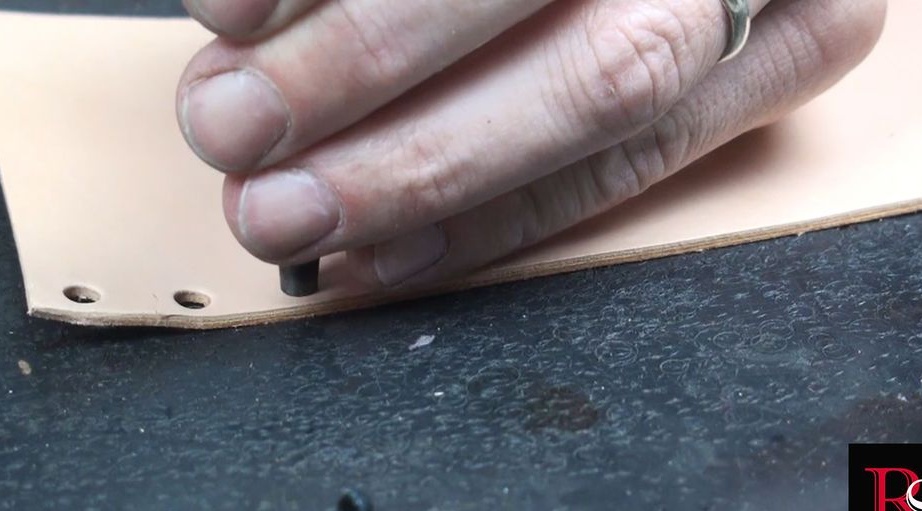
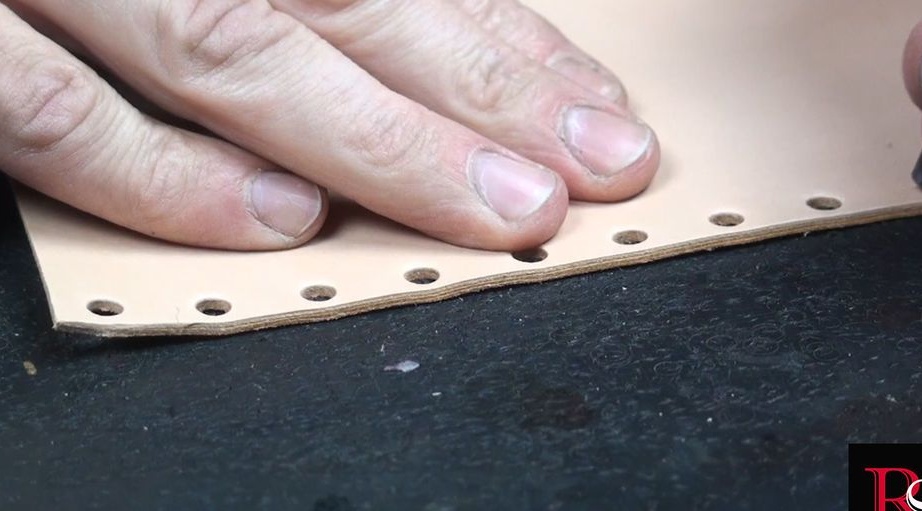
Cut off a piece of leather so that he would fit a handle. I made holes along the edge.
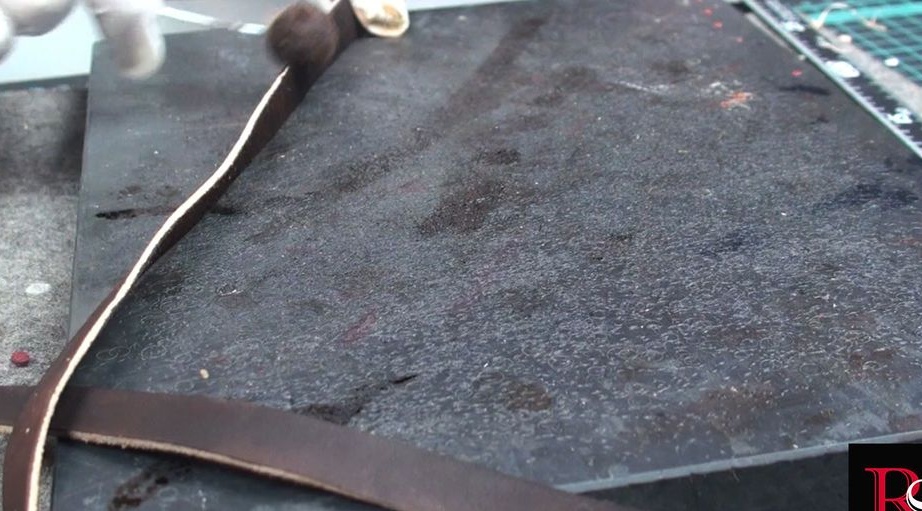
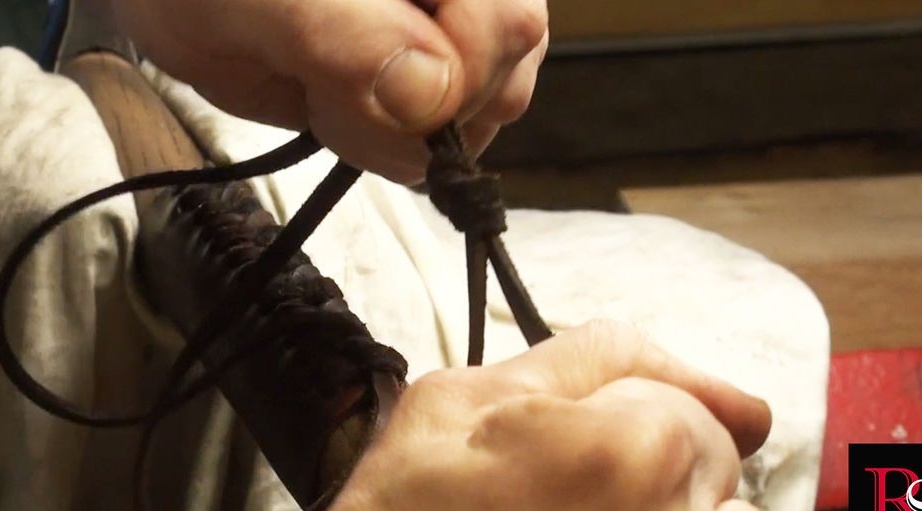
Cut off two long narrow stripes.
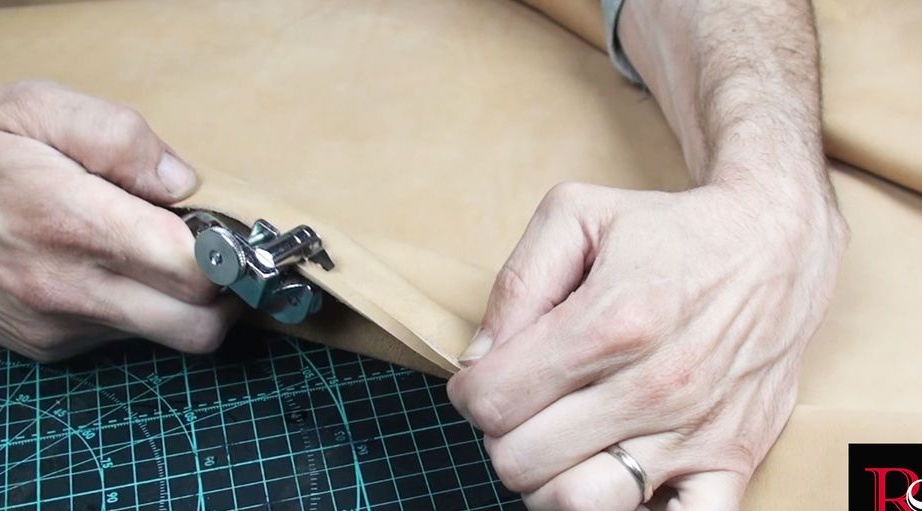
Painted.

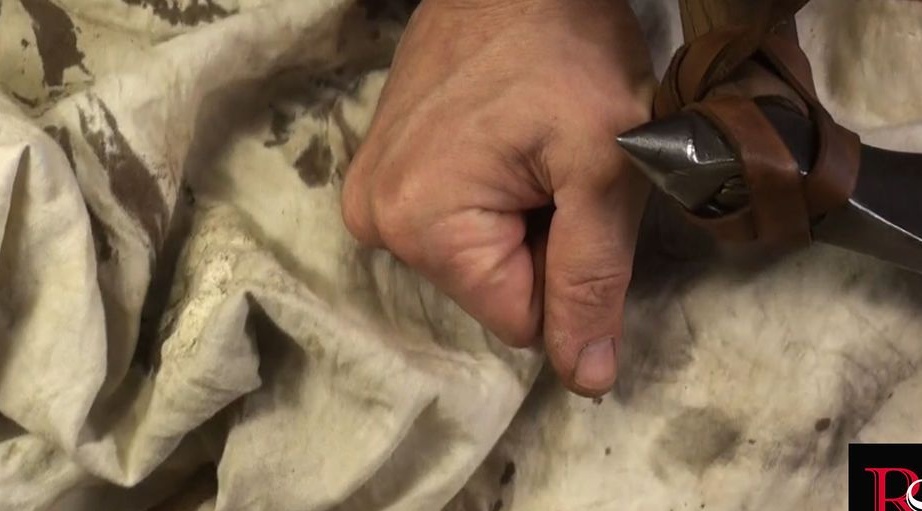
Seventh step: assembly
It remains to collect all the parts of the ax.
Places an ax on the handle. Clogs a wedge, cuts off its excess part.
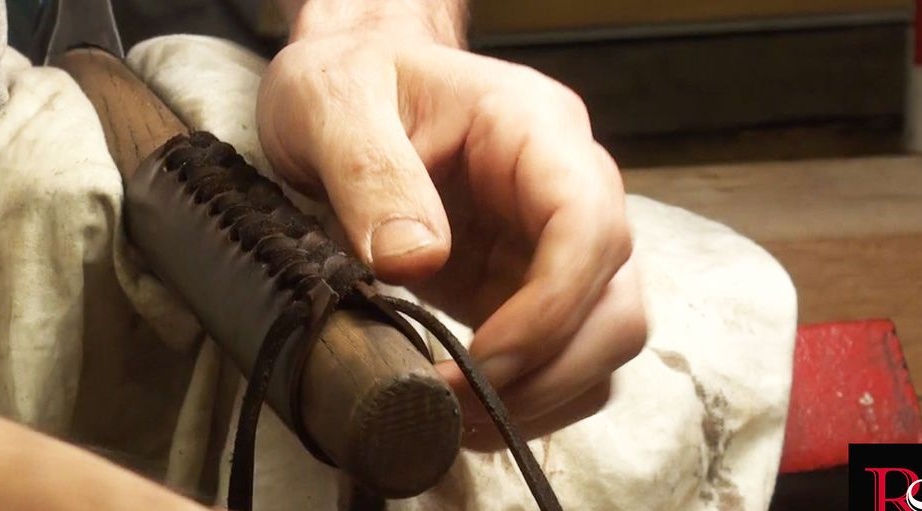
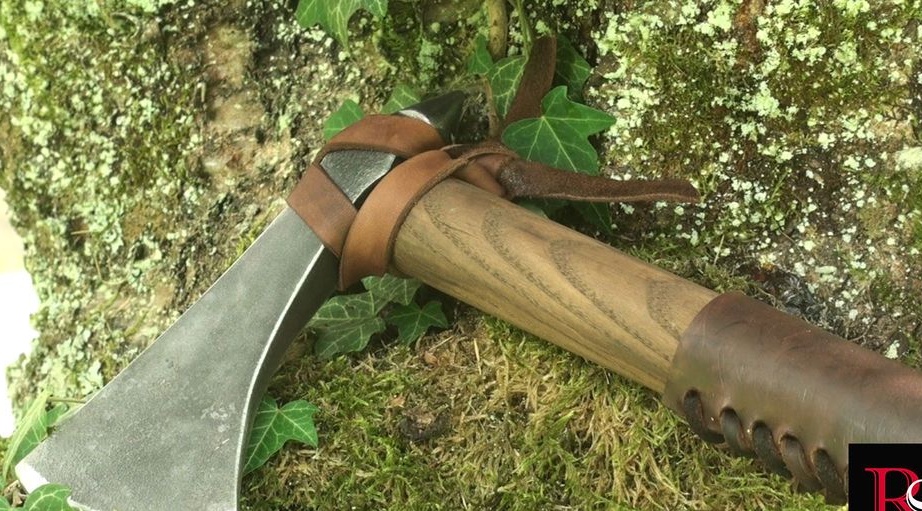
Decorates the handle with leather.

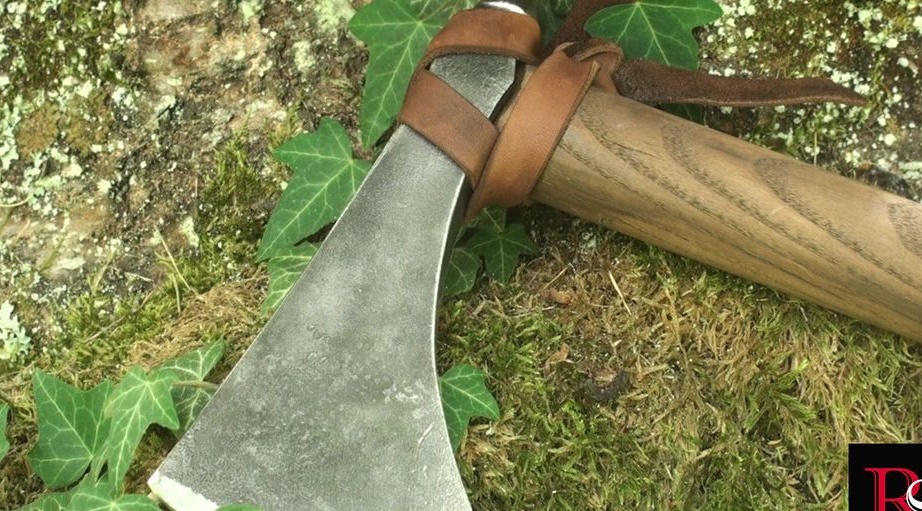
A strip of leather is fixed in the middle of the ax.
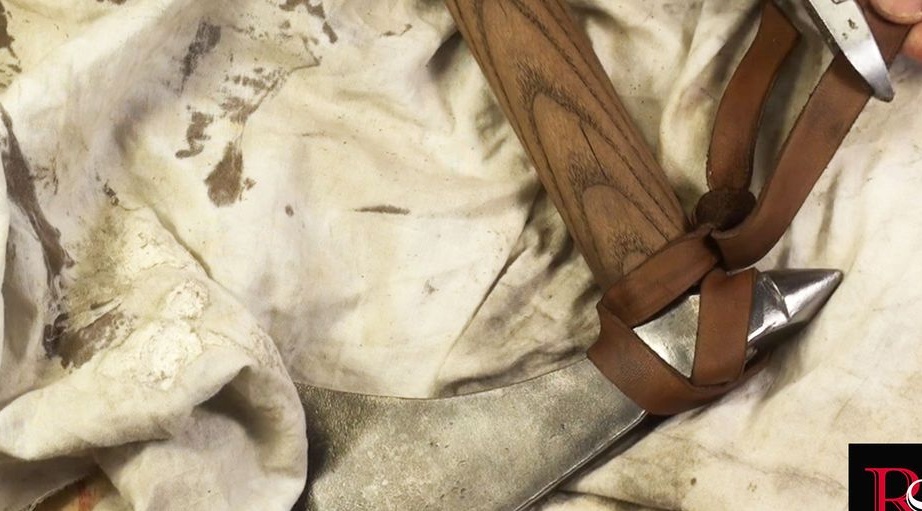
Finally brings the ax blade.
Viking-style ax is ready.
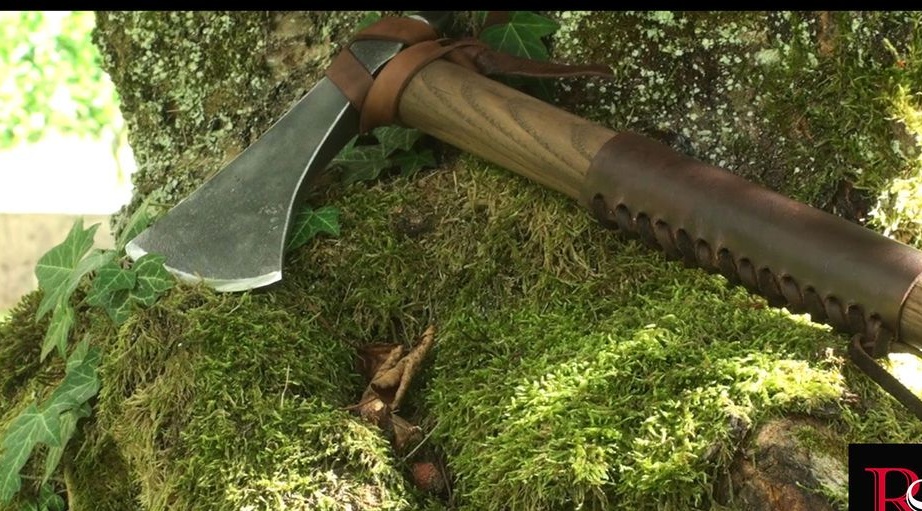


The weight of the ax manufacturing process can be seen in the video.