In our world, replacement of furniture It’s already no longer a luxury, but a way of self-expression of a designer who, of course, lives in each of us. Old sofas, chairs and dressers are most often sent to the cottage or to garage, but what about the furniture that the owners in the future do not plan to use at all? For example, how to use a crib if the children have grown up long ago, but the bed is expensive, as a memory?
In this workshop you will learn how to turn an old crib into a wonderful modern bench for your hallway or kitchen.
According to the plan, old wooden furniture will be used, therefore, additional wooden parts will not be required. But the author recommends taking responsibility for the choice of paints and varnishes with a share of creativity. After all, not only the final result and the appearance of the furniture, but also how long it will last will depend on how much better the paint or varnish you choose.
So, for the conversion of a crib, you will need:
1. Materials:
- used baby crib, preferably wooden;
- paint on wood;
- varnish on wood;
- putty for wood;
- glue;
- self-tapping screws or furniture screws;
- solvent for old paint (varnish).
2. Tools:
- electric drill;
- a hacksaw or miter saw;
- a screwdriver or screwdriver "on the cross";
- paint brushes;
- a grinder or sandpaper;
- putty knife for putting putty;
- a pencil;
- building tape measure.
Step one: disassemble the bed
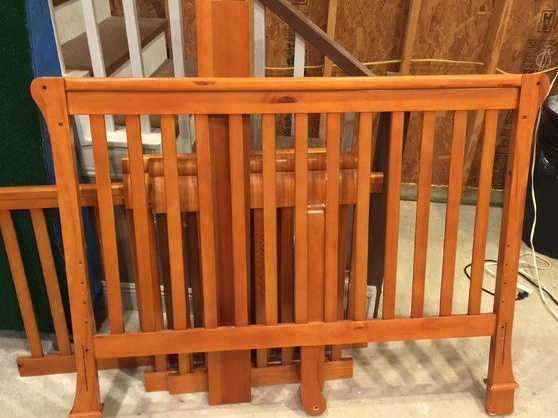
Disassemble the bed into its component parts. Actually, it will depend on what your shop will turn out to be.
The author used in his work an old double bed for twins. Her headboard by itself prompted the idea of creating a bench, since it turned out to be quite wide and high, in addition.
The crib, despite its venerable age, was well preserved and did not require repair. Take a close look at your details. If the components are in need of repair, it's time to do this before you begin assembling the shop.
Check for loose parts. If the crossbars are loose, they need to be fixed anew. Use wood glue for this purpose and whether self-tapping screws or furniture screws to choose from.
Step two: assembly of the structure
It all depends on your imagination and the details that you received by disassembling the crib.
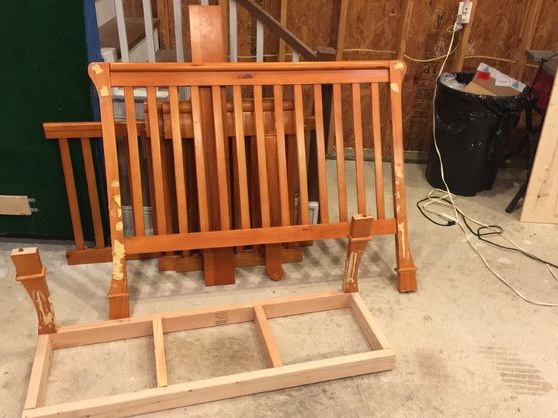
Estimate the final design of the bench, determine the size and prepare the details.
At this stage, pay attention to the old paintwork. Of course, it is better to get rid of it, especially if the layer of varnish or paint is cracked and leaves much to be desired.
To do this, use a grinder and coarse sandpaper. You can also use a solvent. However, if in the first case you have to deal with dust, then in the second - with a strong odor and harmful solvent fumes.
You can do without a solvent at all. Consult a building hypermarket and maybe you will be offered a suitable paint that will perfectly fit on the old coat of paint or varnish. You can also pre-use a primer.
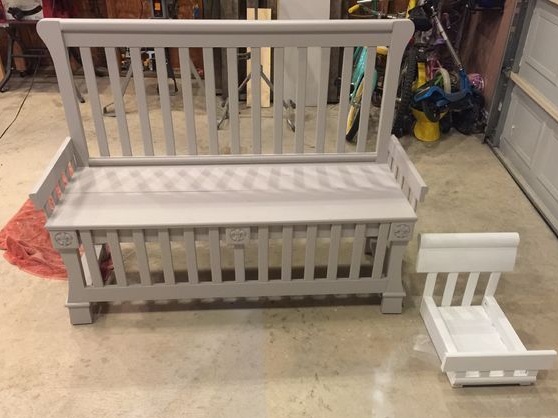
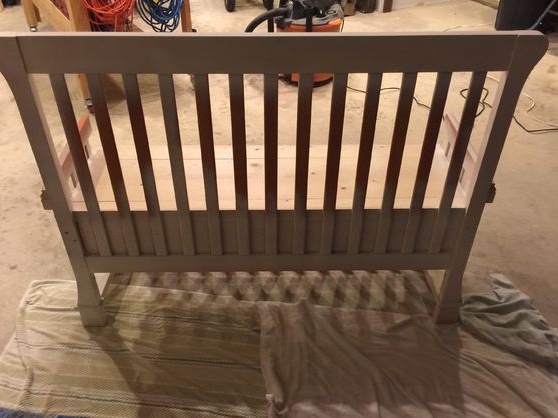
And in the process of joining, use glue for strength, since screws alone may not be enough. The author used pocket connections, and filled the threaded holes with putty on wood, as can be seen in the photo. Try to match the fill color to the tone of the material. Use a spatula to apply.
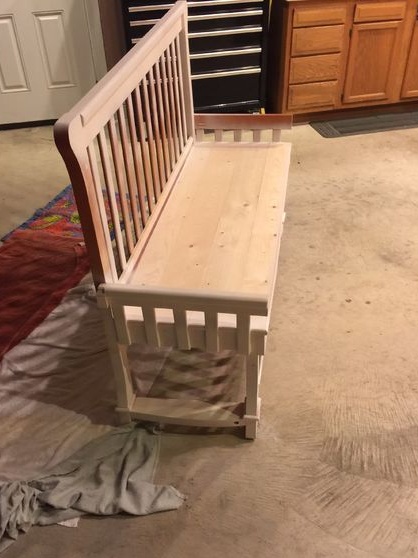
The author also applied glue when laying boards for sitting on the frame. In addition, he used screws to attach the legs to the bench frame.
In conclusion, the author secured the armrests on the sides, which he made from the front crossbar of the crib, as well as the front "skirt" of the bench. This time he used cloves and glue. In order for the strips to not crack during fastening, pre-drill holes of small diameter in them.
The author also added a couple of decorative details to the legs of the bench to give it aesthetic value. Such linings can be found in building hypermarkets. Foam materials are better not to use, because they do not have an adequate margin of safety.
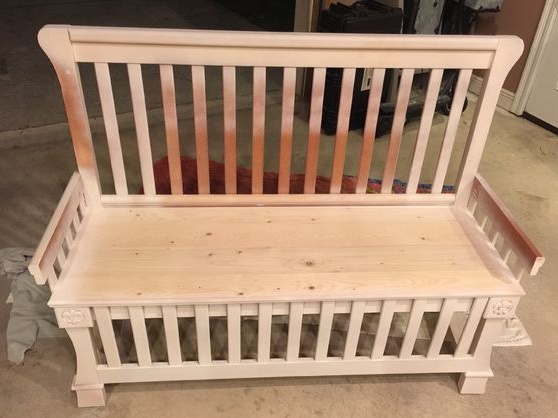
Step Three: Surface Treatment
After the design was assembled, the author proceeded to painting.
If you removed the old coat, sand the surface with fine-grained emery paper so that the adhesion to the paint is more durable. Partially grinding is conveniently carried out with a grinder. However, you still have to work with your hands and sandpaper.
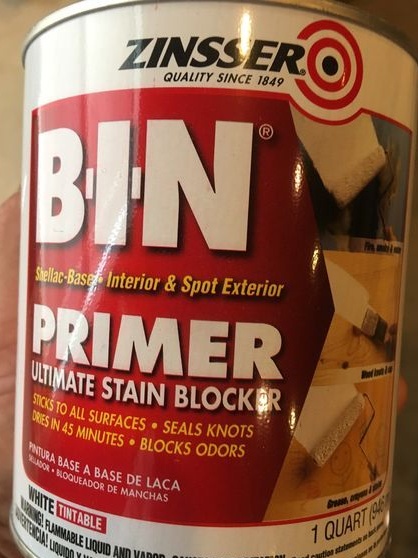
The old lacquer coating was durable, so there was no need to remove it. Instead, the author uses a special stain-removing primer Zinsser, which is also a toner.
Since the old varnish was glossy, it was necessary to apply two coats of soil so that the paint subsequently lay down as it should.
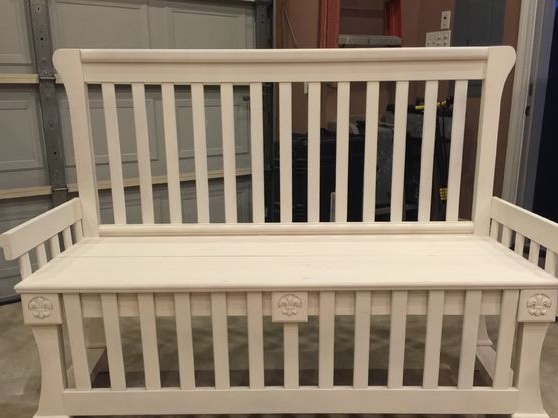
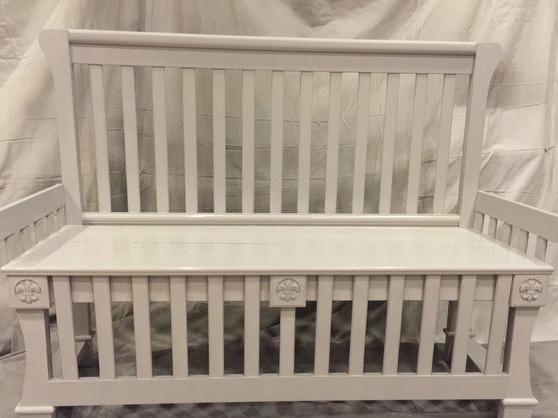
The next day, the author began painting. He used a Sherwin Williams Essential Gray paint with a satin sheen, which he applied with a spray gun. All work was carried out opposite the garage door, which he hung up with old unnecessary cloth so as not to stain anything.
The paint was also applied in two layers with an interval of six hours.
Before applying a second coat of paint, make sure that the previous one is completely dry.
Fourth step: what to make of the leftovers?
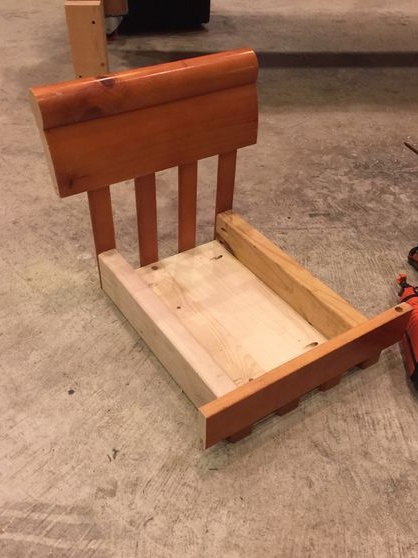
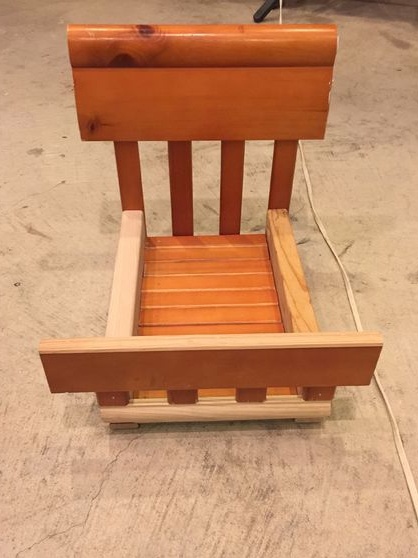
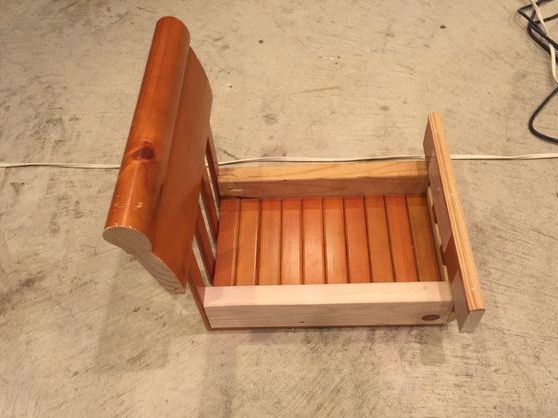
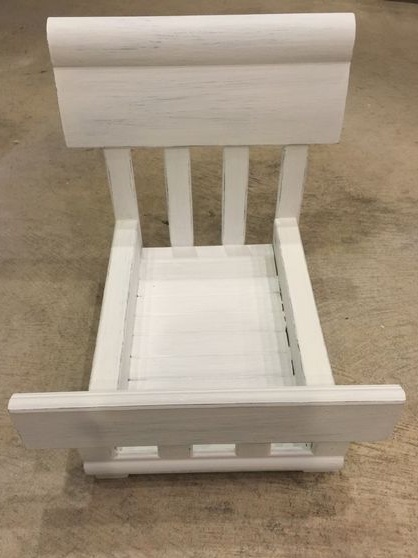
Since the author’s daughter took the most active part in creating a bench for the new house, he decided to make a doll mini-crib as a gift for help from the unused remains of the old crib.
For this, a former came to be, who could not find a place in the final design of the shop.
Step Five: Final Touch
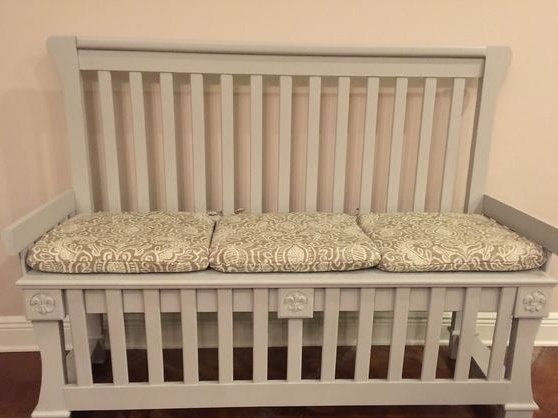
To complete the image, the author used flat seat cushions. This is convenient, because at any time you can change covers to others and get a completely new and fresh look.
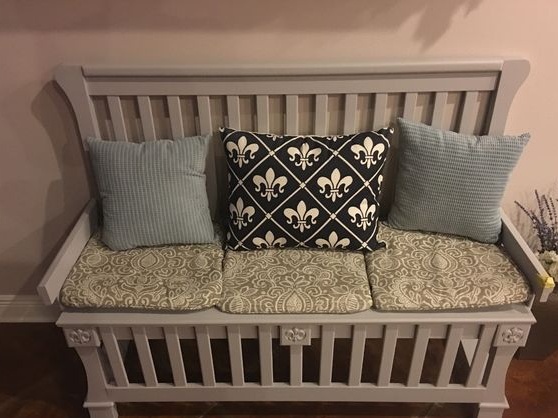
Also, ordinary pillows went into business, with decorative pillowcases matched to the color of the overall ensemble.
Finally, after a long adventure, the shop took its place of honor in the living room of the new house!
