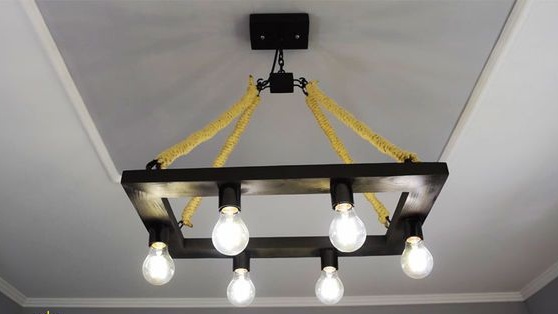
Dear visitors of the site, from the presented master class, you will learn how to independently make a chandelier in a rustic style.
The author noticed this chandelier in the store, but the price for it was just sky-high at around $ 300, I really wanted to install such a chandelier in my apartment, but the price was repulsive. And then the master decided to do the same and at the same time meet the budget of no more than $ 40. What boards for the case were available, but the rest had to be purchased at an electrical goods store, namely: 6 rounds and 6 LED bulbs, an electric wire.
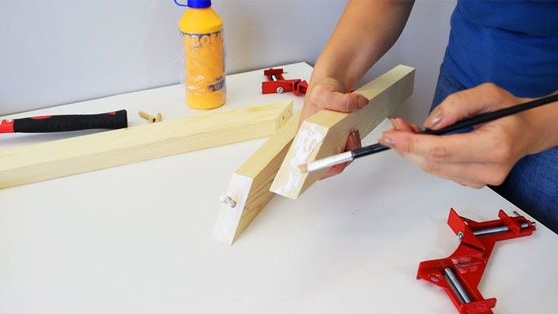
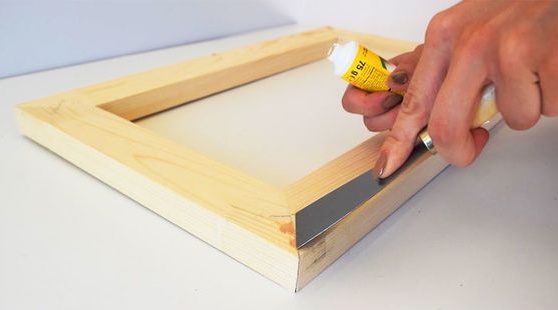
I made a rectangular case from a wooden plank 60x30 mm, connected the corners at 45
about glued with carpentry glue, and filled the cracks with putty for wood. He painted and drilled holes for the installation of cartridges, connected all the cartridges in parallel. I made a pendant from a metal chain fixed at 4 points in the corners and reduced to the center, the chain is wrapped with a rope made of natural material (linen, hemp)
And so, let's look at what exactly is needed to make a rustic chandelier?
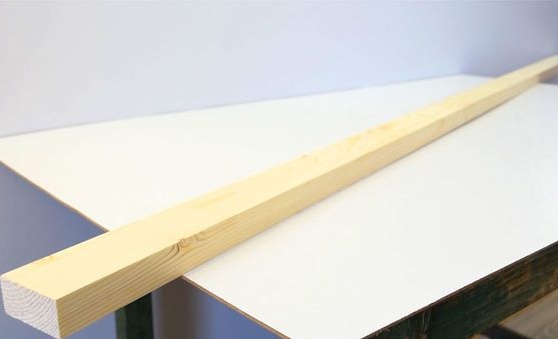
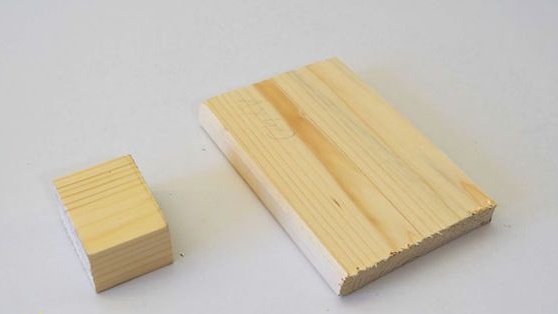
Materials1. board 60x30 mm
2. cartridge 6 pcs
3. 6 pcs LED bulbs
4. electrical wire
5. electrical tape
6. black paint (spray can)
7. staples
8. wood glue
9. putty for wood
10. metal chain
11. natural rope (flax, hemp)
12. solder
Instruments1. hacksaw
2. miter box
3. chisel
4. brush
5. drill
6. ruler
7. screwdriver
8. boron machine
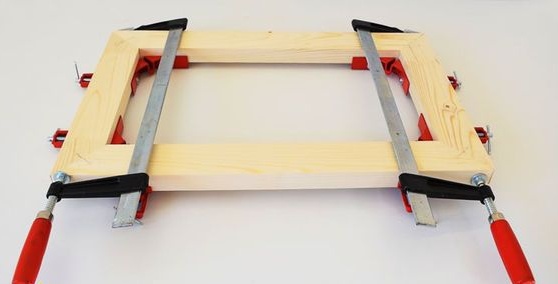
9. clamp
10. pencil
11. glue gun
Step-by-step instructions for creating a rustic chandelier do it yourself.The main task of the author is to save as much as possible and make the chandelier 10 times cheaper than the store version, which actually turned out to be excellent.
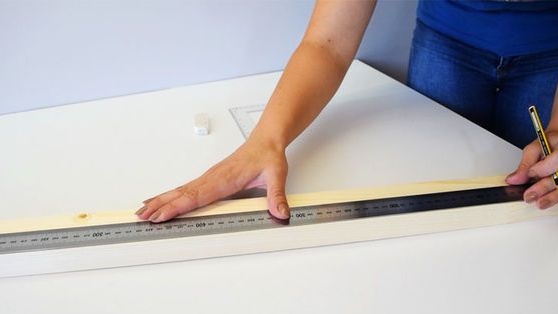
First of all, the master takes a 60x30 mm board and marks it for the subsequent production of a rectangle from it.
With the help of a ruler and a pencil, he makes markup.
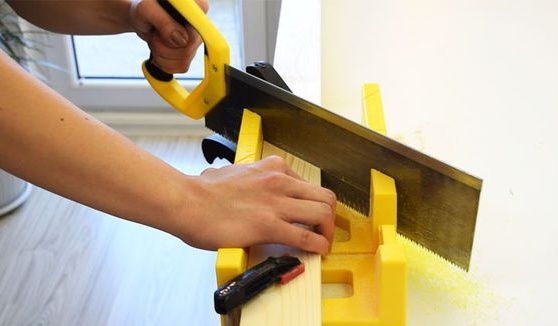
Cut corners at 45
0 for what uses a miter box.
Additionally sawing two planks, they will be necessary when attaching the chandelier to the ceiling.
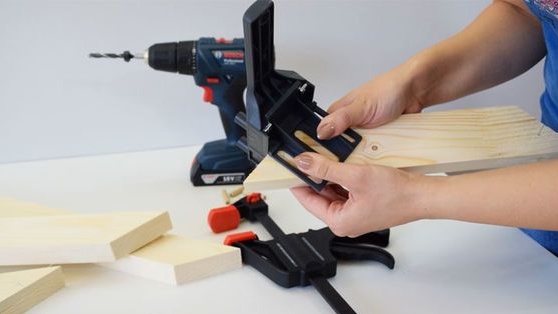
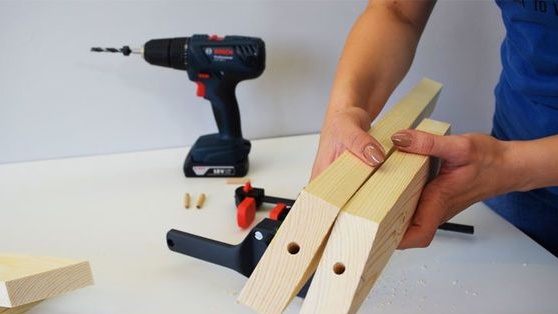
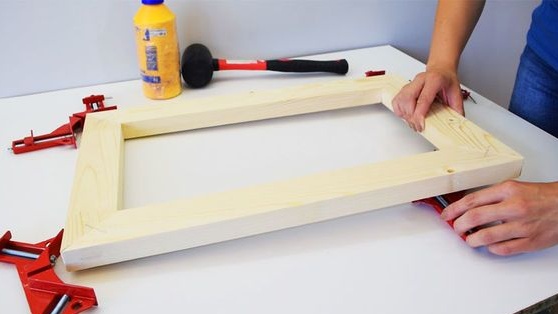
Then all the workpieces are connected in a single design.
Excess glue and putty are removed with a chisel.
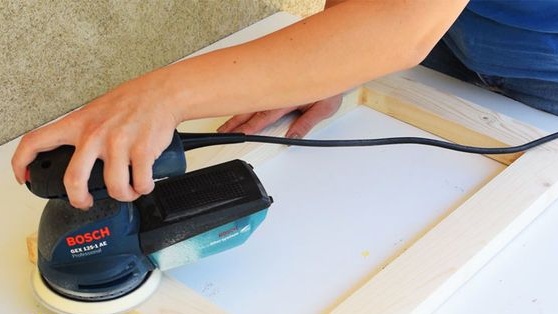
Carefully passes with a grinder to remove roughness and burrs.
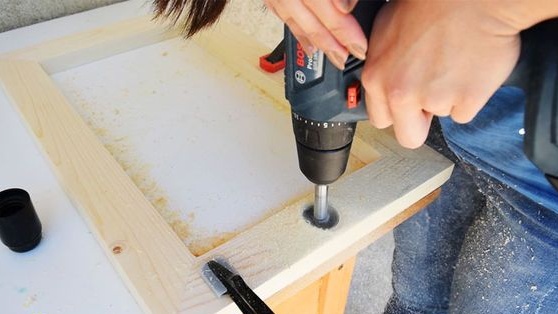
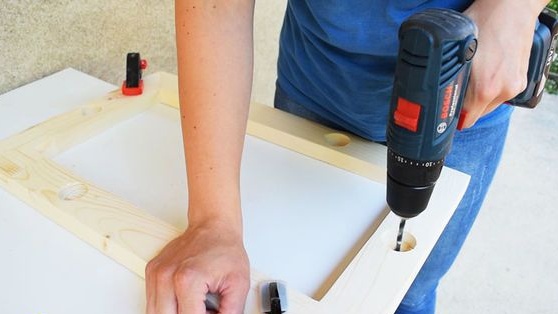
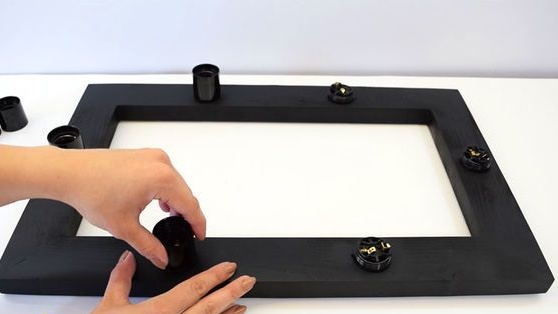
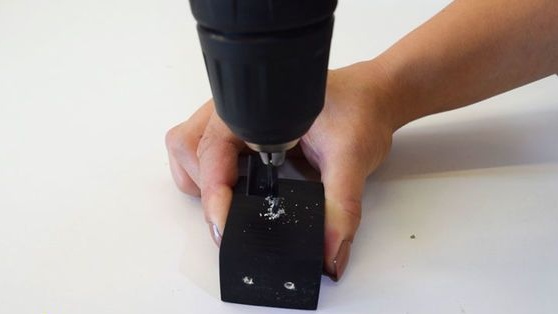
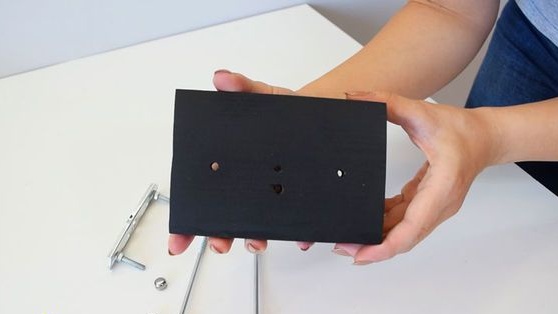
After which the author makes markings for the placement of 6 rounds.
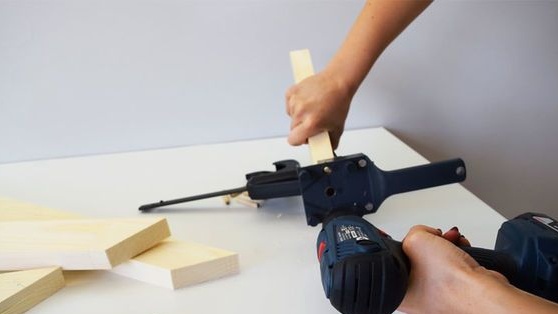
Drills holes, one at the ends and two at the sides of the wooden rectangle.
The diameter of the drill is 35 mm.
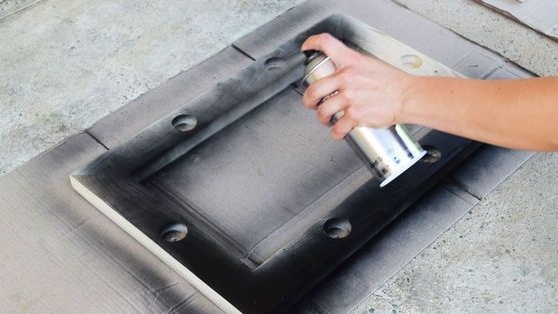
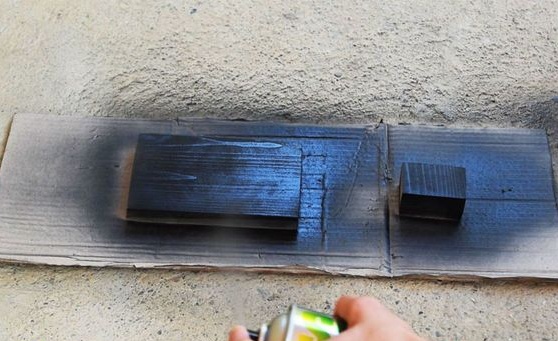
Then the wooden surface is painted.
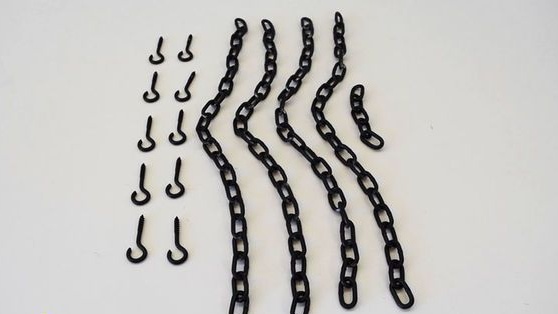
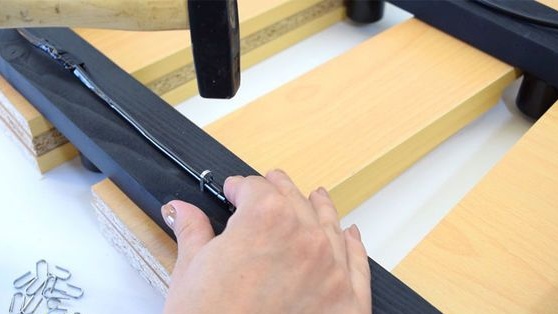
Saws the chain into 4 identical parts using a boron machine.
It also stains black.
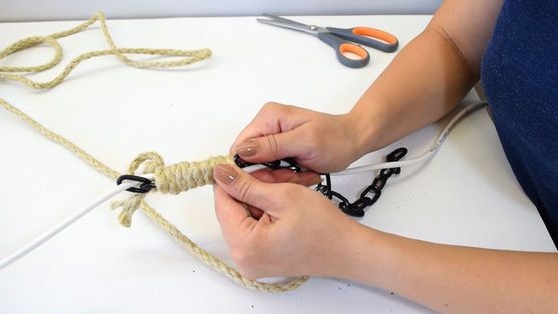
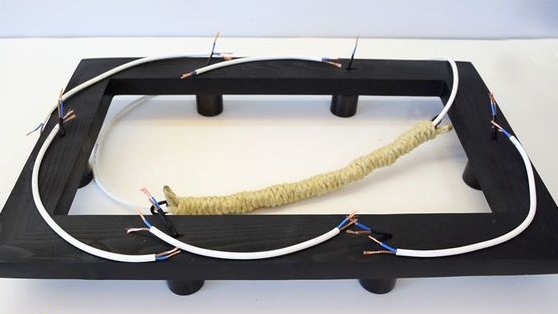
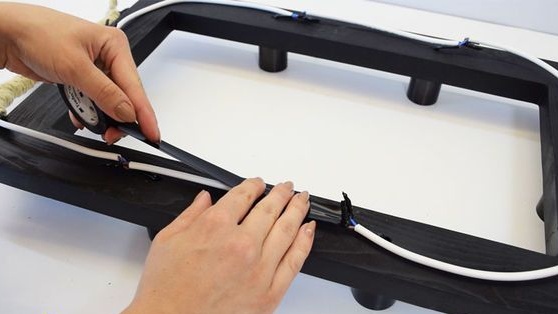
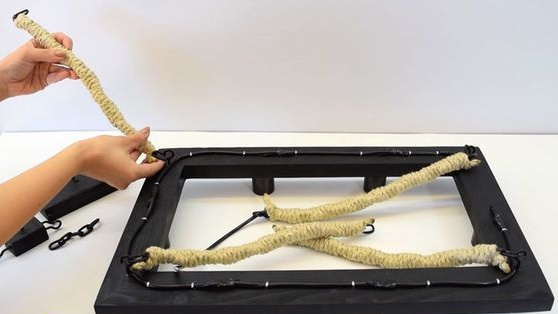
Further, the author wraps the chain with a natural rope, the wire also hides under the winding.
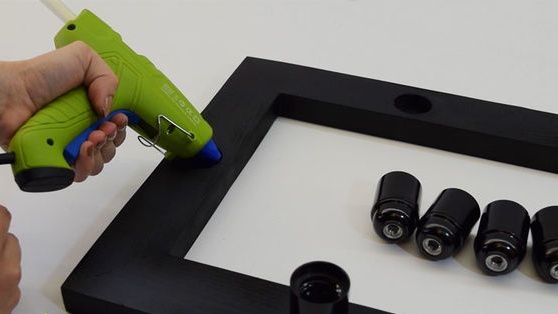
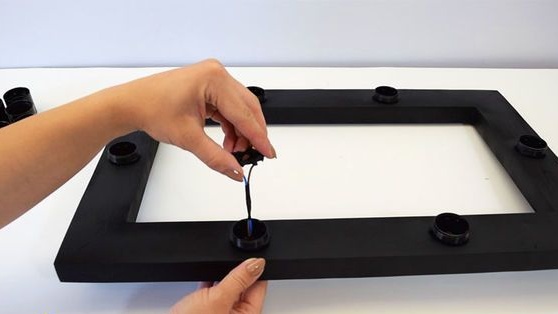
Cartridge holes are filled with hot glue.
This glue will hold the cartridge securely, but you cannot use simple incandescent lamps in this case, because when heated, the glue will become soft and the cartridge will simply fall out of the socket, so that only LED bulbs.
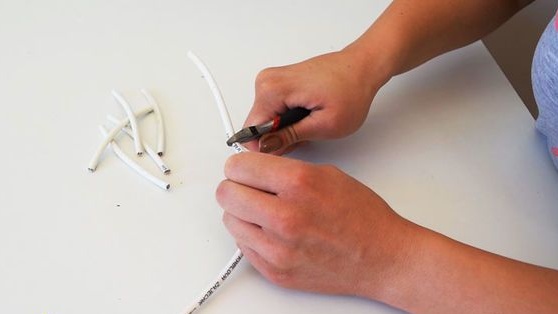
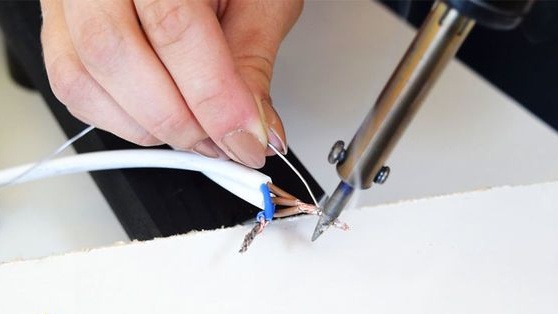
After that, the master proceeds to wiring and connecting all cartridges in sequential order. Slices small pieces of wire.
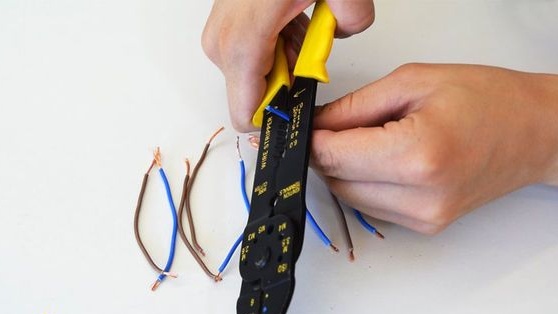
Disconnects into single postings.
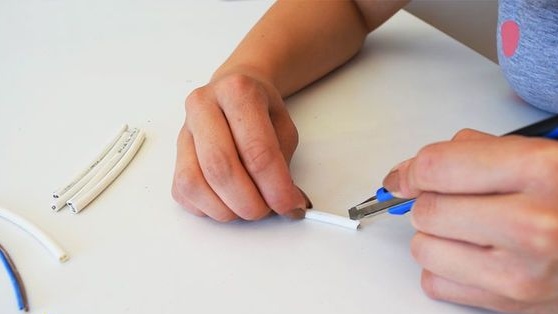
Removes cambric 1.5 cm from each edge of the wire.
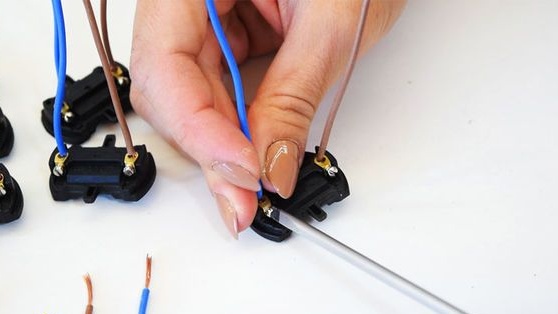
Connects to cartridge contacts.
Inserts into place.
Spins.
Connects in sequential order.
The junction is soldered with a soldering iron.
Next, the author isolates the wire and connections with electrical tape.
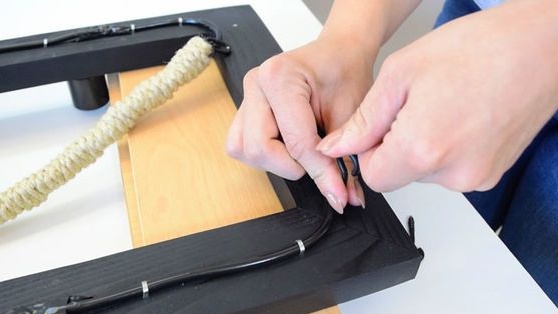
The wire to the board fastens with metal brackets.
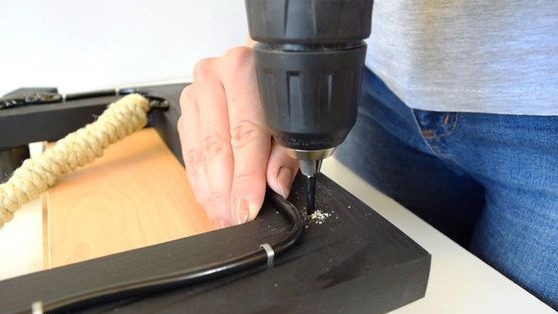
Drills holes in the corners.
Fastens the chain.
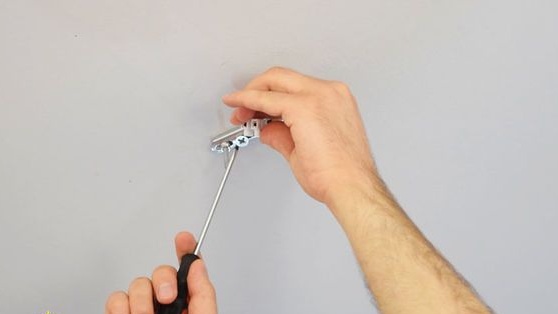
Drills a hole in the beam that will be attached to the ceiling and hold the chandelier itself by chains wrapped in rope.
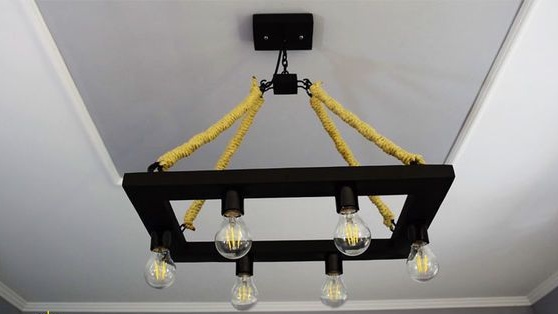
That's actually what happened.
All four chains are connected.
And fixed on a wooden beam.
Then the finished structure is attached to the ceiling.
Connects to electrical wiring. ATTENTION! First, turn off the power to your house or apartment by turning off the power meter, additionally make sure with the indicator that there is no electricity and only then start working with bare wires.
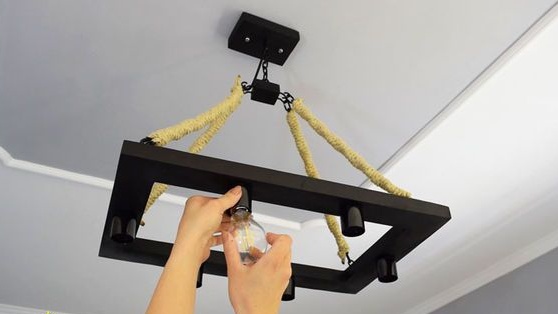
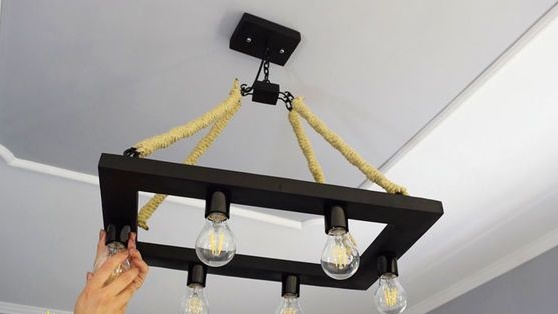
We screw in the light bulbs.
That's all, the rustic chandelier is ready, $ 40 was spent on the manufacture, which is almost 10 times cheaper than the store counterpart. It turned out pretty well, but if you know how much money was saved, then just fine)
As you can see, making a cool chandelier is not so difficult, the main thing is to show imagination and put your hands naturally. A step-by-step instruction is presented to you, so we take and do it. Go for it friends!
This concludes the article. Thank you all for your attention!
Come visit often and do not miss the latest in the world of homemade goods!