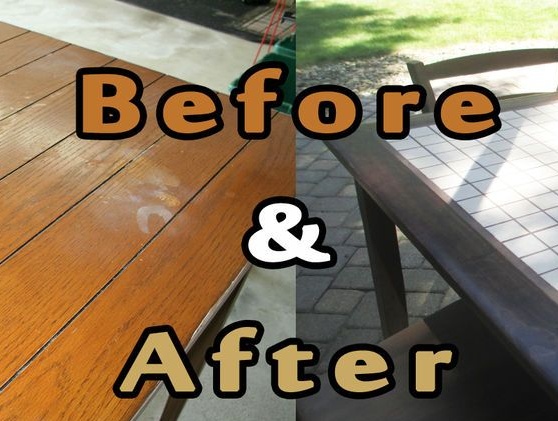
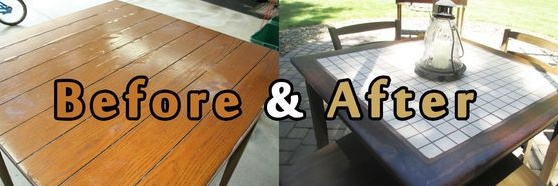
Restoration of furniture - A great way for those who want to get a new dining set, but are not ready to dump a tidy sum for it.
There are many ready-made solutions that will help bring to life the old ragged table with a set of chairs and turn it into a highlight of your yard.
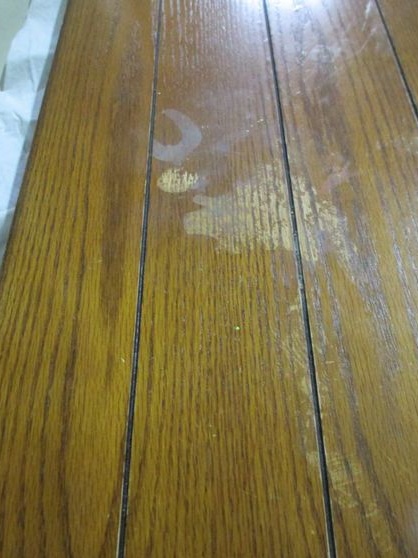
Working with natural wooden furniture for the restorer is easy. But what if you have no desire to clean off a dozen layers of old varnish? And if the table is not wooden at all? Really have to throw it in the trash and that's the end of it?
Of course no. There is always a way out. The author of this workshop intentionally purchased a table for sale with a view to its further restoration. He just wanted to replace the countertop with a new one and repaint the chairs. Imagine his indignation when he realized that the old countertop was so tightly connected to the apron that there was no question of their separation.
I had to change tactics and strategy, look for another solution. And it was soon found. The set, as it turned out in the end, significantly surpassed the expectation of the master restorer himself.
In his master class, the author will tell in detail how to restore a table using tiles. The countertop, tiled, lasts much longer and this is an undeniable plus, you see.
To restore a table and a set of chairs you will need:
1. Materials:
- an old table with a square or rectangular countertop and a set of chairs with solid seats;
- paint for wood;
- varnish on wood;
- small tiles for countertops;
- glue for a tile;
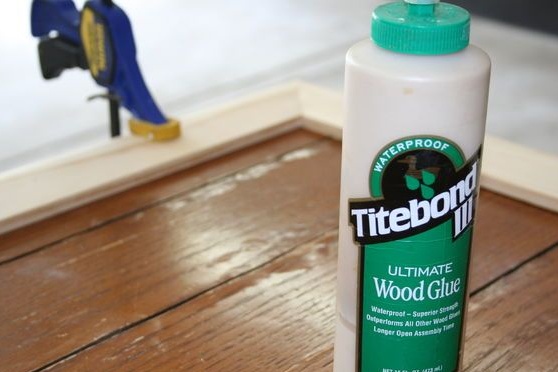
- glue for working with wood;
- masking tape;
- waterproof filler for joints.
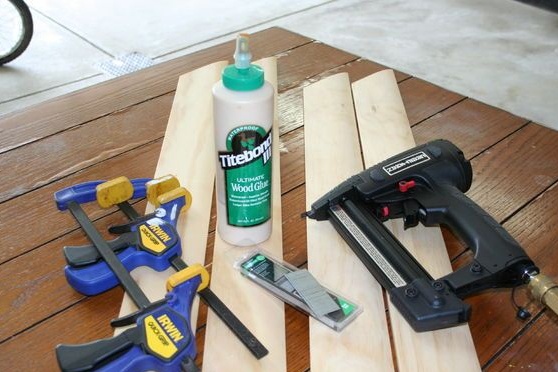
2. Tools:
- hacksaw or jigsaw;
- pneumatic nail gun or just a hammer;
- electric mixer for kneading glue;
- clamps;
- putty knife;
- paint brushes;
- building tape measure and square;
- a pencil.
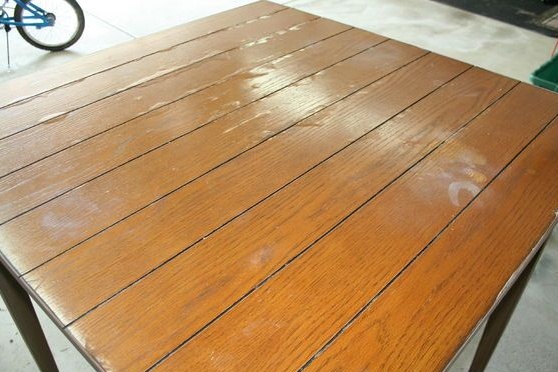
Step One: Evaluation of furniture before restoration
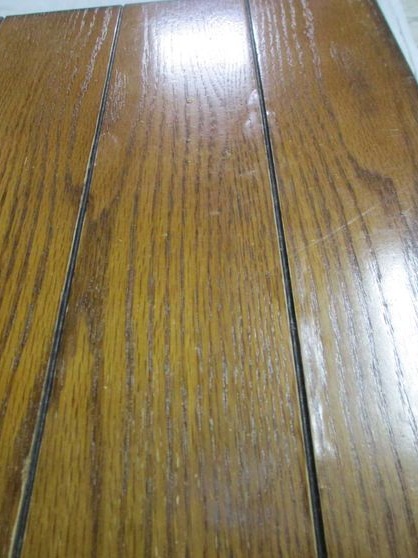
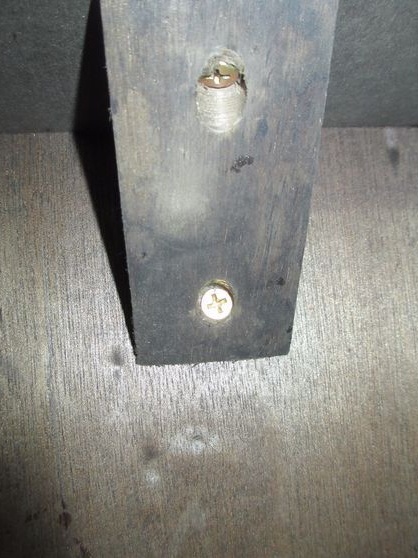
Carefully consider the furniture that you plan to restore for damage. Pay special attention to the place where parts are attached.
Loose legs, crossbars - all this must be repaired. Even in the case of a solid-looking design, be prepared for the fact that during active operation, the connections will soon loosen and become worthless.
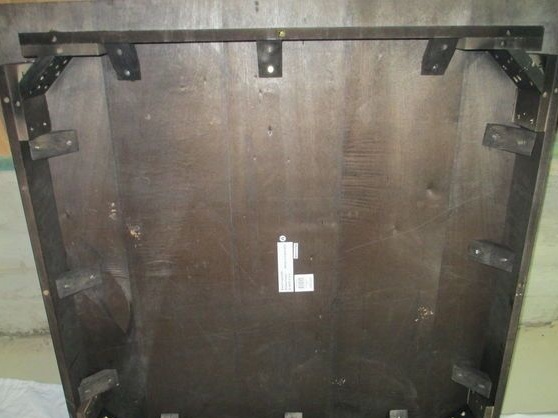
Therefore, consider reinforcing the furniture structure before starting work on its restoration. Use metal fittings, renew glue joints, play safe with screws.
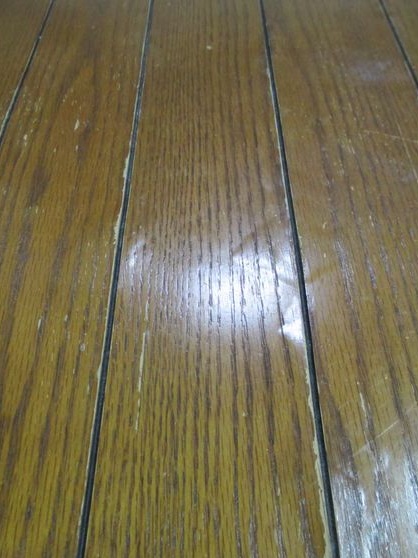
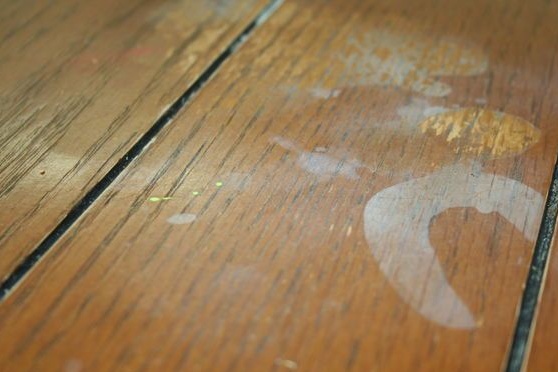
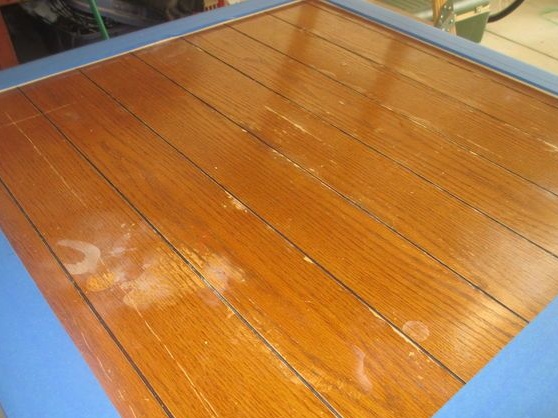
The author, on the contrary, got such a sturdy table design that he could not disconnect the countertop from the apron. But the state of the countertop itself with swollen veneer left much to be desired. She had to be completely hidden from view. So the idea of tiling the tabletop came to mind.

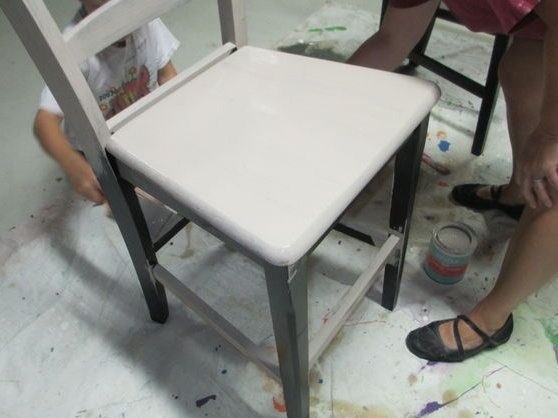
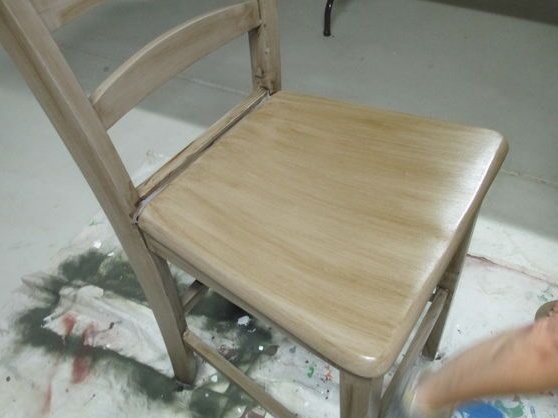
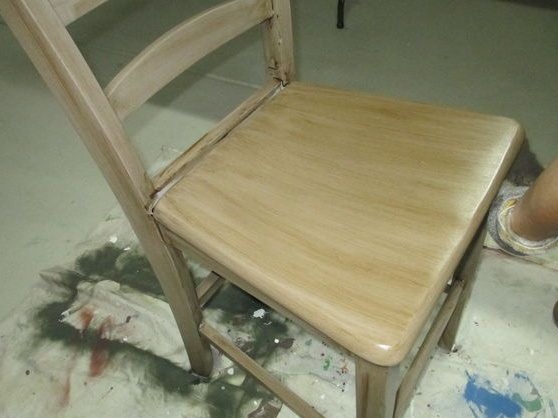
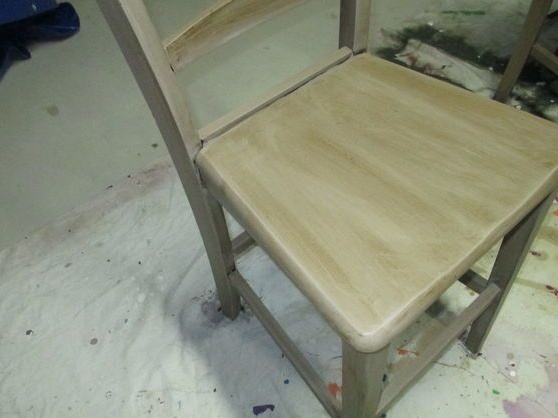
Step Two: Resurrecting Chairs
The chairs were very strong, but absolutely did not fit into the style conceived by the author. Therefore, they decided to radically repaint.
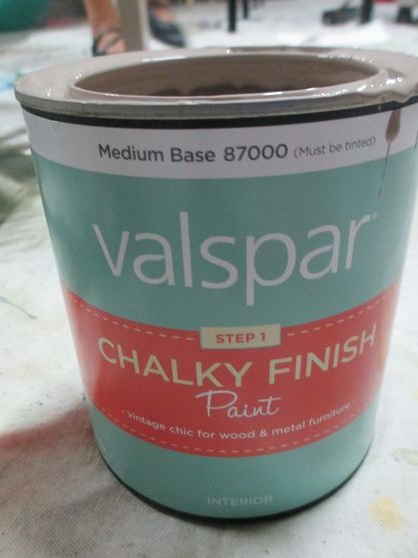
The author used Valspar Chalk paint. An excellent feature of this paint is that it practically does not require preliminary preparation of the painted surface. You just need to get rid of dirt and you can safely proceed to painting.
The set was planned to put on a retro style, so the coloring skills were in second place here. The 6-year-old son of the author of this master class did a wonderful job.
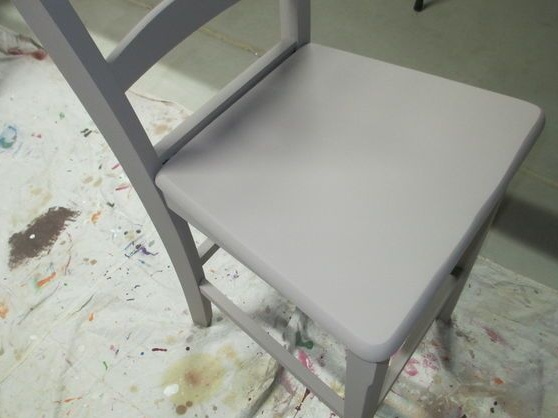
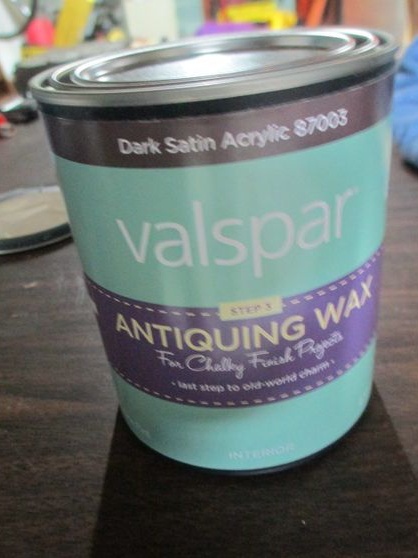
After the paint layer has completely dried, the surface of the chairs was varnished. The author used Valspar Antiquing Wax. As a result, the chairs acquired a slightly different tone from the paint. Just the way they wanted to see him.
Step Three: Tile Frame
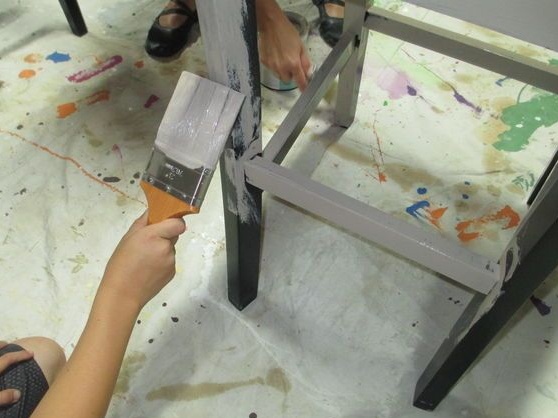
If the legs of the table need to be painted and varnished, it's time to do it, because the next step is to restore the countertop.
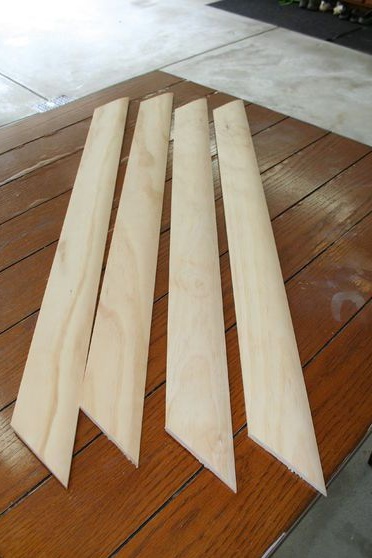
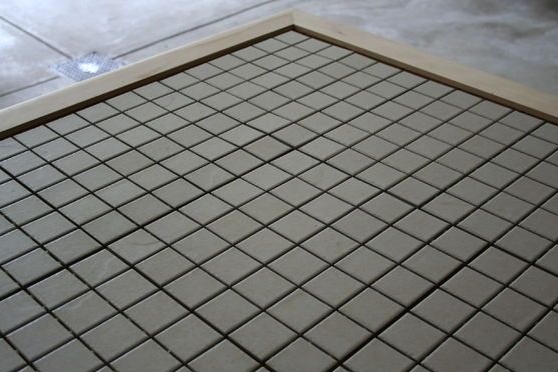
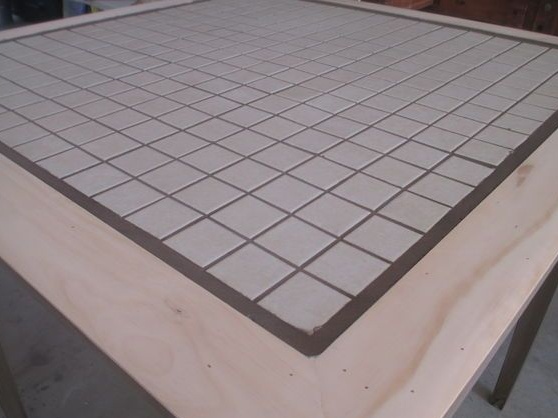
We said above that the surface of the table will be covered with ceramic tiles. In order to hide the tiled edge, the author decided to place the countertop framed by wooden boards.
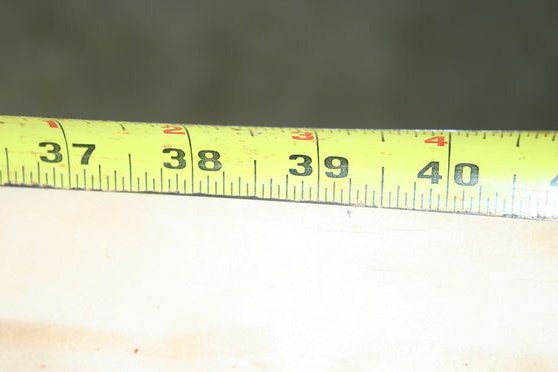
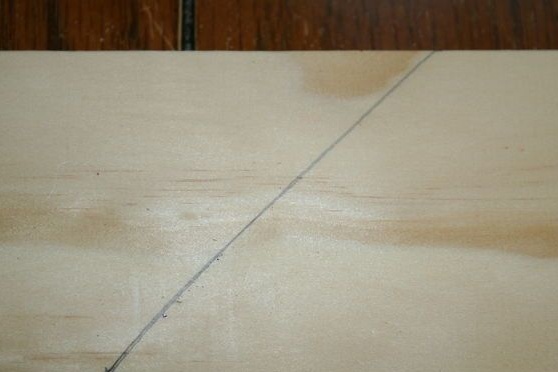
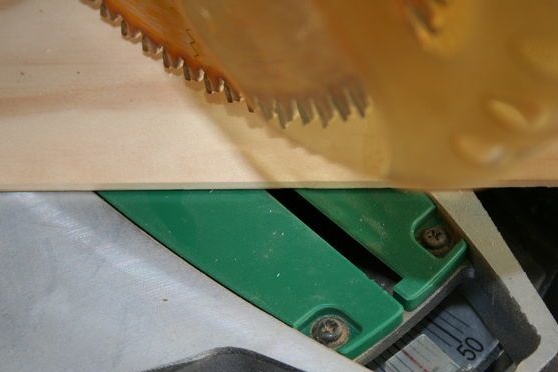
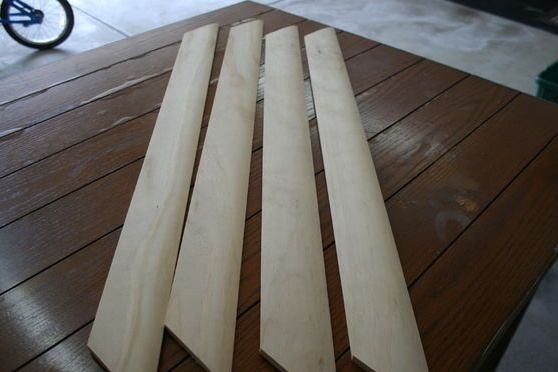
In order to carve wooden parts, markup. Determine the length of each element and outline the cut line at an angle of 45o. You will need four such parts and they should have the most flat and even surface.
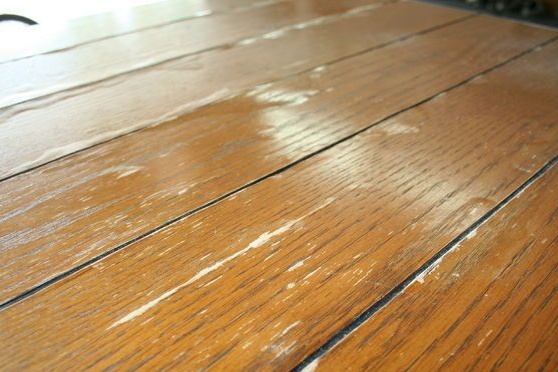
Since the boards will be glued to the countertop, they must be properly prepared for applying glue. New boards do not need special processing. But second-hand boards or material that was stored in the open air must first be planed.
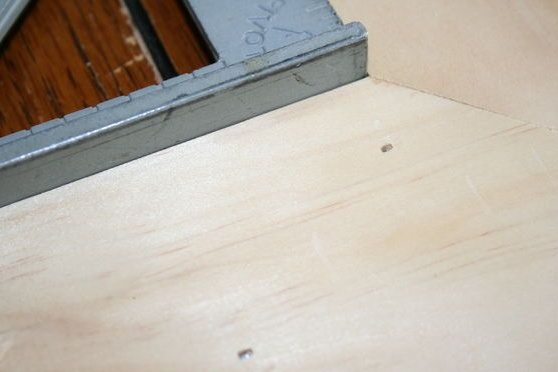
In order for the frame to lie on the countertop as evenly as possible, put the first board in place without using glue and clamp it with clamps. If you properly markup and measure the angle of the cut, the rest of the boards will be flat when glued.
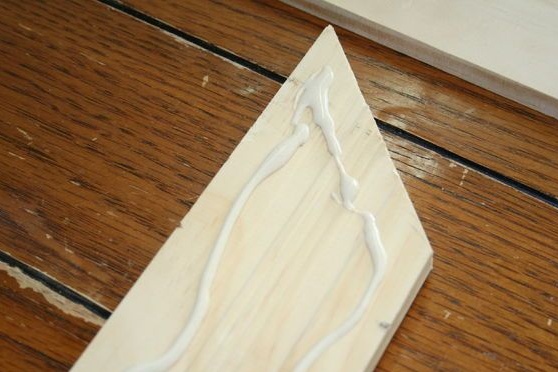
Glue three boards, disconnect the first - control - and complete the work, fixing it in the same place with glue.
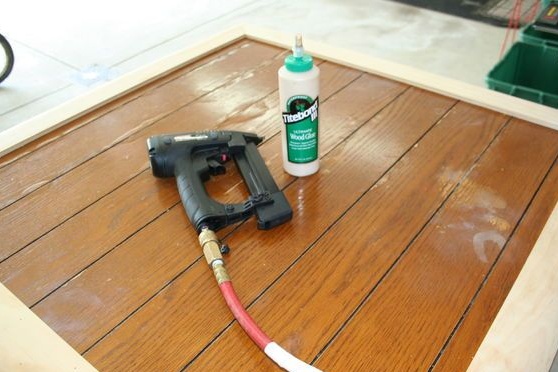
Clamp the frame with clamps until completely dry. Remove excess adhesive thoroughly with a damp cloth. Additionally, you can fix the frame using nails as the author did.


Step Four: Tiled Work
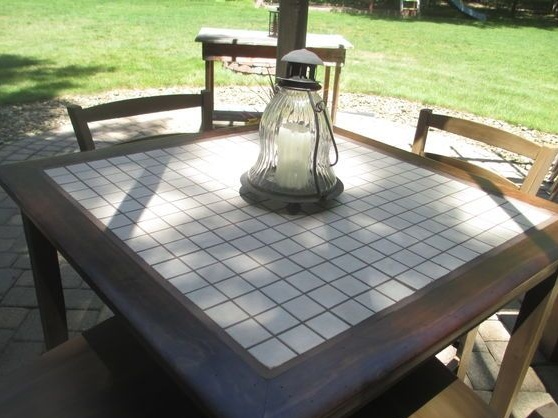
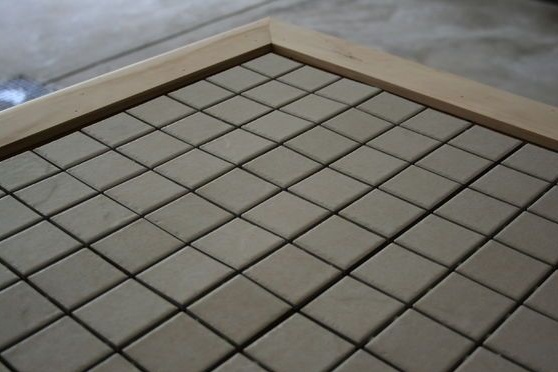
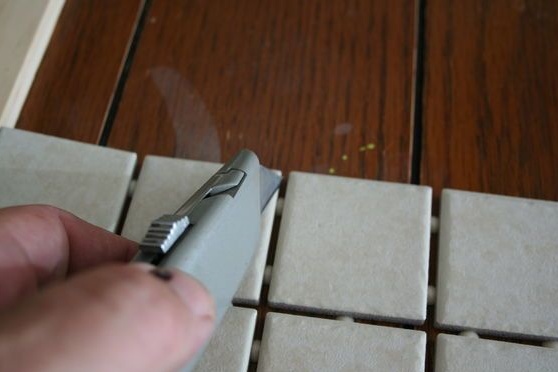
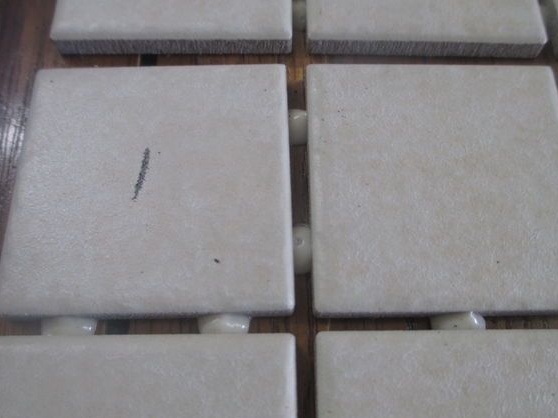
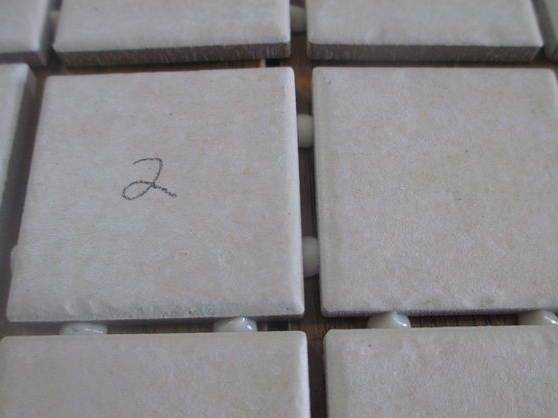
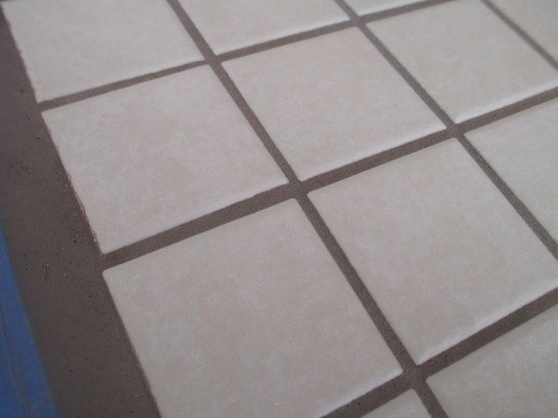
Lay the tile on the countertop and figure out how much you need it. In such works, trimming is not practiced, therefore, the finer the tile, the more convenient it will be to fit it in size.
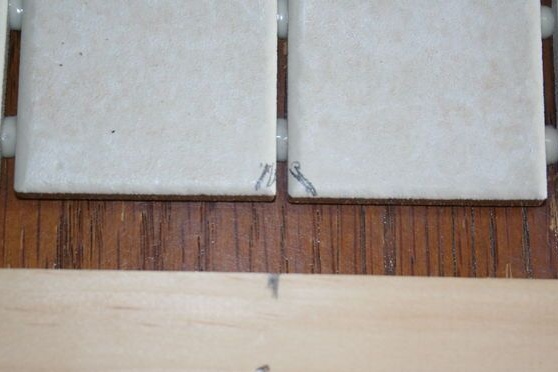
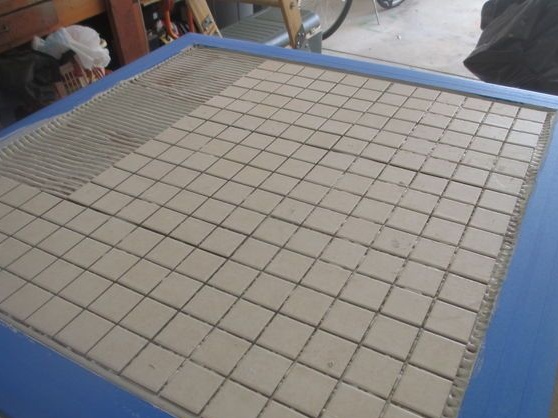
The author used small tiles measuring 2.5 cm, connected into sheets.
After you have done the marking, set the tile aside, cover the wooden frame with masking tape and start preparing the adhesive mixture.
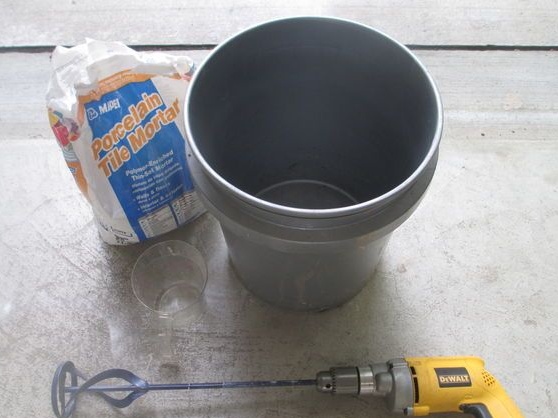
Consult the construction department for what type of adhesive is appropriate for your application. The author sticks the tile directly on the old varnish and this has its own characteristics.
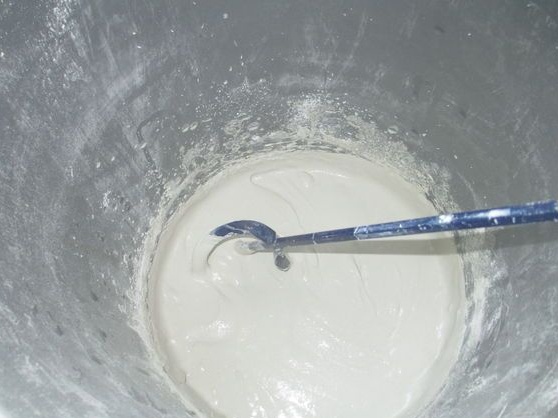
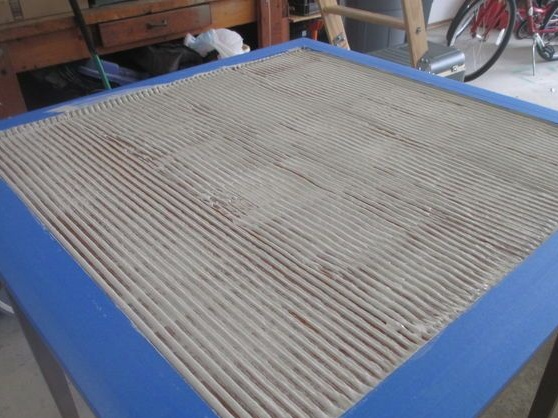
Knead the glue following the instructions with a mixer. Apply an optimal layer of mortar to the surface of the table and distribute it carefully. Use a spatula.
Lay the tile, making sure that the surface of the table remains flat. Especially if you use not sheets, but piece ceramic elements.
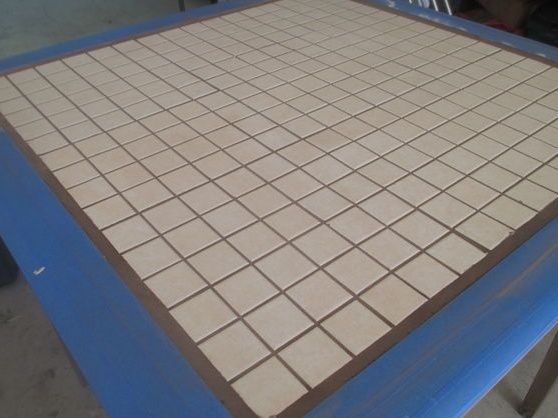
Wait for the glue to harden.Now you need to fill the joints with waterproof tile sealant. Do not pick up a too light tone, as it is more prone to contamination.
Fill the seams between the tiles using a spatula. Wait a few minutes for the sealant to set and carefully remove excess material from the surface of the tile. Remove the masking tape, because you have to paint the frame.
Step Five: Painting the Frame
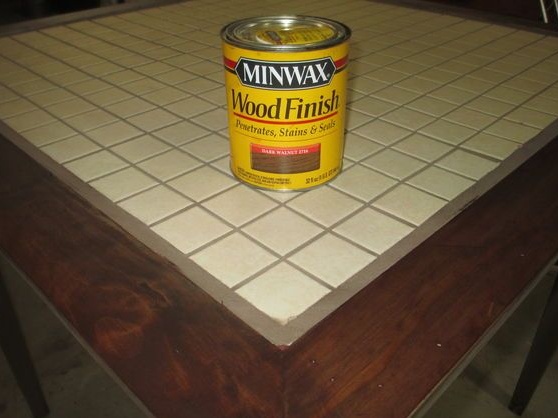
The author used two types of varnish in the process of work: tint and transparent. Moreover, during the first staining, the varnish turned out to be too red, so I had to apply a second coat - the color of dark walnut.
When painting, use a regular paint brush, and cover the area of the tile on the border with the tree with masking tape.
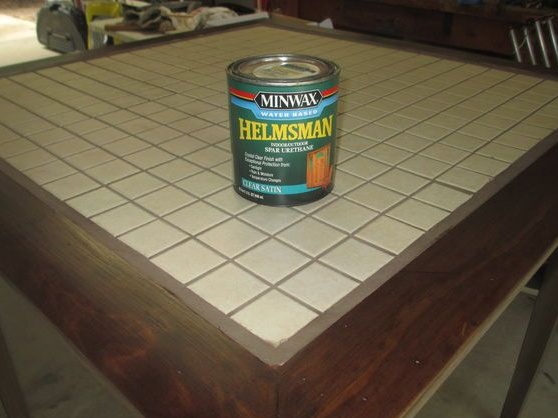
If necessary, you can apply a couple of layers of varnish until you achieve the desired shade. Use a clear coat as a top coat.
This combination can be replaced with “oil-toner” + varnish or “paint + varnish” - at your discretion. Instead of oil and paint, you can use a stain, but in any case, the final protective layer should be a reliable waterproof varnish for outdoor use.

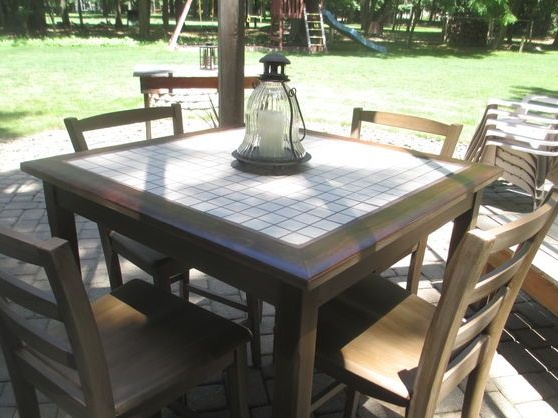
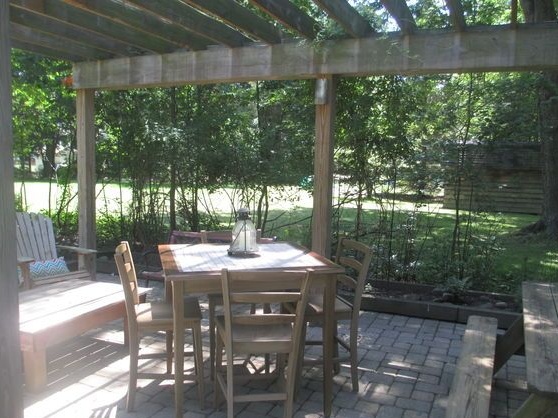
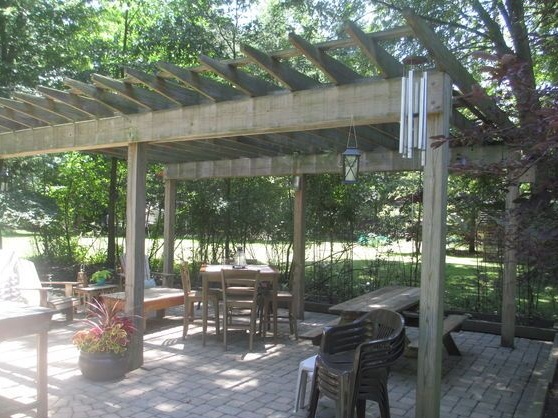
And finally - a few photos of “before” and “after”!