

Any boy, and many girls, in childhood, dream of a small car that they could drive. Such a thing is quite expensive, so there is a pretty weighty argument to assemble a car for the child himself. In addition to saving, during the construction of such a toy, a child can also be involved in the process, which will greatly expand his horizons.
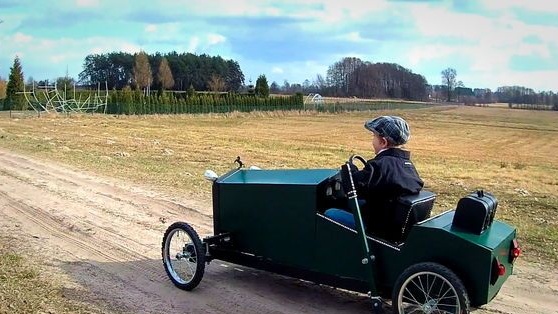
To assemble the model discussed below, the map does not need so many tools and materials, and the assembly process is quite simple. The author decided to collect car in retro style.
Materials and tools for creating homemade:
- bicycle wheels;
- pine boards and beams;
- Oak to create the chassis (bars, boards);
- 24V electric motor with controller;
- 24V battery (or two of 12V);
- two long screws for fastening;
- saw;
- good glue for wood;
- drill with drills;
- materials for interior trim (leather or leather substitute);
- Headlights, taillights and other elements to create realism (optional);
- screws, nails and more.
Card manufacturing process:
Step one. Development of car design and construction as a whole
It all starts with a rather boring event - it is thinking over the design and design of the car. Indeed, if you improvise during assembly, it is unlikely that you will be able to assemble something reliable and beautiful, it is better to work out most of the details in advance.
Among other things, it is important to remember that in such a car its weight will play a key role, since the car runs on electricity. The heavier the car will be, the more powerful the engine is needed and, as a result, the more battery power. To the weight of the car will need to add more weight to the child.
If it is planned to put headlights in a car, then this will also be an additional energy consumption.
Having decided on the design, you need to throw it on the paper, figuring out the dimensions. It is important to consider the length of the child's legs, his height, weight. All this determines the amount of consumables for homemade. Still need to choose the right wheel diameter of the car.
At the final stage, you need to figure out how much power will be transmitted to the wheels of the car, at what maximum speed it will drive, and how far it can travel with it. In general, the slower the car will go and the lighter it will be, the less the product will consume energy.
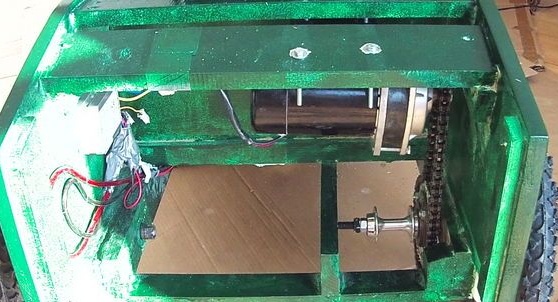
The author's choice fell on a 350-watt engine with a gearbox, which reduces the speed to 600. This configuration is enough for the go-kart to move at a speed of 25 km / h, which is more than enough.
To achieve balance, the engine and battery are placed in opposite parts of the car. The author put the batteries in front, and the engine in the back. To save engine, you can buy a brush. From the author, he issues 2500RPM, which is very much and you need to understate the speed with a gearbox. Also, the gearbox allows you to get good traction cars at low speeds.
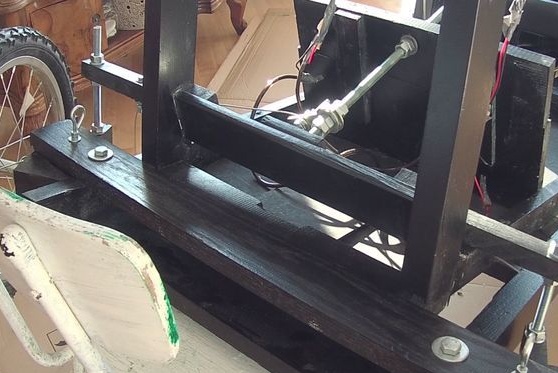
Step Two Assembling a car frame
The author makes the frame of wood, it is simple and ingenious. It is very convenient to work with a tree, it is light and cheap. As wood here, the widespread pine is used. It is flexible, lightweight and perfectly suited for the frame. But to create a pendant, something stronger is already used, this is oak.
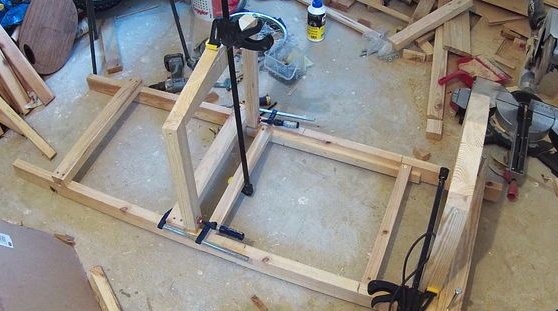
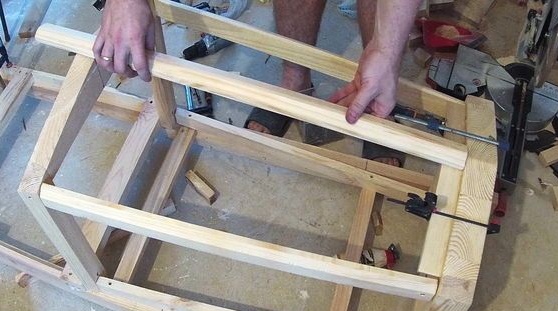
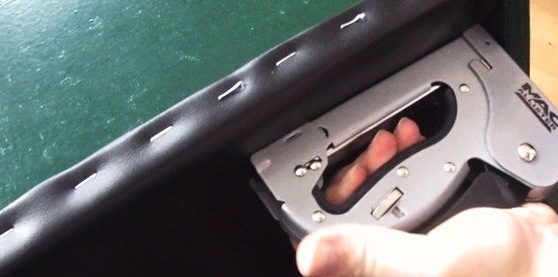
As a connection, the author recommends using a combination of glue with self-tapping screws or nails. Once one node fails and a chain reaction of the destruction of the frame begins, so everything needs to be done reliably.
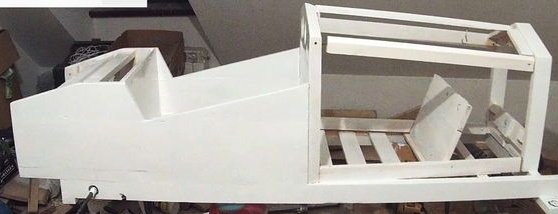
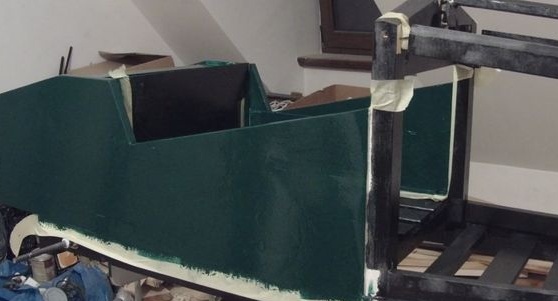
Step Three Building body
The outer casing is easy to perform using plywood, from which you can make the bow, including the hood, as well as sheathe the back. Doors from plywood are not recommended, as they are responsible for security. Here you need to take something thicker so that the child does not fall out of the car during a sharp turn.
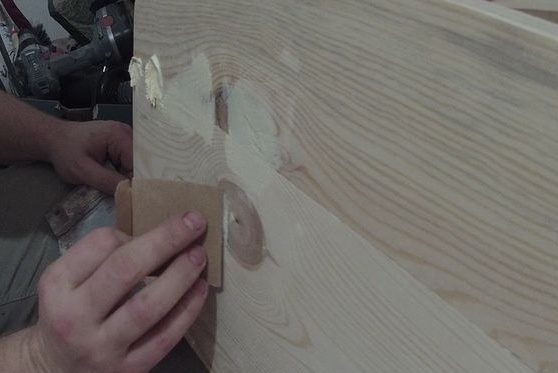
Step Four Paint the car
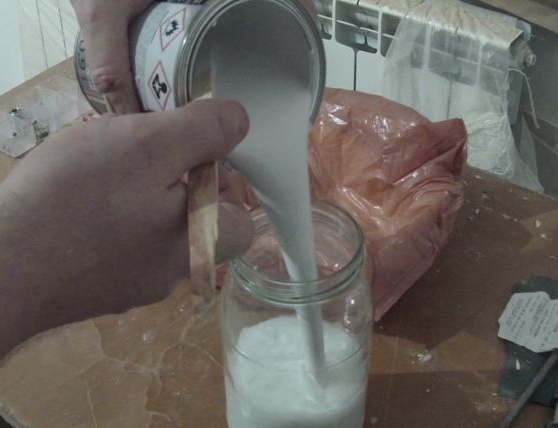
Before painting, it is advisable to grind the body thoroughly so that it is as smooth as possible. If there are holes in the material, they must be repaired with putty on wood, otherwise they will become clearly visible after painting. It is convenient to paint with a spray gun. In an extreme case, a roller or brush is suitable for painting, but it is better to paint with a roller, since it leaves a more uniform layer of paint.
It is also desirable to pre-dilute the paint, so it will lie more evenly, and will dry faster. If desired, you can apply several layers and even cover the car with varnish.
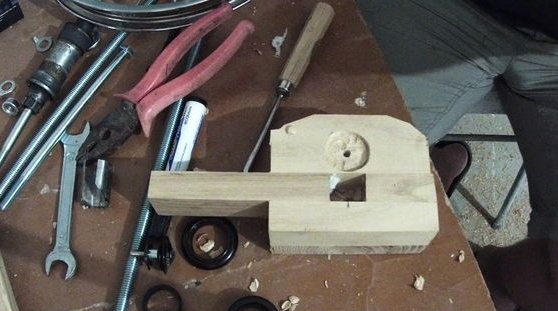
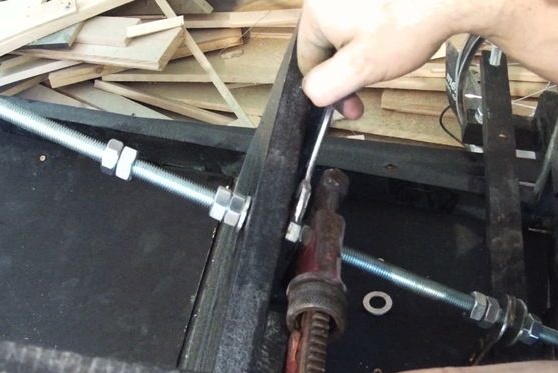
Step Five Suspension assembly and axle installation
The most difficult part here is the creation of the front suspension. After all, the wheels must rotate, and as a result, all these rotary units must be created and securely fastened. Of course, it’s best to make everything out of metal, but the author is most able to do everything out of wood, so here they are made of wood. Nevertheless, such a suspension copes with the task even when leaving the road.
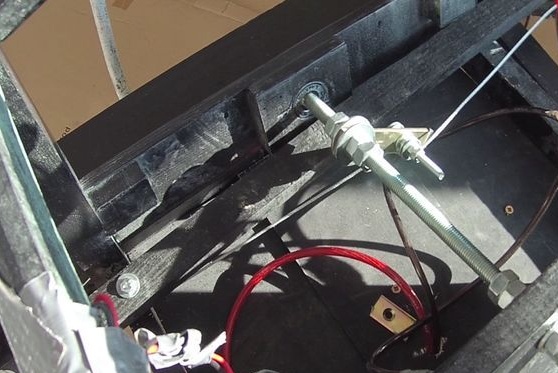
When creating the rear axle, the author decided to follow the path of least resistance. The torque from the engine is transmitted to only one wheel, in connection with this there is no need to make a differential. Such a transfer is quite enough when driving on a solid, smooth road.
If the axis is made solid, that is, it transfers the motion to two wheels at once without a differential, then when turning to the engine, a very large load will go and the battery will quickly sink.
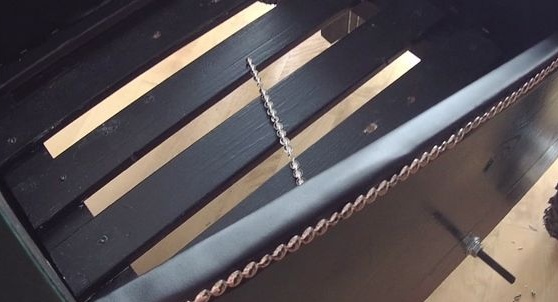
Rotation is transmitted using a chain drive. The "power" wheel needs to be fixed securely, since it has the greatest load when driving. If poorly secured, it can vomit.
It is also important to ensure that the car has a good braking system. It is not safe to brake with only one wheel, as at speed the car will skid heavily and it may roll over. Since the wheels are bicycle, then you can use the braking system from a bicycle. A simpler solution is to install a lever that brakes the car by friction on the wheel.
Step Six We install the engine and electronics
Since the motor is used quite powerful, you will need quite thick wires to withstand a current of 28A at 24 V. You can calculate the required cross-section of the wire using the well-known formula.It is important to understand that the thinner and the longer it will be, the greater will be the heat loss when driving a car. In order to bother in this matter, you can use power cables from the car.
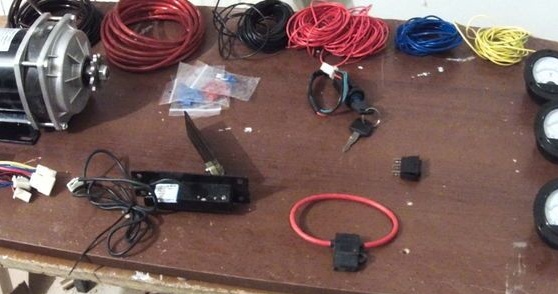
As a food, the author used two 12V batteries of 18Ah capacity; as a result, two of them weigh about 9 kg. These batteries are the cheapest, but they are not best suited for powering such homemade products. But you can choose any battery, it all depends on the amount of cash costs. On the batteries that the author chose, his son rode for several hours, so there are enough of them.
So that the engine does not instantly land the battery, you must install the controller. You will also need to make the gas pedal. The controller should gradually increase the voltage depending on the degree of depressing the gas pedal. The necessary spare parts can be found in Chinese scooters.
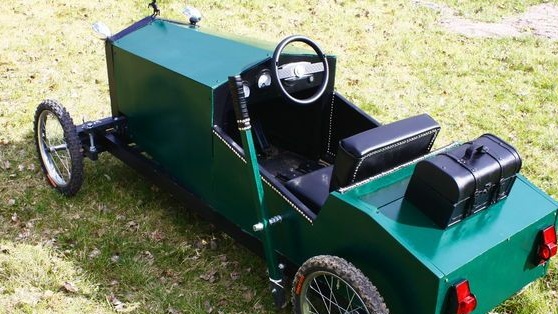
Seventh step. Finish the car and detail
At the last stage of construction, you will need to add a certain number of elements to make the car as realistic as possible, to bring it closer to an invented style. Here you can install what you want, it can be lights, a radiator, an antenna, a chest for things in the back and more.
You can use leather, leather substitutes, various films, fabrics and other materials for lining the seats and interior parts.
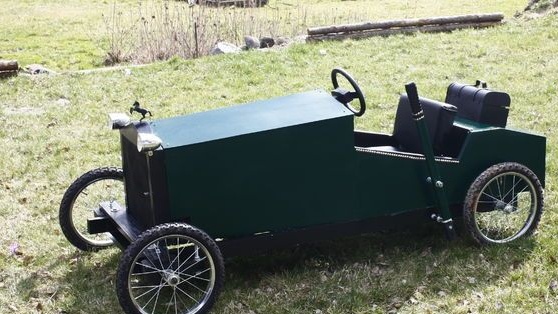
That's all, the homemade product is ready. Its construction and testing will be an excellent lesson for the child, as a result, a real motorist or mechanic grows up.