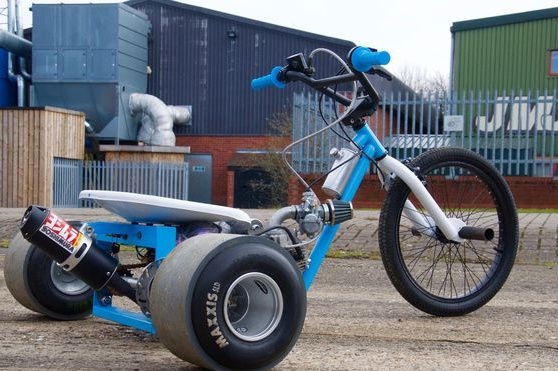

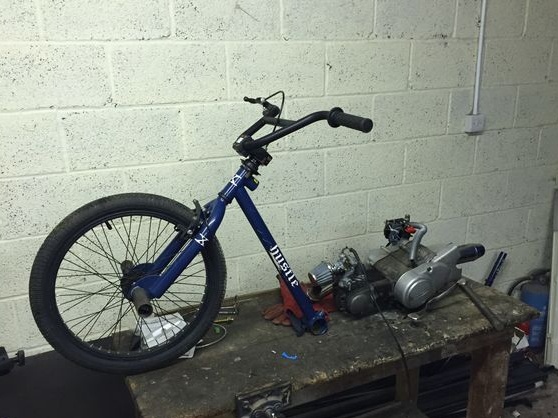
If you want to collect a small trike for an interesting pastime, this instruction is for you. Going to homemade pretty quickly, because a ready-made engine from a moped or motorcycle is already used here along with a gearbox, exhaust system and chain drive to the wheels. So you just need to come up with a frame, fix the engine, drive the gas tank and go.
Materials and tools for homemade:
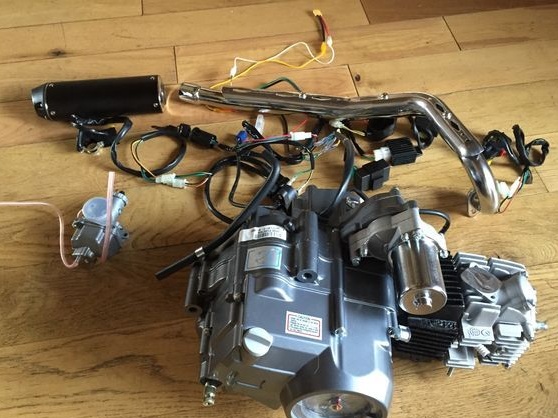
- engine from a moped (four-stroke or two-stroke, together with a carburetor, exhaust pipe and electronics);
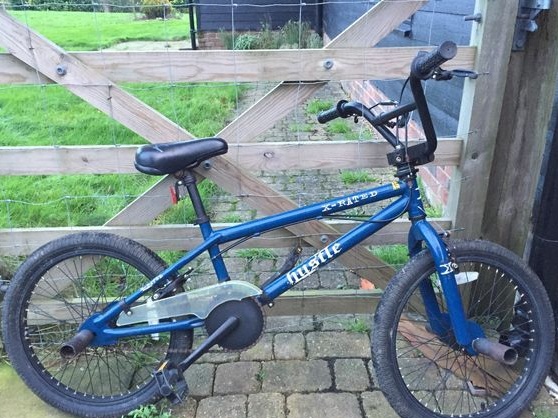
- old bike (preferably with a disc brake);
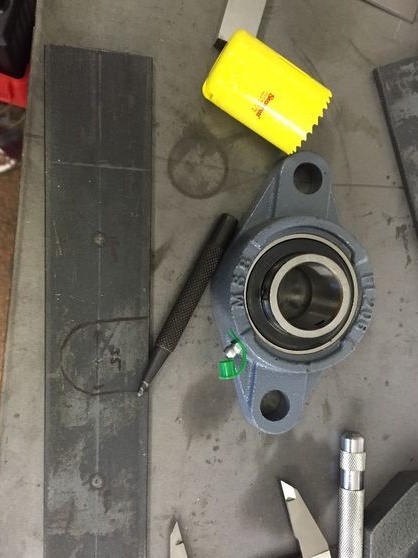
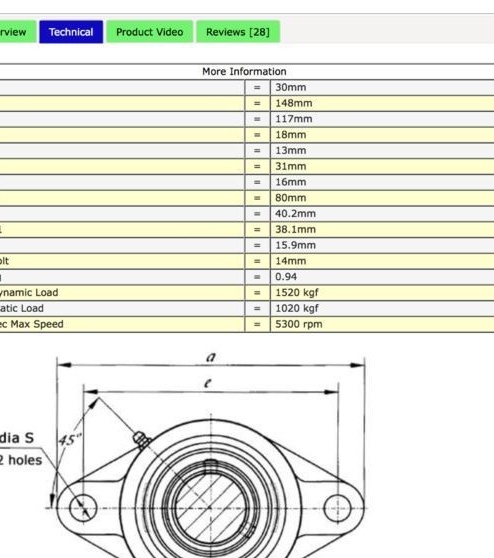
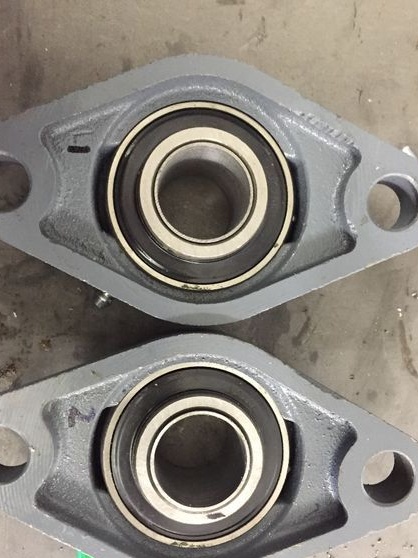
- a pair of bearings for mounting the axis;
- back wheels;
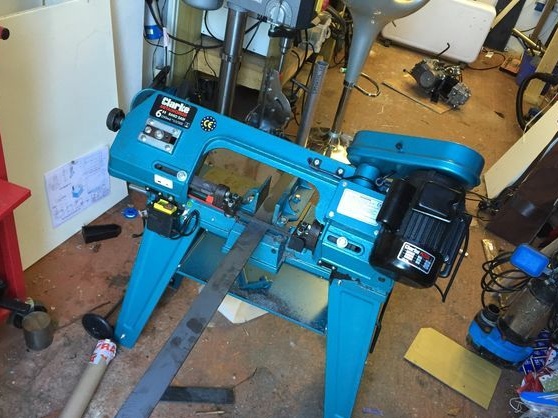
- you may need a lathe;
- grinder;
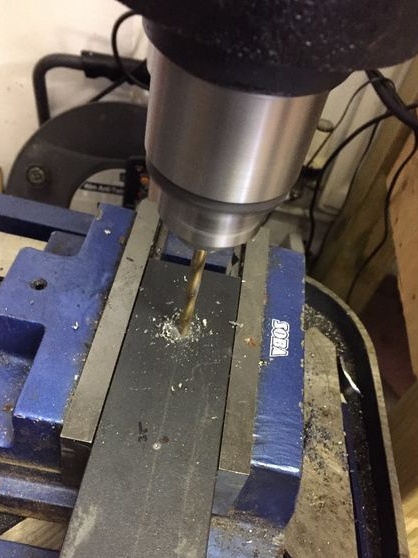
- drill;
- welding;
- keys, screwdrivers, paint and more.
The process of making trike:
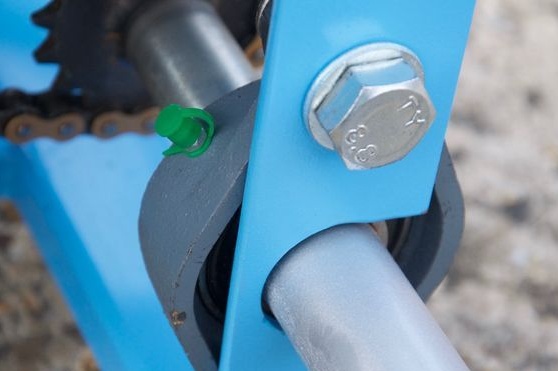
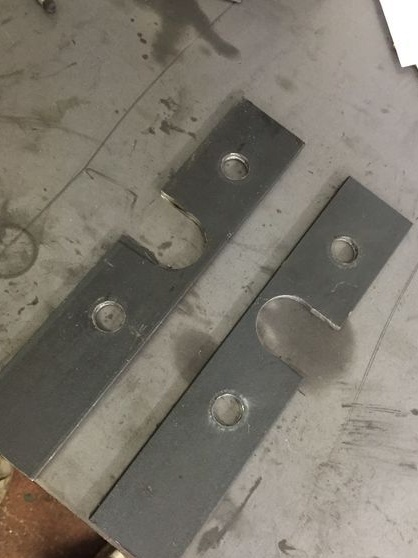
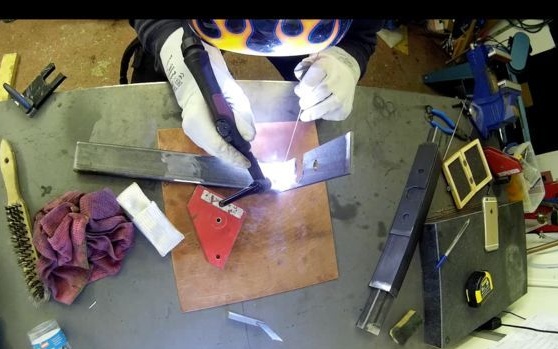
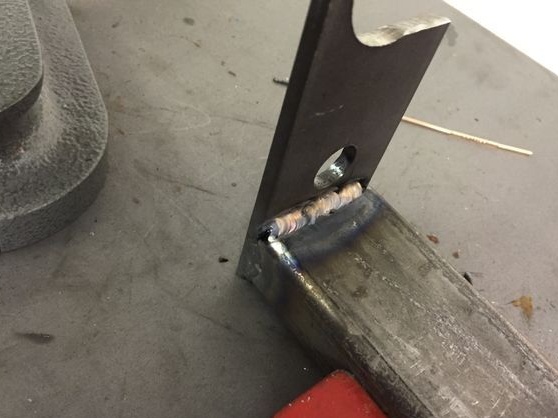
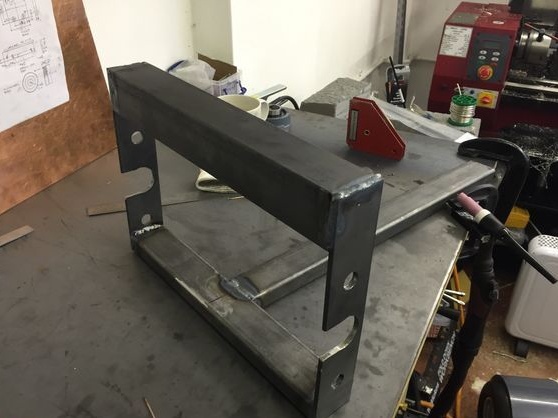
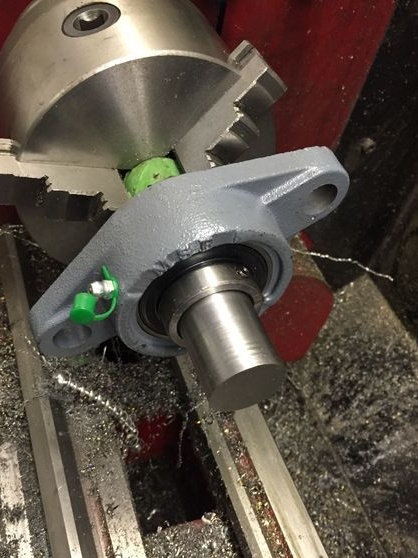
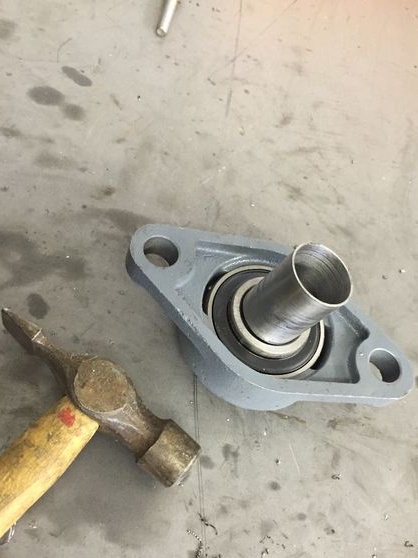
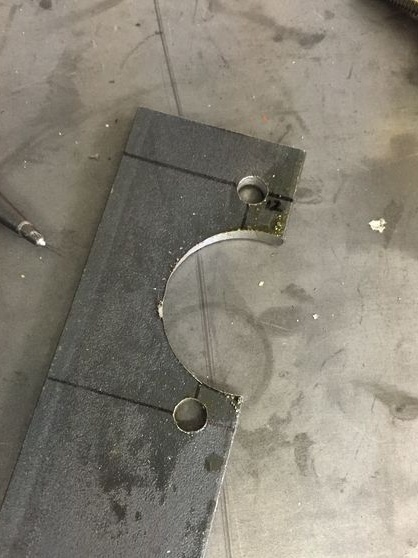
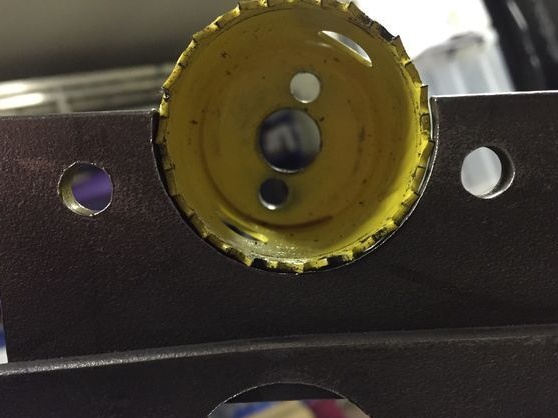
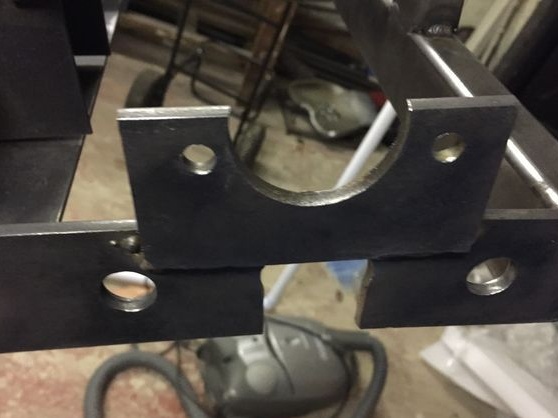
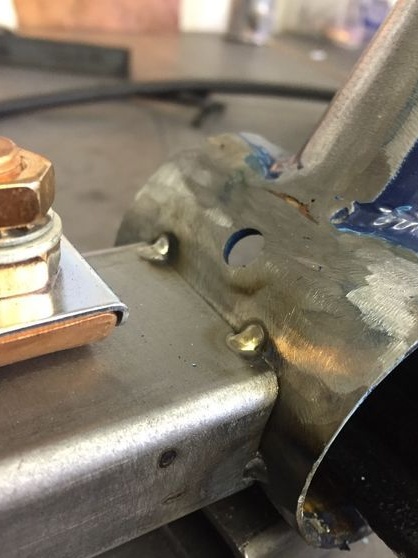
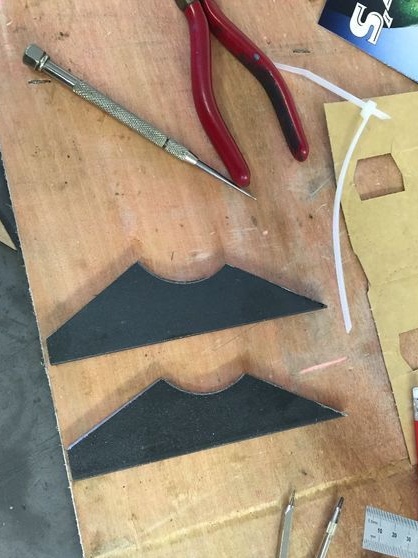
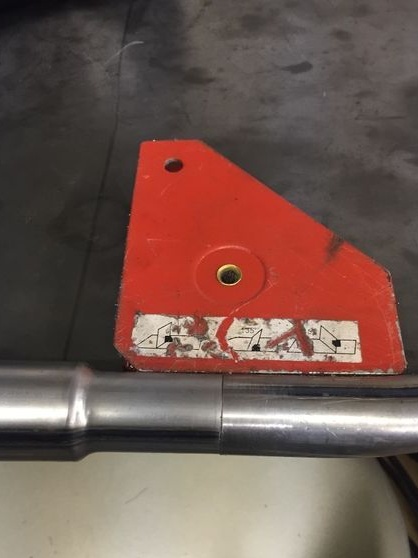
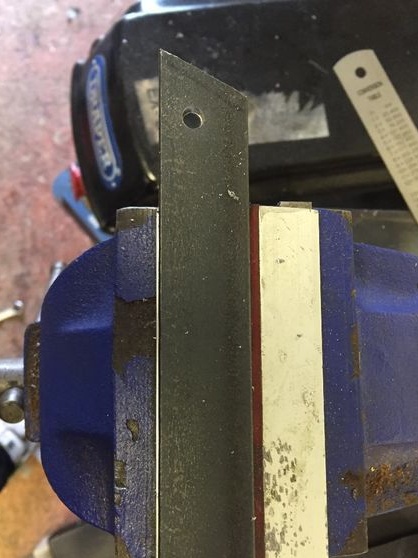
Step one. Preparing bearings and mounts for the rear axle
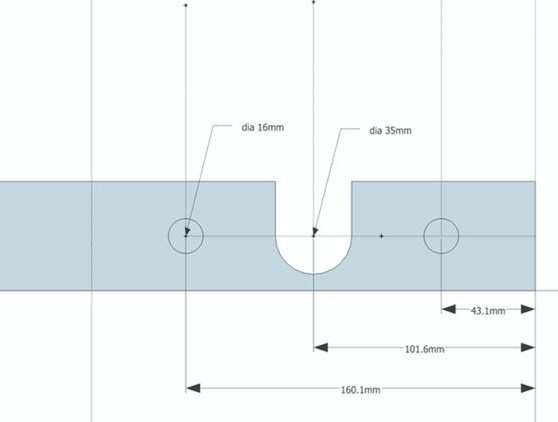
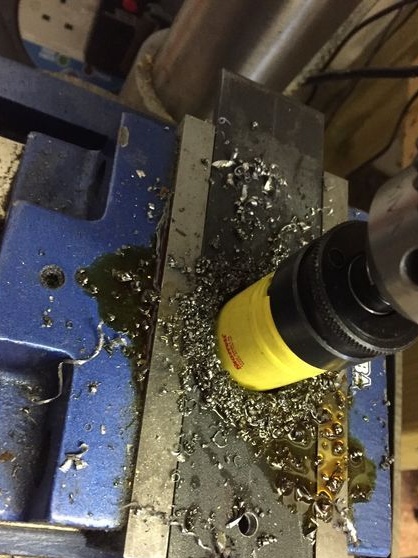
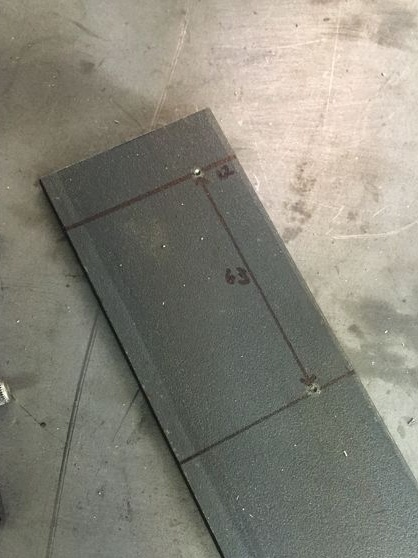
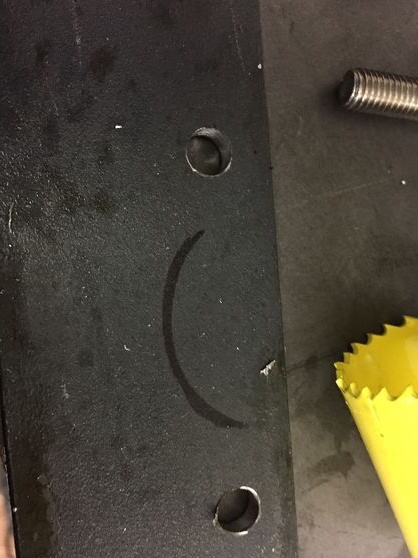
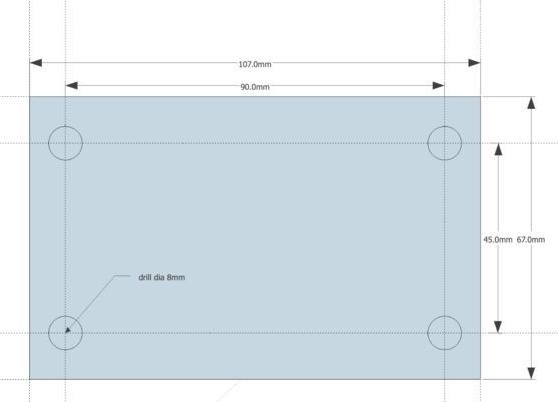
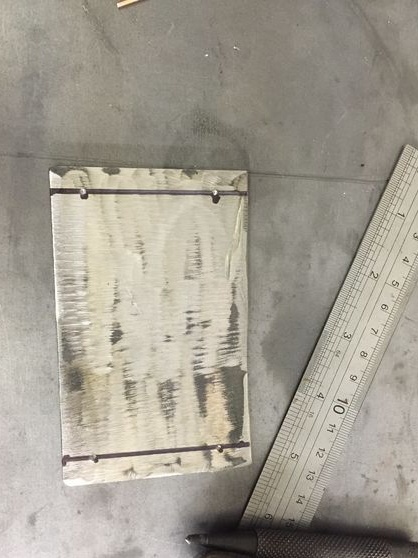
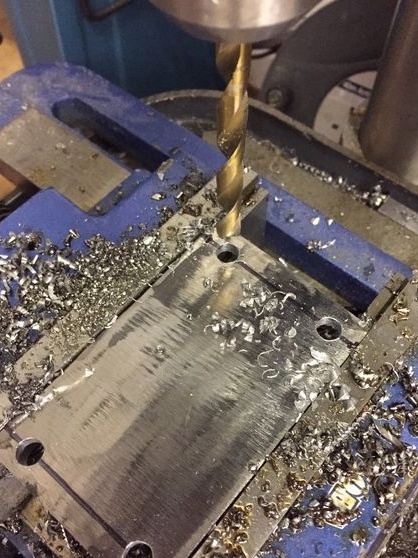
To mount the rear axle, you need to make two brackets. They are made of steel plates according to the drawing, which is indicated in the picture. However, there is nothing complicated here and everything can be done by eye. In the plate, grooves are cut along the diameter of the axis and two holes are drilled for mounting bearings.

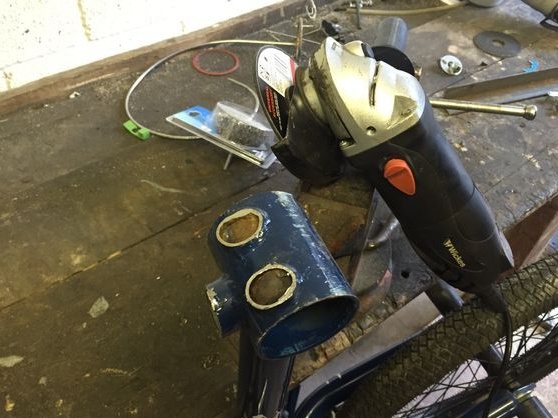
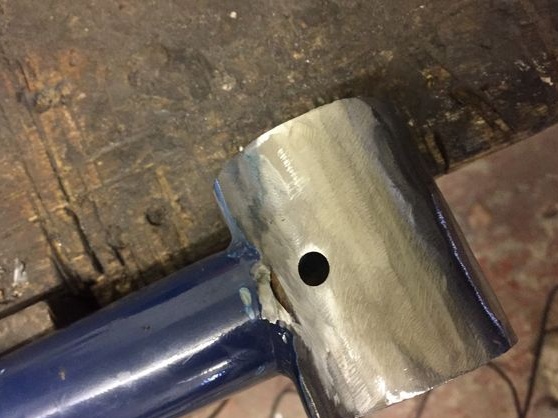
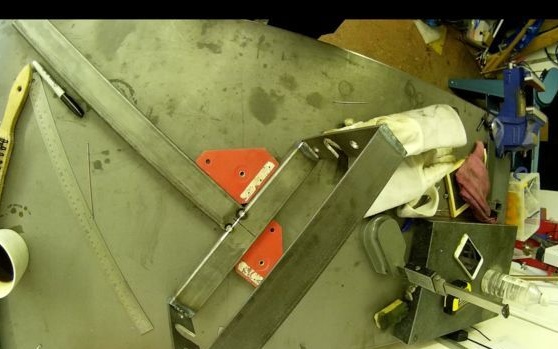
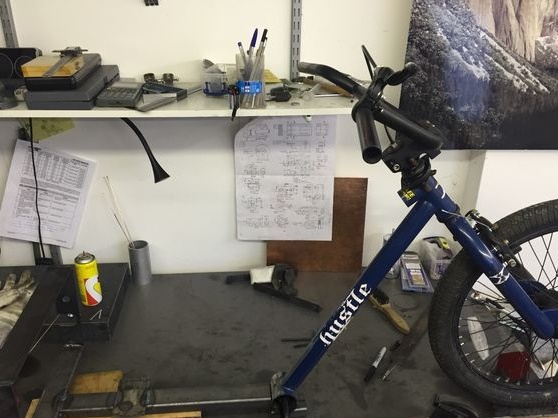
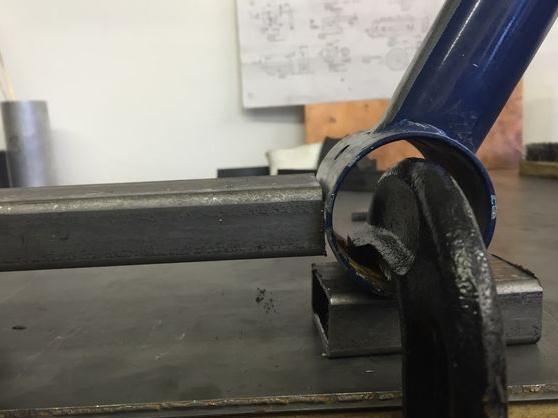
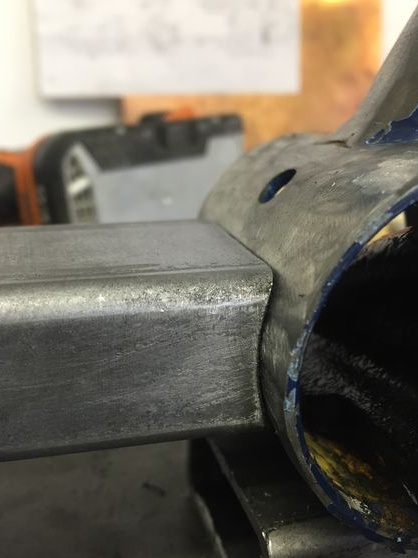
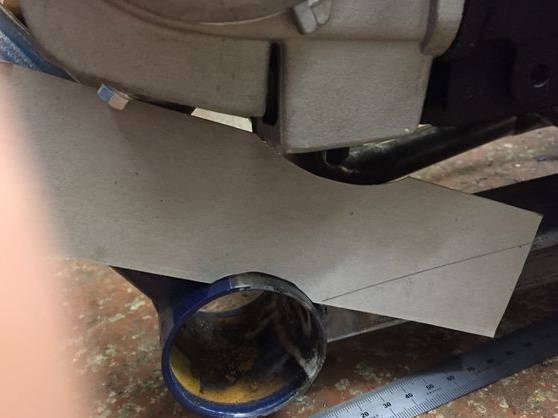
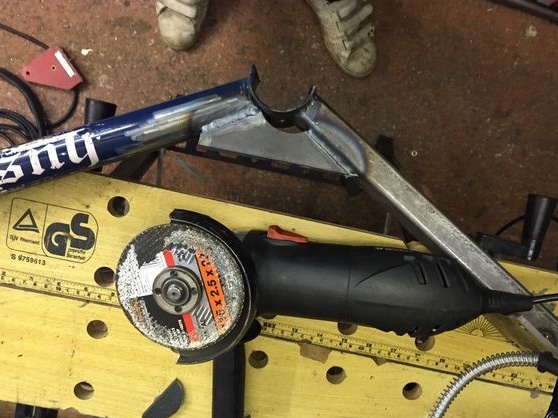
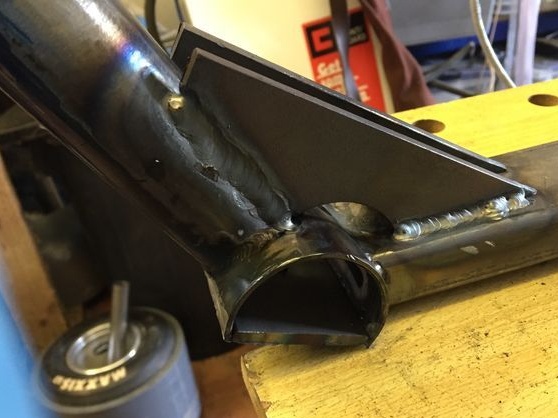
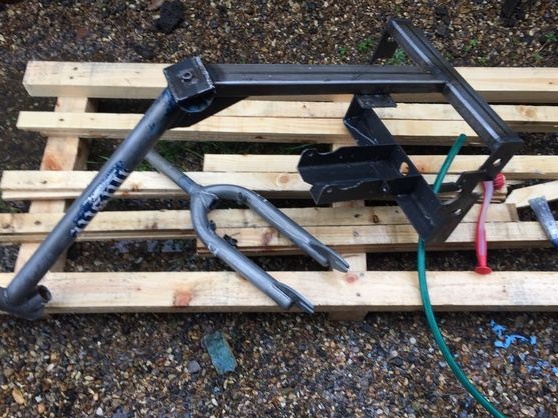
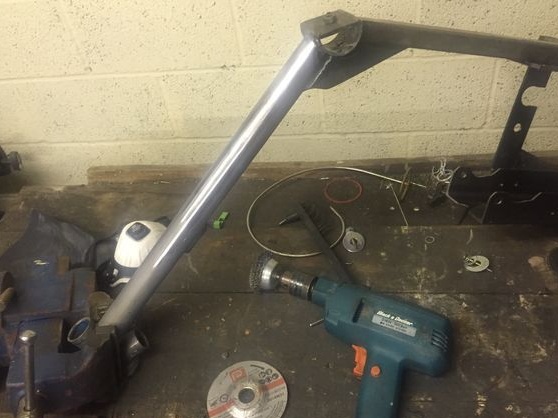
Step Two We cut a bicycle
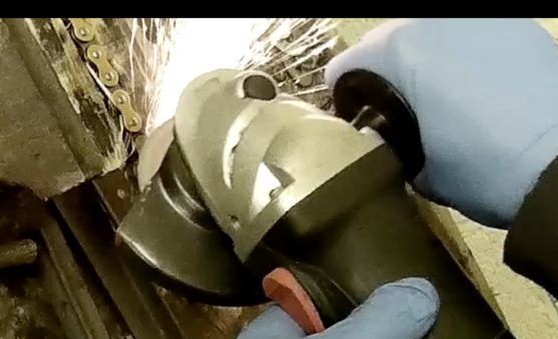
From the bicycle you need to cut off the part indicated in the photo. That is, there should be one pipe, at the end of which there should be the part into which the axis with the pedals was previously installed. The welding spots will need to be cleaned with a grinder of paint.

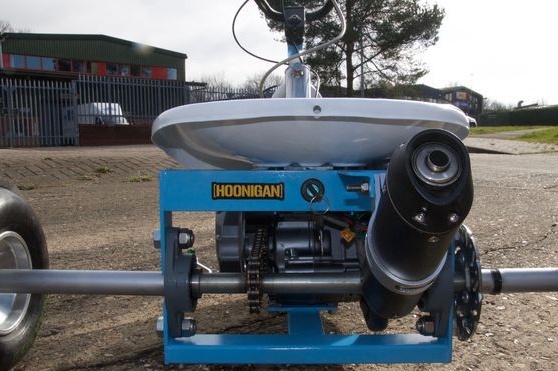
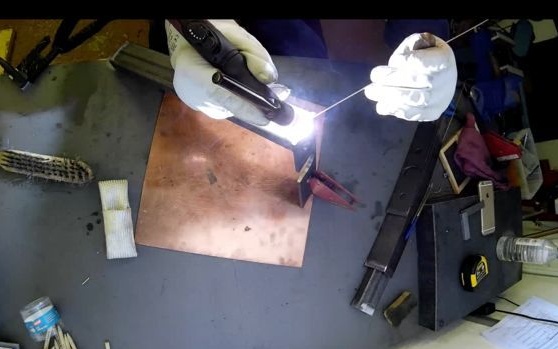
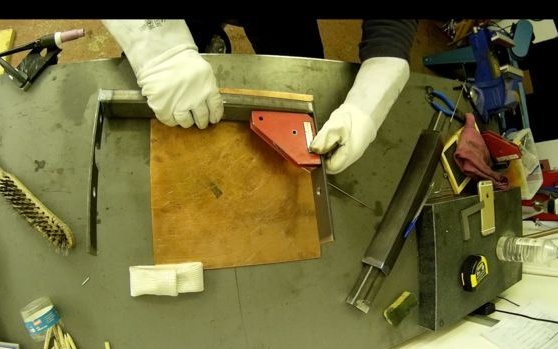
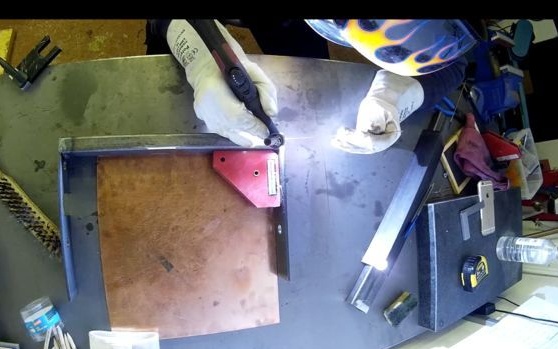
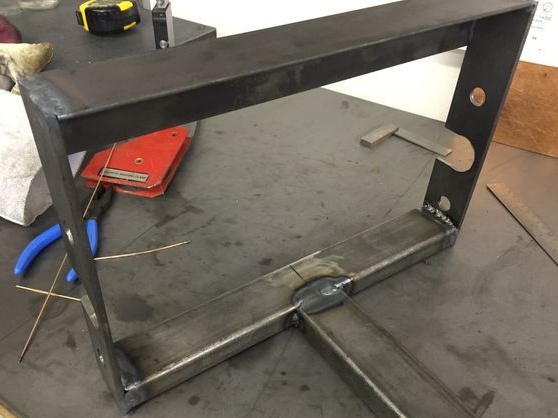
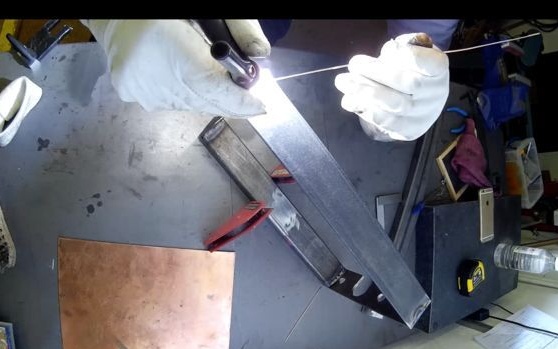
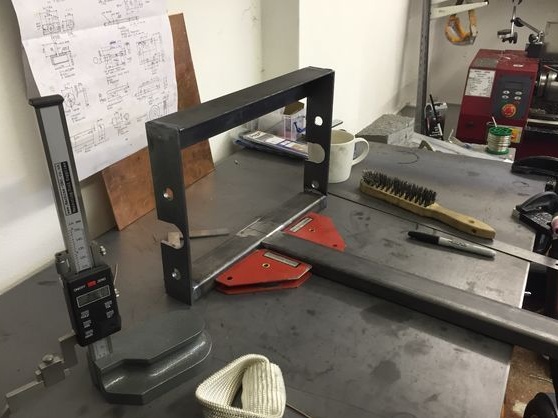
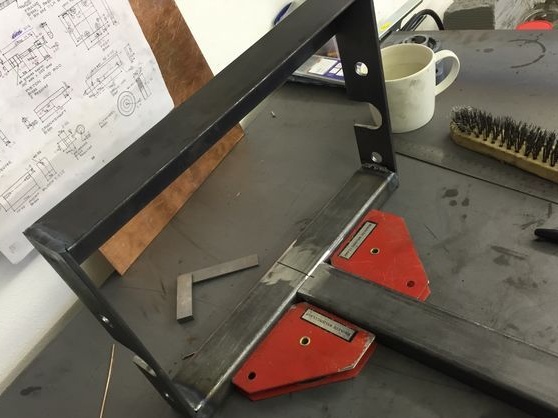
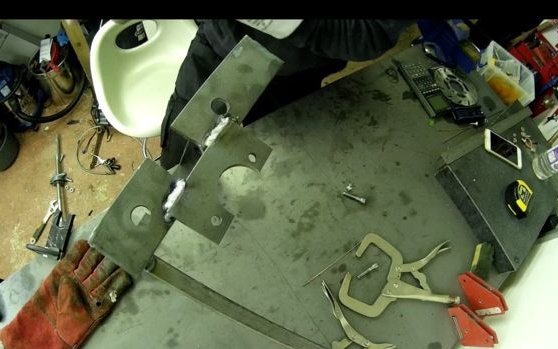
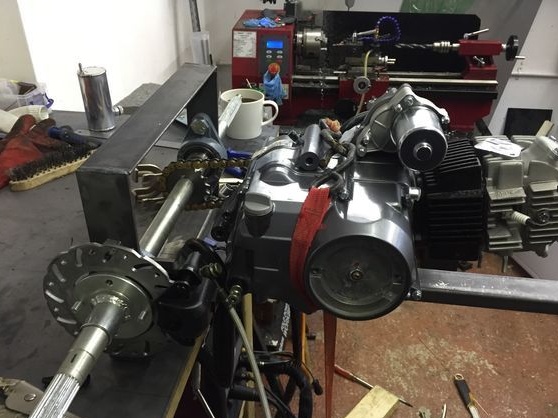
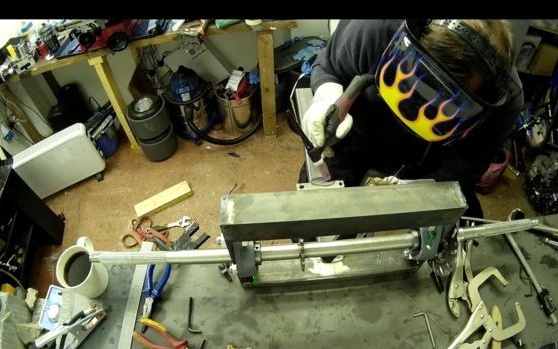
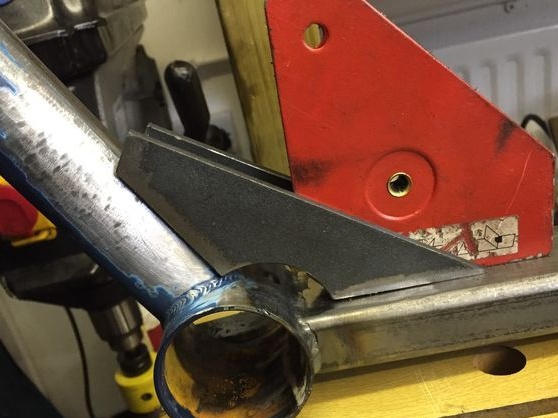
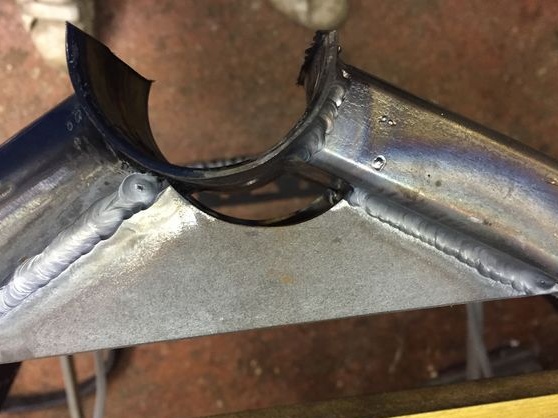
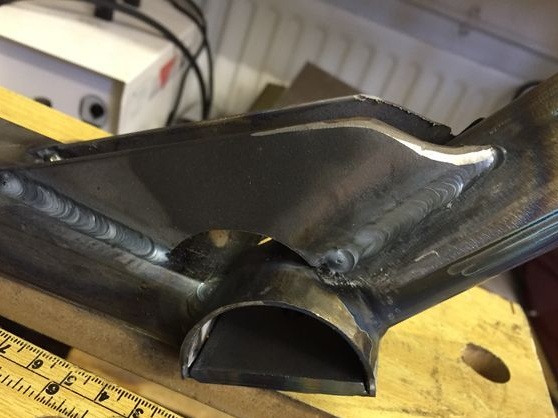
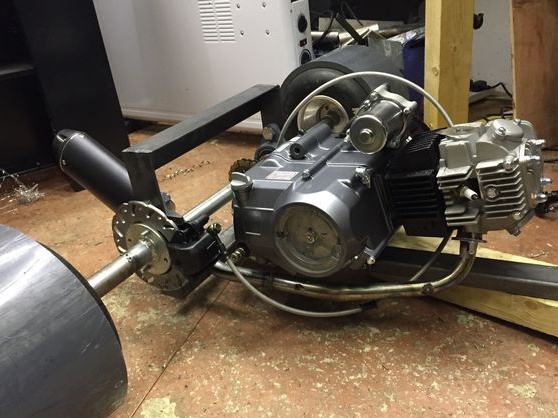
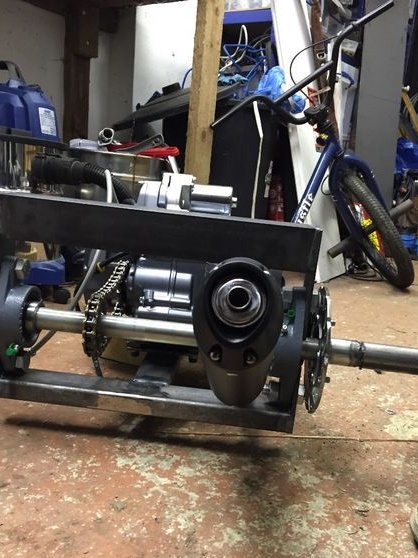
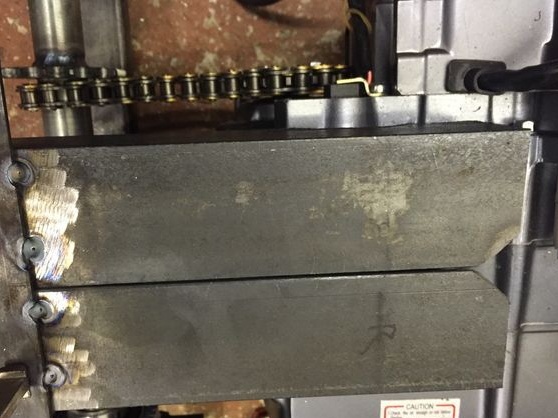
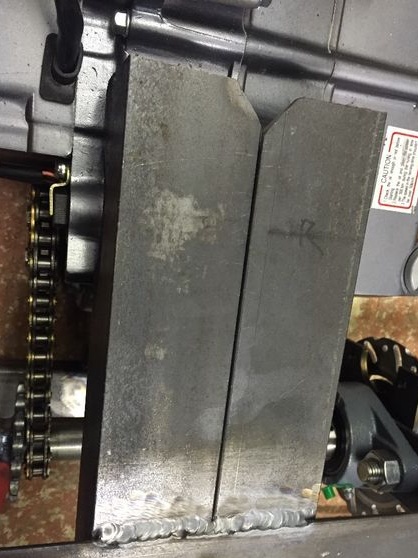
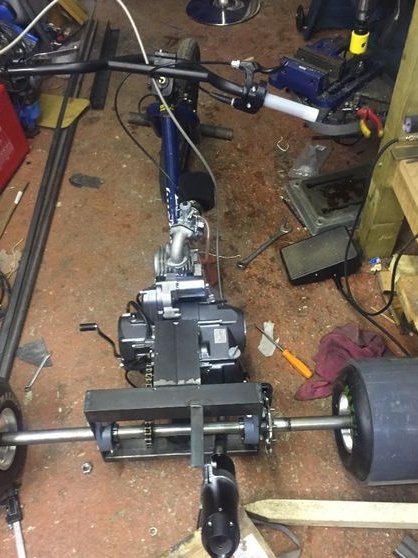
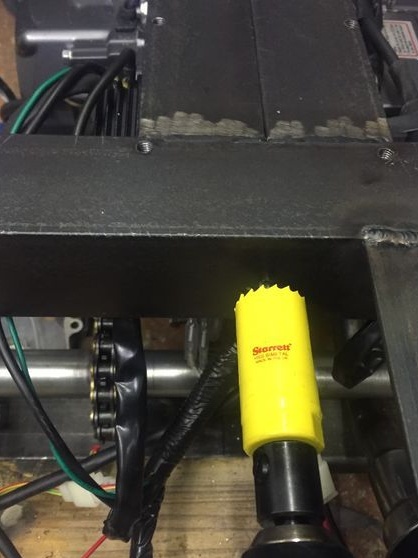
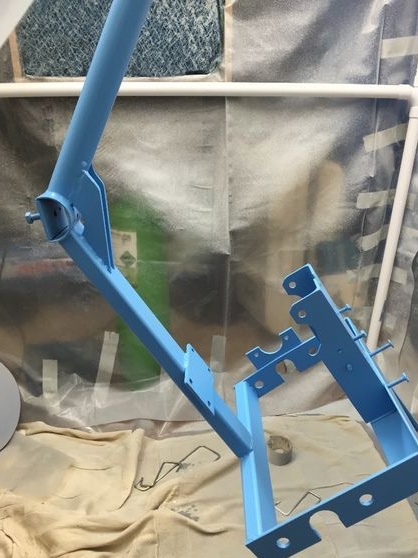
Step Three Assembling the back of the frame
The rear of the frame will hold the rear axle and engine. The author collects it by hand using square pipes, plates and welding.

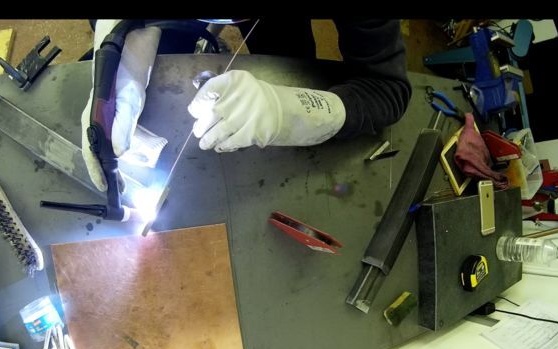
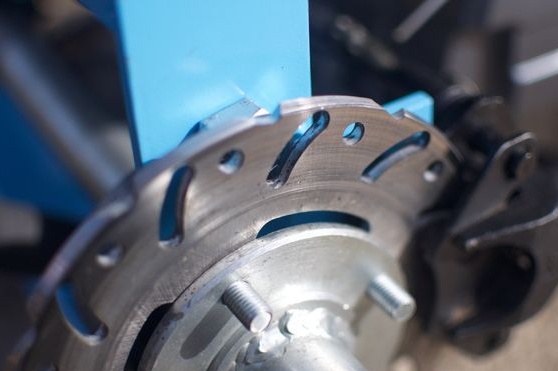
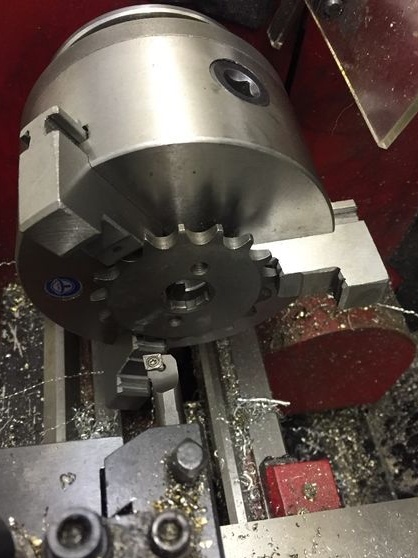
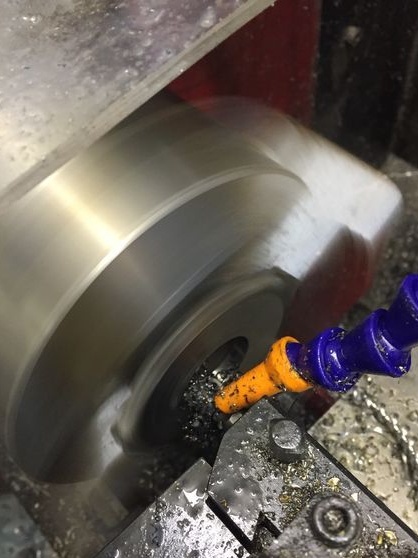
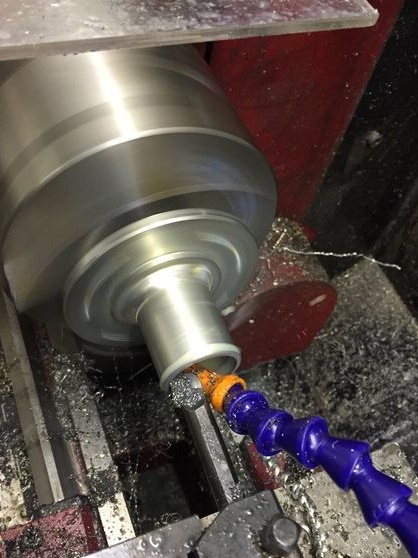
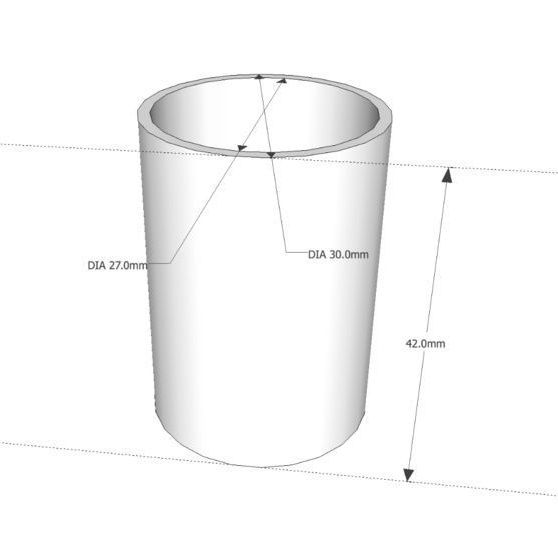
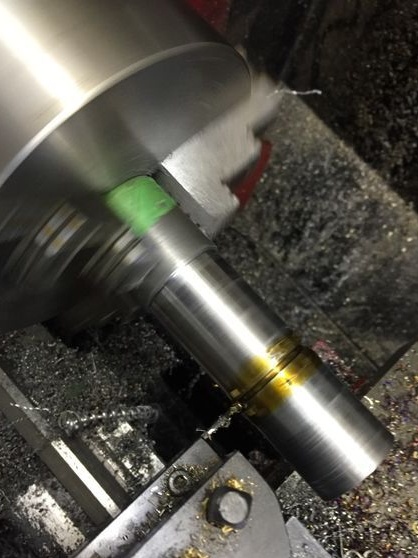
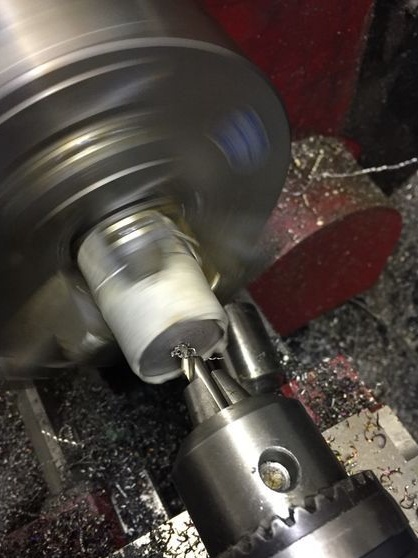
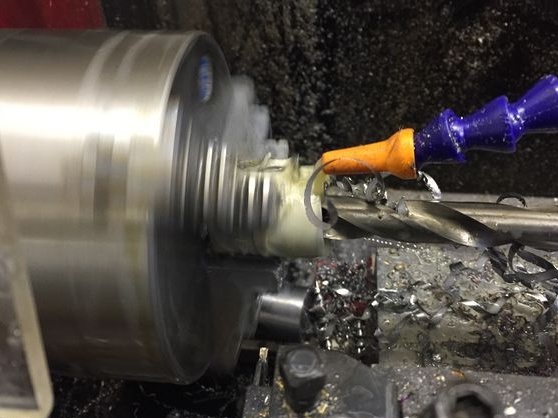
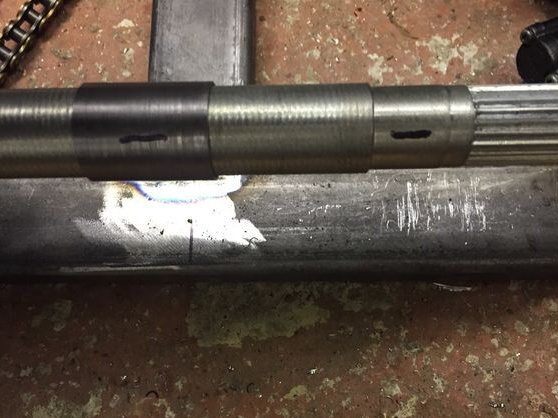
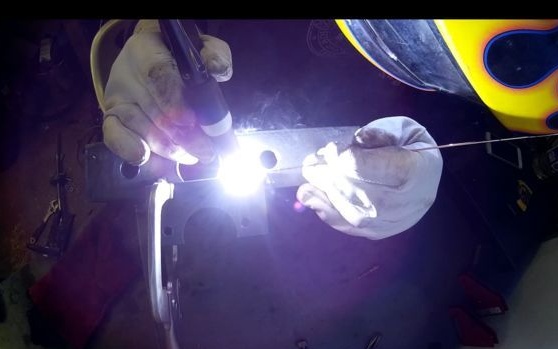
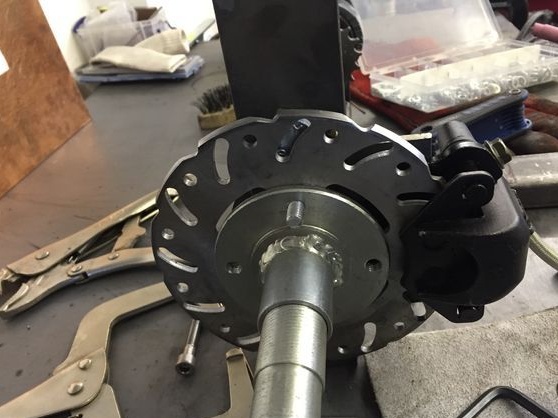
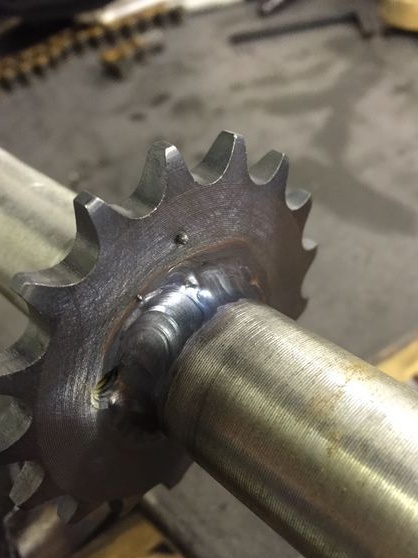
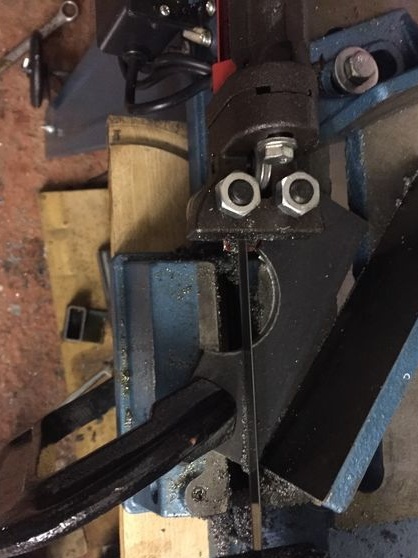
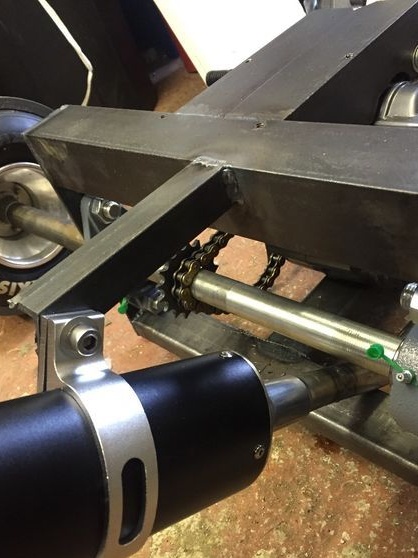
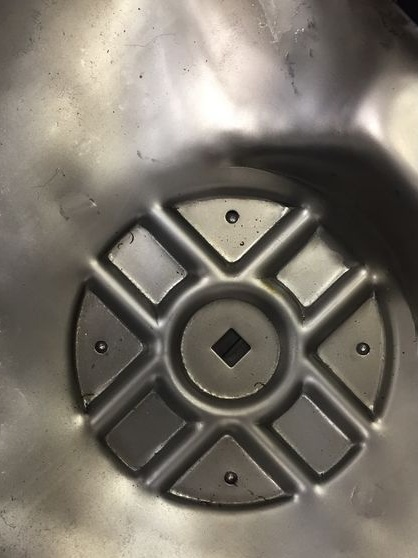
Step Four Work on a lathe
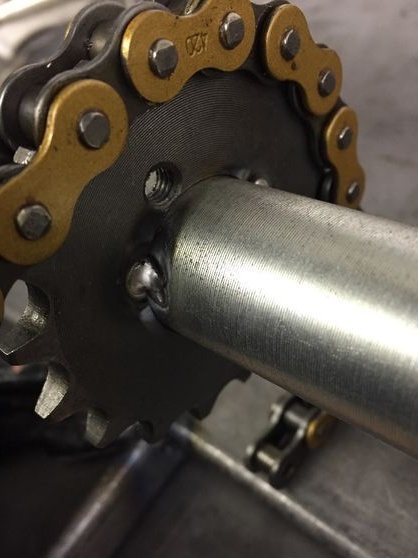
To fix the sprocket and brake disc on the rear axle, you will need to make bushings for them. If there is no lathe, then all of these parts can be simply ordered a turner. As an asterisk, you can choose an asterisk from a motorcycle or the same moped. It is important to determine the diameter of the wheels and the size of the sprocket. If you need power, you need to put a sprocket more; if speed, then less. Well, all this must be compared with engine power. In an asterisk, you will need to bore a hole along the diameter of the axis.

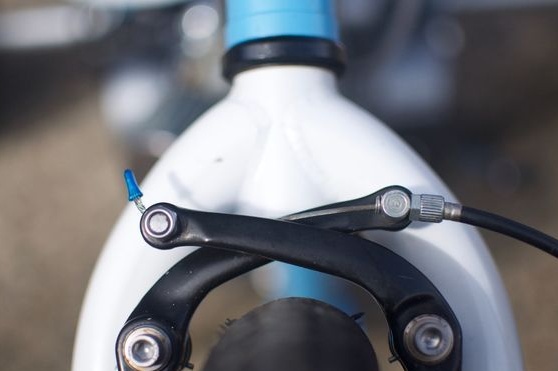
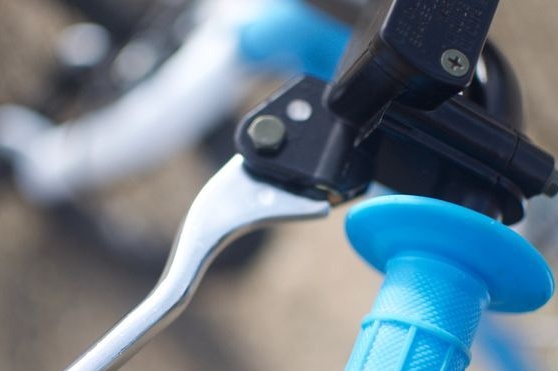
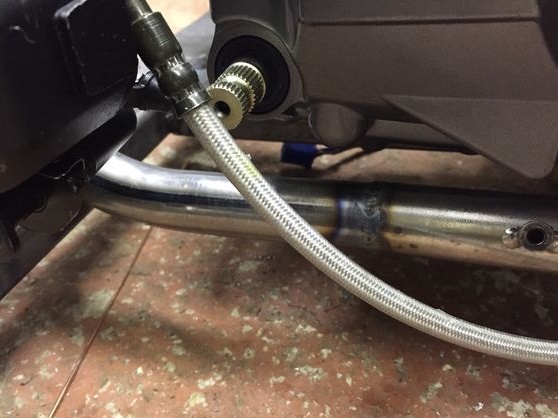
Step Five Brake pad installation
The author uses hydraulic brakes. Under the brake pad, you need to make a strong plate and then weld it from the side of the brake disc. Front brake classic bicycle with a metal cable.


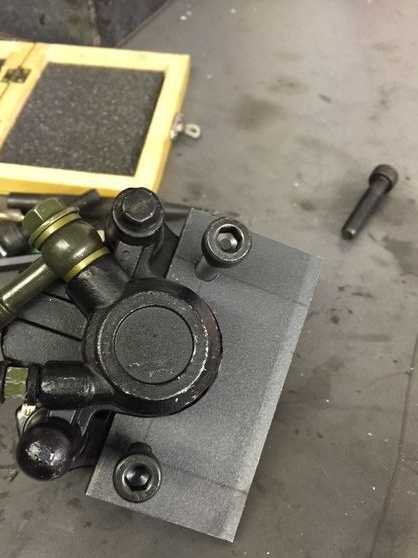
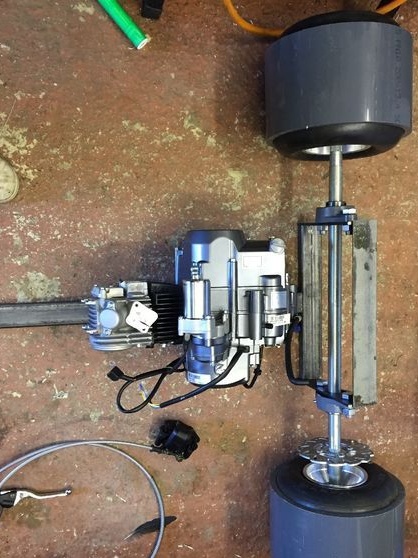
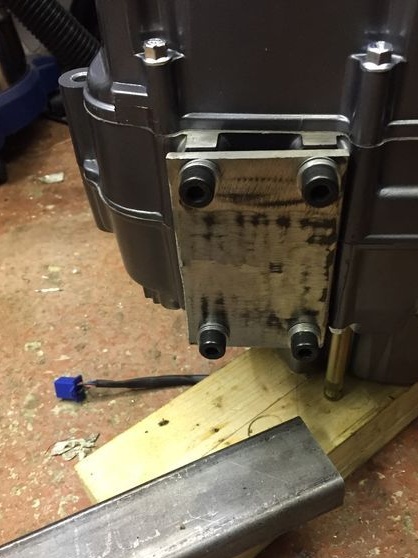
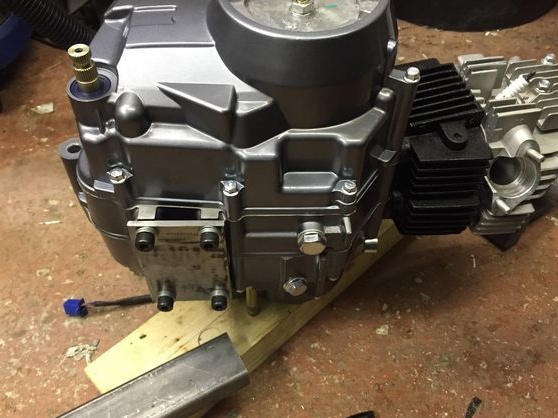
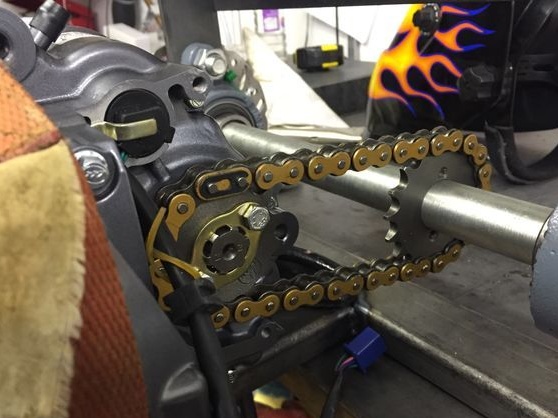
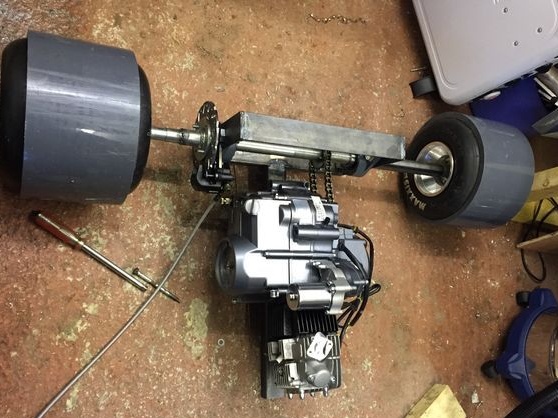
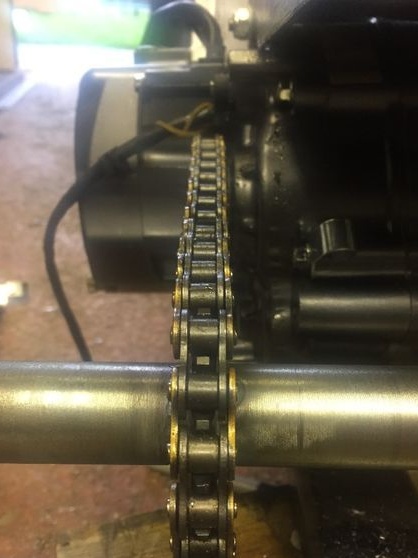
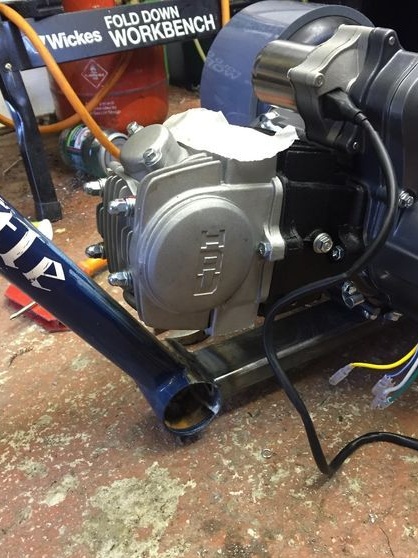
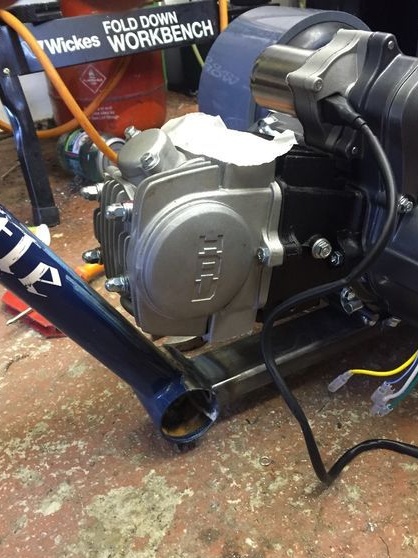
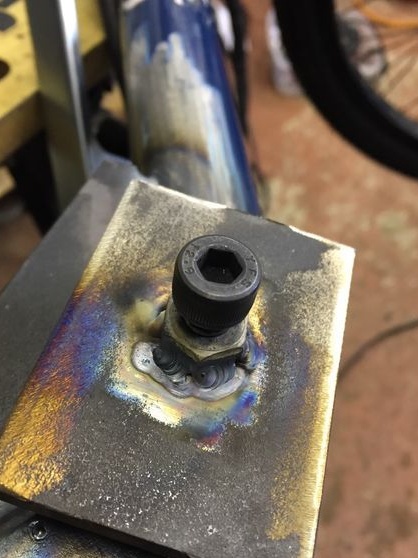
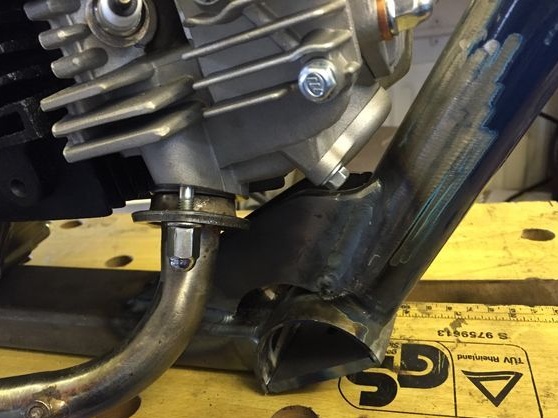
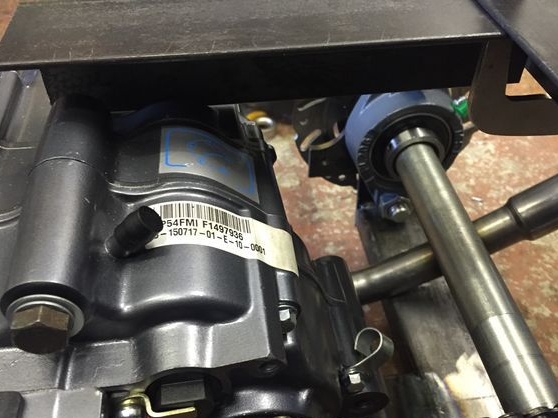
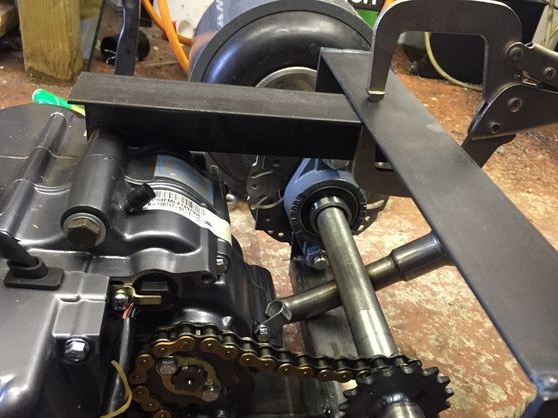
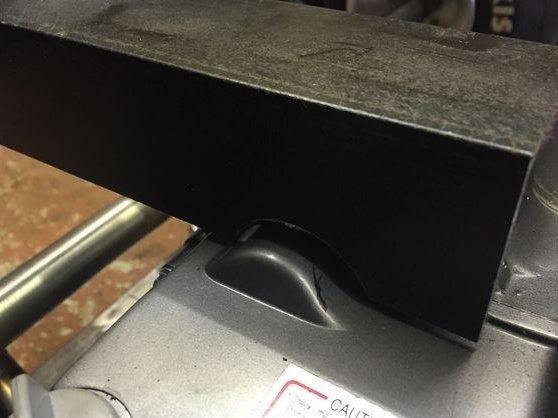
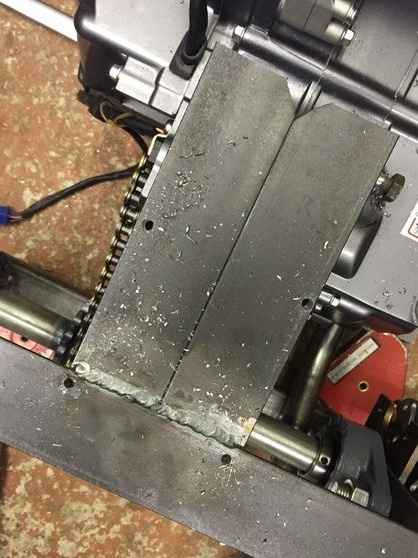
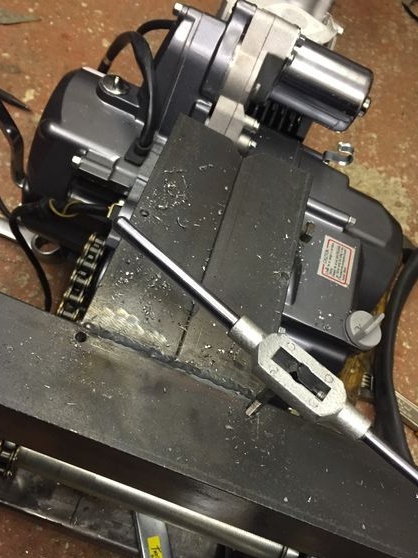
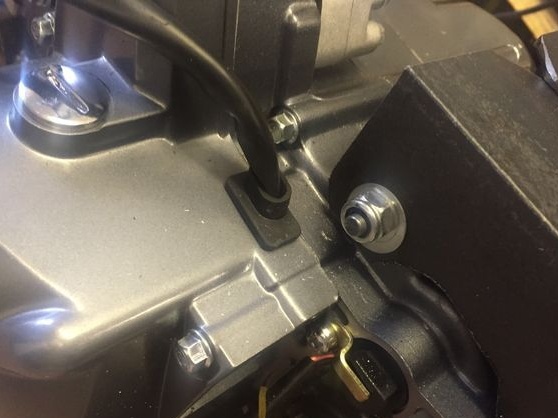
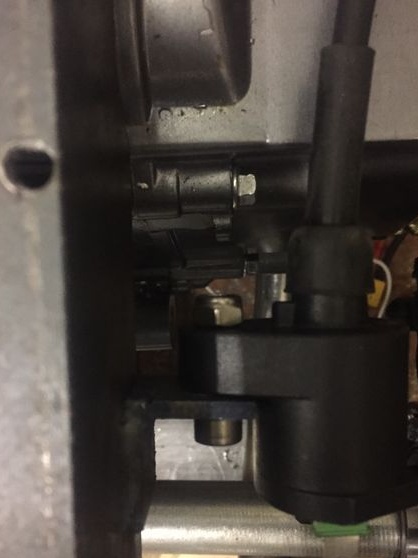
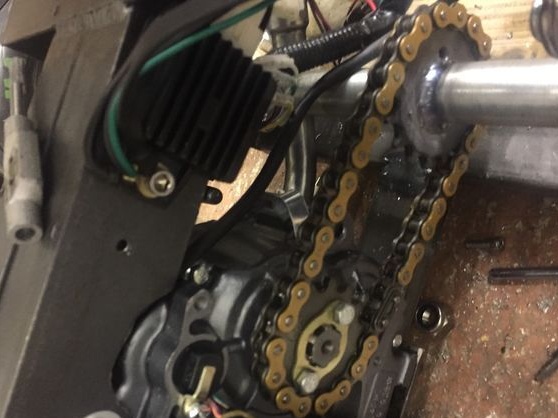
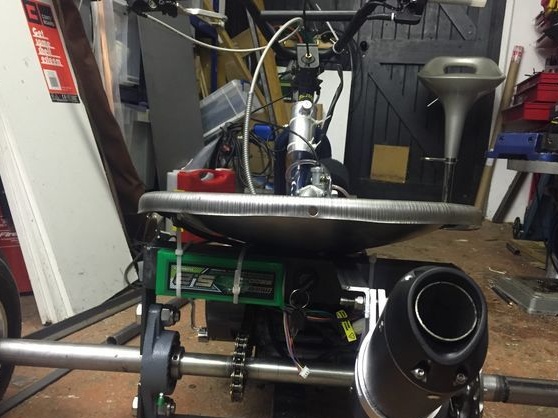
Step Six We fasten the engine
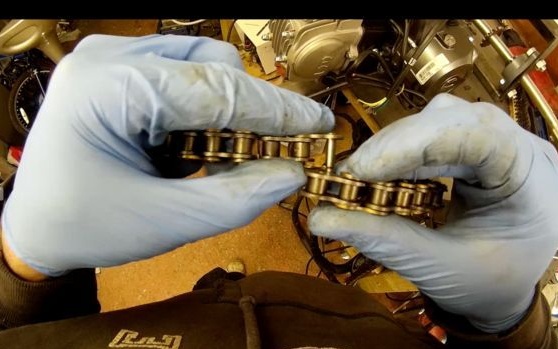
To mount the engine, you also need to make a plate. The motor must be secured with screws. At the same stage, an asterisk is welded to the rear axle, the chain is shortened and now the transmission of torque to the rear wheels is assembled.

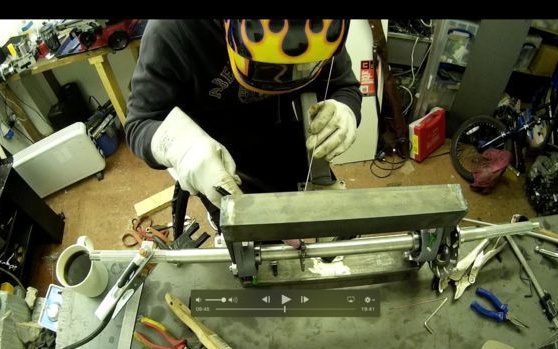
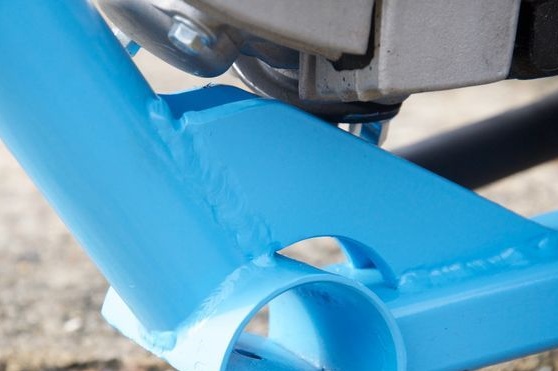
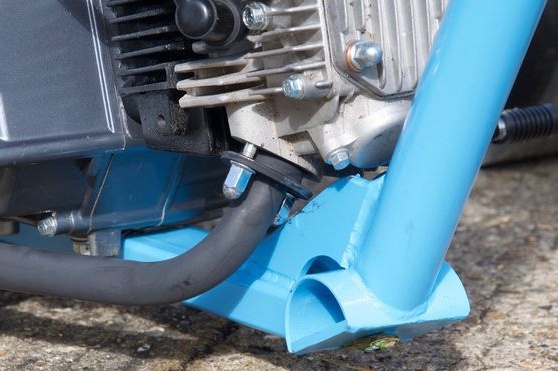
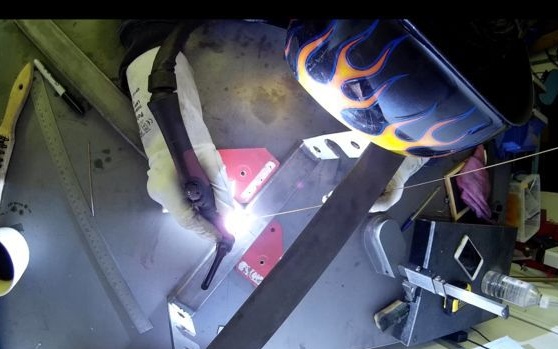
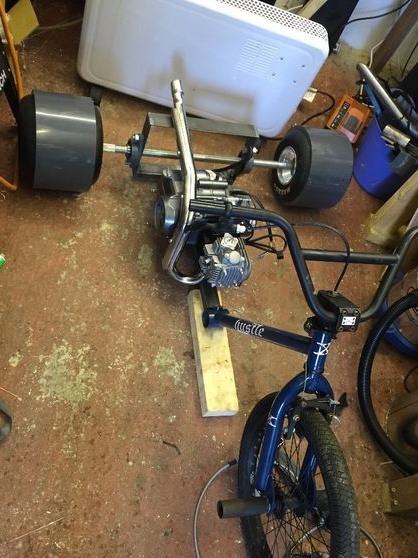
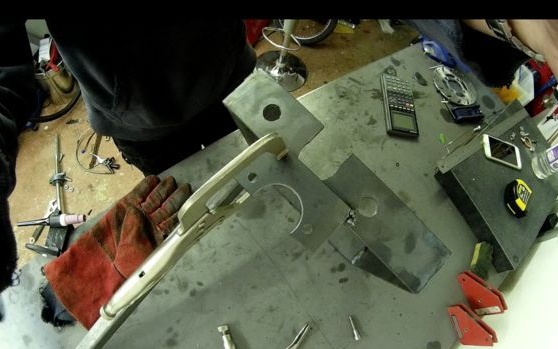
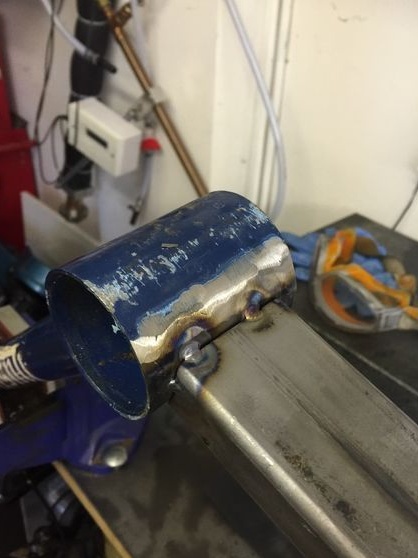
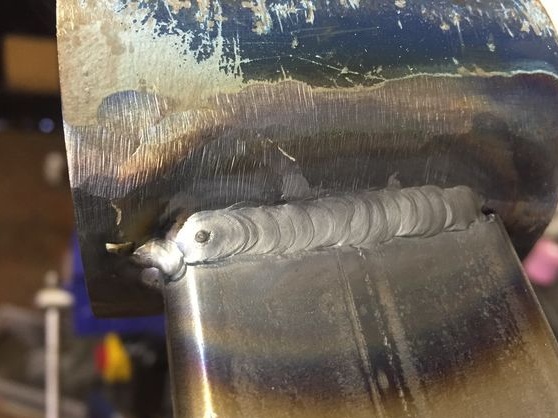
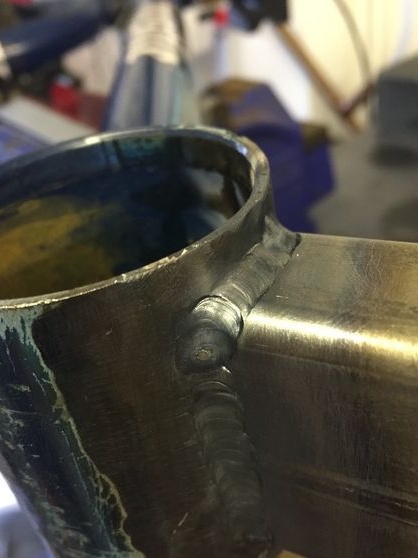
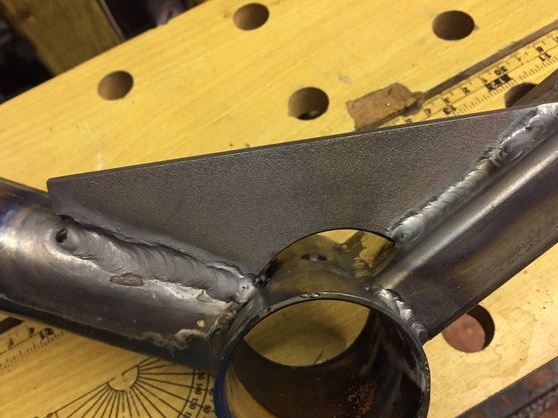
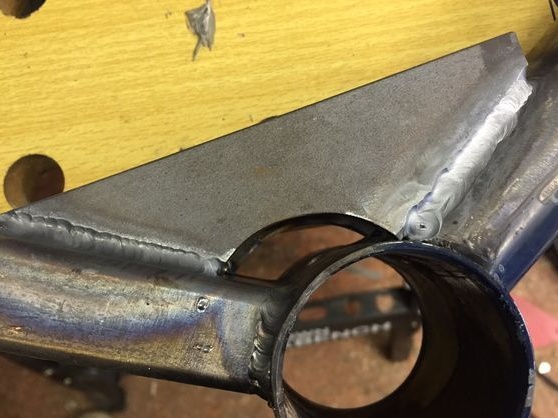
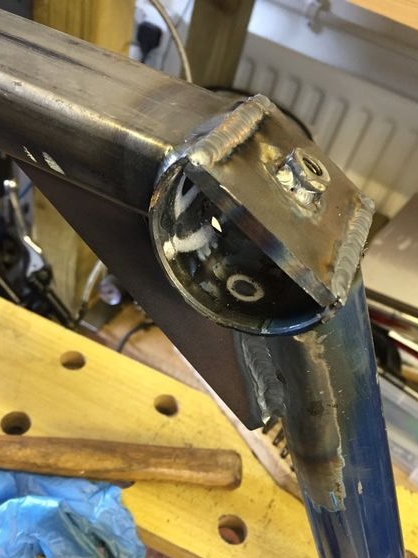
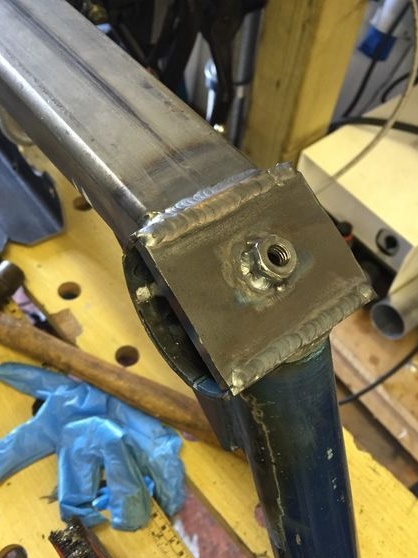
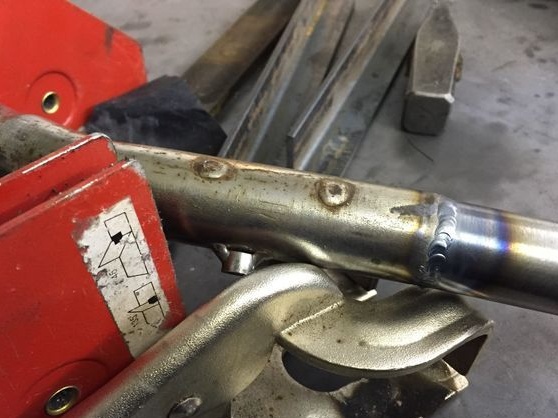
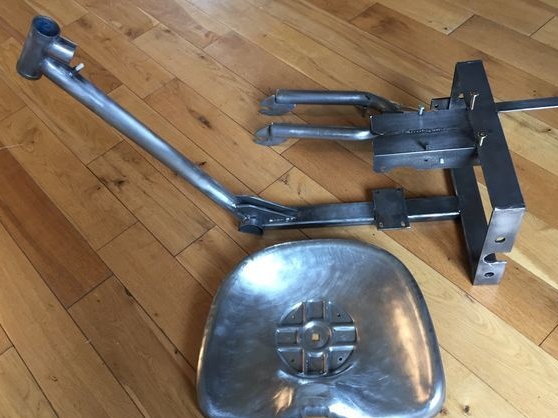
Seventh step. We assemble two halves of the frame
Now two parts of the frame can be welded, the place of welding is the place of the former location of the axis of the connecting rods of the pedals. After welding, the lower part of the pipe must be cut off and a plate welded instead. This will increase the distance to the road. At the top, you will need to weld a pair of plates or a corner to strengthen the frame.


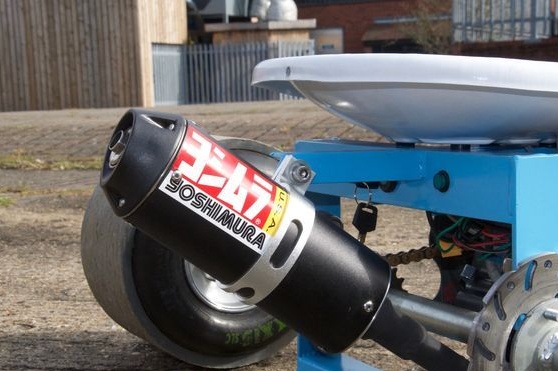
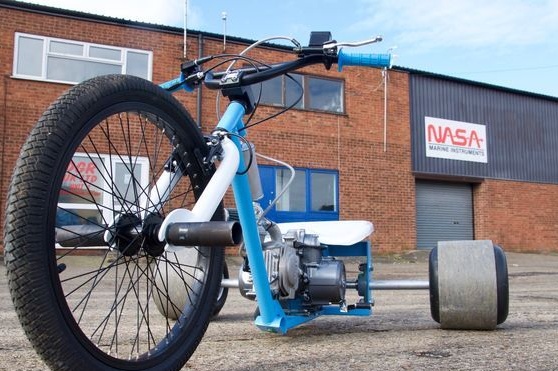
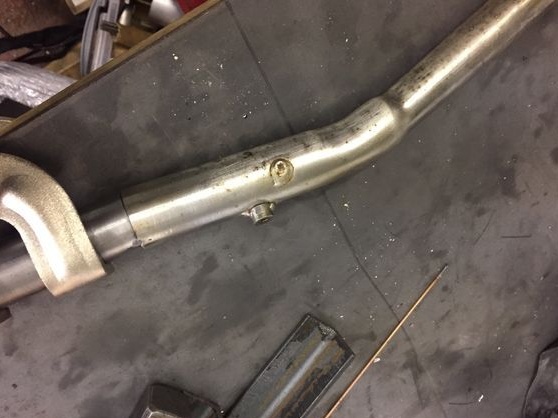
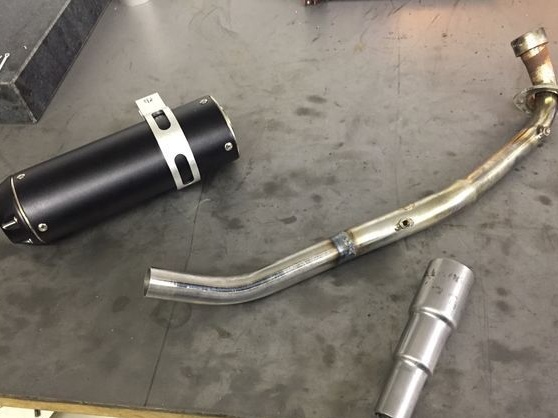
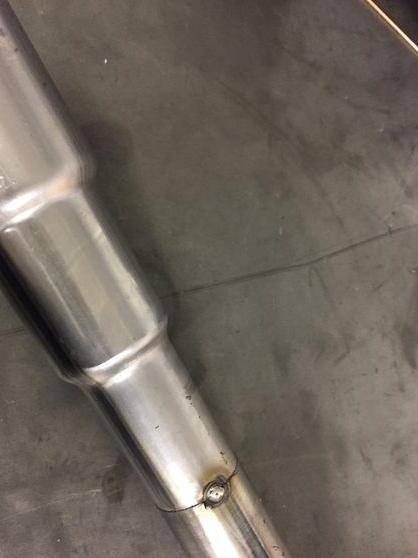
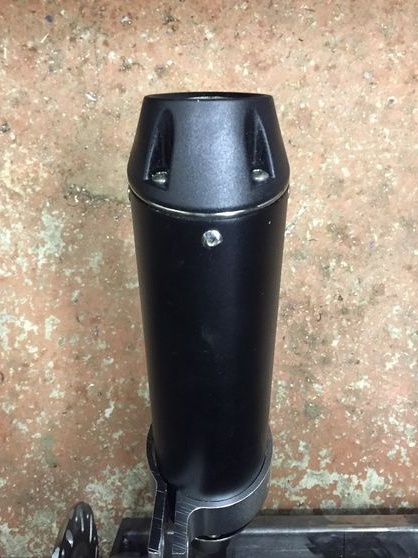
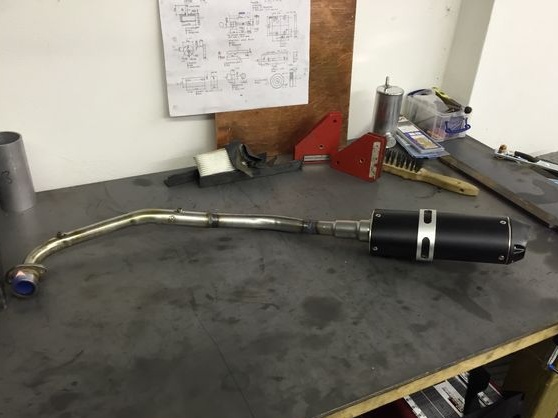
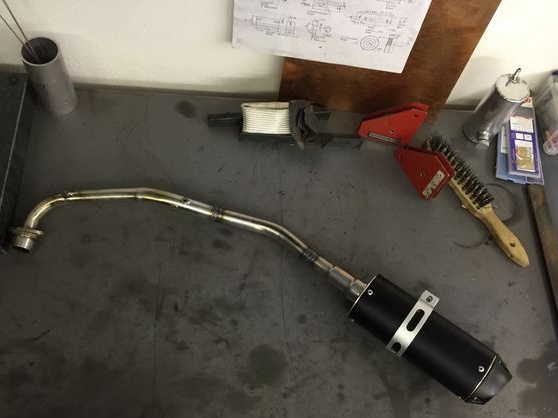
Step Eight. Making the exhaust system
The exhaust system, most likely, will have to be finalized, namely, to extend the exhaust pipe. There is no limit to fantasy, you can install a direct-flow engine to give it charm.
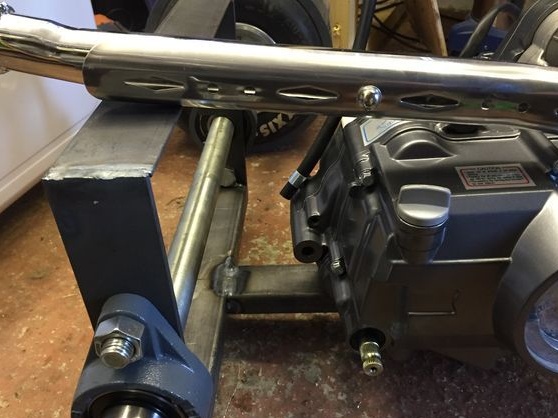

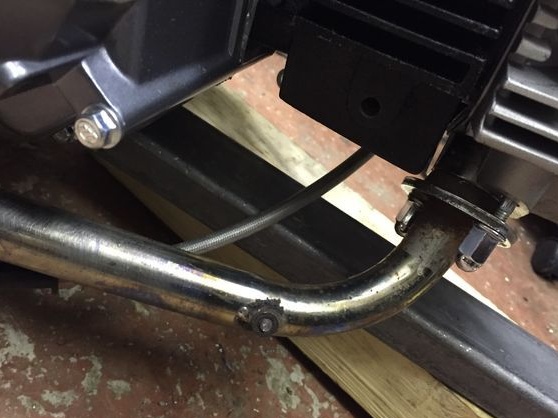


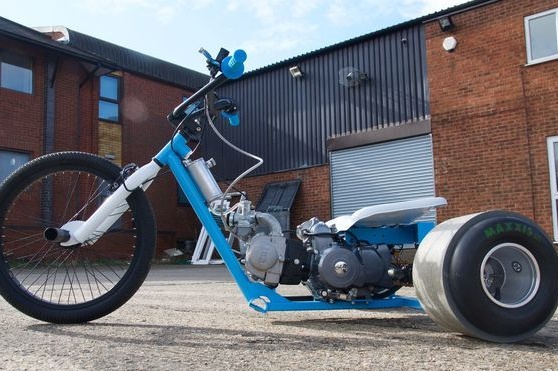
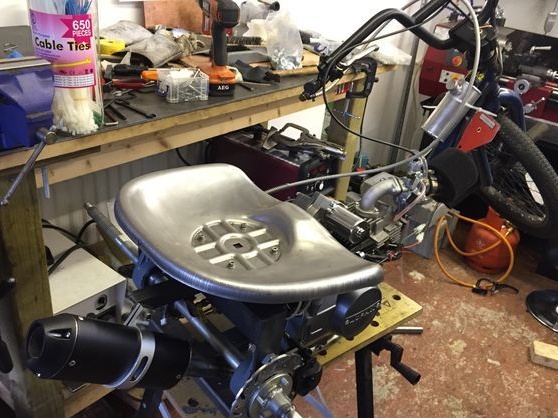
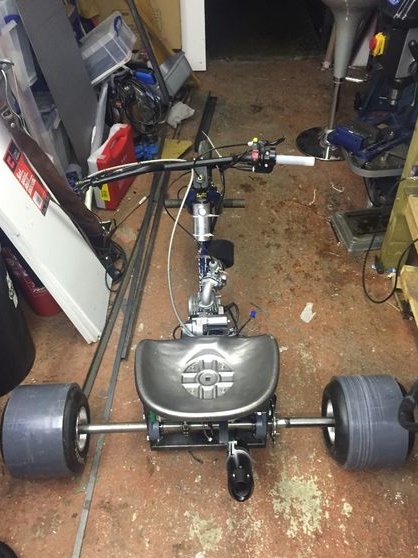
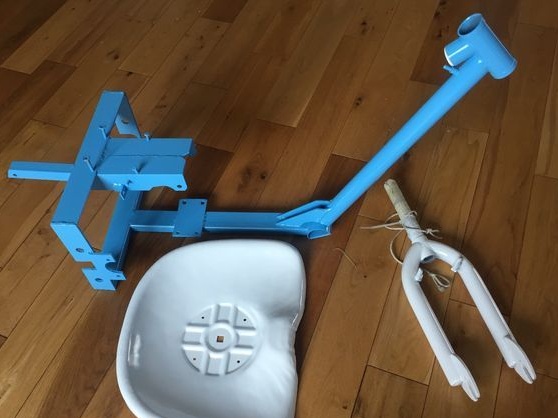
Step Nine. Installing the seat, mounting the exhaust system and electrics
Well, at this stage there is nothing complicated, you need to work with a grinder, welding, a drill and install the seat. You also need to remember to tighten the silencer to the frame at the rear.

You also need to connect all the electrics, including the spark supply system, battery, generator, and so on. The battery is used if the engine has an electric starter. Then start the trike is very convenient, you will only need to press the button. Connect the battery, do not forget to ensure that it is charged from the generator.

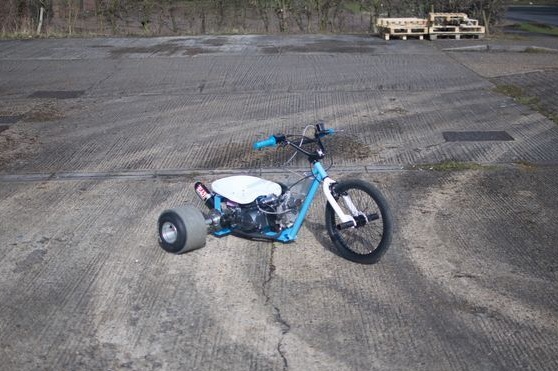
Step Ten Testing
Before painting, trikes need to be tested, making sure that all nodes are working correctly. Particular attention should be paid to the alignment of the sprockets, rear axle, the balance of wheels and other nodes.
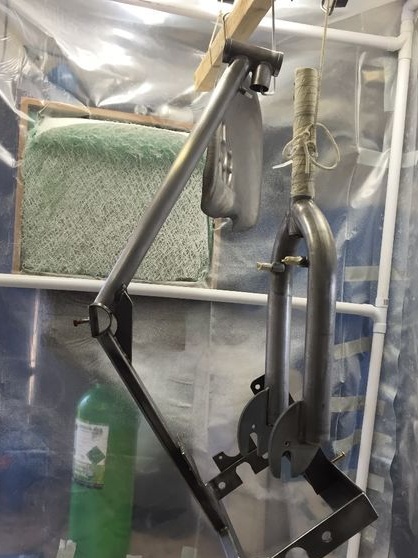
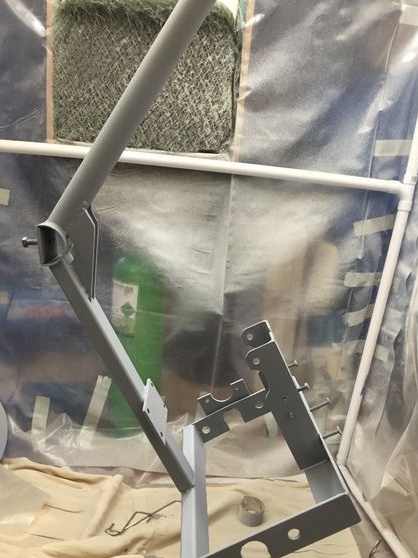
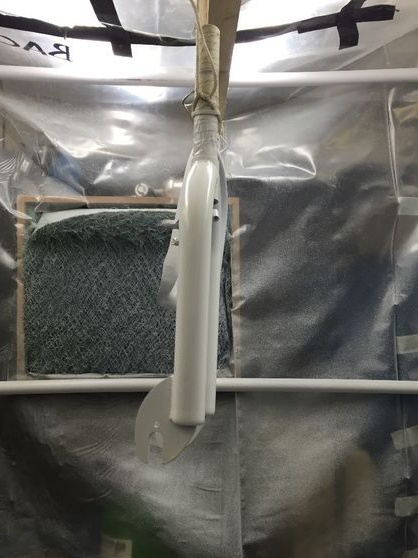
Step 11. Paint the trike
You can paint a trike to your taste. The procedure is not complicated. The most troublesome thing here is the removal of old paint. It’s easier to burn it with a blowtorch, and then clean it.

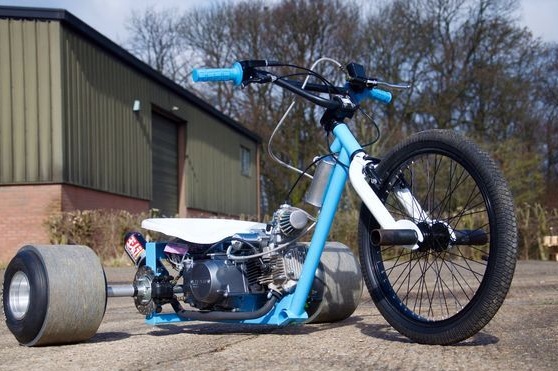
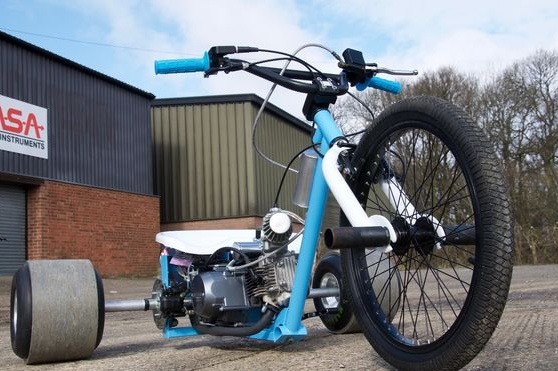
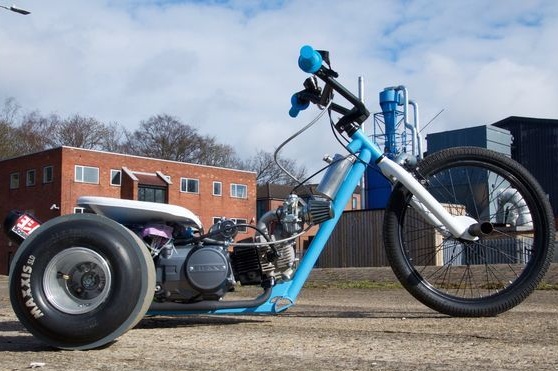
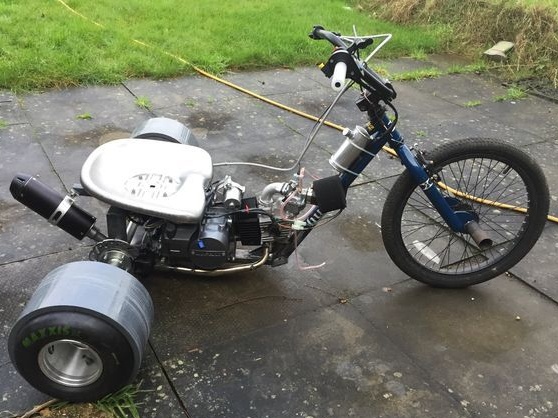
Conclusion
That's all, the trike is completely ready. Such homemade products will be interesting not only to young people, but even adults.