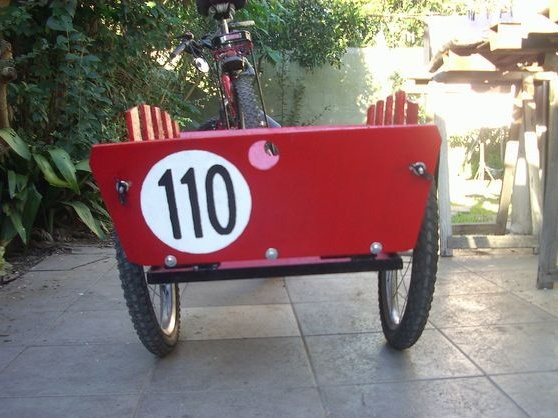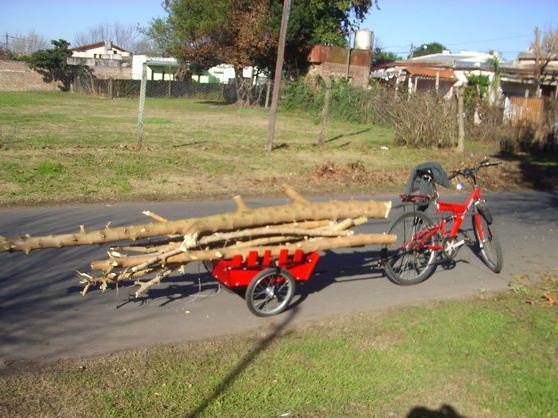
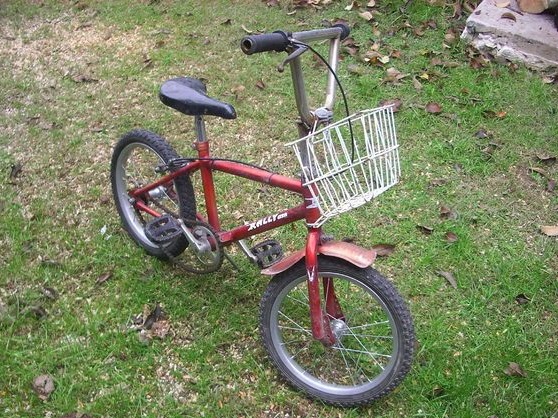
The author of the instruction had a need to collect various "junk", which is lying simply on the street and no one needs it. But the truth is, sometimes people throw away just a bunch of what can be useful in the household. You can carry firewood, construction materials, including sand and bricks, and much more on such a trailer. You can also mow grass and feed livestock.
In addition, such an assistant will not be superfluous for the city, because you can take it when you go shopping. And for compactness trailer can always be folded.
Materials and tools for homemade:
- two wheels from a bicycle;
- screw with nuts;
- a corner for creating two forks;
- a corner to create a frame;
- reliable door hinges (needed to fold the frame);
- plywood to create a casing of the trailer;
- a piece of pipe to connect the trailer to the bicycle;
- steel ball (ball connection is made from it);
- tubes, plates and other pieces of iron;
- welding, grinder, drill and more.
The process of building a folding trailer:
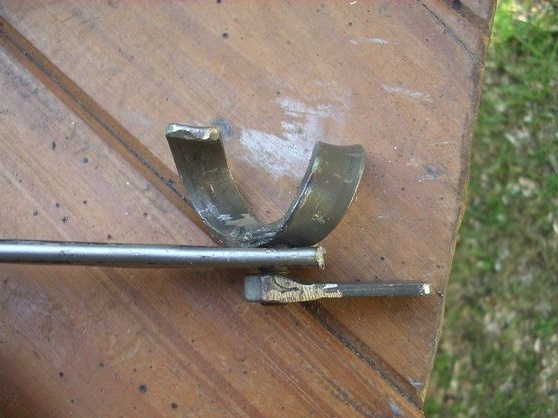
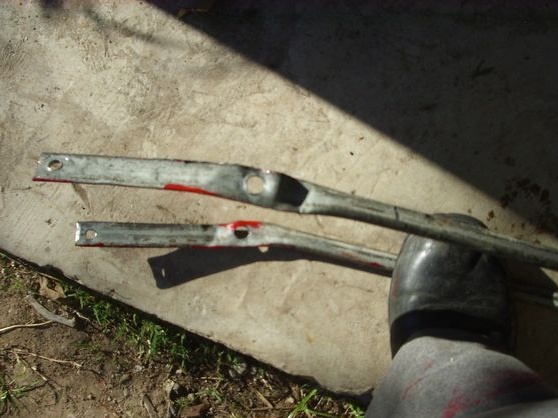
Step one. Fork assembly
All you need to do two forks, the author found a very interesting approach, as it is easiest to do. Each fork is made from a single piece of corner. All you need to do two cuts and then bend the corner in the form of the letter "P". Well, then work a little welding, fixing this form.
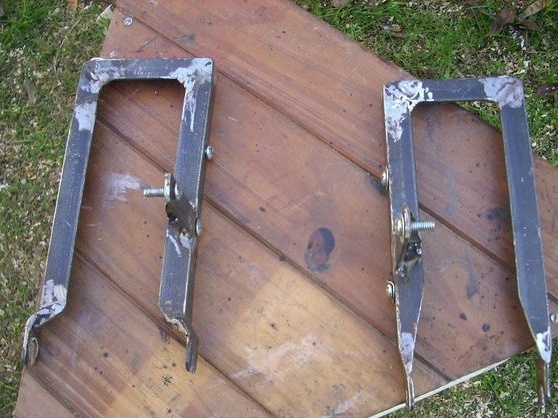
At the ends of the forks, you need to cut off the excess, and in the remaining plates, drill holes under the axles of the wheels. They will also need to be slightly bent. How exactly to do this can be seen in the photo.
Even in the corners, you need to make a couple of holes and weld one plate at a time, this will fix the forks to the frame.
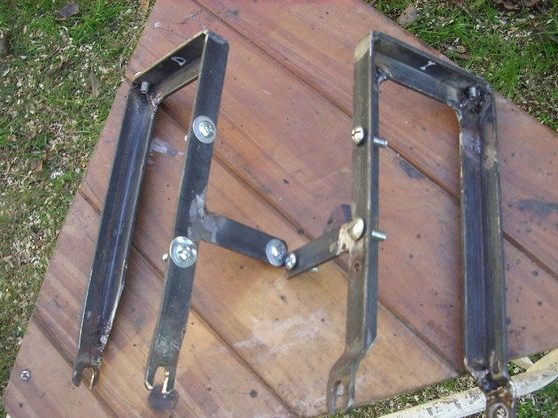
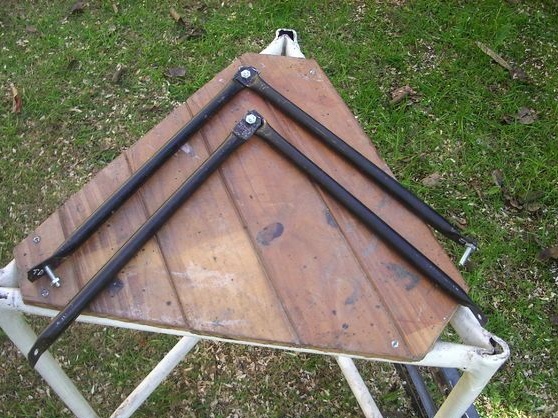
Step Two How is the frame made
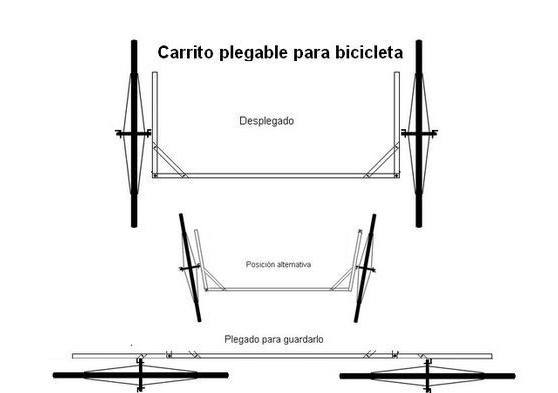
The frame is also cooked from the corners; it is rectangular in shape. The size is selected depending on the size of the bike and needs. Further, door hinges are welded to this frame, they provide the mobility of the forks and the basket body, which allows you to fold the trailer if necessary.
A drawbar is attached to the front. It consists of a piece of pipe and two pieces of reinforcement. All this business is well welded.
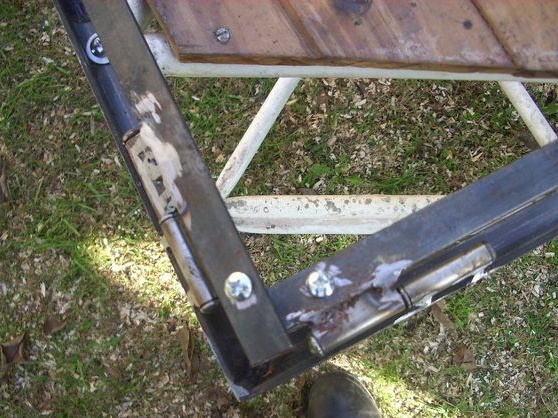

Loops all went eight pieces. Steel plates must be welded to them. The hinges need to be fastened so that they do not self-disassemble. That is, one towards the other.
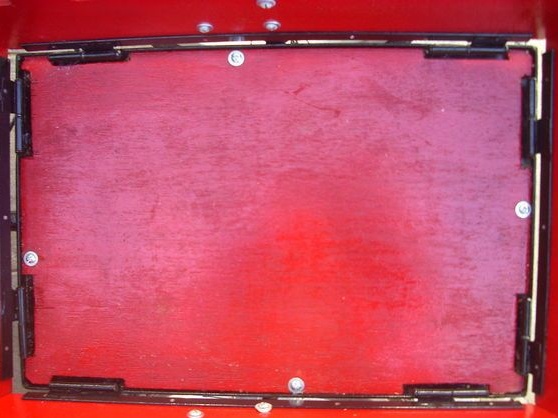
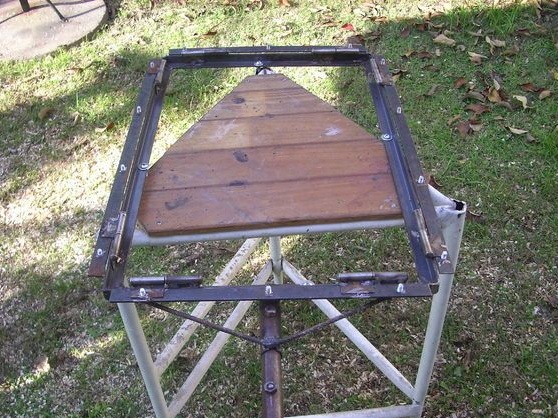
Step Three Board making
Airborne elements can be made of plywood.Having cut the necessary blanks, they are then attached to metal plates welded to the hinges. Holes in plywood and plates are drilled and then tightened with bolts and nuts. Well, in the end we get 4 mobile sides.
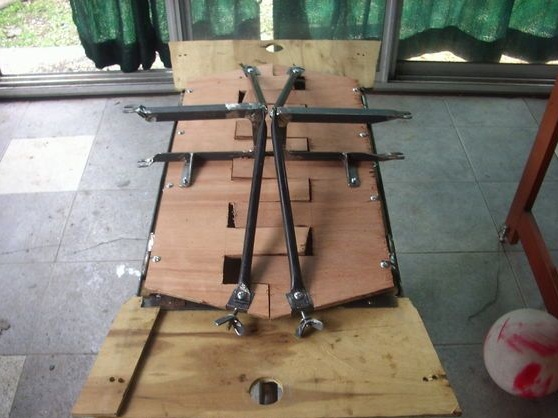
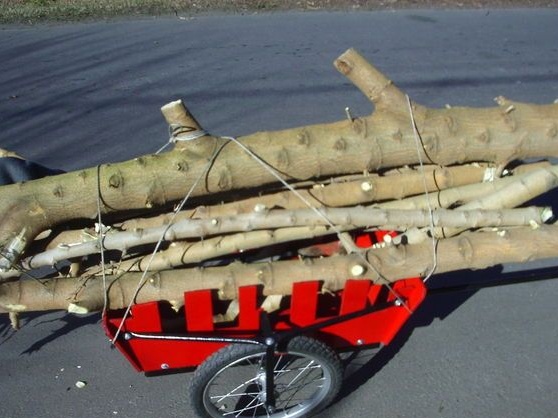
As you can see in the photo, the side parts have slots located asymmetrically, this is done so that the halves of the side sides do not overlap each other. In addition, this approach allows you to reduce weight.
Step Four Locking elements
To fix the sides, you will need to do some more details. They are made of pipes. the necessary pieces of pipes are cut off, and then their ends are riveted with a hammer. Further, holes for screws are drilled in the formed plates. In total there should be 4 pieces of such pipes, two located on each side.
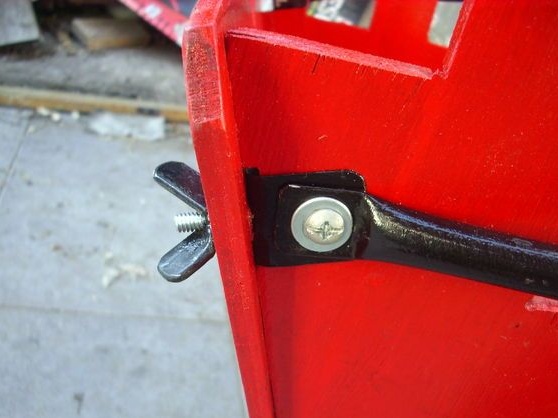
Well, now, to fix the bolts, you will need screws and wing nuts. Still for fastening it is necessary to bend "P" -shaped fastenings from steel plates and drill holes for bolts in them.
How everything is kept can be seen in more detail in the photo.
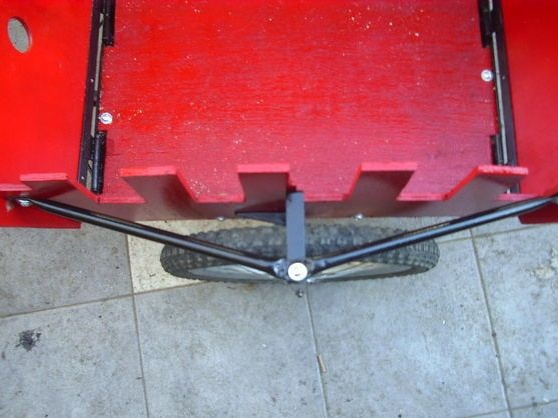
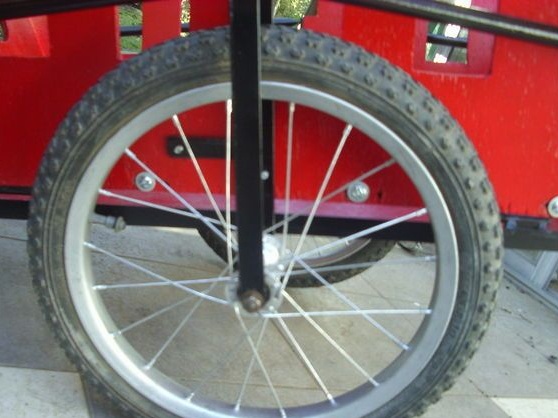
Step Five Fasten forks and wheels
Now you can attach the forks and then the wheels to them. The forks are screwed to the side sides, here you will need to tighten 3 bolts on each side. Previously, the plug will need to drill holes and thread. Since the forks are held mostly by plywood, thick, strong materials must be used here. And for reliability, it is advisable to weld additional plates to the frame at the points where the forks are attached to the board. However, this is not necessary if it is not planned to carry heavy weight.
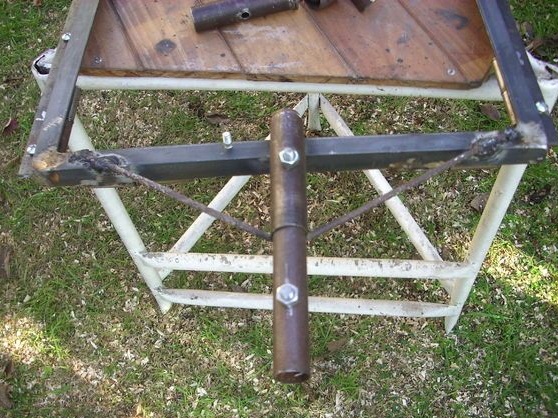
Step Six We assemble the drawbar of the trailer
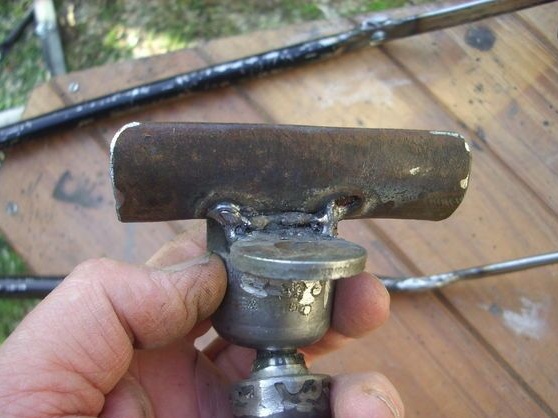
The drawbar of the trailer consists of two parts, one part is statically welded, and the second is a piece of pipe, at the end of which there is a ball connection. This second part is connected to the trailer using a bolt and nut. A steel rod is inserted into both pipes, and then holes are drilled on both edges. In the bow, everything is going the same way.

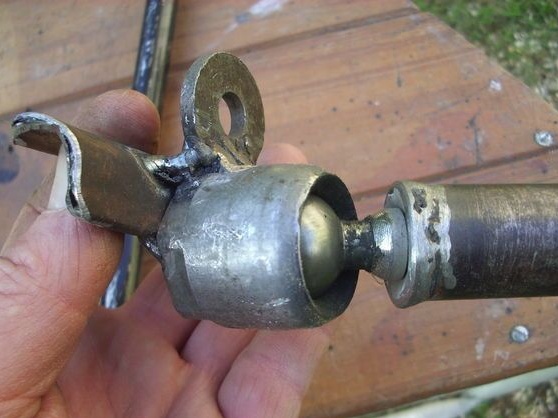
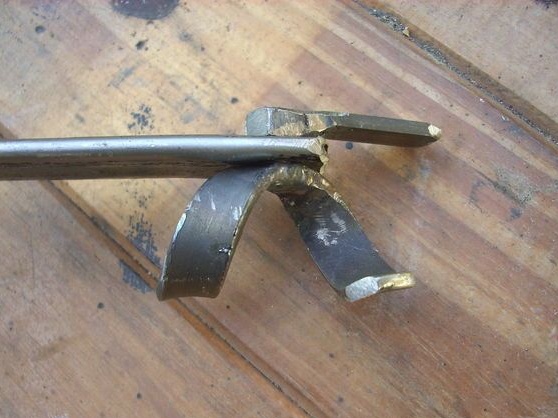
Ball connection is also very easy to assemble. Here you need a steel ball, you need to weld it to a metal rod, and then insert this rod into the pipe and weld well. And you can not cook, but simply insert it into the pipe and twist it with a bolt and nut, as mentioned above.
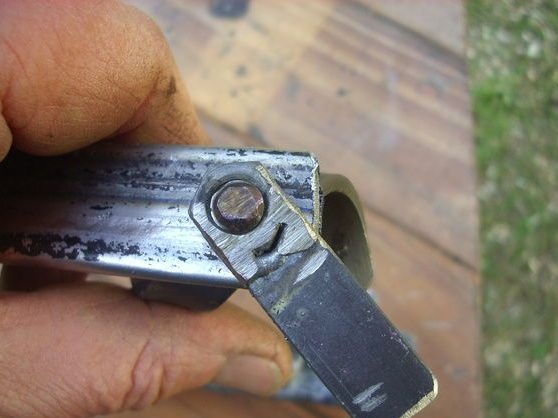
Even for ball mounting, you will need a piece of pipe in diameter such as a ball. The ball must be inserted into the pipe, and then the end of the pipe should be bent thoroughly with a hammer so that it becomes narrower and the ball does not come out of it. You can still make a couple of slots, bend the parts of the pipe, and then brew them. In general, this will not be difficult.
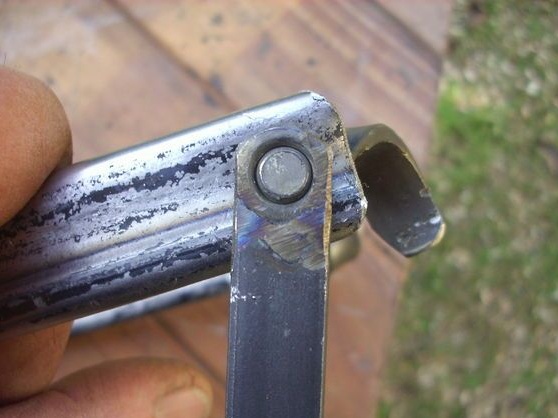
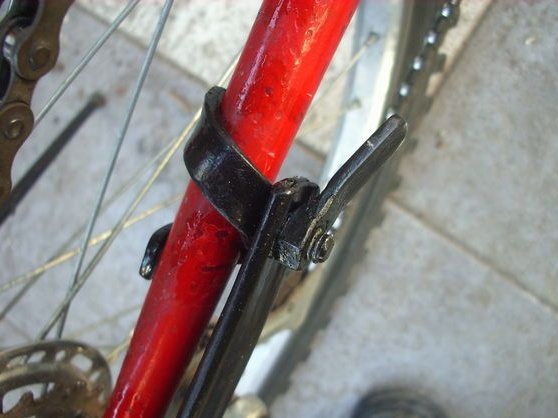
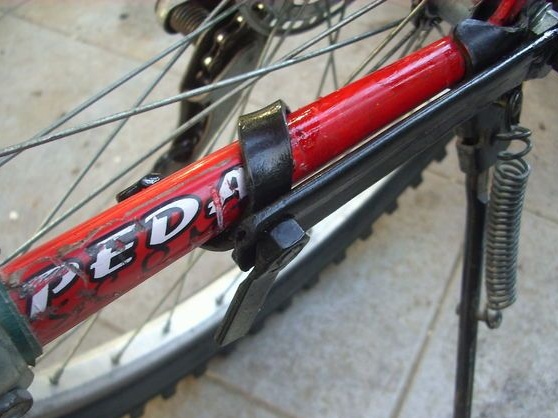
On the other side of the pipe, a plate with a washer is welded, or a plate with a hole. Using this hole and a bolt with a nut, the drawbar will be attached to the bike bracket.

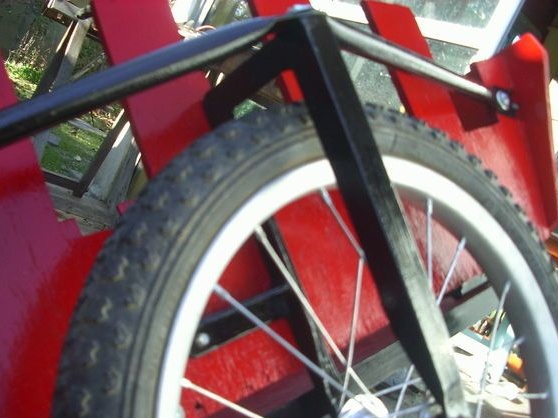
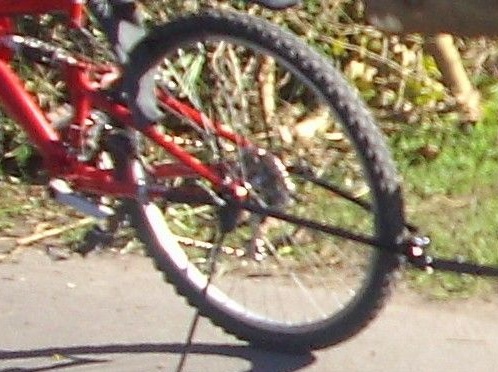
Seventh step. Trailer Mount Bracket
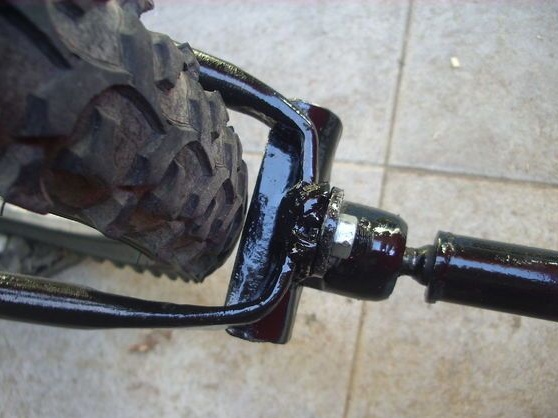
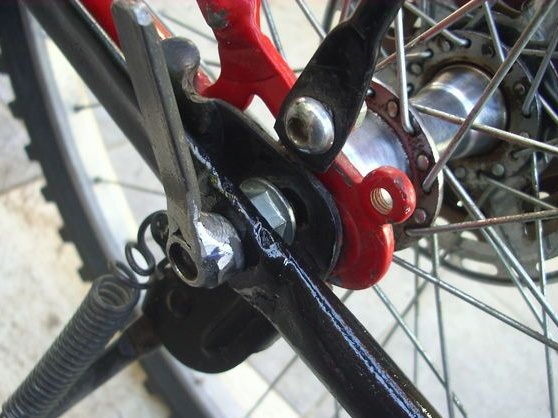
To fasten the trailer, you need to make a fork to the rear wheel, it is not difficult to do. Here pipes will be needed, they need to be bent in the form of the letter "P". The ends of the pipe, as well as the middle and side parts, need to be carefully riveted, and then drill holes. There will be five holes in total. The center of the fork made must be properly strengthened by welding a plate or a large washer.

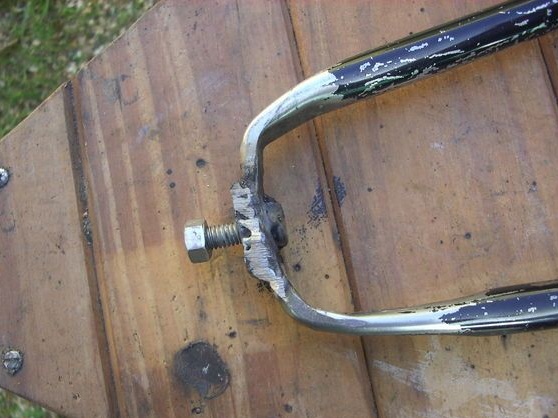
That's all, now the trailer is almost ready. It is necessary to take a bolt with a nut and fasten the fork made to the drawbar of the trailer. It is advisable to put a grover under the nut so that the nut does not loosen from vibrations. For convenience, the bolt can be welded. In principle, now the fork can be attached to the rear axle and tested the trailer. Of course, the rear axle must have a margin so that you can screw another fork. However, you can tighten both rear forks and one nut, but this is not very convenient.
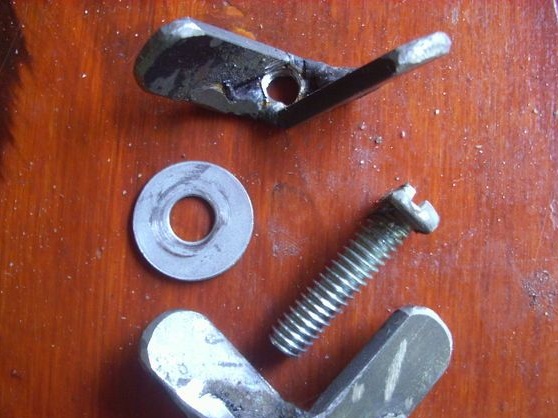
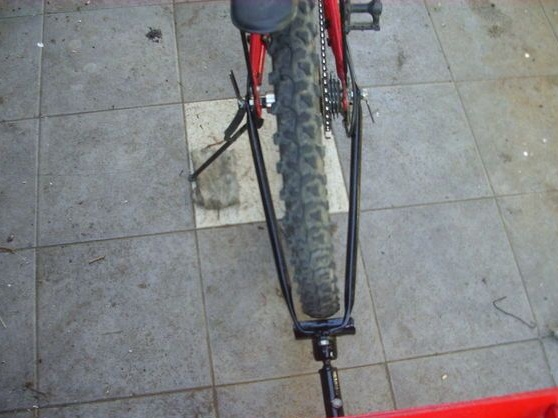
So that the load does not turn the fork, you need to make parts that are visible in the photo. That is, these are curved plates in the center of which there are holes.With the help of these plates, the fork clings to the fork and as a result receives 4 attachment points. Now she will definitely turn around during the tests.
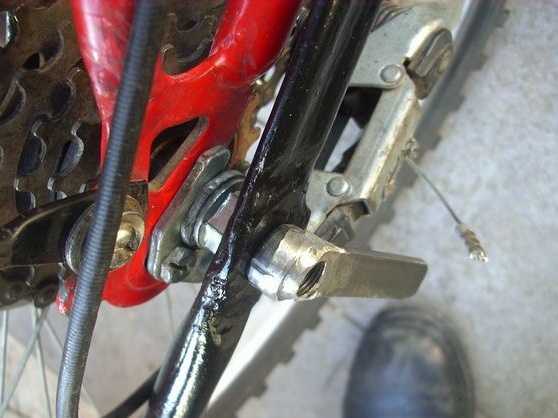
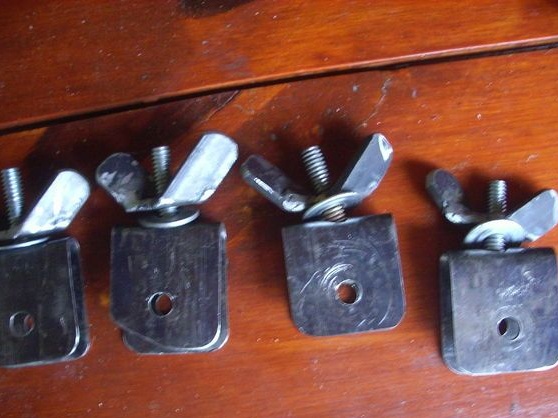
For ease of disconnecting the trailer from the bike, the author makes special nuts. You need to take bicycle nuts and weld metal plates to them. Now you can unscrew the nuts of the fork fastening with your bare hands.
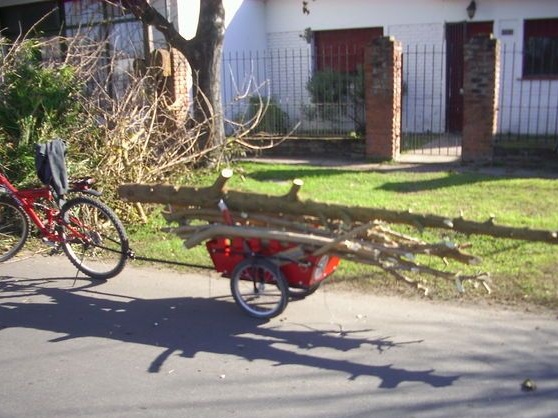
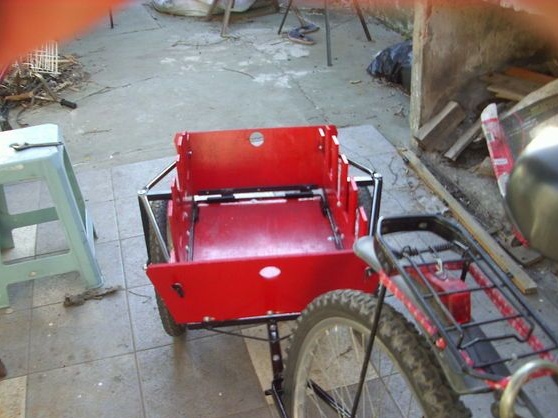
That's all, now our trailer is ready for testing. If he shows himself well under loads, and nothing else needs to be completed, his painting will be the conclusion. The author of the first test failed and had to redo the mounting fork.
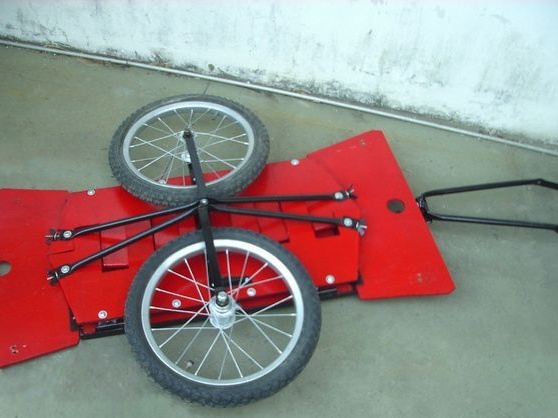
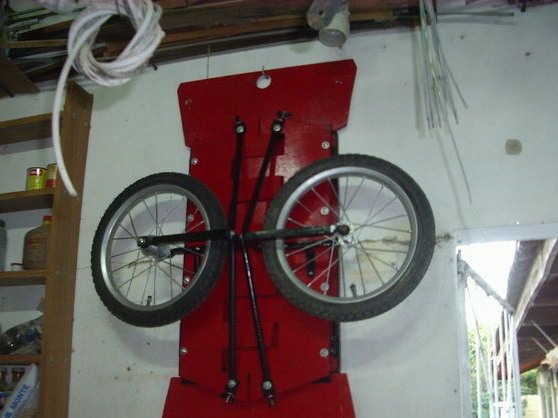
When the trailer is not needed, it can be folded and hung on the wall.