Designer furniture continues to conquer the market and the hearts of consumers. No one wants to buy chairs and tables stamped according to the layout in one furniture factory. People crave something original, something that will bring a spark of comfort and warmth to their home.
The furniture, skillfully made from recycled materials, is still in fashion, which allows people to save money, business to flourish, and lovers of eco-goods and environmentalists to rejoice.
In order to make furniture, now it is not necessary to chase rare wood species, expensive accessories and spend a whole bunch of money from the family budget. There are lots of manuals and workshops that will tell you and show you how to make, say, an original garden bench from scraps of wood, imitating an array of wood. The task is not easy, right? But no. And today you will see this.
This wonderful workshop on how to do it yourself make a bench from the remains of a tree glued together. Moreover, such a shop that all the neighbors in the district will envy.
So you will need:
1. Materials:
- trimming boards of all shapes and sizes (one or more types of wood);
- good waterproof glue for wood;
- natural oil for wood impregnation or proven varnish on wood for outdoor use;
- putty or epoxy sealant.
2. Tools:
- a hacksaw, a miter saw or a regular circular;
- grinder;
- a grinder with a cutting disc suitable for woodwork (see below);
- jigsaw;
- clamps;
- sandpaper of various grain sizes;
- soft fabric for wood impregnation;
- construction tape measure;
- a pencil.
Step One: Finding and Preparing Materials
The author used boards made of wood of the same breed. However, wood can be combined in order to obtain a more original texture of the finished product.
But here the task was different: the author wanted to imitate an array of wood, especially since he had already seen such things more than once and it was always a dream to do something similar with his own hands.
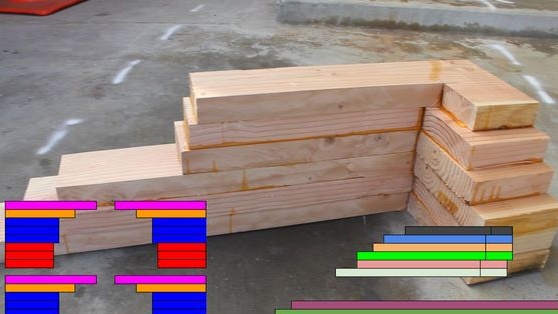
Cuttings of lumber can always be found in any building hypermarket and they will cost much cheaper than if you had to buy a solid board.
Choose well-dried wood, especially since the intended product will be outdoors, under the influence of heat, ultraviolet radiation and precipitation. Raw wood as a result of this can be very cracked and the result will be disastrous. Therefore, take the choice of materials responsibly.
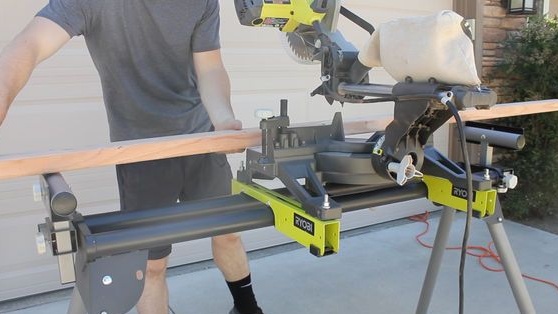
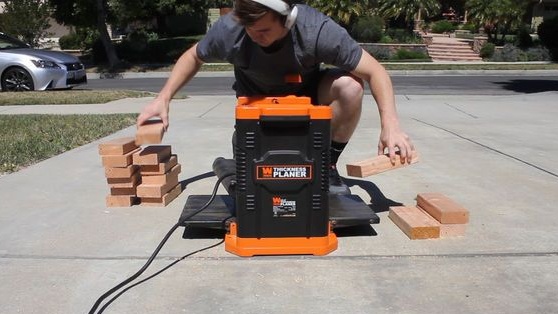
Boards should be planed for better adhesion to each other during gluing. The surface should be as flat as possible.
If you use lumber that has been outdoors for a long time or used materials, you should carefully plan them before using them.
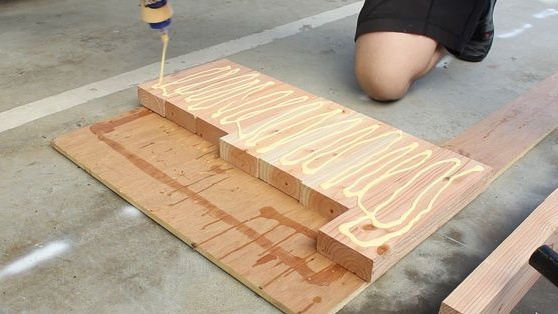
A few words about glue. According to the author, a lot of it will be required. Choose waterproof glue for working with wood of famous brands. It is better if it is in a convenient package from which it can be easily squeezed out or placed in a gun. Applying glue with brushes is not entirely appropriate here.
Step Two: Create a General Concept and Decide on the Details
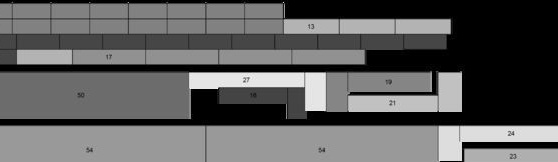
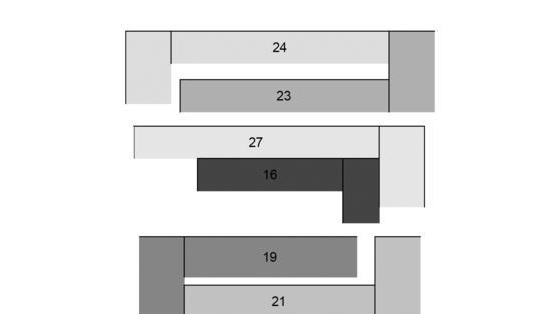
For convenience, the author schematically depicted the entire list of necessary parts in Ecxel. However, he argues that there is no need to follow this pattern so clearly. Indeed, in the end, each master’s bench will look a little different.
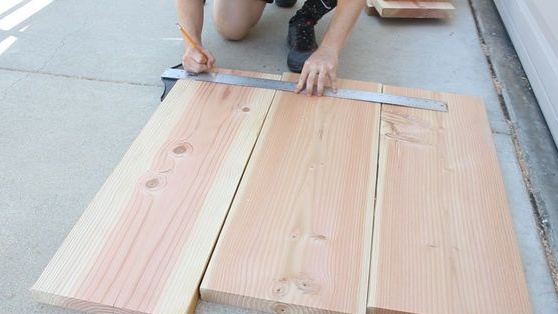
Just stock up on the scraps of boards and remember the good old Tetris game: with glue and scraps you have to assemble a single blank, ready for further modeling, grinding and finishing decorative processing.
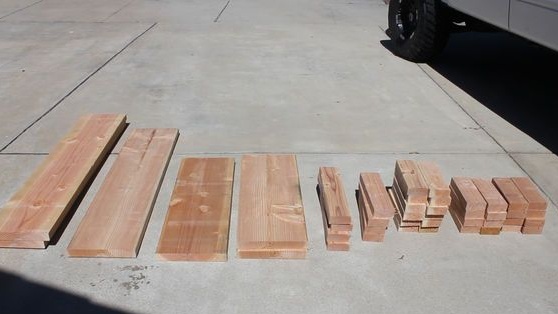
So start by sketching on paper a sketch of what you would like to get in the end. Then figure out what details you need for this. Remember that all unnecessary during the processing can be removed.
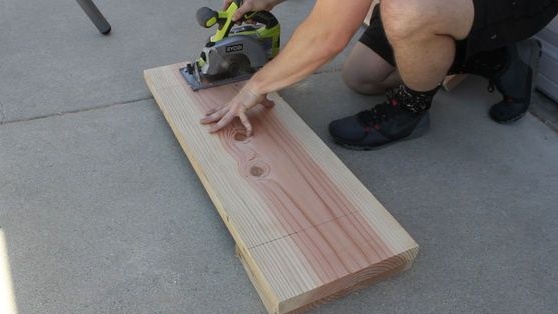
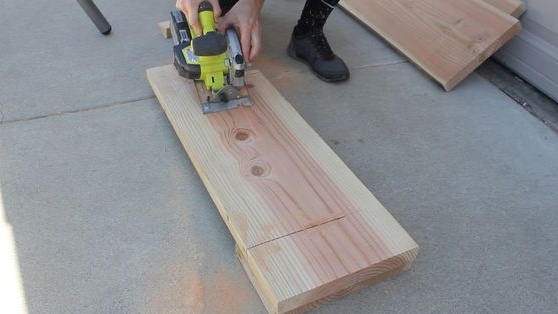
Saw the boards into the necessary parts and proceed to gluing the workpiece.
The author draws attention to the fact that all work on planing parts is best done after the final sawing. All surfaces should be as flat as possible. Do not grind the parts manually with a grinder, as you can choose the excess and get a gap when gluing.
Step Three: Assembling the Back
The author claims that this is the most difficult stage of assembly. This is where the training should begin. And then everything goes like clockwork.
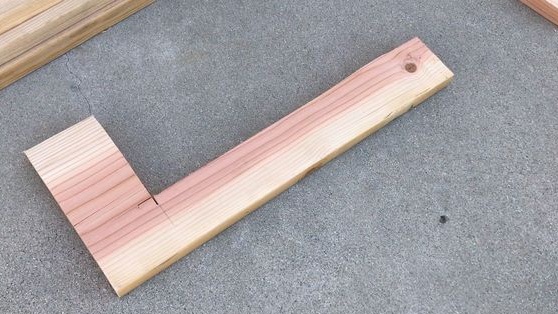
For the back you will need L-shaped parts, such as shown in the diagram below. If you manage to find the boards wider, then from each such output you get two parts, which is very economical.
Sawing is easy with a jigsaw. The photo shows that the saw cuts go through an angle and deeper, but this point is not fundamental, since most of the angle will be removed during the simulation.
The author draws attention that the back wall of the bench should be significantly thinner than the side. So the final design will look more harmonious.
Fourth step: further assembly of the structure
If you watched the video, it describes in detail the process of assembling individual parts. However, a few words are still worth saying.
Everything your did by this moment should have a perfectly flat plane. Stack them on top of each other, checking for the sake of. If this moment still does not suit you, you can grind it. However, the author advises grinding only on a belt grinding machine. It is impossible to achieve a good result using a hand tool.
Proceed with gluing the legs of the bench. Four of them are conceived and they have the same set of details, so in the process you can act according to the pattern.
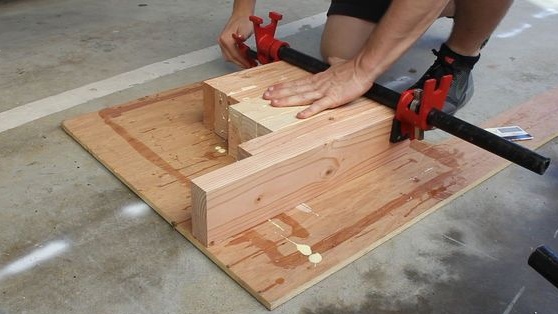
Of course, here you will need clamps. Apply glue, collect immediately the entire workpiece (if the glue set time allows this) and clamp it in clamps until the glue composition dries.
Go to the bottom of the bench. The largest and widest of the scraps will go to it. Use more clamps, including in the center, so that after gluing there are no gaps for moisture and dirt to penetrate inside.
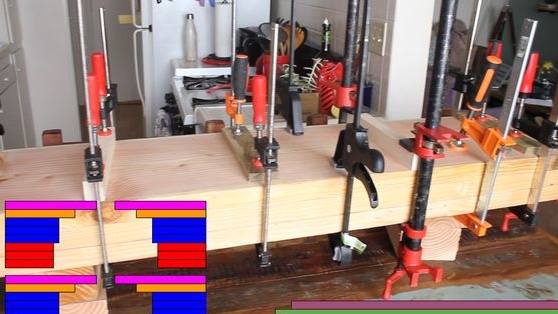
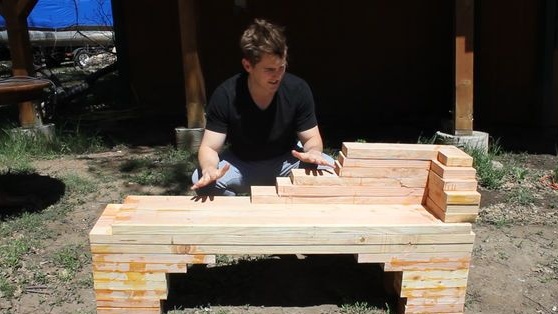
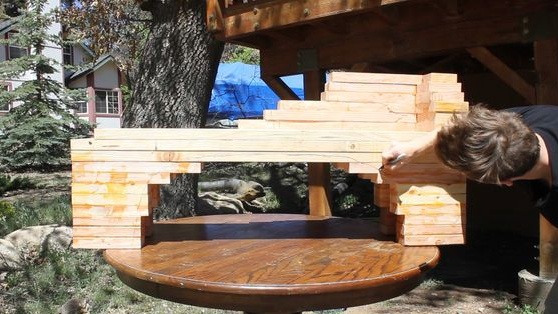
Step Five: Put the Workpieces Together
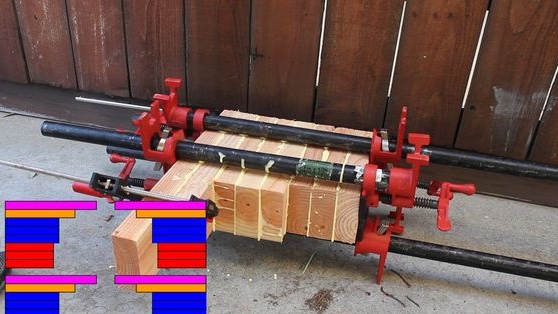
Now you need to attach the legs to the base, and also secure the back in place. The author was limited in clamps, so the whole process took a lot of time.
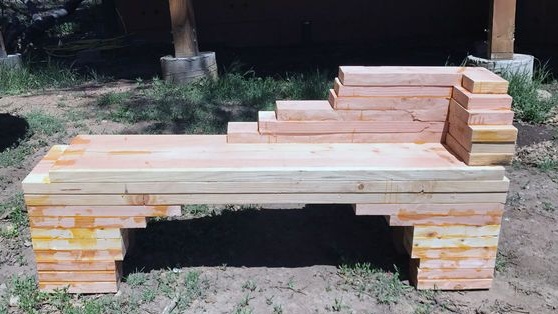
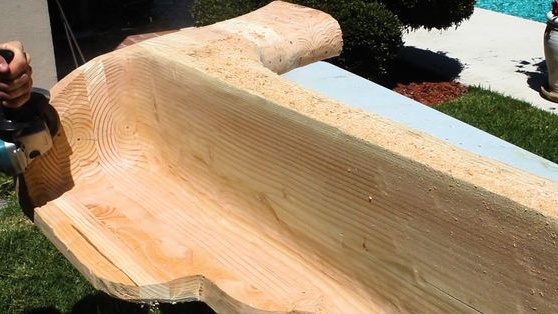
In the end, you should get a glued blank, like the one shown in the photo.You see that a fair amount of glue is present on the surface, but this does not matter, because in the process of subsequent modeling and grinding, not a drop of it will remain. But this is only under the condition that you carefully pressed the parts during gluing and the adhesive layer was insignificant.
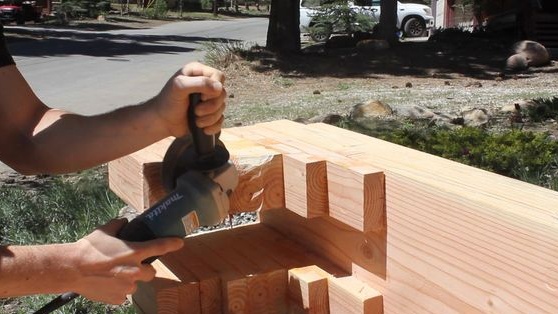
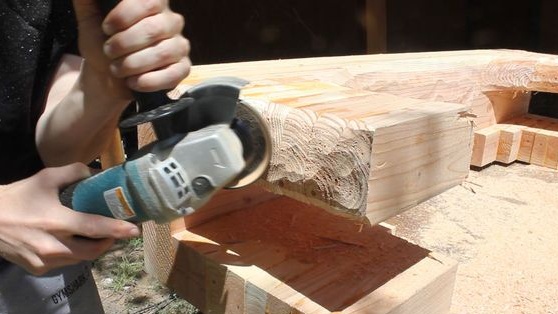
Step Six: Rough modeling
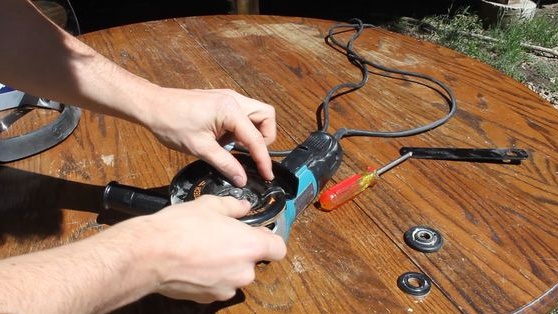
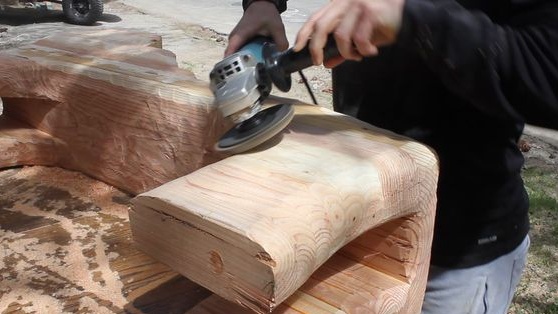
It was the turn for creativity, because the most exciting stage was ahead - modeling a bench using a grinder and a cutting disc.
Be responsible for choosing a circle for working with wood. Consult with a specialist in this regard. Unsuitable consumables can be torn, or they will not be sharp enough and the wood will char in the places of cuts. Be sure to use the protective cover on the grinder, glasses and gloves. Especially if you have not done such work before.
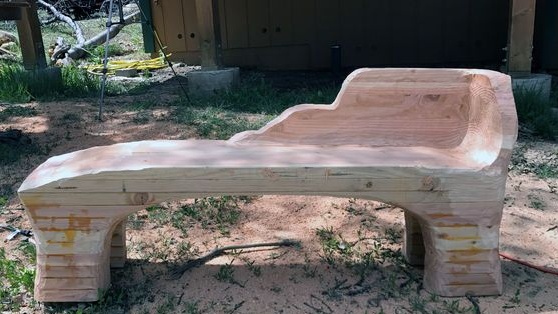
Removing excess at this stage is a purely individual creative process. Cut a little and do not rush. Start with the general outline of the future shop and only then move on to the details. Over the entire surface you should get a smooth curved line.
The author claims that this is not such a frighteningly difficult job as it might seem at first glance. In any case, the process is addictive and the way the most wooden sculpture comes out from under your hands will undoubtedly bring a lot of pleasure.
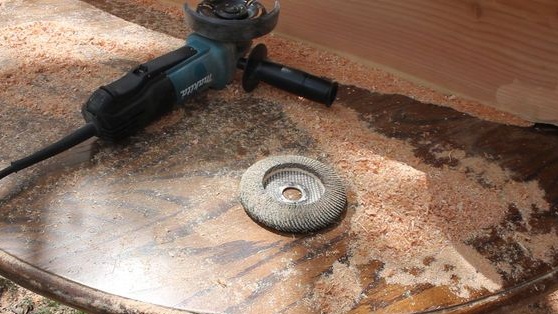
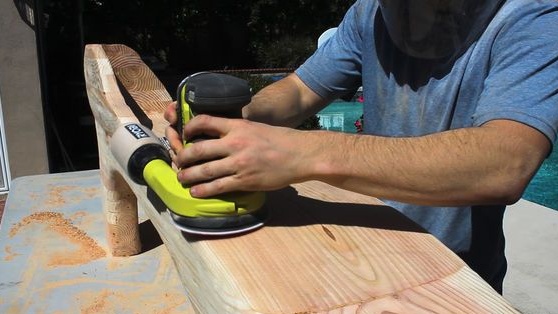
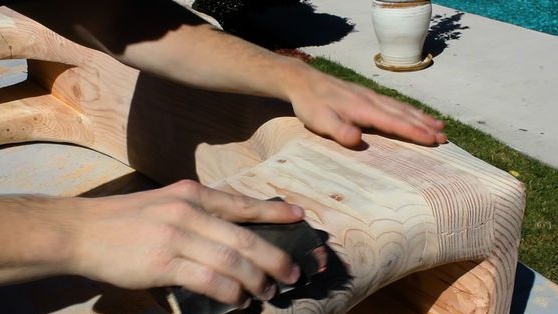
Seventh step: grinding
The shape of the product is indicated, and you can go to the finish modeling or, as the author calls it, to smooth the forms.
To do this, you will need all that grinder or grinder and a petal wheel - such as shown in the photo below.
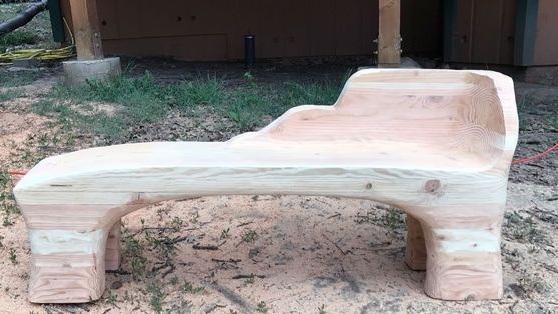
Your task is to get the most smooth surface and prepare the tree for oil processing.
In some hard-to-reach spots, use sandpaper to sand. Coarse-grained paper, remove excess, and fine-grained - carefully grind the surface.
The author took all the work about two hours. Which, compared to rough modeling, is more than twice as fast.
After finishing the work, the author was not too lazy to weigh his bench and came to the conclusion that in the process of processing he removed about 30% of the material.
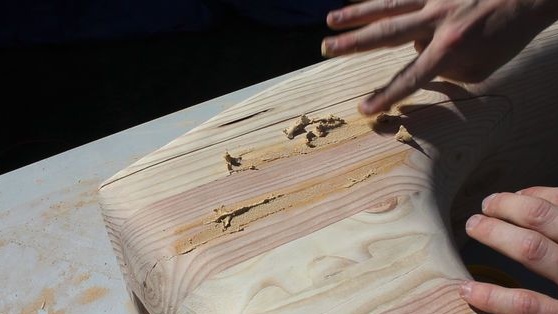
Step Eight: Finishing
Examine the shop. If cracks are present on the surface, fill them with wood putty or epoxy sealant.
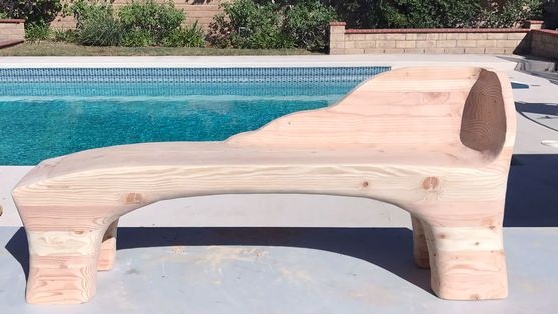
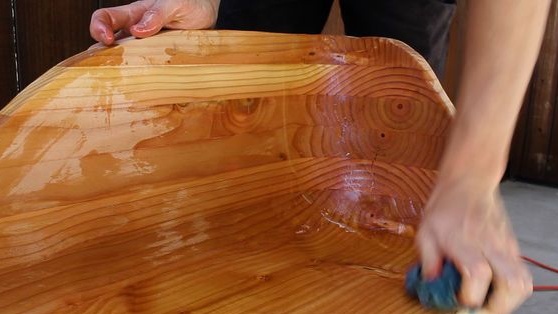
Next, proceed to oiling. The author used natural oils. Flaxseed oil or, in extreme cases, natural drying oil is good for this. You can also use modern tinted oils, which perfectly protect the wood from external influences.
For operation under a canopy or in a house, such processing is sufficient. If the shop is supposed to be put in the open air, the author advises you to think about using reliable varnish.
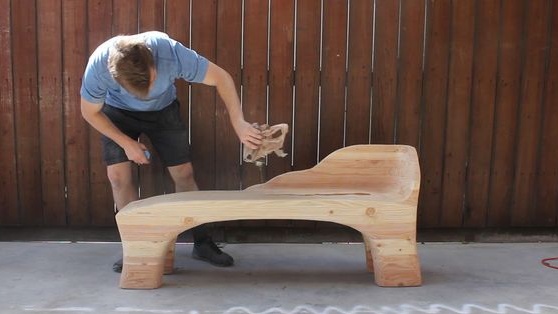
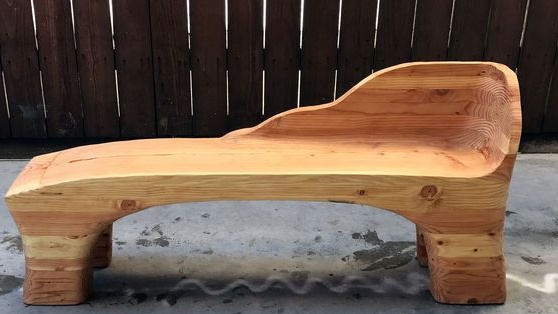
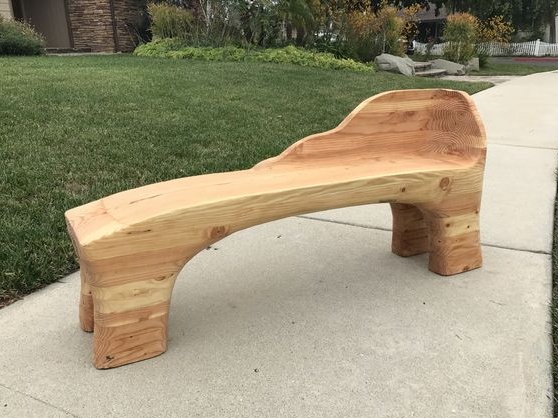
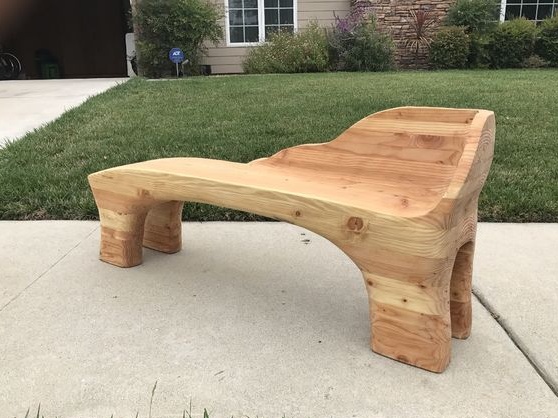
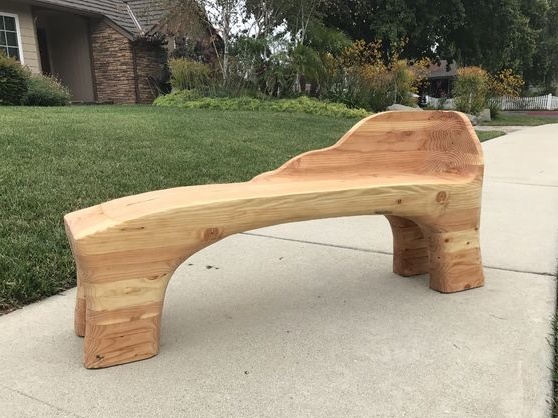
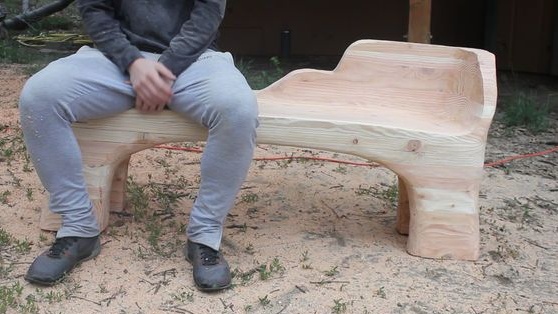
And finally, a few more photos so that you can trace the wonderful transformation of the rough wood trimmings into a beautiful designer bench!