
Forging is actually an amazing activity. The master creates unique, valuable and useful things from almost nothing. One of the most ancient types of blacksmithing is forging weapons. After all, initially a person had only two needs - this is food production and protection from enemies, including animals and people. And for all this he needed weapons.
Of course, today completely different types of weapons are used, so such things are created mainly for the collection, just as products for decoration. Today we will learn how to make a sword in the style of "Gross Messer" do it yourself.
Materials and tools for creating a sword:
- the old suspension spring from the car (or the blade can be cut just from a steel plate and not forged anything);
- a furnace for heating steel;
- a hammer, anvil and other blacksmithing quays;
- a tree to create a pen;
- grinder;
- belt sander and more.
The process of making a knife:
Step one. Making a blade
The author decided to make a blade in the ancient way, that is, by forging. But if you don’t have special skills in working with a hammer, you can cut the blade yourself out of a suitable steel plate. As a material, the author decided to use a car suspension spring; this metal should give in to hardening well.
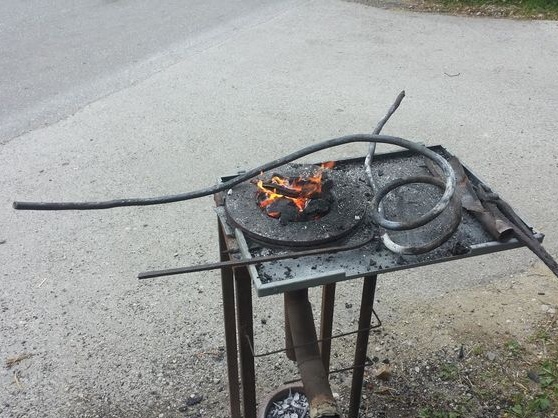
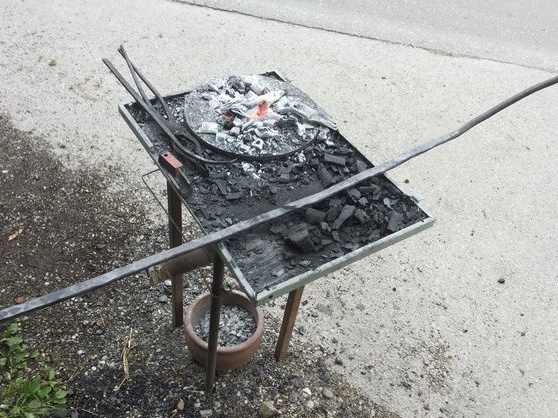
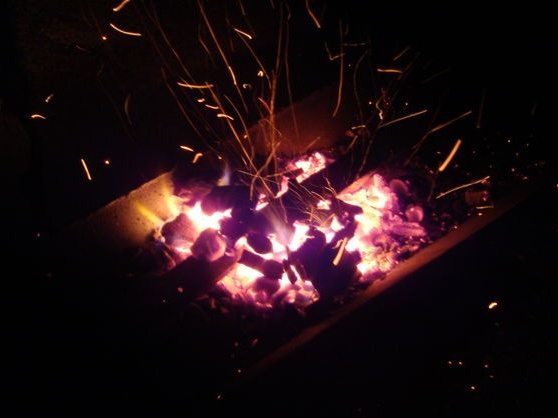
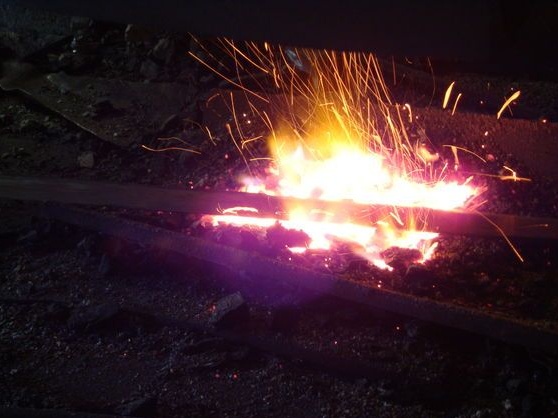
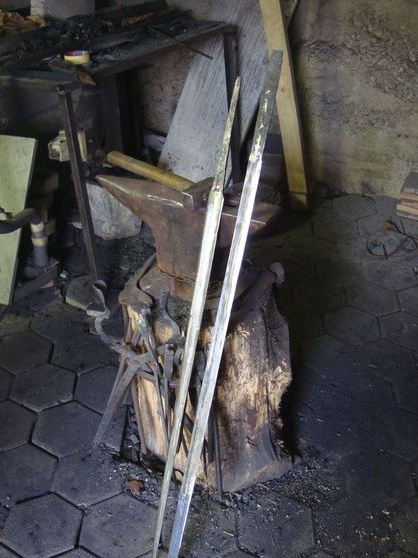
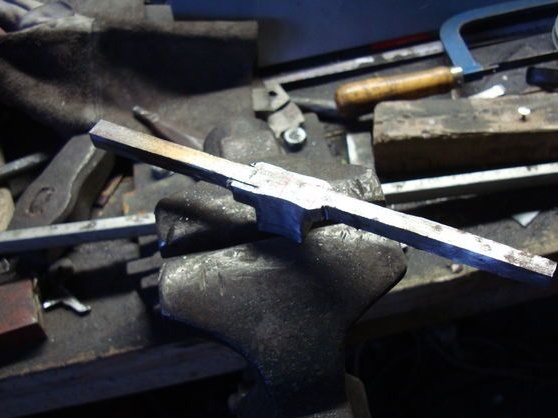
It all starts with the most difficult - alignment of the spring. To do this, the author heats it well and then allows it to cool smoothly so that the metal becomes soft for forging. The total length of the rod was as much as 3 m. As a result, the rod was cut into two parts and the forging process began. It took a lot of coal and sweat to forge a blade, but, according to the author, it completely paid off.
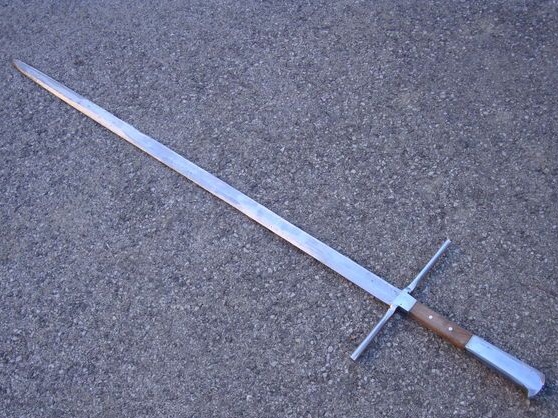
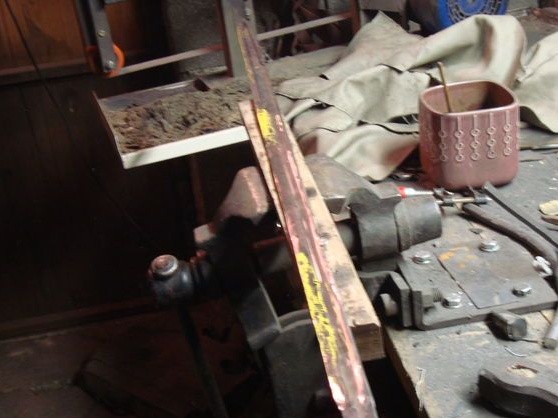
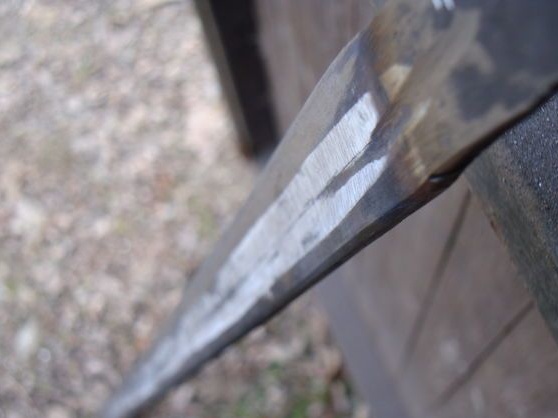
As a result, the manufactured blade turned out to be 140 cm long, and since this is a lot, the author cut off 20 cm. As a result, the blade became 1 m long and 20 cm went to the handle.
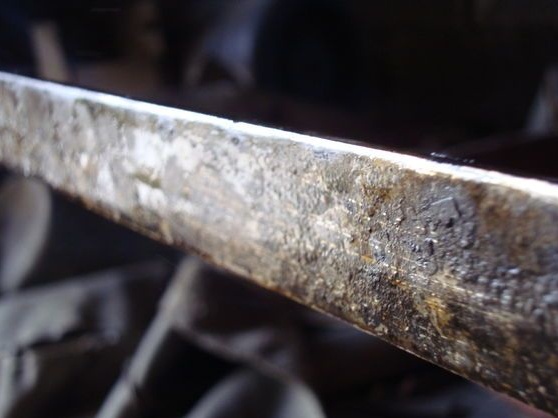
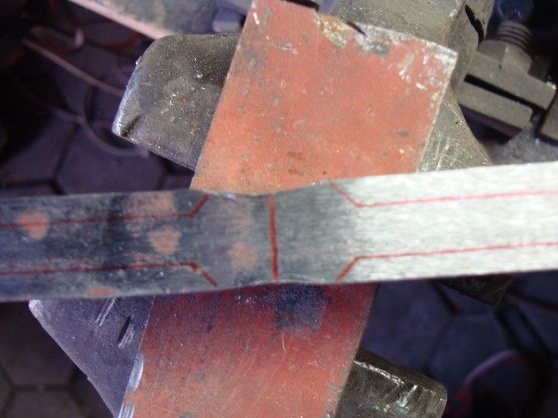
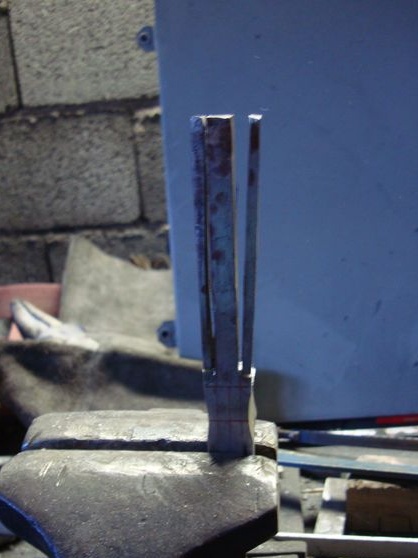
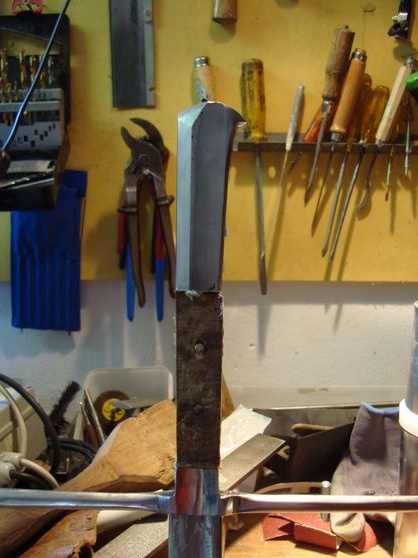
After this, the next type of work begins - this is grinding. First of all, you need to create a blade profile, that is, to make bevels. This is a very crucial moment, since the blade is long, and the bevel should be as uniform as possible along the entire length.Without special equipment, this is quite difficult to achieve. The author carried out rough work with a grinder, and then a belt sander came to the rescue.
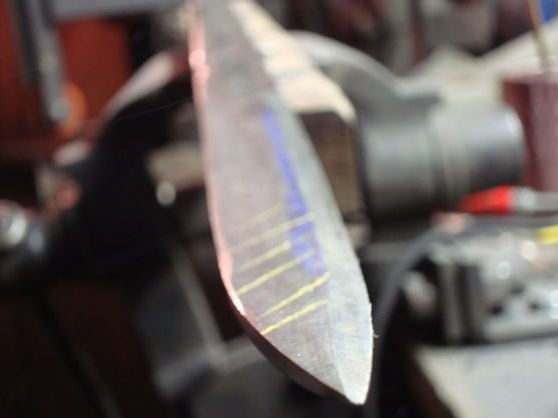
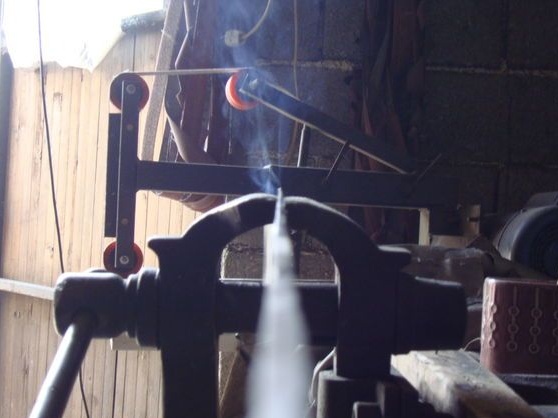
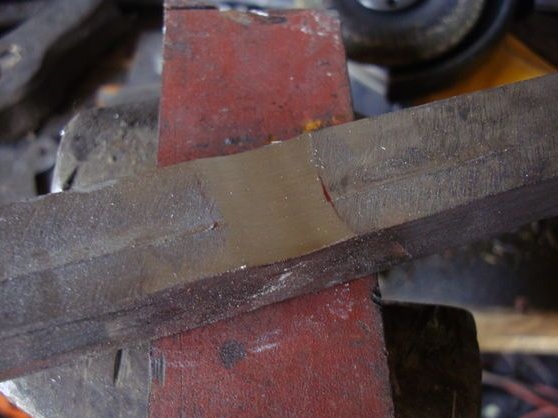
The next step was the gradual hardening of the blade. First of all, after forging, steel must be let go, as it will be strong. To do this, the entire blade must be heated evenly and then allowed to cool gradually. Further, when the blade cools down, it needs to be heated again and then cooled in hot oil, this will be metal quenching.
During hardening, the author had a problem - this is the deformation of the blade, but it was possible to eliminate it by pressing on the blade in curved areas. Steel for hardening must be heated to a temperature of approximately 270aboutC. Then, after hardening, it still needs to be brought finally to the desired thickness on a belt sander. At the end, the blade is well polished.
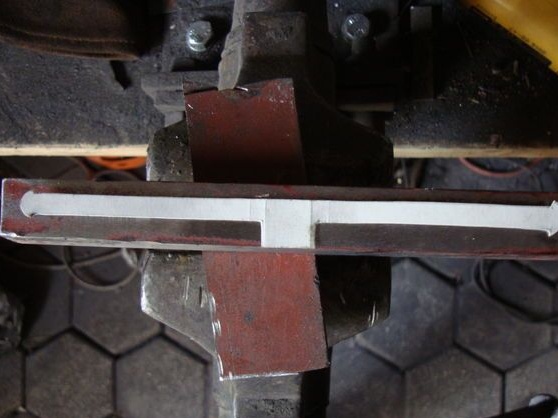
Step Two Making a crosshair for the sword
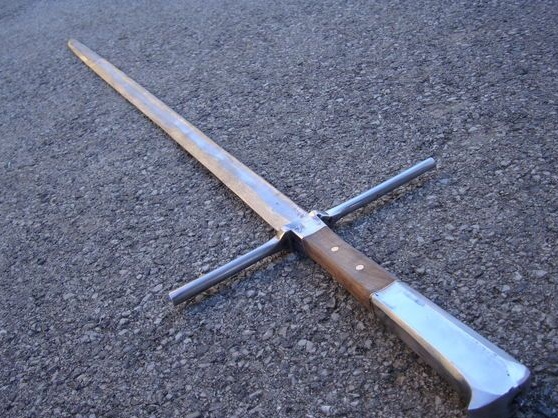
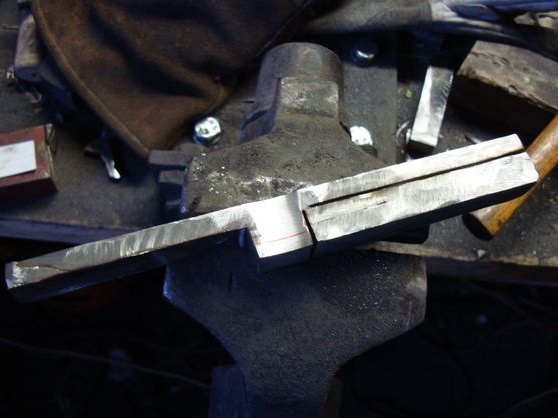
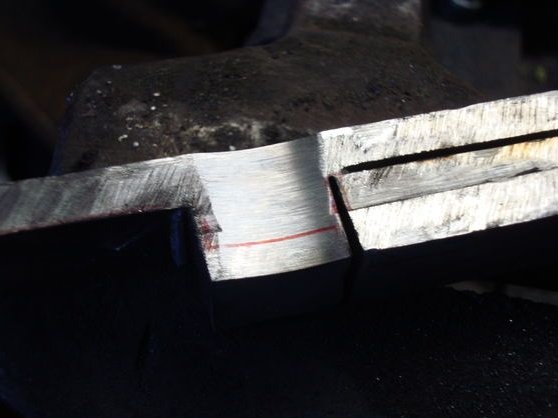
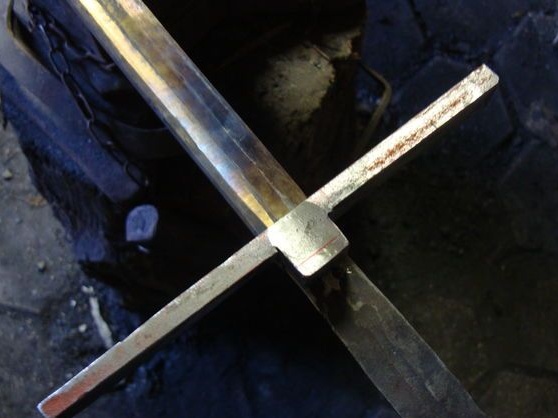
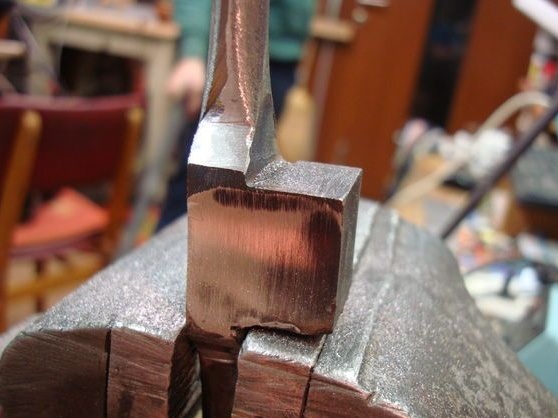
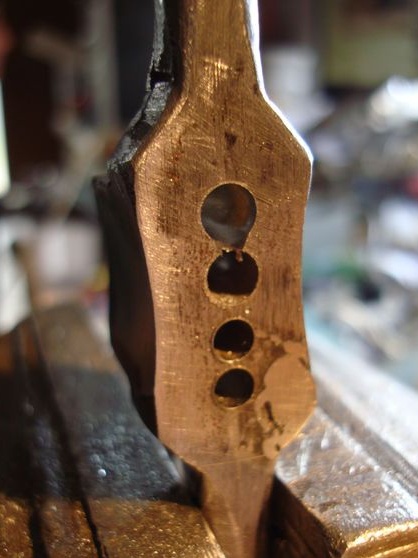
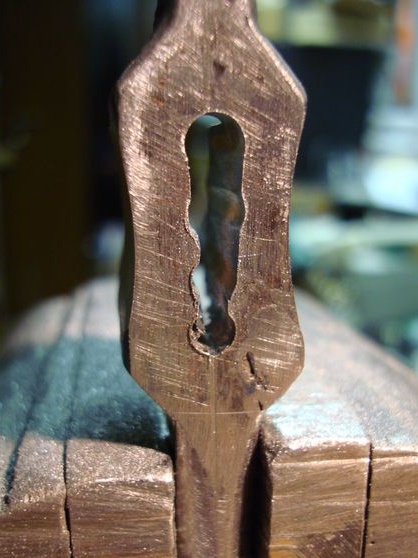
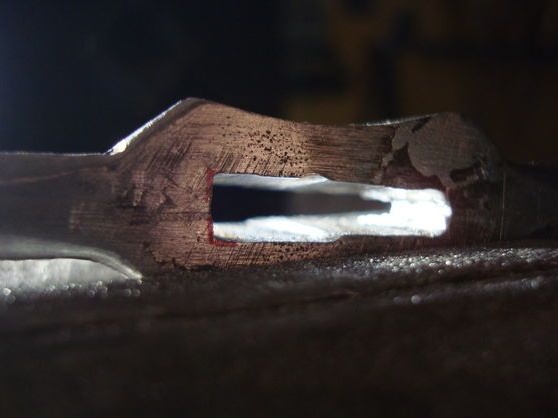
Crosshairs are designed to protect hands from an enemy sword. In addition, it should have the right weight and be in the right place to get balance. The author made a crosshair from mild steel 2 cm thick and machined the desired shape. It was difficult to make a groove into which the blade was then mounted. The blade should go into it as tightly as possible, with a minimum gap, otherwise everything will hang out. To make such a groove, the author first drilled holes, and then, using a file, bore them in the shape of his blade. The whole process of creating a crosshair took two days.
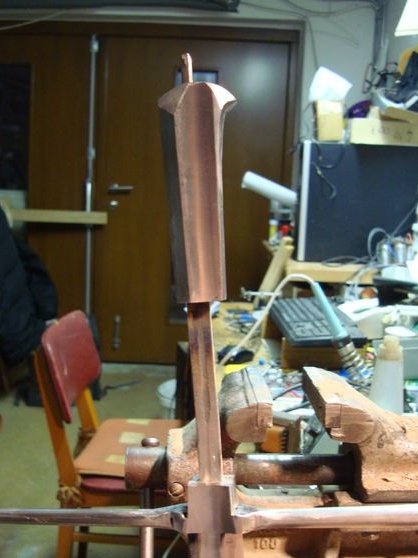
Step Three Making the back of a sword handle
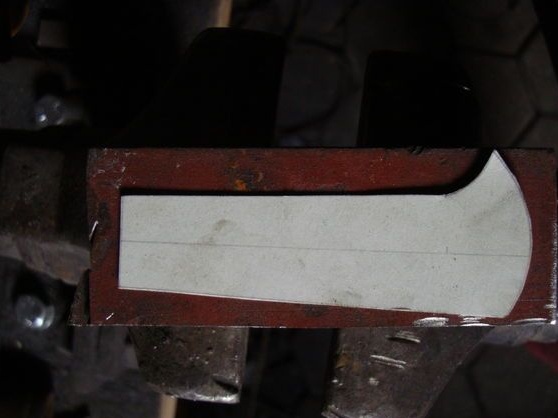
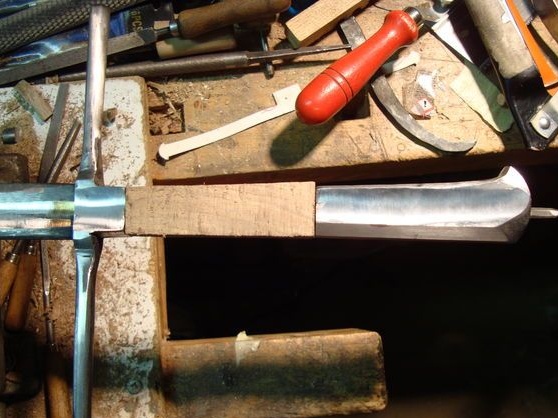
The handle of the sword is made of two elements, one metal and one wooden. The metal part is the bottom of the handle. The author makes it from a metal plate 2 cm thick, judging by the photo, this is aluminum. All you need to do is come up with the right shape, and then cut it with a grinder. Then, of course, you will need to tinker a bit more, grind the pen, asking her the desired profile. In conclusion, a hole is drilled through its entire length into which a part of the blade intended for the handle is inserted.
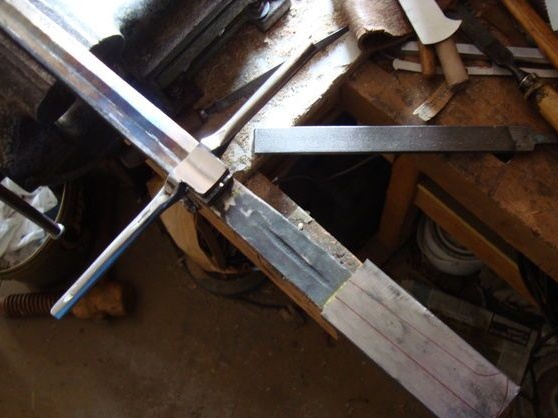

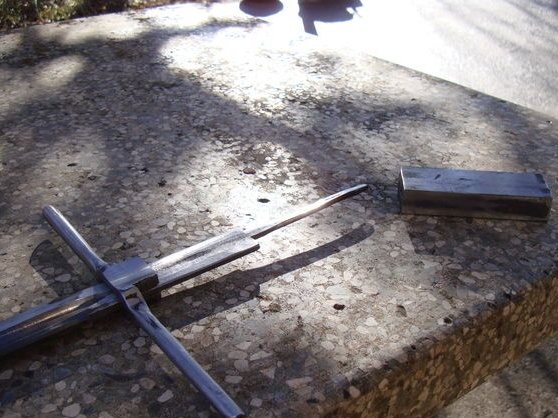
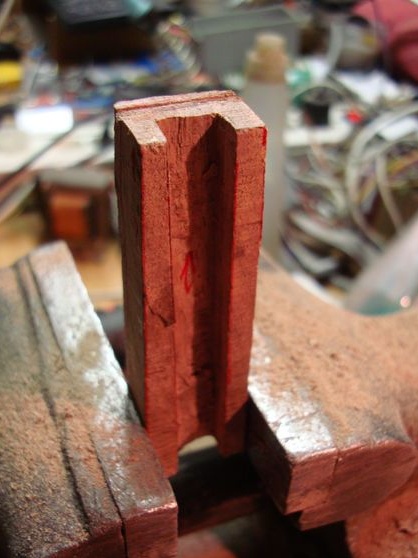
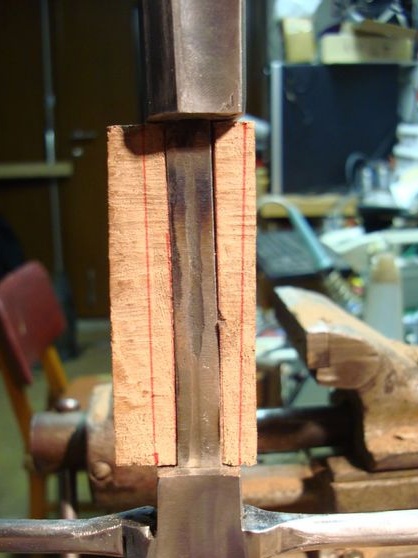
Step Four We collect the pen and finally finish the sword
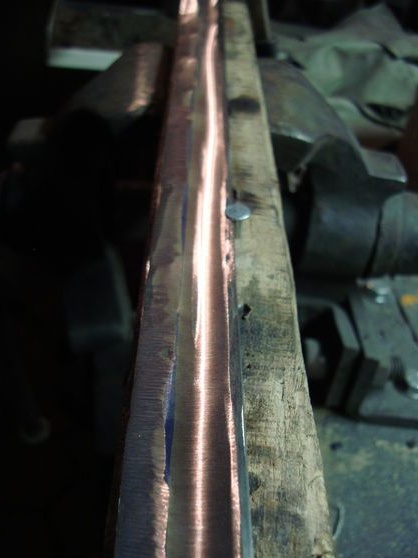
The material for creating the pen was a light nut. It is necessary to make two halves of the desired shape and size from wood. Next, through both halves and through the tail of the blade, you need to drill a couple of holes into which the pins are inserted. It is best to use non-ferrous metals to give the pen a special look. Front and back of the wooden handle you need to put plates of brass, copper and so on. In conclusion, the whole thing is lubricated with epoxy glue and tightly clamped for 24 hours. When the glue dries, the handle needs to be well processed on a belt sander. Here you can set the handle profile.

That's all, the sword is ready, if desired, it can be sharpened and tested, but since we have it decorative, we will not need sharpening. So that the metal does not oxidize, and the tree does not deteriorate, the steel can be varnished with metal or with a special lubricant consisting of vegetable oil and wax. The handle can be soaked in oil.