Furniture made of wood has a special charm. Buying a pair of such gizmos for your own home is always a pleasure. But what can really please is the prospect of making something do it yourself. And it is always doubly pleasant when recyclables are involved, because partly this significantly reduces the purchase prices for materials, and partly saves the environment for us and our descendants.
The author of this workshop will tell you how to turn firewood into an original chair and this is not a joke. He himself made a chair out of a stump. This time not too large, so a new element of the interior will not only decorate the space of the house, but also great for the nursery.
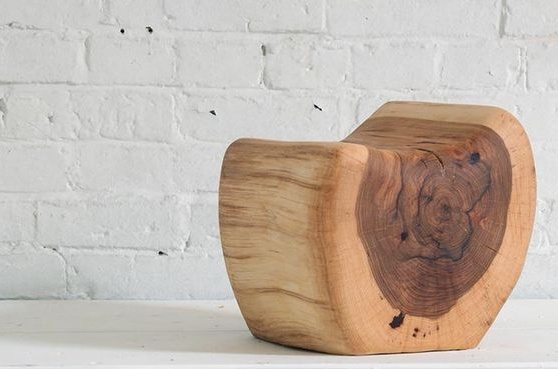
Mono top of the stool can be made soft, thoughtfully choosing the colors of the fabric used, but like this, without frills, it looks as natural as possible.
White oak stump cost our master $ 2, which is very, very economical for a resident of the United States. The remaining costs were spent on finishing oil, but overall it came out inexpensively. In the store, despite the amazing simplicity of the design, they would ask for exorbitant prices for such a chair.
In order to make this wonderful stump chair you will need:
1. Materials:
- the nail of the program itself is a stump of the required diameter, well dried;
- putty on wood;
- BIOSHIELD protective oil based on natural oils and wax;
- polyurethane varnish as desired, preferably matte or semi-matt.
2. Tools:
- chainsaw;
- grinder;
- ax;
- sandpaper with large and small grains;
- putty knife for putting putty;
- A soft, lint-free cloth for soaking wood with oil.
Step One: Material Selection
In fact, you can use any kind of tree. The seller of firewood, according to the author, sold him a slice of white oak. The oak will undoubtedly last a long time and it will be possible to avoid the appearance of dents during operation.
However, dry oak is quite difficult to process properly. If your choice also fell on oak or any other hardwood, be prepared for the fact that you will need strong and reliable tools.
Soft woods like linden are best avoided, as they are highly susceptible to damage.
Wood for work must certainly be well dried. If you got a raw stump, it will take a long time before it is ready for use. Drying the tree is necessary in the bark.This will avoid express drying and characteristic deep cracks.
Saw the workpieces with a substantial margin in length so that before use you can saw off the gray cracked ends.
Step Two: Pre-Processing
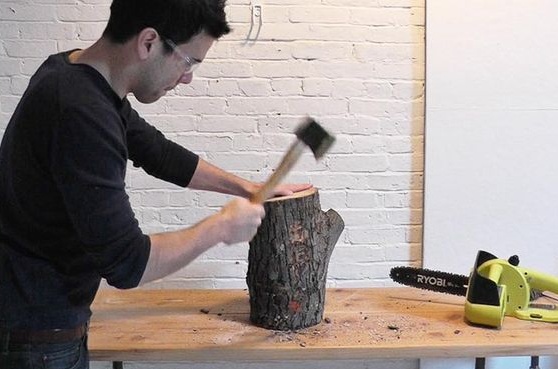
After the workpiece is dried properly, remove the bark. The ax will do a great job of this. In order not to injure the wood again, remove the bark in layers. The author is sure that this is one of the easiest tasks for today.
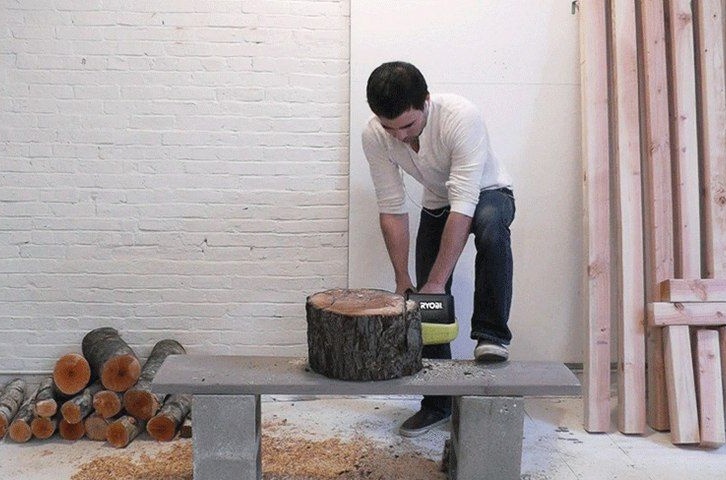
Using a chainsaw, trim the ends of the stump to get the most flat surface on both sides.
A chainsaw, of course, is not the most accurate tool, but later in the processing process you can correct all the flaws thanks to the grinder.
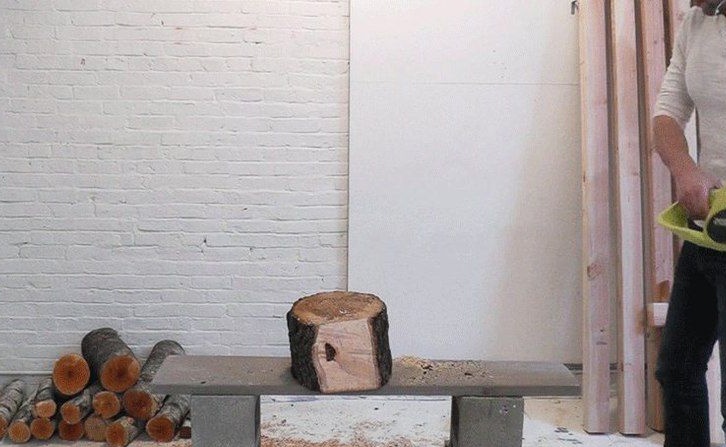
Trim the base. If you have already decided where the top, and where the bottom of your future chair, proceed to the base. Everything is simple here: for the chair to be stable, its base must be flat. A chainsaw will help you cut the bend. Do not remove too much, because in the end, in profile the chair should resemble a rounded cut of a tree.
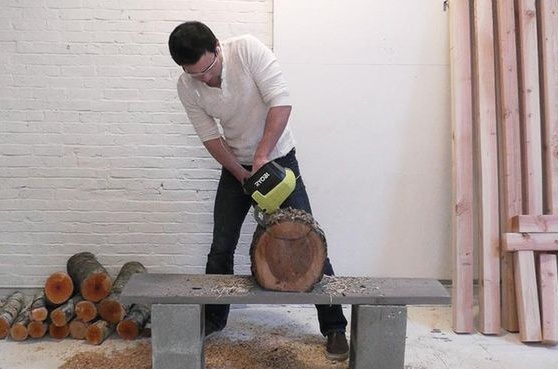
Step Three: Making a Seat
The width of the seat directly depends on the length of the tire of your chainsaw. The author stopped at 22 cm.
You need to cut out a slightly rounded recess for seating. To work comfortably, temporarily fix the stump with screws on a wooden work surface. So the workpiece will remain in place, and you can work as accurately as possible.
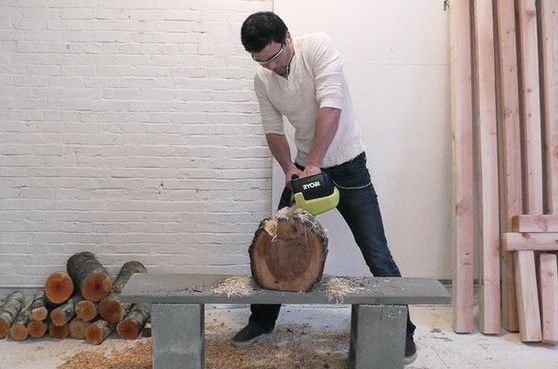
The author did not immediately find how to cope with the task and came to the conclusion that cutting the seat in one go would succeed. Then he decided to use the wedge method.
He sawed two wedges on each side until he reached the required shape. Then he sawed out the remnants of the tree with honey with wedges. Thus, he received a conditionally rounded seat, ready for further processing.
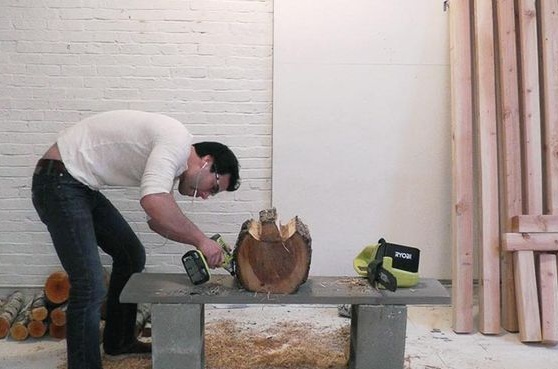
Remove the screws and proceed to the next step.
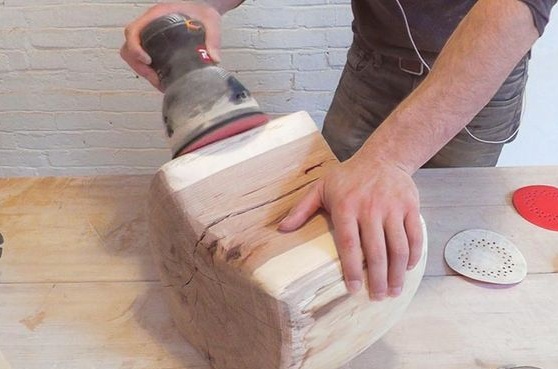
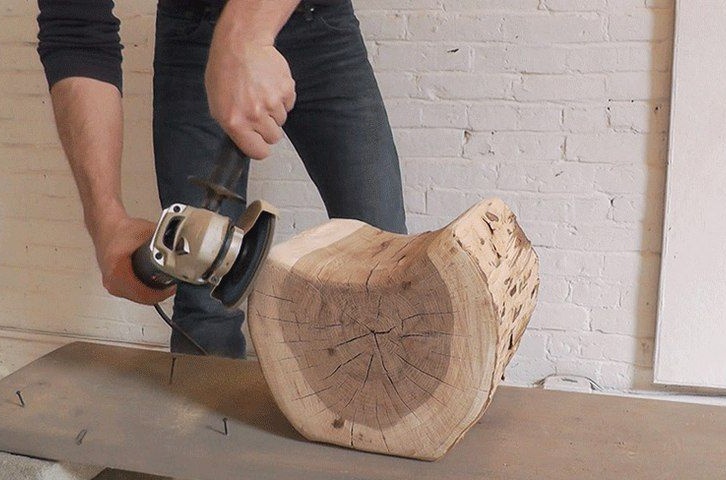
Step Four: Fit Your Chair
In order to form a chair, the author used a grinder with a coarse nozzle. Your task at this stage is to smooth the sides and round off sharp edges.
Once the shape seems satisfactory to you, change the circle to a shallow one and grind the chair until it forms a perfectly smooth, pleasant to the touch surface. Clean the workpiece from dust.
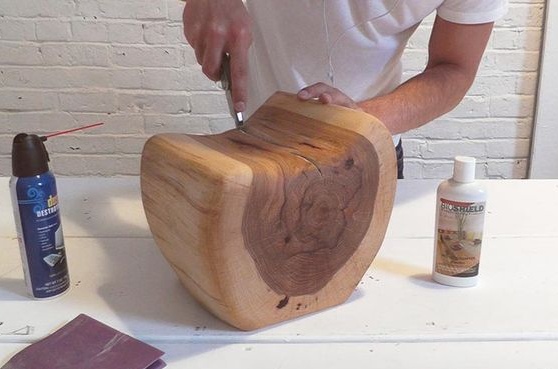
Step Five: Troubleshooting
Carefully inspect the workpiece. If you find gaps, and this is most likely, they need to be eliminated. To do this, we need a putty on wood.
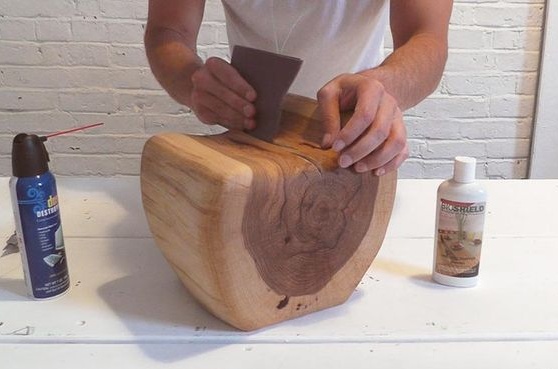
Before filling the gap, clean it of sawdust, dust and grind as shown in the photo.
Fill the gaps with putty using a putty knife. Make sure the putty fills the entire volume. Smooth the surface and leave the chair to dry completely. If the quality of the putty is poor, you can replace it with epoxy sealant. It is more resistant to all kinds of influences.
The author completely skipped this step. He just wanted to make sure that the cracks would not cause harm during operation. In order to smooth out the cracks, he used a knife and sandpaper.
Step Six: Finishing
Since the chair was originally conceived as a child, the author decided to use an extremely safe composition for its processing. He chose BIOSHIELD protective oil based on linseed oil and wax. Apply a layer of oil with a soft, lint-free cloth, rubbing it carefully into the wood surface. Wait for the oil to absorb and repeat the whole process again. For indoor use this is quite enough. Your chair will be protected from ultraviolet rays, moisture and dust.
However, the author believes that if you are not alien to more synthetic materials, you can use polyurethane varnish as a final treatment.It is better to apply it in a couple or more layers, waiting for the time until each of them is completely dry. The first coat of varnish and all subsequent ones, except for the finish, will not be superfluous to sand with fine sandpaper. This contributes to good adhesion of the layers to each other.
If you want to tint wood, use a stain, and even better - protective and decorative toner oils that perfectly protect the tree from harmful effects. Many of these compounds do not need a top coat of varnish, but work well on their own.
And finally, the chair can simply be opened with varnish, but also certainly in several layers. It all depends on your personal preferences.

The original stump chair is ready to use!