


Flashlight - I think an indispensable electric device for night vision. Without a flashlight, a person in the dark is generally impossible to see. This is due to the fact that in the dark we cannot distinguish colors, and this invented device helps us to distinguish colors, and therefore we begin to see in the dark.
Today, there are many types of flashlights, both conventional and flashlights with adjustable light beam, that is, these are flashlights where you can adjust the area of the illuminated spot using a conventional collecting lens. In this article I will tell you and show you how to make just such a flashlight, which instead of the usual front glass will have the same collecting lens that I showed in the last article. If you have not seen this lens and the method of constructing it from an ordinary plastic bottle and water, then you can simply go over this the link. And so, let's move on to the very manufacture of our flashlight.
For the manufacture we need:
Instruments:
1) Stationery knife,
2) Hot glue and glue gun,
3) Electric soldering iron,
4) Side cutters or scissors (for cutting wires).
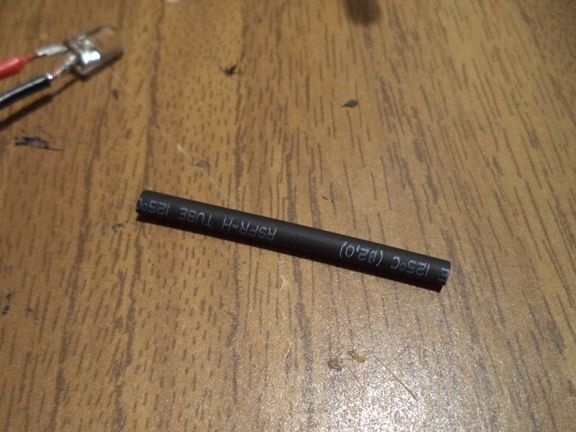
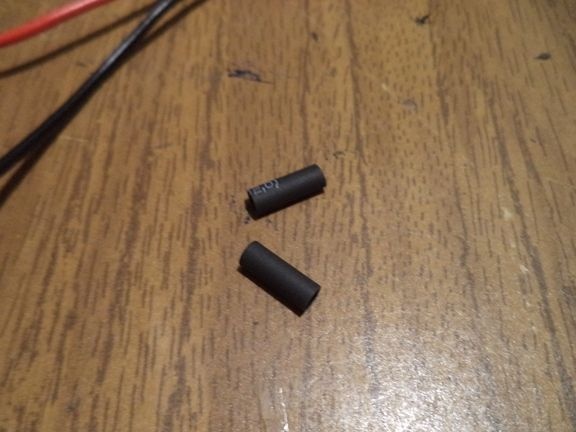
5) Lighter or matches (for heat shrink tubing)
Materials:
1) collecting lens
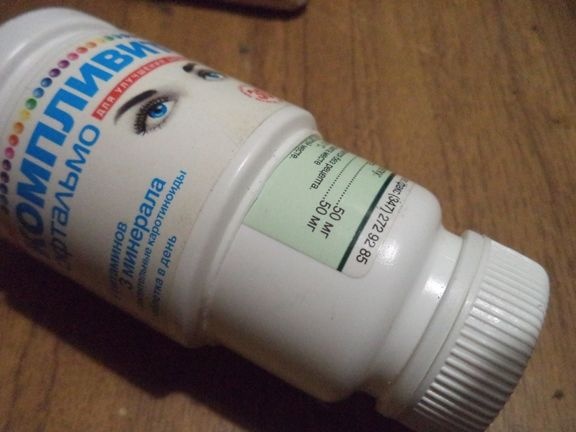
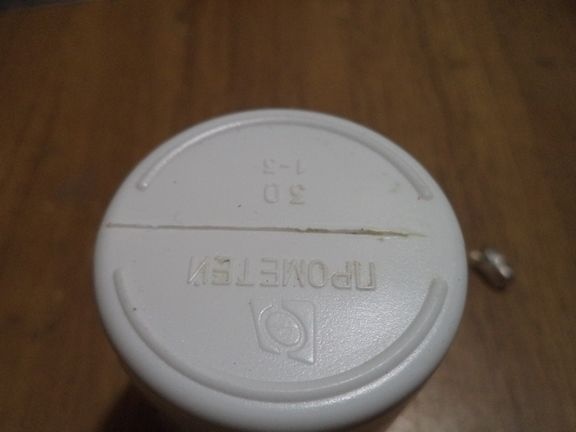
2) Two bottles of vitamins, different in size,
3) A powerful and bright LED, but for my example only a not very bright ordinary LED is
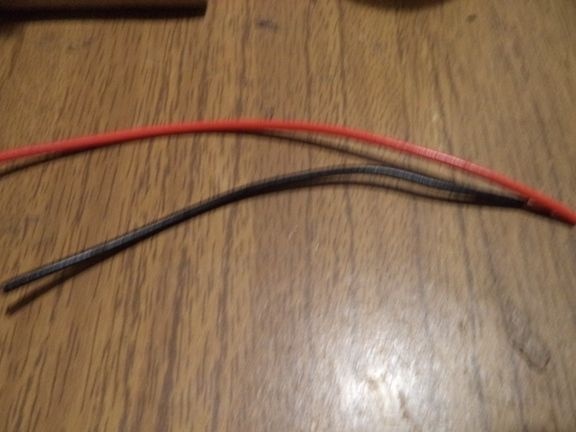
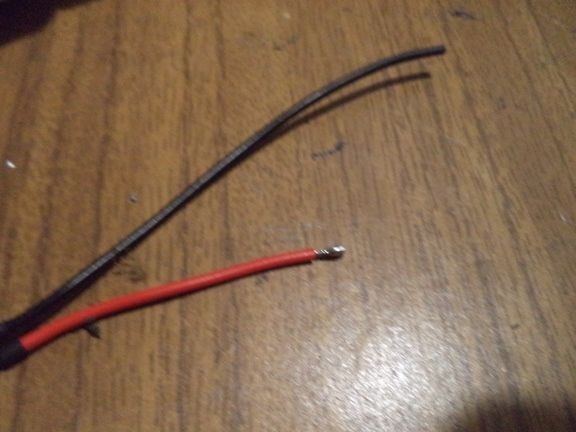
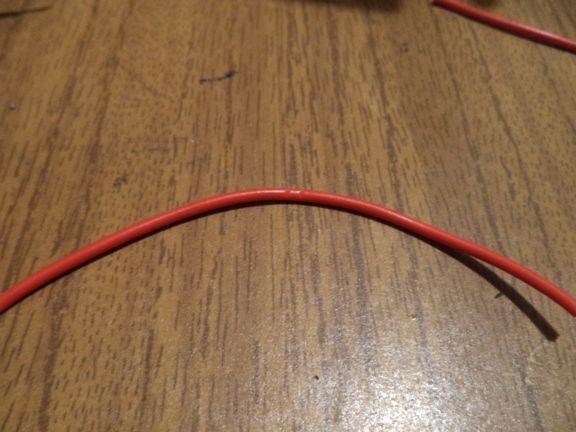
4) wires of different colors,
5) Heat shrink tubing or insulating tape,
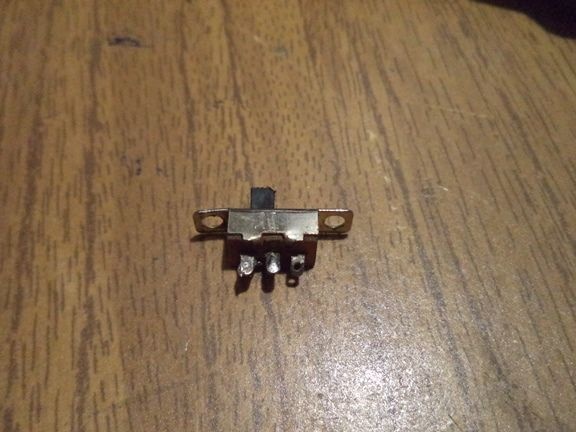
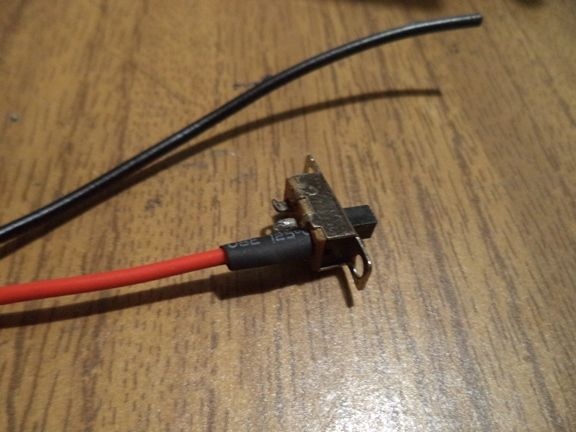
6) Button to turn on and off the flashlight,
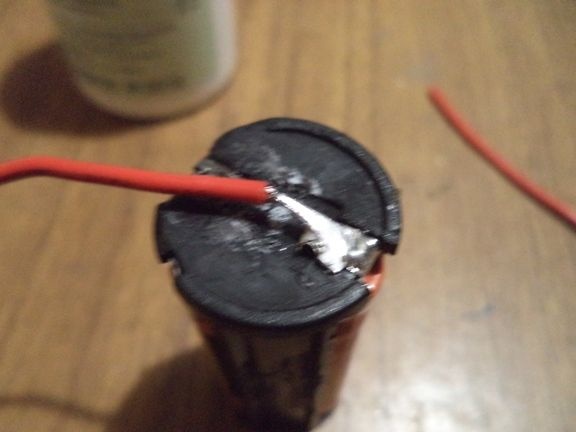
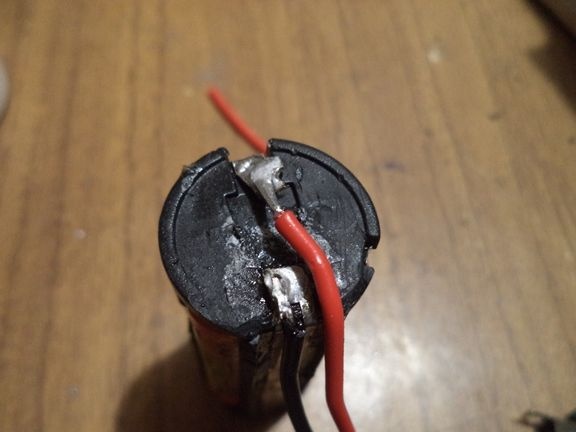
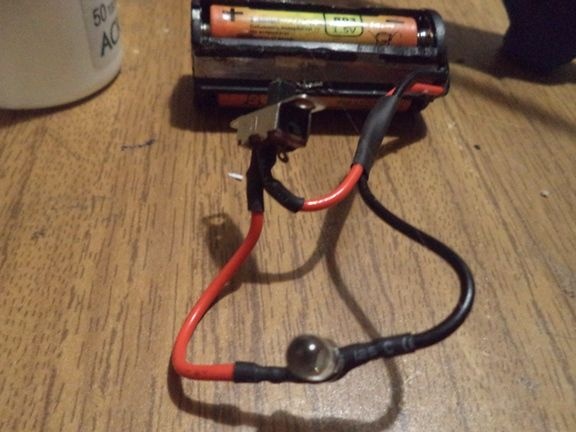
7) Three small 1.5V batteries and, as it were, a container for them to receive one 4V battery.
The process of making a flashlight with adjustable brightness do it yourself.
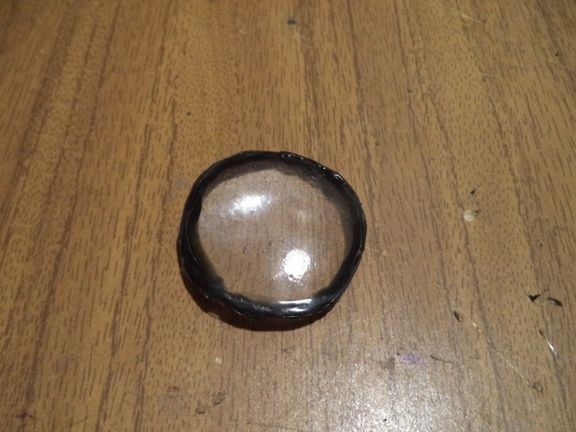
We take previously made homemade, the link to which I left at the beginning of the article. That is a collecting lens.
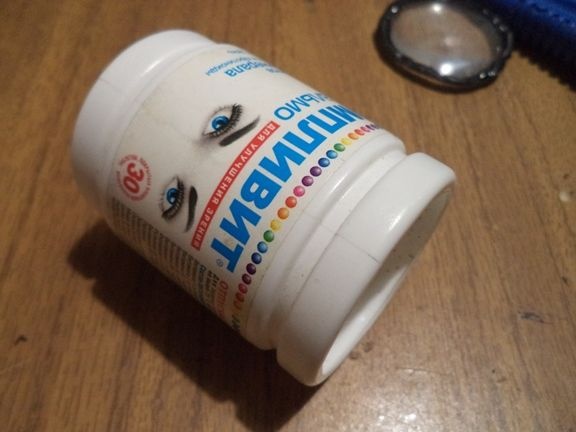
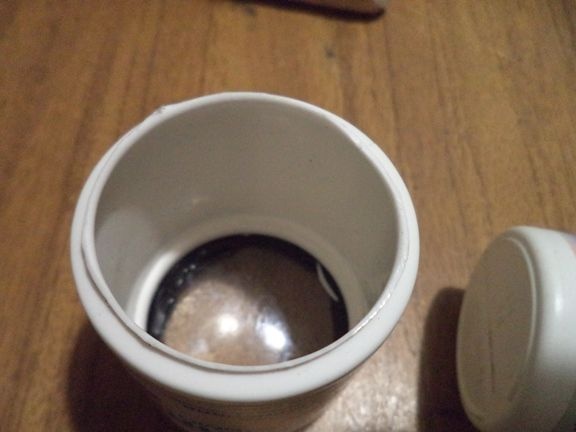
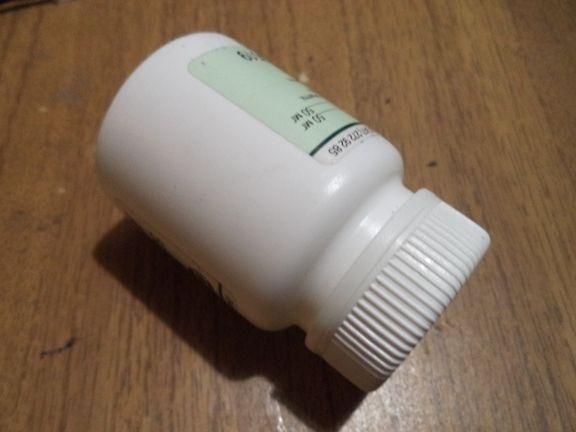
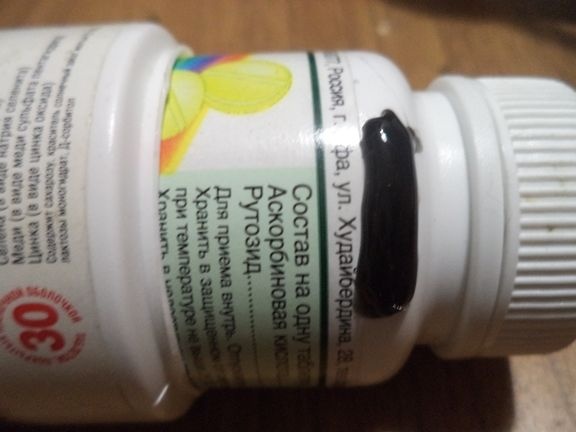
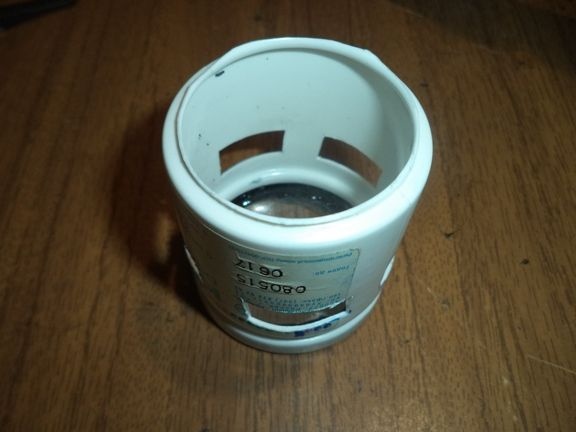
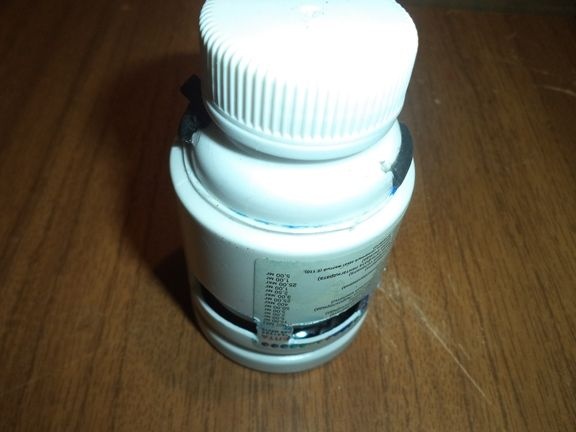
And a jar of vitamins.

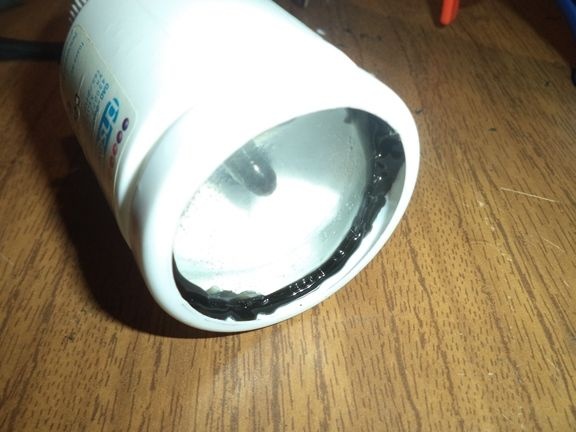
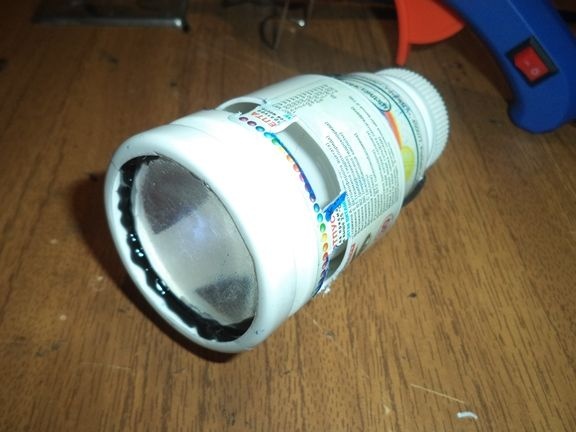
Using a sharp clerical knife, cut off the bottom of the jar.
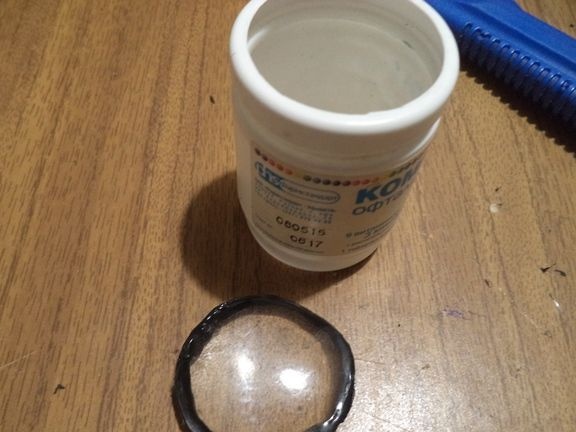
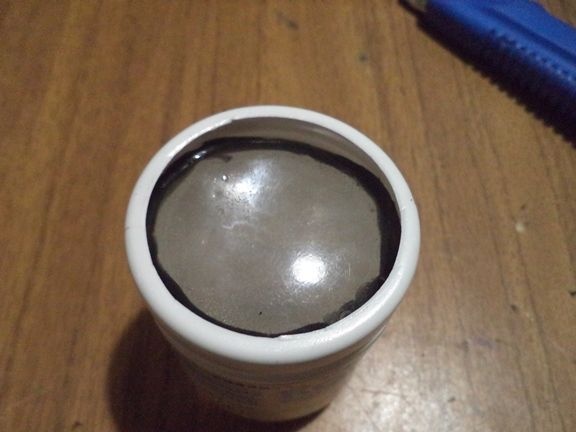
Using hot glue, glue a homemade collecting lens instead of the bottom.
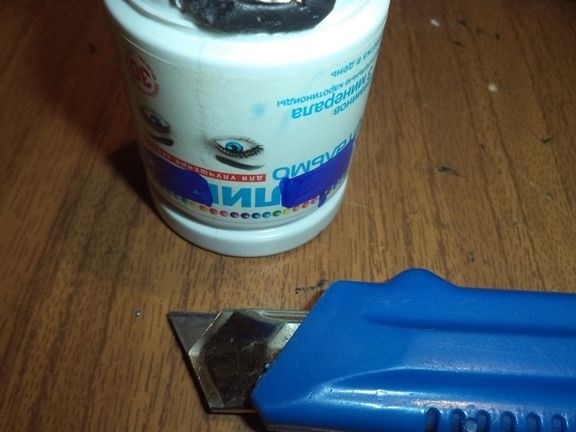
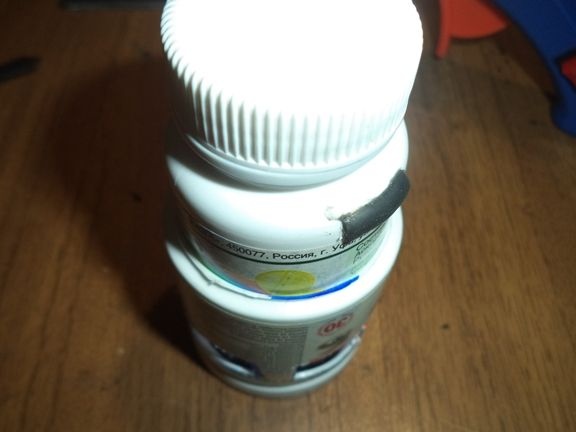
With a clerical knife, we cut off the other side of the jar, so that another jar could easily fit into the resulting hole, slightly smaller in size and volume. It is necessary that the jar was kept inside another jar, did not fall out of it.
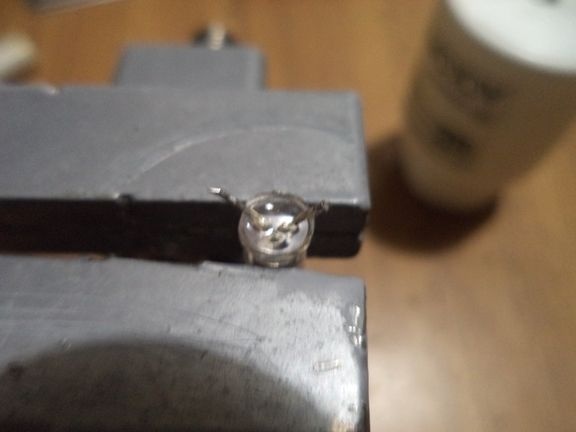
Now we take the LED, it’s better more powerful, not like mine (I mentioned this a little earlier, at the beginning of the article).

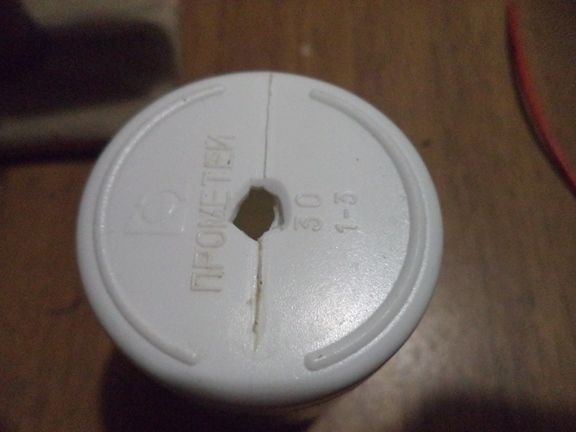
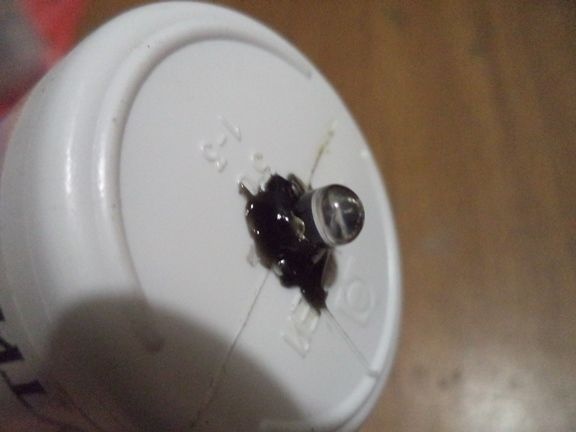
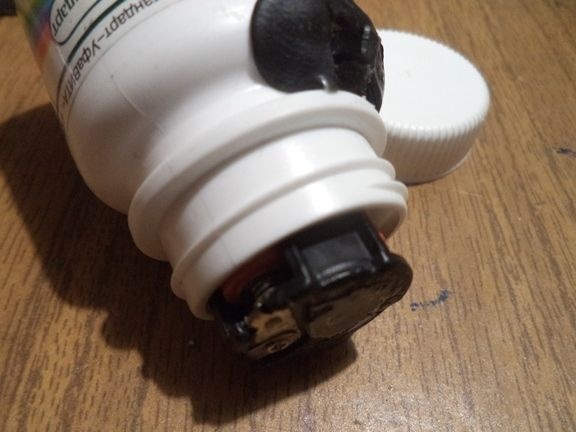
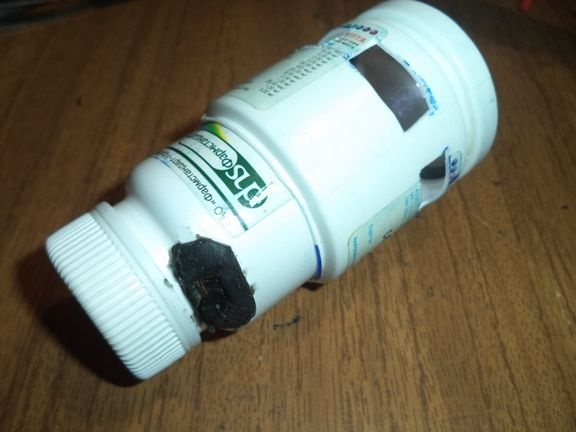
We take out a small jar from a large one and on its bottom, right in the middle we make a hole in the diameter of the thickness of the LED. The hole can be made with a drill or a screwdriver, or you can just pick it with a stationery knife.
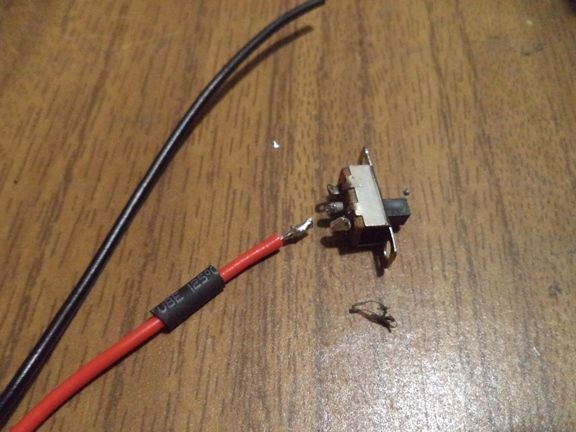
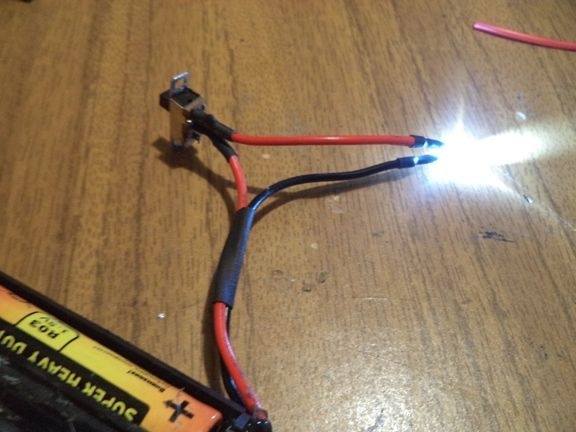
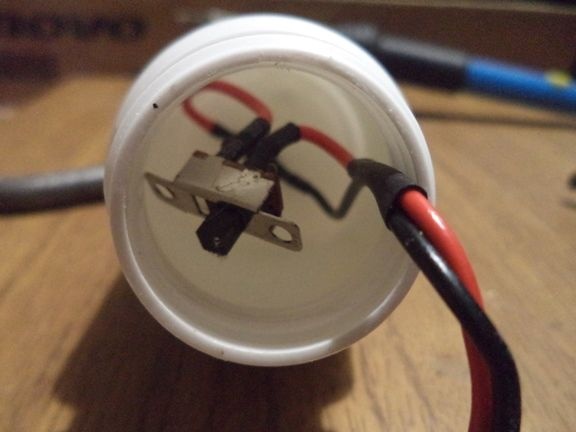
We take the connecting wires, an LED, three small 1.5V batteries, a battery container and a switch and collect the electric circuit, soldering everything with an electric soldering iron and connecting everything in a sequential way. We isolate exposed areas with heat shrink tubes or ordinary electrical tape.
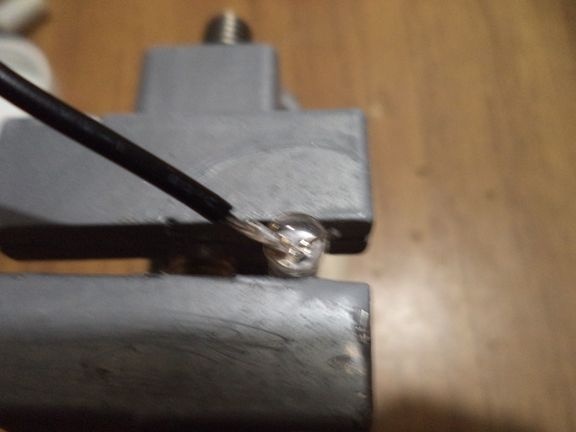
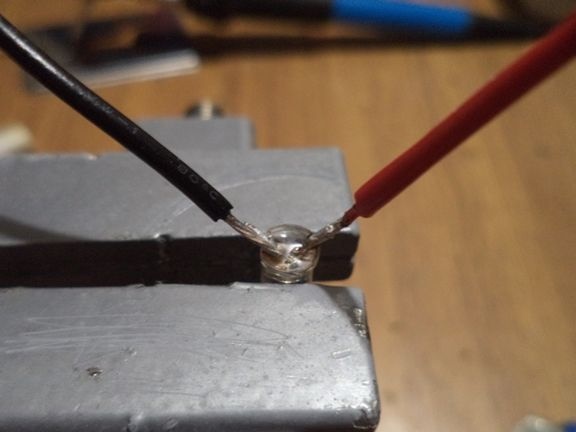
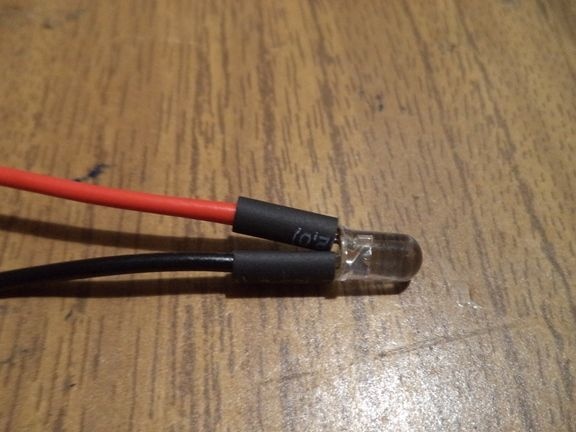
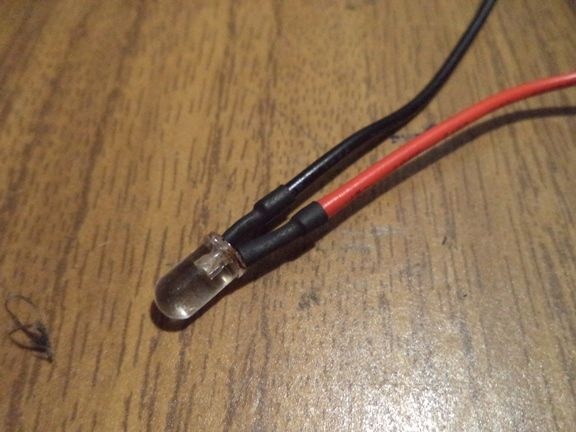
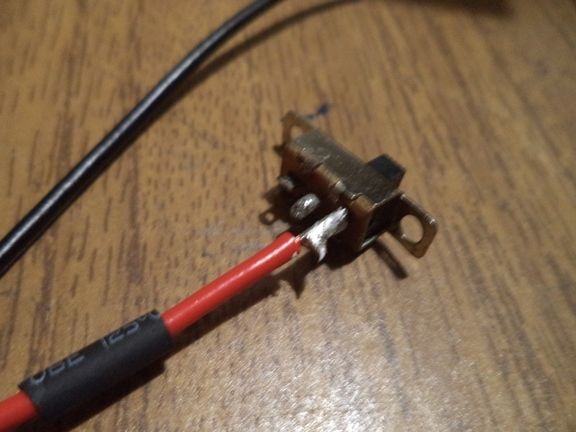
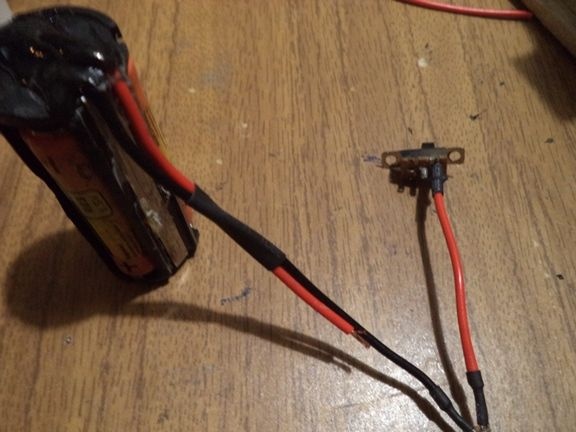

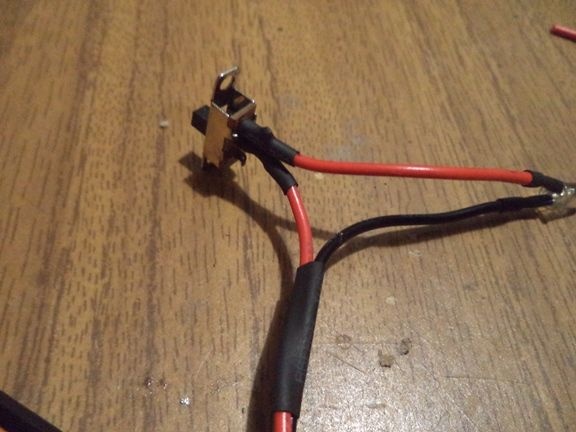
We check the resulting electrical circuit for operability. If the LED is lit when turned on, then we put all of this design into the body of the future flashlight itself.
As I wrote earlier, we put everything in the case, that is, in a small jar of vitamins.
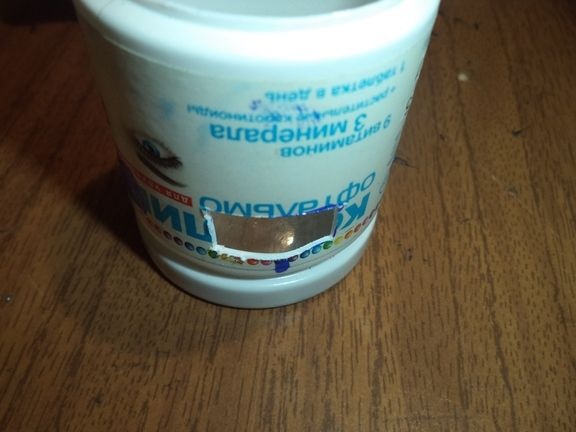
We place the LED in the previously made hole and seal it with hot glue.
It turned out that this process is not very simple.
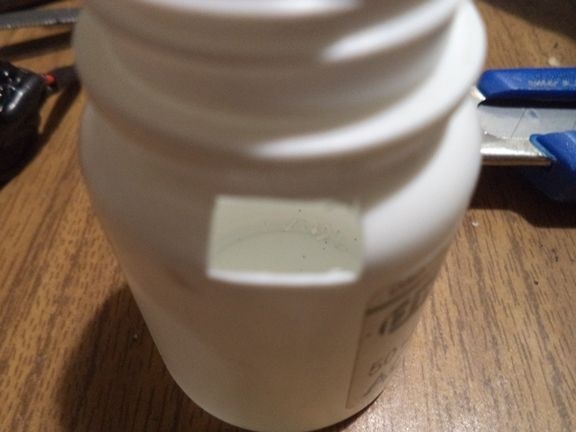
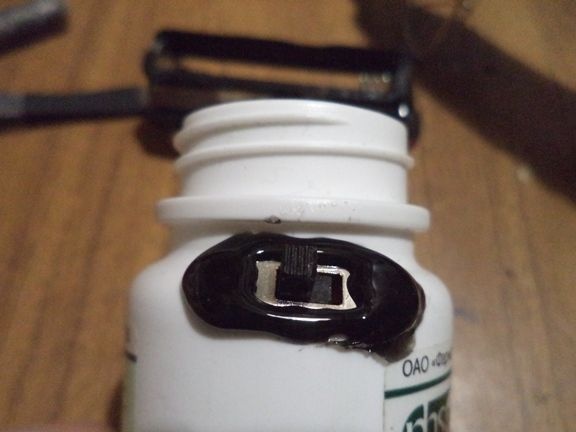
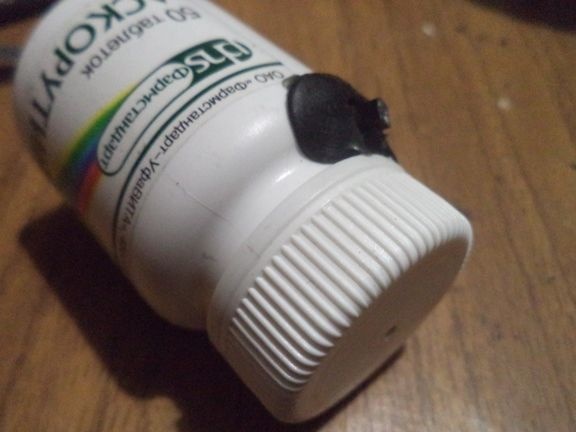
Using a clerical knife, we make a rectangular hole for the flashlight switch.

The switch is also sealed with hot glue, like the LED.

We insert the batteries and place them inside the jar, and close the compartment with the lid. If the batteries run out, unscrew the lid, remove the batteries and insert new ones, then close them as well.
Well, I got such a device.
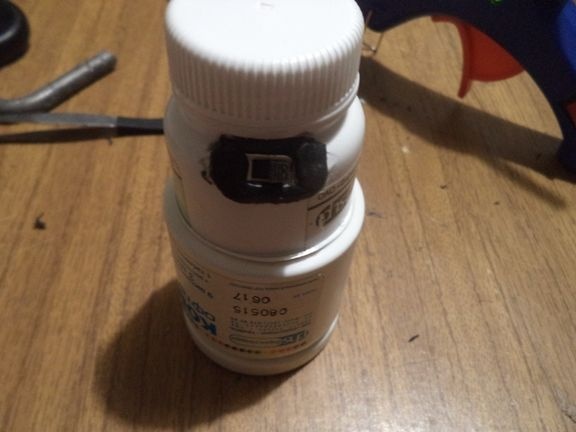

Also, with a clerical knife, we make rectangular holes on a large jar. It is not necessary to do this at all.
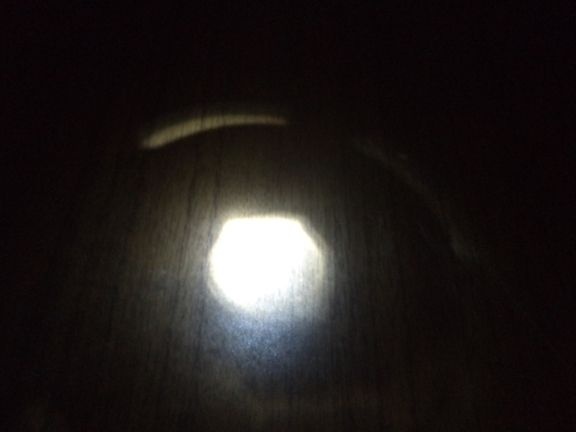
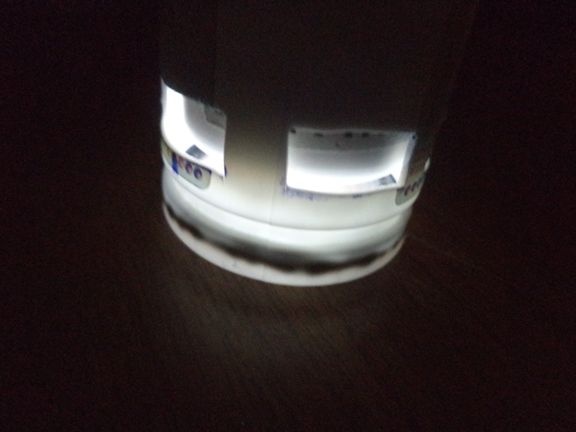
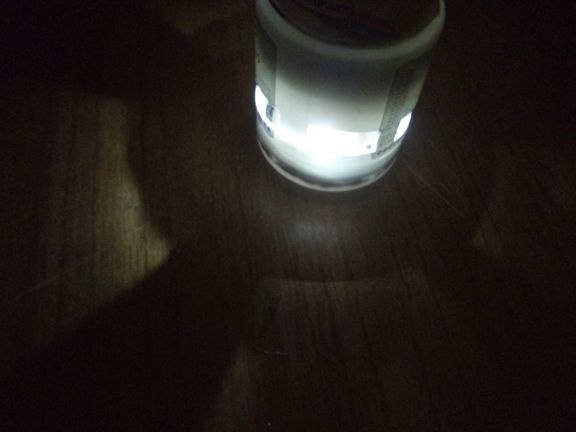
Check the flashlight for performance. Doing it better in the dark.
Yes, the LED would be more powerful, it is a pity that there was no stronger one.
With this LED, the flashlight is most like a nightlight.
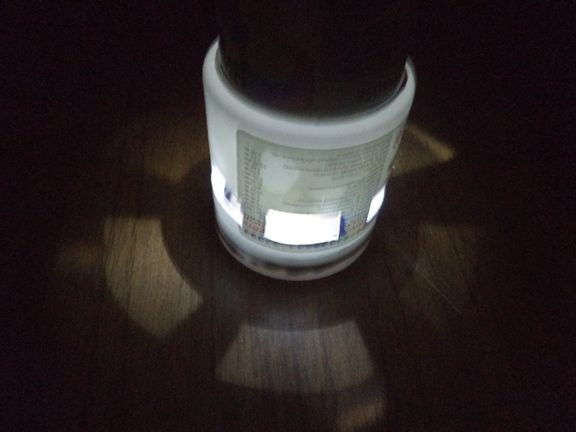
That's all, the flashlight is ready and tested, now you can actively use it. On jars, you need to peel off the stickers, and so it will be seen better and more beautiful. I repeat, it is better to use a LED more powerful. Moreover, this LED also has its own collecting lens, and because of the double lens, the light becomes dim. LEDs such as the XM-L2, T6 are suitable here, but they are terribly expensive. They are used on Chinese lanterns, and shine for several tens of meters.
That's all for me, thank you all for your attention!