Our children spend a lot of time studying. Classes at school take at least half a day, but that does not end there, because tomorrow’s homework is ahead.
In order for the educational process to affect the health of the child only favorably, the workplace, both in school and at home, must be properly equipped.
To begin with, it should take place at all. It is not acceptable when a child does homework at a coffee table on a sofa or perched on a huge chair at his father's workplace.
In other words, training should take place in the most comfortable conditions. Therefore, any parent whose child is already attending school should think about purchasing a children's work table with a convenient storage system.
Such a table, or a school desk, as it is also commonly called, you can easily make do it yourself made of wood or using sheet materials such as plywood.
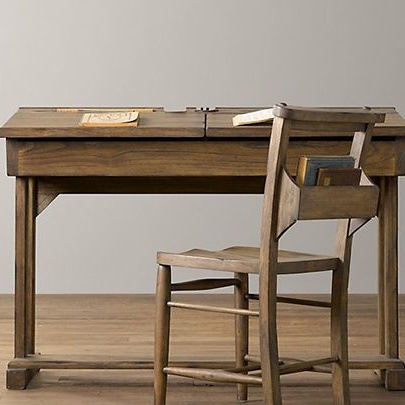
This is exactly what the author of this master class did. Initially, this table was designed for use by adults, so it made an exact spear, but a little less - for a child.
The table is styled antique and this is not surprising. Be sure that many children will find it fabulous and unusual and will love it very soon.
In order to make this amazing desk in retro style, you will need:
1. Materials:
- wooden boards, including wide for the manufacture of countertops (can be replaced with plywood);
- glue for woodwork;
- furniture screws or self-tapping screws;
- stain, protective and decorative oil of a dark shade or varnish-toner for woodwork.
2. Tools:
- jigsaw or any other tool for sawing wood;
- electric drill;
- screwdriver;
- grinder;
- building tape measure and pencil;
- long ruler;
- A soft, lint-free cloth if you use oil and a paint brush - if varnish.
Step One: Material Preparation and Parts Production
The author used pine in his project. These were new planed pine boards. Choose exactly planed material, since in the production of such of furniture it is important that the boards are the same thickness. And they become so after processing on a surface planer.
Sawn timber must also be properly dried, otherwise the product will crack, the joint will loosen, and its further use will be impossible.
Some wood species in this case will be completely unsuitable for the manufacture of school desks. For example, soft, such as linden. Too soft wood is subject to mechanical damage. But working with oak or maple can be an impossible task for a beginner because of its exceptional strength.
Decide on the dimensions of the future school desk and mark out the parts that you need.
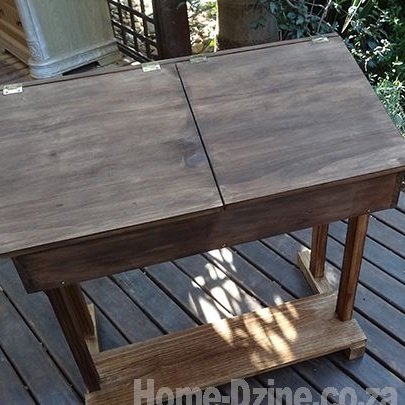
In the author’s project, the height of the rear of the desk was 210 mm, and the height of the front was 102 mm. Determine the length and width of the countertop yourself, based on the parameters of the place where you plan to put it.
The first photo shows that the desk bias is palpable. It’s good to read at such a table, but writing for a long time can be problematic. Therefore, do not hesitate to adjust the dimensions of the parts.
Saw boards into marked parts.
Step Two: Countertop Assembly
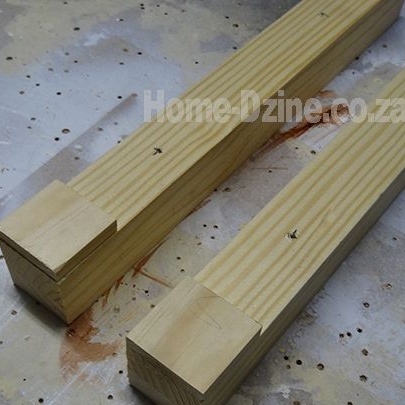
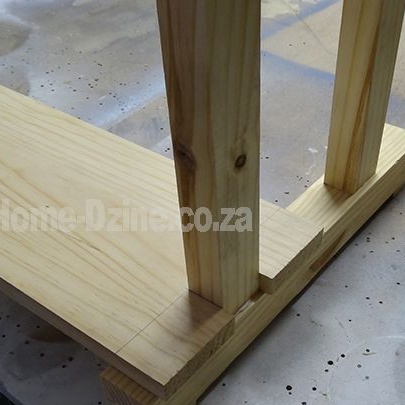
Before assembling, prepare four small pieces in the form of squares with approximately 44 mm sides. Actually, it depends on the cross section of the bars that you use to make the legs.
Glue them on the plane of the legs as shown in the photo below. This will give stability to the structure, since the area of the support will be significantly reduced.
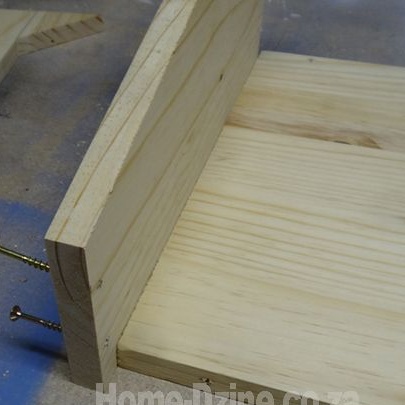
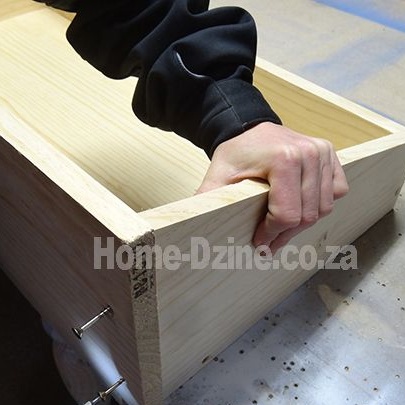
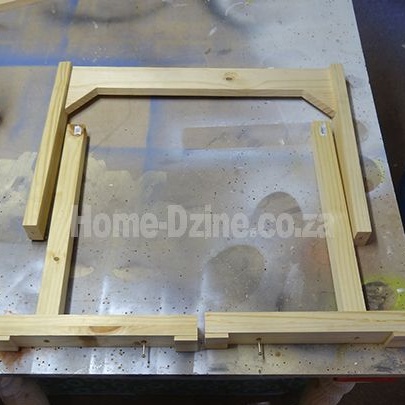
Start assembling the countertops. For its bottom you picked up the widest board. If you could not find anything similar, you can easily replace it with parts made of plywood. Otherwise, you will have to glue narrow boards together to gain the necessary width.
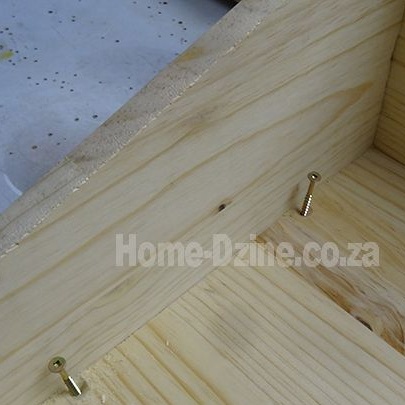
Attach the side parts with a diagonal cut to the bottom of the countertop with screws. It is assumed that the front panel of the countertop will go flush, so the author left a gap for her, which is clearly visible in the photo. Attach the back and front of the countertop.
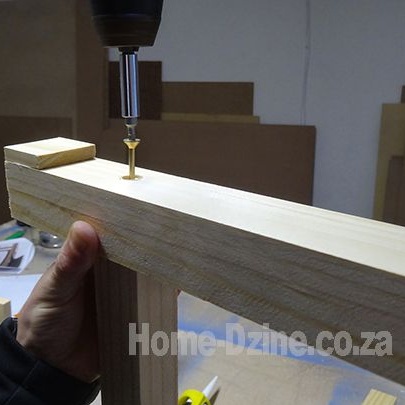
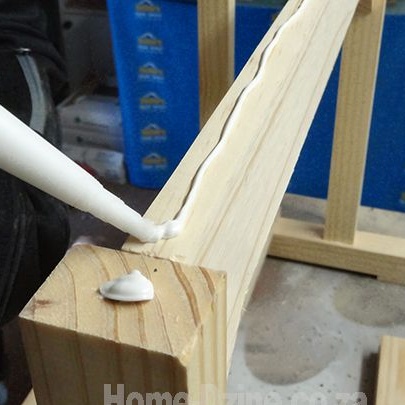
In the process of joining parts, you can also use glue. This is very convenient because the connections are designed on screws and you do not need to wait until the glue dries to continue working.
Simply apply a little glue to the joint edge, press it against the joint and screw in the screws using a screwdriver. The combination of glue and screws will give the desk the necessary rigidity, so it will serve your family much longer than usual.
Step Three: Further Assembly
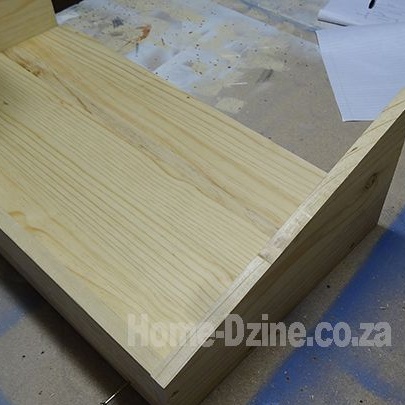
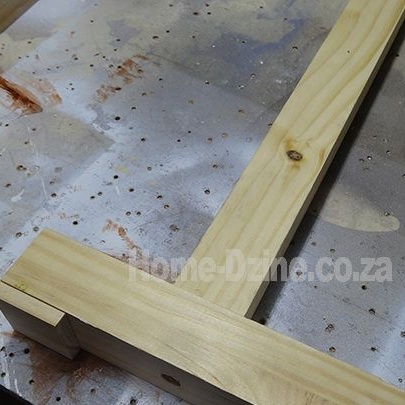
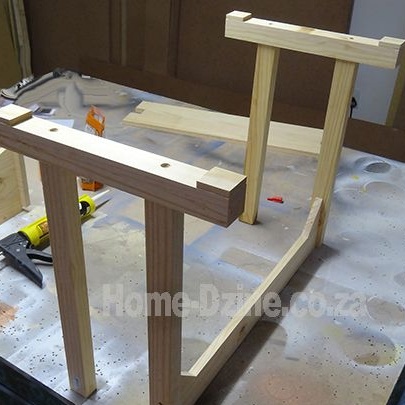
Assemble the frame parts according to the same principle as shown in the photo. The rear profile has additional angular stiffeners.
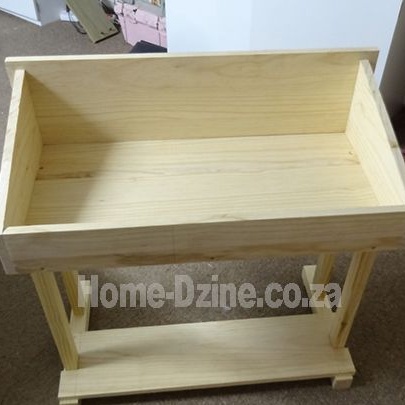
One of the photos below shows an example of how the frame should be assembled.
Proceed with joining the countertops. This time, the screws are clearly not enough and you still need glue in order to securely fix the countertop in place.
Apply a little glue around the perimeter of the upper part of the frame, place the countertop on top and screw it down securely in contact with the legs using screws.
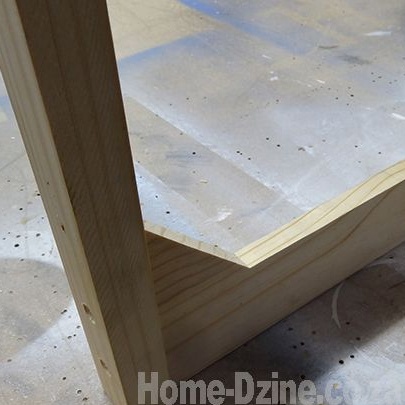
The desk also has a footrest. She lays on the base of the legs and blocks two of them. Therefore, mark and cut out the grooves for the legs.
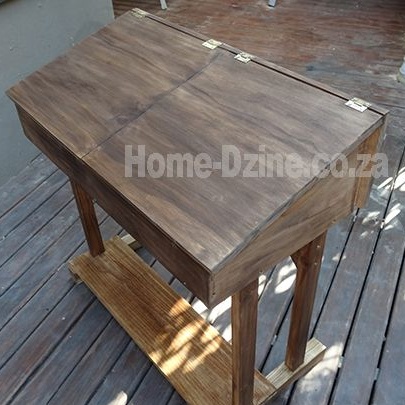
The photo shows that the rear wall of the countertop protrudes slightly over the overall structure. Here, an increase in the width of the cover is provided.
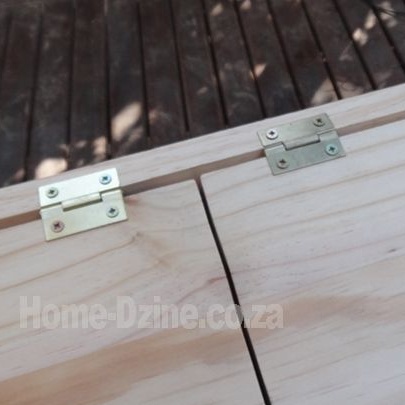
You have already prepared the parts for the covers. Their trailing edges must be cut at an angle so that they can close along a diagonal path.
Attach the hinges at one end to the covers and the other at the back of the countertop. Use screws for reliability.
Step Four: Grinding
It's time to prepare the surface of the desk for painting. At this stage, the grinder is taken up.
Treat the wood until it is smooth and pleasant to the touch.Pay special attention to the end edges of the boards - the place of sawing.

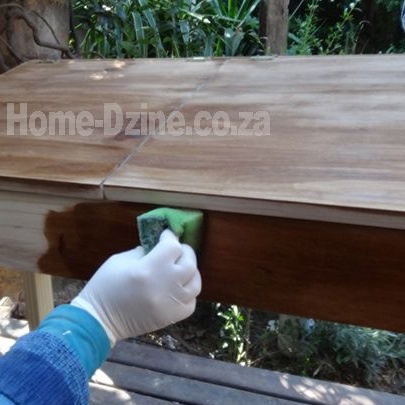
Step Five: Painting
For tinting wood, you can use three types of coating: stain, protective-decorative oil and varnish-toner. In any case, the school desk completing a couple of layers of varnish will not hurt, but they will save it from all kinds of destructive influences.
Do not forget that the desk will be used intensively, and small children are not always neat. For this reason, choose resistant and reliable compositions of well-known manufacturers, otherwise very soon you will have to resort to re-painting.
Today, protective and decorative oils are very popular. This is not surprising, because they are very convenient to work with. At the exit you get an imitation of the price of a tree species. In addition, the protective coating will prevent the tree from the harmful effects of moisture and the formation of mold and fungi.
The sheen of these oils is especially beautiful. They give the wood a velvety radiance and an expensive appearance.
However, both when processing stain, and when processing protective and decorative oils, you will need two or three fixing layers of varnish.
Use furniture varnish, strong to mechanical influences. It is transparent, and there is a varnish-toner, which, like the above-described compositions, changes the color of the tree.
Apply interlayer grinding to get a denser and more reliable coating. The top layer of varnish is not polished, since it performs, first of all, a decorative function.
In addition to the desk, the author also made a wonderful highchair, adhering to the previous style, with a place for storing personal belongings.
The work is over, and the desk, originally from the past, is ready to use!