

If you need to cook large quantities of baked or fried foods, you will need a good large oven. In it, you can easily bake a couple of turkeys, gathering a large company of friends. To assemble such a stove is not difficult, and not very expensive. What is needed for this, we will consider in order.
Materials and tools for homemade:
- The main part of the furnace is made of refractory bricks. We need a brick that can withstand high temperatures and accumulate heat well.
- Corners, fittings, steel mesh and other metal elements.
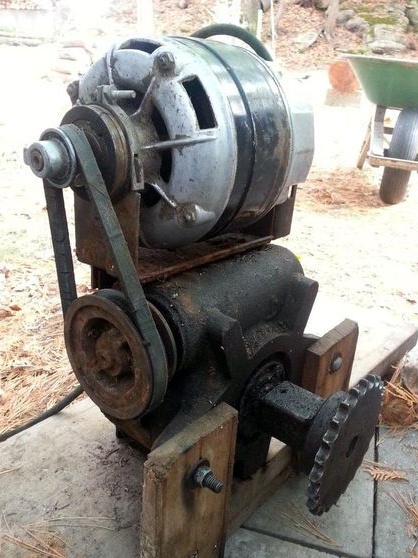
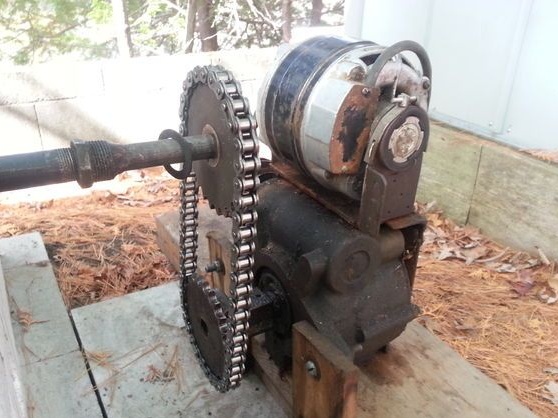
- An electric motor with a gearbox, as well as a steel axis (a piece of pipe is suitable). This is necessary to create a device that will rotate the chicken, turkey and so on.
- You may need clay or a heat-resistant composition for bricklaying. However, you can put bricks on dry, if they are large enough and heavy. Otherwise, they may shift.
- Materials will also be needed to create a strong foundation, here everyone already chooses the components himself, who has what.
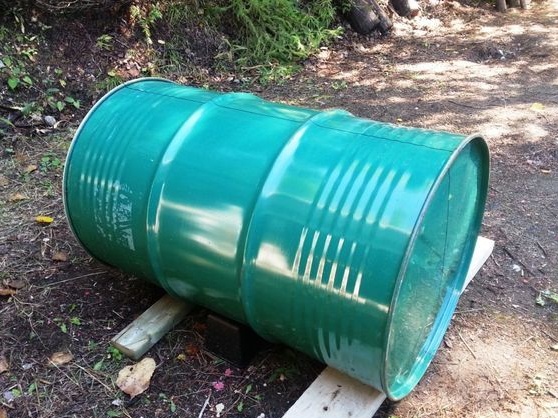
- One large steel barrel to create a lid.
- Door hinges, screws with nuts and other little things.
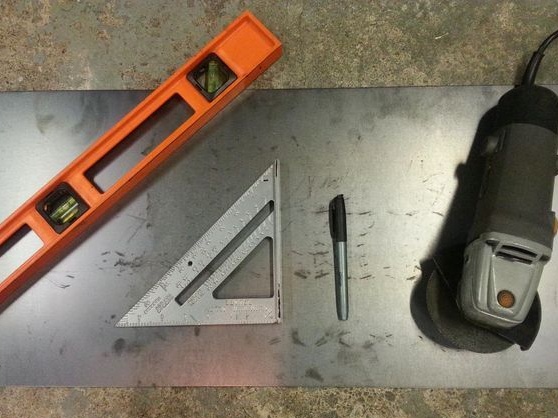
- Tools can not do without a grinder, welding, measuring tools, pliers and so on will be needed.

Furnace manufacturing process:
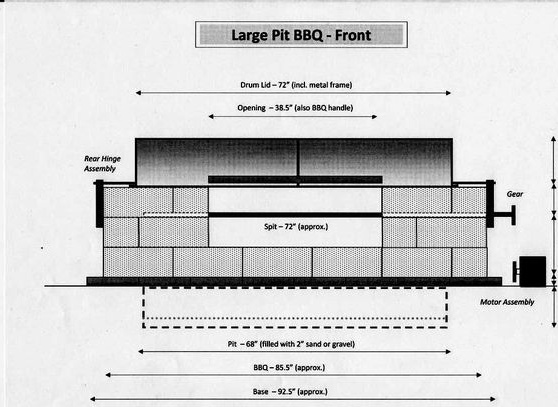
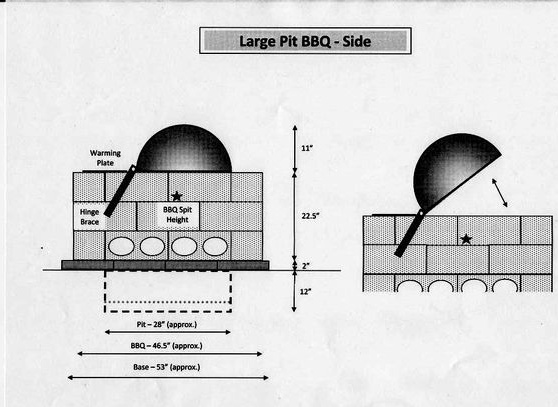
Step one. Consider a furnace design
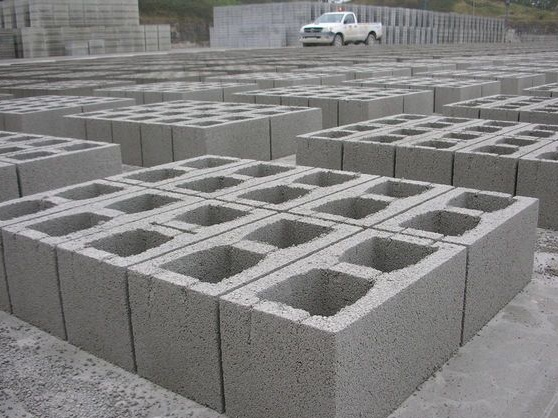
Since the author is building a furnace from standard concrete blocks, then there is no particular need to be smart. You just need to purchase the right amount of materials, and then fold the furnace according to the specified scheme.


Step Two Choose a place to build a barbecue
Since our furnace is stationary, you need to decide in advance on its location. It is important to keep in mind that smoke and heat should not interfere with the guests when using it. Among other things, in this place nearby should not be easily combustible materials. Since the stove needs electricity, you also need to choose a place where it will be most convenient to bring it.
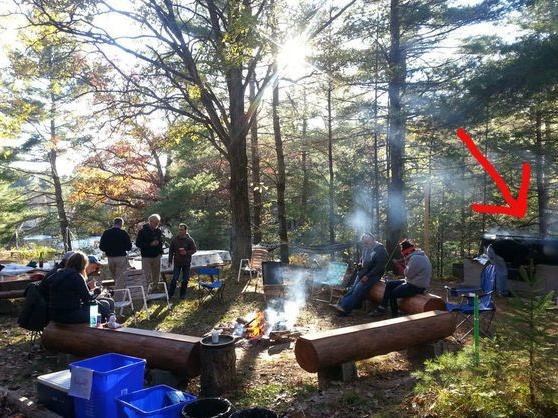
Building such a stove in a place where there are trees can be difficult and unsafe. The fact is that the furnace requires a foundation, and for the foundation you need to dig a hole. To do this when the earth has many roots is very difficult. In addition, the stove can easily lead to the burning of roots under the ground, which will smolder imperceptibly for a long time, and then fire can come to the surface and a fire will occur.Just in case, there should always be a couple of buckets of water on duty near the barbecue so that you can put out the fire.
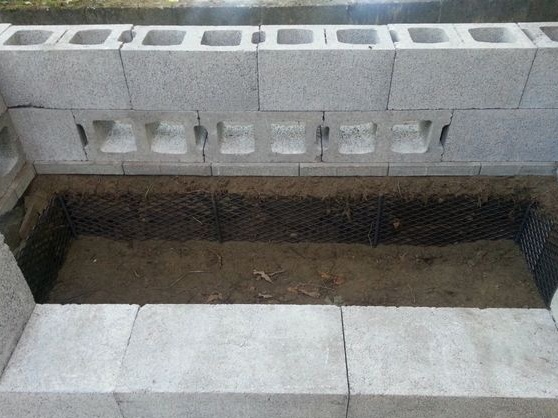
Step Three Foundation arrangement
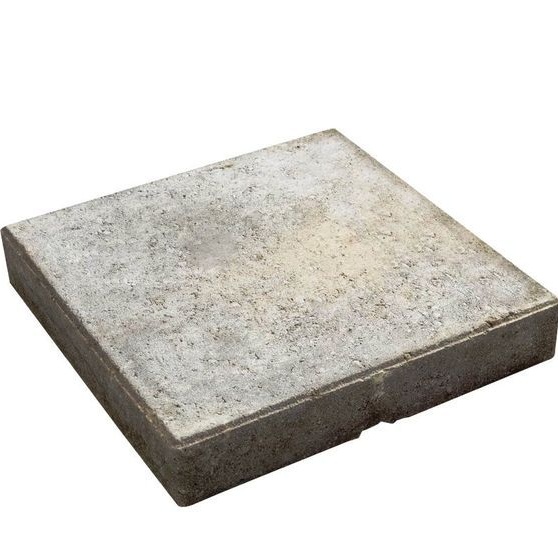
Our people are used to making foundations from crushed stone and cement mortar, possibly broken brick. The author, on the other hand, builds his furnace without using mortar, therefore, large heavy concrete slabs were used here as materials. Thanks to them, a large area of support on the ground will be created.
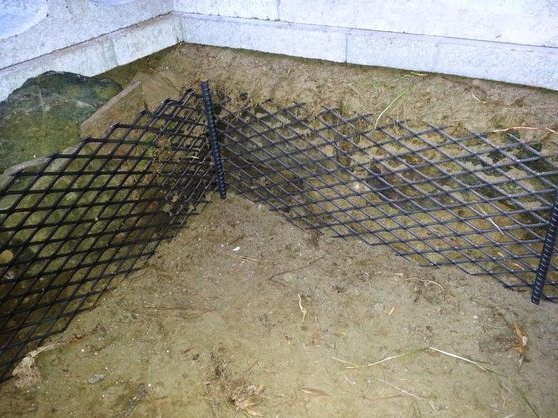
First you need to dig a hole of the right size and depth. If the soil turns out to be very loose (for example, sand), then in a circle around the pit you need to hammer steel rods from the reinforcement and weld a steel mesh to them. However, in any case, the walls need to be strengthened with something. This will keep the soil from sprinkling during use. Further, concrete slabs are laid around the pit, this is our foundation. Well, the top is already construction ovens.
Step Four We build the base of the furnace
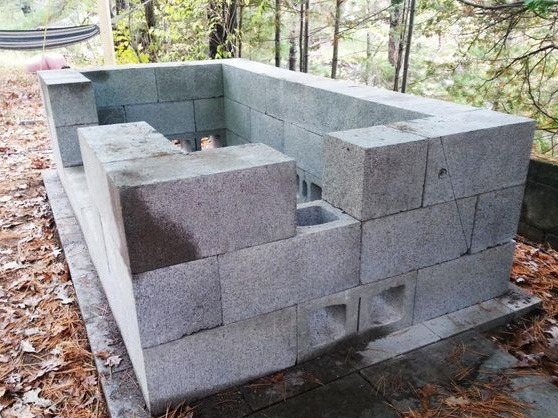
When there is a foundation, you can assemble the main part of the furnace, concrete blocks are used here. They must be laid clearly according to the scheme so that there are no distortions. You need to work with the building level, as well as the hammer, gently tapping from time to time on the blocks for alignment. It is better if the hammer is rubber or wooden to prevent the block from breaking.
In some places, blocks may need to be cut to finish the desired row.
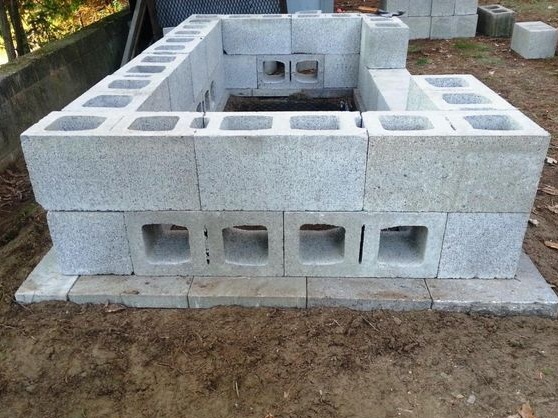
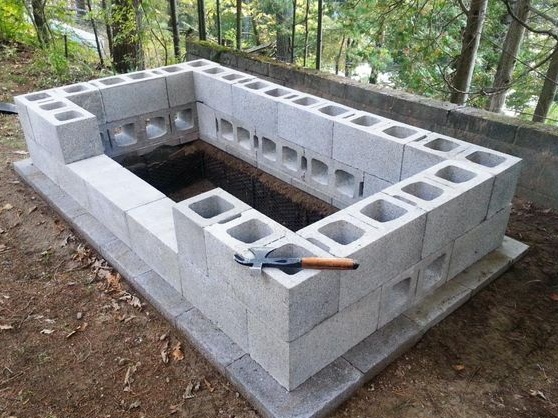
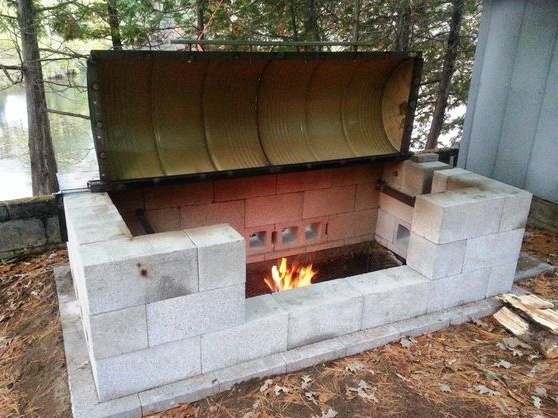
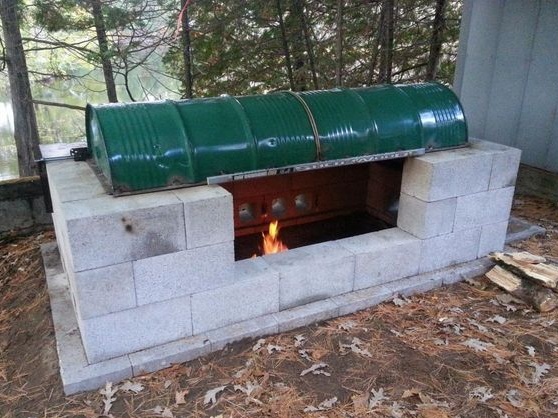
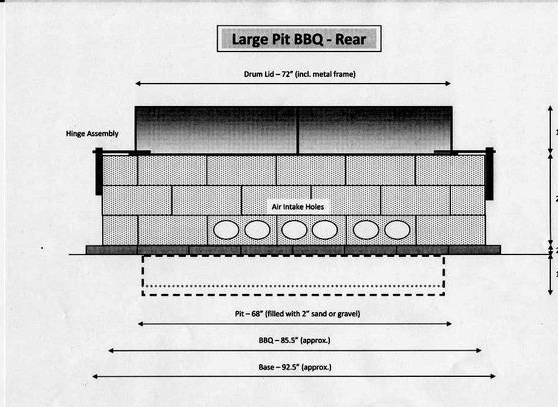
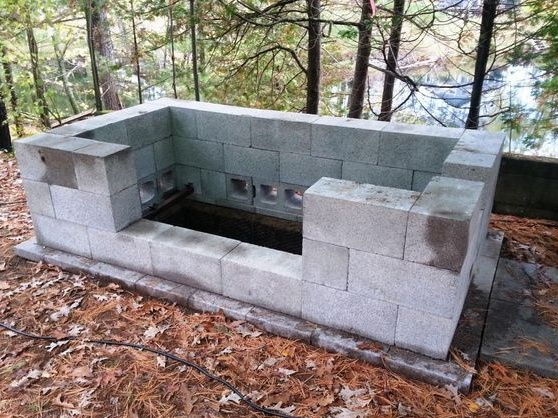
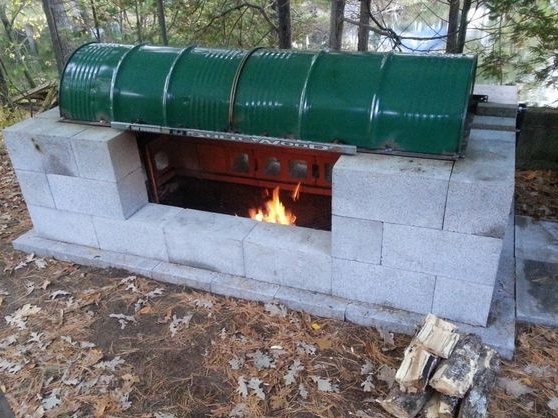
As a result, the stove should take on this form, as seen in the photo. Blocks with through holes should be installed in the lower part, through them air will flow into the furnace and maintain combustion. There should be a window in front through which fire and cooking food will be visible. From the side of the oven, do not forget to leave a slot for the output of the shaft, which will rotate the turkeys.
Step Five Making support for skewers or grill mesh
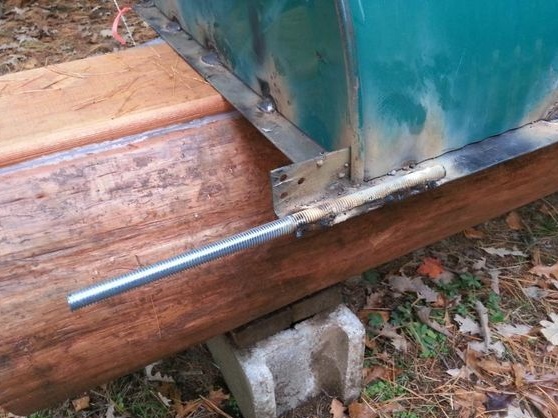
The support is assembled very simply, besides, the author obtained an adjustable height. To make this possible, you will need two pipes, one larger diameter, and the other smaller. One pipe is inserted into another and a series of holes are drilled into them. Now the pipe can be raised to the desired height and fixed with a steel rod or bolt.
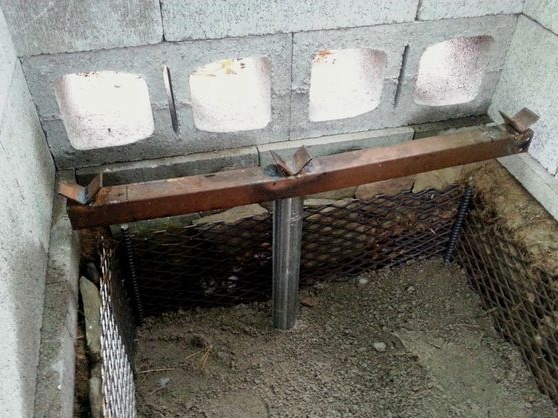
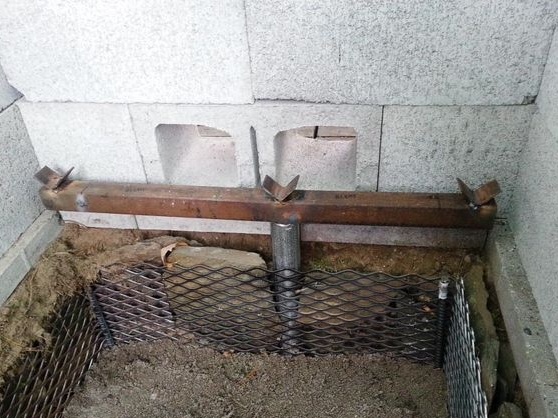
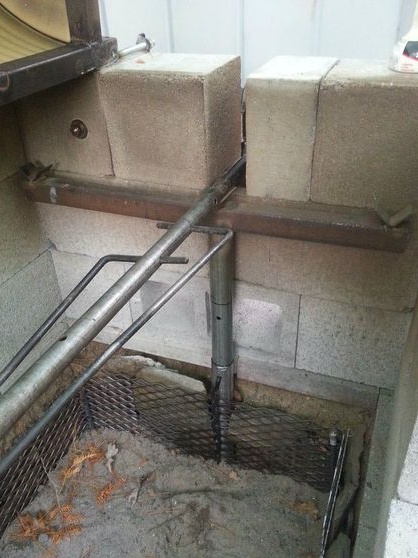
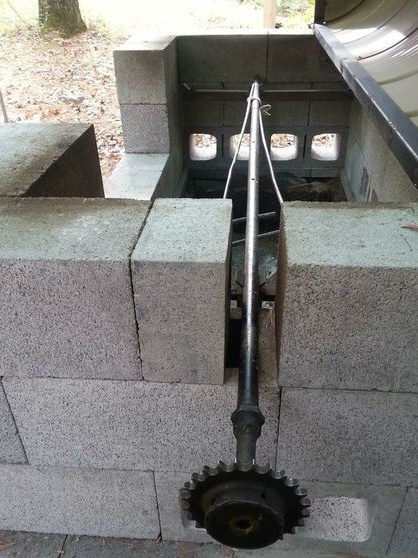
A corner is welded to the top of the pipe, and on top of this corner you need to weld three more small corners, or more if desired, these will be some kind of “holders” for the skewer.
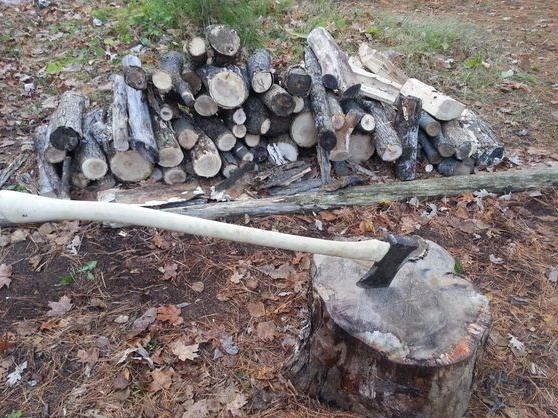
As a result, the bottom of the furnace is filled up to a certain level with sand. Sand is also able to accumulate heat.
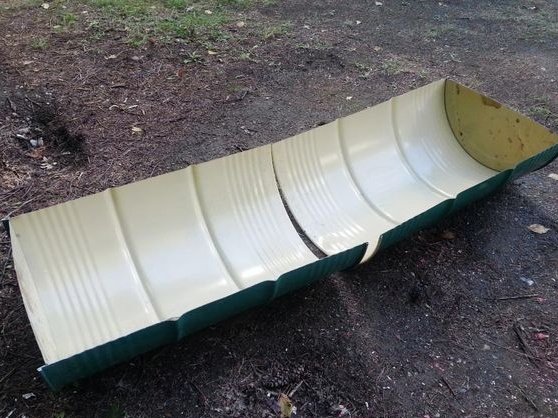
Step Six Making a furnace lid
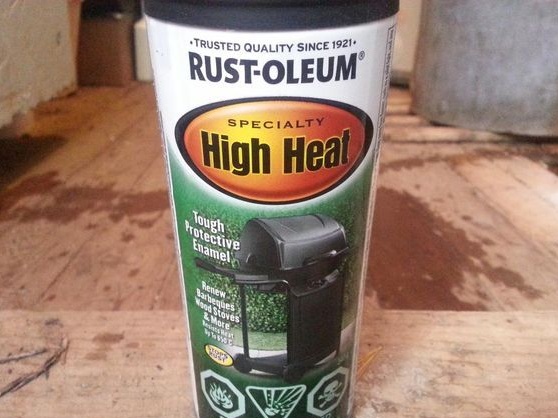
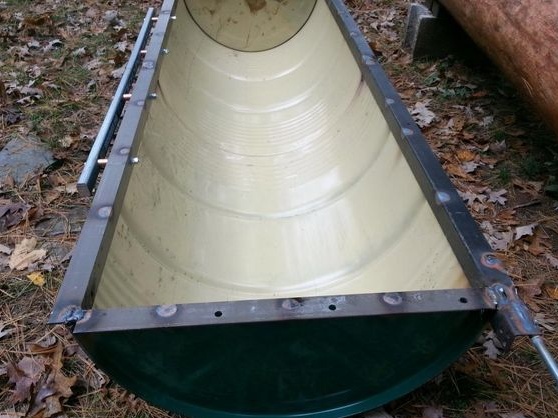
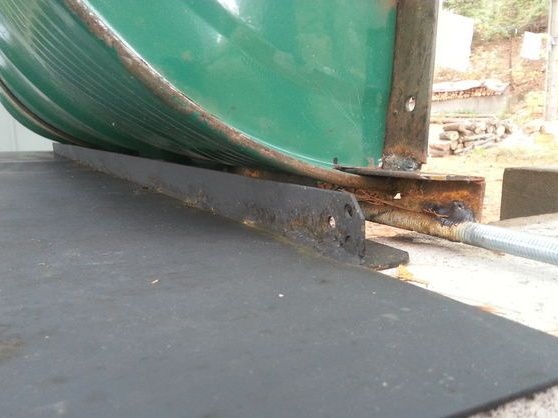
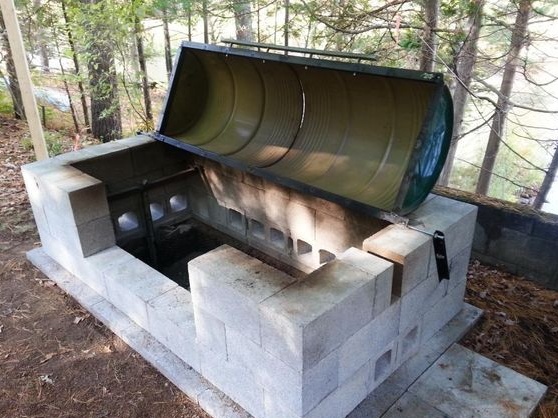
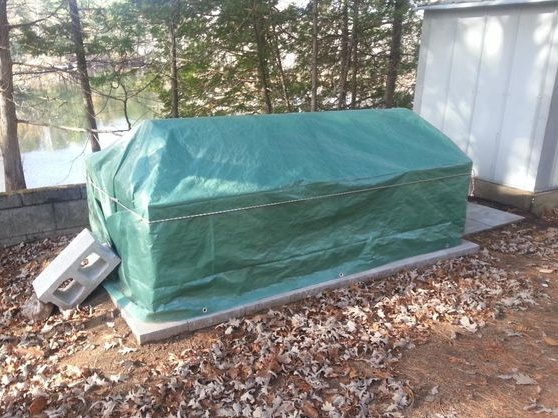
The author makes the lid with a large steel barrel. First, it must be cut lengthwise into two halves and thoroughly washed, and if there is a colorful coating, burn on fire. If desired, it can be painted with heat-resistant paint. Further, these two halves are folded in one row, and now you will need to work by welding. In a circle, the author welds a steel corner, this strengthens the entire lid, and also allows it to be securely attached to the stove.
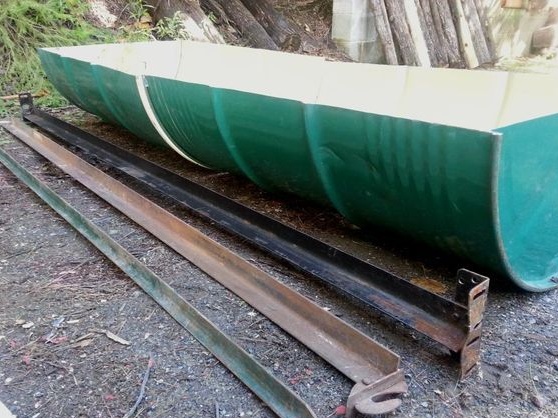
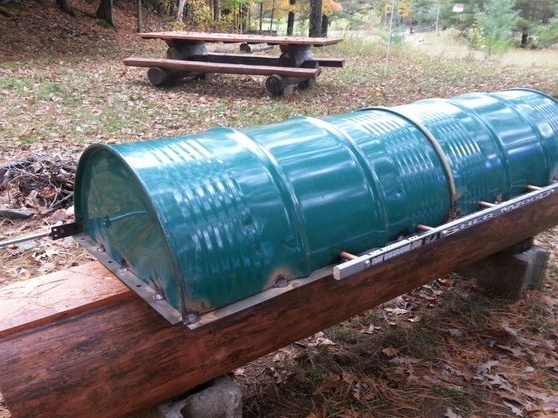
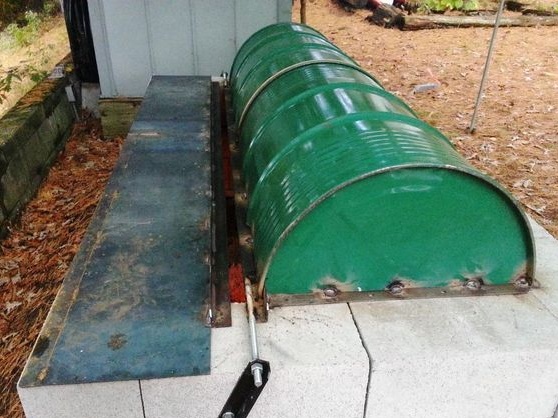
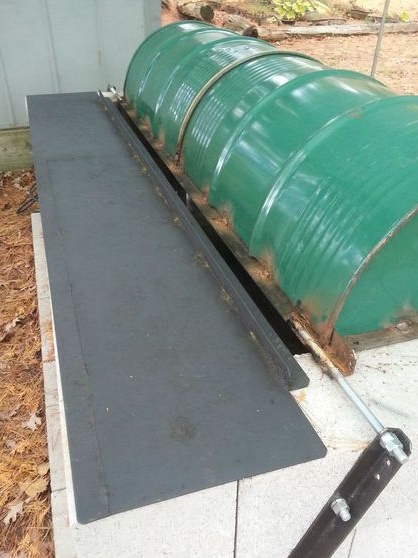
The lid is then attached to a heavy steel plate by a swivel that is placed on top of the furnace. It is convenient to put cooked dishes on this stove, so they will be warm for a long time, since this stove heats up during the operation of the oven.
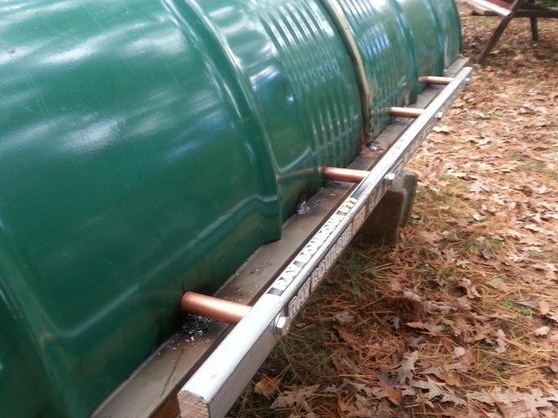
You also need to make a handle for the lid. It will take a piece of pipe, corner or other material, the author donated a hockey stick for such purposes. It can be attached to the cover by drilling along the entire length of the screws and then fastening it with bolts and nuts. Here more tubes will be needed, for such purposes it is better to use a material that weakly conducts heat. However, copper is also suitable.
Seventh step. We burn the furnace
Before cooking, the oven must be well melted. This will allow you to burn the paint from the lid, and indeed all those harmful substances that can get into food will come out of it.At the same time, you can see if the flame burns well. Well, then, if desired, the lid can be painted with heat-resistant paint.

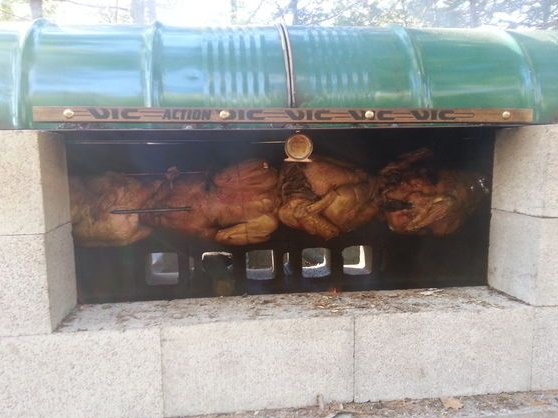
Step Eight. The final stage. Testing the oven
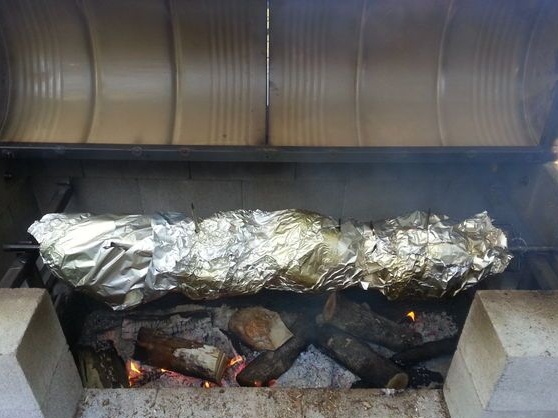
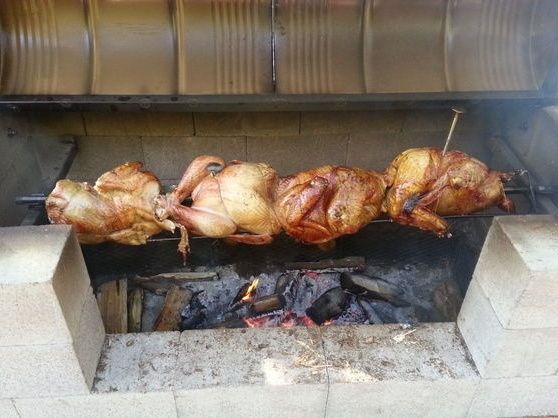
That's all, the oven is completely ready for use. On long skewers that are connected to an electric motor, the author strung the required number of turkeys, and then wraps them with foil and fries. Needless to fry it is necessary when the fire burns out, and small coals remain. When the meat is almost ready, the foil can be removed and a little more toasted turkeys until golden brown.

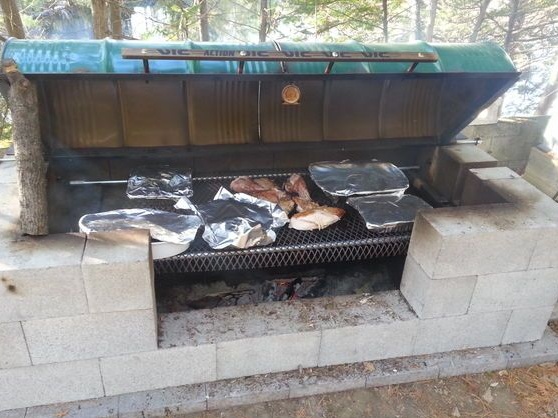
After frying the turkeys on the stove, you can set the grill and cook mushrooms, various vegetables, fish or the same meat. The stove accumulates a lot of heat and gives it away for a long time even after burning wood.
In conclusion, you must not forget to say about the speed of rotation of turkeys. Here you need to either calculate the desired speed using a gearbox, or use the electric speed control.