
This furnace is created by analogy with the furnace described in this article. Unlike the first, it is intended mainly for annealing products from clay, ceramics, glass enamel, but this does not mean at all that this furnace is not suitable for melting metals. According to the author, many non-ferrous metals can be melted in it. The peculiarity of the furnace is that the heating spirals are wound here on their own. This allows you to make an oven of any size and shape.
The cost of materials for such a furnace, excluding the cost of a power controller and other things, costs around $ 70. The furnace works from a 120V power source. The furnace can be customized for various needs, choosing the required length of the heating element, and when it breaks, it can be easily replaced. If you buy absolutely all the components, such an oven will cost a little more than $ 200.
Important!
The furnace uses open type heating elements, it is impossible to touch them or the furnace directly during its operation, since there is a risk of electric shock. In addition, the oven itself can heat up to about 1000oC. Work must be worn with gloves, glasses and other necessary protective measures.
When melting metals, poisonous vapors can also be released, they should not be inhaled. For safety, the oven is recommended to be grounded. It is also impossible to touch the supply wires when the furnace is operating.
Only refractory elements or concrete can be used as materials.
Materials and tools for a homemade furnace:
- six refractory bricks (they must be soft, since they make spiral grooves);
- two steel bolts and 4 nuts;
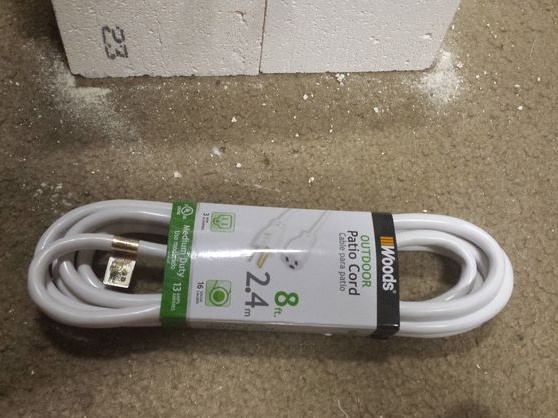
- a piece of wire for connecting the furnace, which can withstand a current of at least 15A;
- two clamps (can be bought at a hardware store);
- stand-alone controller for the ICS furnace;
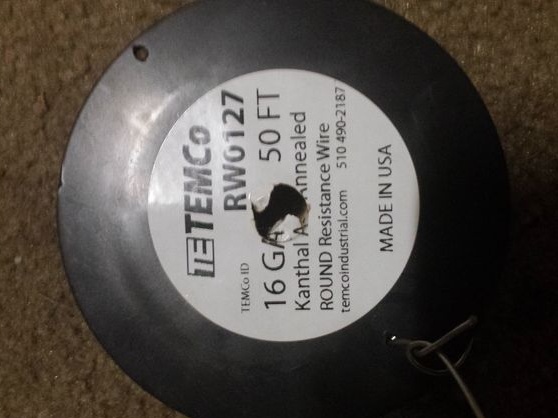
- coil of wire Kanthal A;
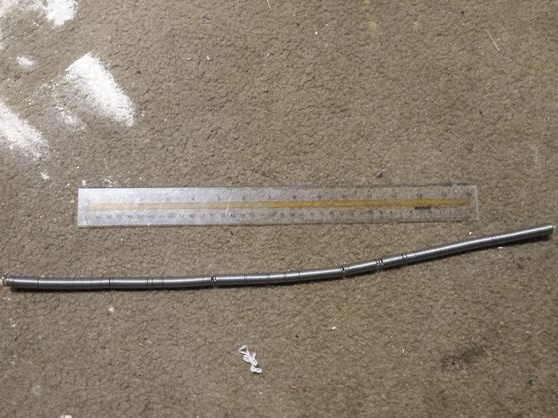
- steel rod
- a couple of boards;
- screwdriver;
- hammer and nails.
It is also recommended to purchase: “K” type thermocouple, pyrometer for temperature control (must withstand at least 1100oFROM).
From the tools: flat screwdriver, saw, cordless drill with small bits, small file, needle-nose pliers and more.
Furnace manufacturing process:
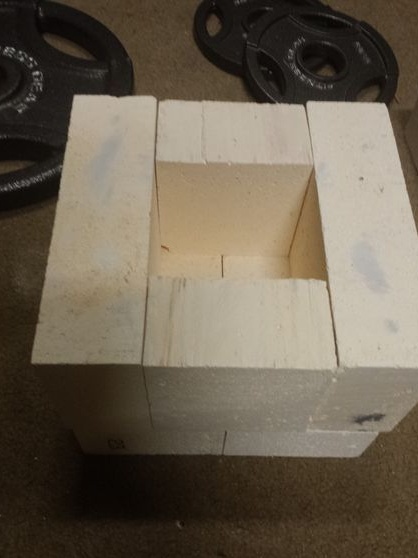
Step one. Making the base of the furnace
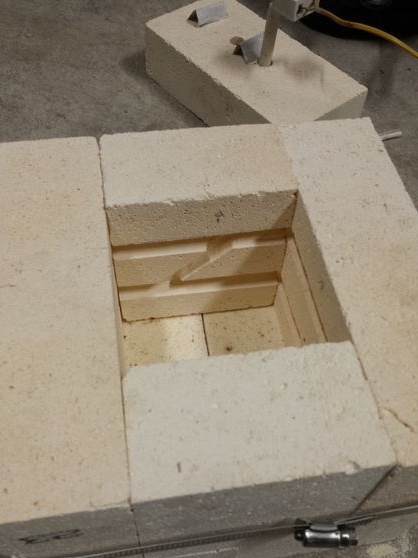
The furnace is made in such a way that its lower part is heated, so it can only be installed on concrete or another non-burning surface. The floor is made up of two bricks, and all four walls will take 12 bricks. Two walls are assembled from solid bricks, and the other two of the halves. Of course, the number of bricks will depend on their thickness, width and length.
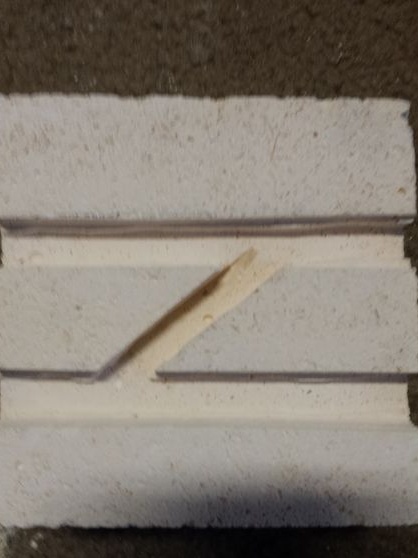
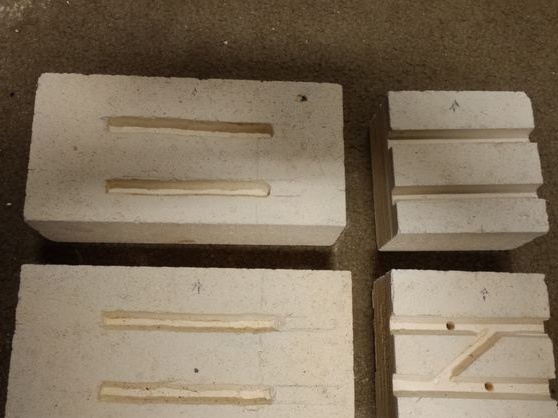
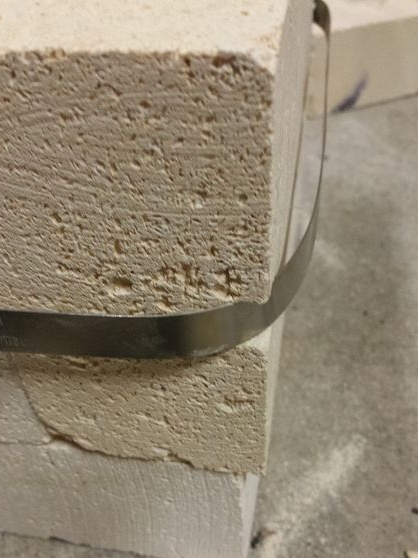
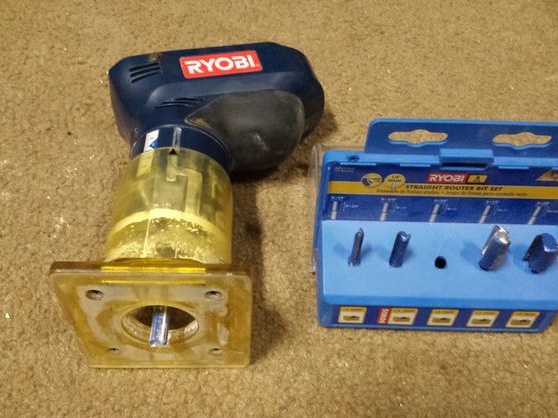
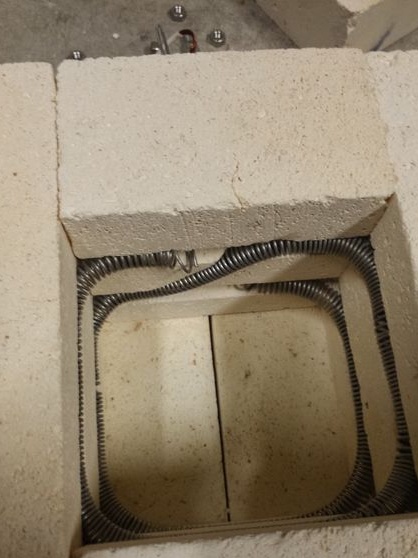
Well, then in the brick you need to make grooves, it is most convenient to do this with such a device as the author. Work needs to be done in respiratory protection, as work generates a lot of dust. You can use a file to refine the channels. The width is selected depending on the diameter of the spiral, but the shape of the maze is noticeable in the photo. In conclusion, so that the furnace does not fall apart, it is pulled together with metal clamps using a screwdriver.
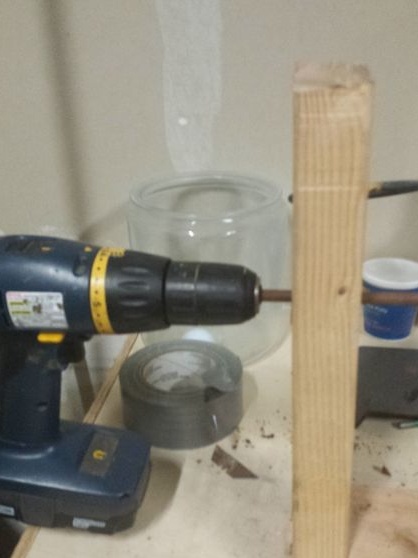
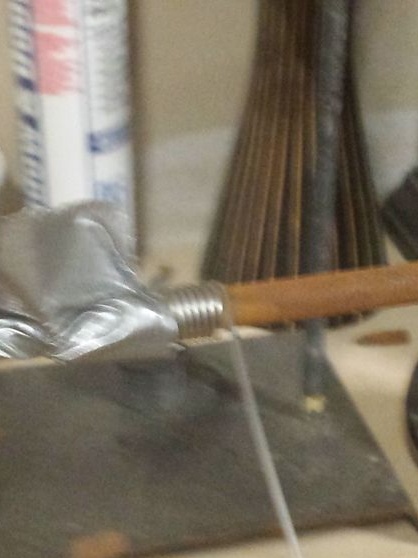
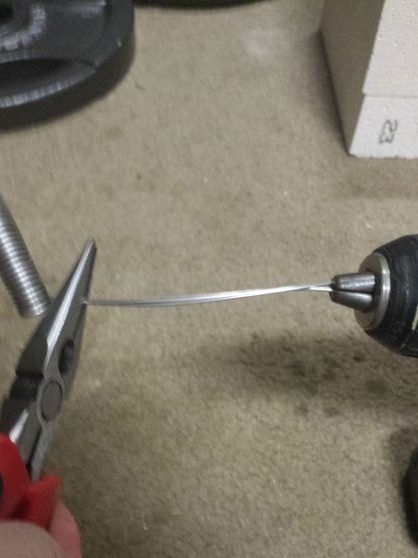
Step Two Winding a spiral
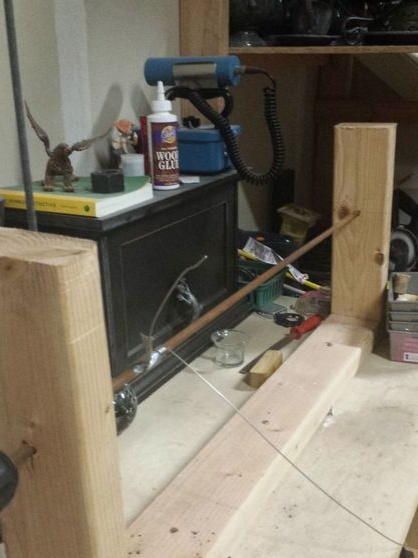
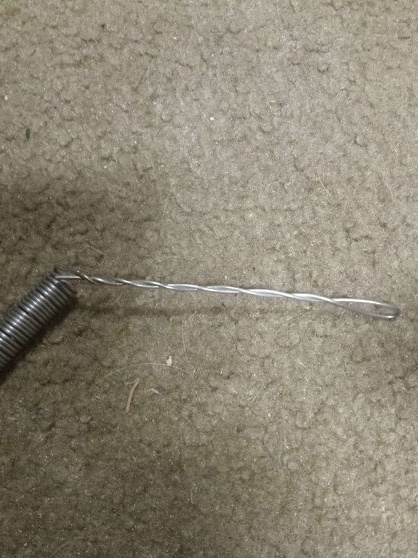
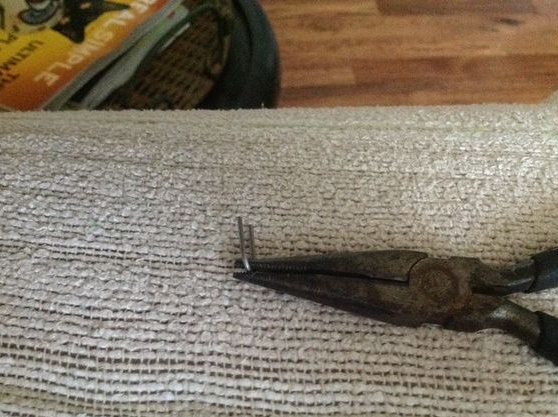
The author makes the spiral himself out of a coil of wire. This is cheaper, and the spiral can be made of any size. To make this procedure easier, you will need a couple of wooden boards, nails, a hammer, a steel rod and a screwdriver. From the boards you need to bring down a simple "P" - shaped frame as in the photo, and then insert a steel rod into it. Now a screwdriver is connected to the steel rod and the smallest turns are set on it. The end of the wire is attached to the steel rod and wound. At the ends of the spiral, you need to make loops for connecting. These loops can be conveniently wound using the same screwdriver.
Step Three We install heating elements
That's all, now you can proceed to the next, almost final stage of assembly. In the manufactured grooves, heating elements can be installed. For such purposes, the author needed to make brackets for fastening. These staples are also made from the same wire as the heating element. It is necessary to cut off the pieces necessary for the length and then bend them in the form of the letter “U”. Through bores, through holes are drilled in the right places of fastening, and then these brackets are inserted and twisted on the other side.
Step Four We bring electricity to the stove
Now you can connect electricity to the stove. This is a very crucial moment, since with improper installation the heating element will burn off immediately, or the insulation of the wires will melt. To prevent the heating wire from being too hot at the junction with the cable, you need to make loops at the ends of the spiral and twist them well. Next, we need bolts with nuts and a piece of powerful wire that can withstand a current of at least 15A. If you take less, it can get warm, and this is very unsafe. It is desirable that the wire be single-core, it will be more securely fixed at the connection point.
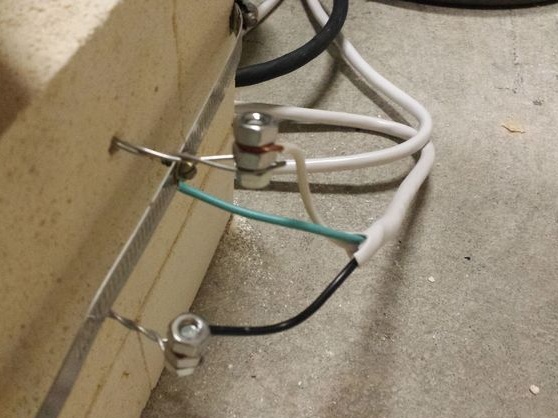
Since the furnace is grounded, it is best to choose a three-wire cable, or you can simply ground the furnace through a separate wire. The ends must be cleaned from insulation and carefully tightened with bolts and nuts at the contact point. Fasten best with two nuts, as in the photo. This allows you to significantly remove heat from the supply wires. For such purposes, you can buy special contacts with insulating ceramic gaskets.
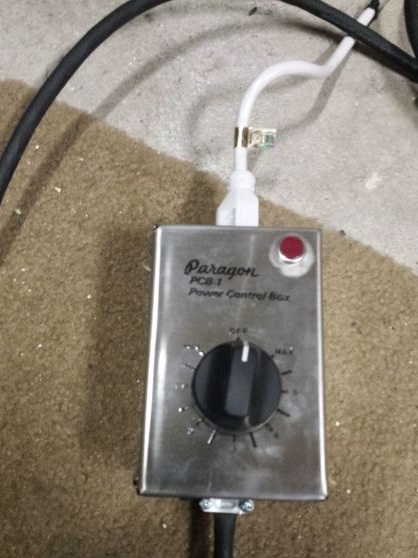
The furnace is connected through the ICS control unit, which the author purchased. But this controller does not have a very wide temperature control range and even at the lowest settings the oven heats up quite a lot. If you need to get a wider range of adjustments, it is best to purchase a PID controller. In cost, it will cost about the same (about $ 84).
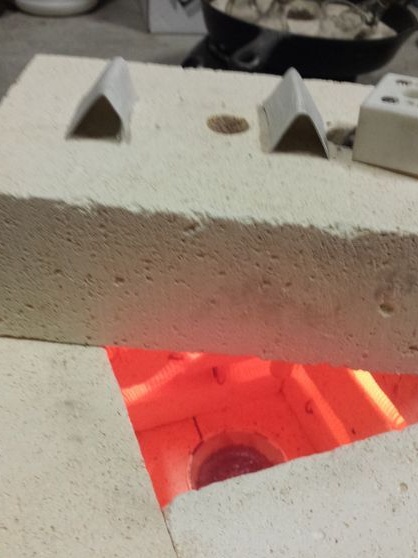
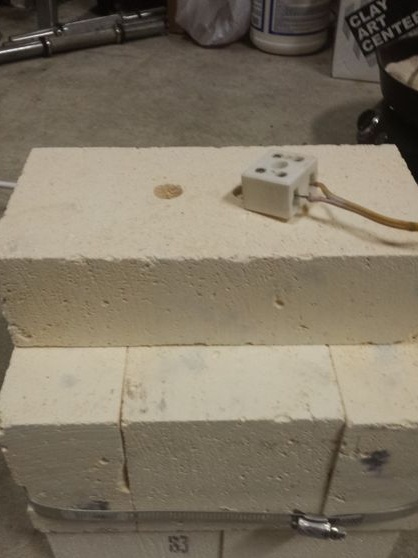
Step Five Furnace testing
That's all, the oven is ready for testing. As can be noted, it is not going to be difficult, but very useful in practice. The author used another refractory brick as a roof. A hole is drilled in it and a thermocouple is installed.At minimum settings, the oven heats up to 500oC, and at maximum heats up to 1100oC. It’s very easy and convenient to operate the oven. Work must be done with gloves made of non-combustible material. If you need to look into the furnace during operation, you must move the upper brick. The oven heats up pretty quickly.

If you buy absolutely all the components and assemble the oven clearly according to this instruction, it will cost about $ 230. This will include the cost of the thermocouple, pyrometer, ICS controller, as well as the cost of the power wires.
In conclusion, it should be noted that this furnace is powered by a 120V power supply, while a 220V power supply will require a different wire diameter and length. You can correctly calculate the required length and diameter of the heating wire using the formula or use the calculator, which is full on the Internet.