
Hello everyone, today we will make a Bunsen gas burner from improvised means! It will be not just a stationary burner, but a burner which, if necessary, can be safely held in hands and not be afraid to get burned. To make it will not be difficult, all the materials used must be found at hand, and the scope of its application is quite wide.
The author often uses gas stoves in his work, but working with it is not very convenient, and therefore he was visited by the idea to purchase something less bulky and convenient. Rummaging around AliExpress, as well as visiting specialized stores, he found a lot of burners, but as usual, the price didn’t work for him and so he decided to assemble such a burner himself, especially since all the necessary details were at hand.
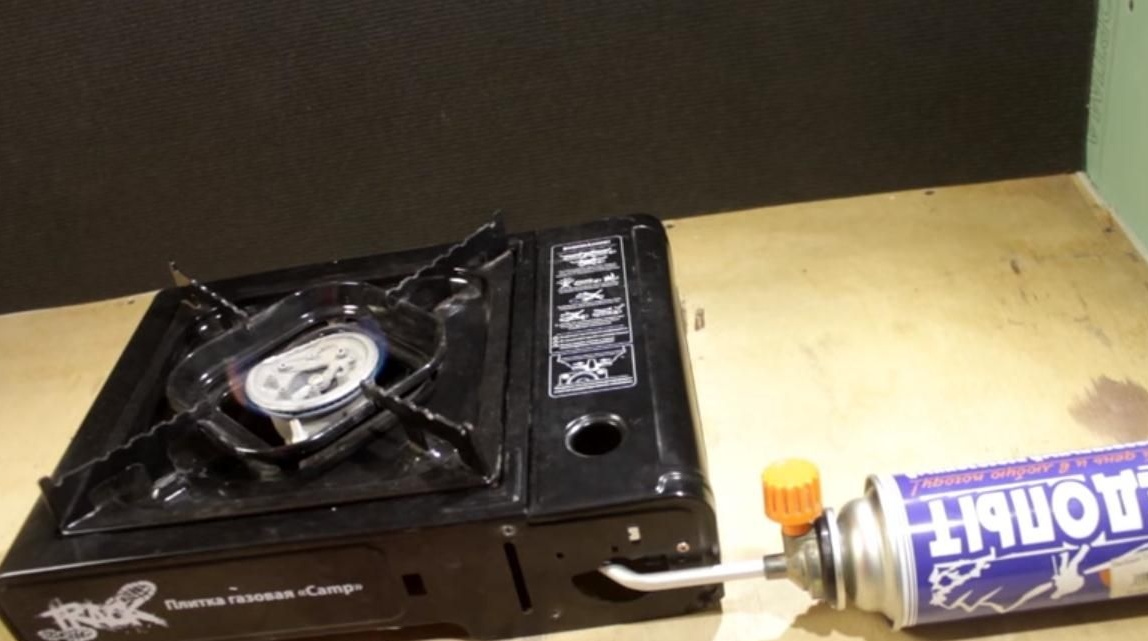
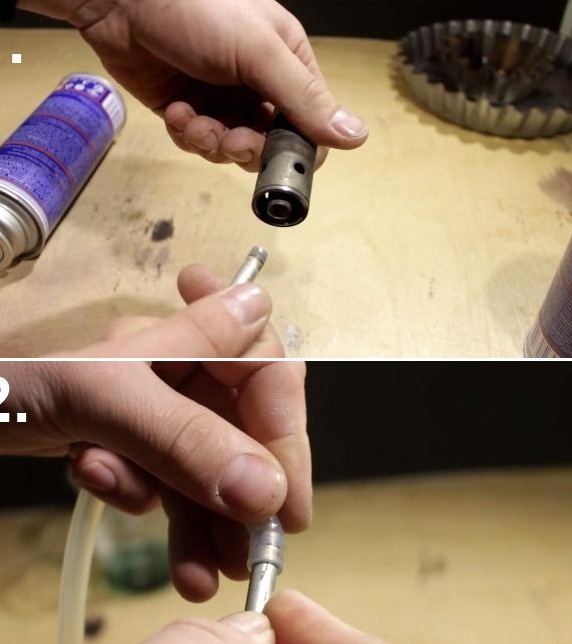
Available was an old and cheap Chinese burner, which faithfully served him for several years. It has a suitable gas flow regulator and it sits on cylinders that are sold in every household, construction or fishing store.
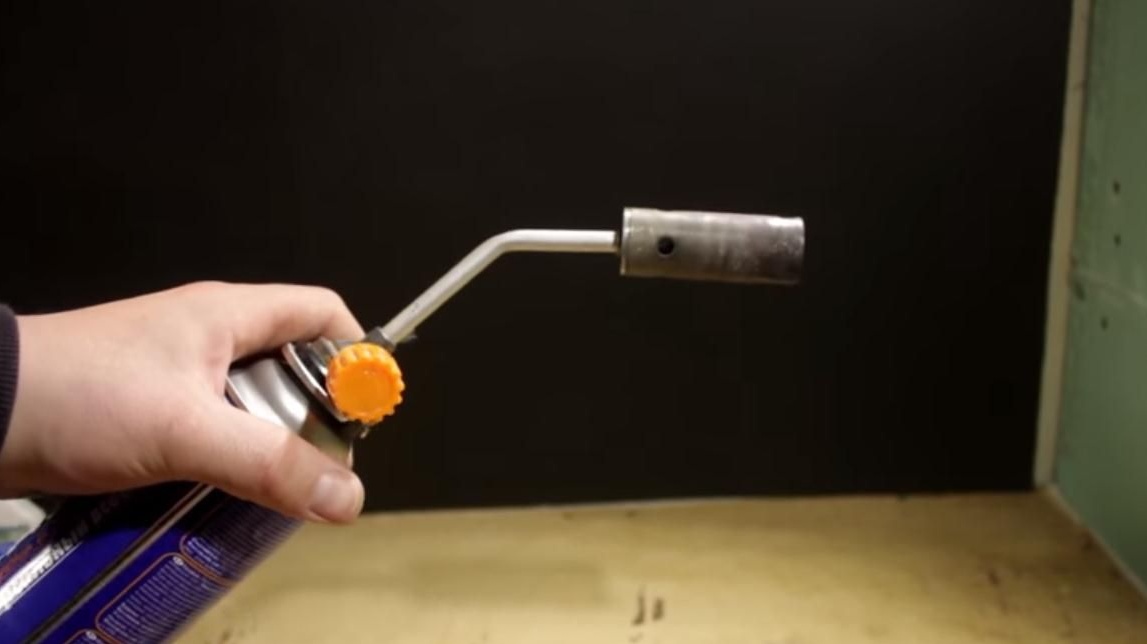
It will be needed precisely for adjustment. So, let's begin! First you need to unscrew the standard burner, put on a silicone long hose of a suitable size instead and for now put it aside. By the way, if necessary, you can screw the standard burner back if necessary!
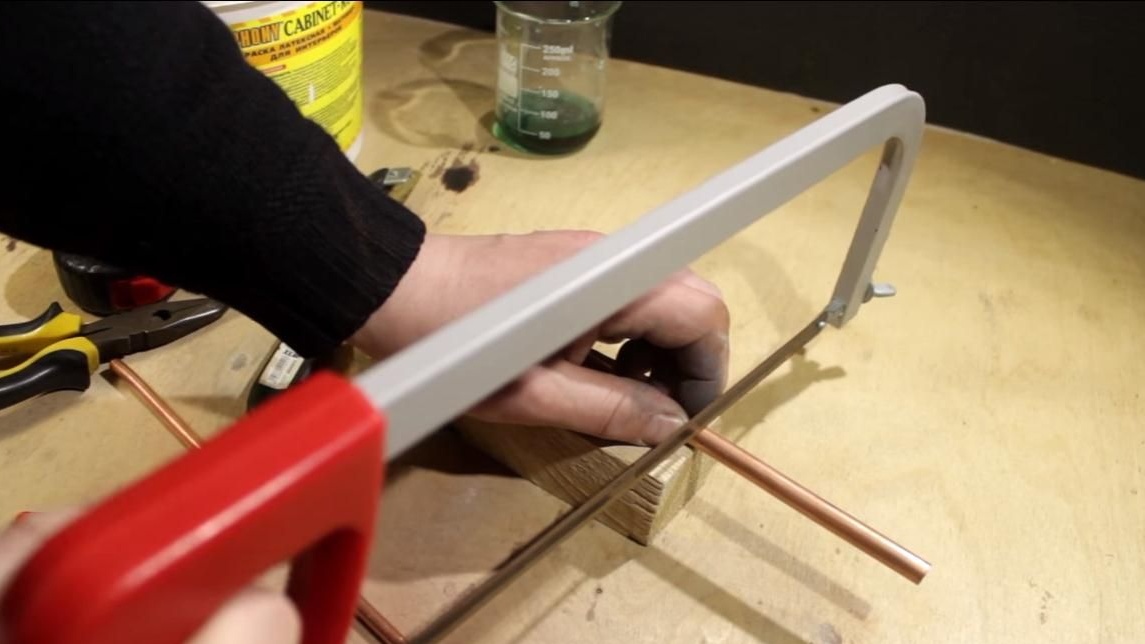
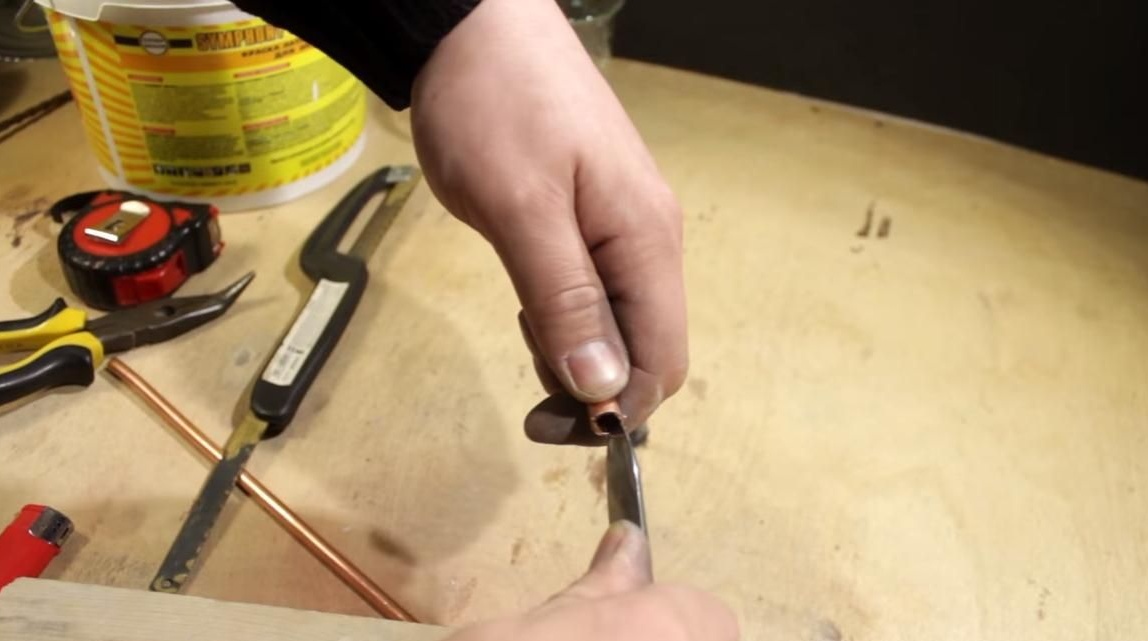
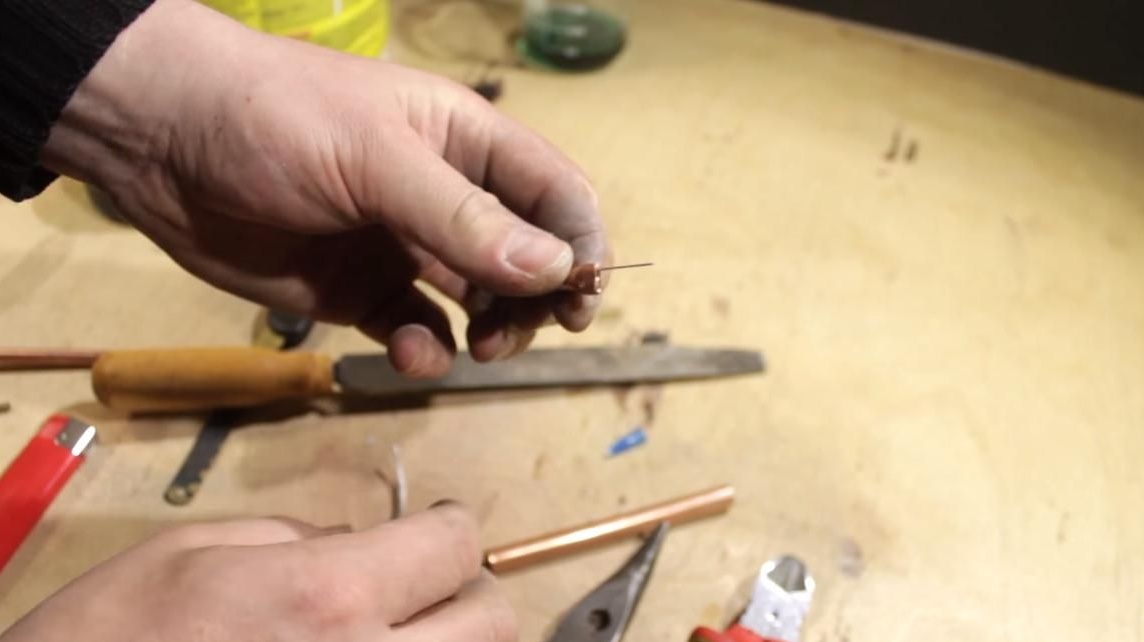
For the manufacture of a new burner, the author used tubes from an air conditioner with an internal diameter of 8 and 5 mm. You can take any copper tube. First you need to cut a piece of tube with a diameter of 8 mm, a length of 10 cm and clean from the jagging formed on the inside and outside.

Now you need to saw off a piece of a thin tube of about 4 centimeters.

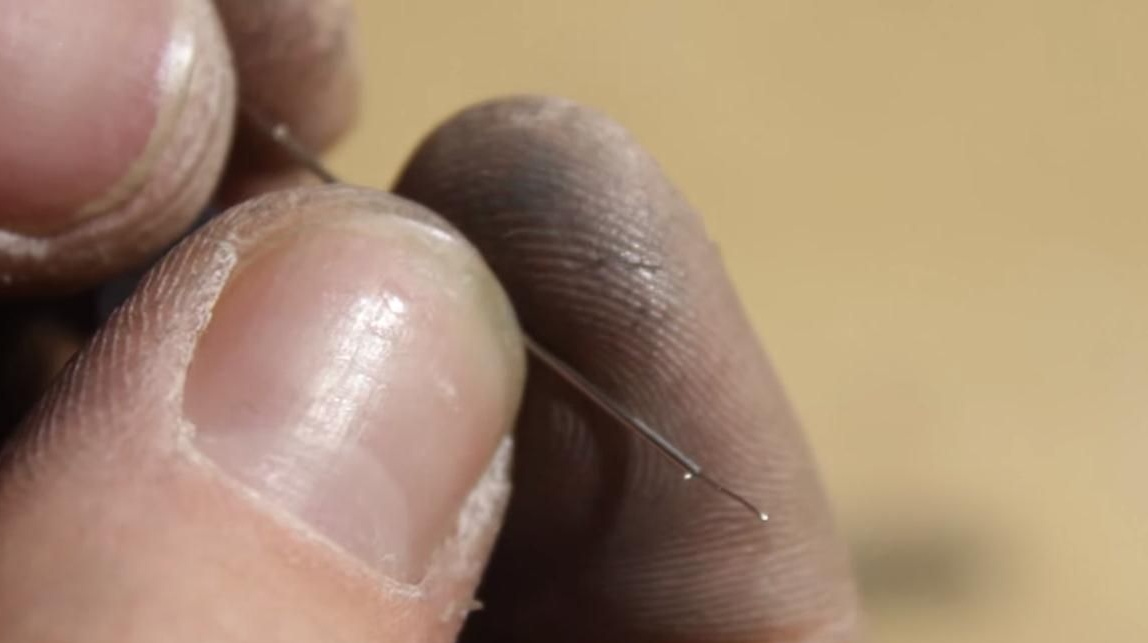
To make a nozzle, you need to cut a piece of a medical needle.
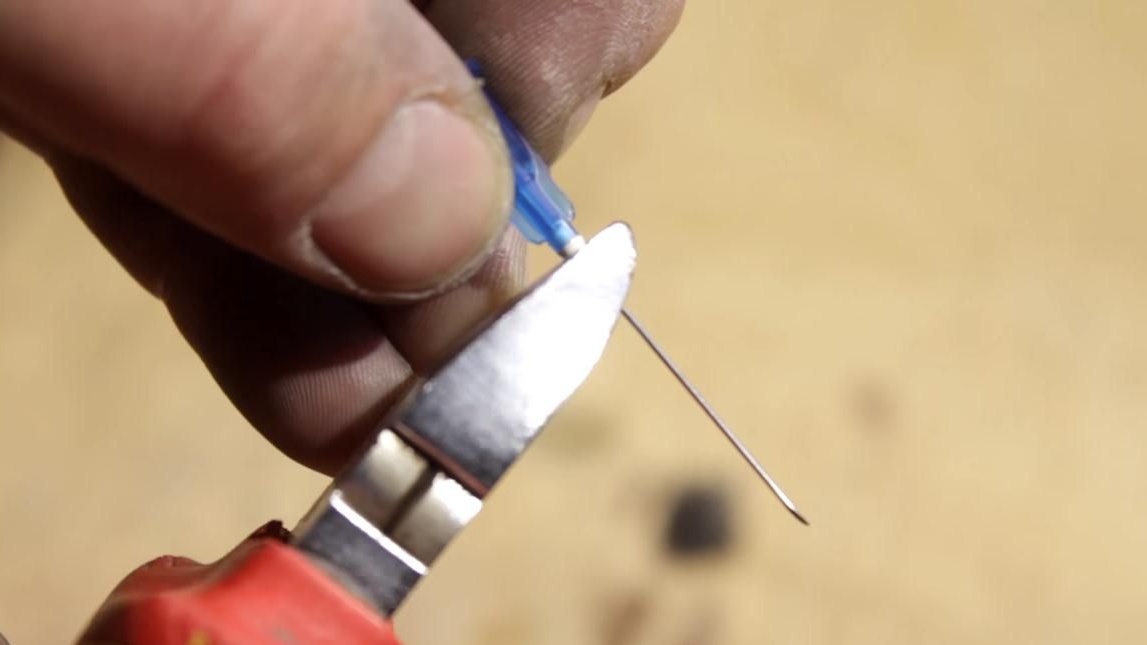
When biting the needle, the edge can be taken in, so it needs to be cleaned with a file, and then cleaned with a thin wire.
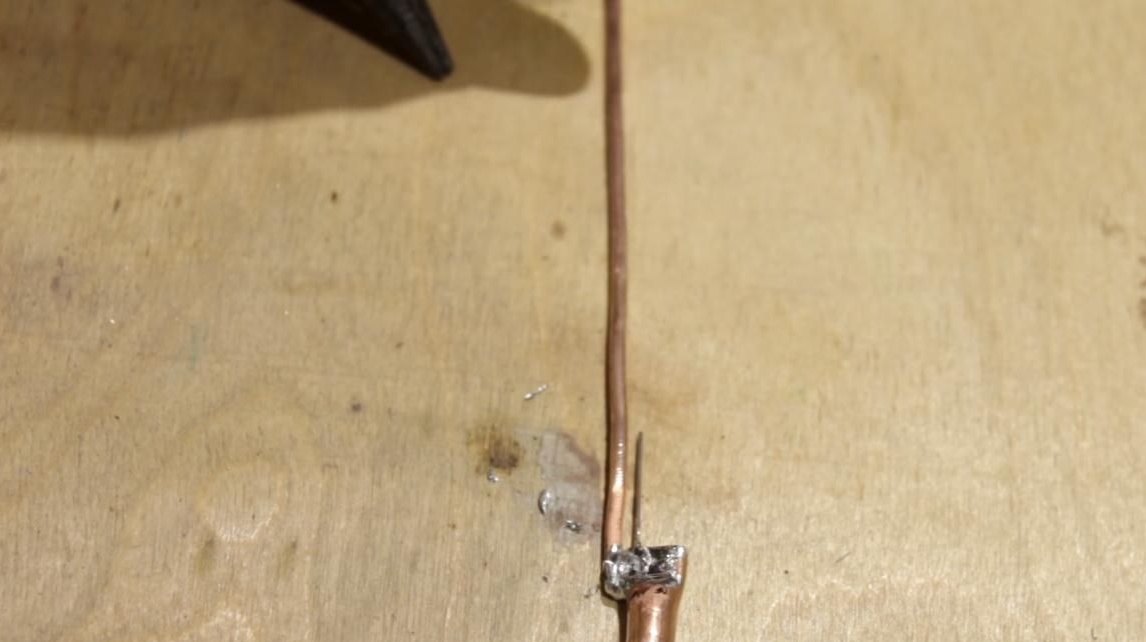
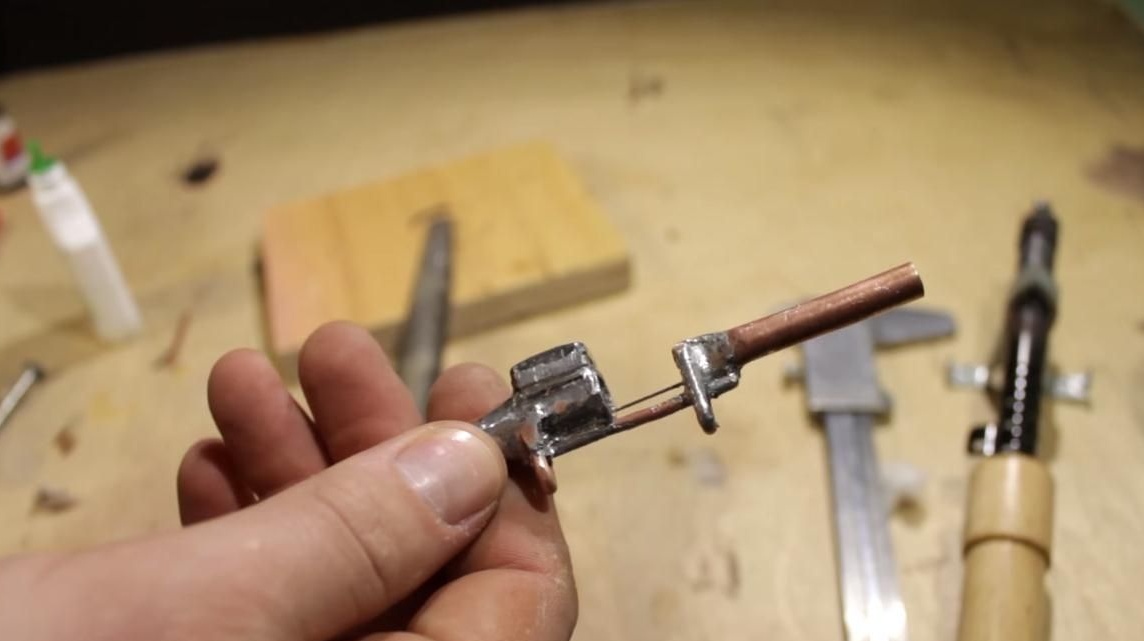
The end of a thick tube must be crushed with pliers so that the needle fits tightly there.
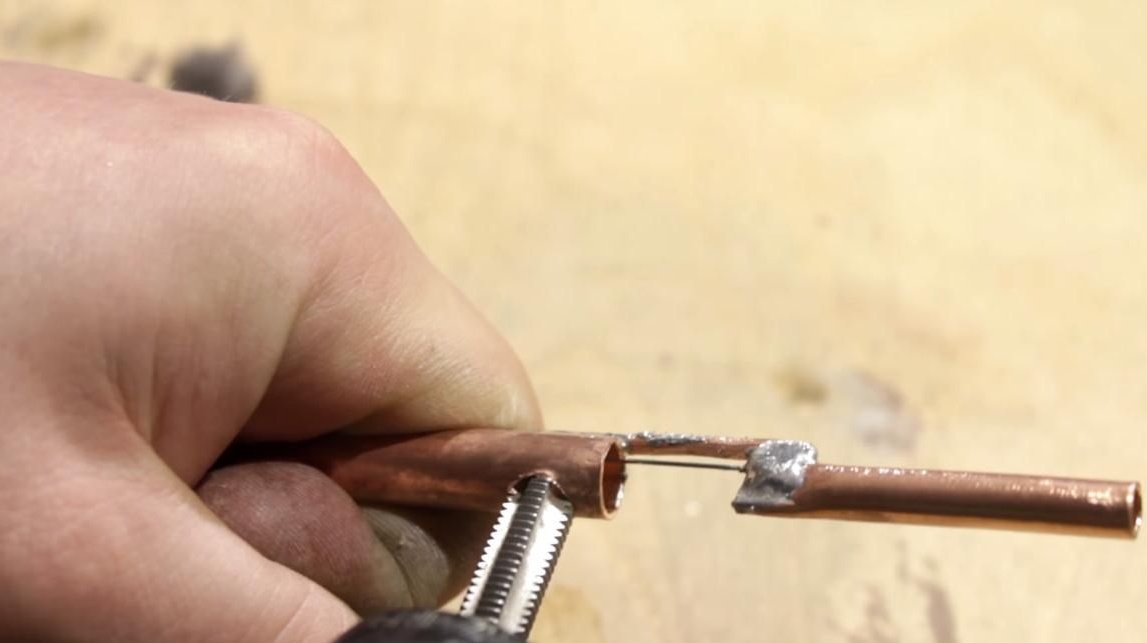
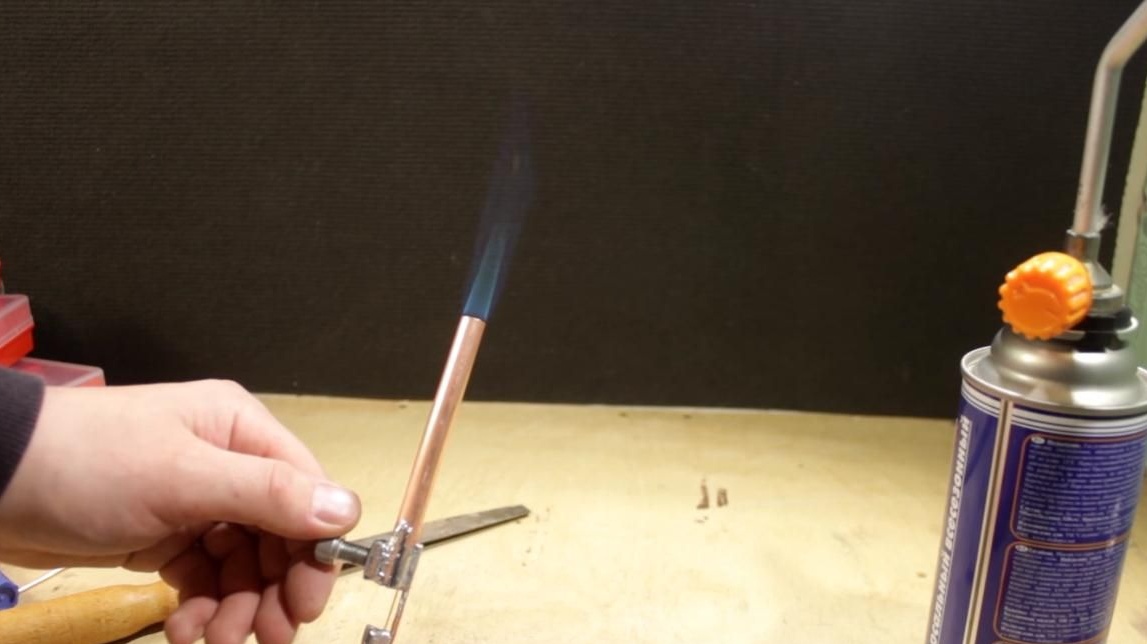
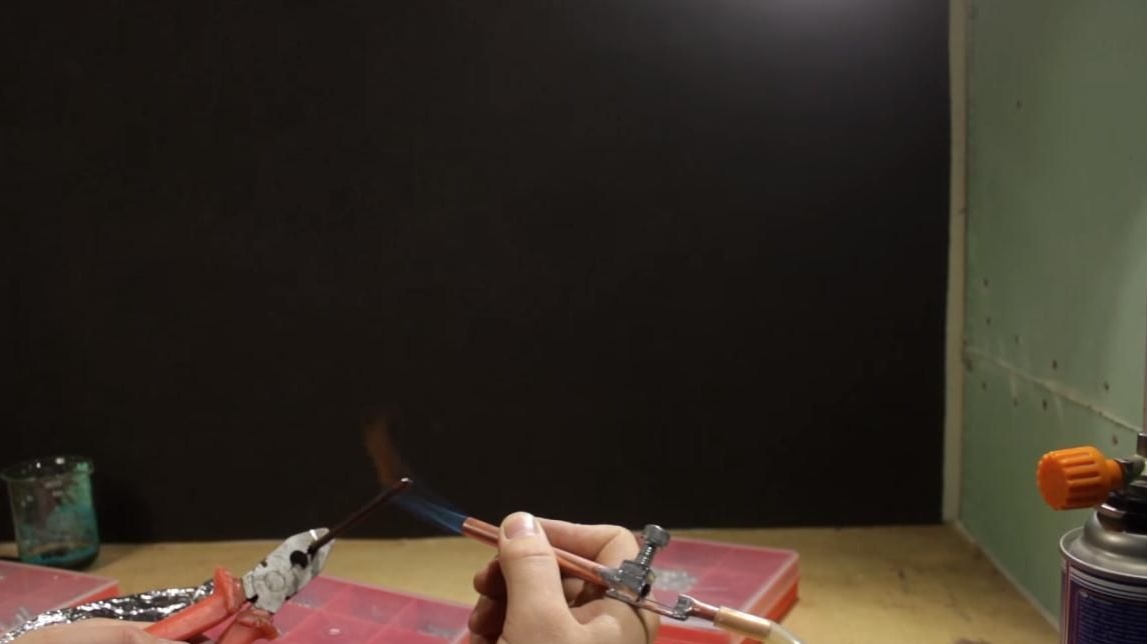
Further, the author used phosphoric acid. With its help, he processed a crushed piece of tube with a needle and soldered a thick copper wire, and sealed the gap in the tube.
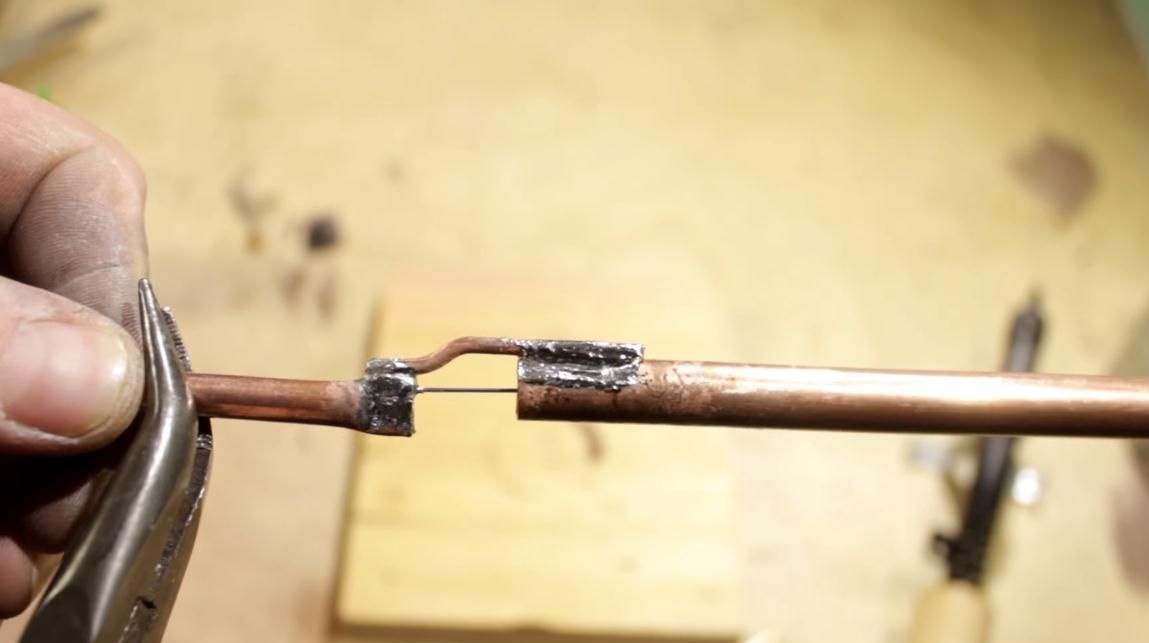
Then he soldered the second piece of the tube, as shown in the photo below. The author recommends rinsing the acid treatment sites with water to rinse off excess and prevent oxidation of the copper tube and needle.
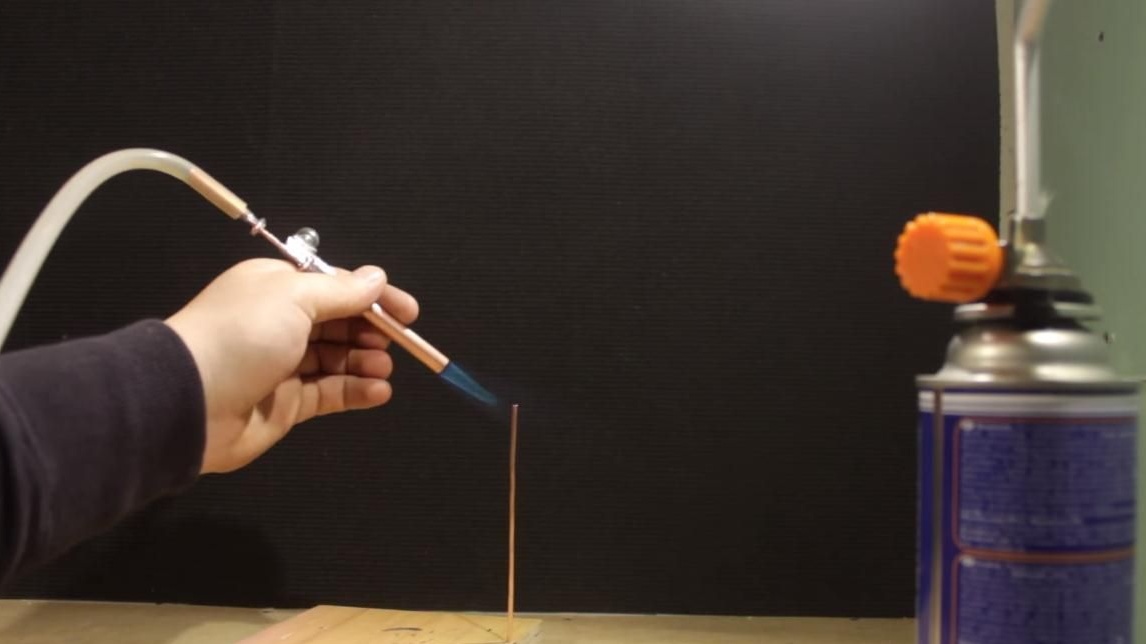
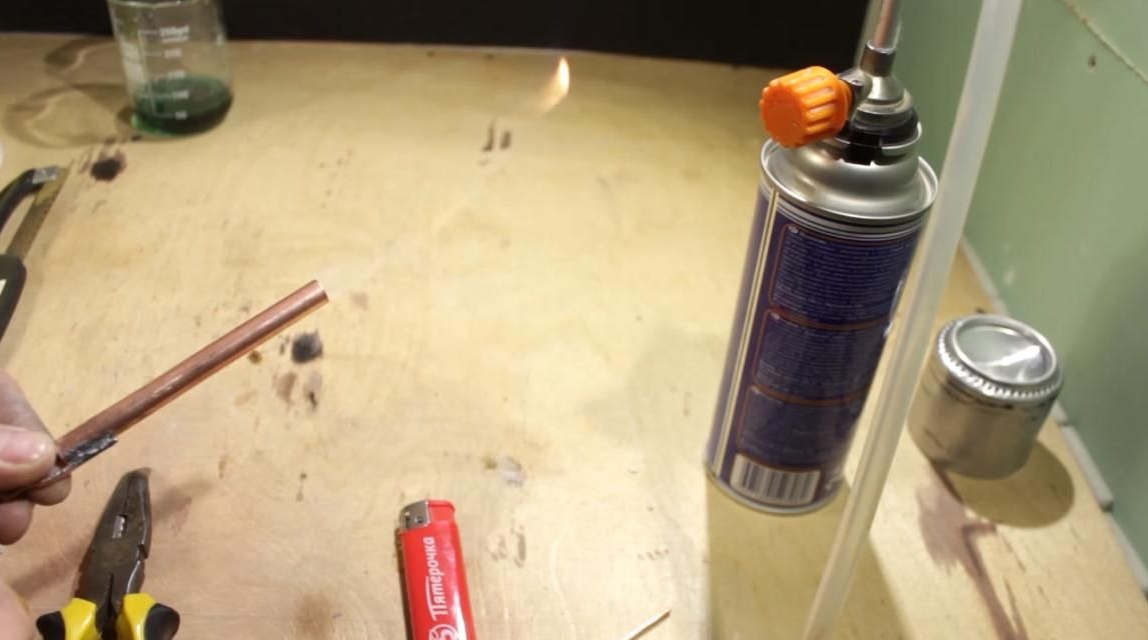
Now you can immediately check the burner, for this you need to connect the deferred silicone hose, which the author connected to the Chinese burner at the beginning and connect the other end to the new burner.
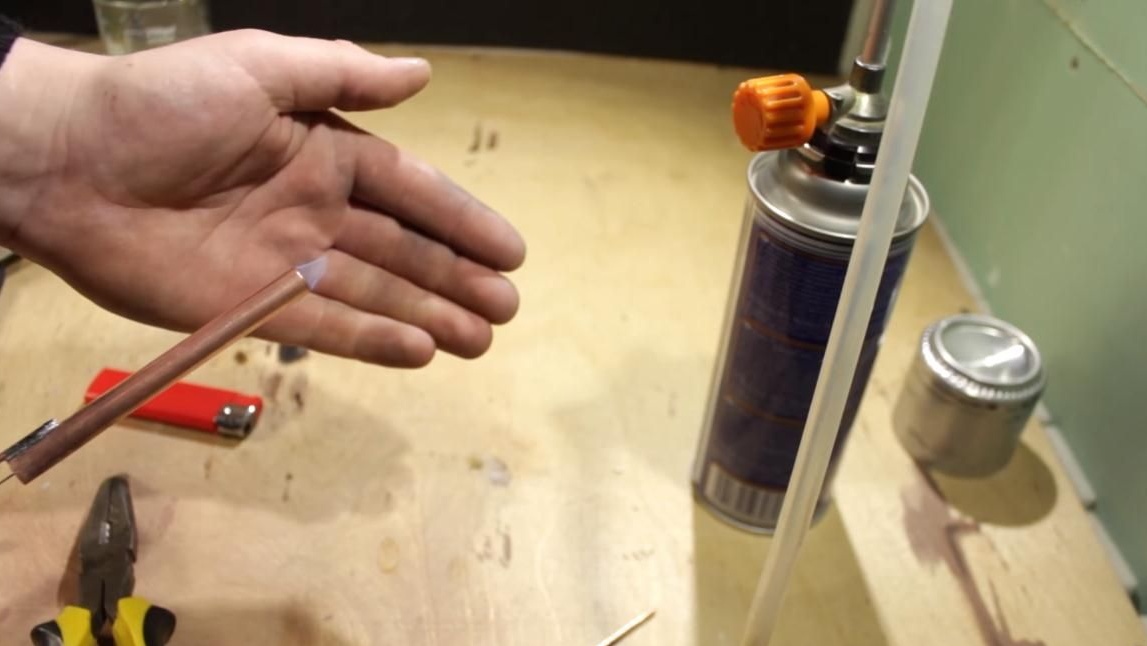
The author’s first burner test did not work out very well, it ignited poorly and went out almost immediately. Then he noticed that if you cover the lower part of the burner with your fingers and reduce the oxygen supply, the flame is not badly regulated enough.
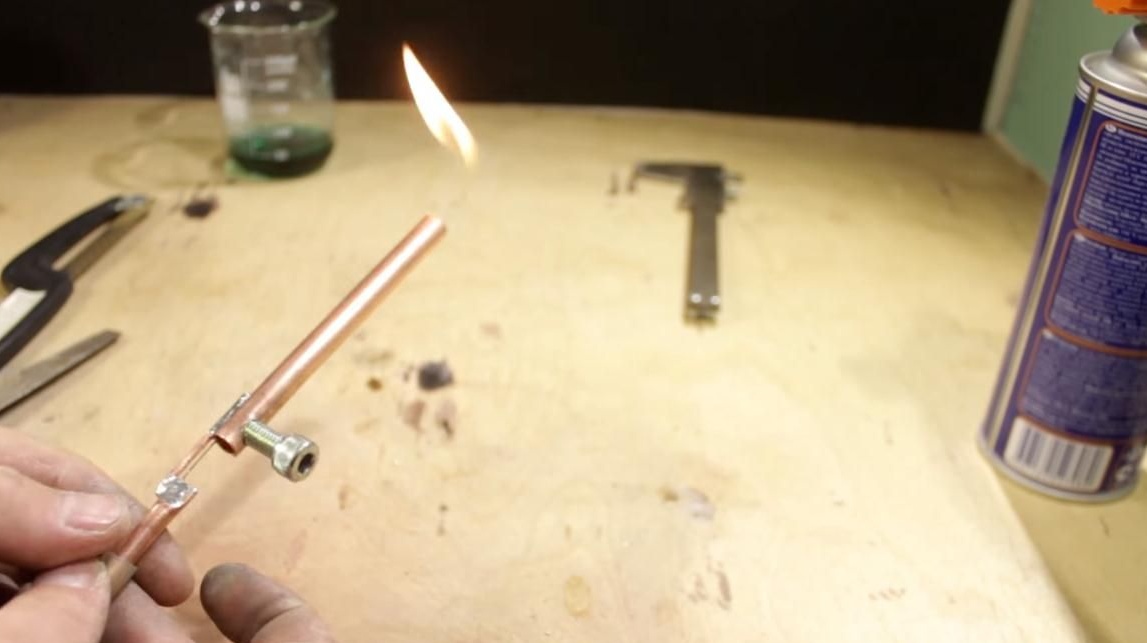
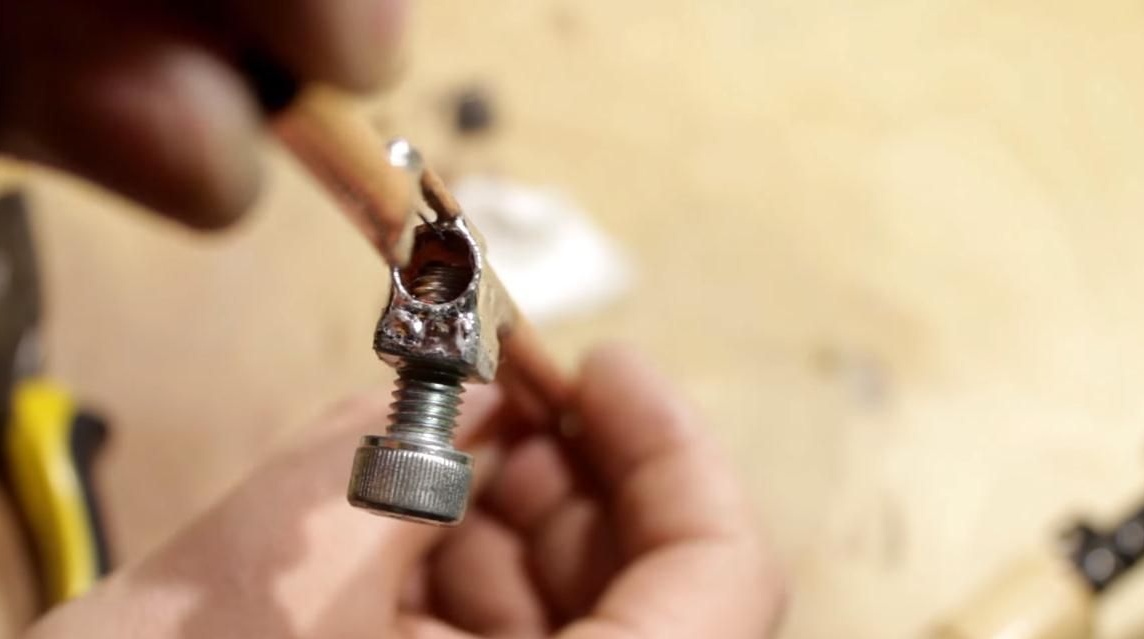
So you need adjustment! For this, the author took an M8 bolt, about such a ka in the photo below.

I straightened the wire that holds the two parts of the torch so that the needle would fit against the wall of a thick tube. Then he drilled a hole under the bolt with a drill at 7, at the very beginning of a thick tube. In order for the hole to turn out normal, I recommend that you first drill a thin drill and then drill a thick one. Then he took a tap and cut a thread under the M8 bolt.
With a bolt, the flame does not go out and you can adjust the air supply.
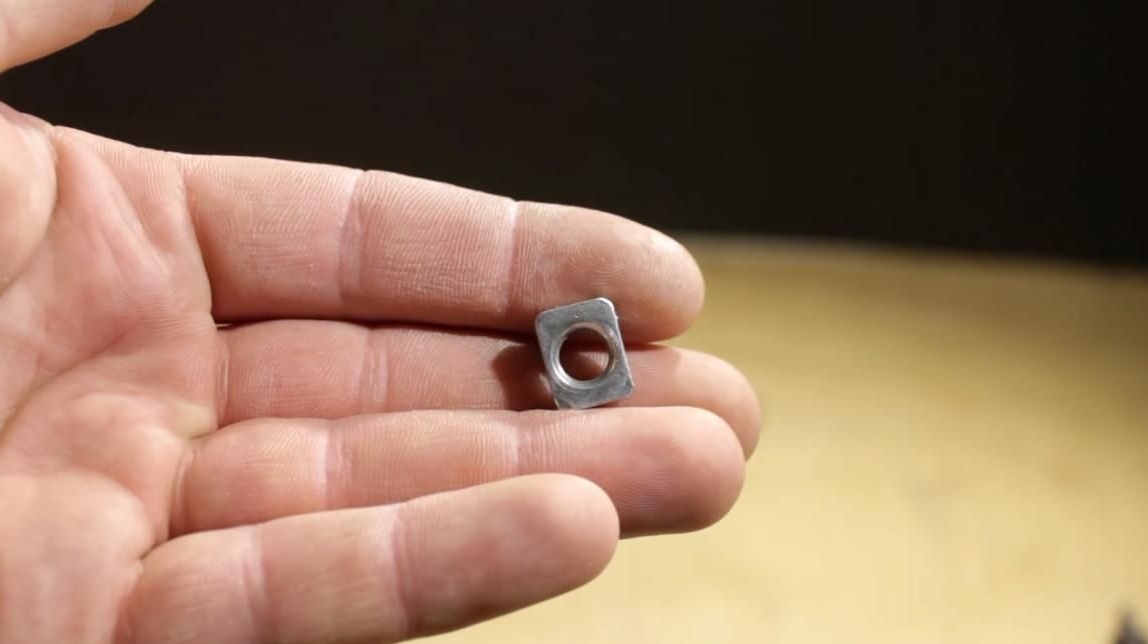
In order to make the adjustment more reliable and so that the copper thread does not slip quickly, the author recommends reinforcing it with a metal nut. It is best suited to a rectangular shape as in the photo below.
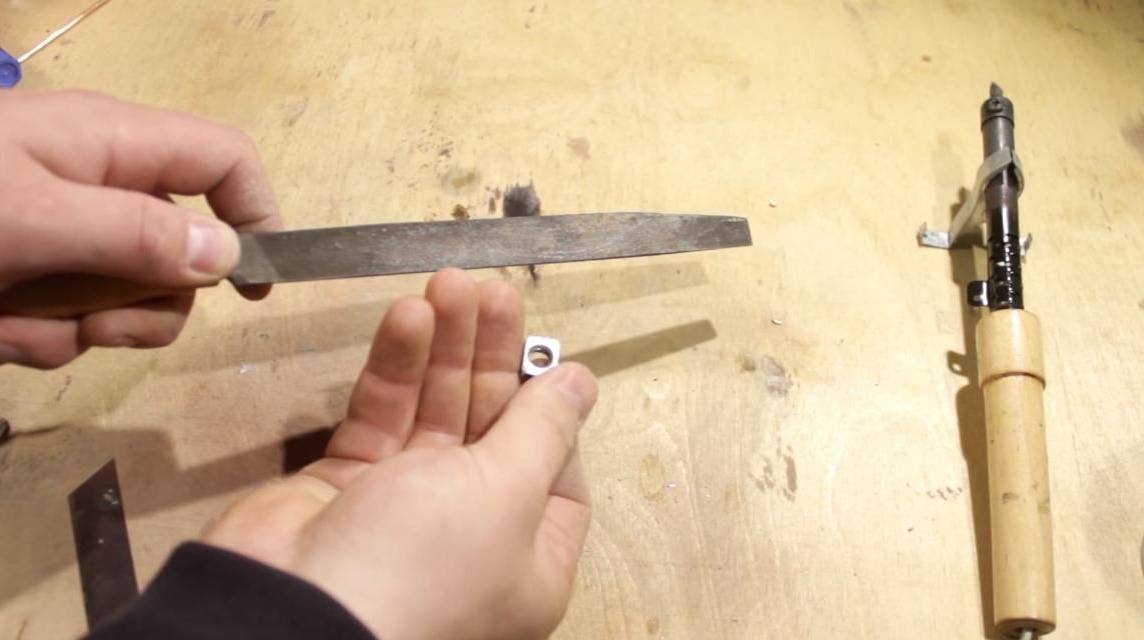
To do this, take a file and strip out all the soldering spots.
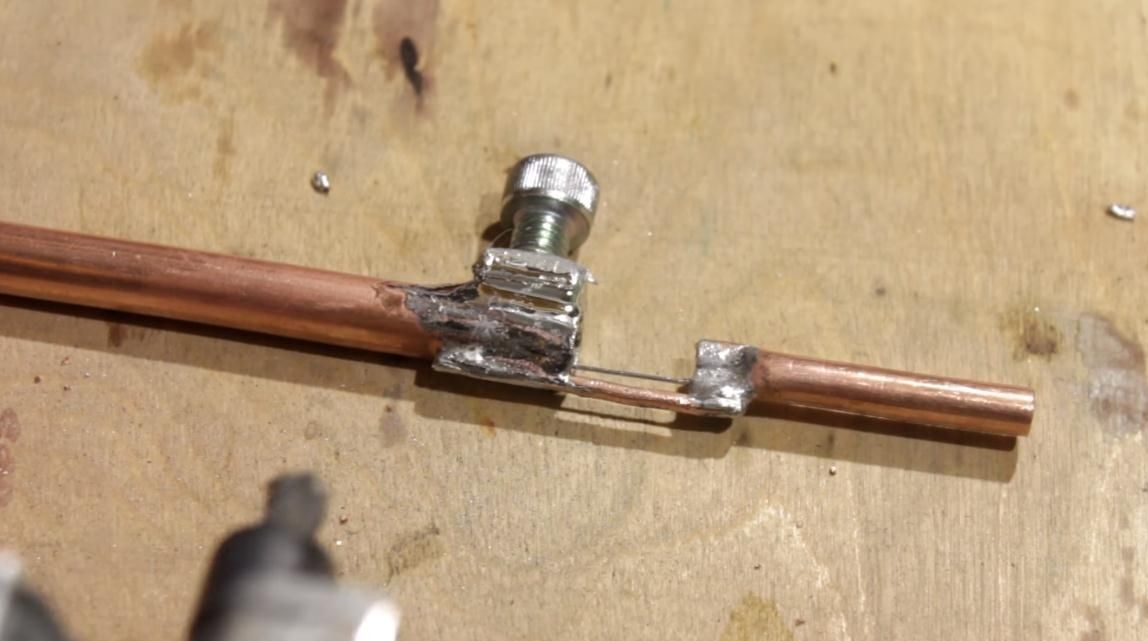
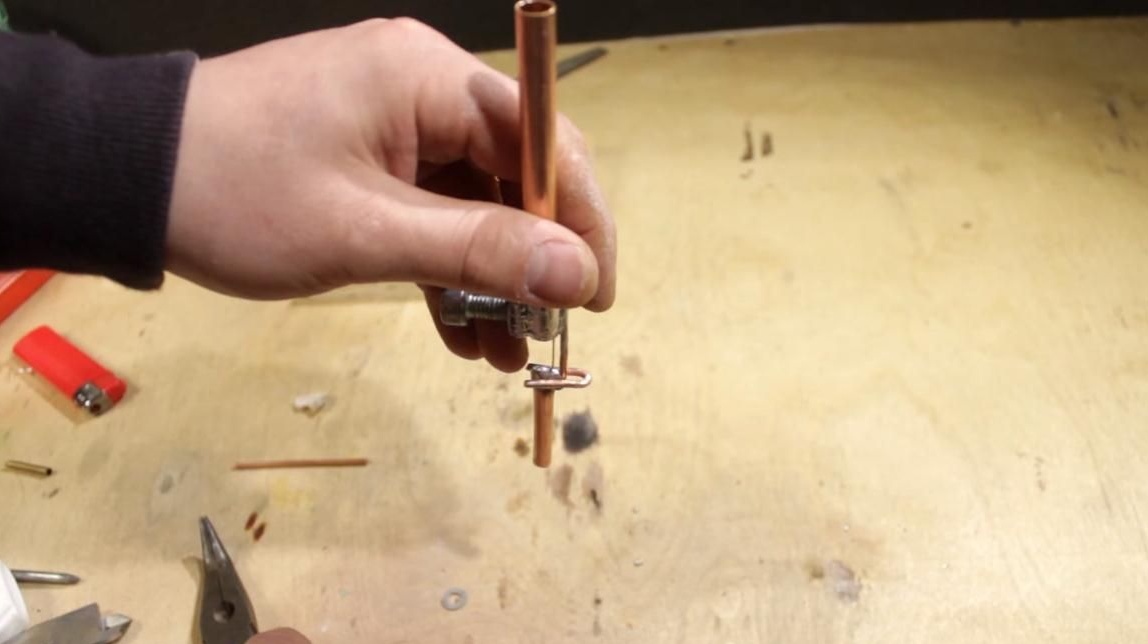
Next, you need to attach the nut to the place of adhesion, fix it, for this you need to screw the bolt first into the nut, and then into the thread on the tube and solder it well from all sides. Do not forget to treat all soldered surfaces with pestic acid!
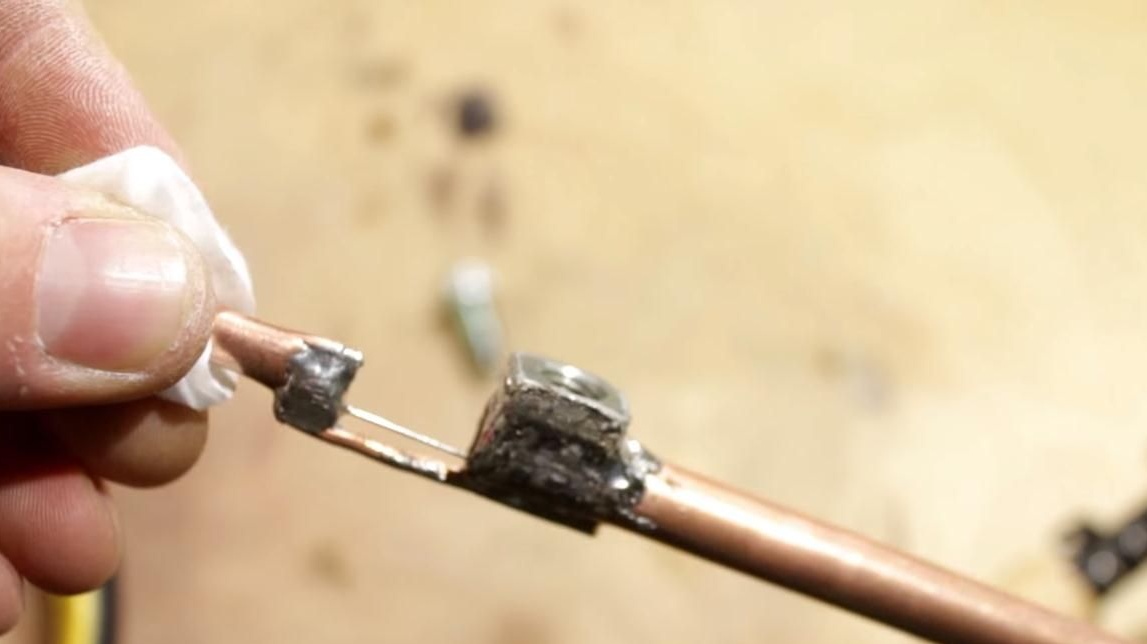
That's what he got in the end.
Due to the fact that the bolt cannot be completely screwed in completely, the needle will never be pinched and damaged!
It turned out quite a nice and convenient burner, you can safely hold it in your hands and work.
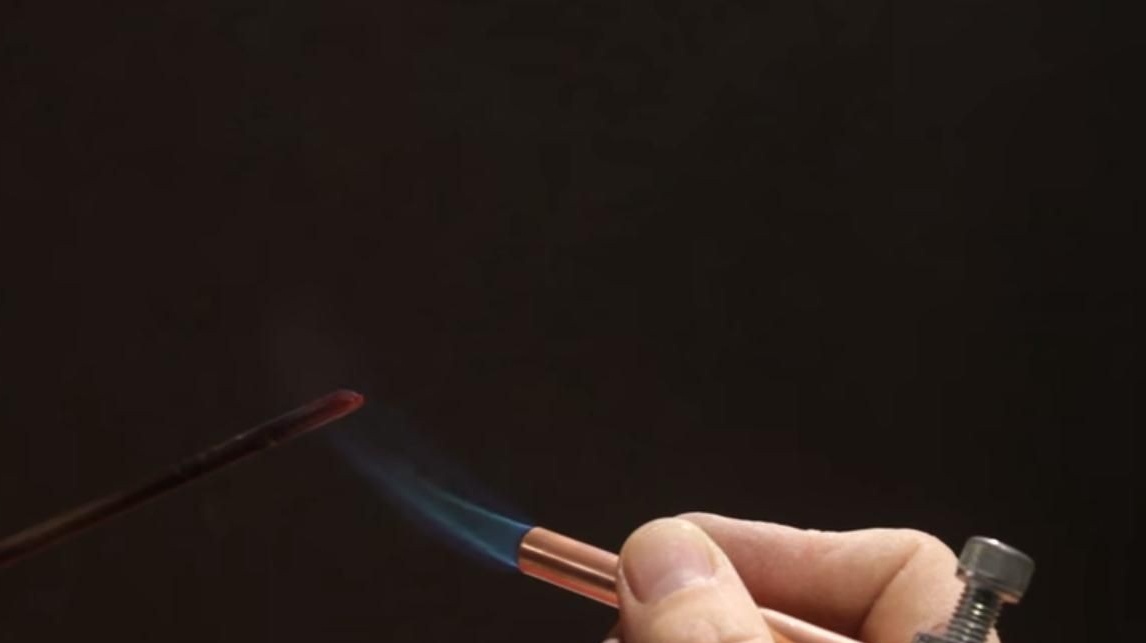
When the gas passes through the tube, it cools it, and the flame practically does not touch the burner, so the copper tube does not heat up enough to burn your hand. Such a burner is convenient to heat the castle in winter the garage, since gas cylinders usually do not work at sub-zero temperatures, you can put the cylinder under your jacket in heat, and use the burner even at fierce -50.
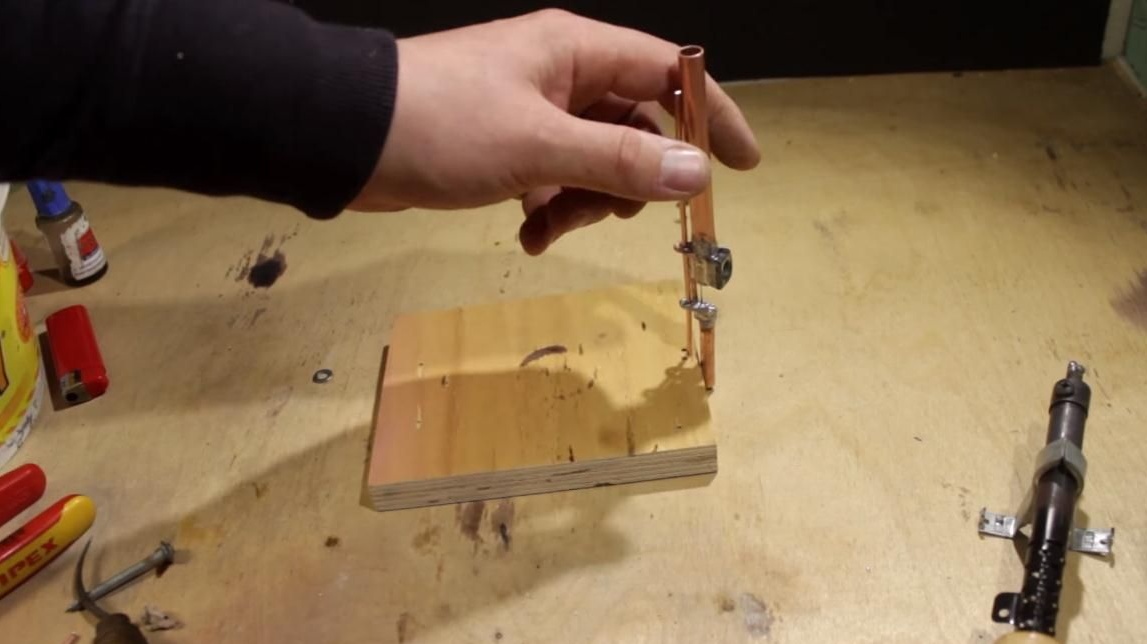
In order not to hold the burner constantly in his hands, the author decided to make a stand for it. To do this, make two loops of wire on the burner. Loops need to be done by eye, approximately as in the photo below. Be careful when soldering them, as all connections can simply fall apart from overheating!
After the loops are soldered, file all the protruding parts of the wire to give the burner a more beautiful look.
Now you need to make a tripod for the burner. To do this, the author took a piece of thick plywood and drilled a hole with an edge with a thin drill. He inserted a piece of thick copper wire into this hole. The burner is mounted on a tripod using soldered loops, it does not fall from it and holds well enough.
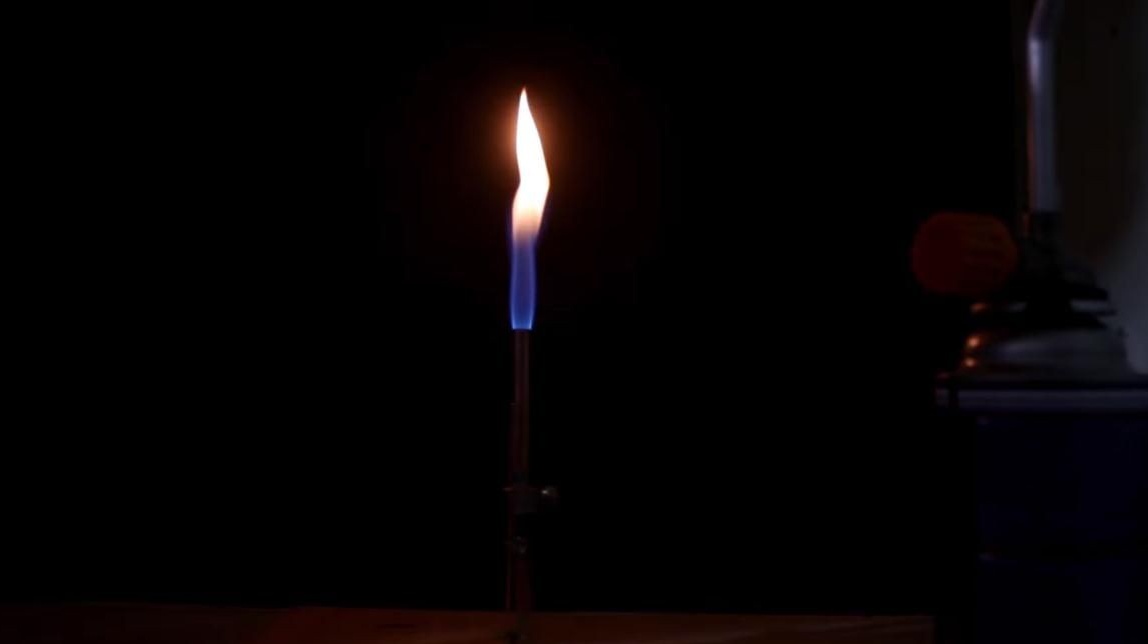
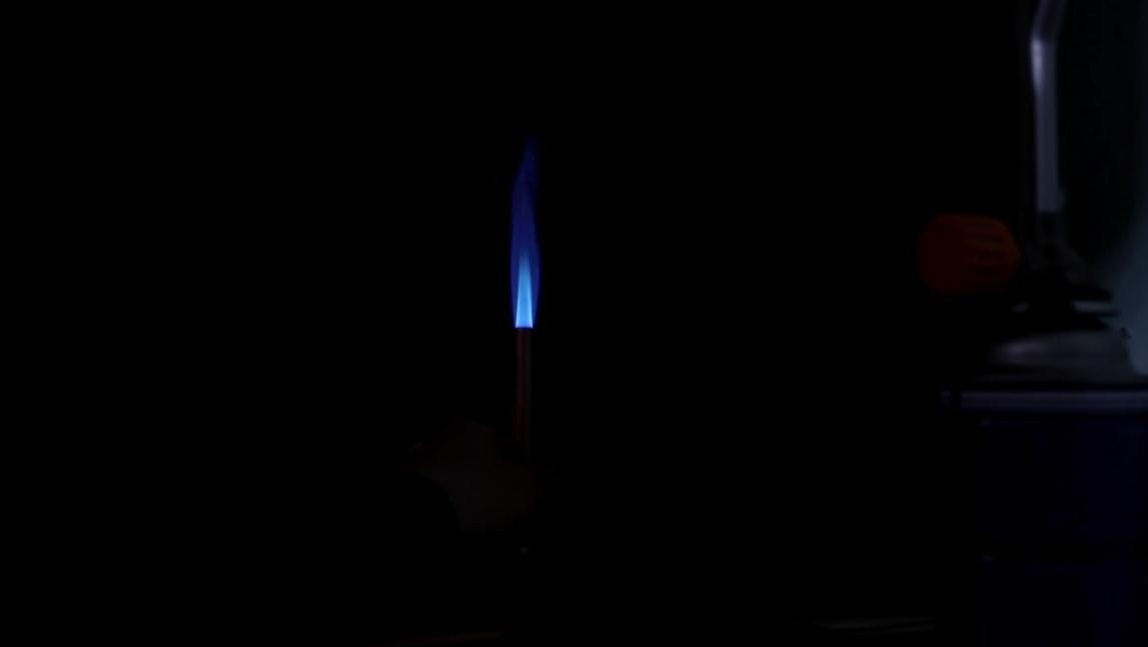
The burner assembly works as it should, with a screw tightened, it acts as a candle and gives a low-temperature flame. And if you open the air supply, the flame becomes pure blue and gives a higher temperature.
The burner is easily removed from the tripod if you need to take it in your hands, and just as easily mounted on it again. The design of the burner is not the same as that of Bunsen, and indeed does not repeat any of the known models.

That's all! The author did a fairly large and productive job, giving us a diagram of an effective and easily repeatable burner!
I recommend and advise you to collect! )) Thanks for attention!
Roller with homemade: