

Construction karting and its testing will significantly help expand your child's horizons in the technical field, and indeed it will be a great hobby for him, if compared with torsion in the hands of a twister or a hang in a smartphone. There are many designs and solutions on how to make such a machine, here everyone already chooses for himself what materials to use, what anyone can afford.
According to this instruction, karting is going quickly and not difficult, since the bulk of the parts are already bought ready-made, this is the engine, bearings and more. Of course, some investments will be needed here. The author spent $ 750 on such karting, but, according to him, much less could be spent.
Materials and tools for homemade:
- plywood;
- square tube to create a frame;
- rear axle;
- four wheels;
- bearings for the rear axle;
- sprockets, chains, hydraulic brake system, etc .;
- traction rods for steering, a steering wheel with all accessories;
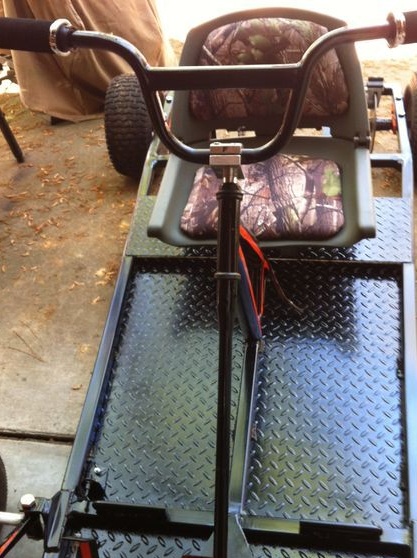
- materials for mounting the seat and the seat itself;
- An engine with a CVT (so as not to bathe with the gearbox);
- screws, nuts and other little things.
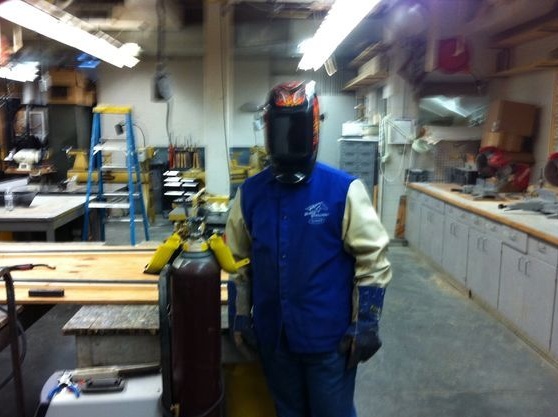
From the tools: welding, grinder; wrenches, screwdrivers, pliers and more.
The process of making karting:
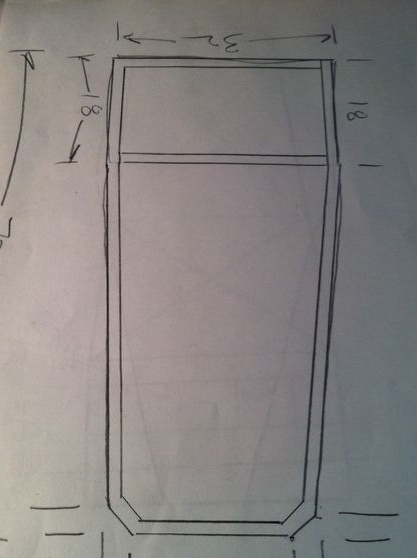
Step one. Design development
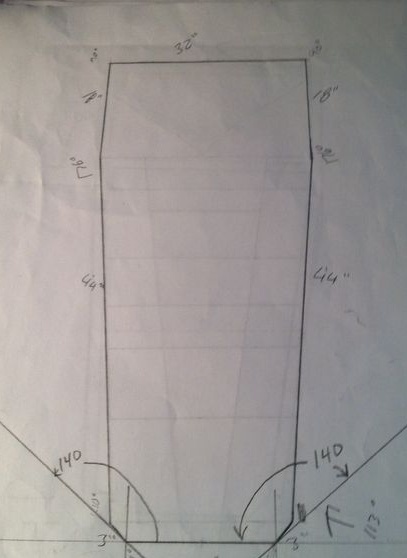
It all starts with calculations of what size the kart should be, from which it will make a frame, where the axle, seat, engine and more will be mounted. You also need to calculate where the angles should be, and so on. If you have problems with this, then on the Internet there are already a lot of ready-made drawings for karting, which can be downloaded and printed.
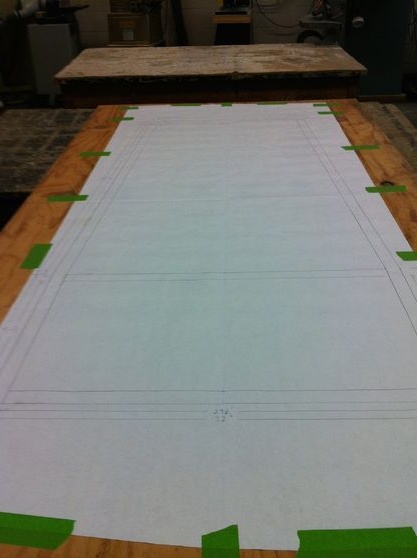
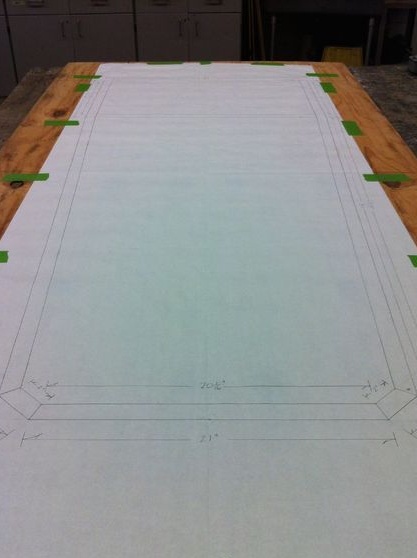
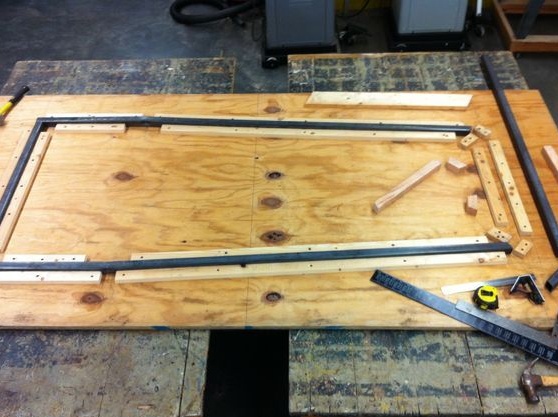
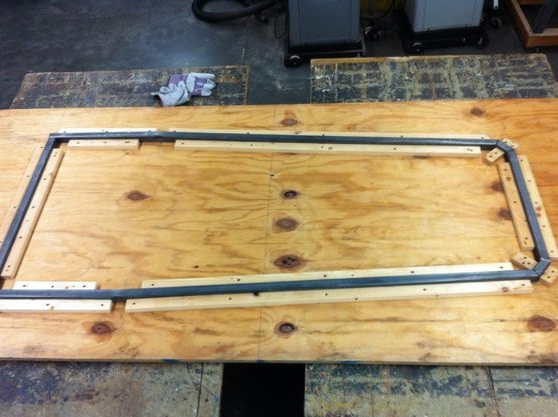
Step Two Transfer the drawing to plywood
When the small version of the drawing is ready, it needs to be increased to the actual size of the kart. Then this sheet of paper needs to be pasted on plywood. Plywood is needed in order to be able to make a convenient template for welding the frame, which is especially good if more than one kart is being built.
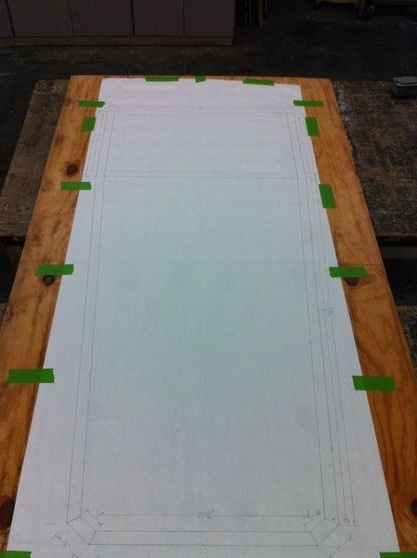

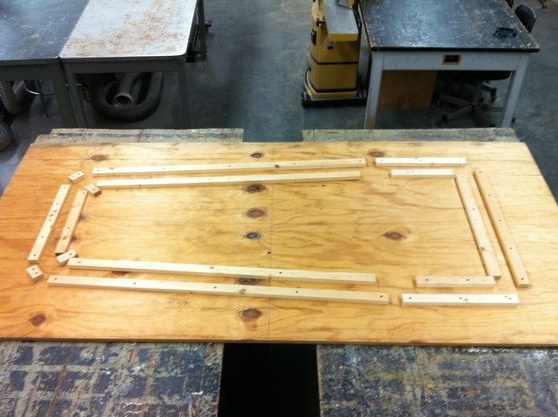
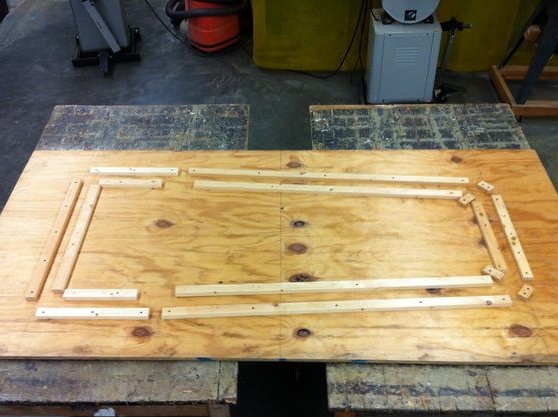
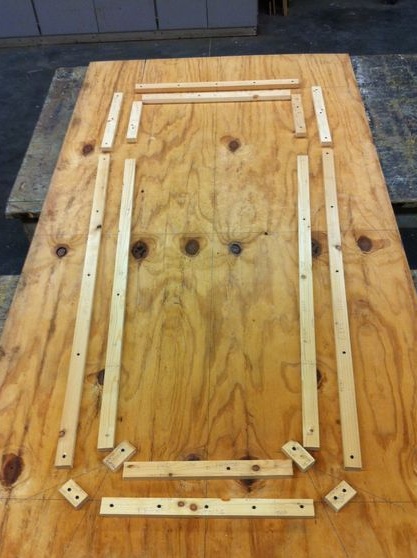
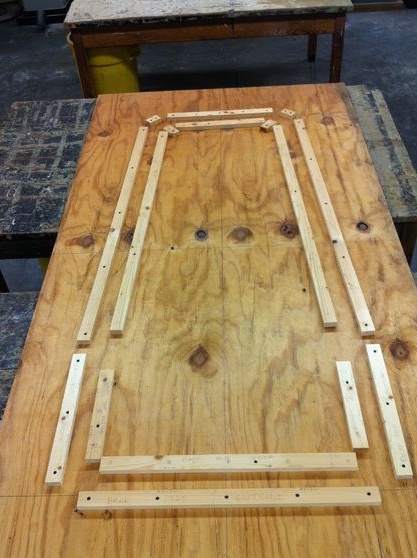
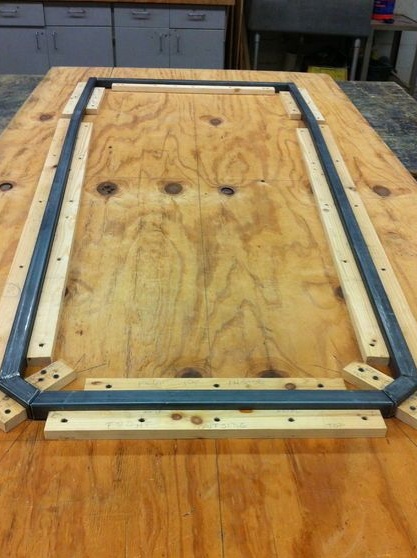
Now you need pieces of boards or the same plywood, as well as screws. With these pieces, you need to form a shape where the future frame of metal pipes will then fit and welded.
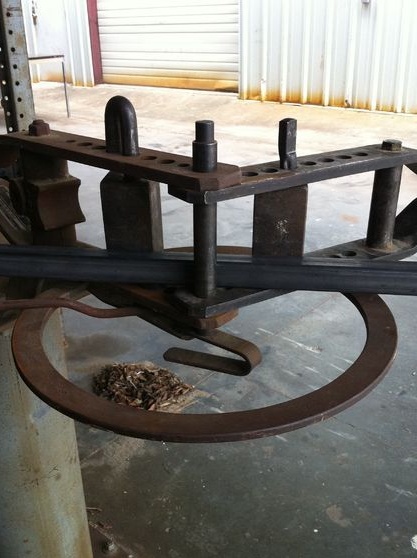
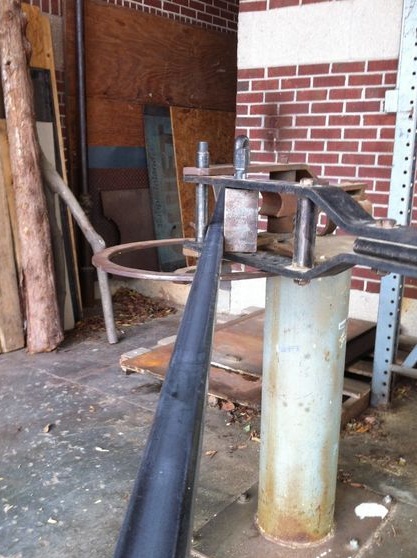
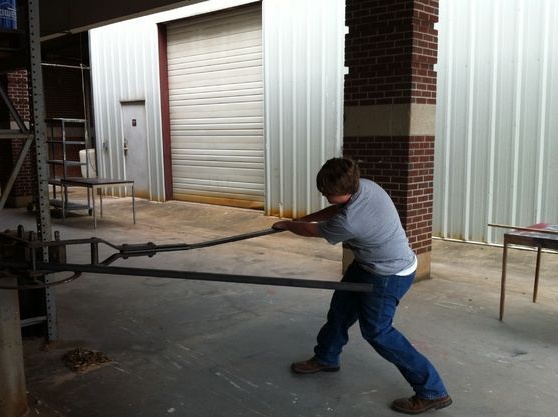
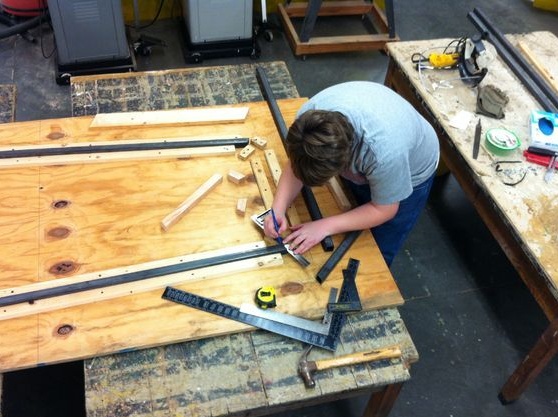
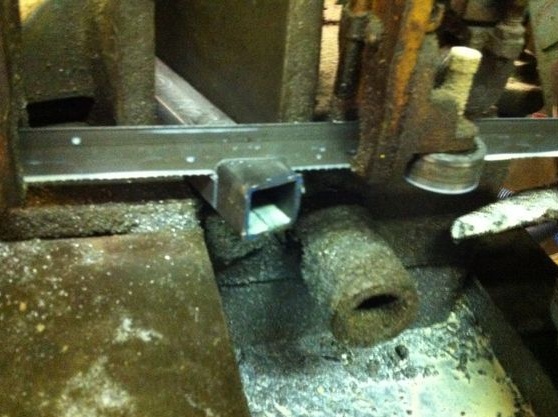
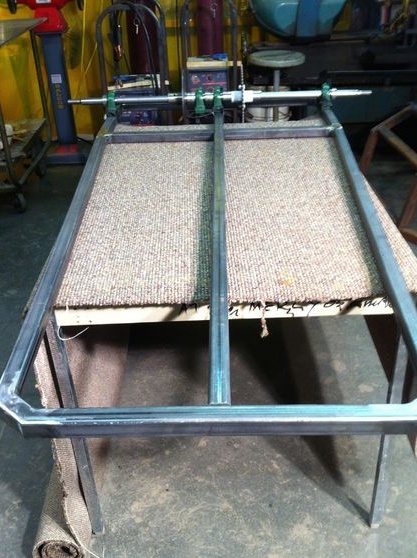
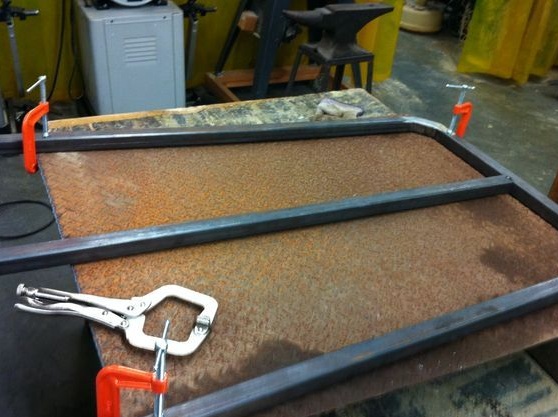
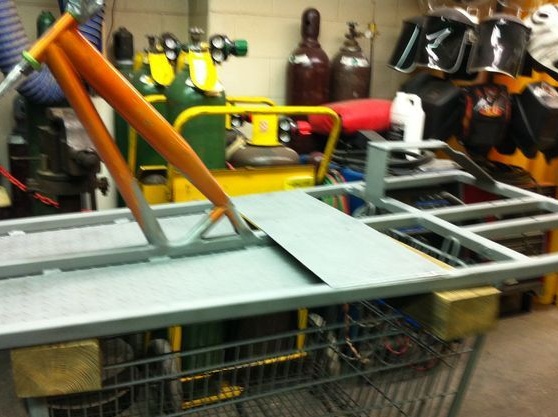
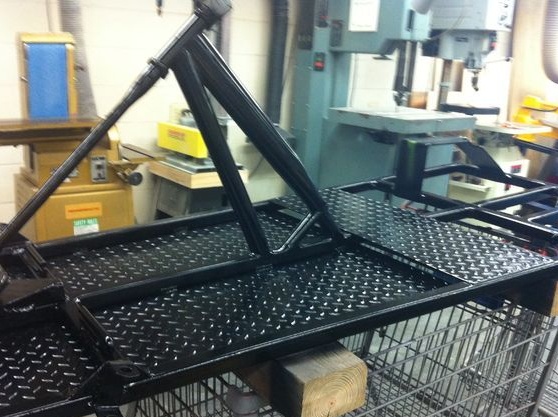
Step Three Making the frames
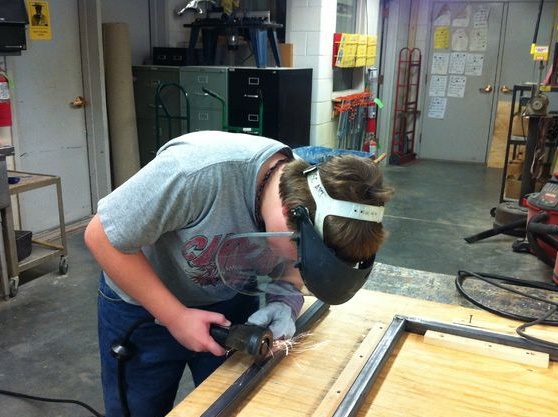
Since the author has a somewhat sophisticated frame structure, a tube bending machine will be needed here to make the necessary details for the frame. The material used is a square steel pipe.All details must be carefully adjusted to each other, then to tightly connect. When everything is ready, all the details fit into the template and are well welded. The welding seam should be on both sides. After welding, the author advises to smooth all the seams with a grinder.

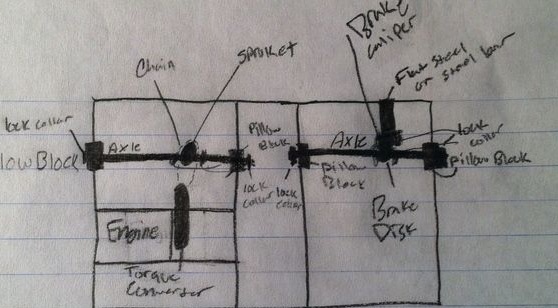
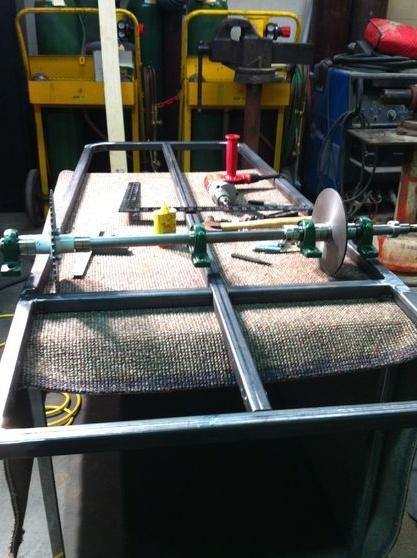
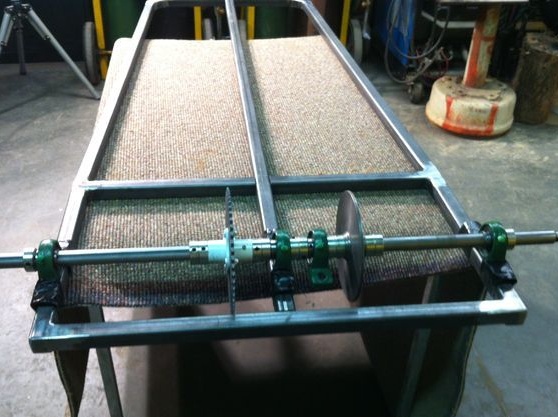
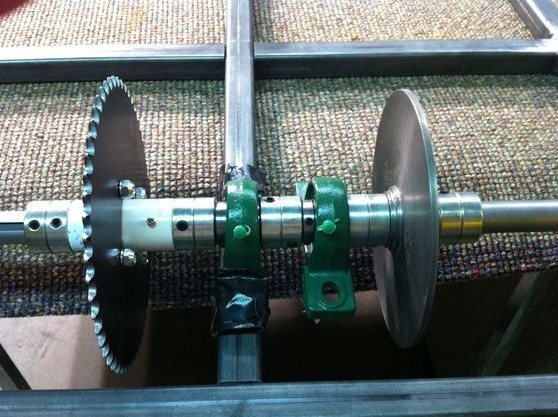
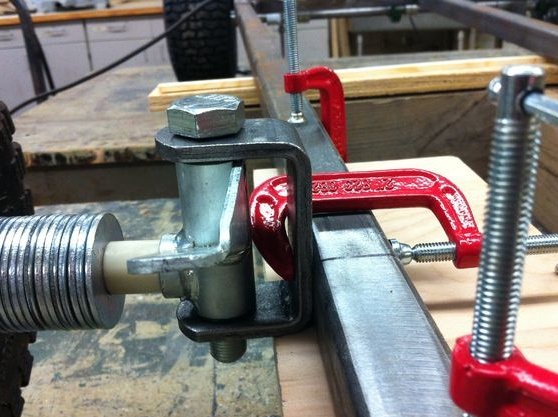
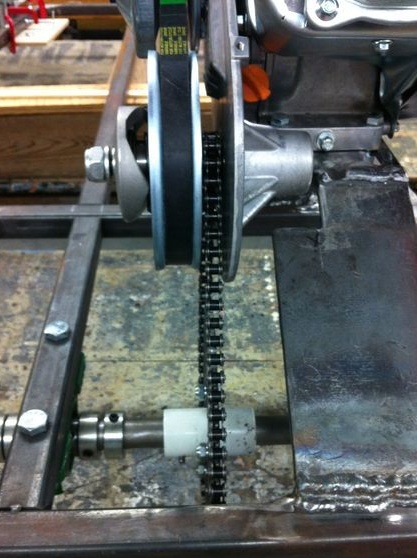
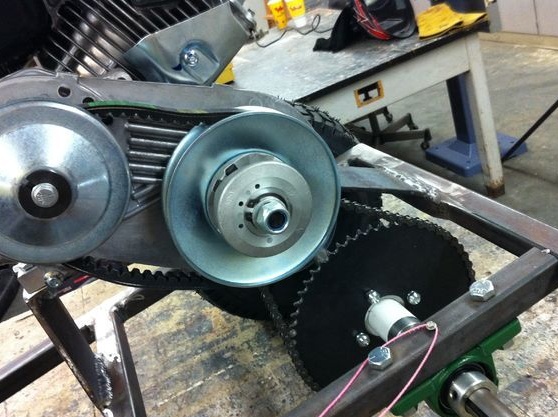
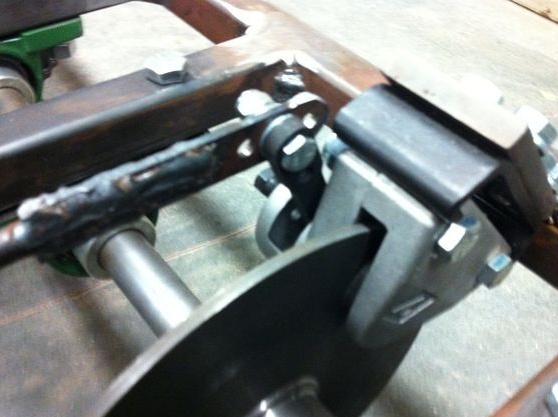
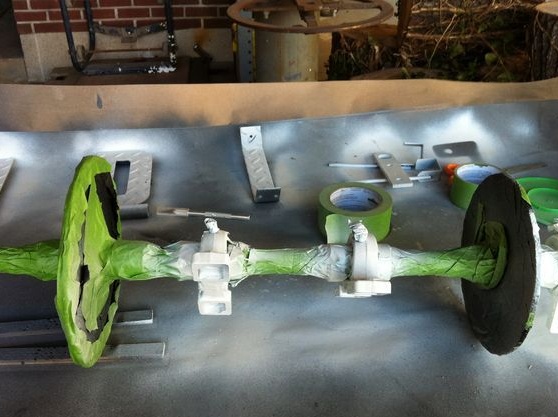
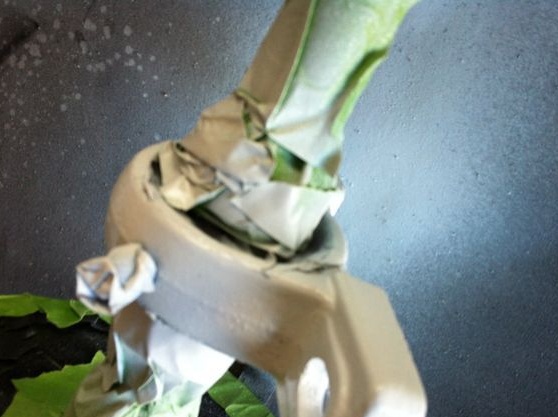
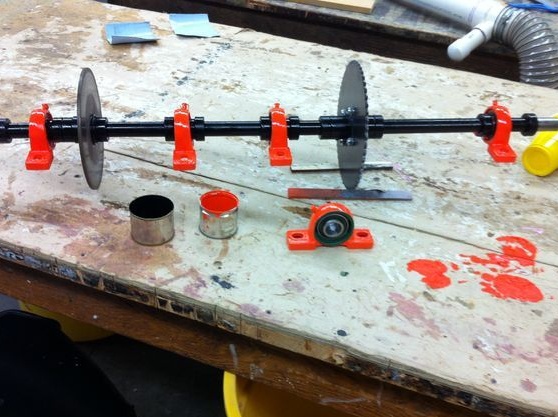
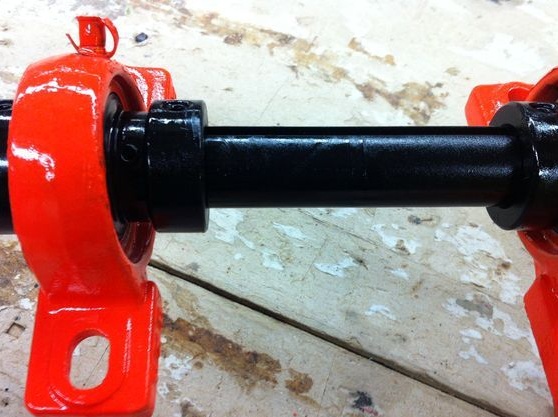
Step Four Install the rear axle
Installing the rear axle is a very crucial moment, everything needs high precision in everything. A brake disc and an asterisk are mounted on the axis. If the sprocket or axis are fixed crookedly relative to the engine, the chain will fly off and wear out quickly. To mount the axle bearings, drill holes through the frame through the frame, and then fasten them with bolts and nuts. Once the axle is fixed, wheels can already be put on it.
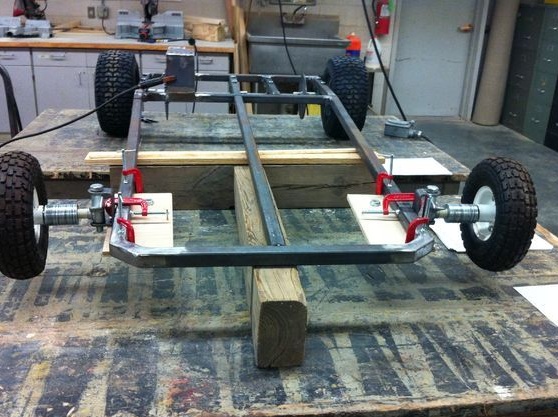
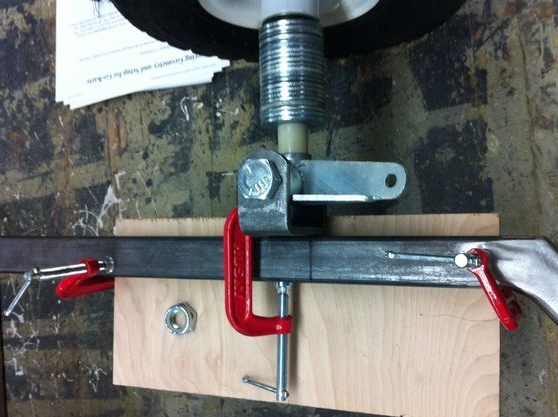
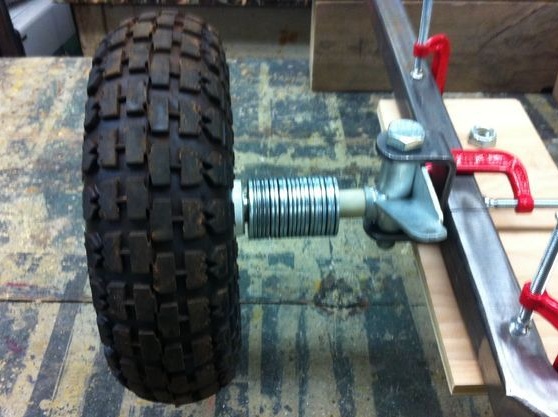
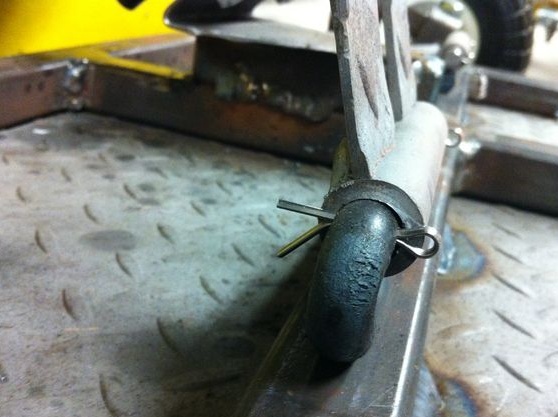
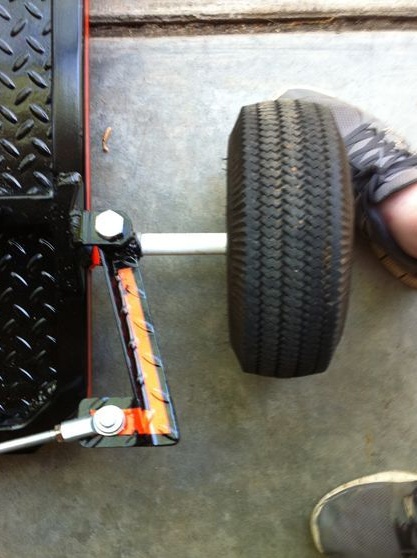
Step Five Install the front wheels
The front wheels are also not difficult to attach, their axles are connected to the frame through brackets. It is very important that these brackets are strong, as they have a large load. To prevent anything from walking and unscrewing, the author themselves brackets the brackets themselves tightly to the frame. After installing the axles, you can also attach the front wheels to them. And now the cards are on wheels.
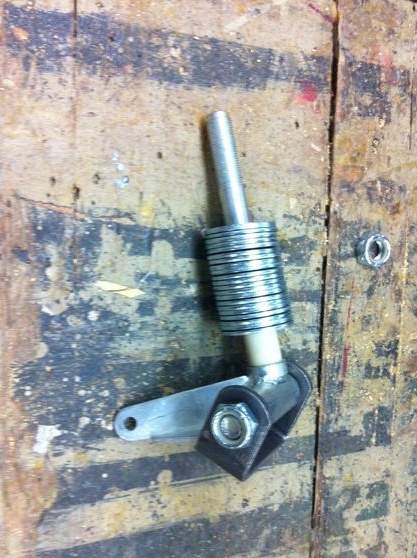
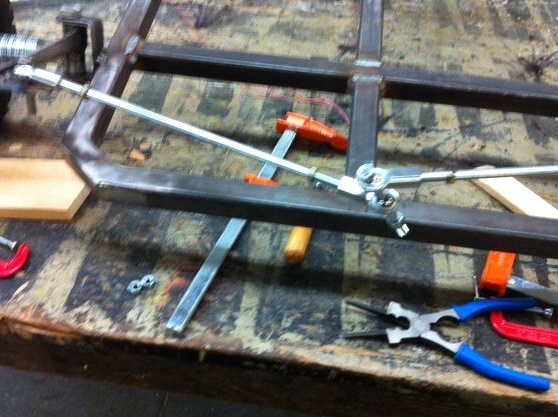
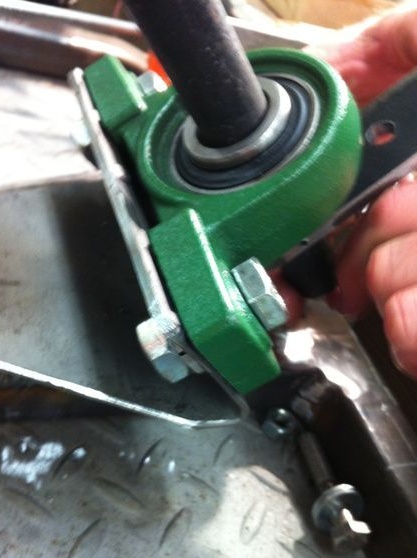
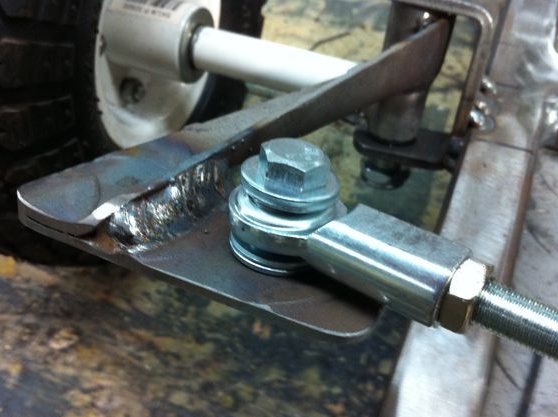
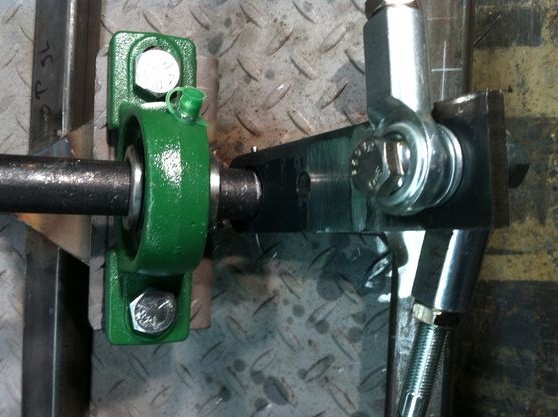
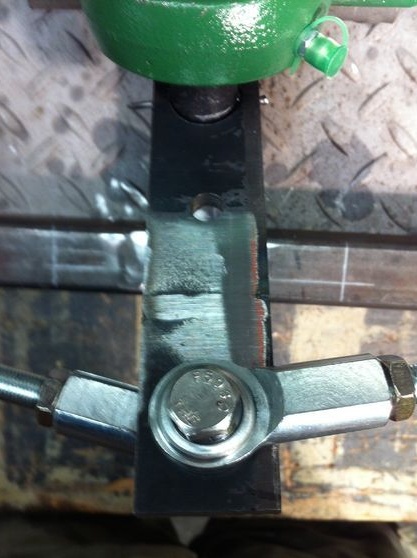
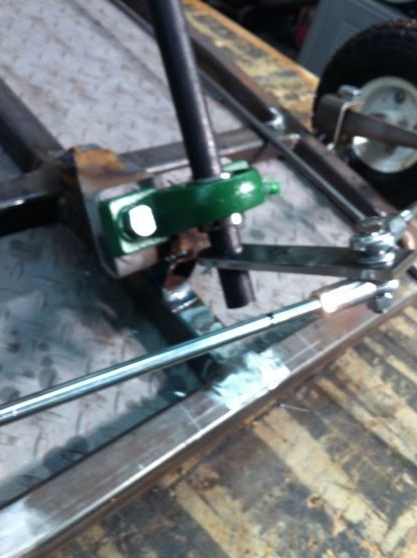
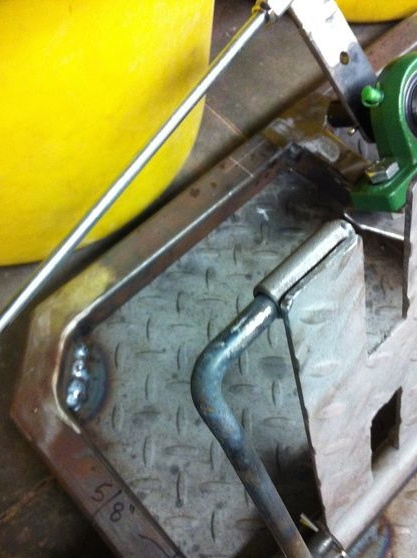
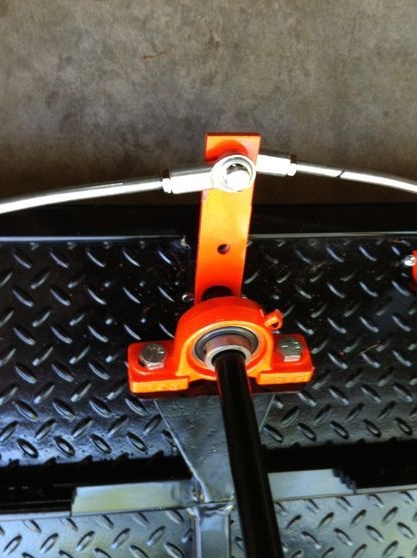
Step Six Steering Rods
The steering is very simple here. The steering shaft is attached to the frame through a bearing, and then traction rods are attached to this shaft, which connect the steering wheel to the front wheels. The rods are best taken adjustable so that you can adjust the "alignment".
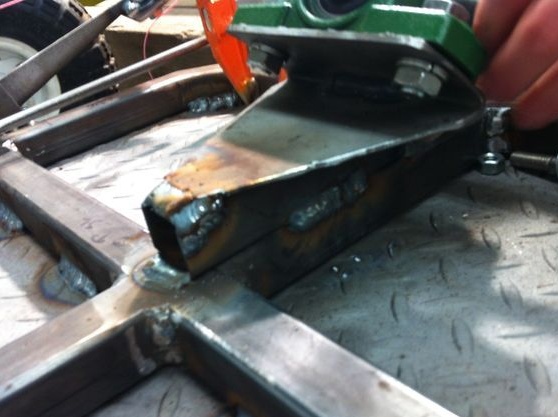
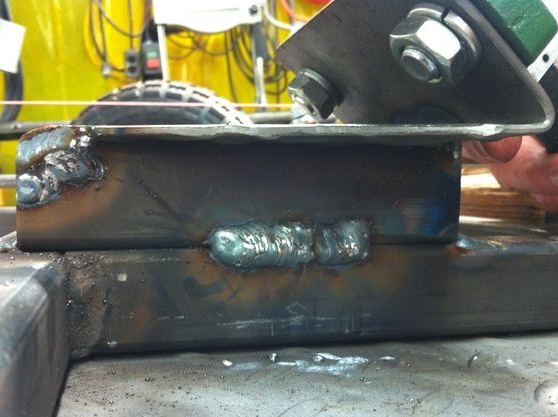
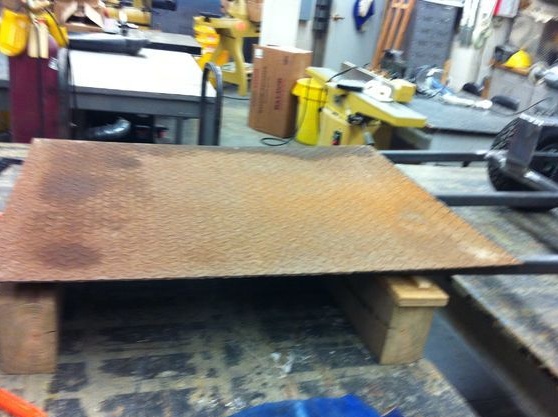
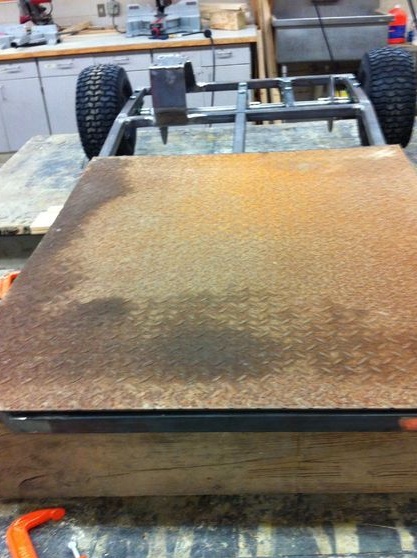
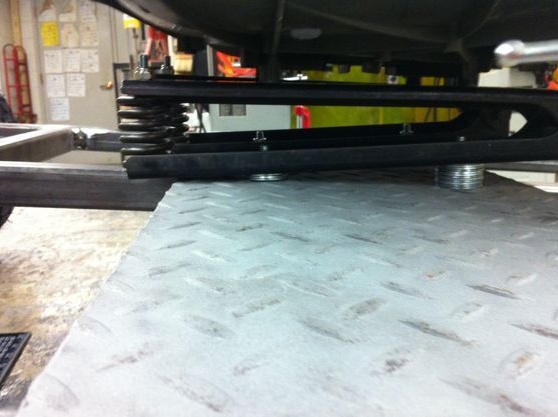
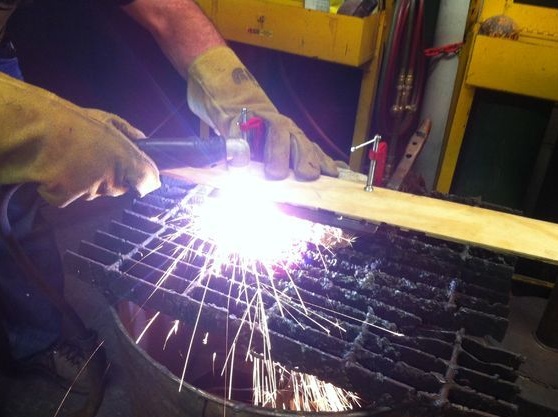
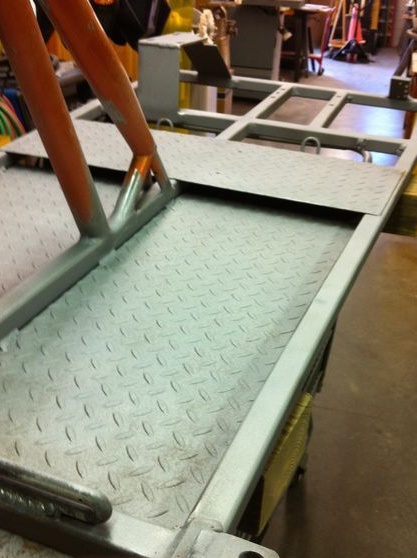
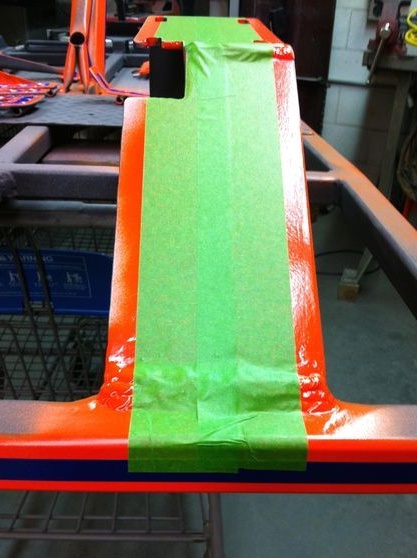
Seventh step. Floor plate
To protect the driver, a sturdy steel plate must be welded to the seat. It will protect from dirt, stones or will not allow to be injured when entering a hill and so on. The plate needs to be cut to a suitable size, and then securely welded on top of the frame at the seat mounting location.
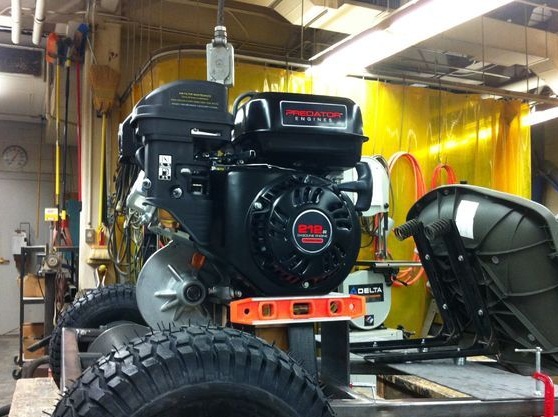
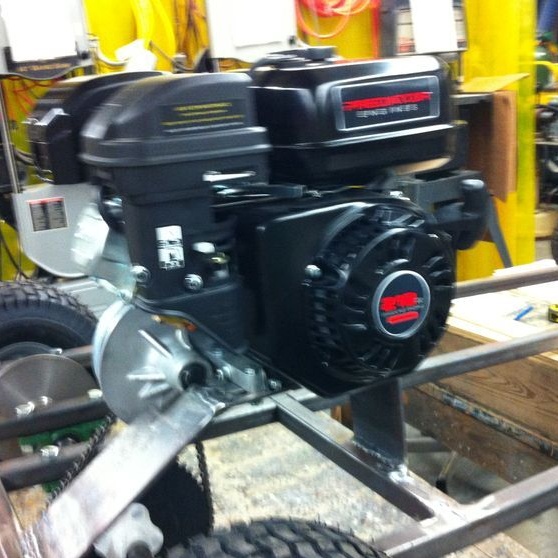
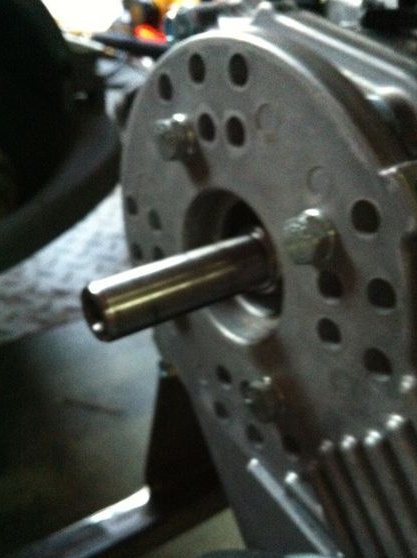
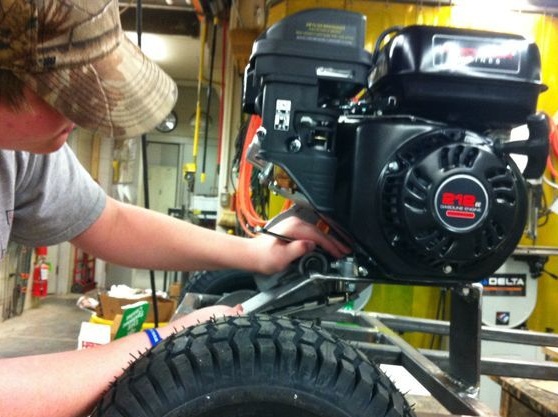
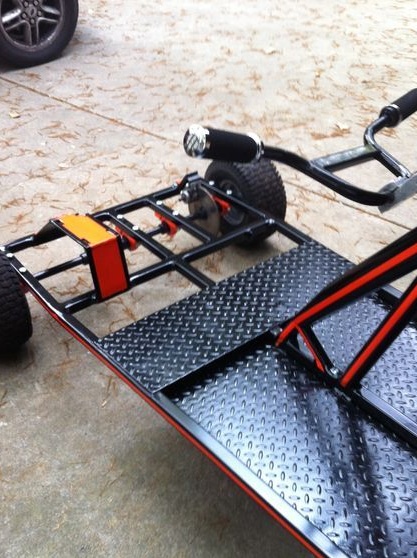
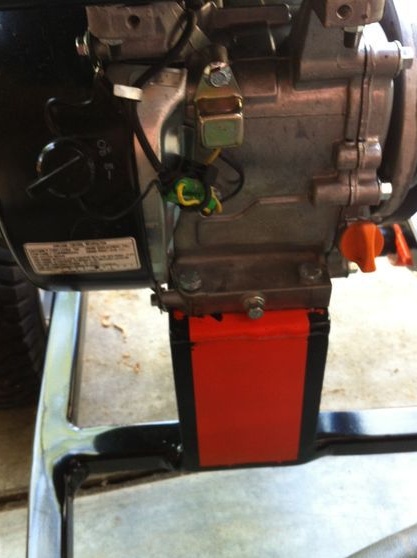
Step Eight. We fasten the engine
For the engine, you will need to make a strong bracket, what it will be, here everything depends on the model of the selected motor. You will need to work as a grinder and welding. It is very important that the engine sprocket and sprocket on the axis are fixed exactly, otherwise the chain will fly all the time.
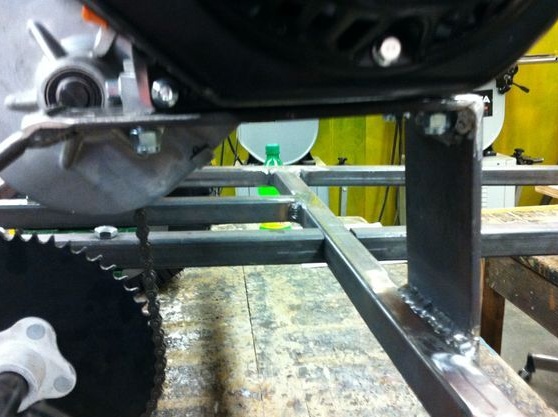
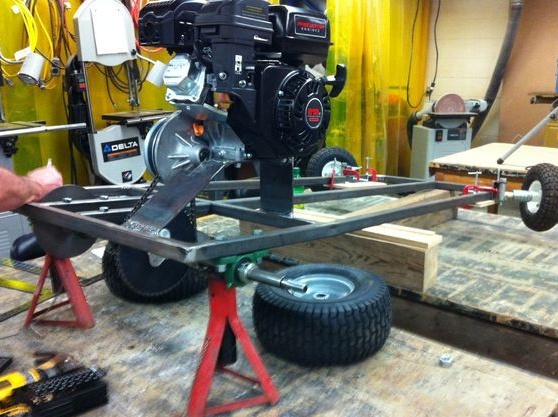
Before final tightening of the bolts that secure the engine, you need to start the engine and at low speeds make sure that the chain runs smoothly and does not fly off. After that, everything can be finally fixed.
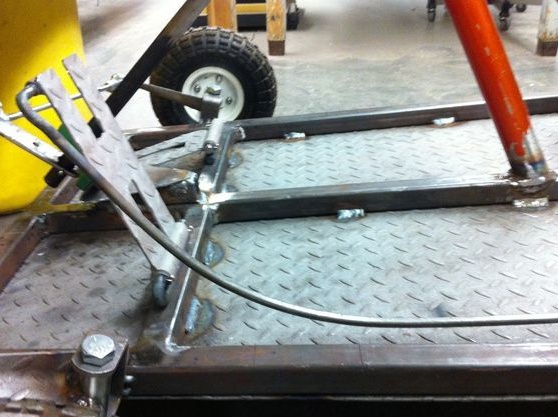
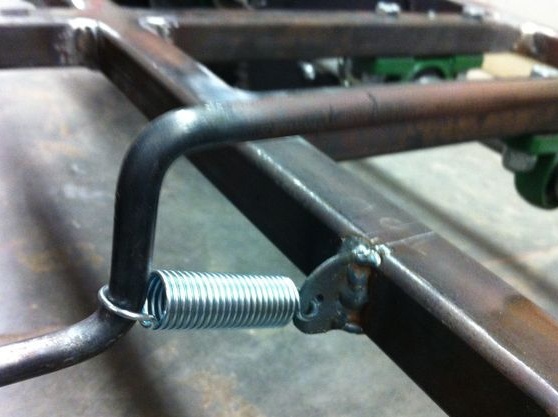
Step Nine. Pedal installation
The author makes the pedals himself, a steel sheet is suitable for this, any design can be done. Since there is no clutch on the engine, only two parts are needed, gas and brake. Gas is connected to the throttle control cable, here you need to remember to make a good spring on the pedals. Well, the brake is connected to the caliper with a lever.


Step Ten Testing
Karting can already be tested. Before this, you need to remember to fill in the engine with the right oil and fill the car with fuel. If the motor is new, gasing is not necessary much, as its components must still rub.
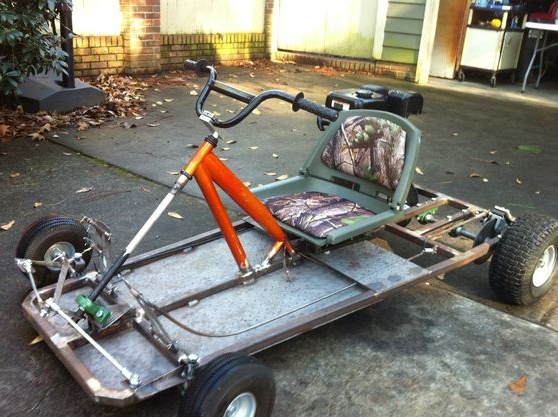
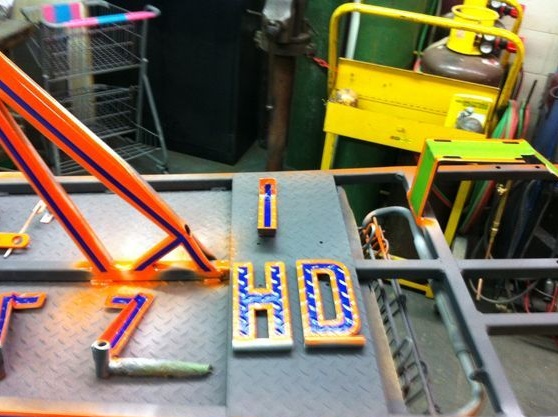
Step 11. The final stage
The final step in the event of a successful test will be a partial disassembly of the go-kart for the purpose of painting. In what color to paint and how to paint, here everyone already decides for himself. The paint should be resistant, as karting is very dirty when driving.


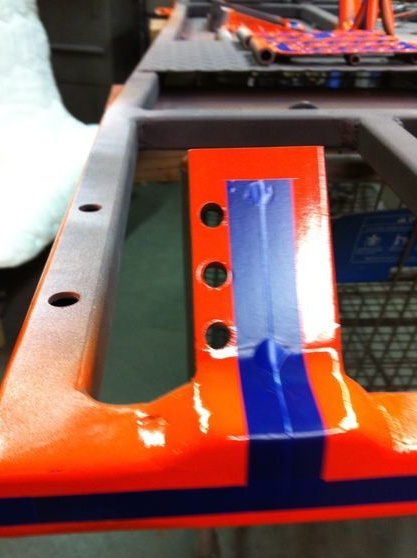
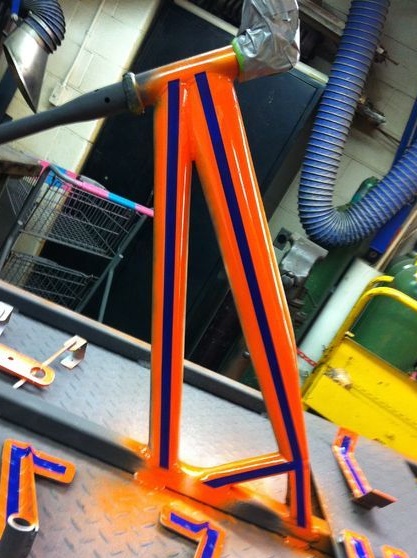
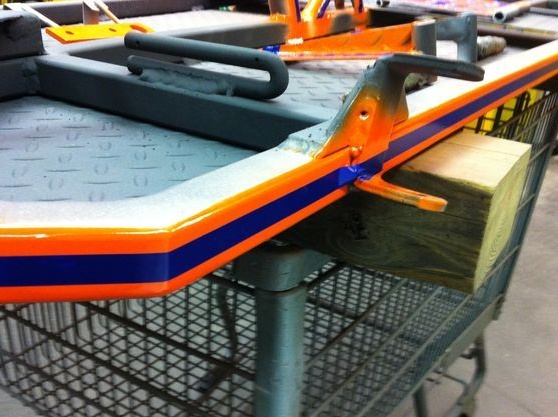
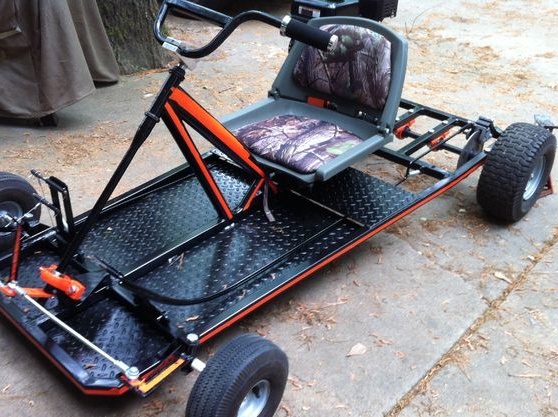
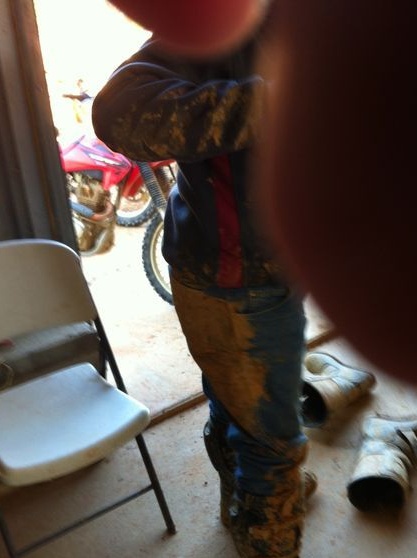
When the paint dries, the kart can be reassembled and skated again. When riding, it is important to remember the protective equipment and safety in general.