

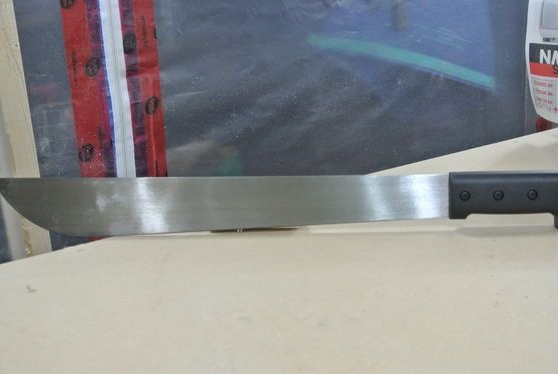
Good knives are expensive, and if you or your friends are fond of metalworking, making such a good, strong quality knife for them will not be difficult, besides, it will be an interesting occupation. This knife is made of strong steel with a high carbon content, which makes it possible to harden the blade well and it does not blunt for a long time. The knife is suitable for various kitchen needs.
Materials and tools for creating a knife:
- a piece of high carbon steel (hacksaws, various cutting tools);
- wood to create a pen;
- epoxy;
- sandpaper;
- drill and drill;
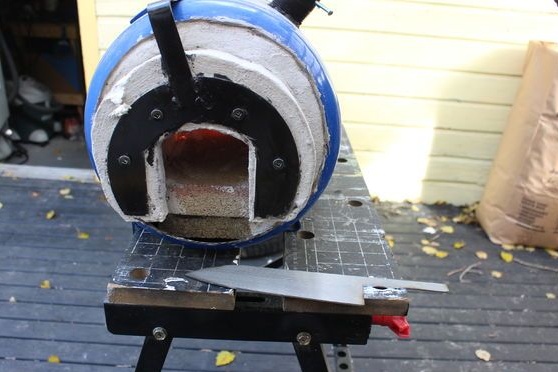
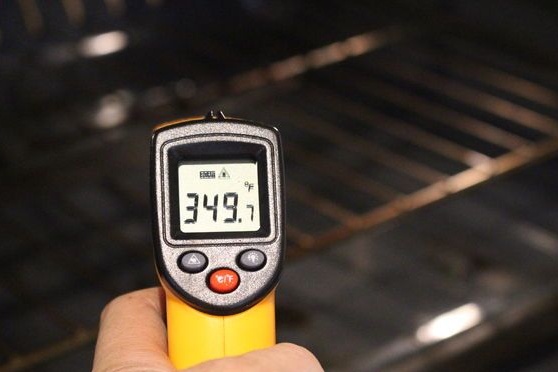
- furnace (for hardening steel);
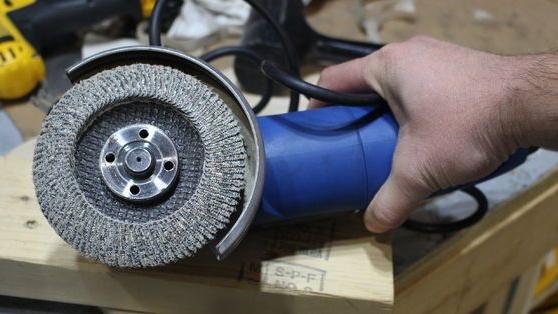
- grinder;
- belt grinding machine;
- a couple of files;
- all the necessary components for etching an inscription or drawing (optional).
The process of making a knife:
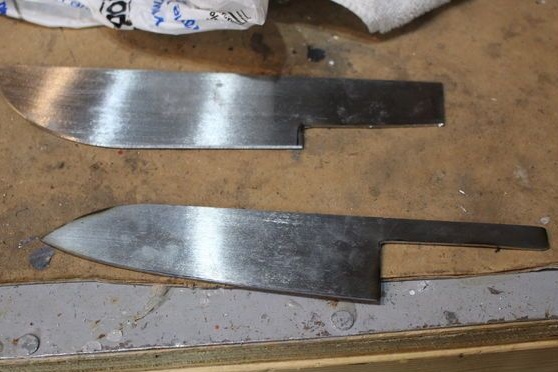
Step one. Knife shape
The first thing you need to do is design. If there is no desire to bother with this, you can simply copy the shape of an existing knife.
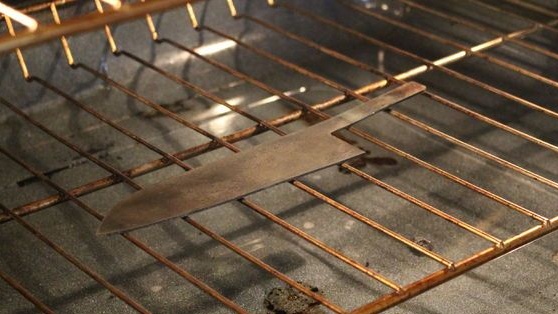
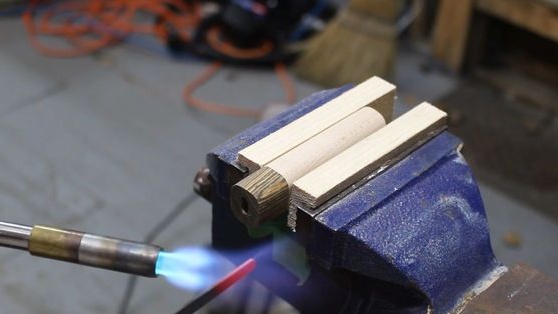
Step Two Release the metal
Since we use a very strong, spring metal as the source, when grinding it can easily be skewed. For these purposes, the metal needs to be let go a little, to make it ductile. There will need a stove. The metal must be heated until the magnet no longer adheres to it, and then cooled in oil or just allowed to cool. Then the metal will still need to be heated to about 180 degrees Celsius and allowed to cool.
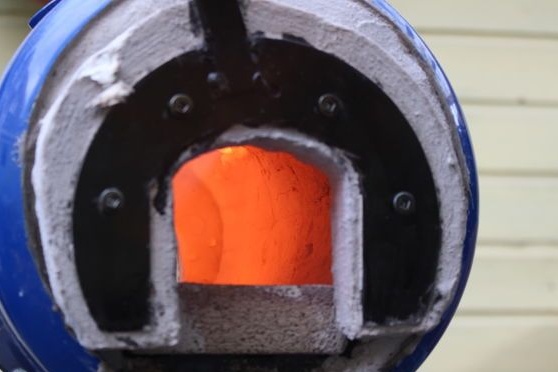
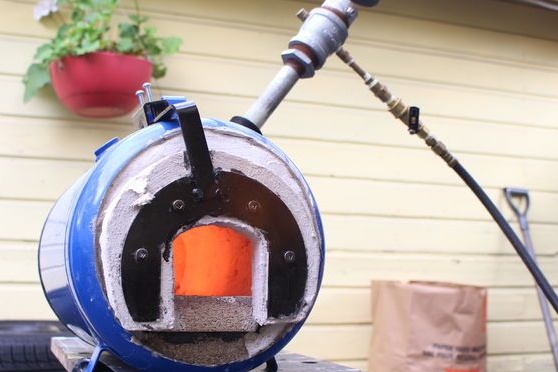
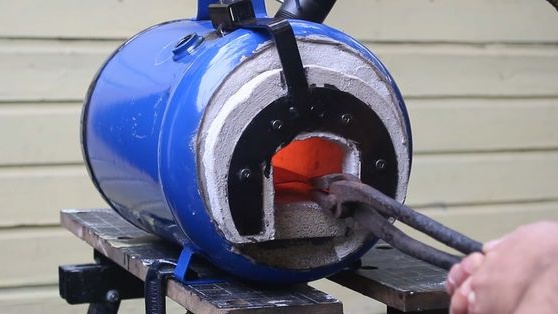

After the knife is done, you will need to remember to harden it, if hardening has not been done before. The metal heats up again and then sinks into the oil. There are many ways to harden. At first, it is recommended to lower only the blade into the oil, and then the knife itself. So the steel of the blade will be strong, and the knife itself will not be brittle.
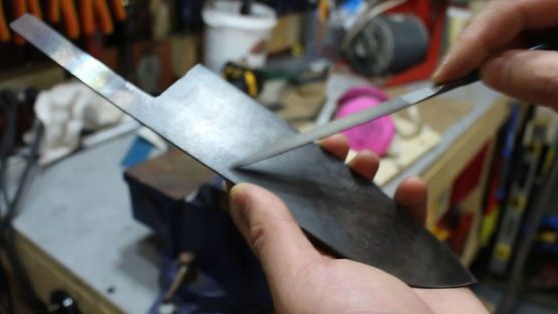
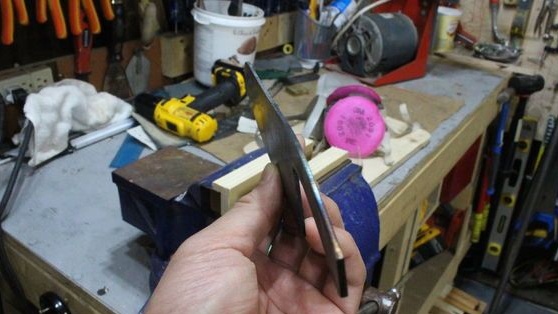
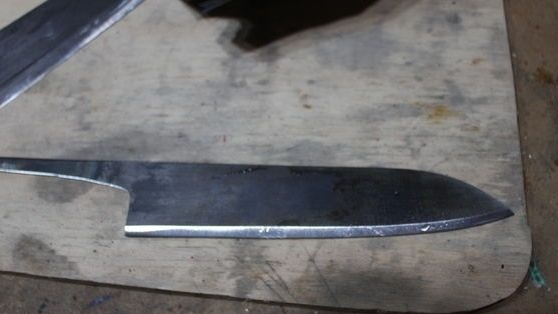
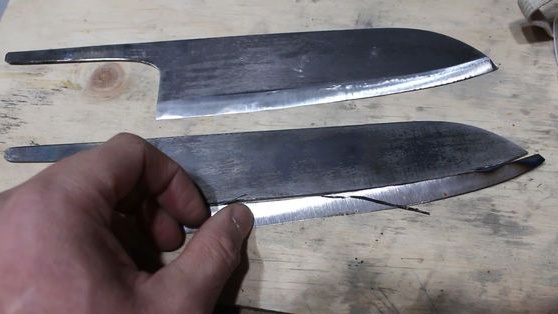
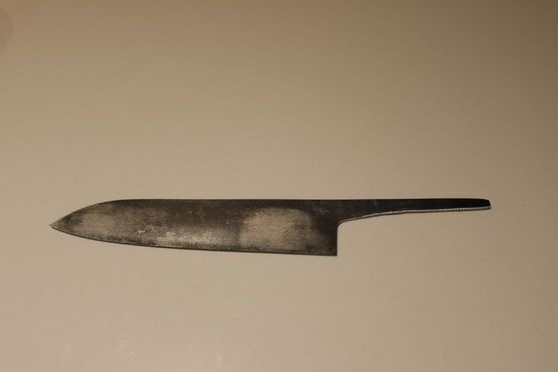
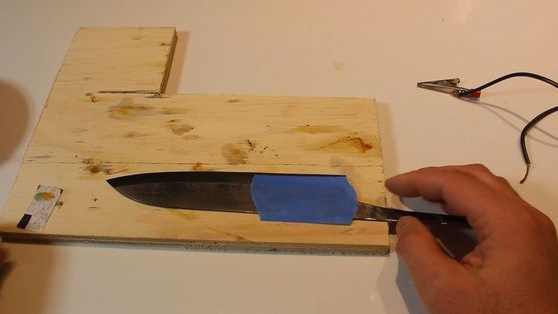
Step Three Level the knife if necessary
The author's blank was a little crooked, so he had already pre-aligned it. This is best done on a wooden bar, so as not to wrinkle the metal. You can still grind off excess material at this stage.
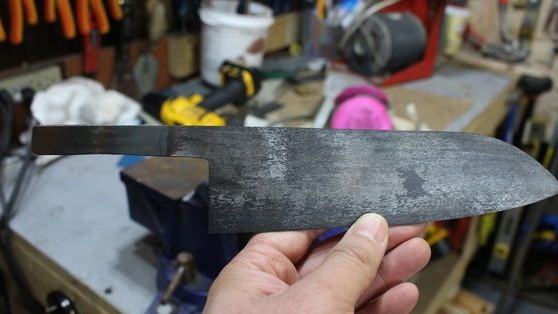


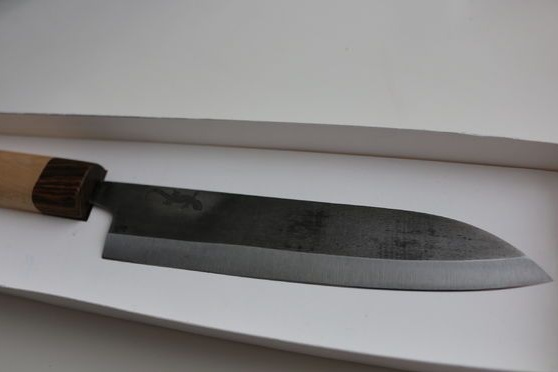
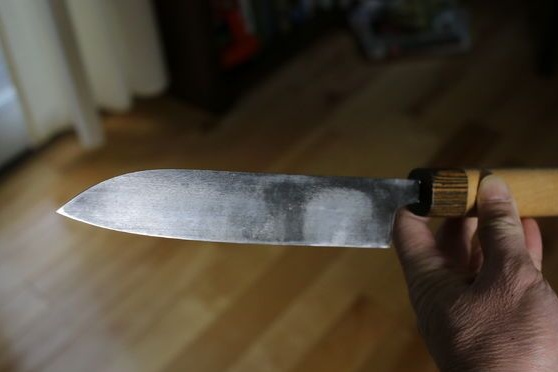
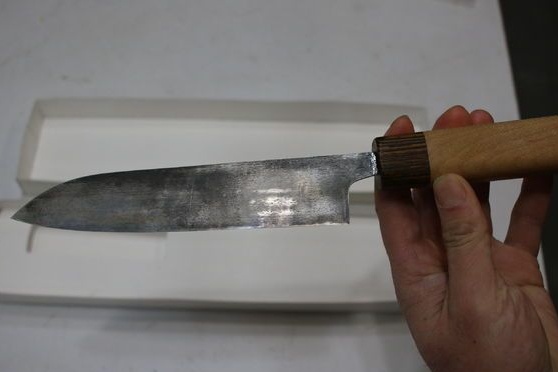
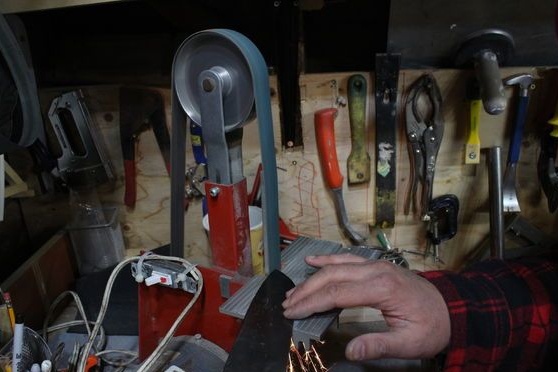
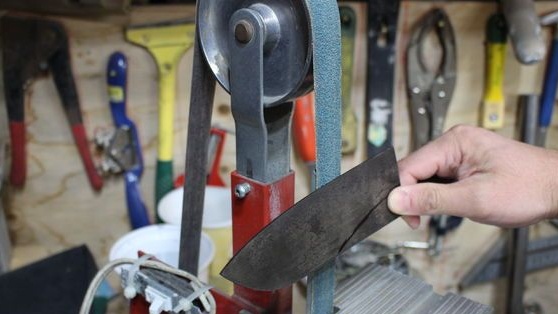
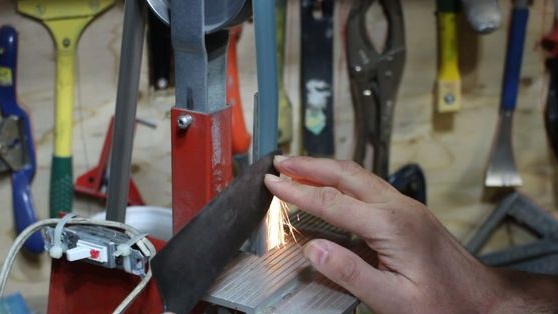
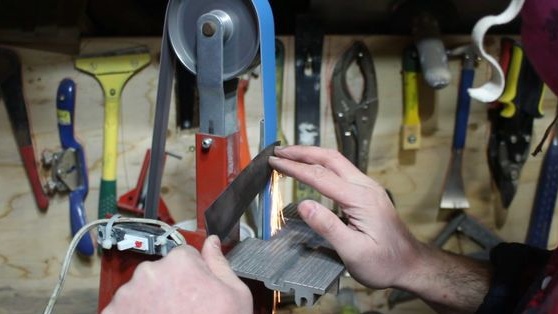
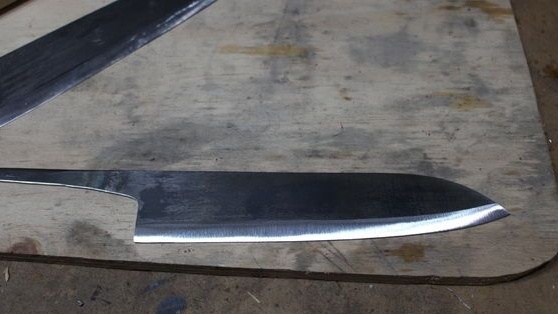
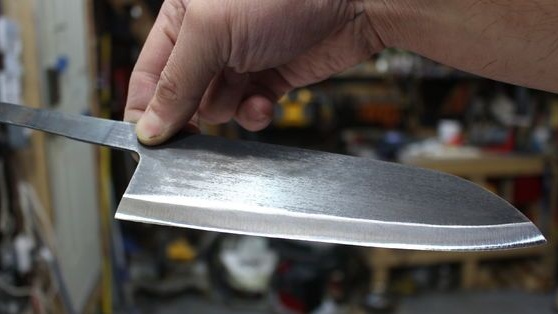
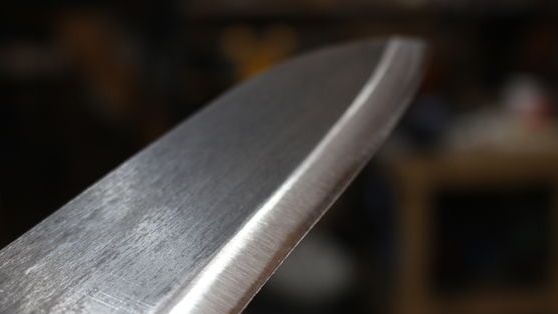
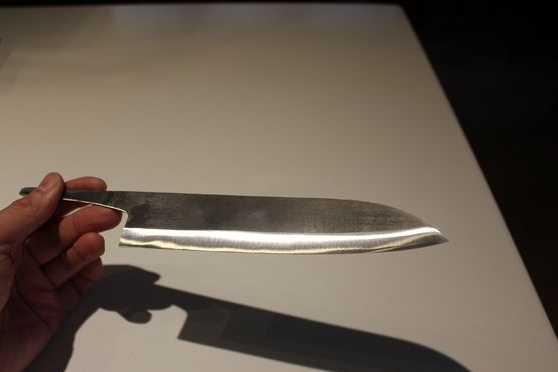
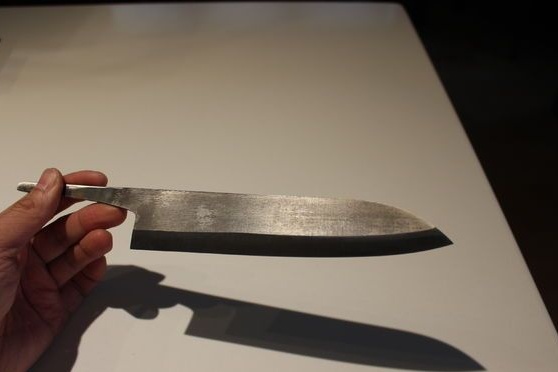
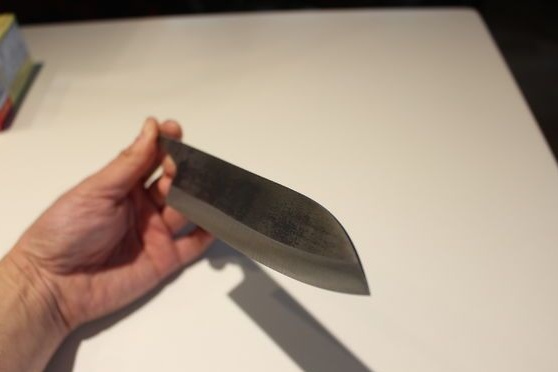
Step Four Knife bevel
Creating a bevel is a very crucial part. The cutting abilities of the blade will depend on this parameter.The finer it is, the better the knife will cut and sharpen. Grinding should be done gradually, making the grain of the paper finer and finer. It is not worth overheating the steel. The easiest way to make a bevel on one side of the knife, as the author did. The first time you can make a good bevel, it may not work, so first you should practice on some other workpieces.
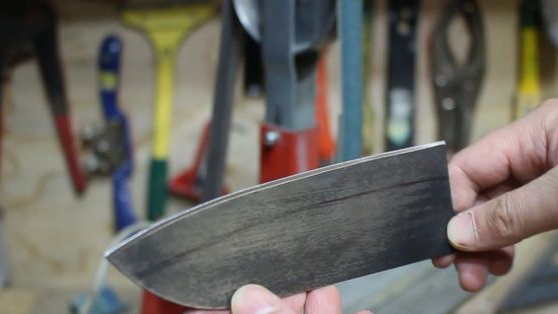
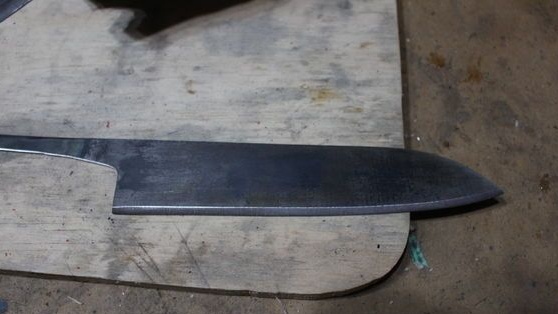
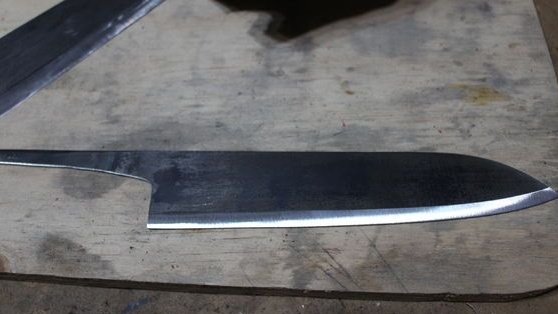
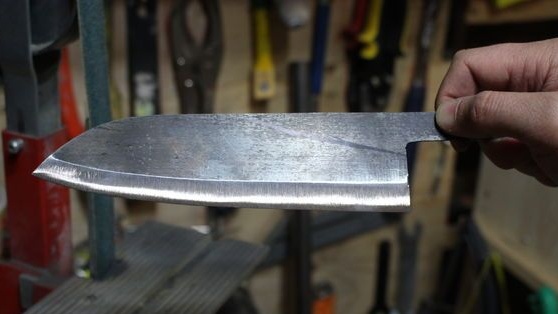
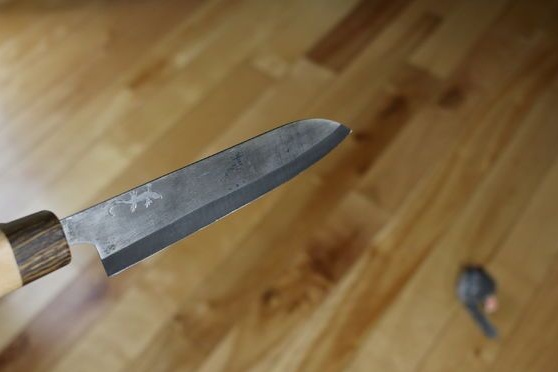
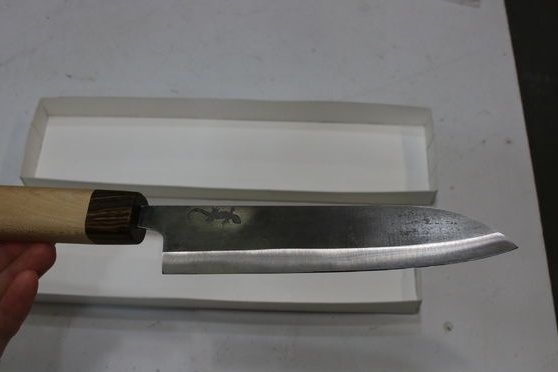
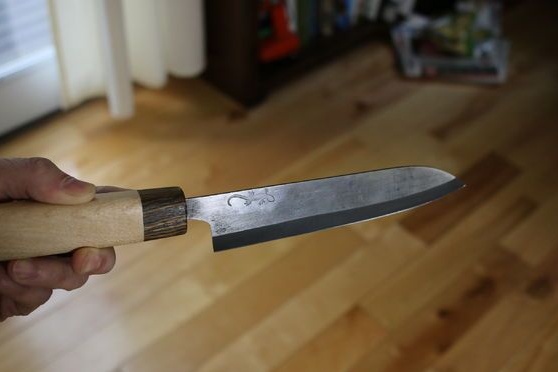
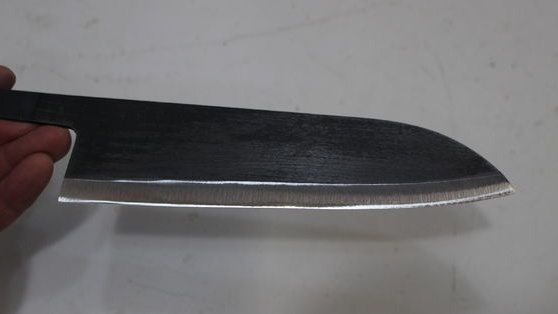
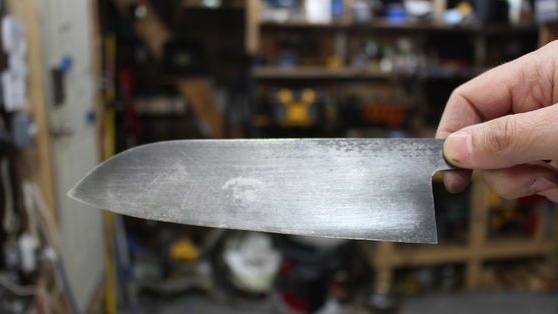
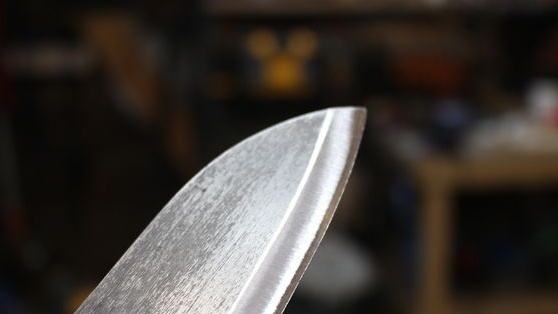
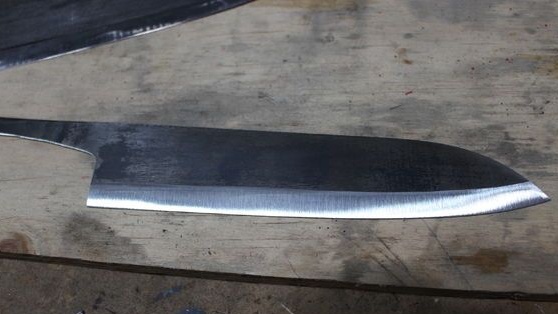
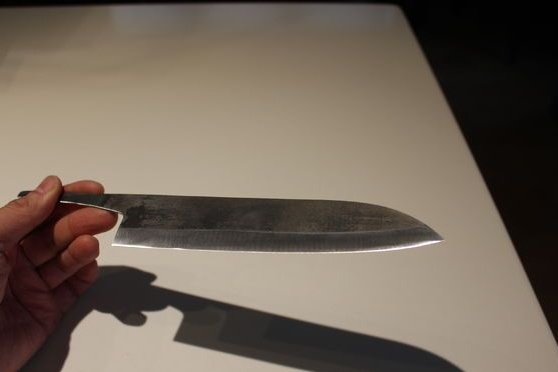
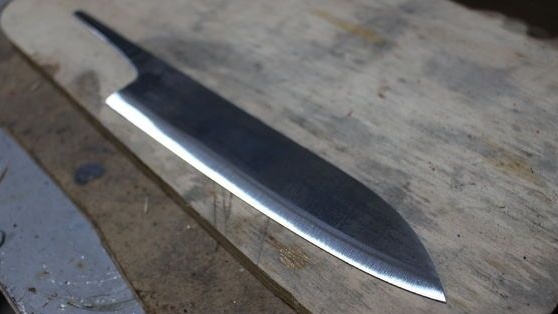
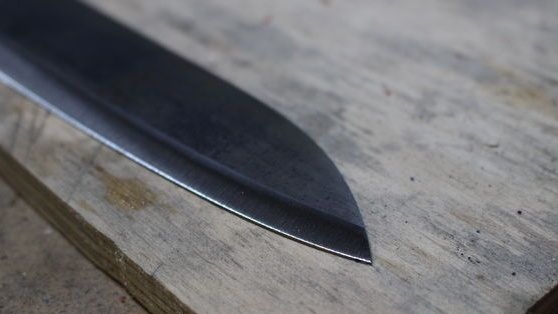
A couple more photos


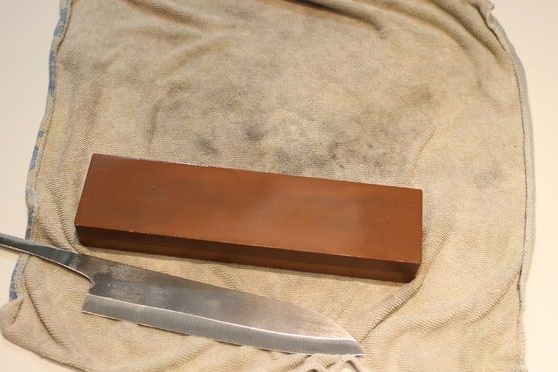
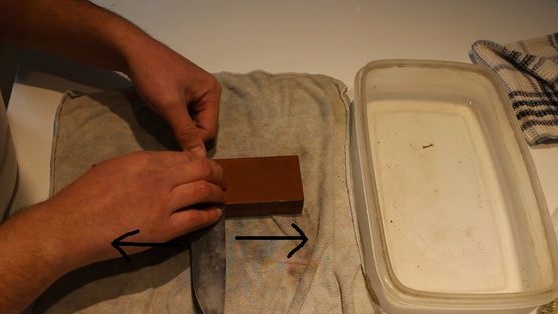
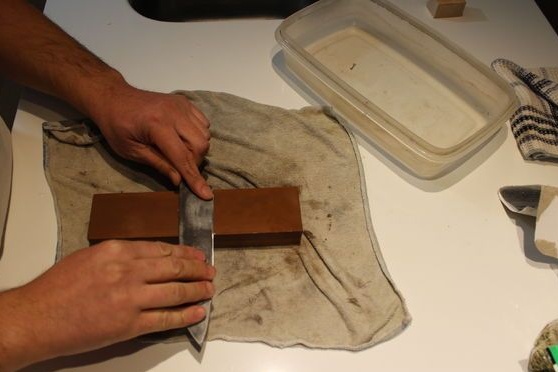
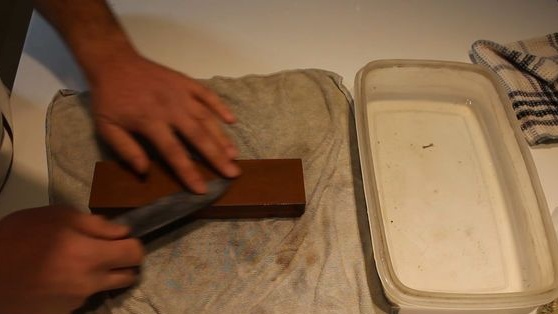
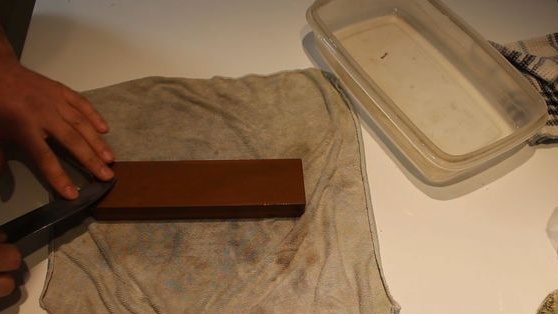
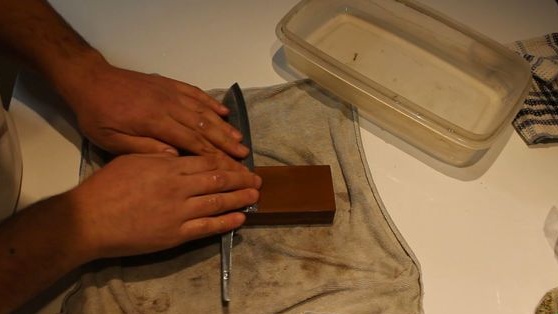
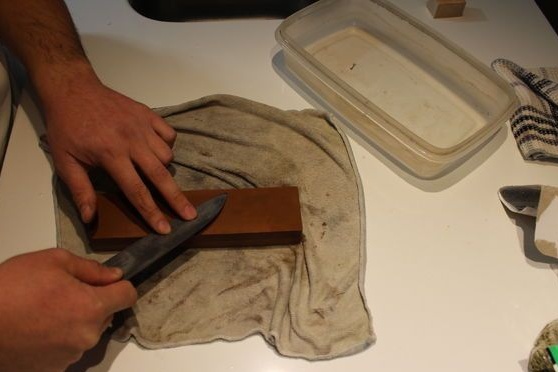
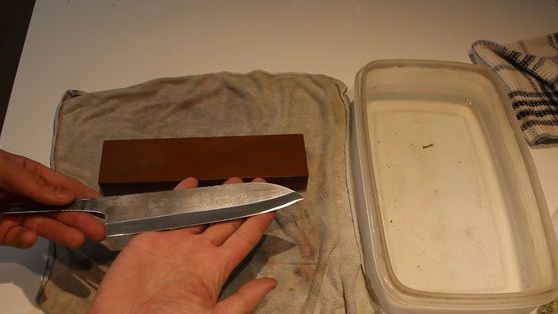
Step Five Knife sharpening
To sharpen a knife, the author uses a Japanese water stone; 1000 and 4000 grit will be needed. The stone must be put on a rag so that it does not fidget and moisten. When sharpening, the stone must be wet all the time, so its outer layer is cleaned of fine metal dust. First, it is sharpened at 1000 grit, and finally brought to the state of the blade with a 4000 grit stone. If the knife cuts paper, then the blade is sharpened well.

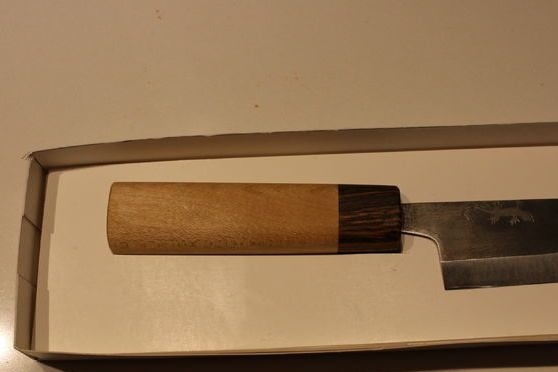
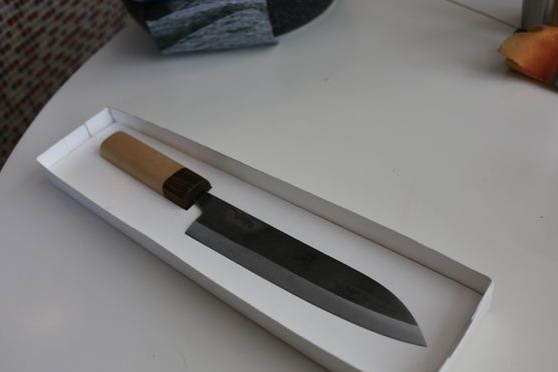
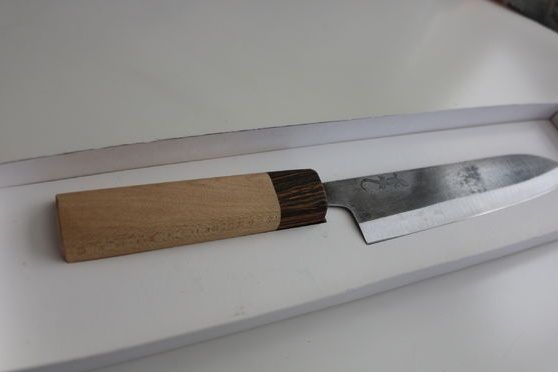
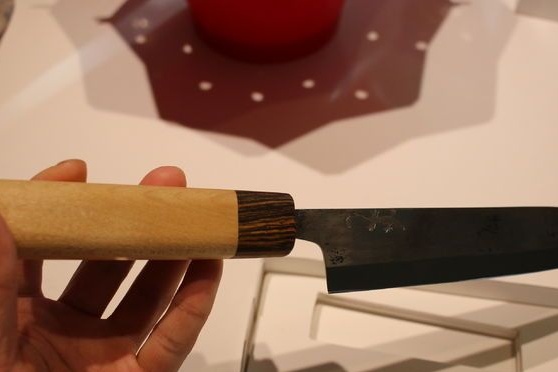
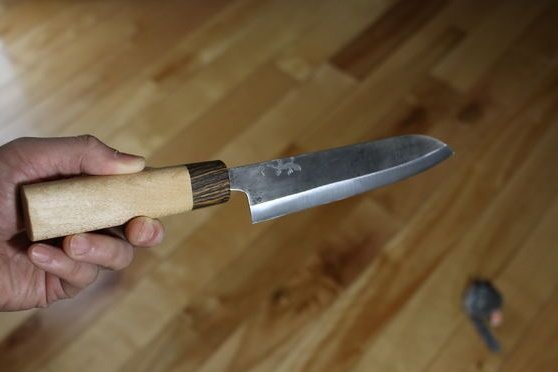
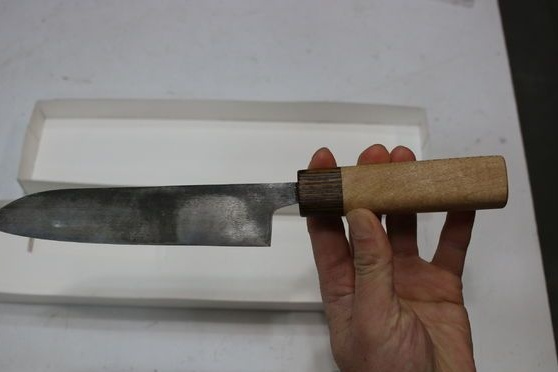
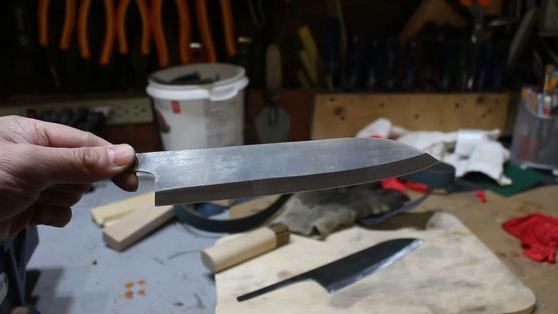
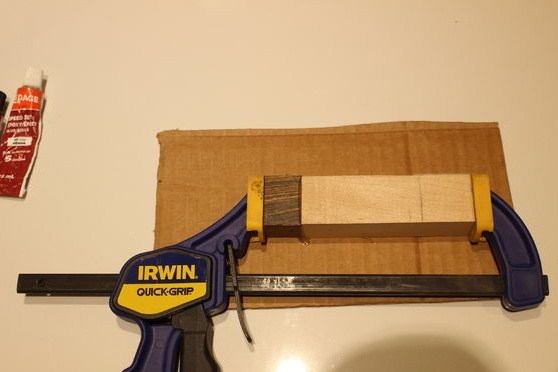
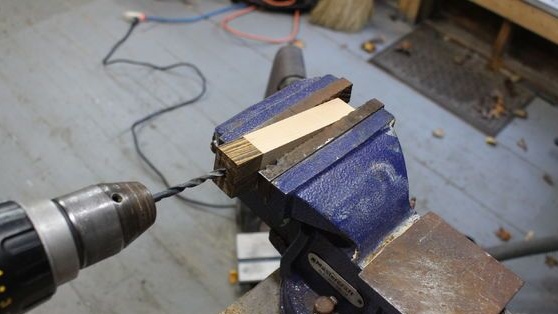
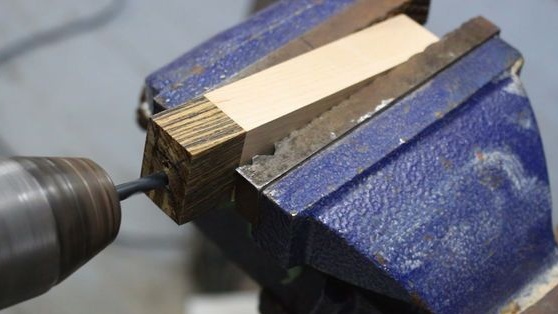
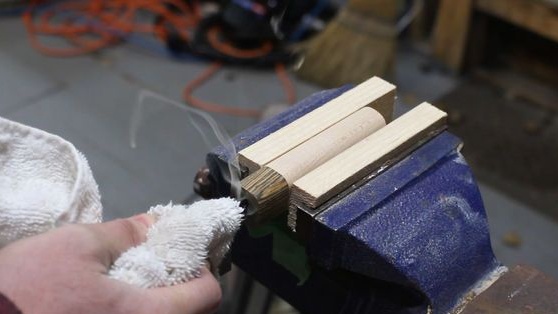
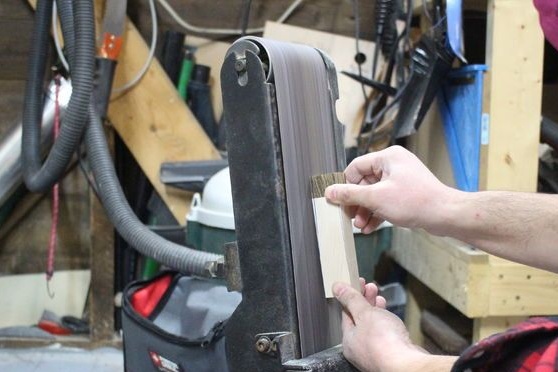
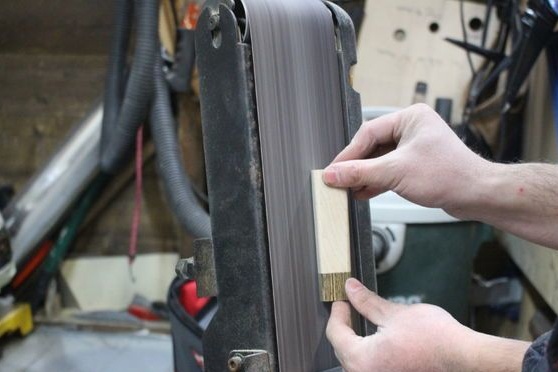
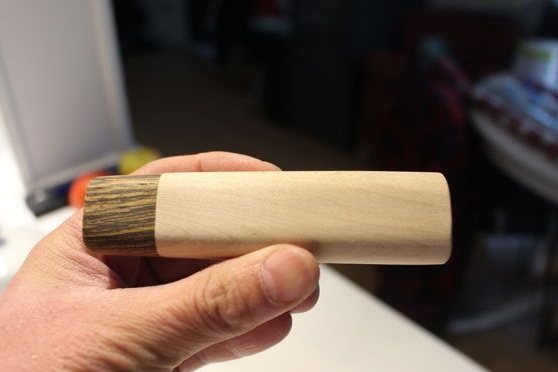
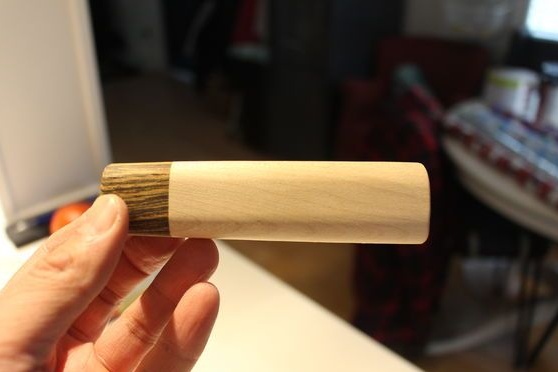
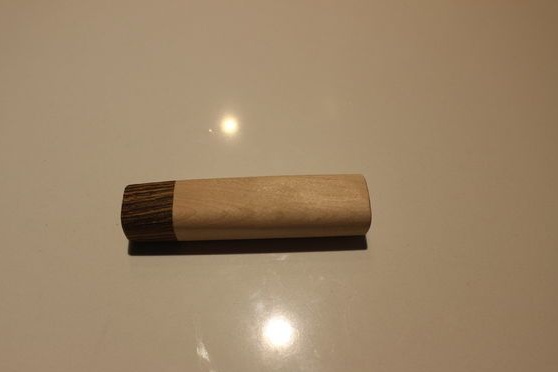
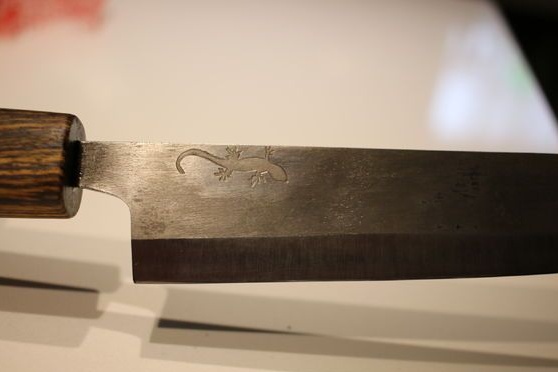
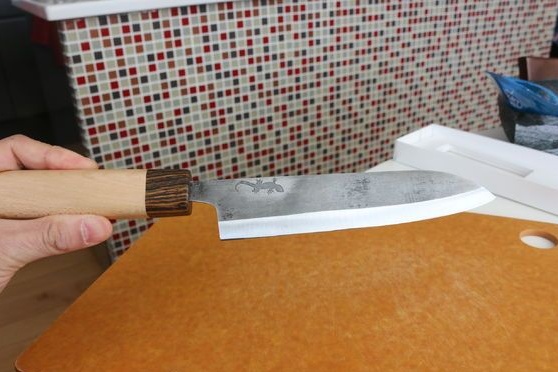
Step Six Pen creation
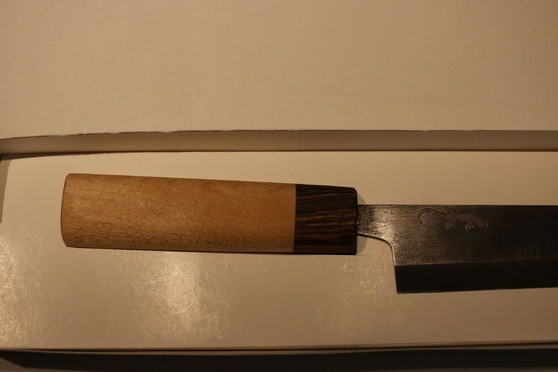
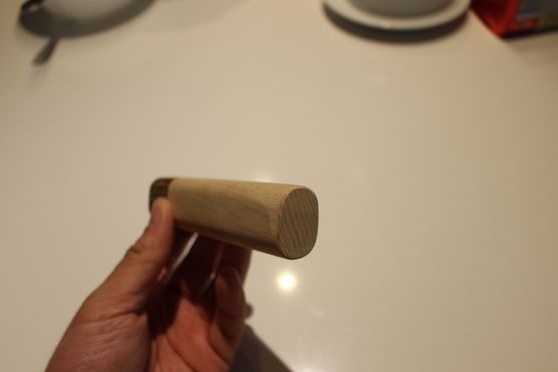
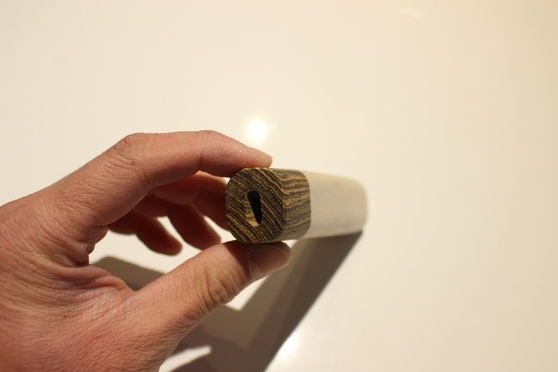
Wood will be needed to make the pen, but a horn, bone plastic or other material to choose from will also work. The desired shape for the handle is created again on a belt sander. The knife should rest confidently in the hand, and the larger the blade, the more reliable the handle should be. Further, a hole is drilled through the center through it, into which the back of the knife is mounted. As a result, the whole thing sits on an epoxy.
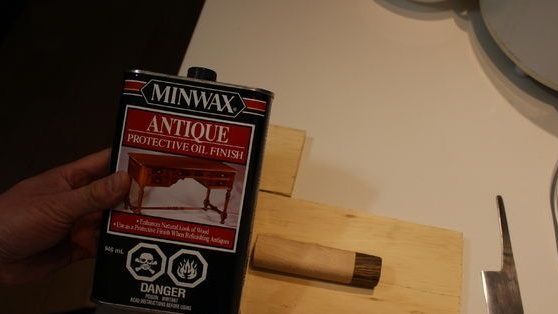
Since the pen will constantly be in contact with water, fat and other substances, it must be impregnated with protective substances. It can be oil, antique varnish and more.

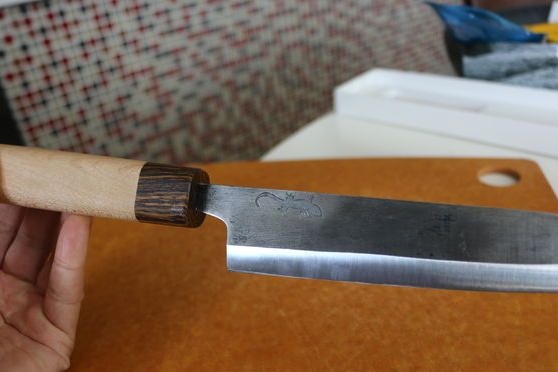
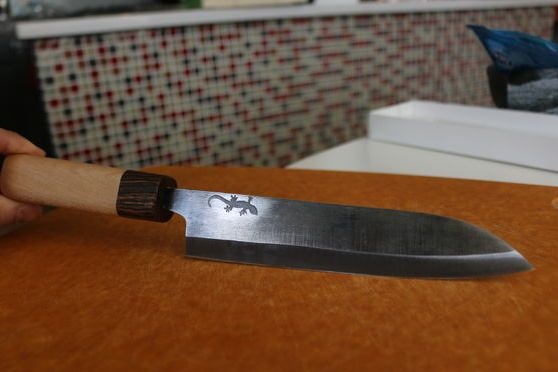
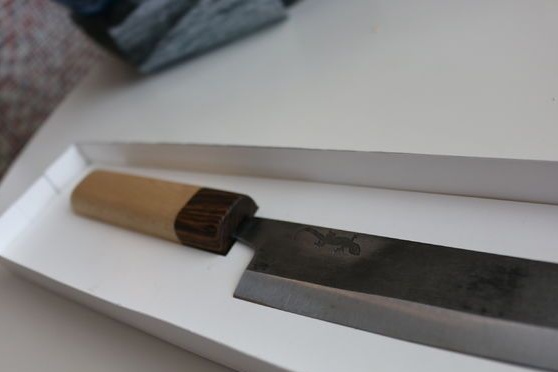
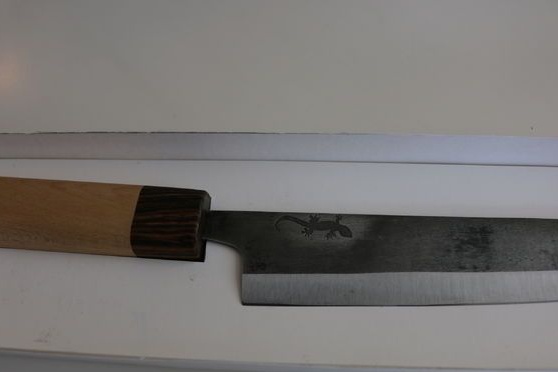
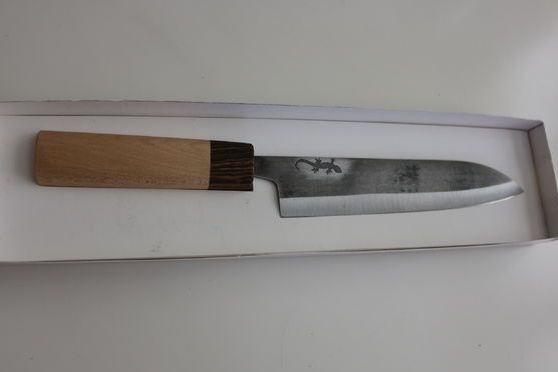
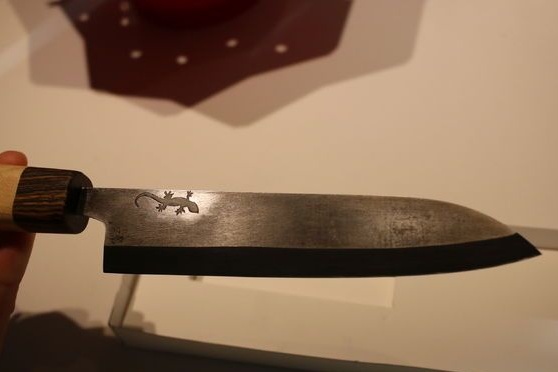
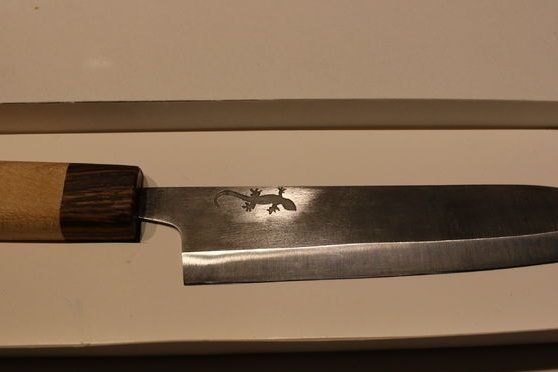
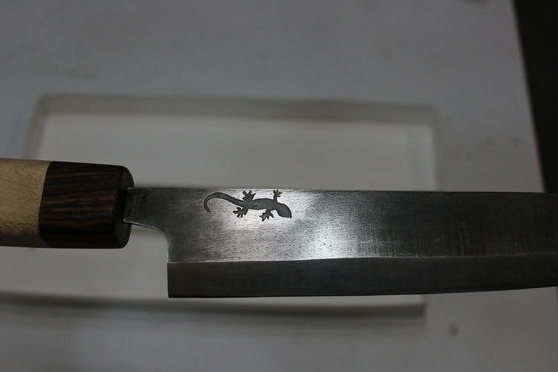
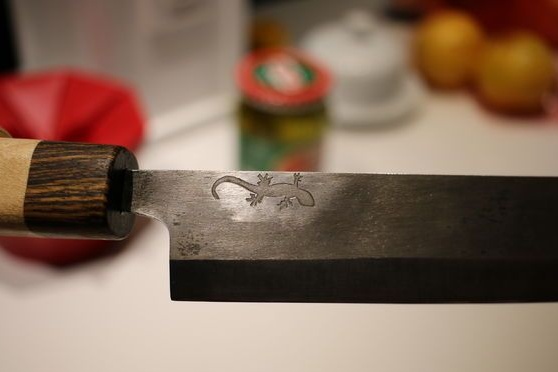
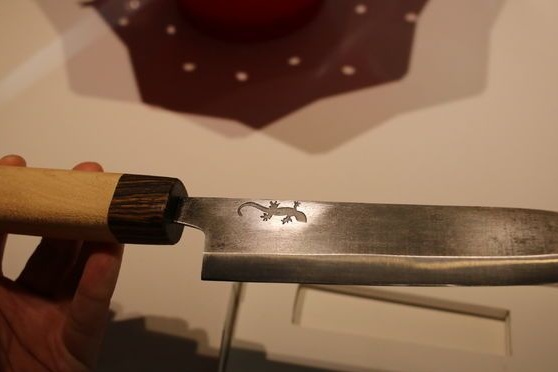
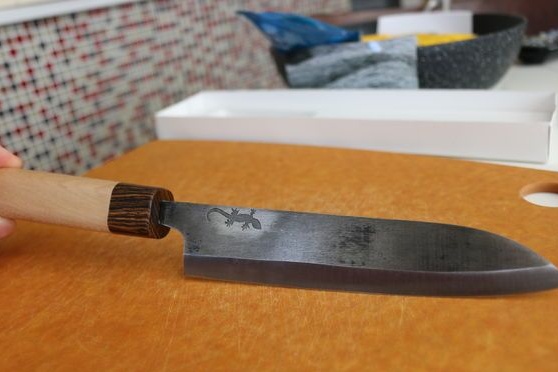
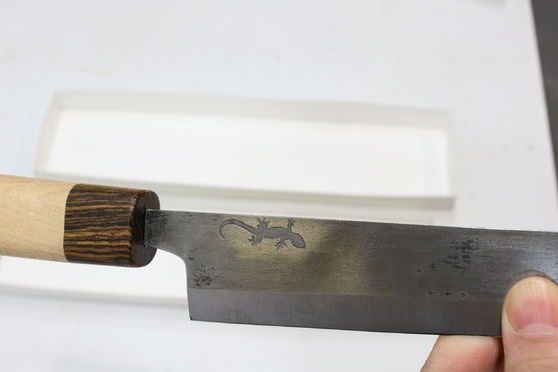
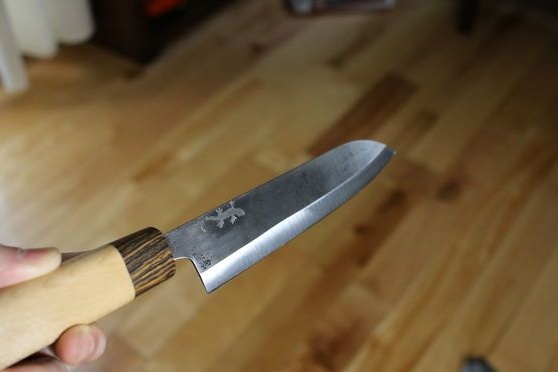
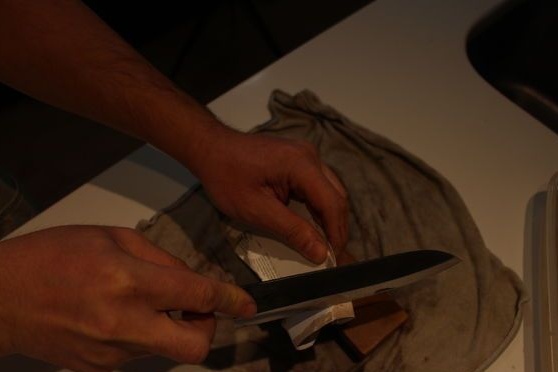
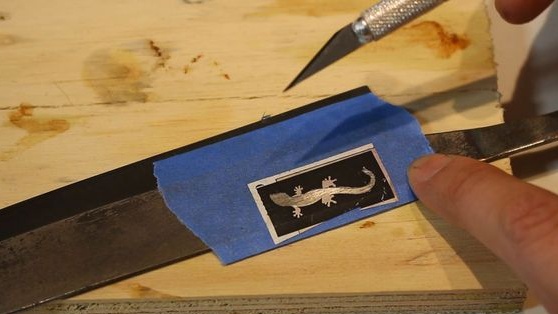
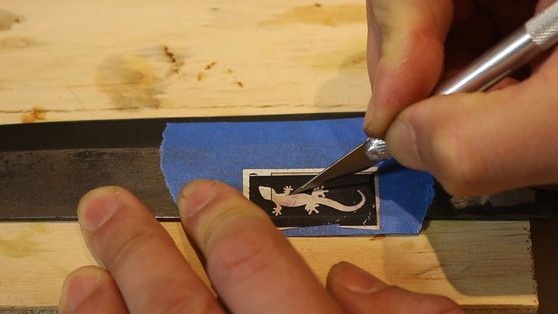
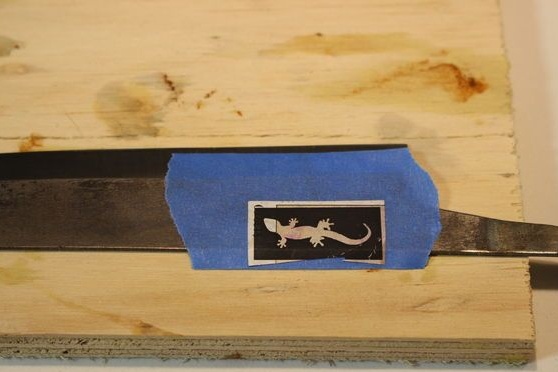
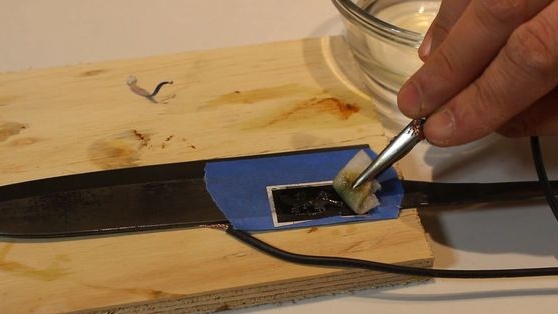
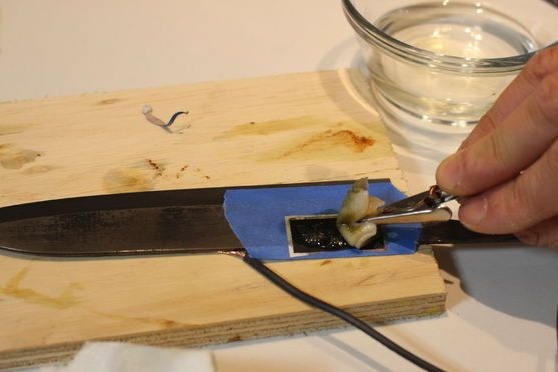
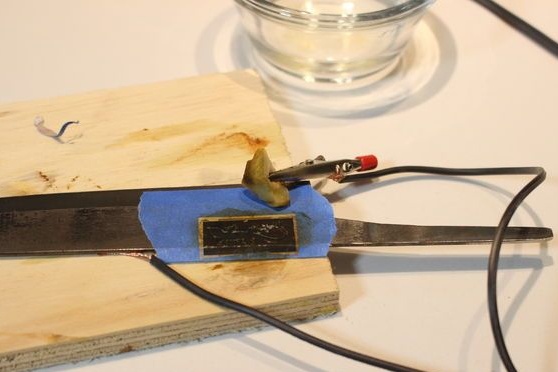
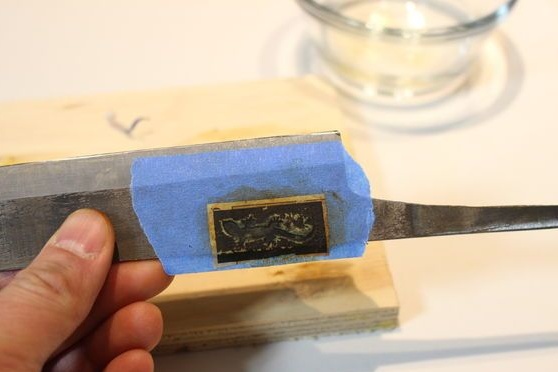
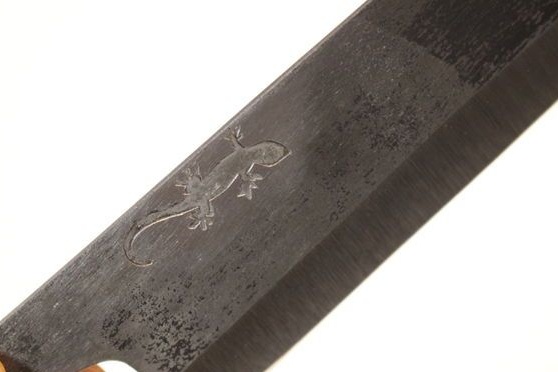
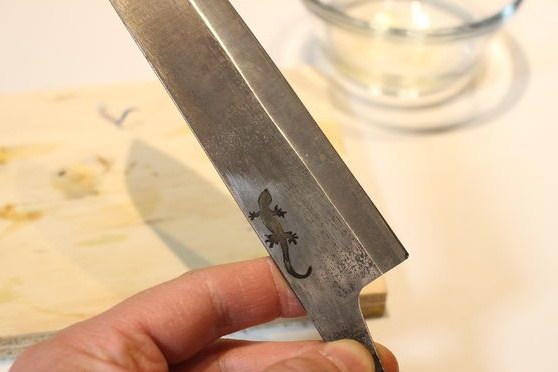
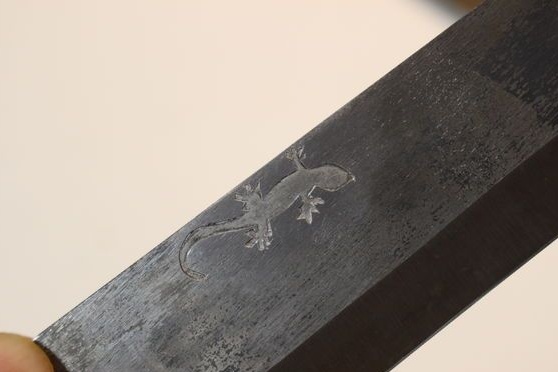
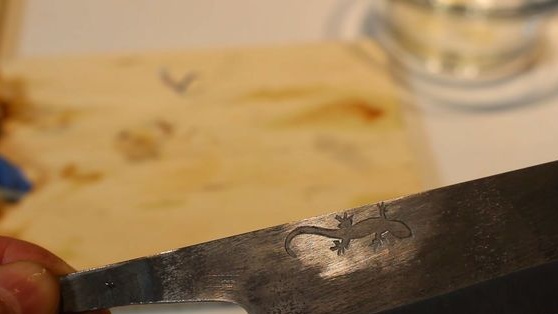
Seventh step. Poison inscription (if necessary)
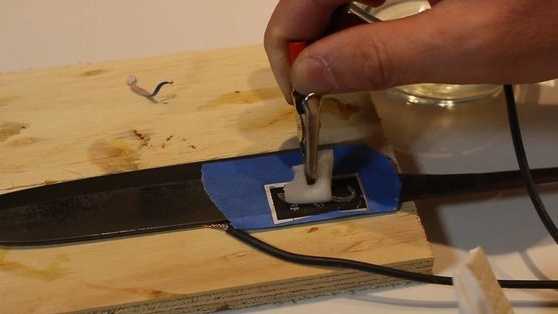
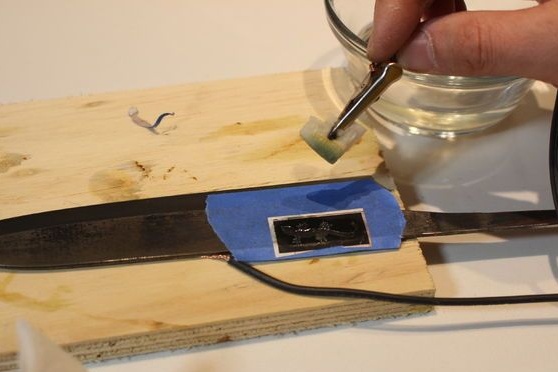
An inscription or a picture on a knife can emphasize its originality. All this is done simply and safely. You will need to take a stencil and stick it on the blade. Around everything must be carefully sealed with masking tape. Salt water, water with acid or another reagent is poured into the etching area. Then you will need current, this is a 9V or 12V power supply. One contact is connected to the knife itself, and one, using a cotton swab dipped in reagent, is brought into the stencil area. Well, then electricity and chemistry permanently make their adjustments to the outer layer of steel.
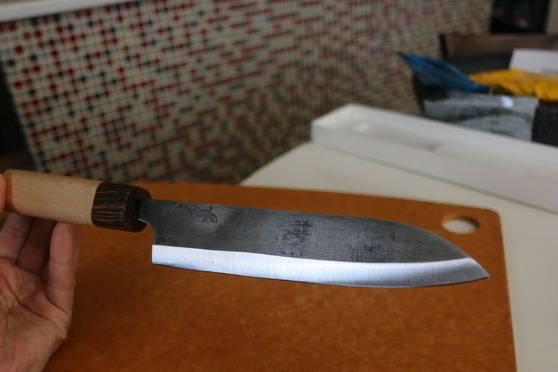
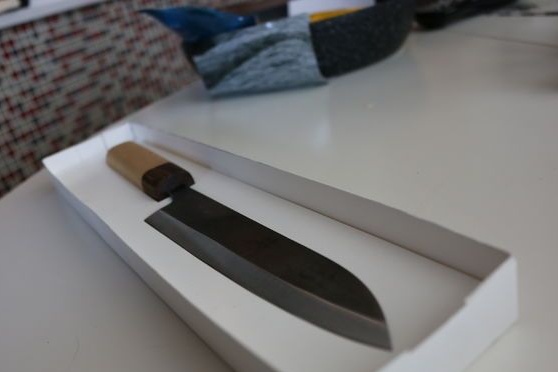
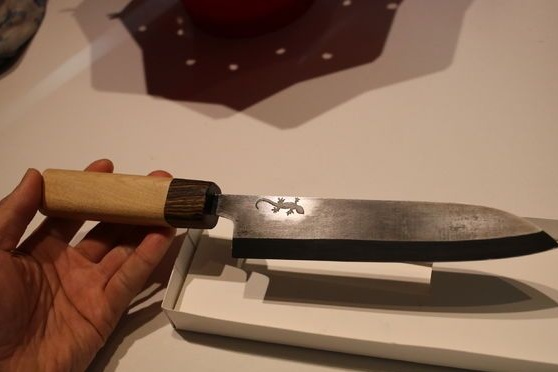
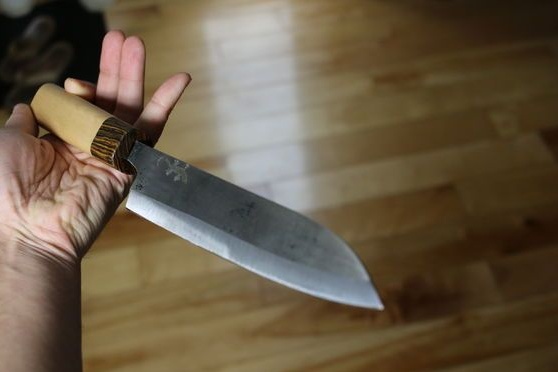
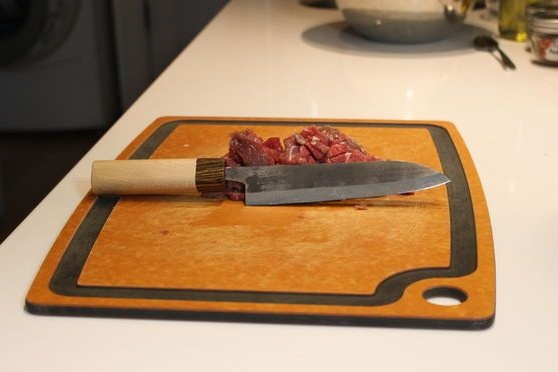
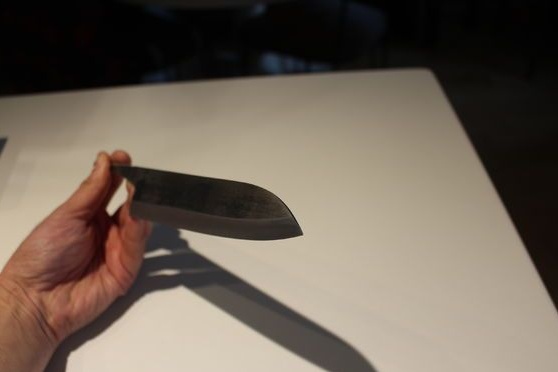
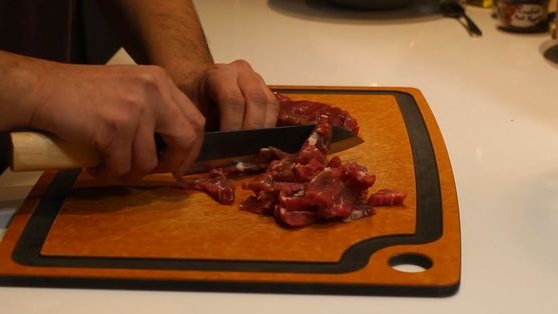
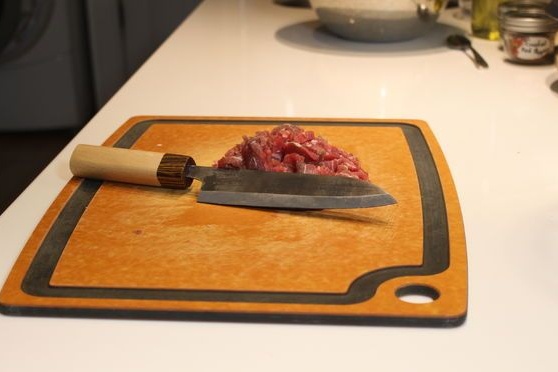
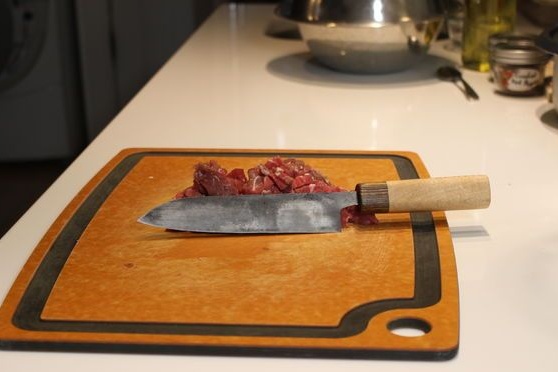
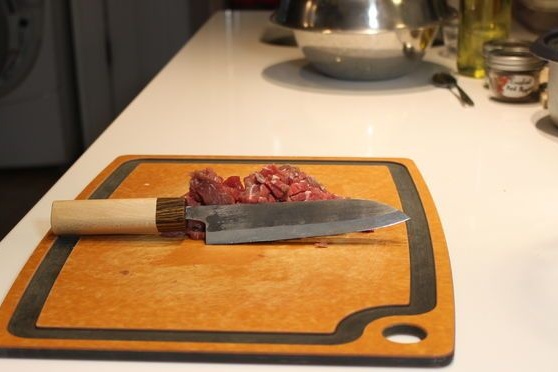
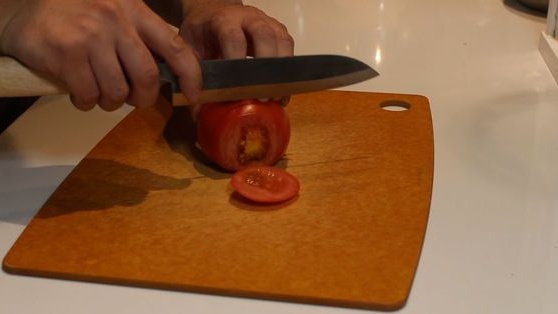
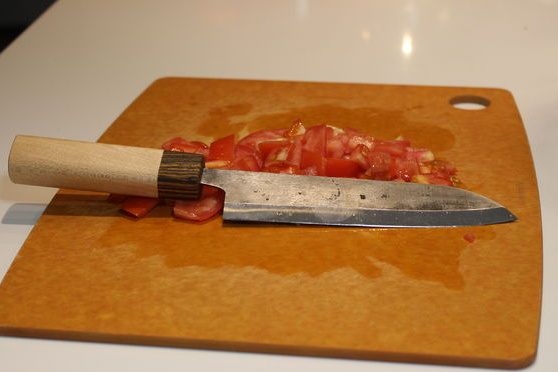
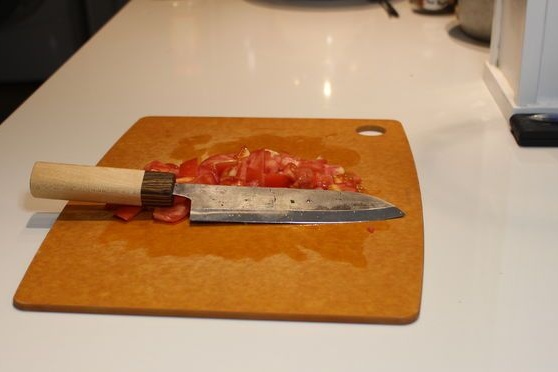
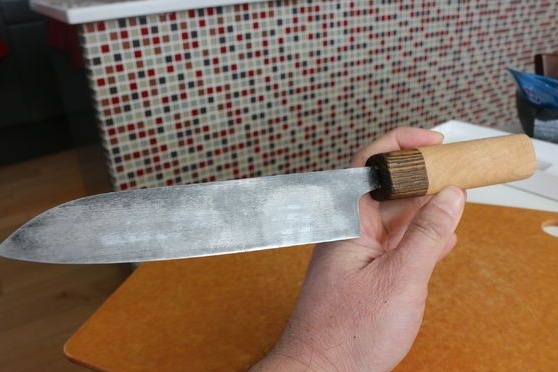
Step Eight. Testing a knife
As the experiment showed, the knife copes with culinary tasks. He not only excellently cuts meat, but also easily cuts tomatoes and other vegetables into thin slices.

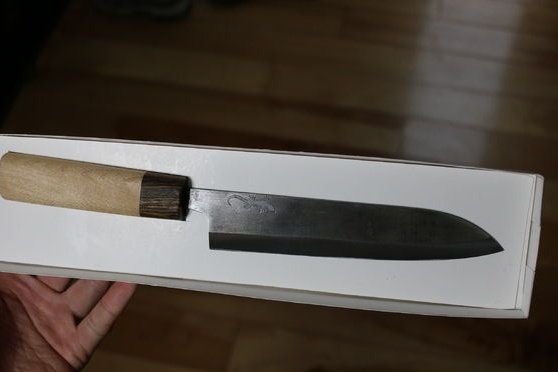
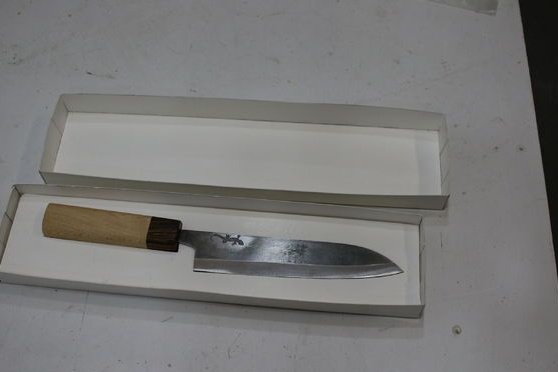
That's all, now the knife is completely ready. Since the metal can rust, you need to store the knife in a dry state, it is better to have a separate box for such purposes. Even after work, the blade can be lubricated with vegetable oil, and it will not hurt the handle. Over time, the metal will have to defend itself, the steel is covered with a gray patina. You can not put a knife in the sink so that it lies there for a long time, after work it must be washed immediately and put in its place.