
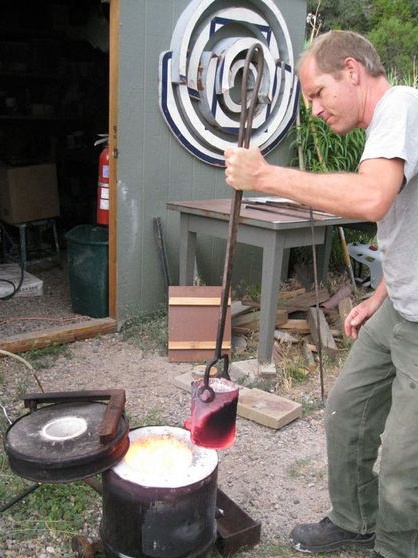
By building such a stove, you can easily melt aluminum and bronze, and if you try hard, you can even melt steel in it. The whole principle of operation of such a furnace is to create an insulated casing that can withstand temperatures up to 2600 degrees Celsius.
As for the sizes, it is strictly not necessary to observe them, the author did it for himself so that at least 2 kilograms of aluminum at a time could be melted.
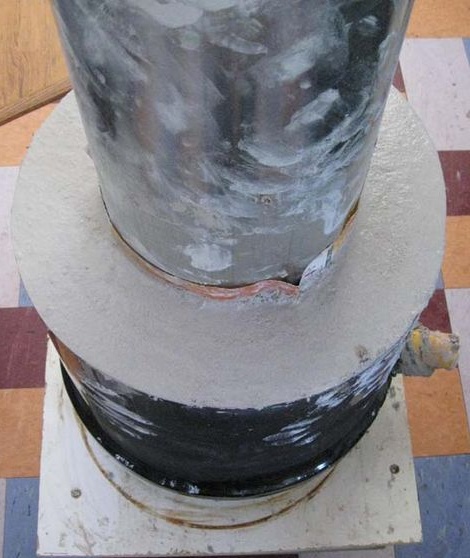
The design of the furnace is very simple, it consists of a container, a lid, an opening for supplying gas, and also has a drain. The insulation here is designed to withstand high temperatures, and more attention is paid to the creation of the cladding, because it must withstand the temperature of the burner flame.
To create a body, you will need either sheet steel of sufficient thickness so that it can be welded, or a piece of steel pipe. It is impossible to use galvanized steel for such purposes, since zinc burns and emits a gas that is very harmful to health.
The author made the insulation material himself, then refractory cement came to the rescue. An air chamber between the walls is provided as insulation.
Materials and tools for creating a furnace:
- refractory clay;
- wood sawdust;
- refractory cement;
- materials for creating a furnace body, cover and other;
- welding;
- grinder;
- corner;
- gas pipe and burner.
Furnace manufacturing process:
Step one. Make insulation
The author’s isolation consists of several layers. One part is designed so as not to release heat from the furnace, and the second part is inside the furnace and can withstand high temperatures from the burner (ceramic).
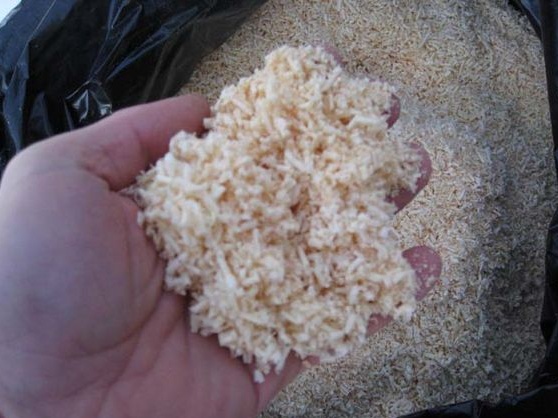
For such purposes, refractory clay will be needed, it can be purchased in stores specializing in creating ceramics, it is sold in the form of powder. It is important to ask when buying what temperature this clay can withstand. Wood sawdust will also be needed, they are mixed with clay and form a single mass. When the furnace is first heated, the sawdust inside the clay burns out and air chambers form there. Thanks to these chambers, the temperature inside the oven is well maintained.
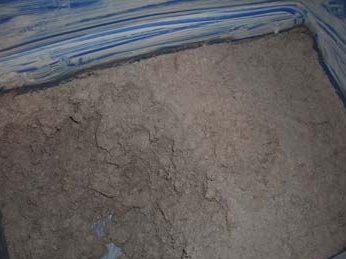
The components are measured by volume, for such purposes you can take a jar of coffee. First, a dry mixture is made based on one part of clay, three parts of sawdust. The mass must be mixed very carefully so that the sawdust is evenly mixed with clay.Then you can add one part of water to the mixture and mix everything well again. The mixture must be allowed to stand for at least 12 hours. During this time, clay will well absorb water and become plastic, it will be very convenient to work with it.
And while our mixture is saturated with water, the author proceeds to the manufacture of casting cans.
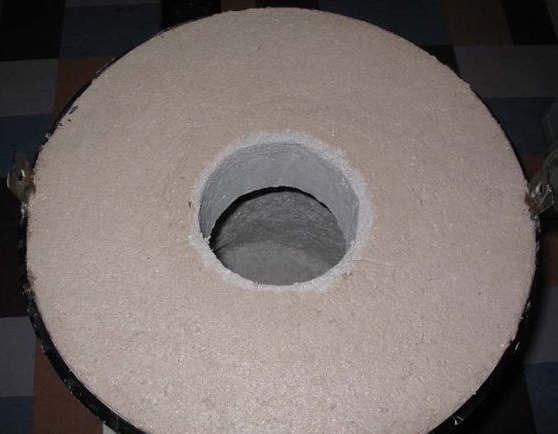
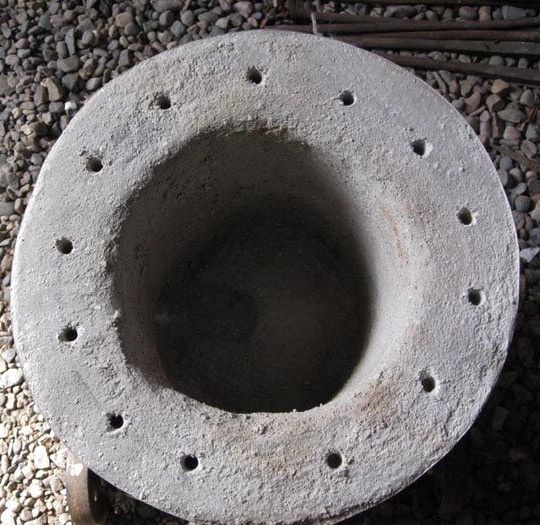
Step Two Making a furnace lid
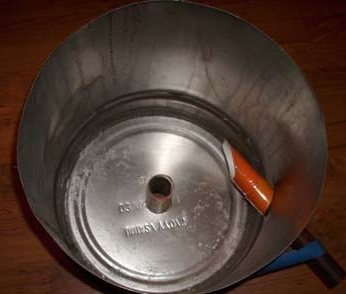
The lid for the oven is very simple. First, a frame is created, in appearance it resembles a wheel from a motorcycle. Such a frame can be made of a steel plate and a pair of steel bars. The whole thing bends, cuts, and then welds. In the center of the lid, the author makes a vent, for this purpose a jar of coffee or another product will be needed, it is installed in the center. So that the jar does not stick to the clay, it can be greased with vegetable oil.
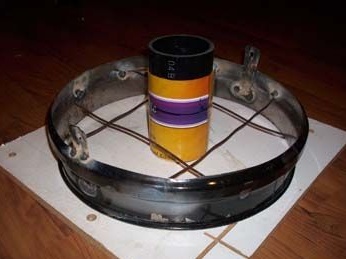
Well, now the frame is installed on a flat surface and insulating material is evenly laid in it. It is important that the clay completely fills the entire form, then the lid will be durable and will not burn out. When the clay begins to dry, you can carefully remove the jar from the center, although it is better to wait until the clay has completely dried, so as not to damage the lid. You will need to dry for a week or ten days.
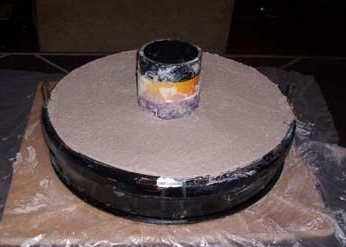
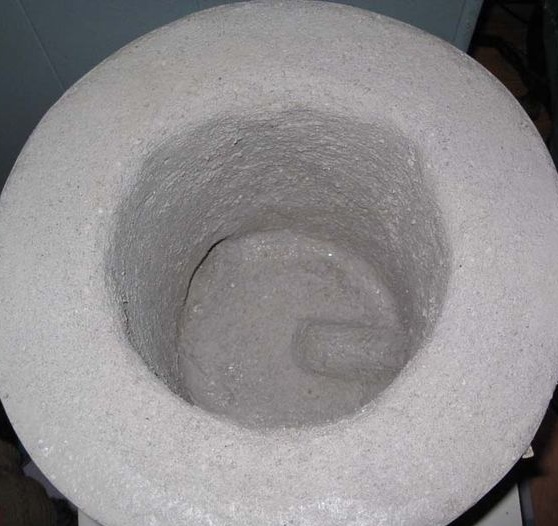
Step Three The manufacture of the main part of the furnace
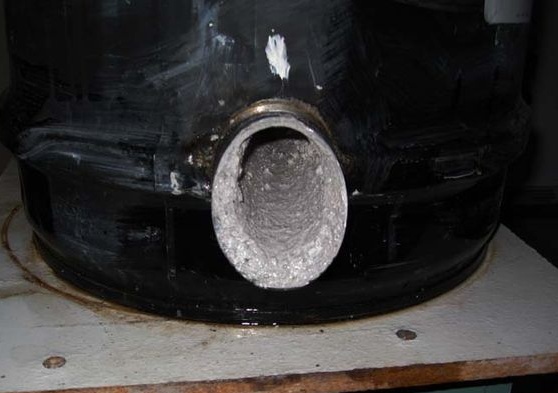
At this stage, the author fills the previously made furnace frame with insulating material from clay and sawdust. In the process of forming the inner part, you must not forget to leave a place for drainage, as well as make a hole for the gas supply. How to make the inside of the oven, there are several options. For example, you can fill the mold completely, and then insert a metal pipe in the center and carefully remove the core with it. Similarly, you can make holes for supplying gas and drain.
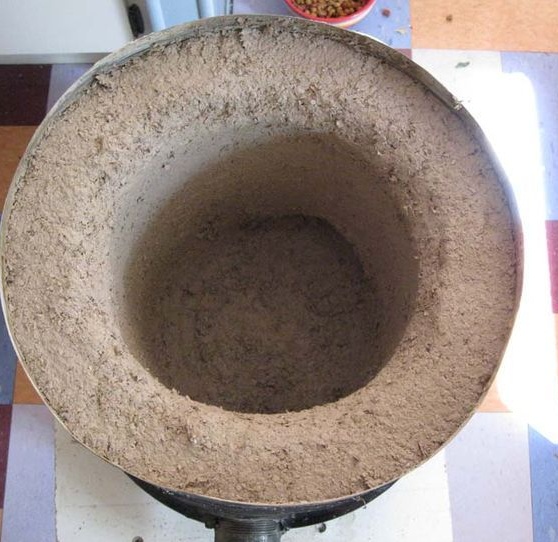
You can still pre-install the mold in the center of the furnace, and then fill the resulting space with insulating material. It is important in both cases not to forget to step back from the bottom so that the oven has a floor. After formation, let the clay dry for at least one week.
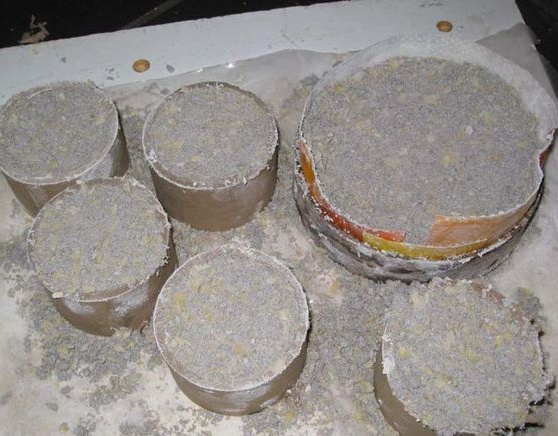
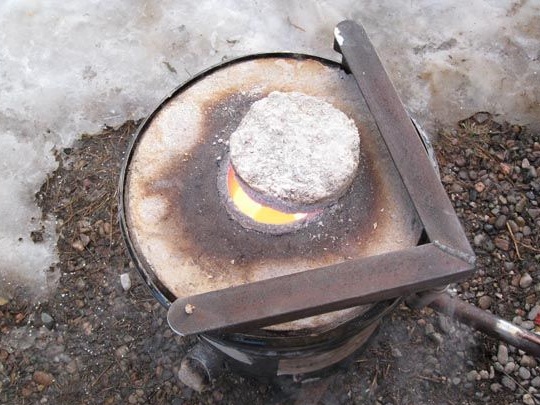
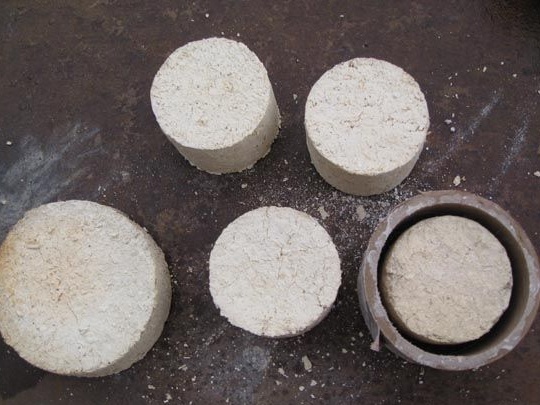
Step Four Air vent covers
To completely close the furnace if necessary, you can make a couple of such covers, as the author did. These covers are also made of insulating compound. For molding, you can use cans of coffee, canned goods, etc.
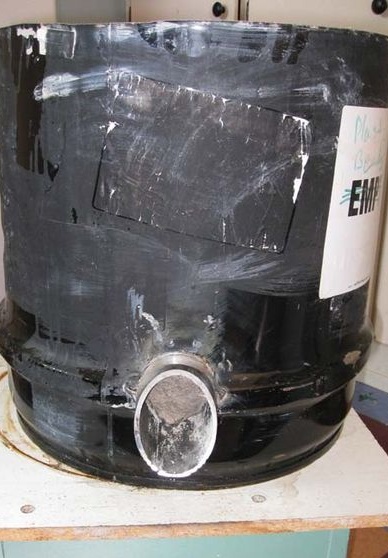
Step Five Outer protective layer
To protect the insulation of the furnace from overheating, it will be necessary to apply a protective layer on it, it must withstand high temperatures. For such purposes, the author used refractory cement. Well, then everything is simple, you need to mix the mixture with water and then apply evenly with your hand to all areas with open insulation. Of course, such cement is quite expensive, but fortunately it needs very little.
Step Six Dry the oven
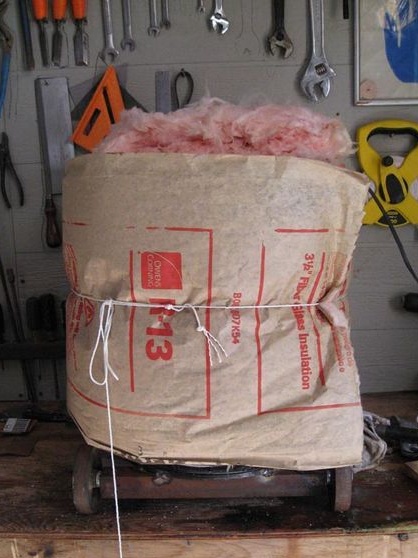
If the clay on the eye has already dried, this does not mean at all that it is not 100% moisture. There is quite a lot of water, but this is a serious enemy. If there is water in the clay when the furnace heats up, the resulting vapor will cause cracks and so on. To completely dry the oven, the author took a number of measures. First, a number of holes need to be drilled in the insulator, a concrete drill may be needed for these purposes.
Further, the outside of the furnace is wrapped with glass wool or other insulation, and an incandescent lamp falls into the center. As a result, the walls warm up well and moisture comes out of them. The lamp must be used at least 100W.
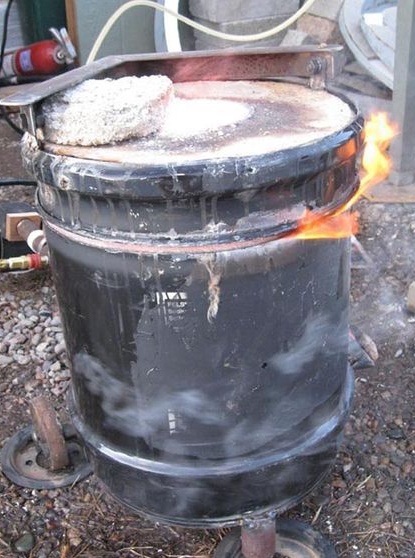
Seventh step. We fasten the lid and supply gas
A mixture of gas and air should enter the oven. You can make a burner yourself or buy a ready-made one.
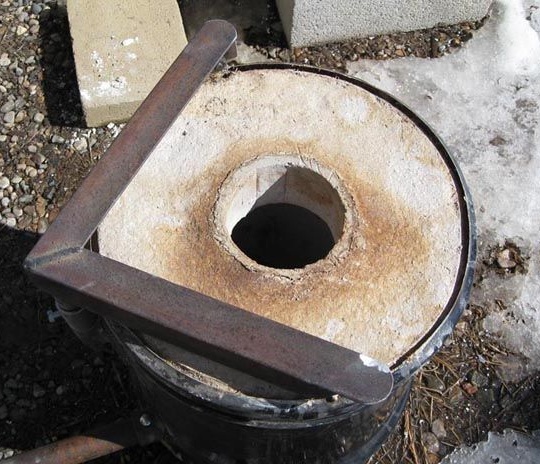
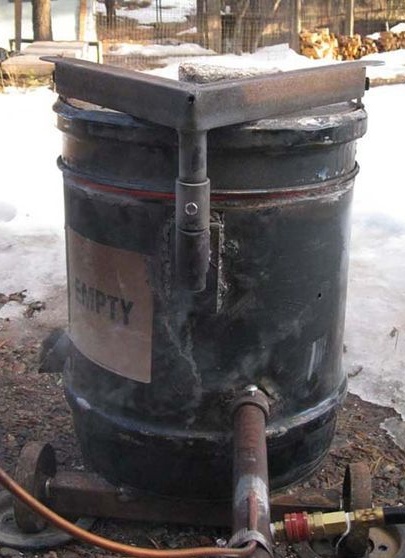
To attach the cover you will need a corner, an axis, as well as a piece of pipe. The essence of the design is that, if necessary, the heavy and hot lid can be easily turned sideways. For these purposes, a gap of a couple of millimeters must be maintained between the lid and the top of the furnace.
The author also installed a pair of wheels on the oven so that it could be moved.
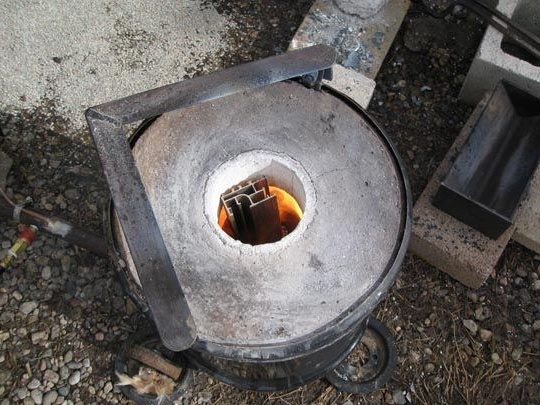
Step Eight. Casting accessories
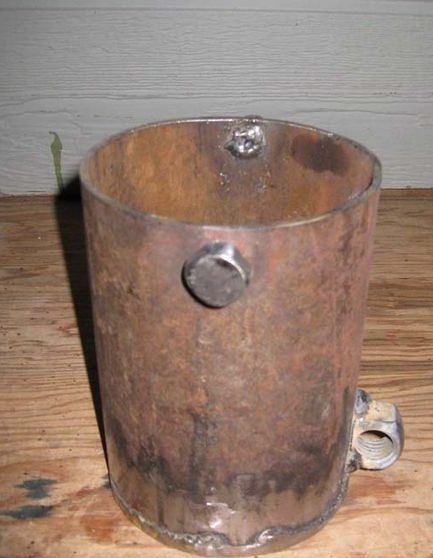
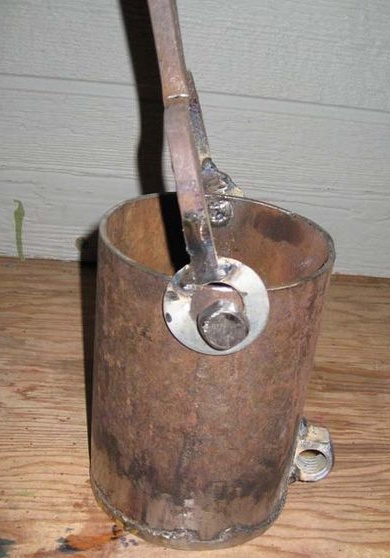
For casting, you will primarily need a crucible. The author made it from a piece of thick-walled steel pipe. She will need to brew the bottom, and also attach long steel handles.Everything should be very reliable here, otherwise, if God forbid the handle comes off, contact with liquid metal is very deplorable.

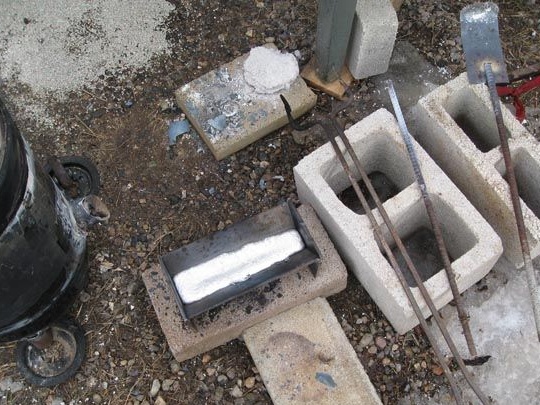
You will also need to make a pair of blacksmith's tongs, a bucket and other accessories. It will not be difficult.

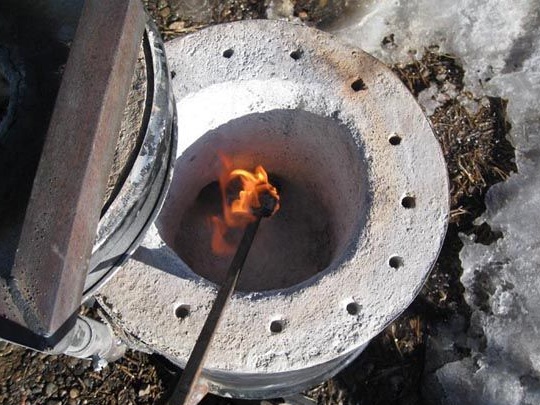
Step Eight. Furnace test
That's it, the stove is ready for testing. Before testing, it is recommended to first heat it with a blowtorch so that all remaining moisture particles finally come out of the clay. Well, then you can supply gas and how to warm up the stove. It is most convenient to set fire to a torch.
After some time, the upper protective layer will begin to melt, as a result, ceramics are formed, which protects the main insulating body well from the effects of temperature.
Safety Conclusion
It is always important to remember that work is carried out with liquid metal, which is hot up to several thousand degrees. If it gets on the skin, then the person does not even have time to feel how he will receive a very serious injury. Also, you need to carefully breathe near the furnace, since during the remelting of metals many harmful fumes will be released. It is best to use protective equipment.
You need to work in thick gloves made of non-combustible material, as well as in protective shoes and a uniform.