

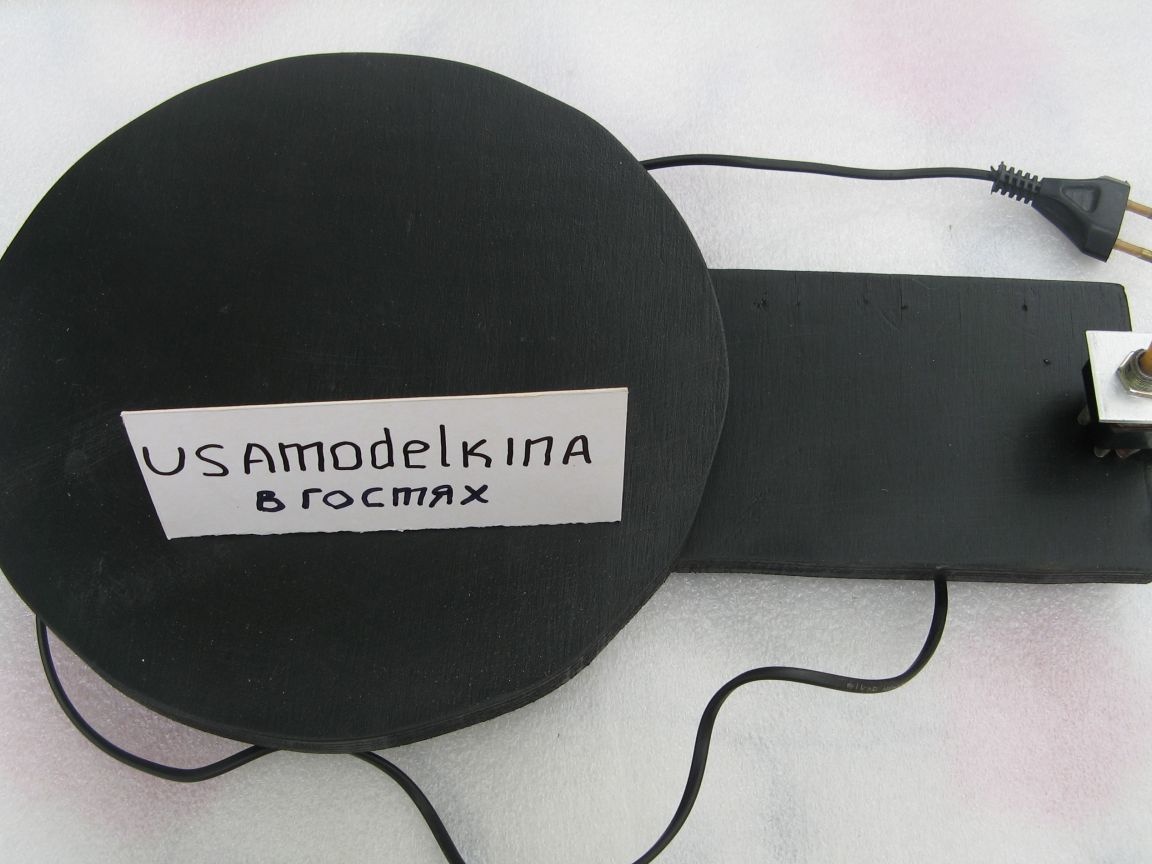
There is such a thing as a turntable. Some use it for presentations, any souvenirs. Confectioners are used to rotate the cake during the manufacture of the latter. I decided to do do it yourself turntable to display their homemade, type in "3D". A microwave motor was taken as the basis. It makes almost 3 revolutions per minute. It is powered by a 220V household network.
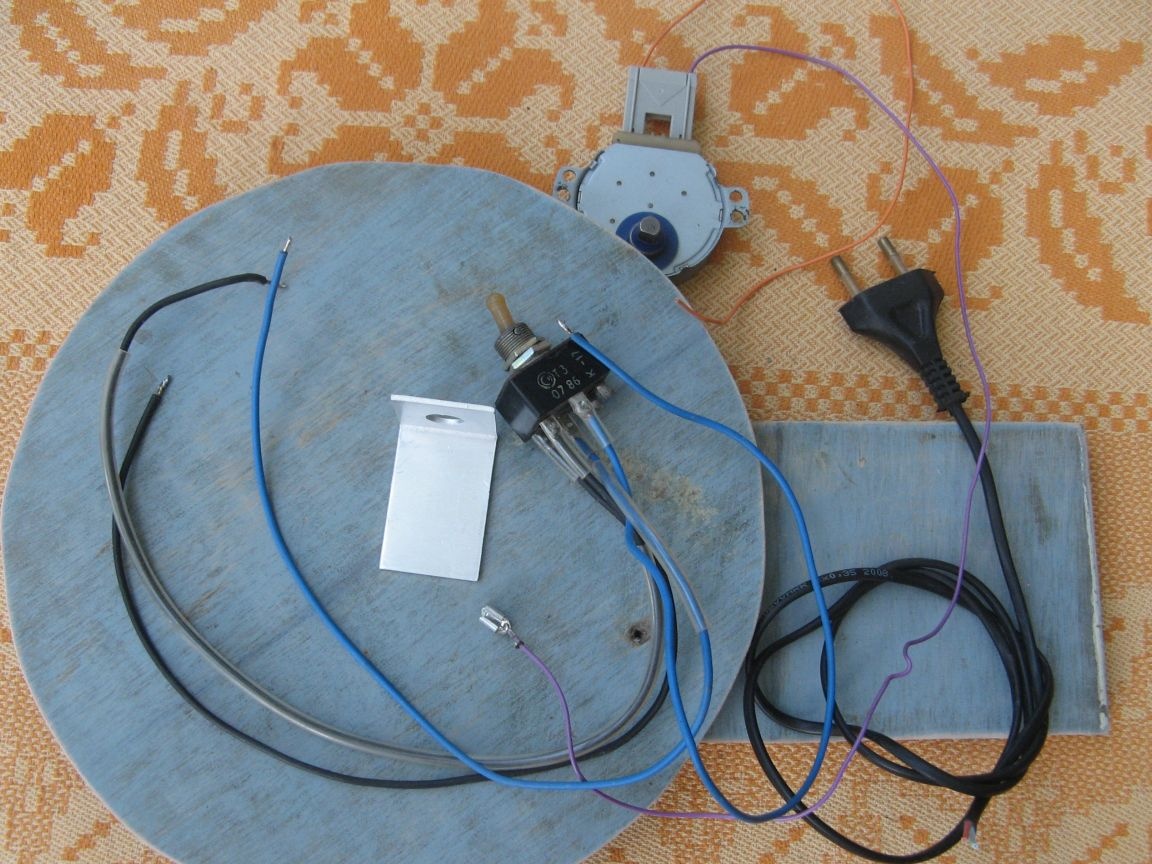
For the design of the table we need:
- a circle of plywood;
- a rectangle of plywood;
- switch;
- an aluminum corner, for fastening the switch;
- power cord;
- screws 10 pieces;
- motor from the microwave.
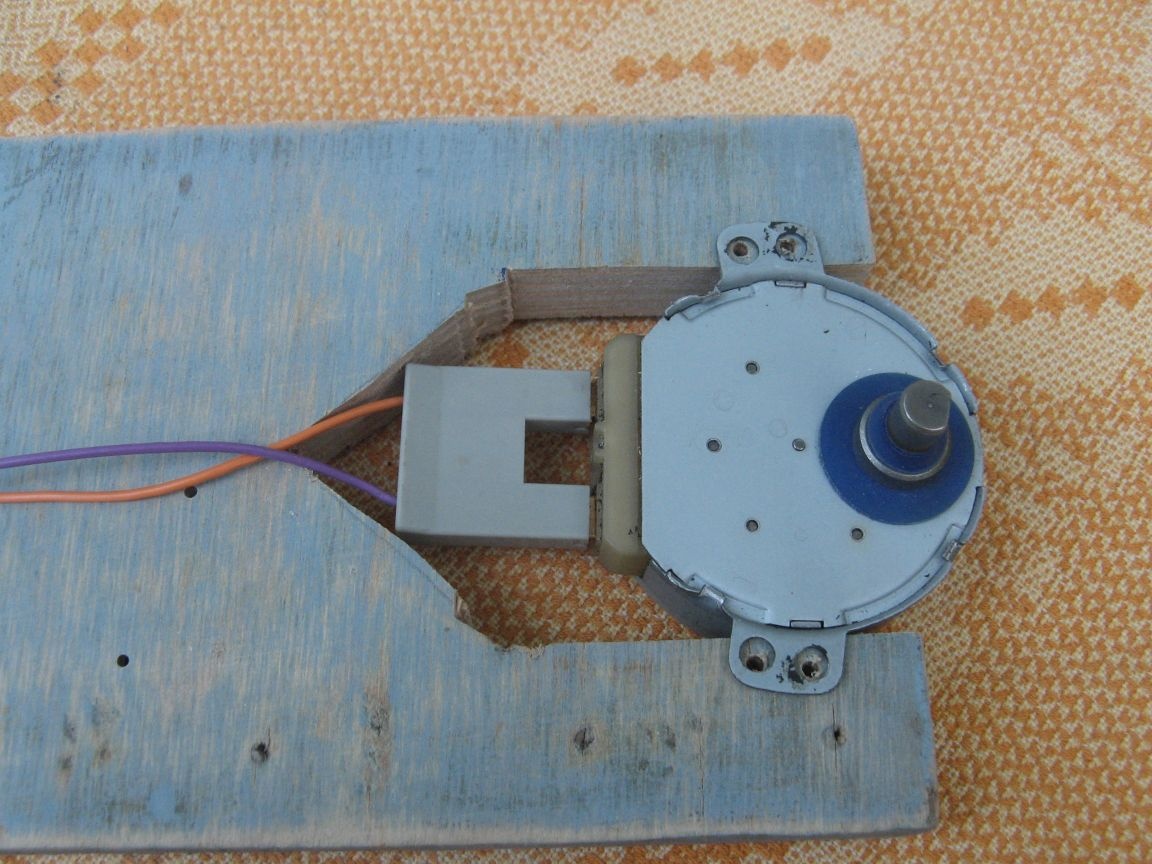
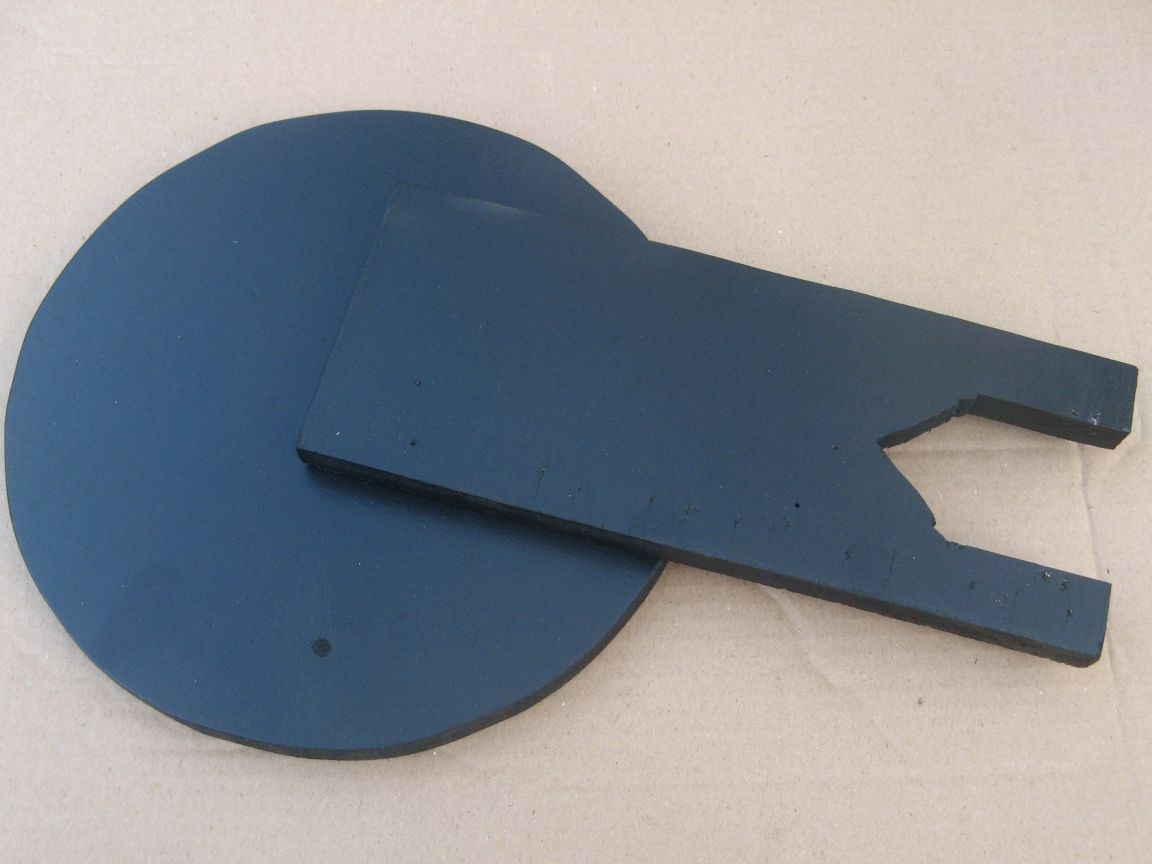
The first step in our base is to make a cut under the motor. It turned out somehow crookedly, but not the essence, it will be closed by the table itself. Base dimensions 250mm * 100mm, plywood thickness 18mm.
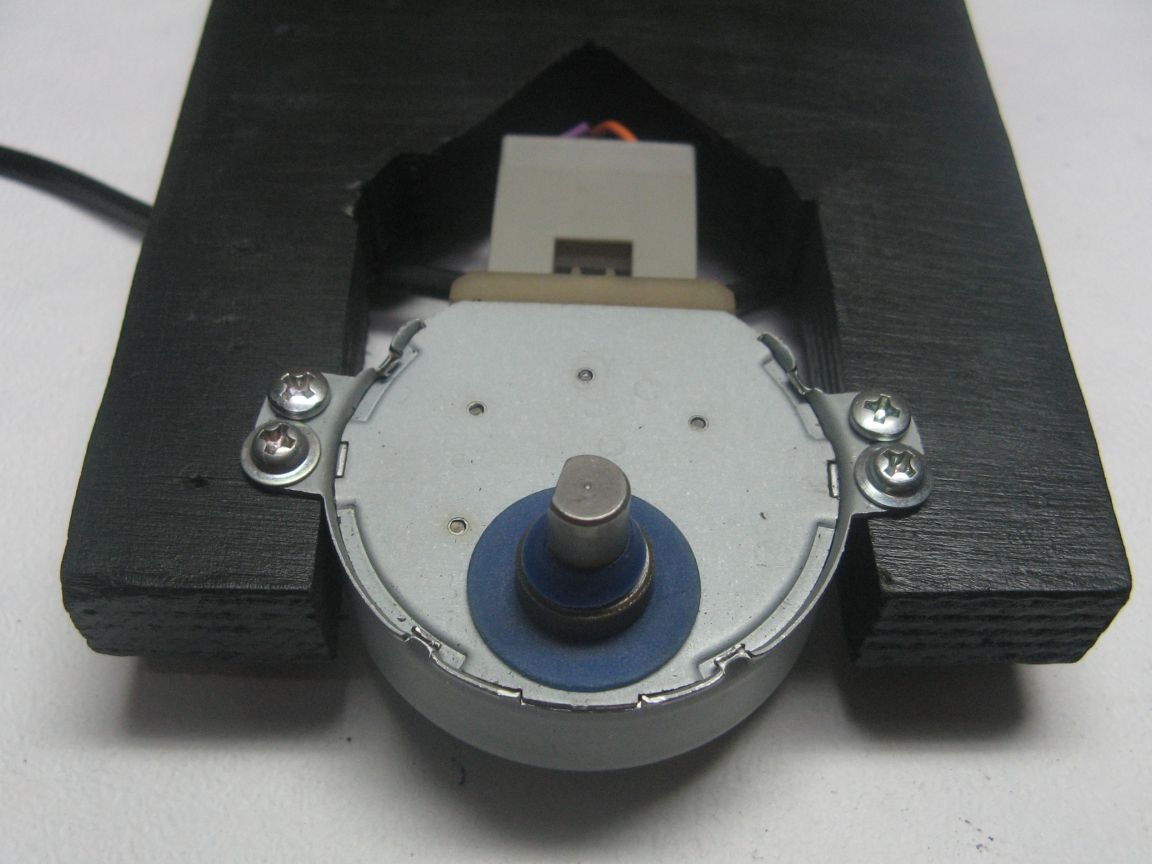
Next, apply the motor to the base, mark the holes and drill with a small drill. The holes are not deep, half plywood.
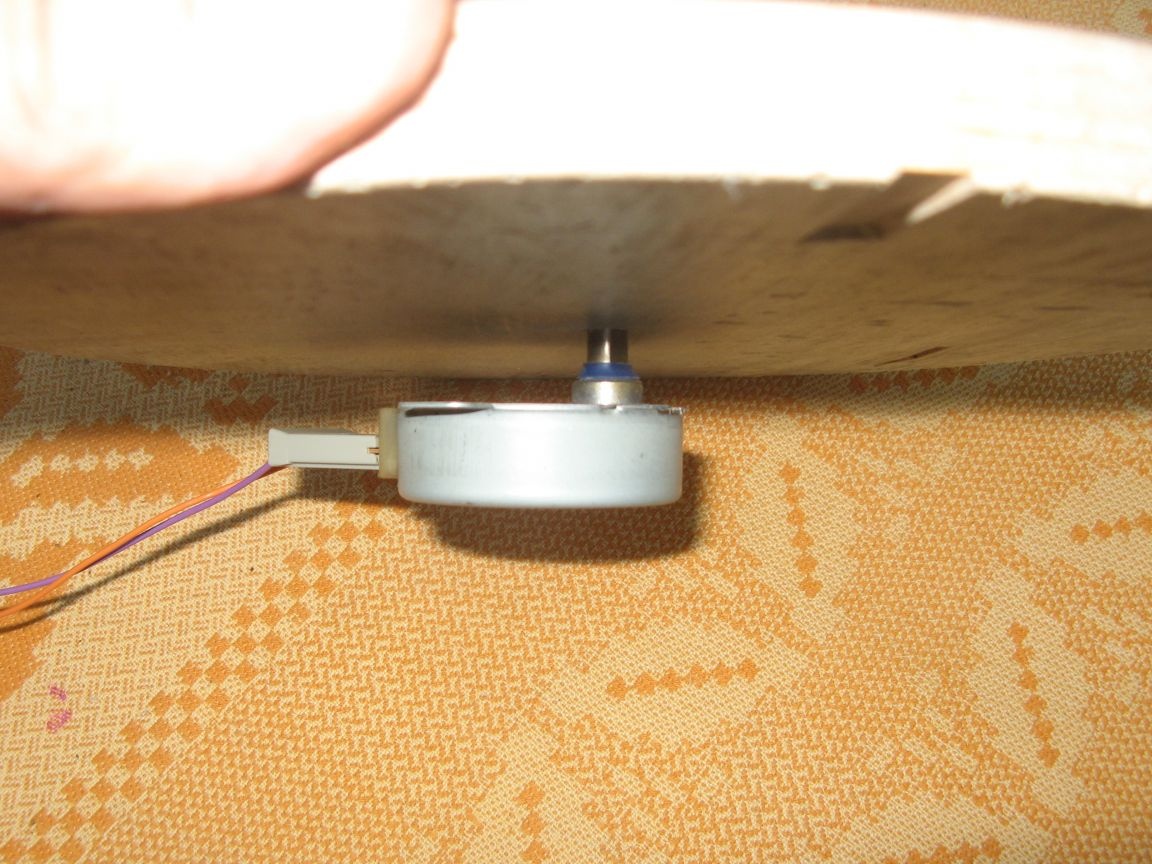
In the pancake of the table, we drill a hole with a diameter of 6 mm, the motor axis is 6.5 mm. The hole is not through, but exactly on the length of the motor axis (about 10 mm). Try on. Goes tight. If you drill the same diameter as the motor axis, then the pancake of the table will hang out. It will have to be glued, and this is additional time for making homemade products.
Be sure to look at the motor. There are not 220V. I came across 21V. In the latter case, you need a transformer, you can power it from the control board of the same furnace.
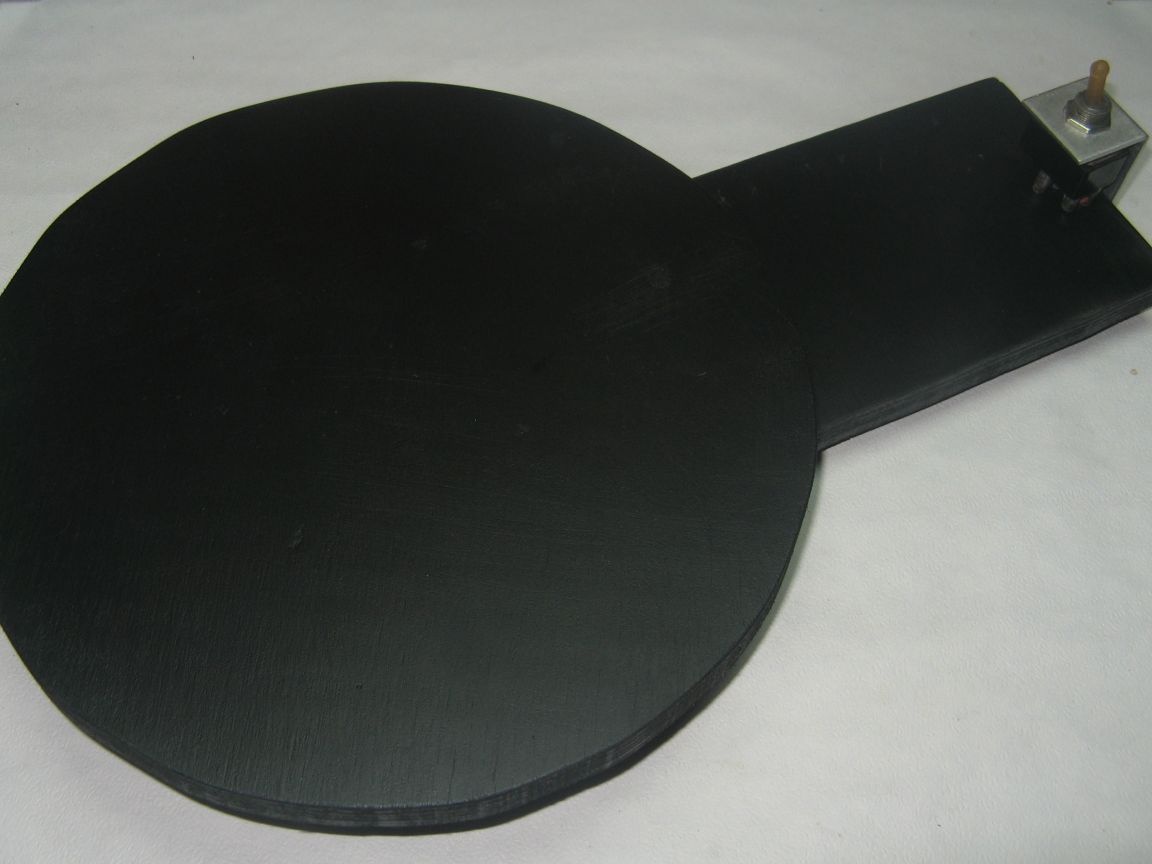
Since I have plywood BU, I decided to paint the pancake and the base of the table with a spray can. Matte black paint was available. Everything dried up quickly. Along the way, I drilled a hole for threading wires.
After the paint dries, we fasten the motor to its constant place. I took the screws from the old printer. Very successful because of the wide hat.
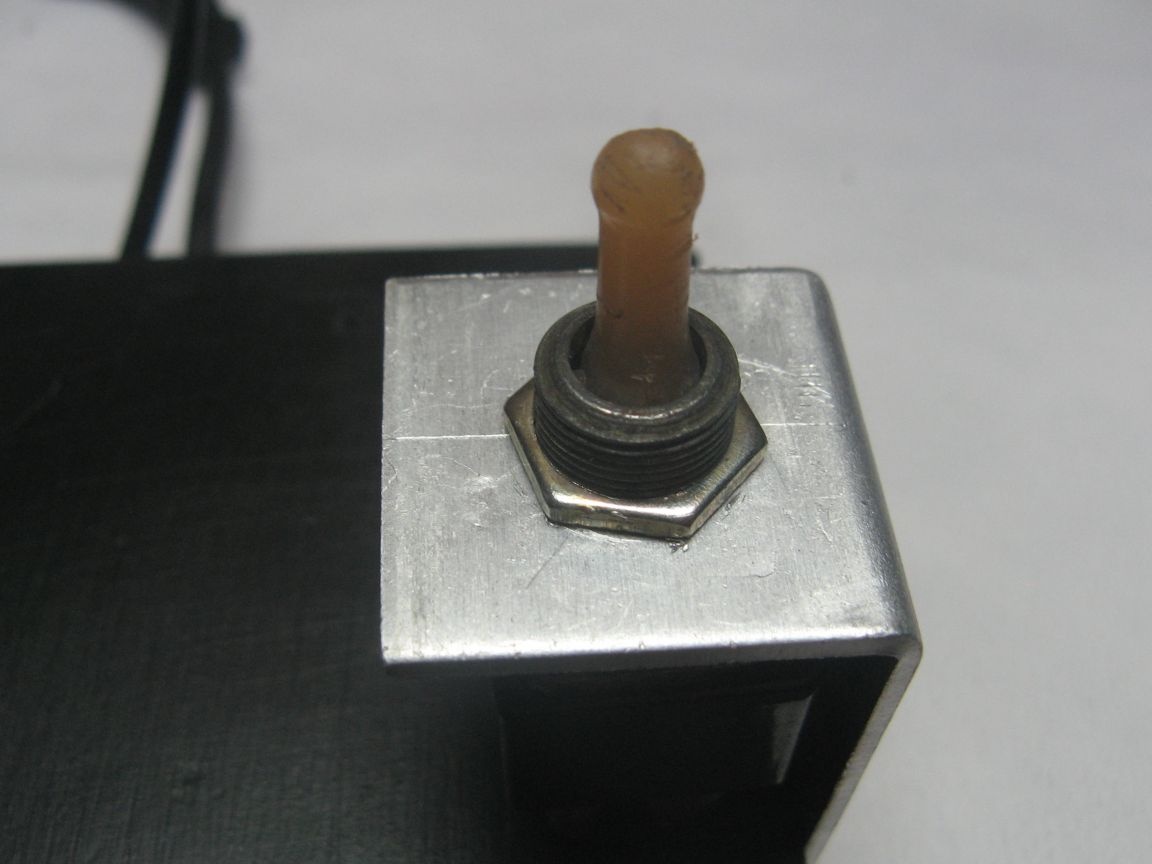
Pass the wires into the hole from the bottom of the structure. We unsolder the switch, I have it a toggle switch TP 1-2. We attach the corner to the base. We fasten the toggle switch to the corner. If there is no corner like mine and another switch, then you can make something to fit your needs.
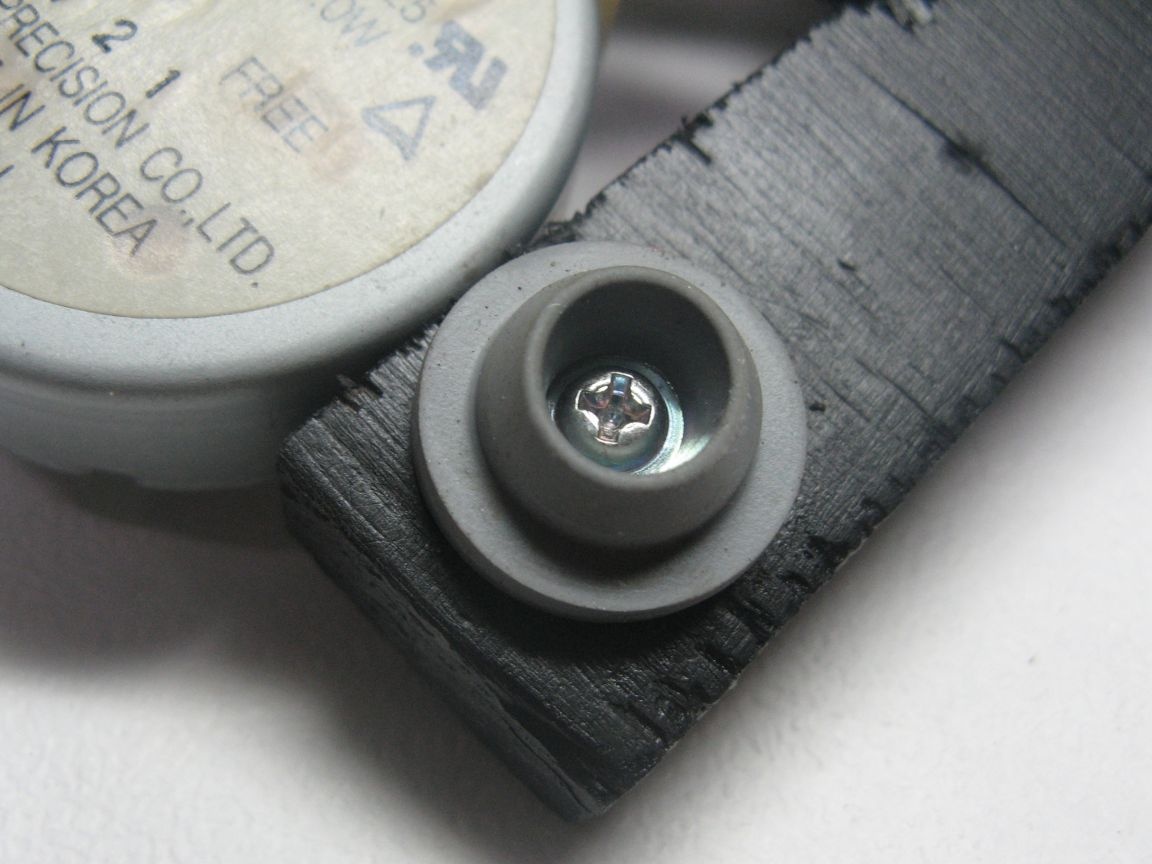
So that the design does not go on the table, I decided to install rubber legs. In the role of legs, he used caps from the medicine.In general, it is very convenient to use such legs in the manufacture of cases, home-made products. Rubber is very elastic. I screwed them on all the same screws from the printer.
Damn the table in my case 230 mm. The thickness is the same 18 mm as at the base. For my needs it’s completely fine. Here's a table I got. I repeat, in a minute it makes almost 3 turns.
Detailed instructions can be seen in the video: