
Summer was coming and I really wanted to take children with me to the pokatushki.
So it is urgent to make a means of moving on water - a kayak.
Having rolled up our sleeves, we begin work.
Materials and tools:
To build a kayak, first of all, you need a place and a minimal set of tools,
usually:
- a block with sandpaper or a grinder;
-scissors;
pliers;
side cutters;
- brushes;
-drill;
epoxy resin;
-glass cloth.
Step 1: Assembly the housing.
The project was based on a ready-made kayak made of plywood using the "stitch and glue" method, in English - "stitch & glue".
This choice is due to the fact that the assembly process of the case is significantly accelerated, the amount of garbage and dust is reduced (which is important), and the fact that the parts are manufactured on CNC machines ensures their high accuracy.
To build a kayak, first of all, you need a place and a minimal set of tools, usually only a block of sandpaper or a grinder, scissors, plows, side cutters, brushes.
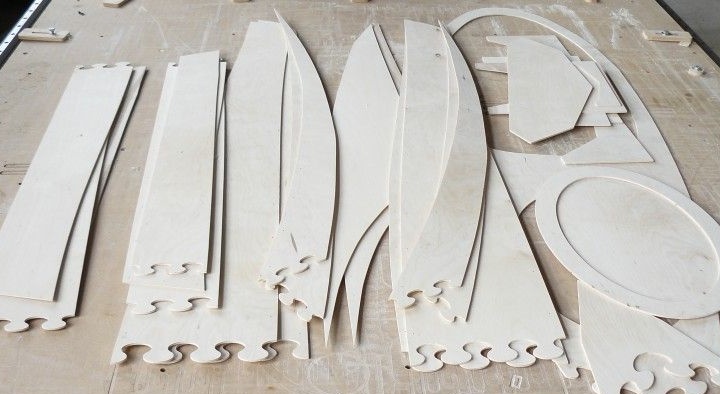
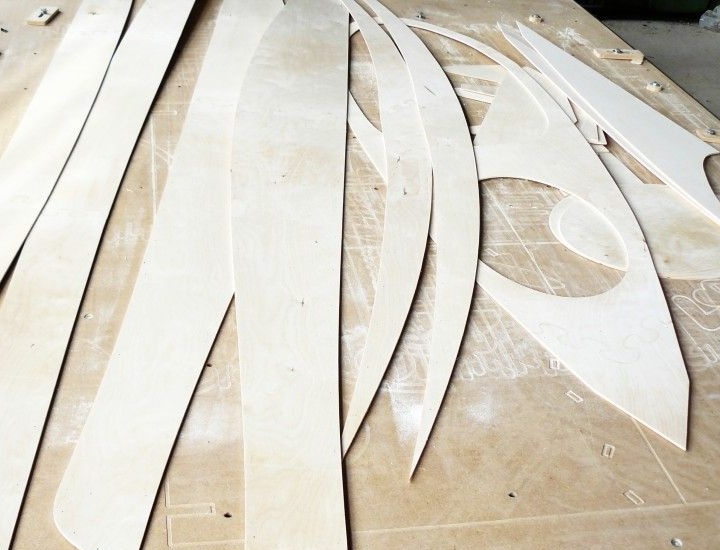
We lay out the details of the set according to the available drawings.
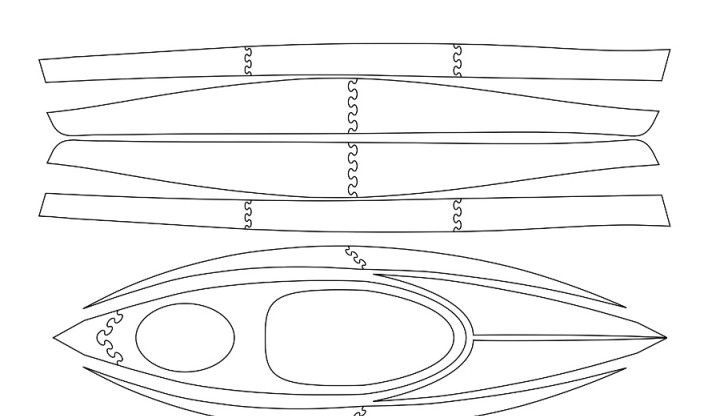
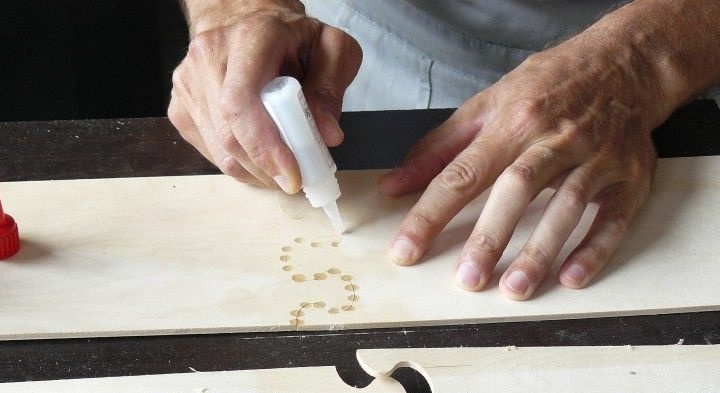
The slats of the kayak body are longer than the length of the existing plywood sheets, so we join them from several blanks with a junction of the puzzle type. We glue them with epoxy, and preferably a second cyanoacrylate adhesive with an activator - this speeds up the process.
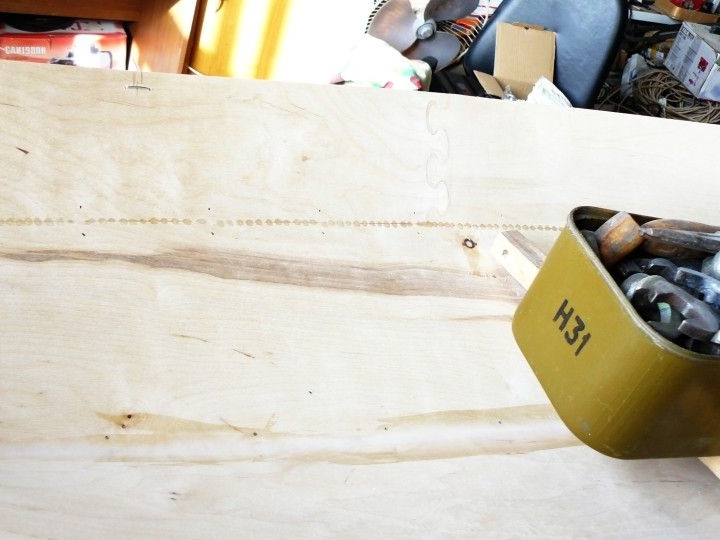
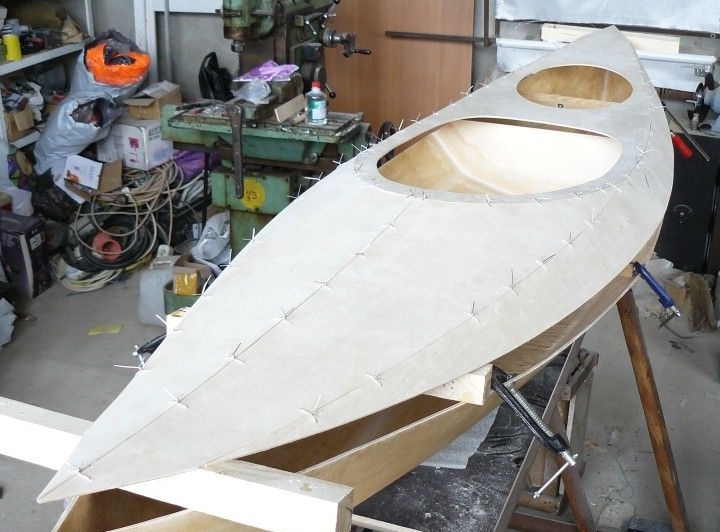
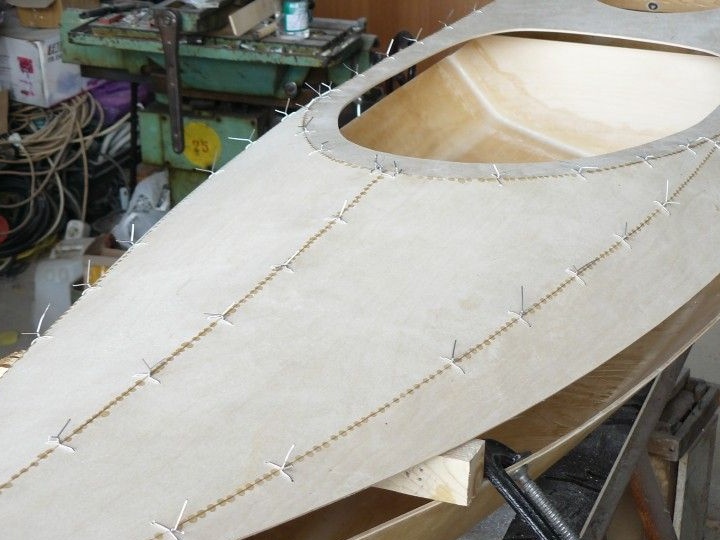
If an ED20 epoxy resin with a PEPA hardener is used, the required room temperature should be maintained at 22-25 degrees. At a lower temperature, the resin will not gain full strength, at a higher temperature it will polymerize too quickly, which complicates the work. After gluing all the planks, we begin to stitch them with the help of a wire, while twisting we tighten not the end. A pleasant moment is the presence of all the holes in the parts for twisting. The most suitable option for twisting is a steel knitting wire, well, or whatever is at hand (copper wire). We do not consider the option of using plastic ties the diameter of the holes for them needs much more. We start from the bottom, then the sides, we draw the bars to the keel blocks.
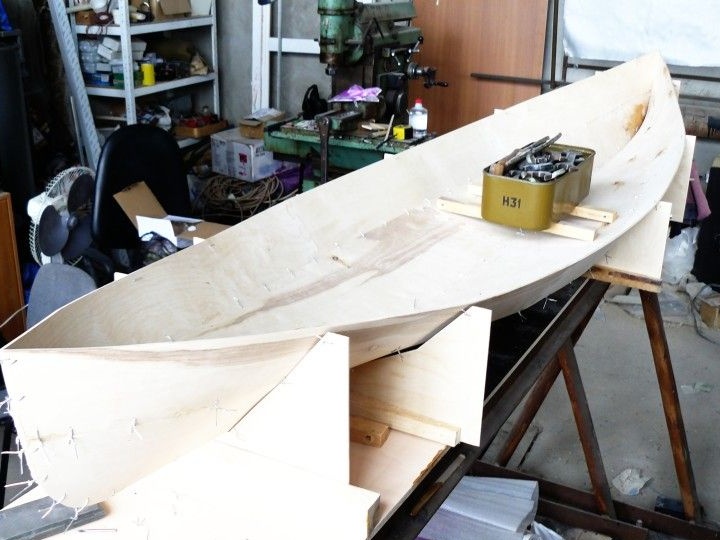
When the body takes the desired shape, we tighten all the twists so that there are no gaps between the parts. Then, between the screeds, glue the joints with a mixture of epoxy and aerosil. If cyanoacrylate glue is used, glue the seams with dots of this glue. Cyanoacrylate adhesive greatly simplifies and speeds up the work. You need to take glue gel with an activator.
Step 2: Pasting the casing with fiberglass.
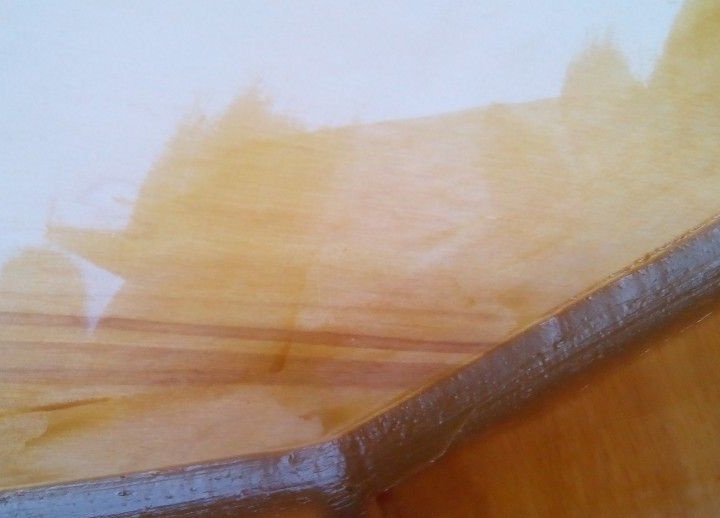
After the glue has dried, remove all the screeds and apply the final fillet from epoxy and aerosil. As the material for the fillet, we use epoxy resin with the addition of 50% AEROSIL (so that the resin does not flow), instead of aerosil, wood dust from a vibration grinder is suitable. To form a fillet, it is convenient to use a spatula made of a plastic card cut in the shape of a future fillet.
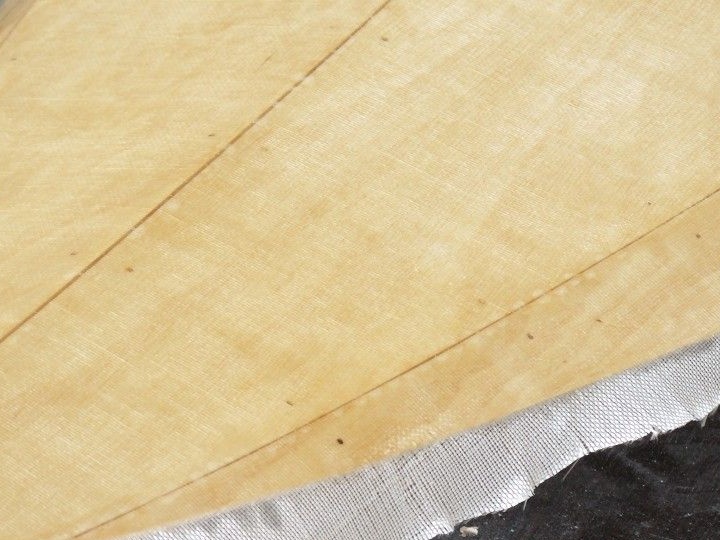
The next step is pasting the casing from the inside with fiberglass. Before pasting, we sanded the entire surface so that the surface under the pasting was smooth. Vacuum, wipe with a clean cloth so that there are no traces of dust. We lay out the fiberglass, remove all the folds, cut off the excess. IMPORTANT, we select fiberglass with either direct sizing (excellent adhesion with epoxy, but expensive), or with paraffin sizing (in this case, you must first evaporate paraffin, the price is an order of magnitude lower).
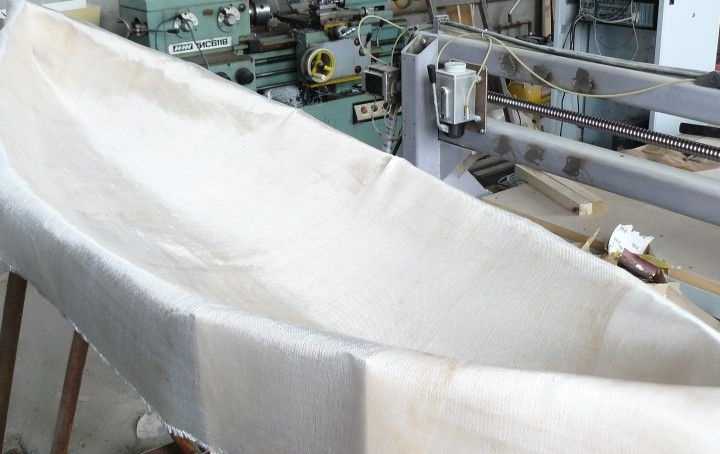
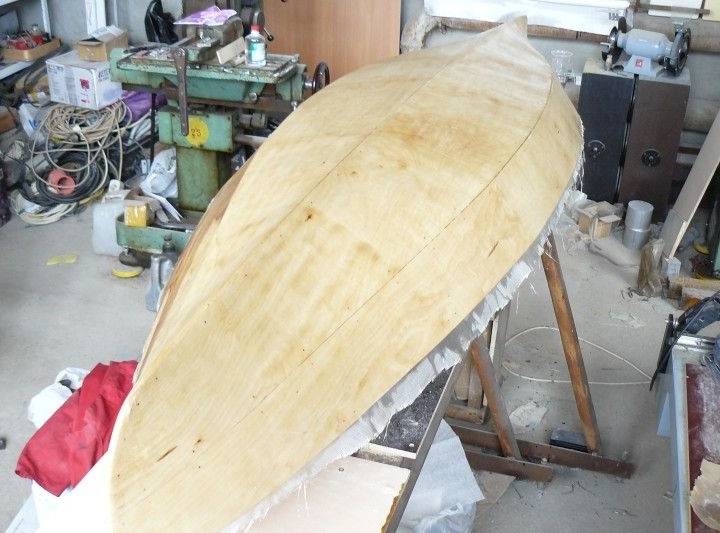
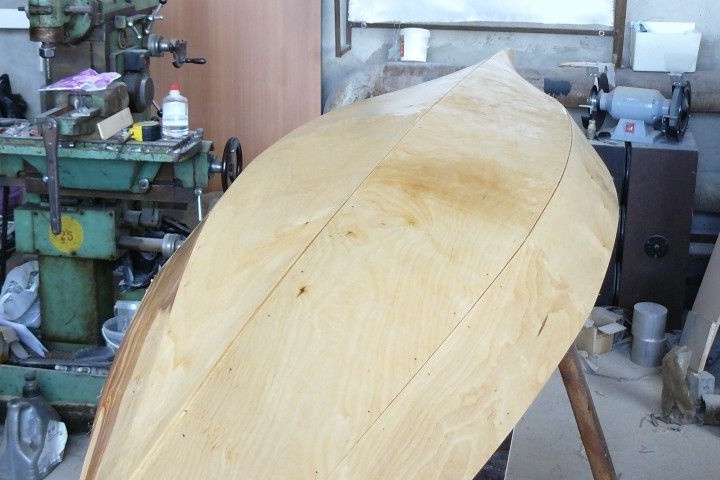
We dilute the epoxy resin in small portions of grams of 150-200 tons each. The lifetime of the most common ED-20 resin with PEPA hardener is 10-20 minutes (depending on air temperature). Pour the resin to the surface and begin to disperse with a spatula. It is necessary to disperse to such an extent that the resin is exactly enough to permeate the fabric. Soaked fiberglass becomes transparent and does not hide the structure of the tree. After the fiberglass is impregnated, and the excess resin is removed, within an hour or two we make sure that air bubbles do not form under the fabric, you can remove them simply by pressing this place with your finger.
We glue the frame on the fillets. Glued seams with strips of fiberglass. The unprotected surface of the plywood is painted with epoxy.
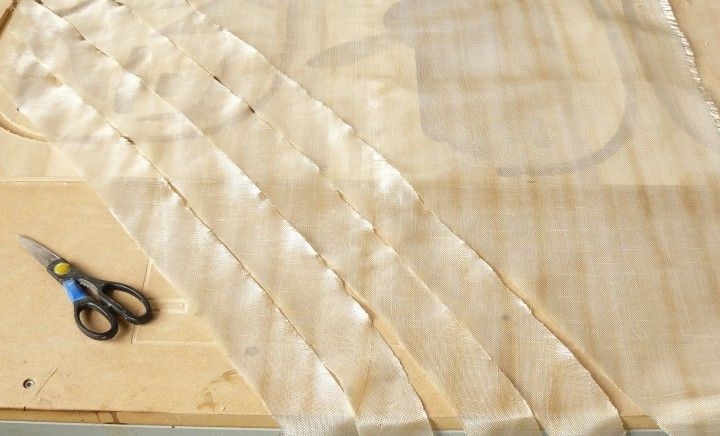
We cut strips from the same fiberglass as pasted over the case. If the fiberglass fabric has plain weaving, it is better to cut the strips at an angle of 45 degrees, so the edges will not be frizzy. The width of the strips is 8-10 cm.
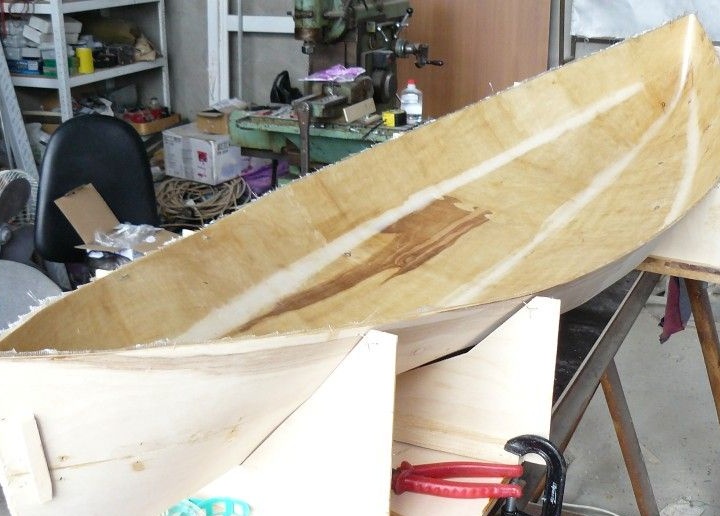
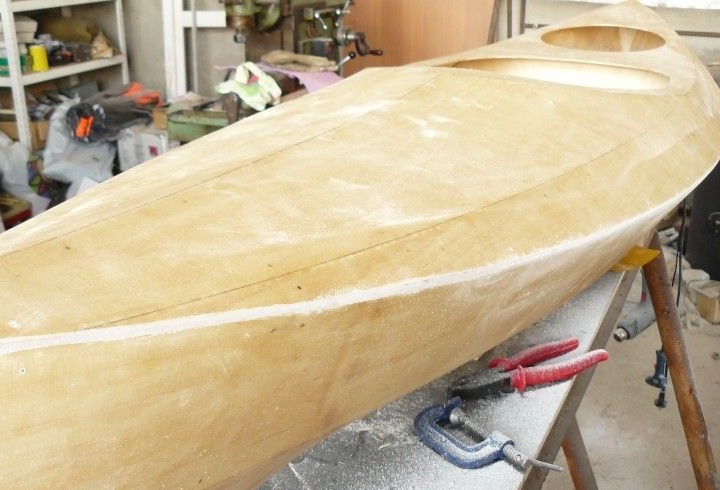
At the next step we turn the boat over and polish all sharp edges. If there are cracks or other defects, we putty them with a mixture of epoxy and aerosil.
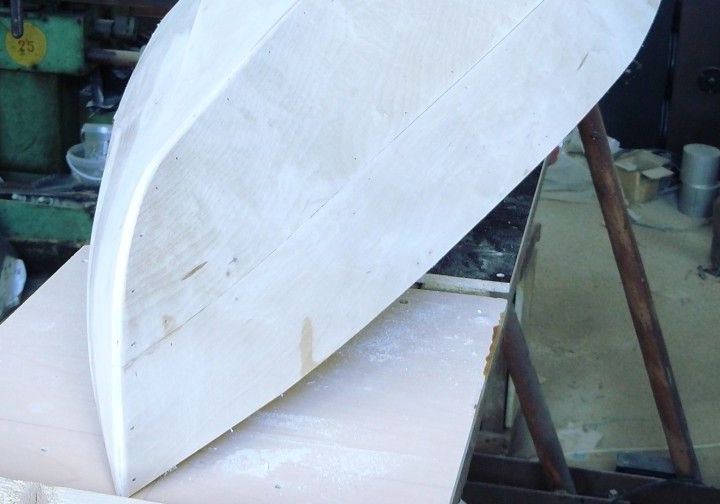
Next, we lay out the fiberglass fabric, remove all the folds, cut off the excess and glue it with epoxy.
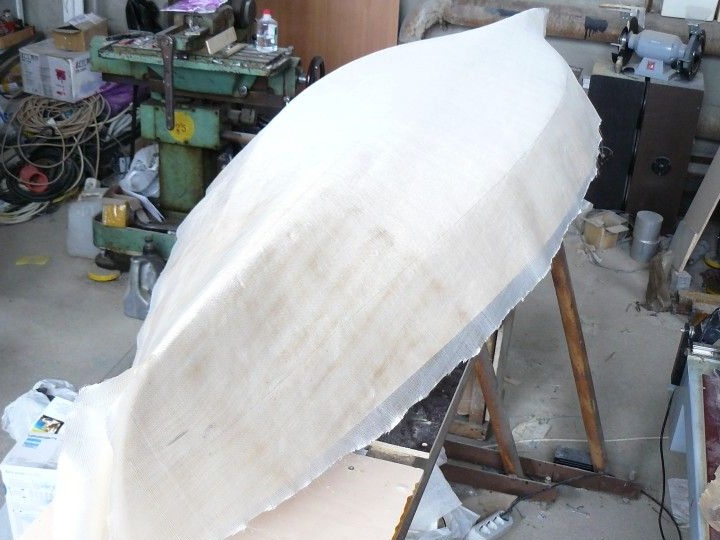
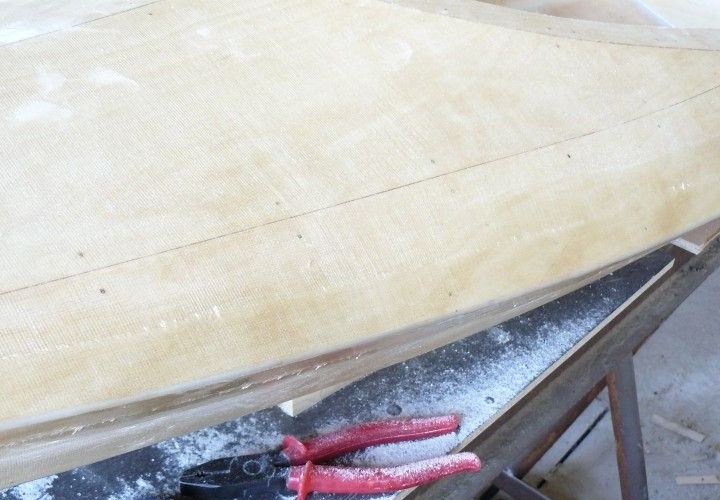
We cut off the excess edges of the fiberglass.
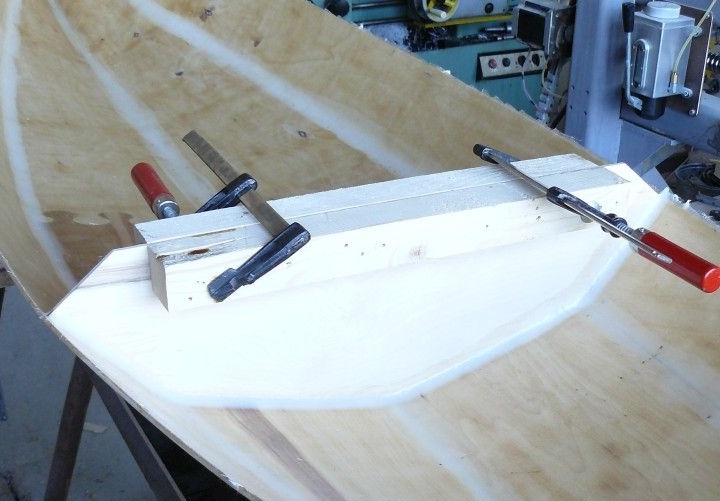
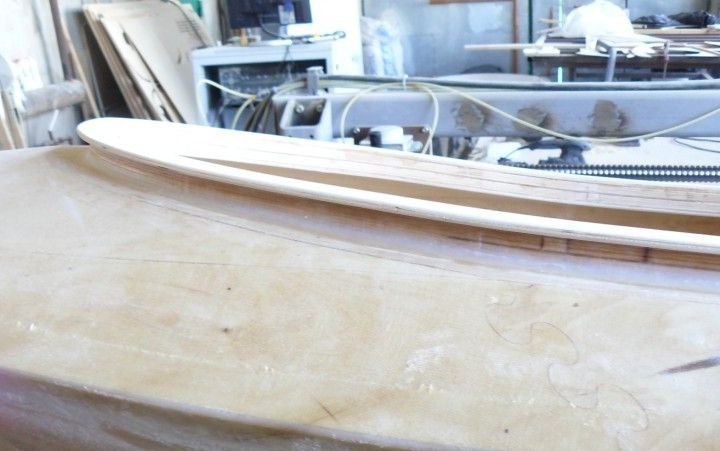
Step 3: Build the deck.
We begin to deal with the deck. We collect the details of the deck on the twists.
Glue the seams and remove the wire twists.
Step 4: Pasting the deck with fiberglass.
We impose fillets. In general, we repeat all the same operations as for the case.

Step 5: Connect the hull to the deck.
We connect the hull to the deck using wire twists.
Glue the seam and remove the twist.

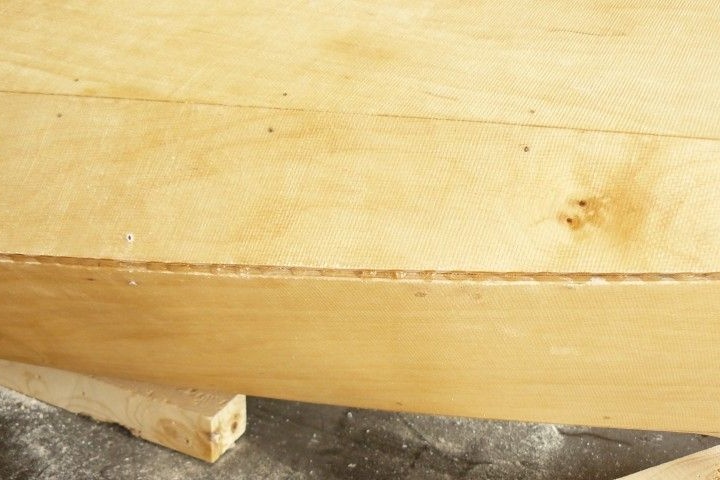
We put a fillet of epoxy resin and aerosil on the seam.
We clean the seam.
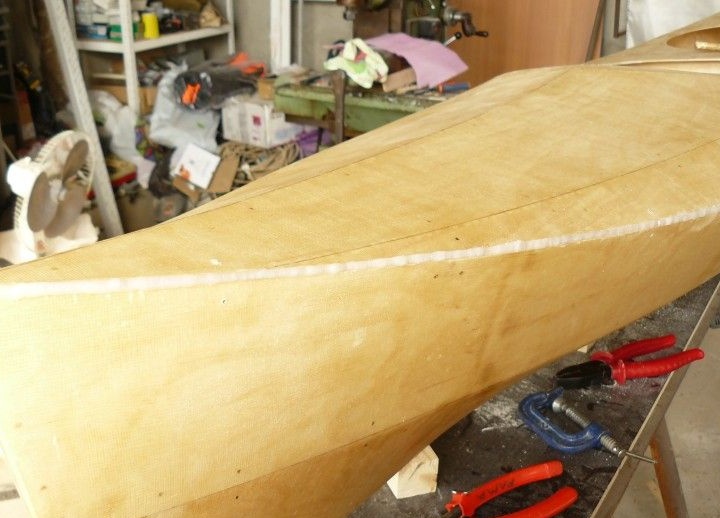
Glued with fiberglass tapes. Sand the edges of the fiberglass strips.
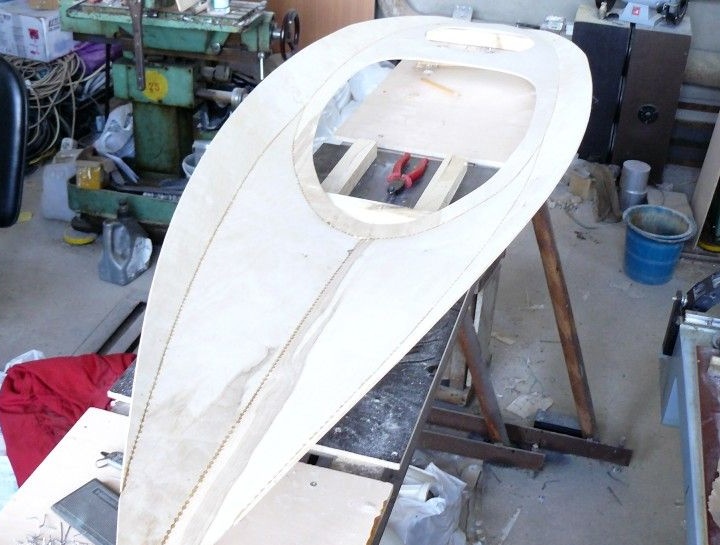
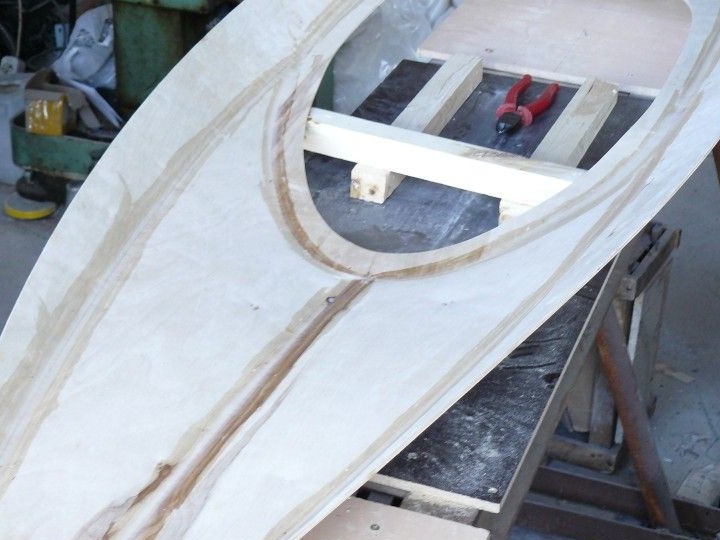
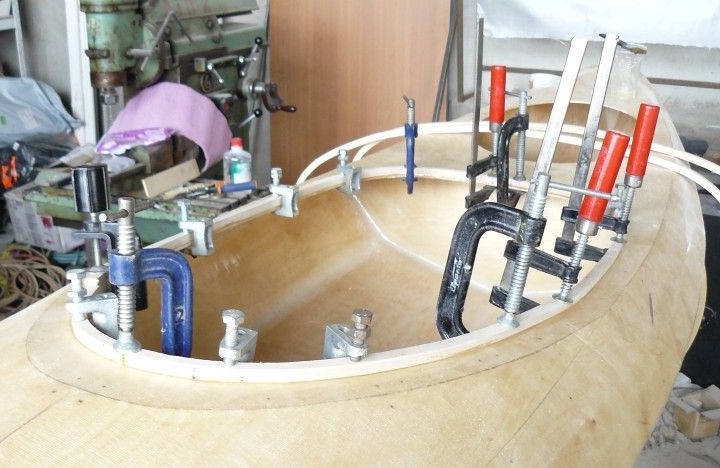
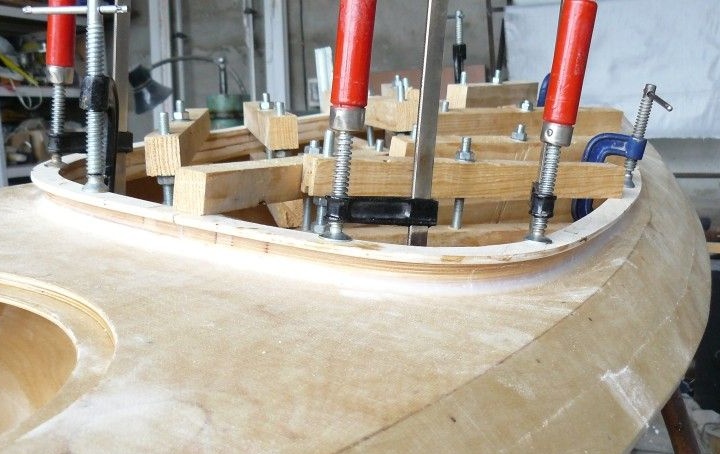
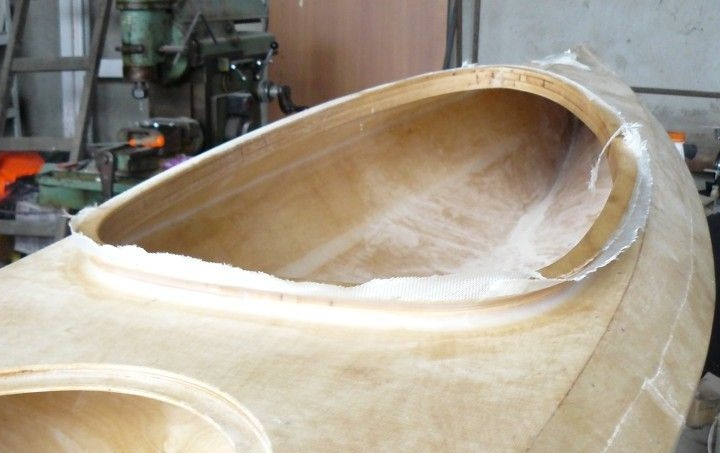
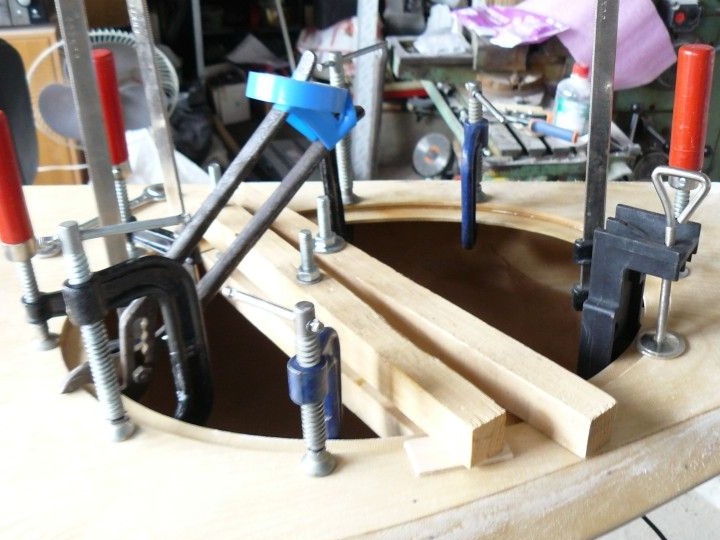
Step 6: Arrangement of the cockpit and luggage hatch.
The next step is the arrangement of the cockpit and the luggage hatch.
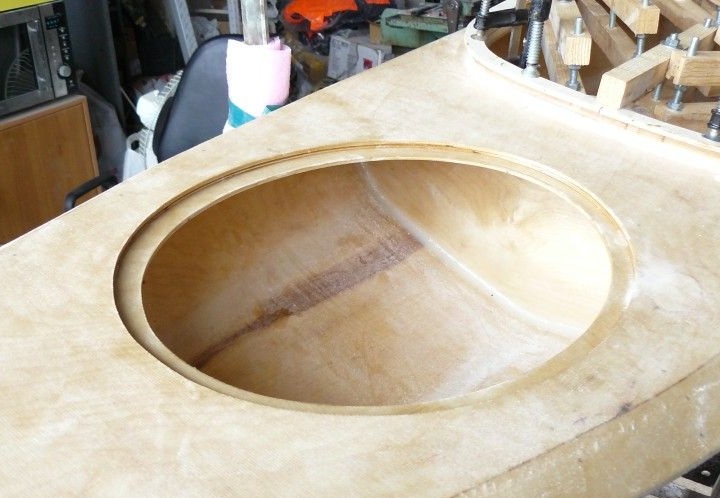
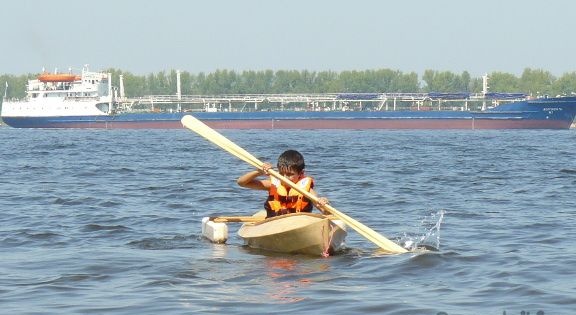
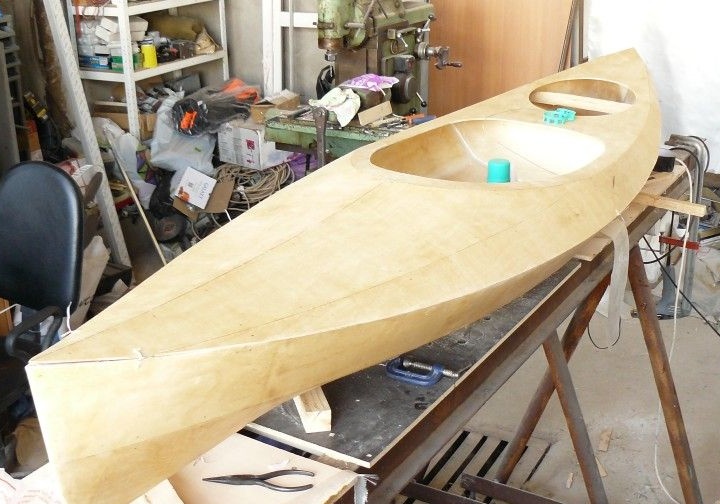
After all the steps, our corps is ready.
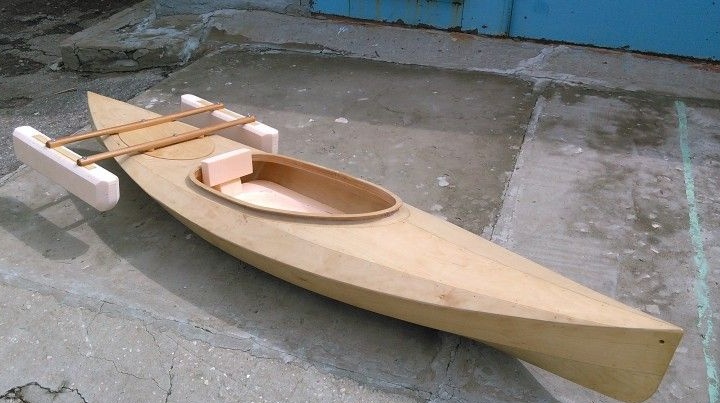
It remains to attach the seat, attach the handles and you can go swimming.

Conclusion
The boat turned out light - 12 kg. Children liked it very much; on the shore there was a line to ride.
P.S. Attached removable floats. It’s calmer with them.