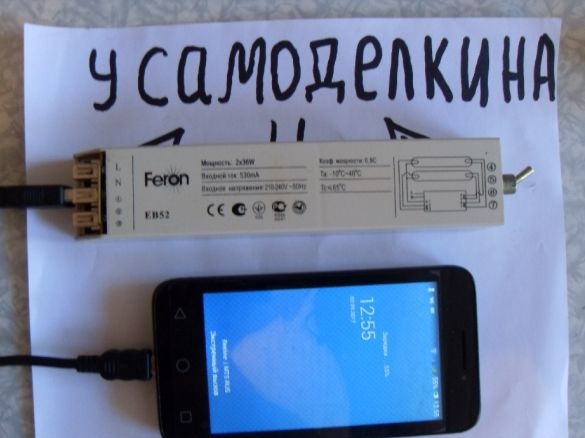
In this article I will tell you how to assemble a very cheap power bank from any trash that must be found at hand. More precisely, something similar to a power bank, but its main function, it will fully perform. This portable charger for a smartphone will run on a rechargeable battery or "Krona" type battery, at 9 or 12 volts.
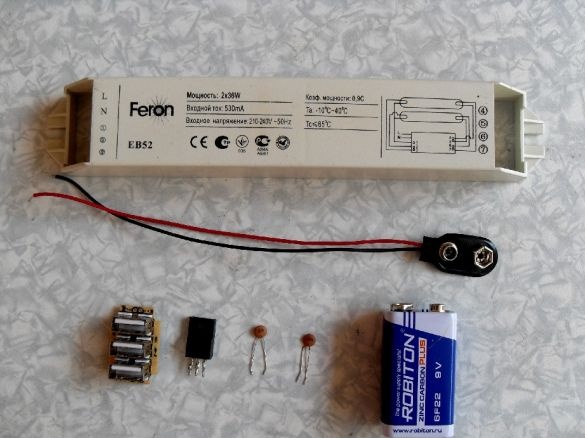
What is needed for assembly
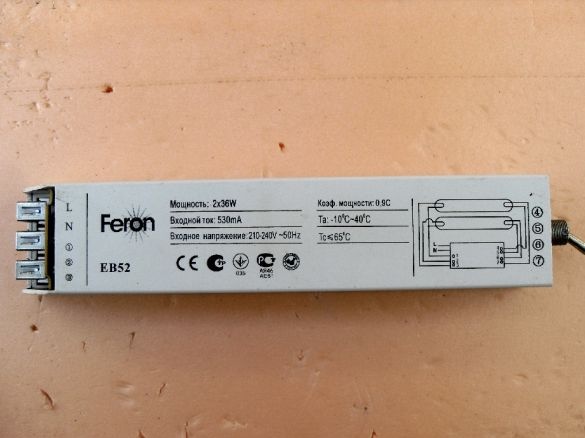
- Ballast housing for fluorescent tubes
- Crown clamp
- Battery or Crohn's battery
- USB socket
- Toggle switch or button
- Voltage Regulator 7805
- Two 100n capacitors
Case preparation for power bank
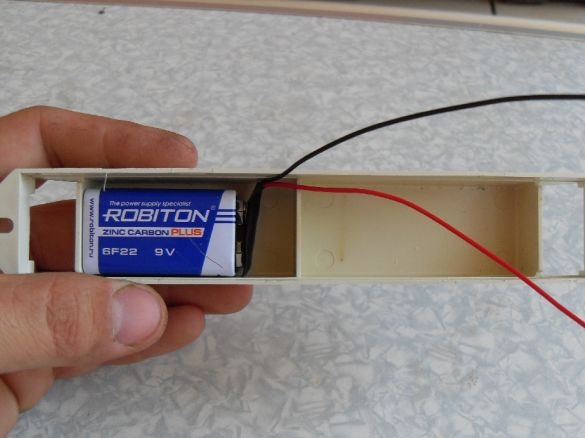
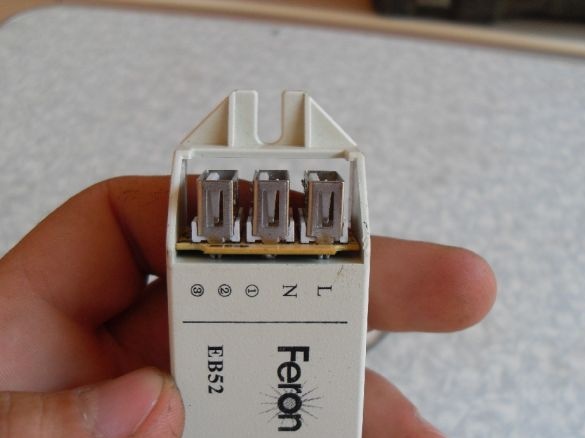
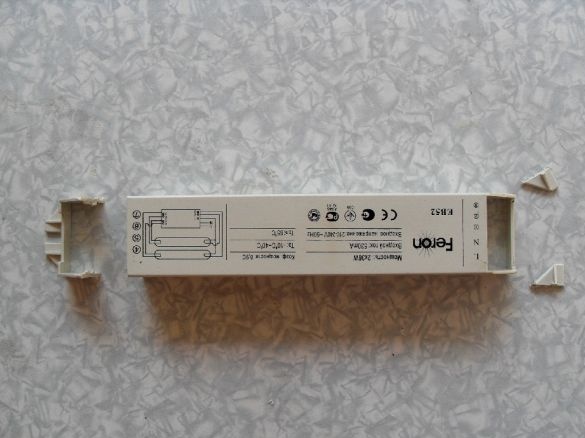
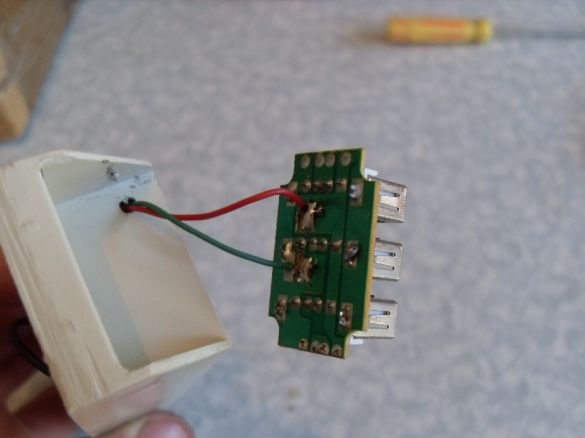
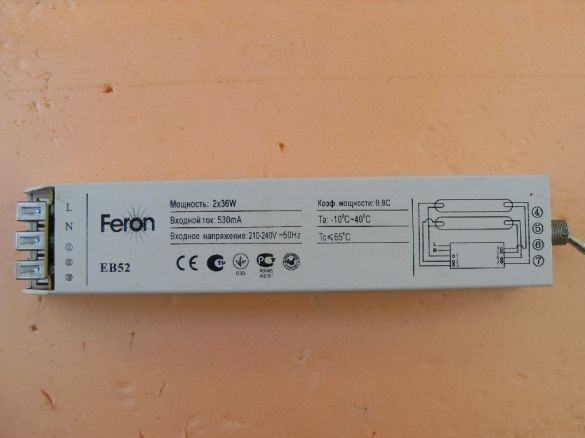
The ballast housing for fluorescent lamps is very convenient for such homemadeat least for my power bank just right. The crown and the USB socket enter it very well. By the way, you can take any socket, I had a broken car USB charger lying around and I took it from there. The socket is threefold and is installed on the board, the scarf itself went right in size to my case, in the photo below it can be seen. You can take a single socket, make a hole for it in the body and fix it with hot glue!
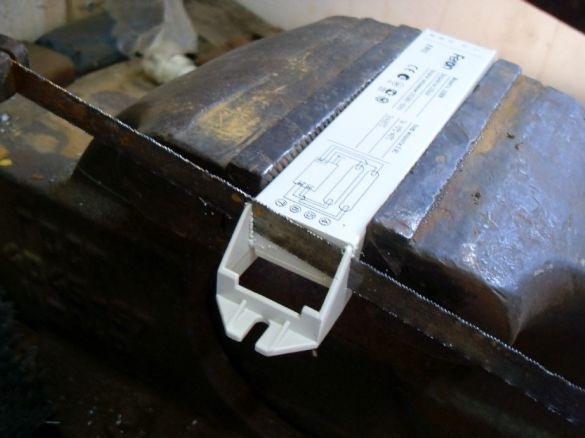
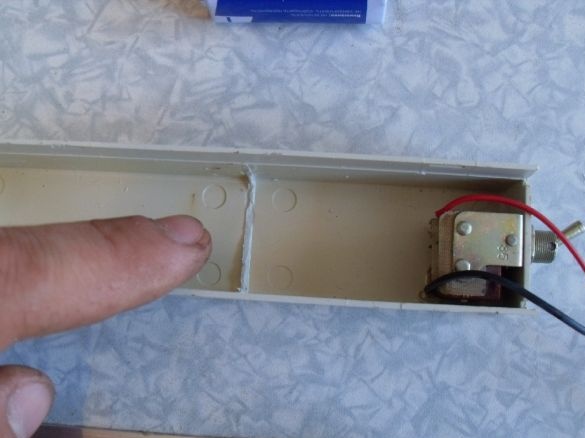
So, in my case there were many extra parts, and using a metal saw and a blade, I successfully got rid of them. Namely, he cut off one of the mountings of the case with the base, and on the other hand removed only the mount.
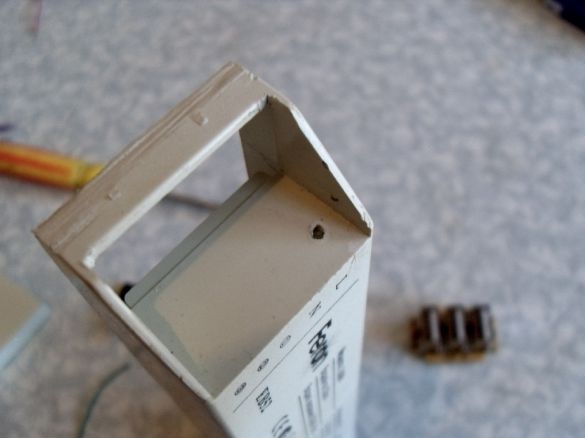
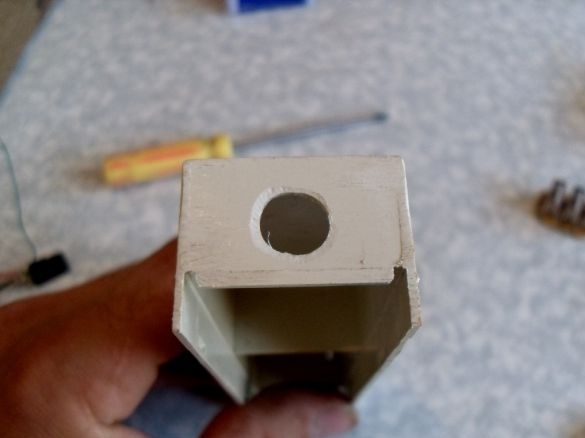
Next, we make a small hole in the case for outputting wires to the USB connector and, on the other hand, another hole for the toggle switch. Well, or in any other place, it all depends on the size of the button used, I had a big one, so it fit in there. )
The preparation of the case is completed, now we proceed to the assembly!
Power bank assembly
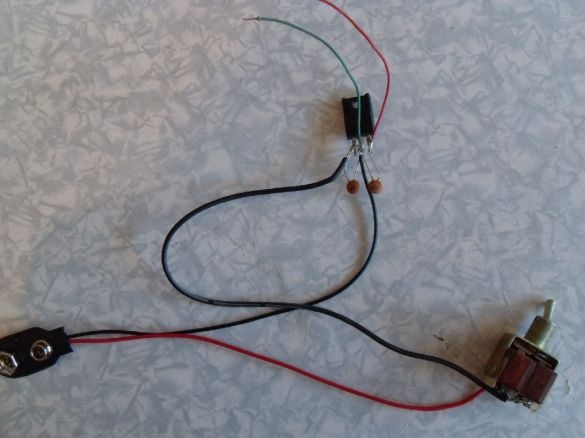
First we need to collect a voltage stabilizer, the heart of our bank! To build the stabilizer, I used the following circuit:
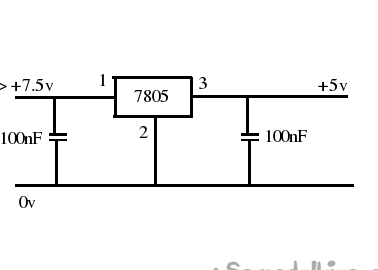
The scheme is very simple, I think it will be easier to assemble it. As a stabilizer, you can use any 7805, I took KIA7805. Also, we need two capacitors per 100n well, in principle, that's all. We solder the circuit with a mounted installation, immediately solder two thin insulated wires to the output and the terminal for the crown to the input. Please note that the terminal must be soldered into the gap on the toggle switch, so that our power bank can be turned on and off!
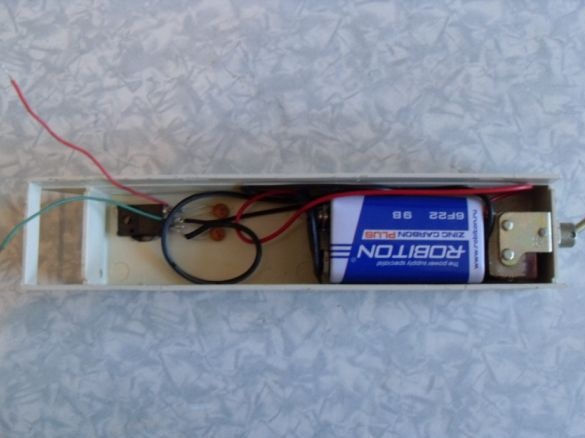
The assembled circuit is placed in the housing. I glued the stabilizer to hot melt glue near a small hole in order to bring the wires to the USB socket.
The field after I installed the toggle switch, I realized that the crown would not fit into one of the compartments, where it fit very well, and I had to cut off the partition.
Next, thread the wires through the shallow hole and solder them to the USB socket. Be careful not to reverse polarity!
With the help of hot glue, the nest itself is glued to the end of the case.
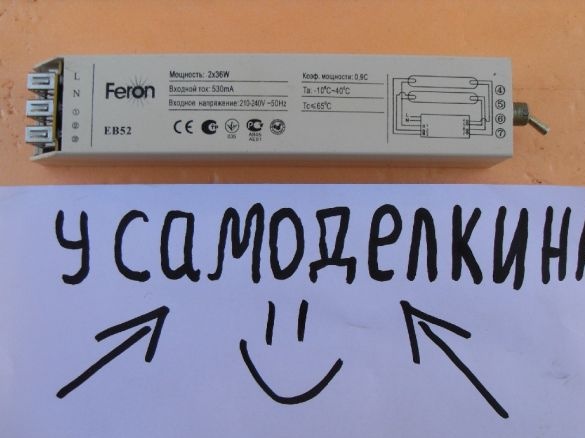
Close the back cover and that's it, our bank is ready! )))
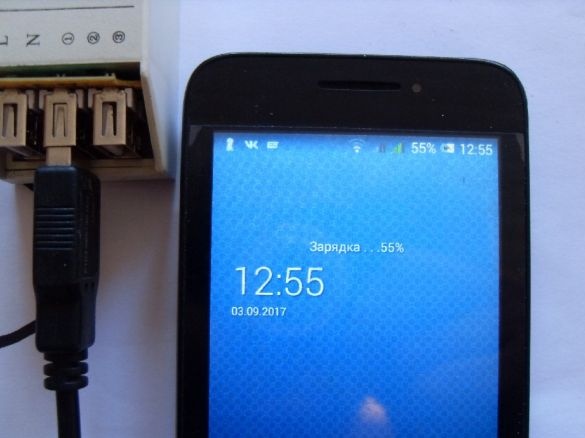
It turned out very compact and neat! Believe it or not, but with the help of one new Kron battery, I managed to charge the fully depleted battery of the smartphone and recharge it half the charge a couple of times.
Of course, this power bank does not compare with the factory one, but still, it works and charges! Two crowns could easily fit in the case, and if you take the toggle switch for less, then all three! I mean, the capacity of such a power bank can be increased by parallel connection of two or three crowns. The only negative of this homemade product is the lack of a charging socket for the device itself. This problem can be solved by using Kron batteries, you can remove and charge them separately, and the batteries do not have to be changed every time.
Well, in general, as it is, I bring my homemade products to court, please do not judge strictly! )) You can throw such a power bank into the car and charge your phone when it lands at the most inopportune moment or when the lights are turned off.
Thanks for attention! )))


