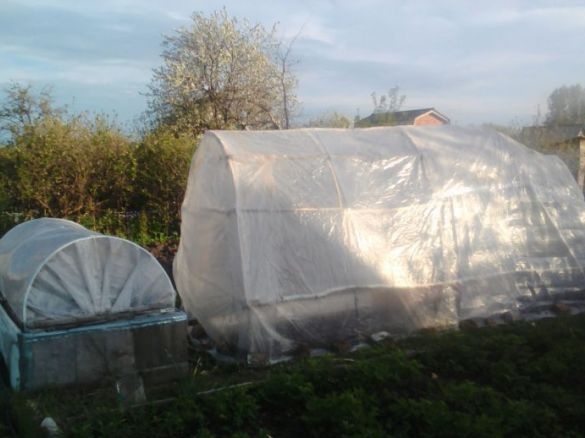
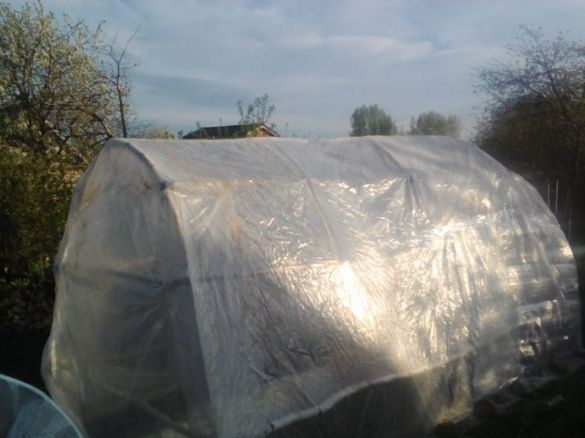
Dear visitors of the site, from the material presented by the author, you will learn how to independently make a budget greenhouse from young birch trees or hazel and a plastic film.
This greenhouse was built in a short time, because the greenhouse was urgently needed, but of course there was no money to buy, and therefore the author decided to do everything to the maximum budget and simple. The basis was taken trunks of young birch trees from the thickets of young birch trees near the cottages.
Many will be indignant and will say that it is impossible to cut trees, they will be fined and the like .. But for example, after the collapse of collective farms, overgrown young birch trees have been growing in villages on abandoned fields for 20 years, where mushrooms are harvested in autumn, not wheat and rye. People look at it normally and take it for granted. As the saying goes, "Each has its own head on its shoulders" and you decide.
Read the laws of your country beforehand in order to avoid trouble later.
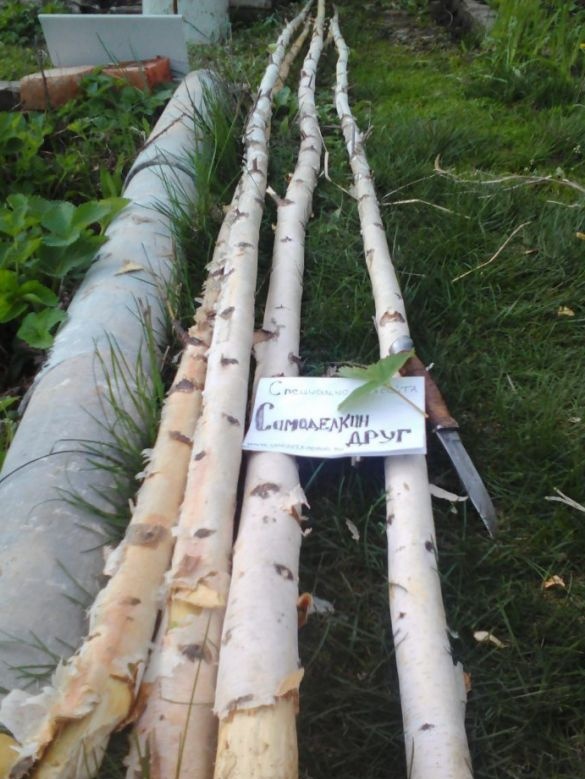
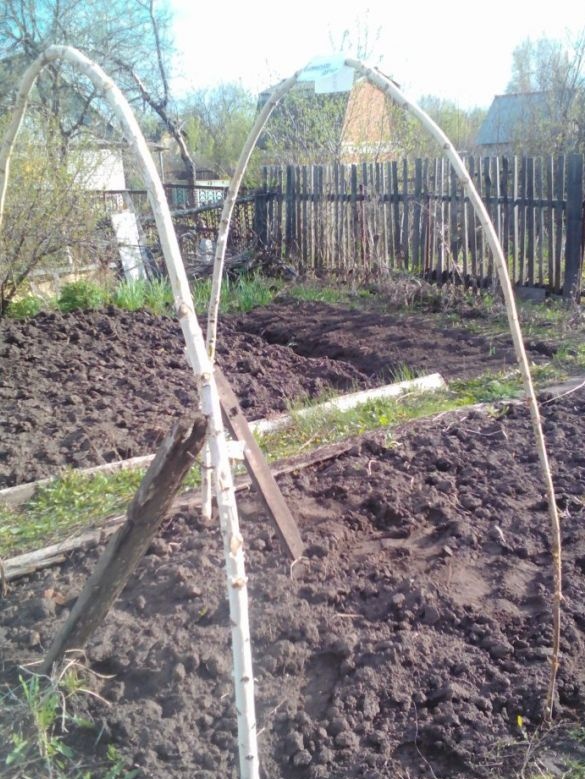
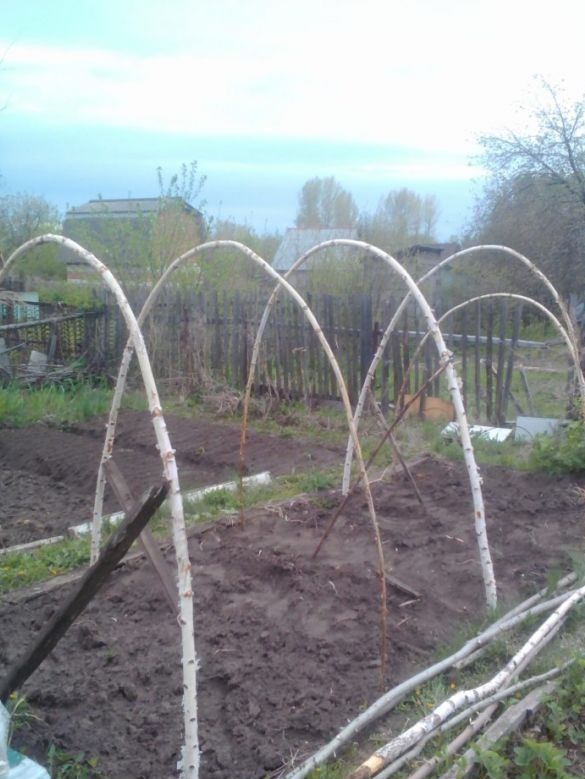
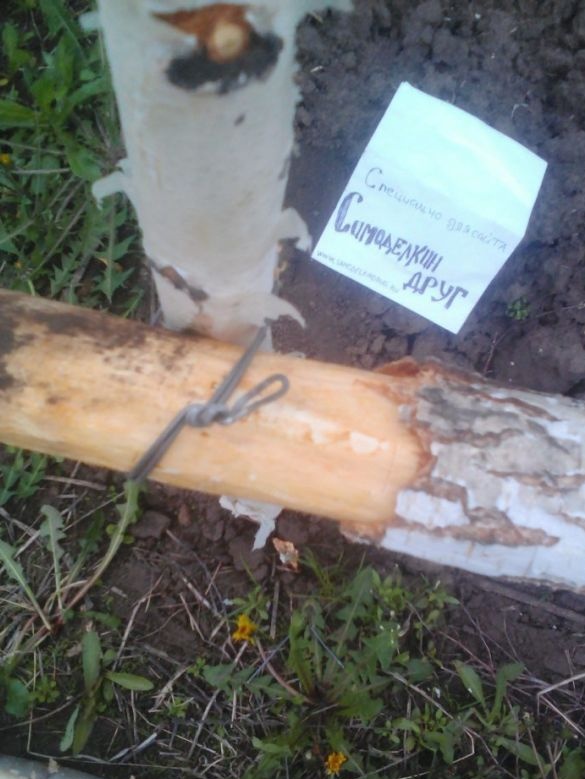
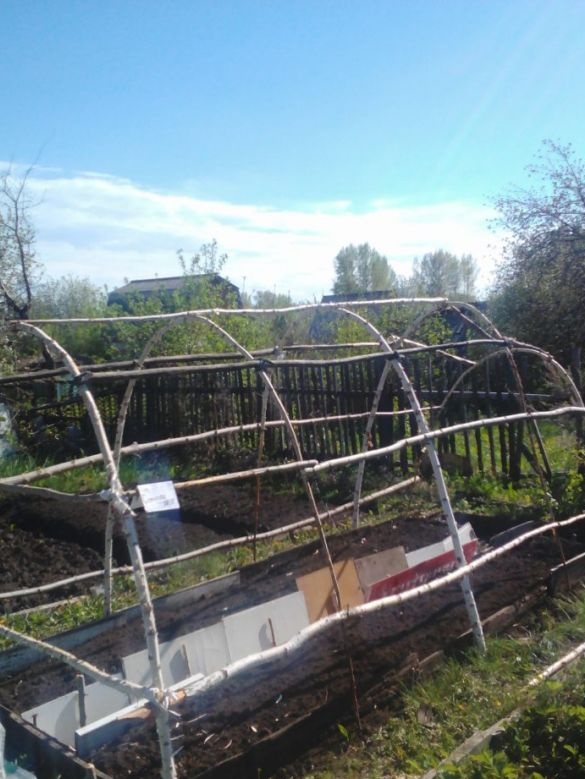
The author prepared about 20 trunks 5 cm thick at the base and at least 4 meters long. Then, on the site prepared for the construction of the greenhouse, the arcs began to bend. One thick end of the trunk is stuck into the ground for 15-20 cm, then bend and insert the second thin end in the opposite direction. Be sure to alternate the ends of the trunks (thick-thin) so that the design is stable and durable. Then it is fastened with spacers and crossbars, covered with a film.
And so, let's look at what exactly the author needed?
Materials
1. trunks of young birch, willow or hazel
2. plastic film
3. wire
4. scotch tape
5. board
Instruments
1. ax
2. knife
3. hacksaw
4. roulette
5. pliers
6. shovel
Step-by-step instructions for the construction of a budget greenhouse do it yourself.
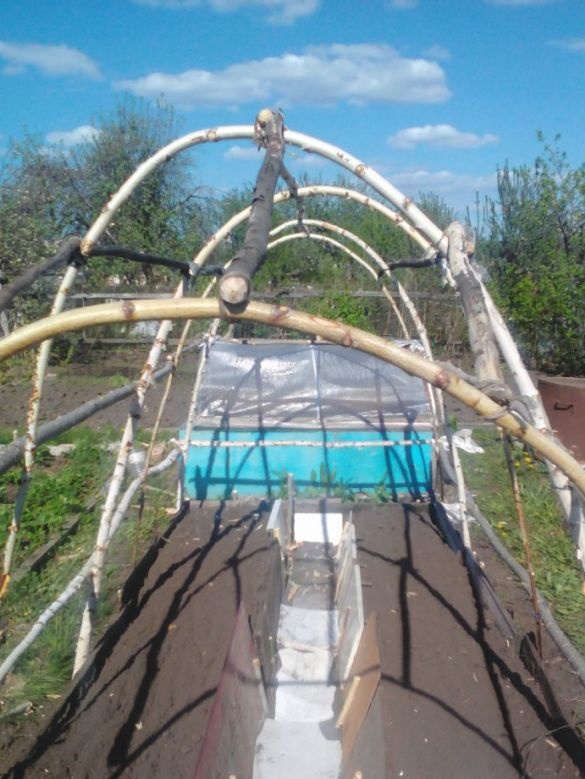
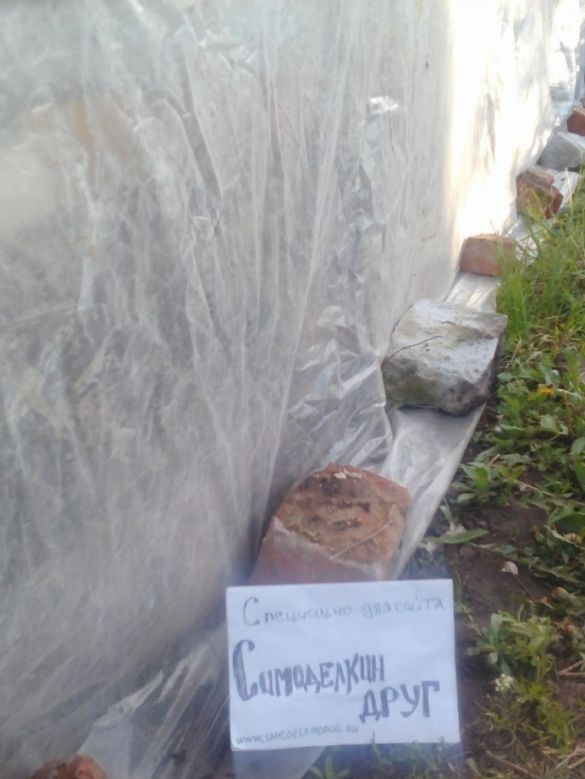
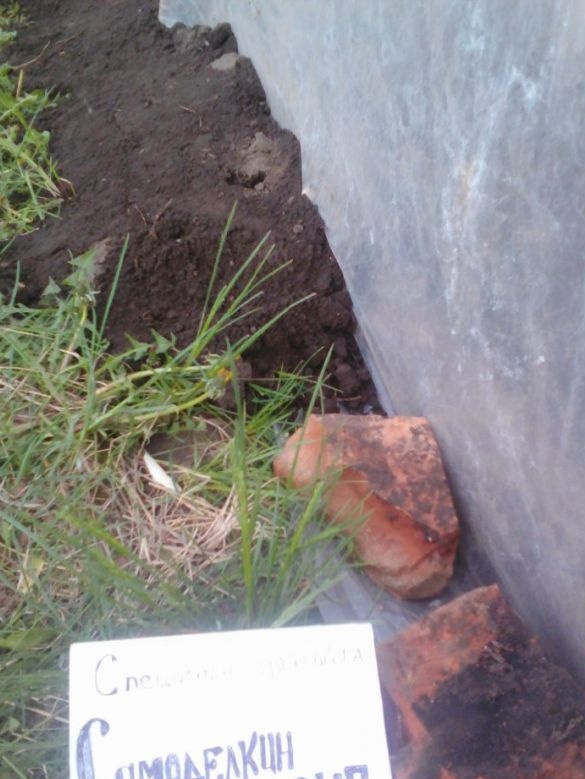
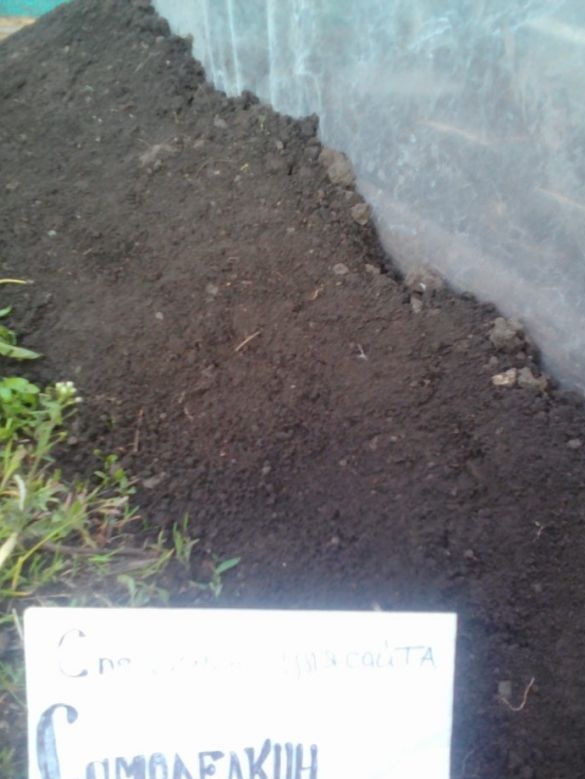
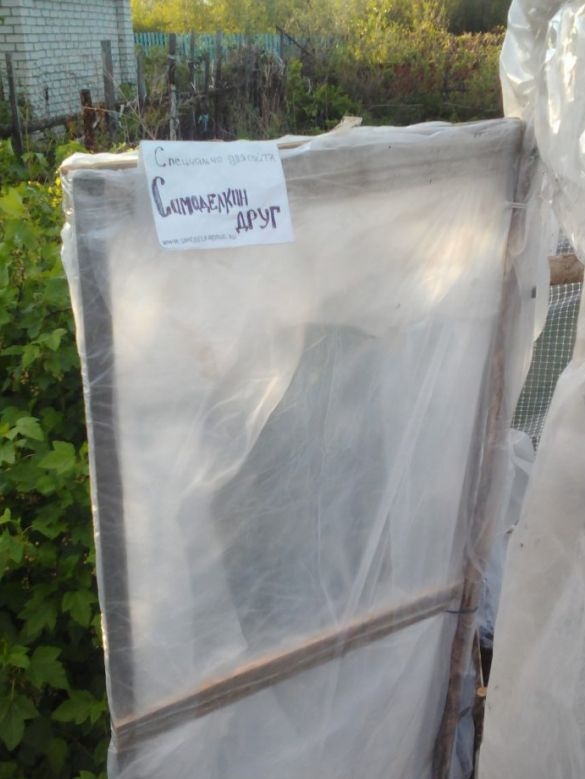
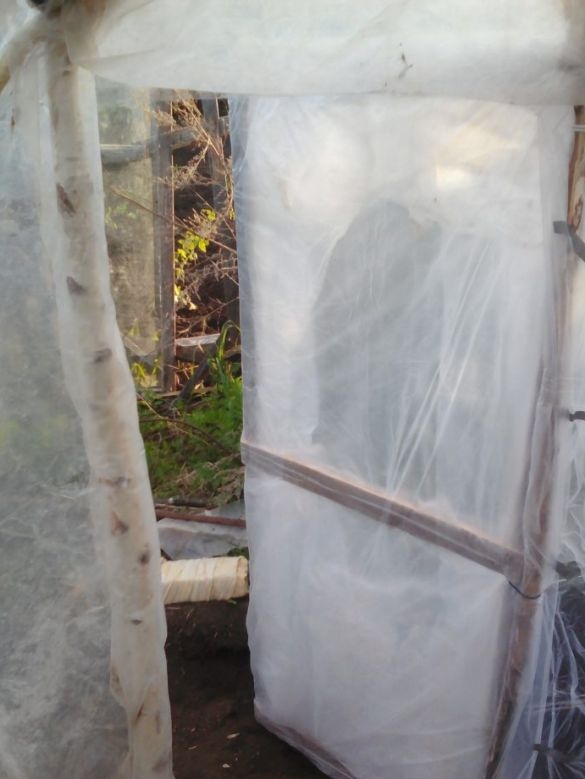
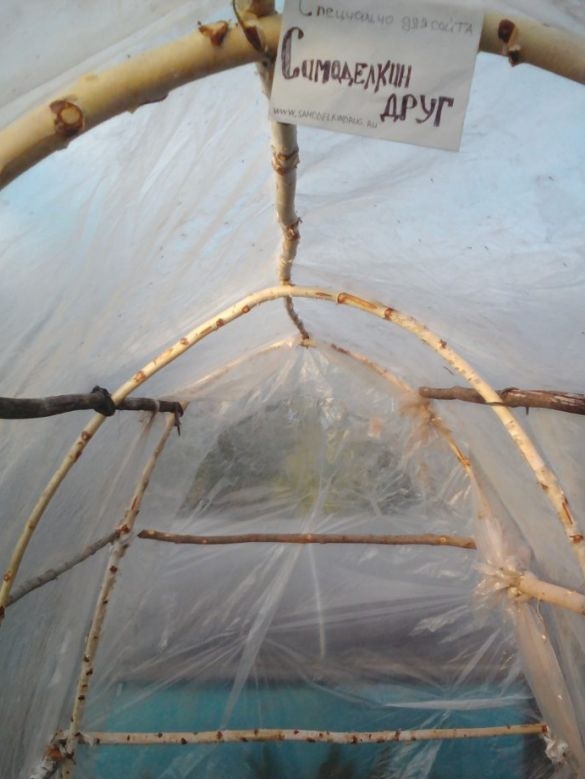
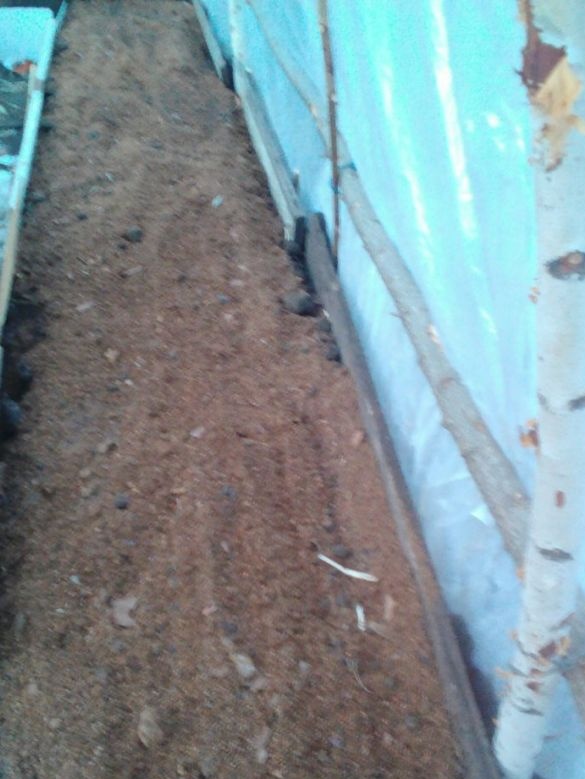
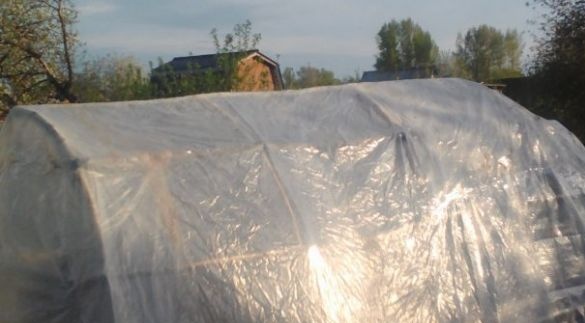
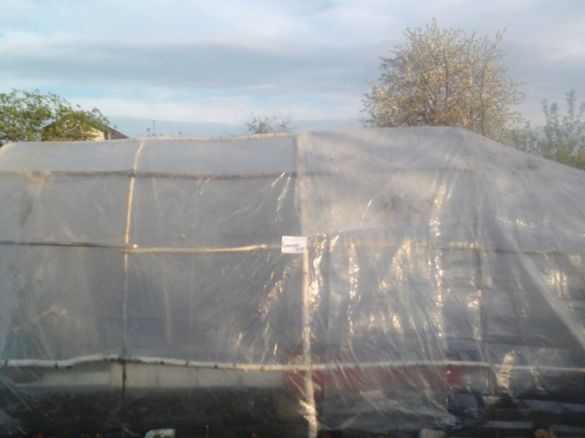
The first step was the preparation of the main material in the nearest overgrown weed most often located next to the summer cottage sector, mainly young birch trees that grew weedly, trunk thickness not more than 5 cm (otherwise you will not bend and you need more effort, the optimum base diameter is about 5 cm, length 4 m.) After which everything was delivered to country site of the author. It is necessary to bend the arc immediately, while the wood is wet and damp, if it dries a little and it will break with a bang. They brought and immediately the bend of the arc, collect the frame. The length of the blank should be at least 4 m, so that when bent in half in the greenhouse, you could stand at full height without stooping.Then the arcs are bent, we stick the thick end into the ground 15-20 cm, and the thin end is the opposite.Alternate the ends of the trunks (thin-thick)Next, we take the steel wire preferably.And we begin to knit the frame.Here is such a design.Inside made a passage and beds.Tighten with plastic wrap.The film stretched by a brick we fill with the earth.At the base we got an earthen blockage)Made and installed the doorInstead of loops, I used ordinary wire.Inside the greenhouse.The bed before planting seedlings.That's actually such a greenhouse turned out by the author.
We also recommend watching a video where the author talks and shows all the subtleties and nuances in the construction of a budget greenhouse. Happy viewing.
As you can see, everything is quite simple, budget, and if there is a plastic film, then generally free. The design is of course very light, but due to the earthen shaft it is reliable. The frame is enough for a couple of seasons, and then it is already possible to build a capital greenhouse made of polycarbonate and metal. As a temporary way out, there’s nothing even.
A step-by-step instruction is presented to you, so we take and do it. Go for it friends!
This is where I end. Thank you all for your attention!
Come visit often and do not miss the latest in the world of homemade goods!

