
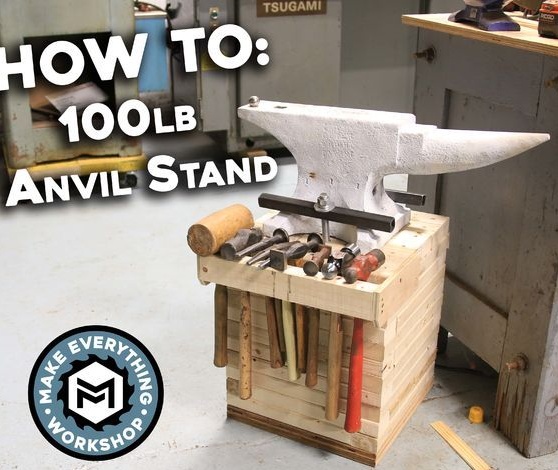
Those who are engaged in blacksmithing know how important it is to have a quality anvil. Also, it is important, and a high-quality correct stand under the anvil. During operation, a large load is transferred to the anvil and then to the stand. A properly made stand dampens shock. Many use stumps as a base, but the author decided to take a different path.
Tools and materials:
-Wooden bars;
-Plywood;
-Roulette;
-Pencil;
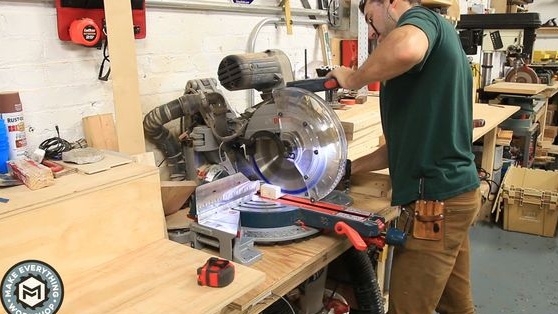
-A circular saw;
-Glue on wood;
-Hammer;
-Nails;
-A screwdriver;
-Screws;
- Studs with thread and bolts;
-Profile;
-Drilling machine;
-USHMka;
-Sand;
-Perforator;
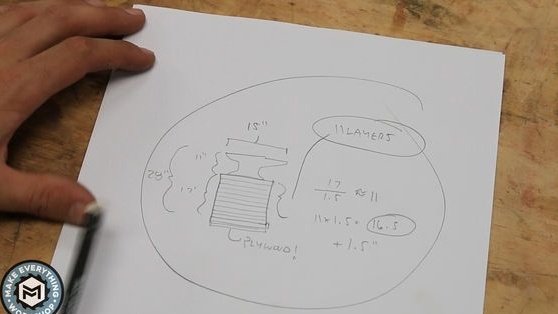
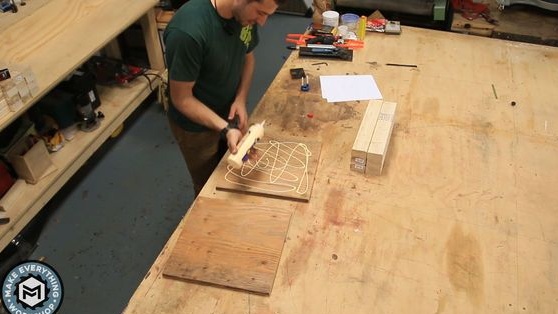
Step One: Sketch
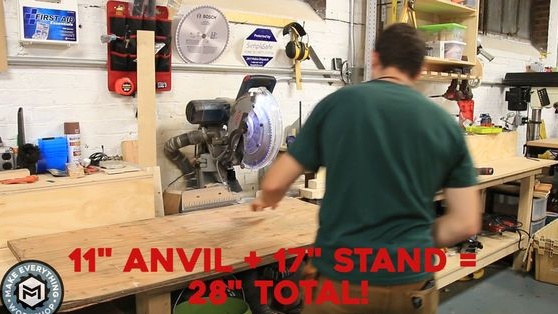
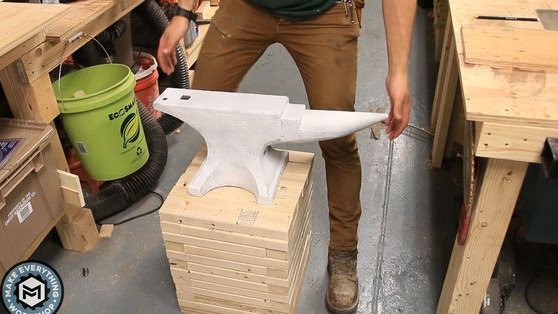
With proper installation of the anvil, its height should correspond to the distance from the floor to the fingers in a relaxed state. With an anvil height of 30 cm, the height of the stand, from the author, was 43 cm. Thus, the height of the anvil installed on the stand is 71 cm.
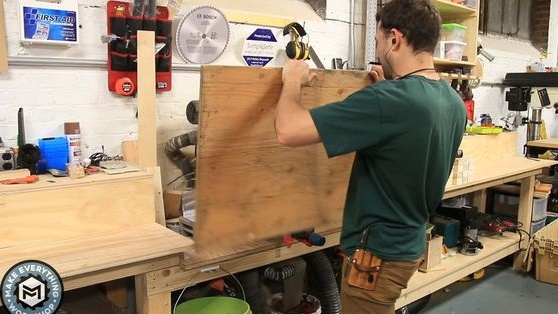
The bottom of the support is made of two layers of 2 cm plywood. The sides and top are made of bars.
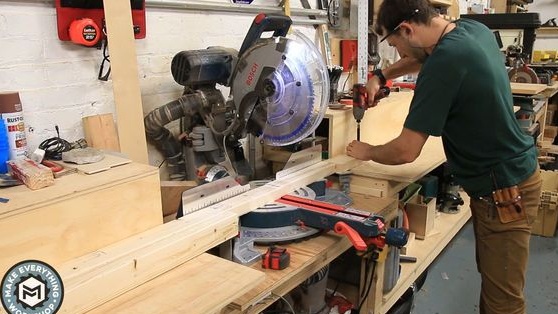
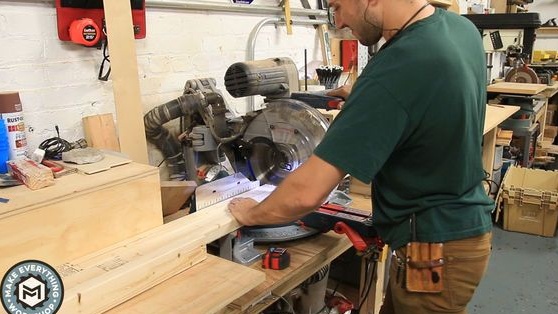
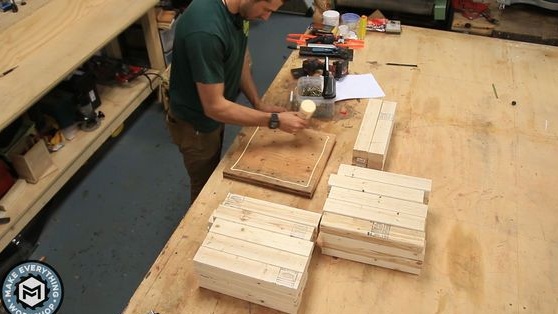
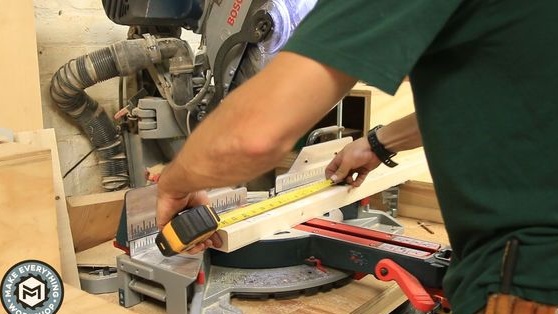
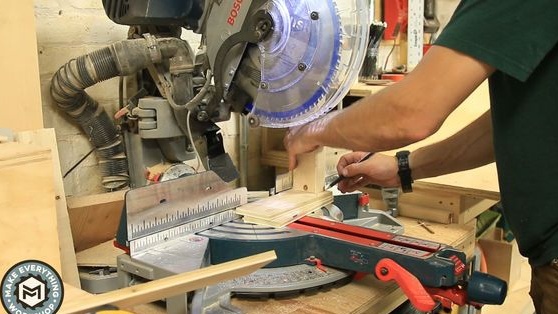
Step Two: Bars
With the help of a saw, the author cuts the required number of bars. The length of the bars is 40 cm.

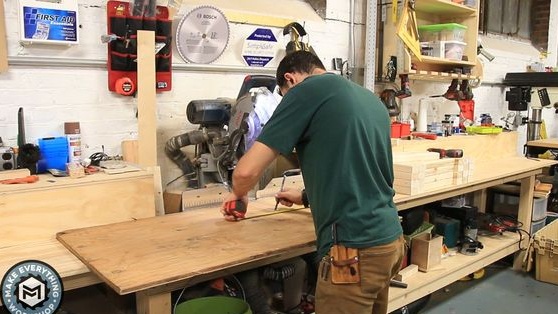
Step Three: Plywood
Cut two squares of plywood 40 * 40 cm. Apply glue to the surface of the plywood and glue the squares. Fastens plywood with screws for fixation.
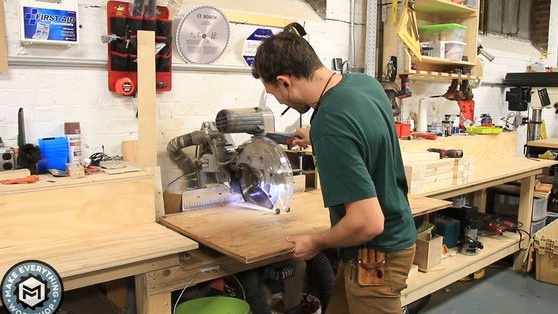

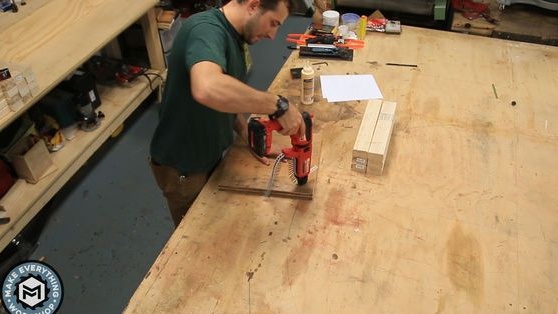
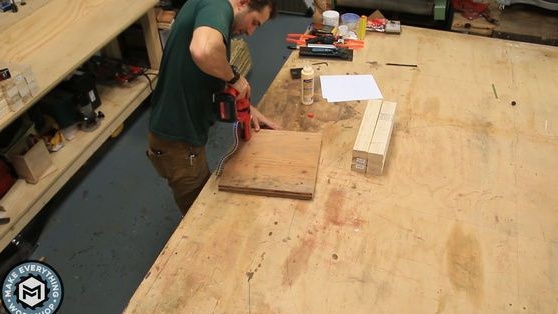
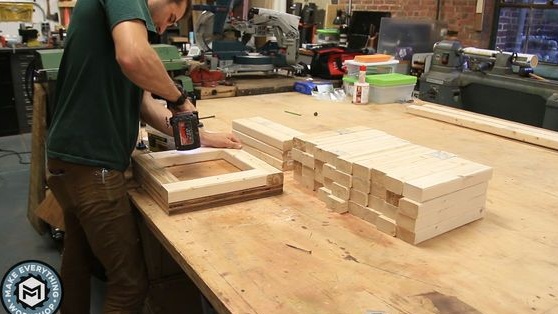
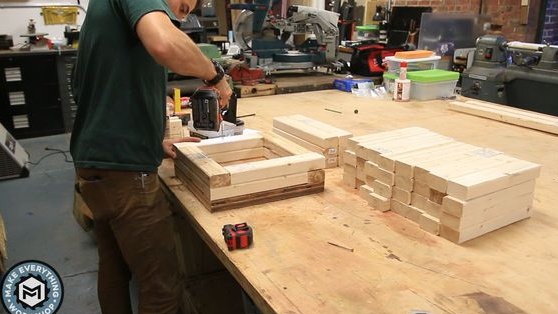
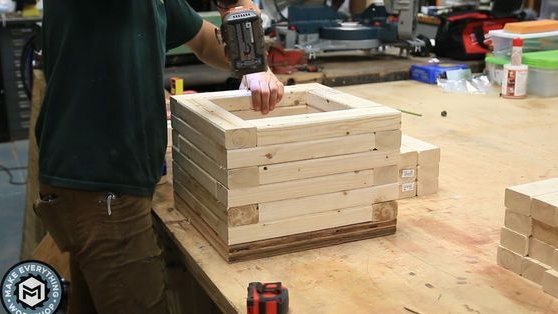
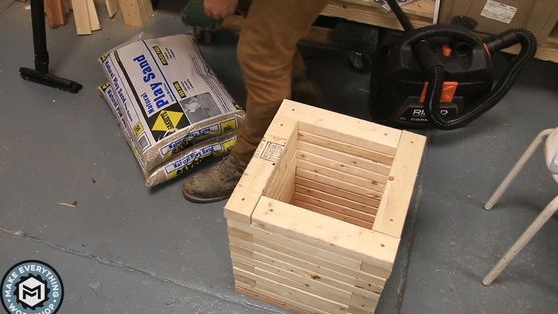
Step Four: Build
Further, the author collects the stand. Along the perimeter of the plywood square, the bars are fixed. Each layer of the bars is coated with glue and fixed with screws.

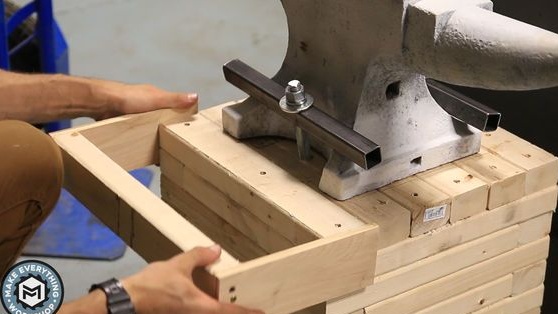
Step Five: Mount
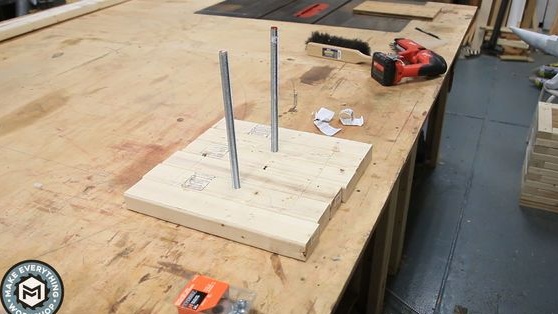
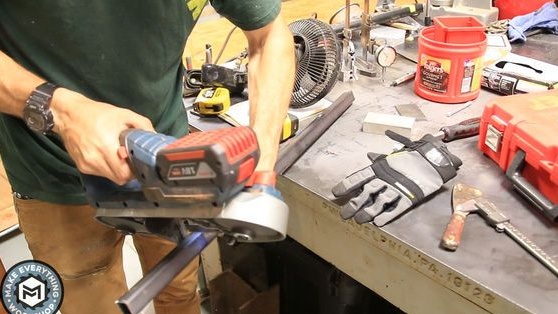
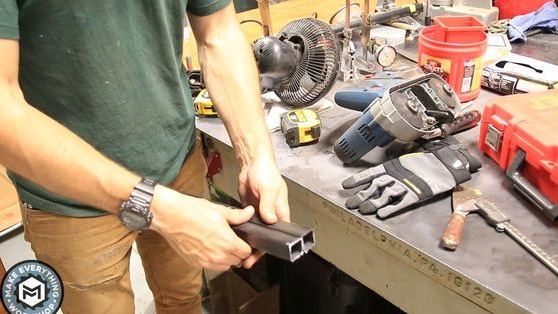
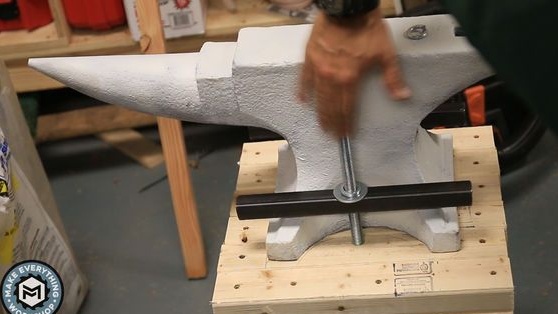
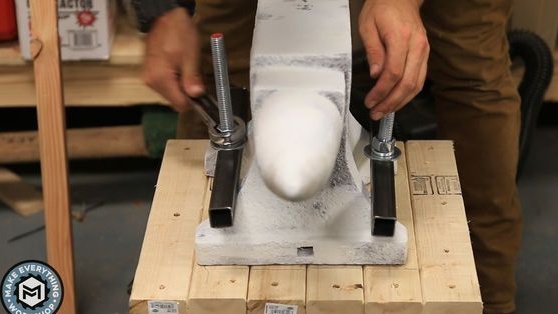
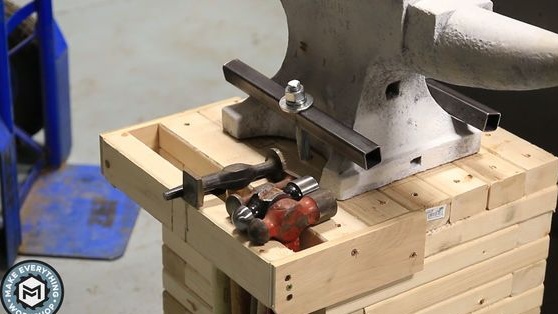
Anvil will be fastened with the help of two sections of the profile pipe, fixed on two studs.
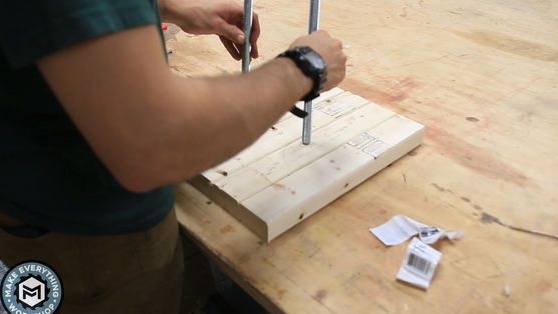
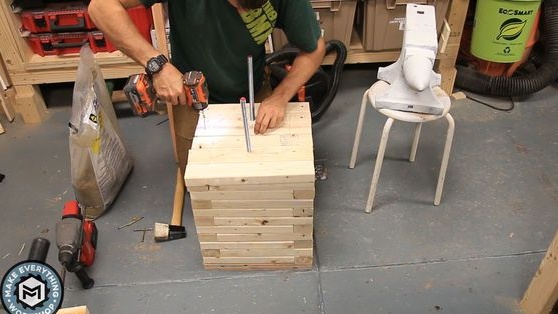
By installing the upper part of the stand marks the places for the studs.
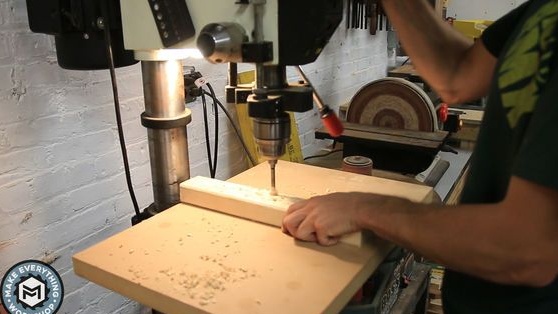
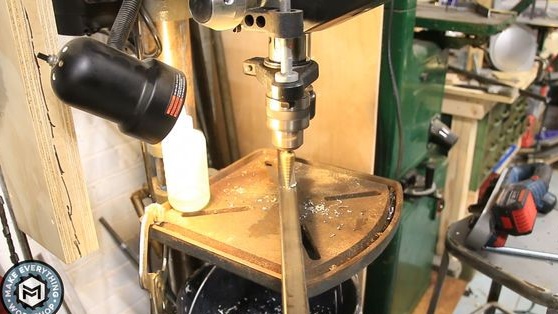
Drills holes for studs in the bars.
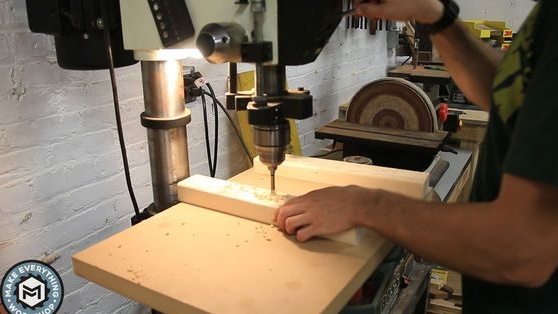
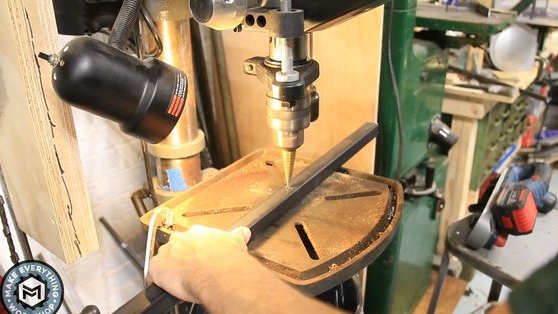
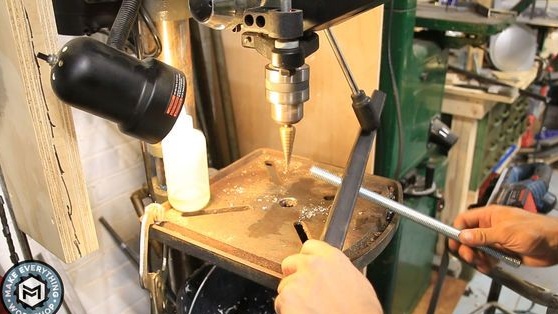
In two sections of the profile pipe, in the center, drills holes for the stud.
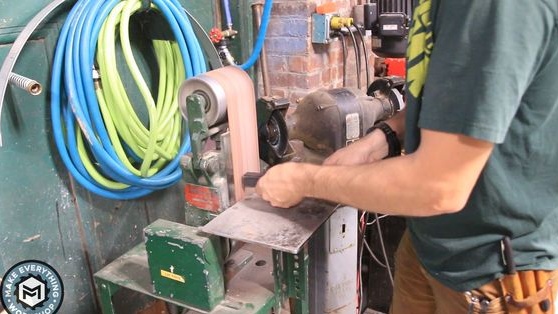
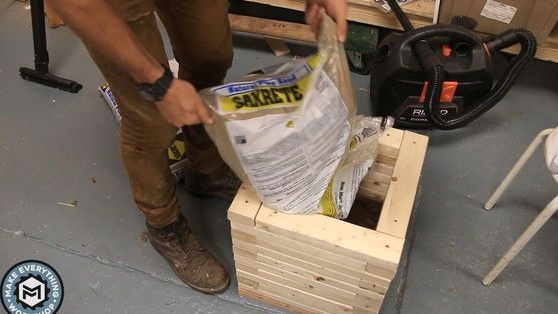
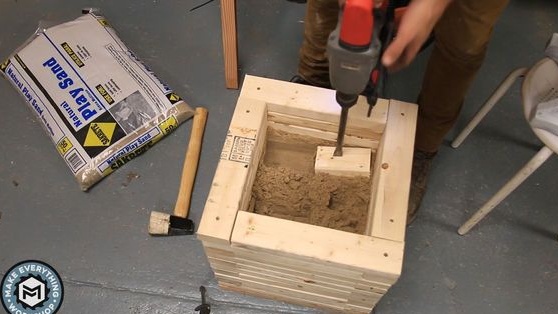
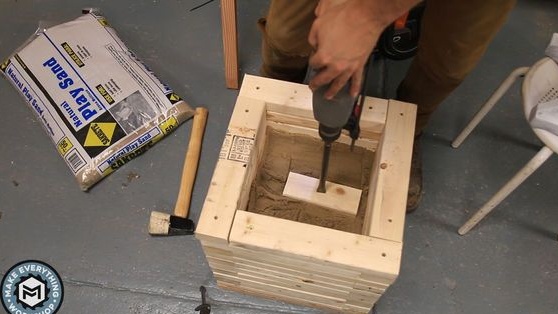
Step Six: Sand
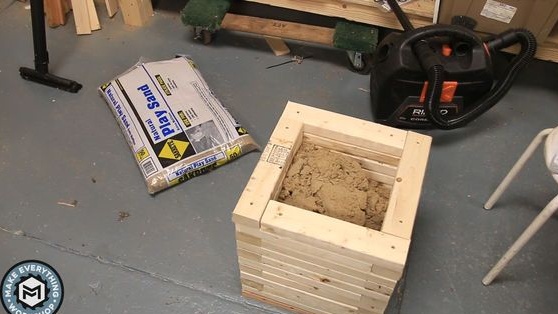
In order for the support to absorb the blows, empty space must be filled with sand.
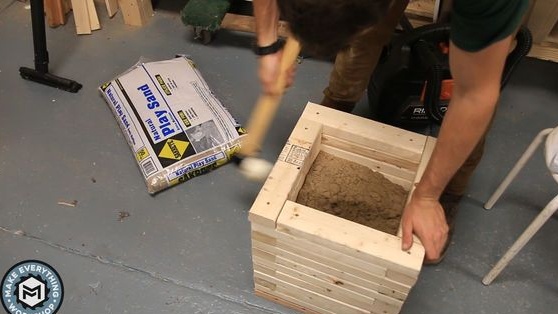
Fills the inside of the stand with sand. Tamps the sand with the help of a plate fixed to the perforator chisel.


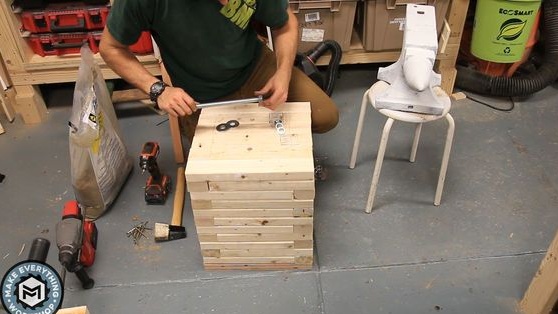
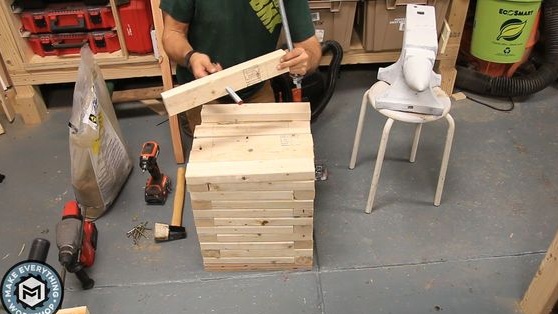
Step Seven: Top
Screws the nuts onto the studs. Sets studs into bars. Screws the bars to the support.The upper part, so that it would be possible to add sand, the author did not glue.
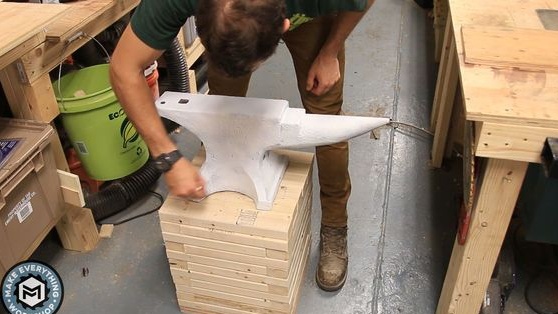
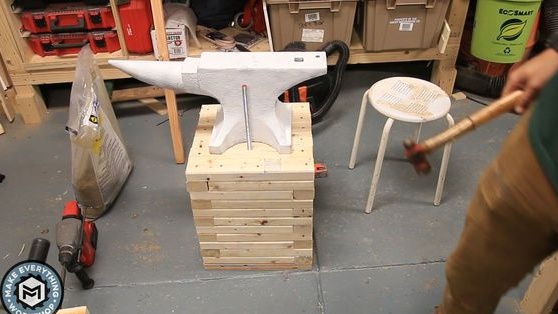
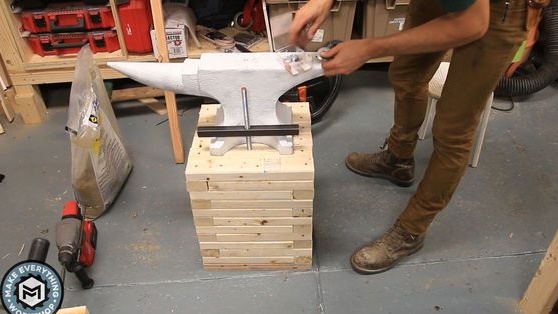
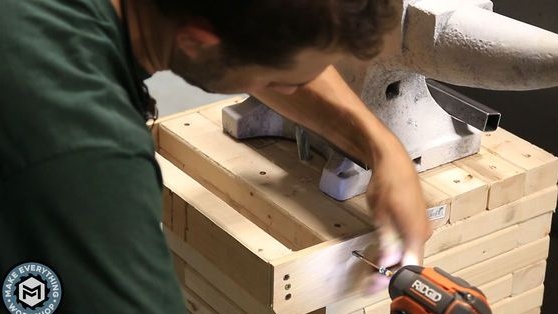
Step Eight: Install the Anvil
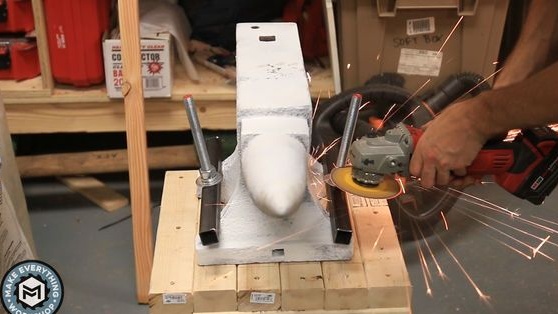
Mounts the anvil on the stand. Secures the anvil. Be sure to install a grover under the nut. Trims the excess of the studs.

Step Nine: Tool Storage Location
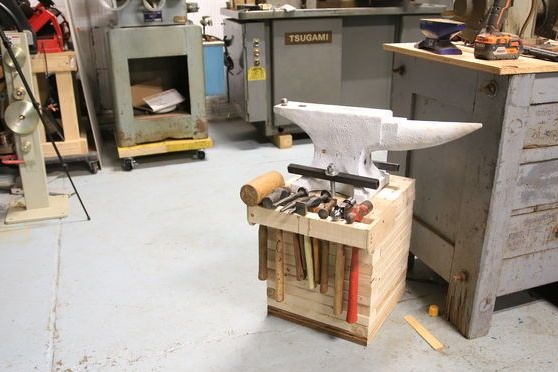
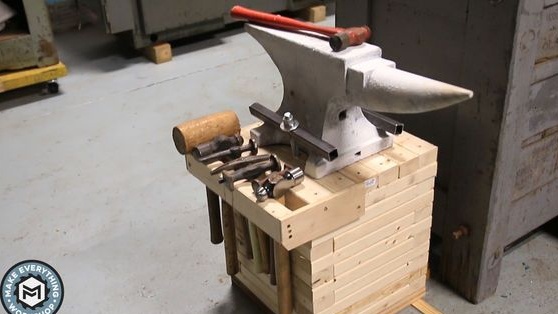
To store the hammers, the author mounted a shelf on the stand.
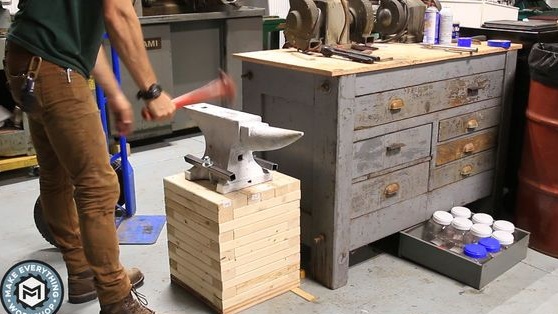
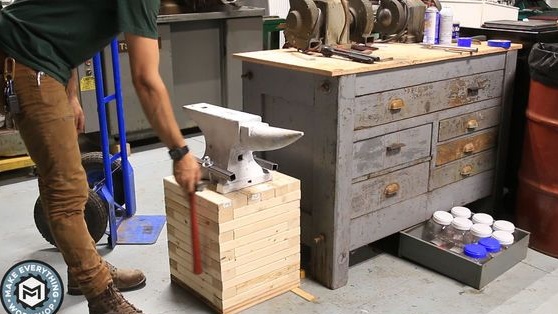
The anvil stand is ready.
The whole process of making the stand can be seen in the video.