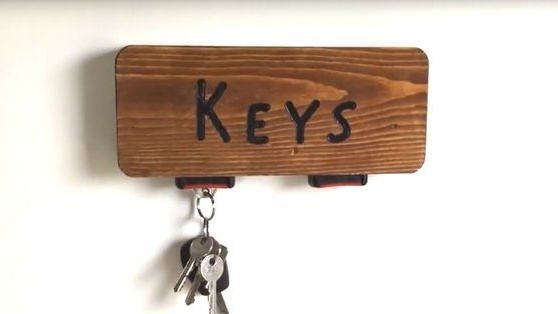
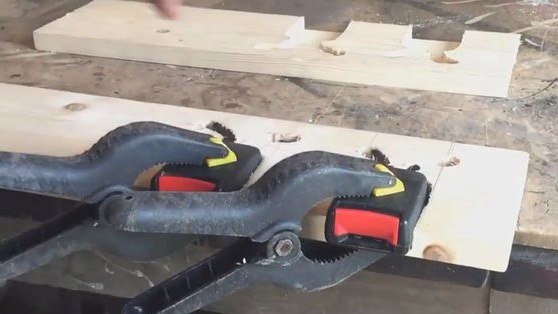
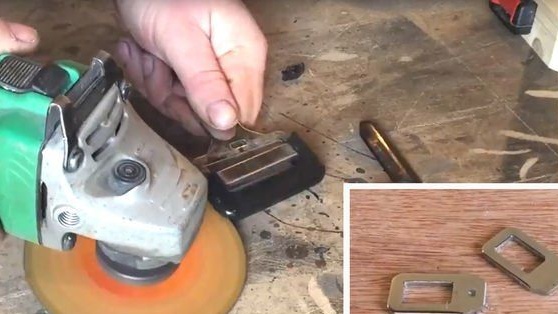
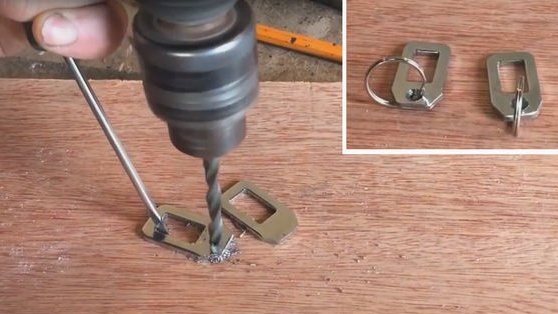
This key holder will securely store your keys and they will not fly off the carnation as on the other options, because we will not drive in nails)) The key to the key holder will play the lock from the car seat belt, namely 2 pieces removed from an old auto has long since served its life and standing unattended without wheels in the courtyard of the house. You will also need 2 small planks in which the cavity will be subsequently selected using the milling cutter to install the seat belt locks there. Then they are glued and pressed with clamps, remaining in this position for a day, until the glue hardens.
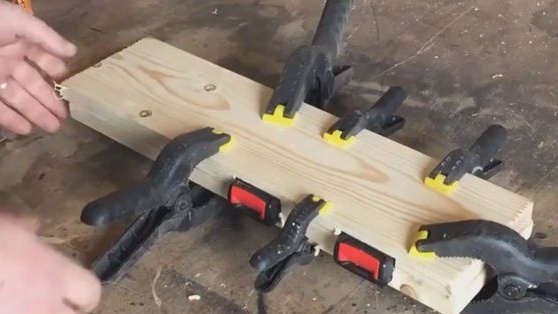
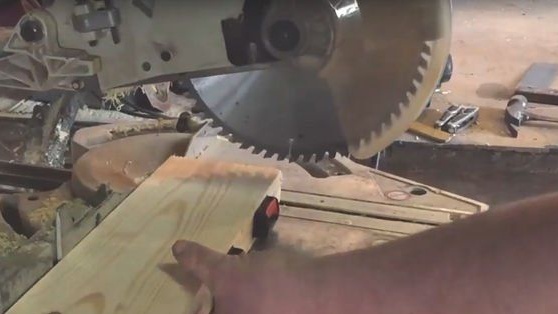
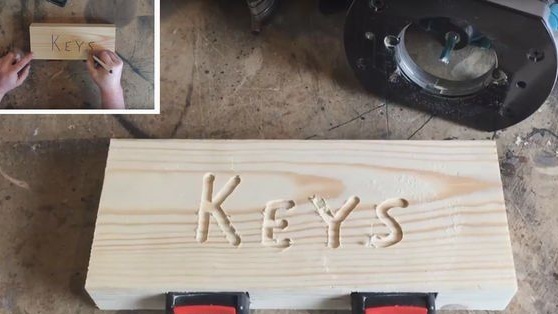
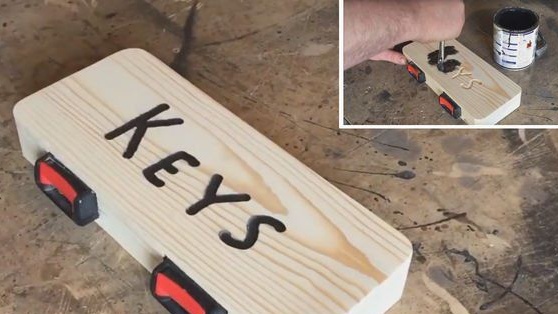
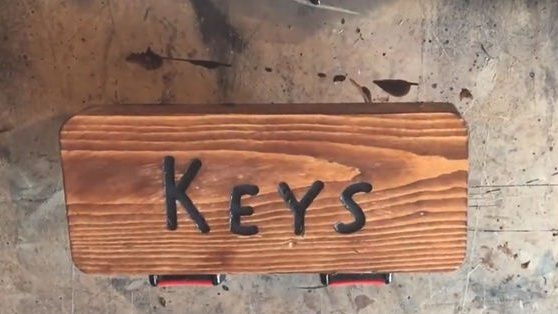
Next, we cover the glued locks with a second board, pre-lubricated with glue and clamped again with clamps, leave in this position for a day. After which it will be necessary to cut uneven edges, it is best to do this with a circular cutting saw. On the front part of the key holder, you can make the inscription a burner, or choose a boron typewriter, the inscription is painted black, and the wood is covered with stain, which gave a more aesthetic appearance.
And so, let's figure out what exactly is needed to make a key holder?
Materials
1. car seat belt locks
2. glue
3. a board of 25-30 mm 2 pieces
4. paint
5. stain
Instruments
1. circular cutting saw (a simple hacksaw is possible)
2. knife
3. boron machine
4. brush
5. milling cutter
6. pencil
7. ruler
8. clamp
Step-by-step process for manufacturing key holders with car seat belt locks do it yourself.
First of all, the author got 2 locks from seat belts, just in the courtyard of his house stood an old car no longer on the move and without wheels, from which he removed the locks he needed.

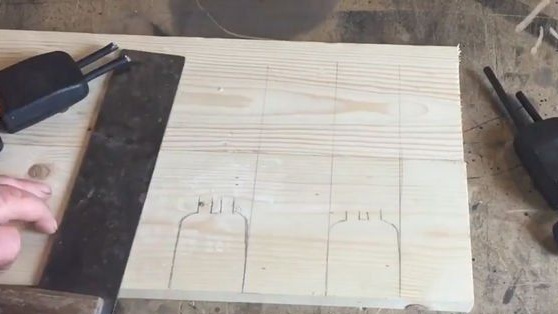
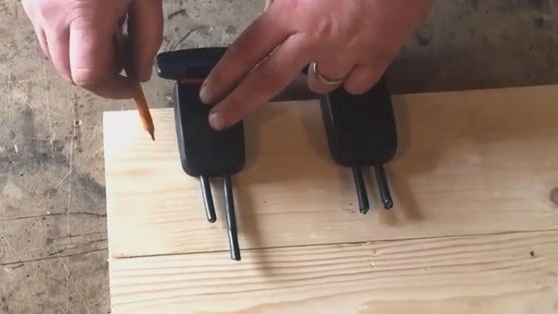
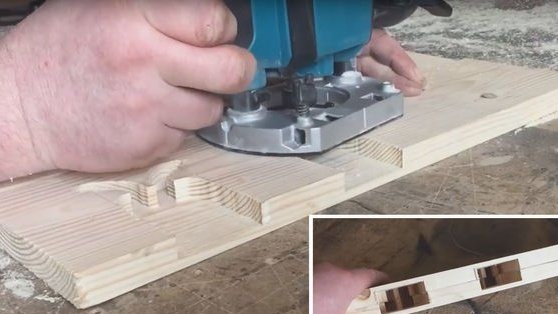
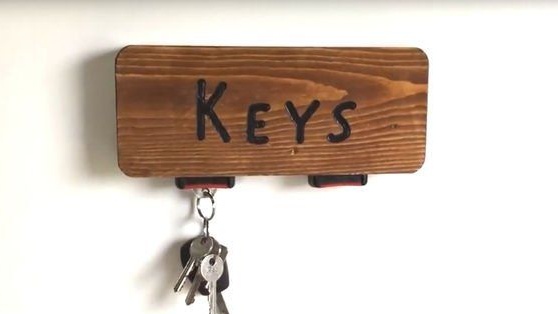
You have step-by-step instructions, so we take and do it. Go for it friends!
That's all, thank you all for your attention!
Come visit often and do not miss the latest in the world of homemade goods!
