

Hello, dear visitors of the site.
Today I want to talk about a fairly simple device, which is very useful if you use a ladder.
.. Let's start in order. As I have repeatedly mentioned, all my free time I spend now on the reconstruction of the old house. I work alone (one in the literal sense of the word!) Last summer I managed to build an extension and cover it with a metal roof. This season, it was the turn to "cultivate" the roof - to install wind and windshields, to make an abutment. And then I ran into a pretty tangible problem.
... The fact is that forests are needed for these works !!!
I have no forests. You can, of course, rent them out .... But this is absolutely not my option! After all, as I have repeatedly mentioned, I work on this construction site alone! This is just a hobby - I decided to do everything myself. Himself - in the truest sense of the word. Those. - without helpers .... It is advisable to rent forests, if a team works - they brought, installed, did the work, dismantled ... I’m going to the construction site when I have time! After work in the evenings, on weekends ... In between, so to speak, between the main activity ...
.. And it turns out that the rented forests can stand unclaimed - I will not appear for a week at the construction site, there will be no free time! ... Yes, and it will take more than one evening to install them - it’s necessary to take apart all the blockages near the walls , collect the forests themselves ... And I appear there (if I appear))) only after 19 pm ...
... You can, of course, build forests from the scraps and remains of the tree left after the dismantling of the old extension. But this operation will also take much more time and energy than the work itself!
... Until now, I have used the Alyumet ladder. This is just the case when it is better to buy than to do it yourself !! Because you cannot make such a staircase - it is stable, strong. Easily transformed into a stepladder. It easily grows to a height of five meters (I have a two-section, I do not need higher). And, most importantly, it is light !!! It is very easy to carry and install for one person ....
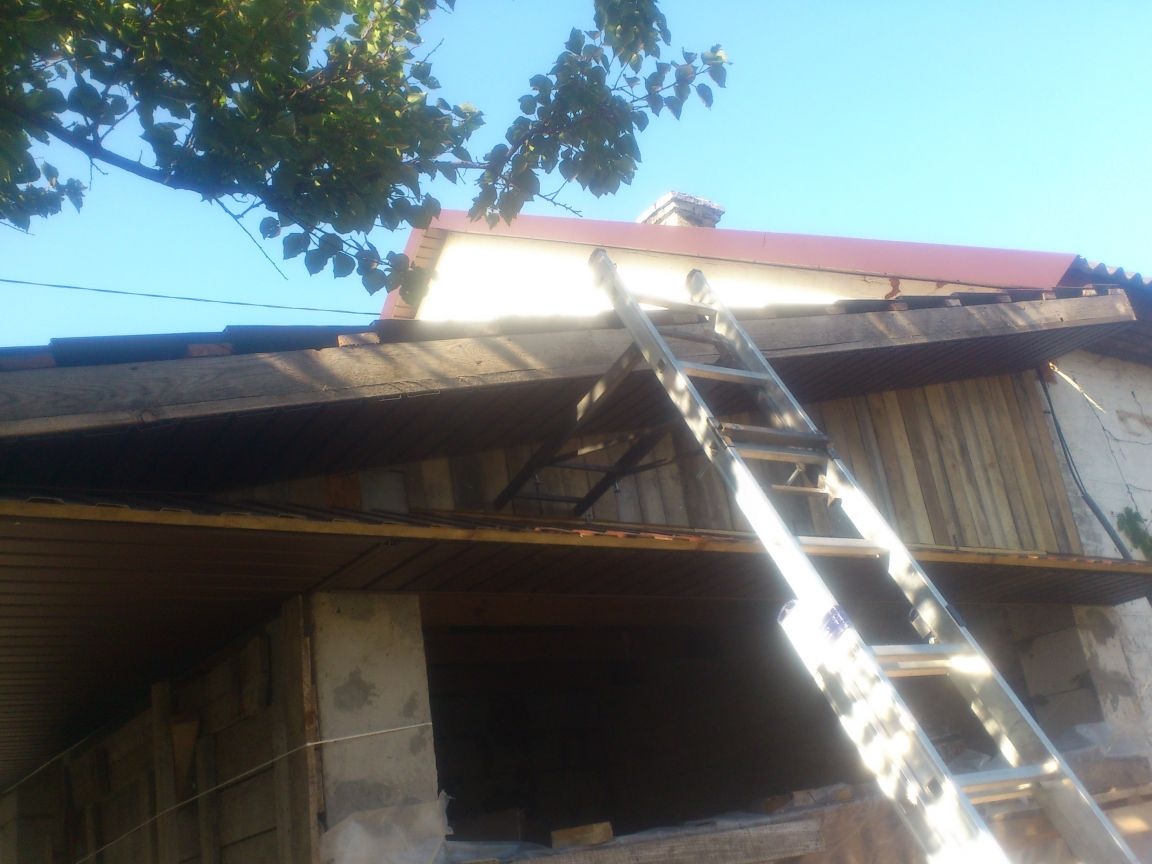
... But in this case it is not possible to work from the stairs! Indeed, the overhangs of the roof have a reach of about half a meter !!! And I made “wind boards” on a homemade bending machine in the form of a box - they will be worn on an overhang, overlapping from below on a roof sewn with soffit, and from above going into a wave of metal tile.And you need to fasten them with screws from the bottom (which can be done from the stairs) and from above, through the metal tile to the crate (What can’t be done from the stairs! After all, you won’t blame it in the overhang itself (it’s what you need to handle). , then you can’t get it ....
... But, as the famous proverb says, whoever wants to - is looking for opportunities, and who does not want - is looking for excuses ... And so, after thinking, I decided to spend one evening to do device, allowing you to push the staircase into the wall so that it does not touch the overhangs of the roof .... Looking ahead, I will say: I succeeded!
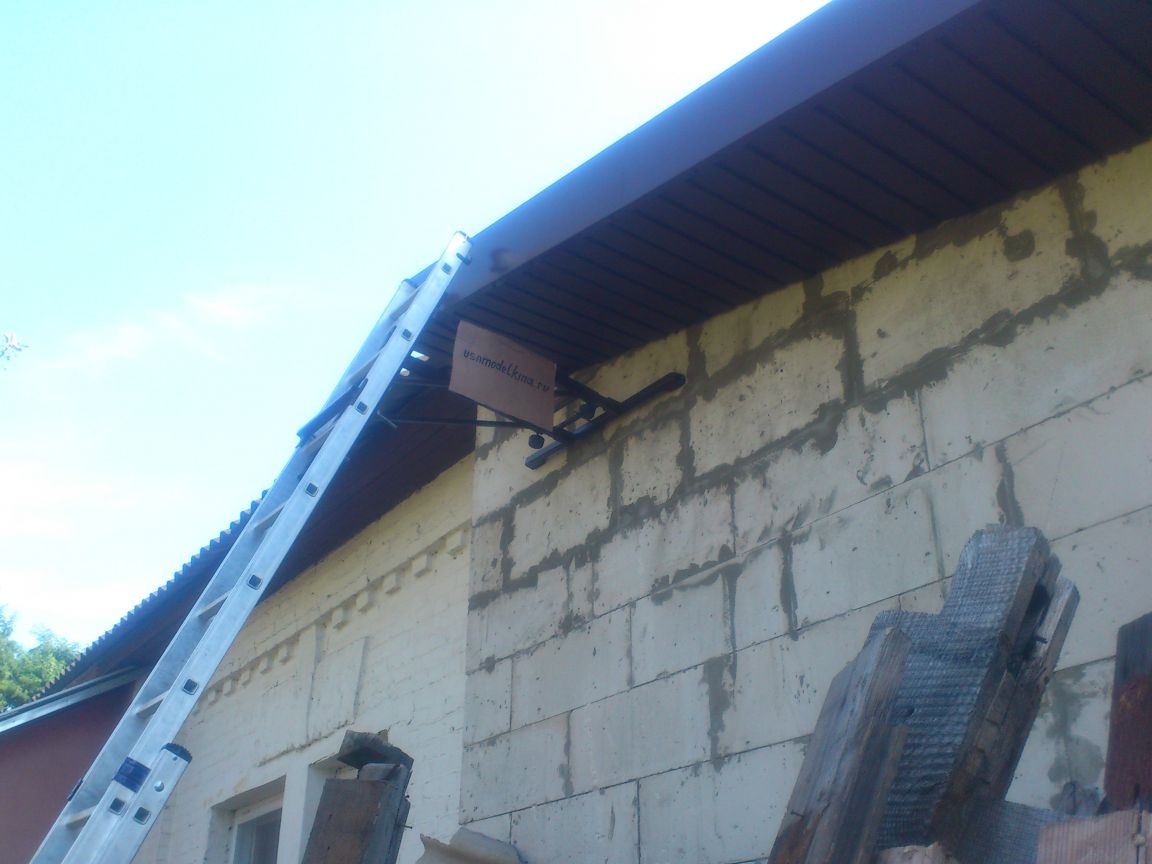
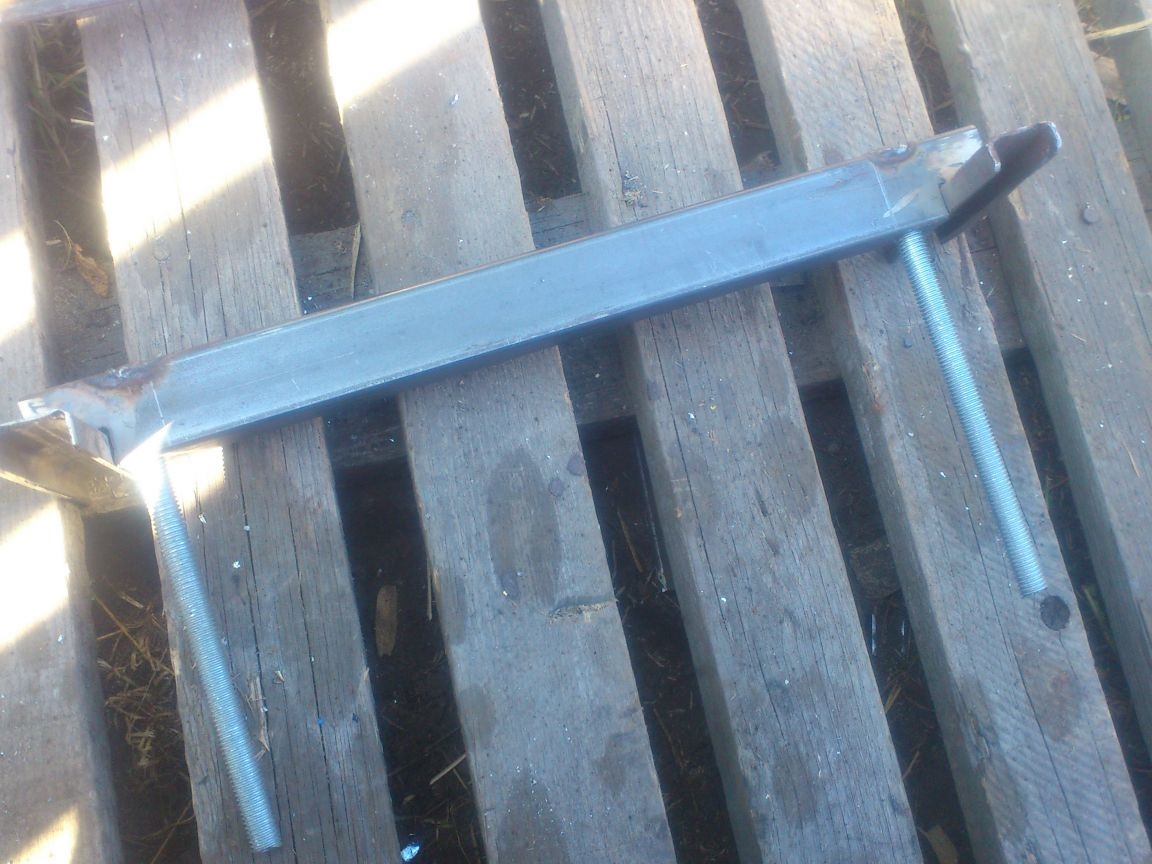
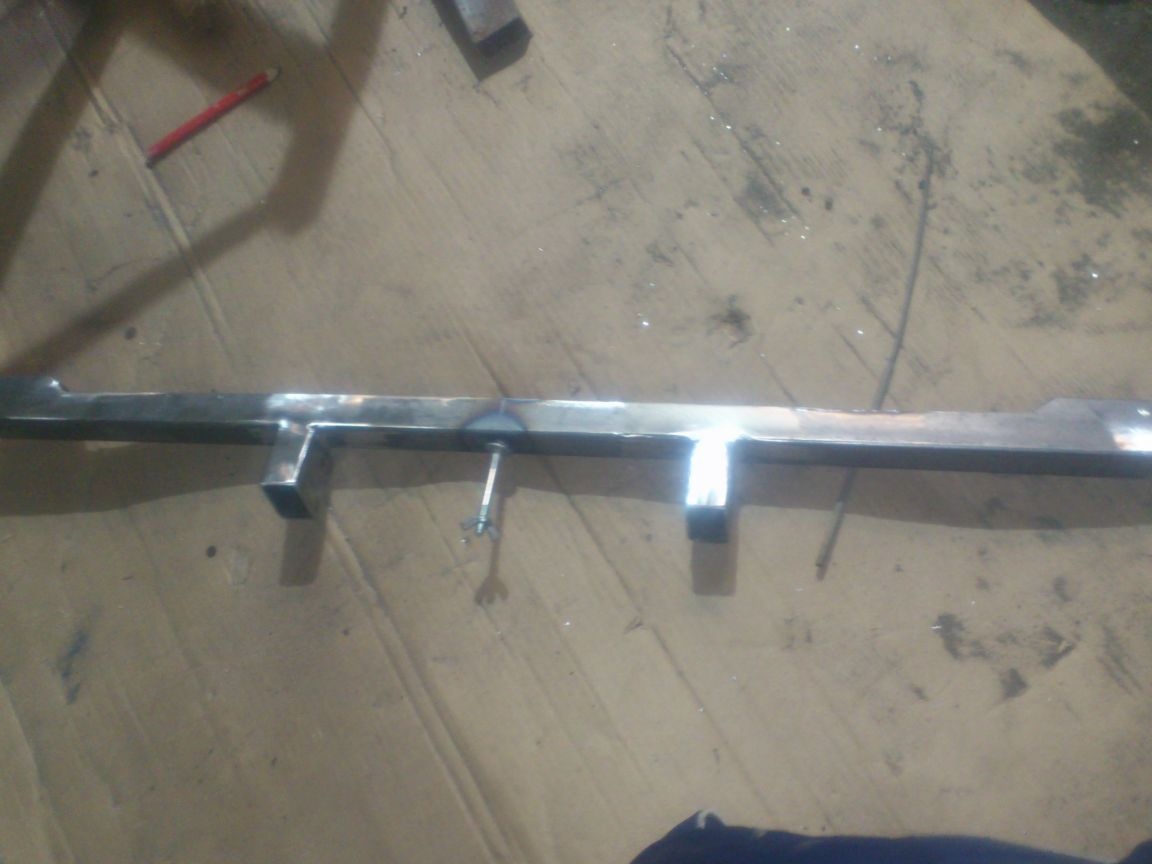
Here is such a mounted support with telescopic adjustment of the distance from the wall I collected in one evening.
It allows you to push the staircase into the wall, while removing it from the wall to one meter, twenty centimeters. The upper part of it does not concern the overhangs and can be easily processed. So, it helps a lot if you need to climb onto the roof. Now it is possible to do this without resting the ladder on the wind or frontal laths and without deforming them. And it’s a pleasure to get off the roof when the staircase is not somewhere below and invisible ... (I think who did this, knows how you feel when you hang on your ledge with your belly and shuffle your feet in the air, trying to find the crossbar of the stairs under the overhang! )))))
To have a general idea, I suggest you first watch the video I shot on the phone:
[media = https: //www.youtube.com/watch? v = 28_ll1XawLs]
So, I think the meaning is clear.
Now I will tell you what it took me to make this device:
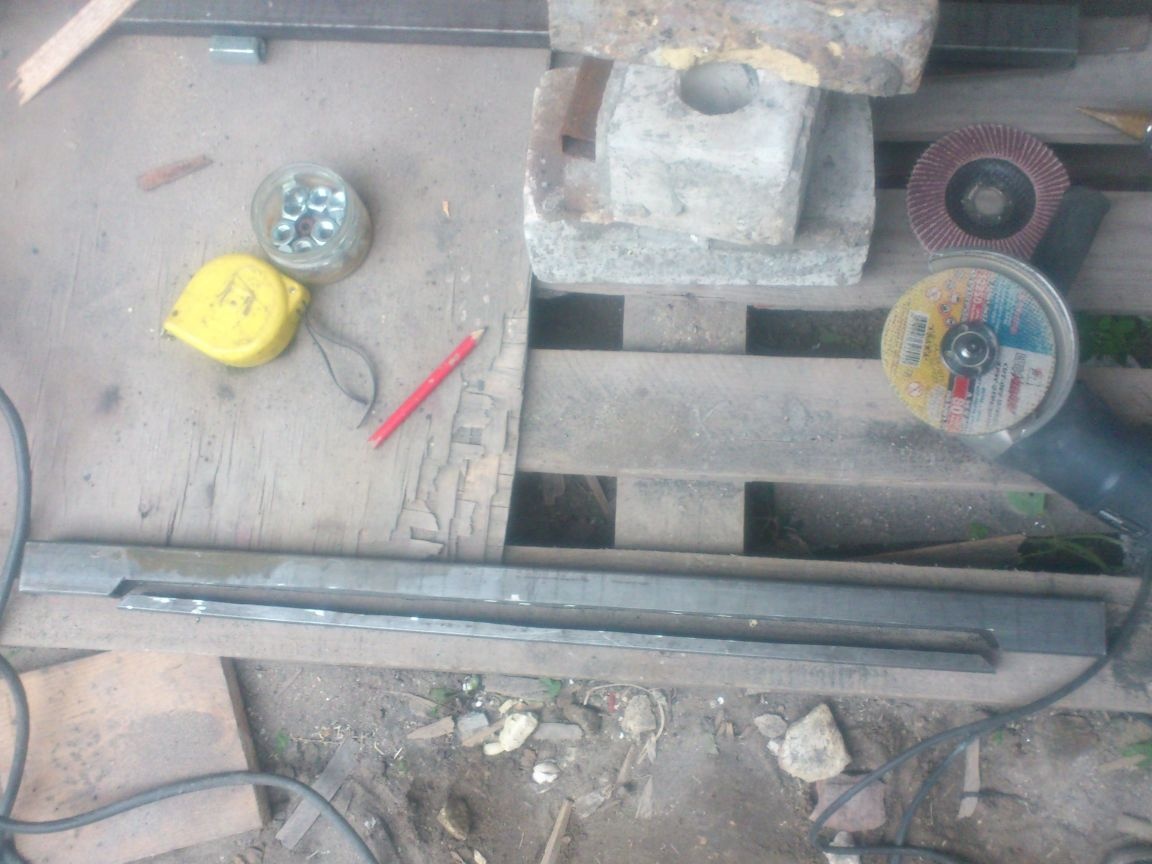
1. Profile pipes with a cross section of 20 by 30, 25 by 40 and 15 by 15 mm
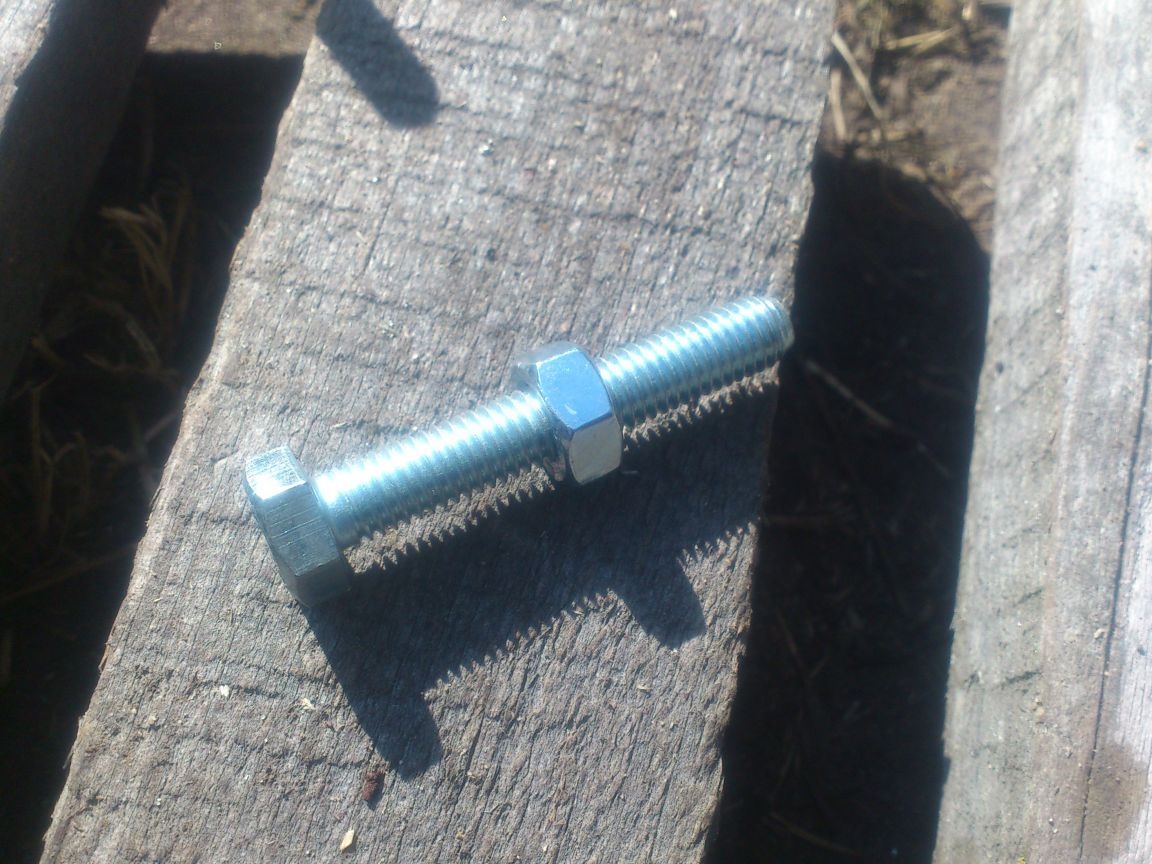
2. Hairpin M10.
3. M10 nuts 2pcs. (Better lamb. I already replaced mine)
4. Two M8 wing bolts with nuts (Or, like mine, bolts from office chairs with plastic knobs)
5. Plastic plugs for profile pipes of the appropriate section.
Tool:
1. Angle grinder with cutting-off, cleaning and emery-petal circles. (The bed for angle grinders, or, a cutting machine will greatly accelerate the matter).
2. Electric arc welding. (Or semi-automatic).
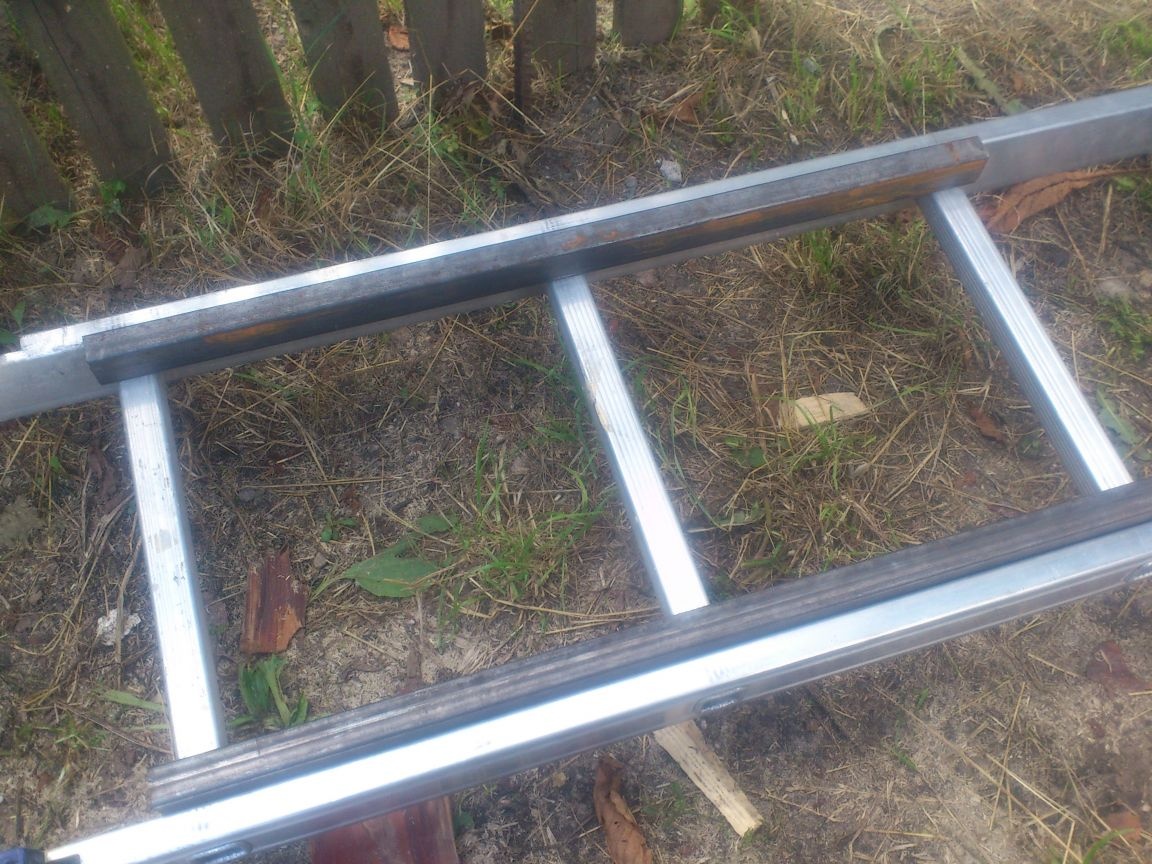
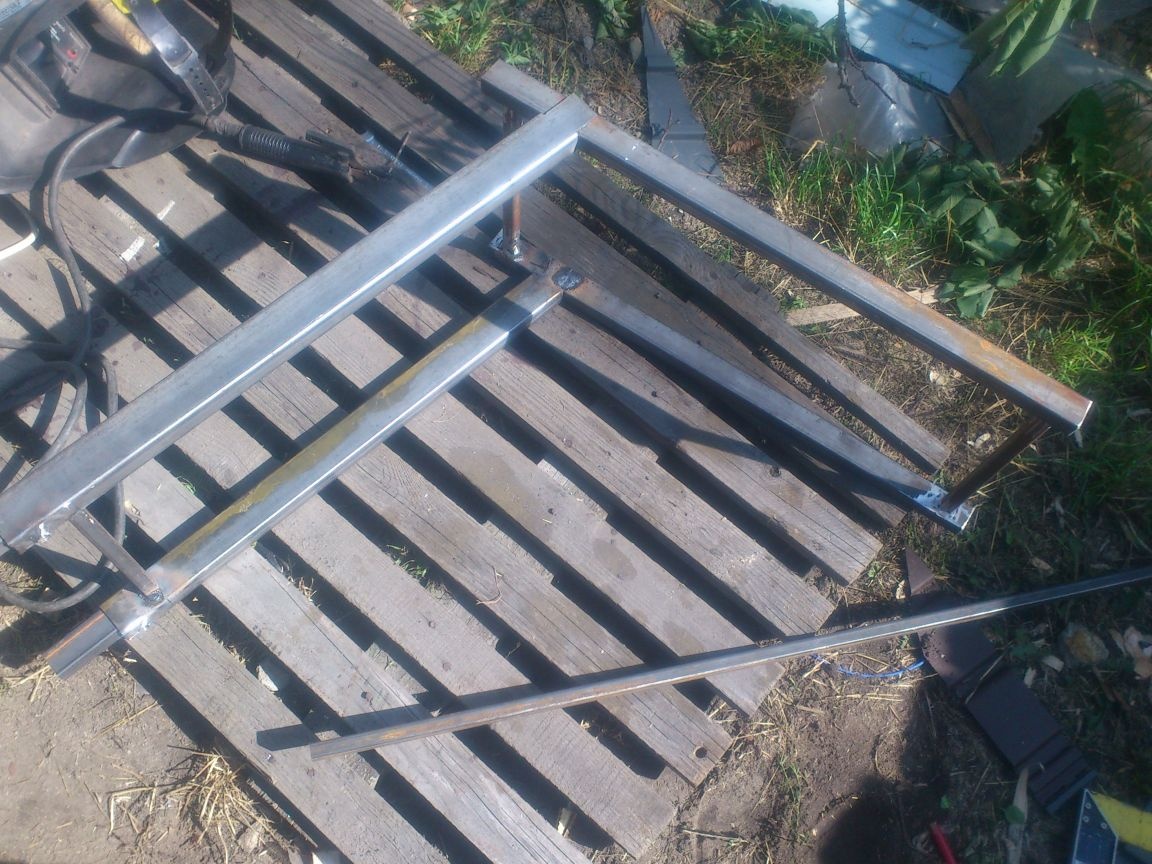
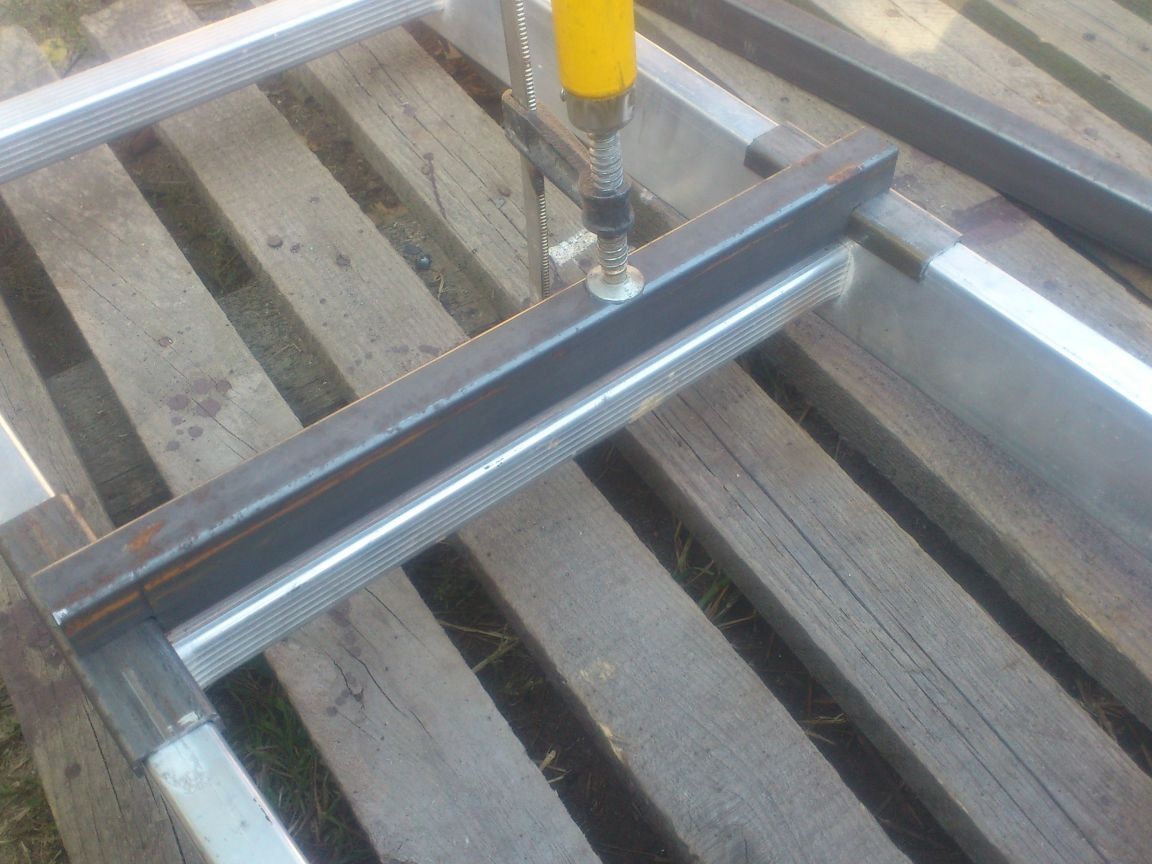
So let's get started. To begin with, I made a frame on which the emphasis will be arranged, and which will be tightly applied to the stairs. I do not give dimensions, as this depends on the type of stairs. I can only say that the length of this frame should be slightly larger than the distance between the three steps of your staircase - only in this case, in any position on the staircase, the frame will reliably rest against two crossbars!
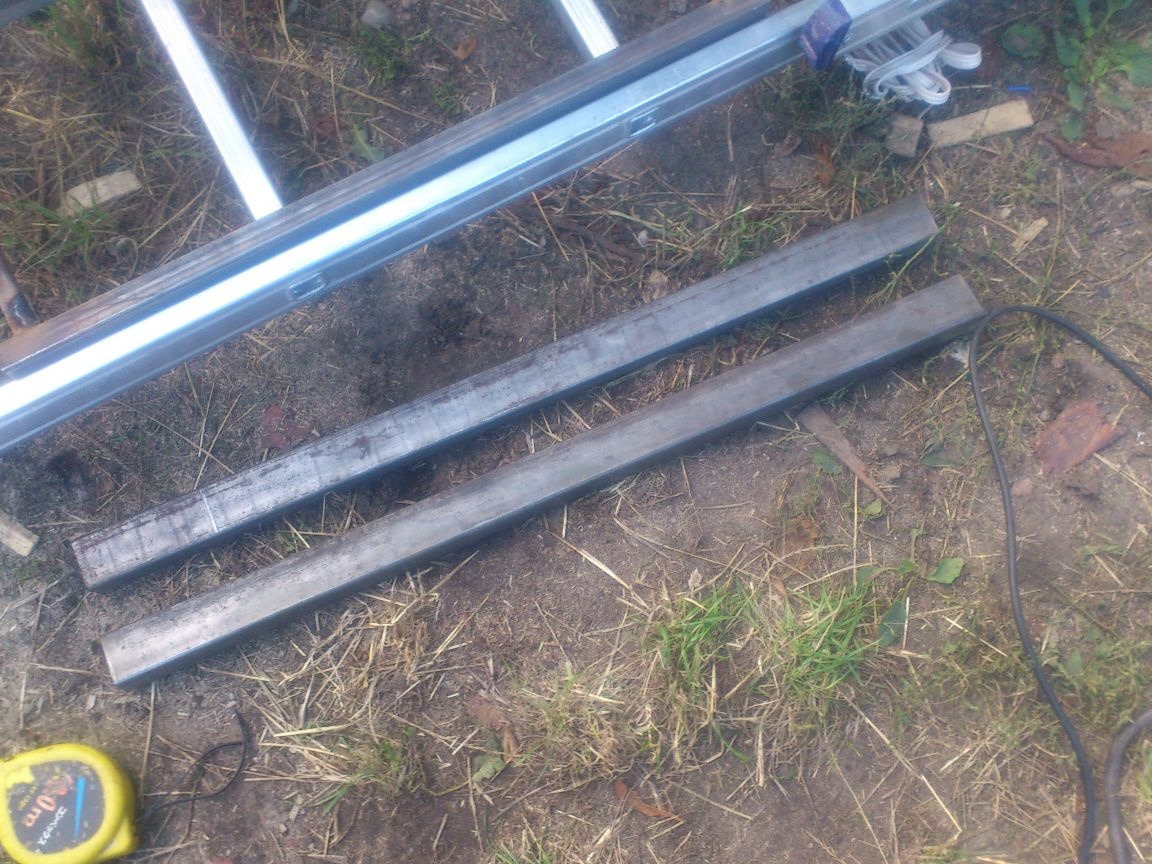
I cut two pieces of the desired length from a pipe section 20 to 30 mm. (Hereinafter, I do not use the word “profile”, I didn’t use fat as round pipes. I chose pipe sections from what I had “on the basis of reasonable sufficiency.” In the sense that I, for reducing the weight of the structure, took the minimum values of the cross sections, which, in my opinion, are able to provide reliability)
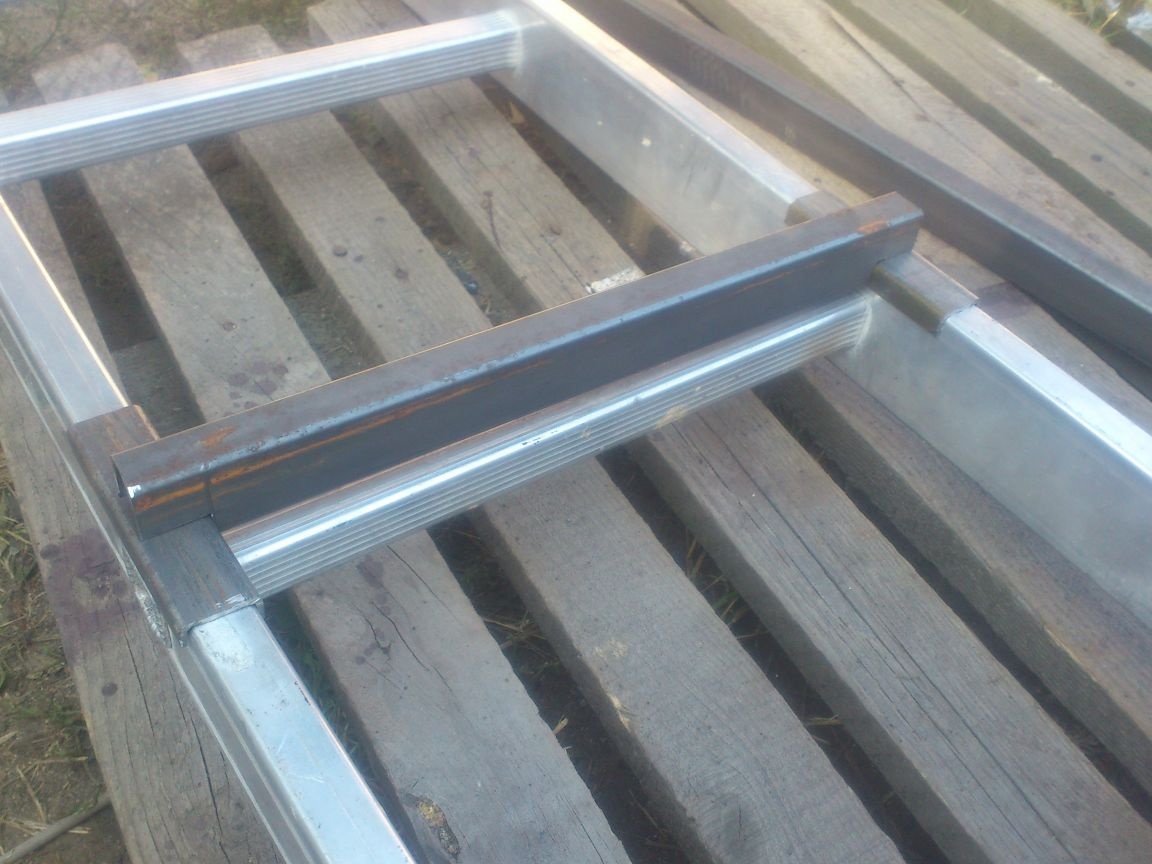
After which I cut two jumpers from the pipe 15 to 15 mm. A ladder served as my template - I determined the dimensions with the most accurate "applied method"! ))))) (This is when you do not measure in millimeters, but attached and noted))))):
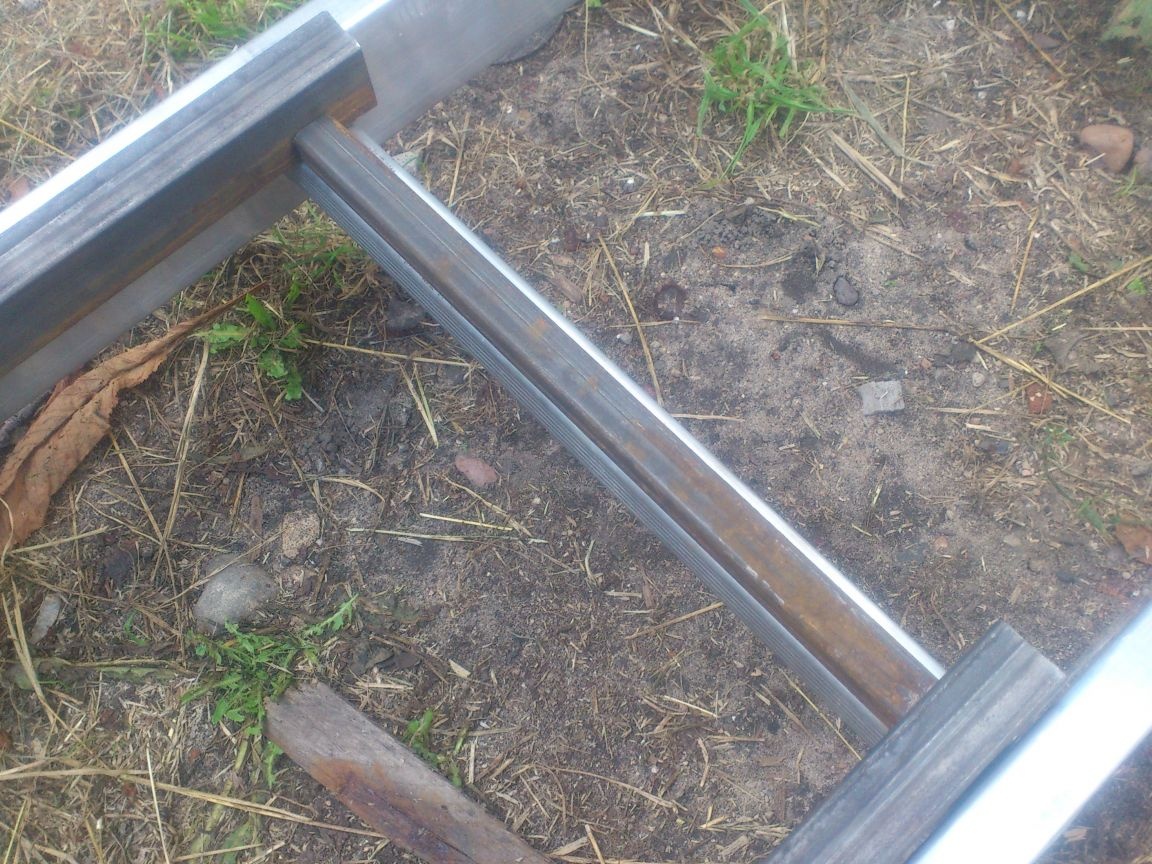
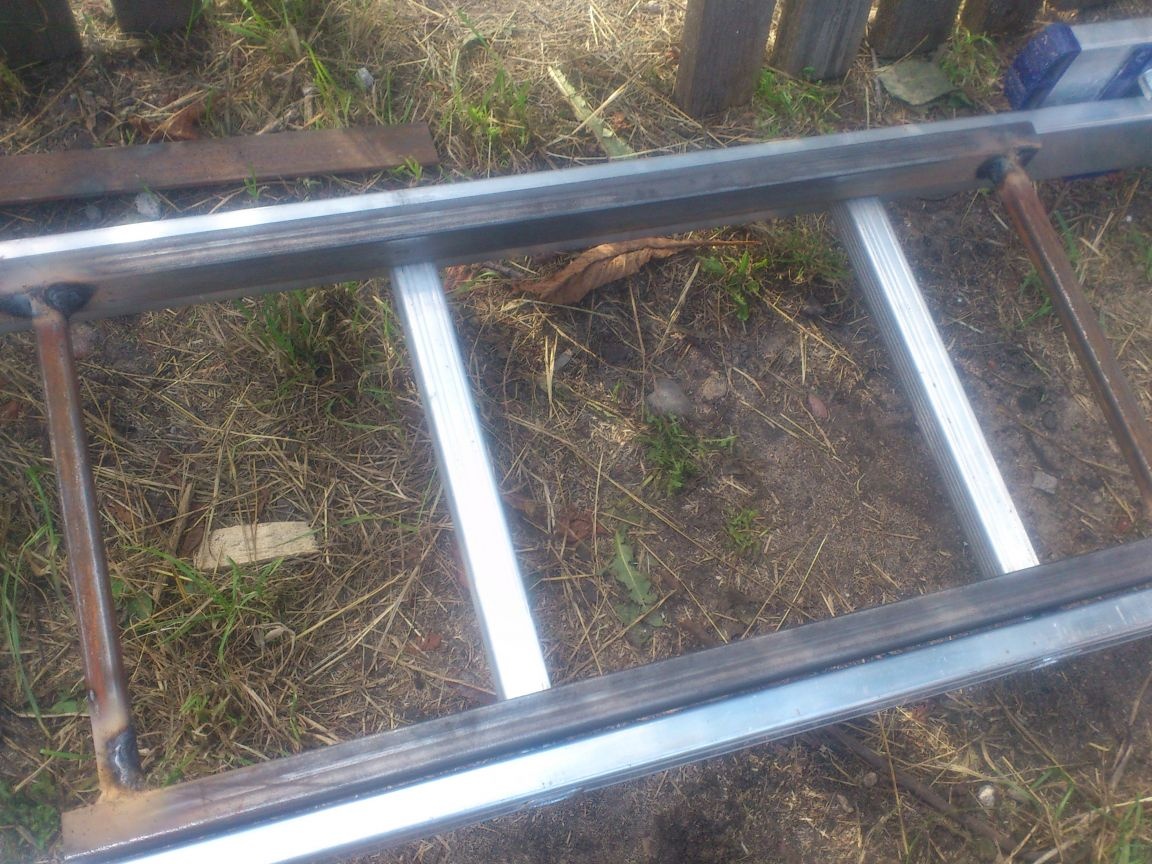
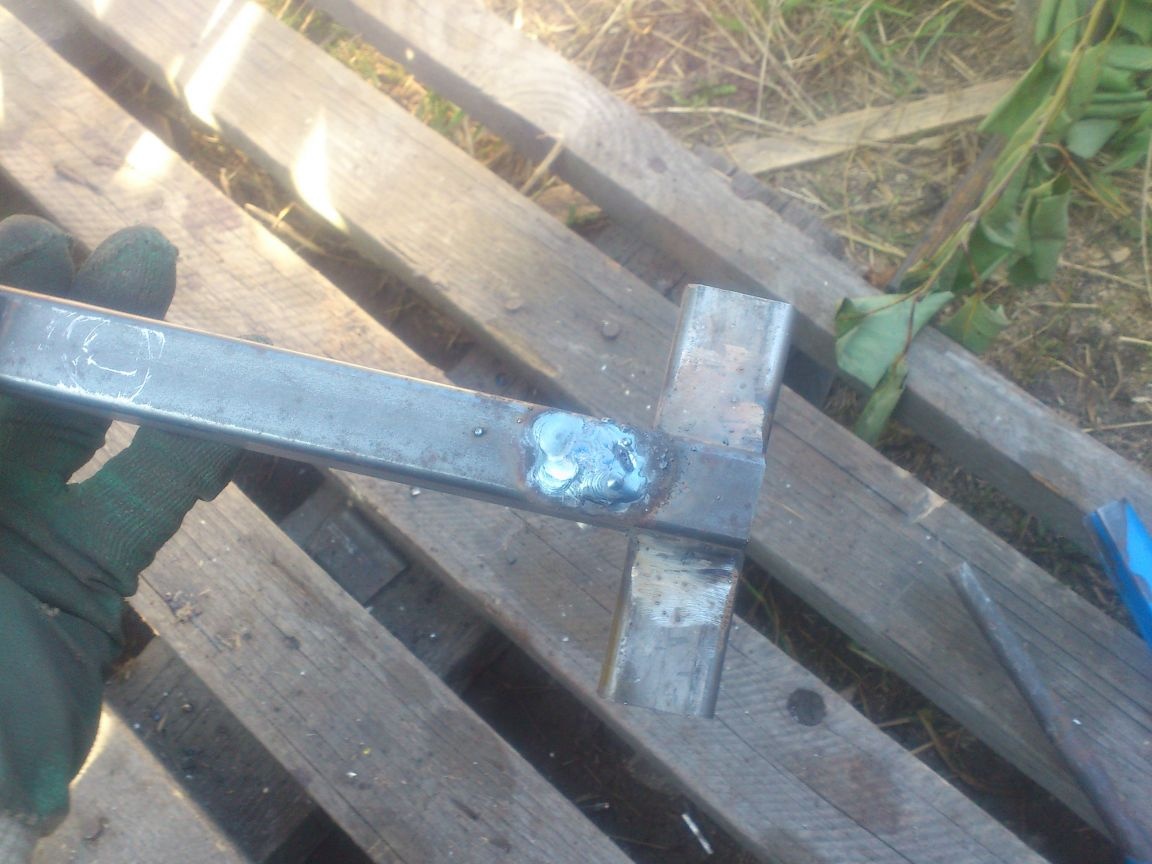
After that, I welded the frame, again, using the ladder itself as a template - it helped to observe right angles:
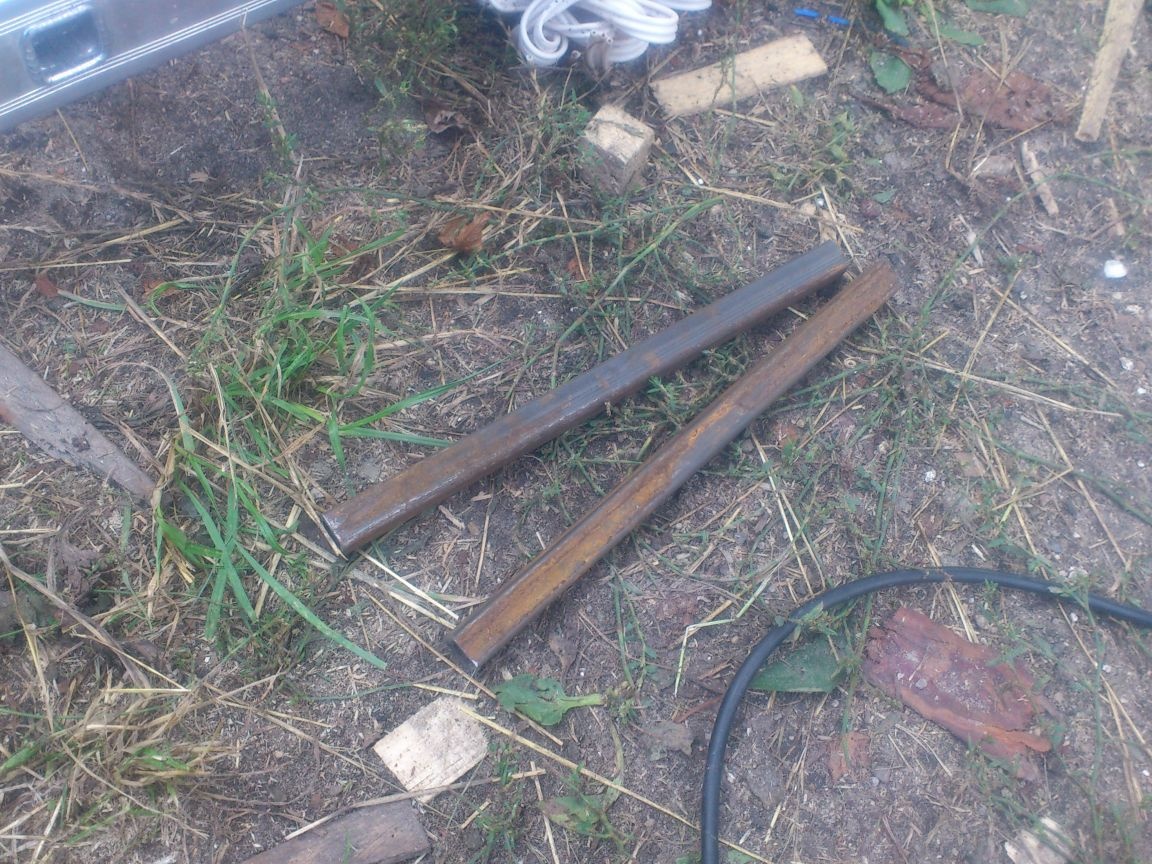
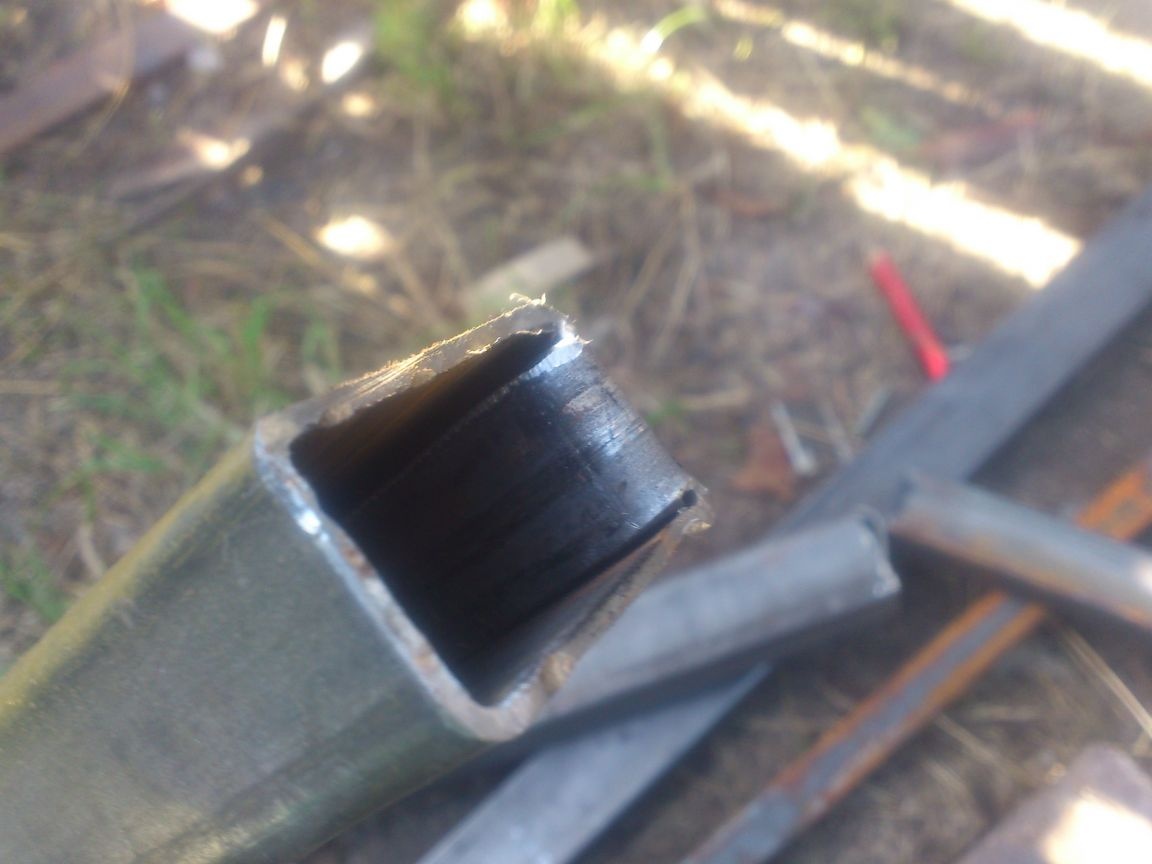
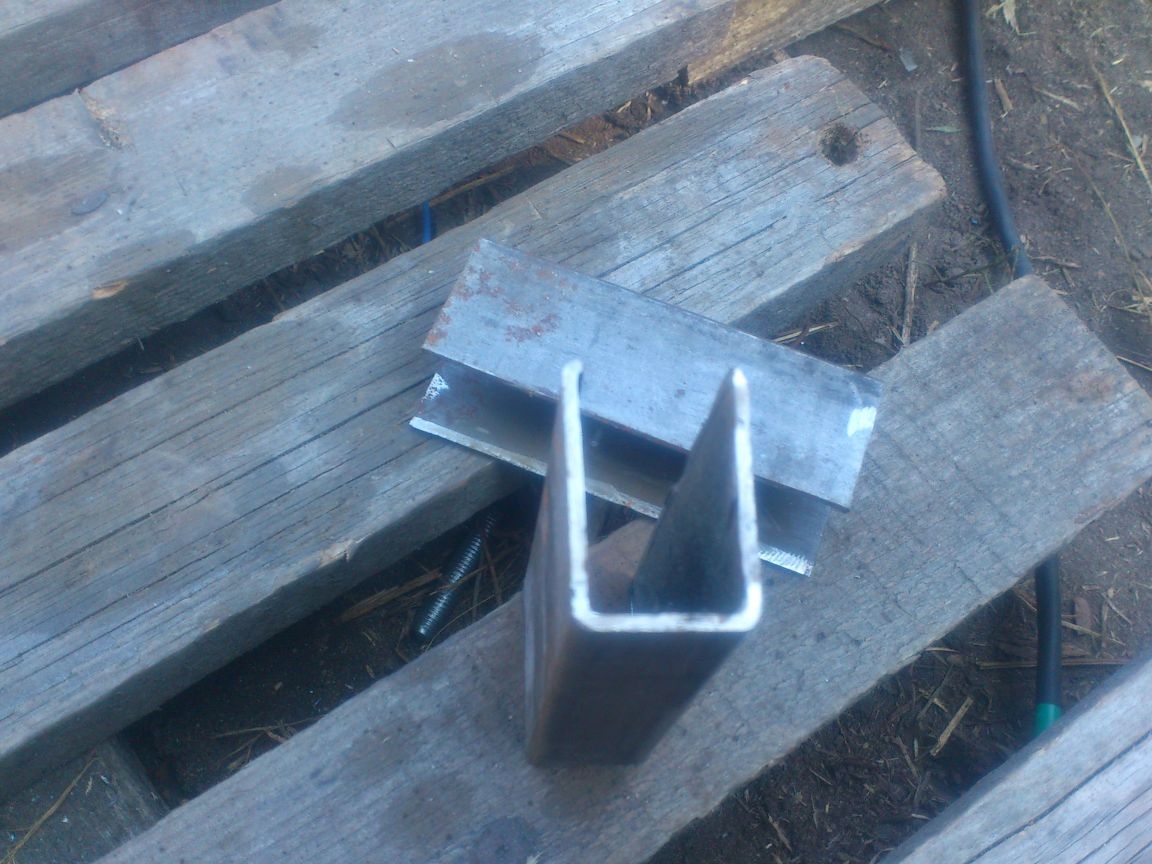
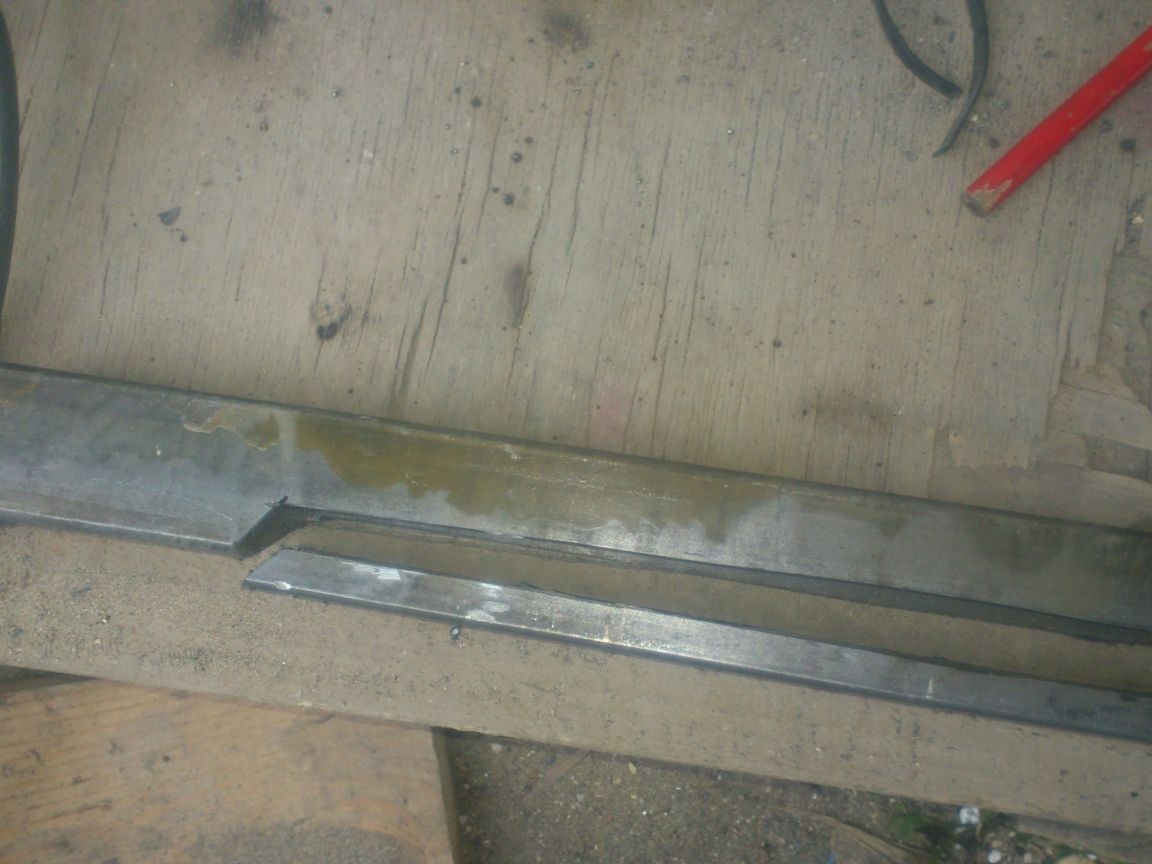
Next, I began to manufacture the stop itself. Because I determined the minimum distance by which he would remove the ladder from the wall to 600 mm, then I drove out two pieces of this length from pipes with a section of 40 by 25 mm and a wall thickness of 2 mm. At the same time, I added 120 mm to the "useful length. (Later I will explain why). Total - the length of these pieces turned out to be 720 mm:
On the one hand, I stabbed from the following to a depth of 30 mm from one edge, and 40 mm from the other:
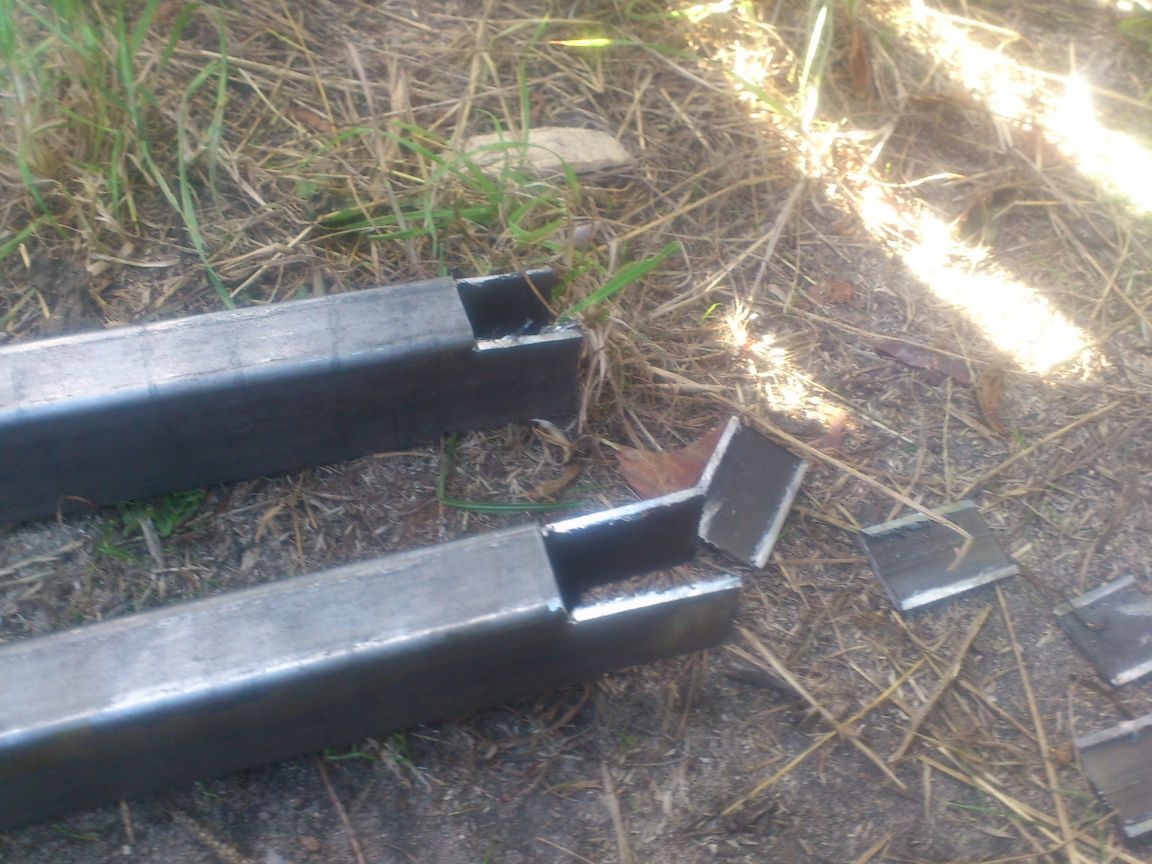
On this side they will be superimposed on the tube of the frame (it is of a smaller cross section) and welded not only from the end, but also from the side, by the “ears”. So it will be stronger. And the difference in the depths of the notches will allow them to be applied not at a right angle, but at an obtuse angle.
On the other hand, I stabbed out like this, leaving the bottom "tail" length of 80 mm. (We do not throw out the U-shaped cuts !!!!)
:
Then he bent these tails in half and flattened:
What happened, I again bent and hammered into the pipe:

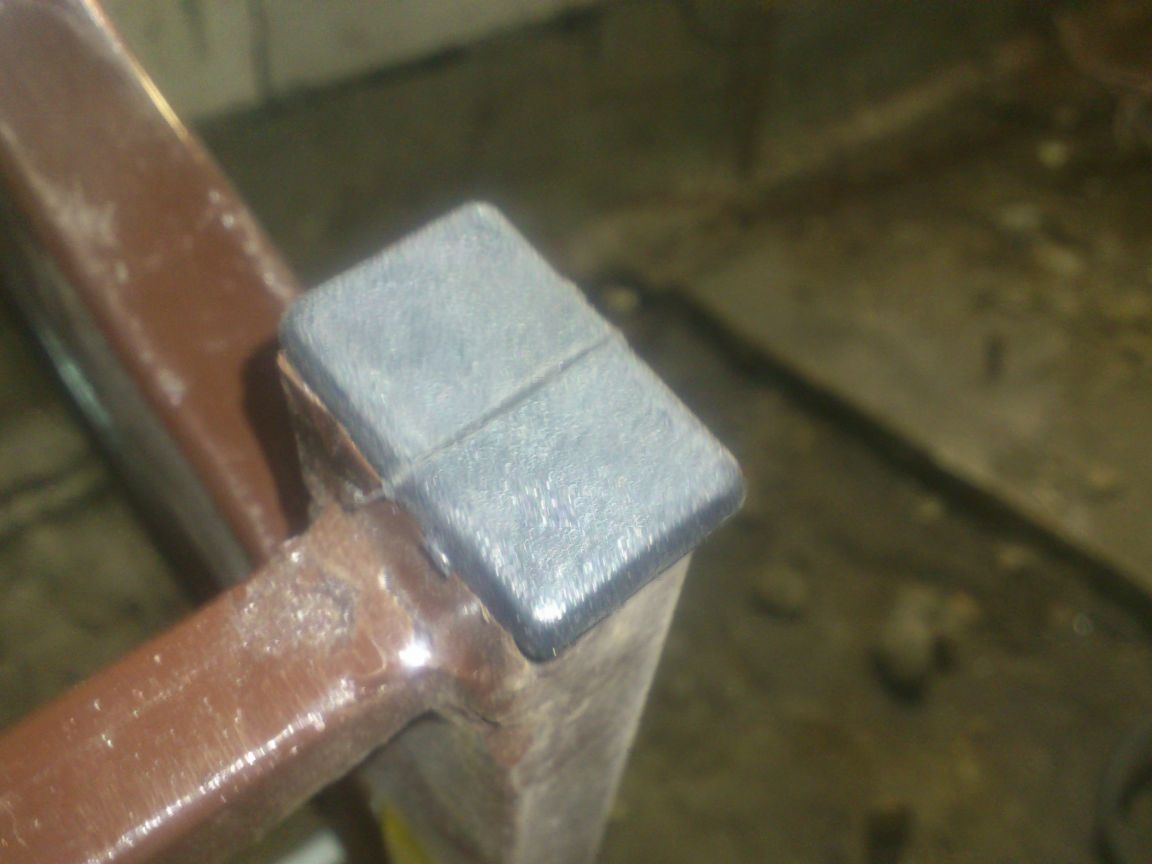
Now I will explain why I did this. I decided to make the emphasis telescopic.According to the design, these pipes should include pipes of a smaller section. The main one is 40 by 25 mm (that is, inside it is 36 by 21 mm. It turns out that the inner pipe (30 by 20 mm on the outside) will not hang out in only one plane, but in the other there is a 5- 6 mm. (Really - 4-5. Since the pipes are welded and in the "narrow part" inside there is also a weld seam). This difference in size was compensated by the bent inward and doubled wall at the pipe edge.
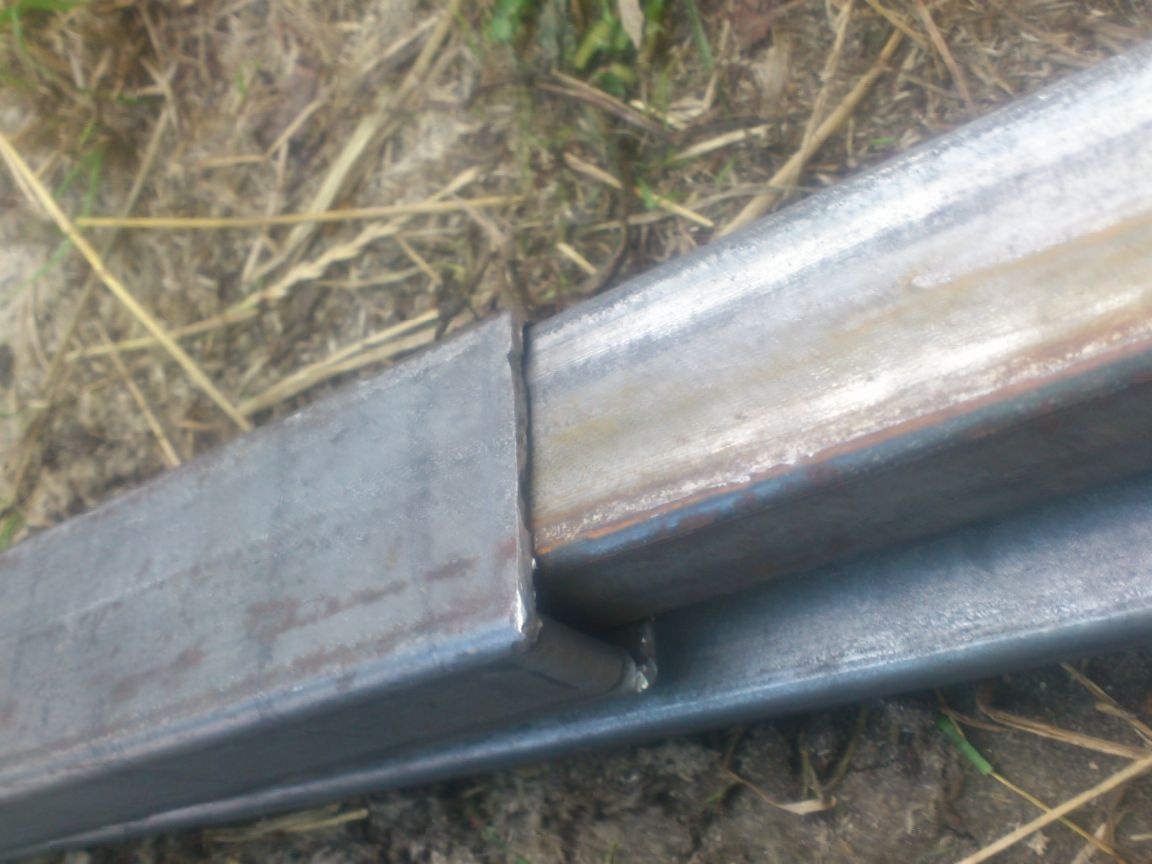
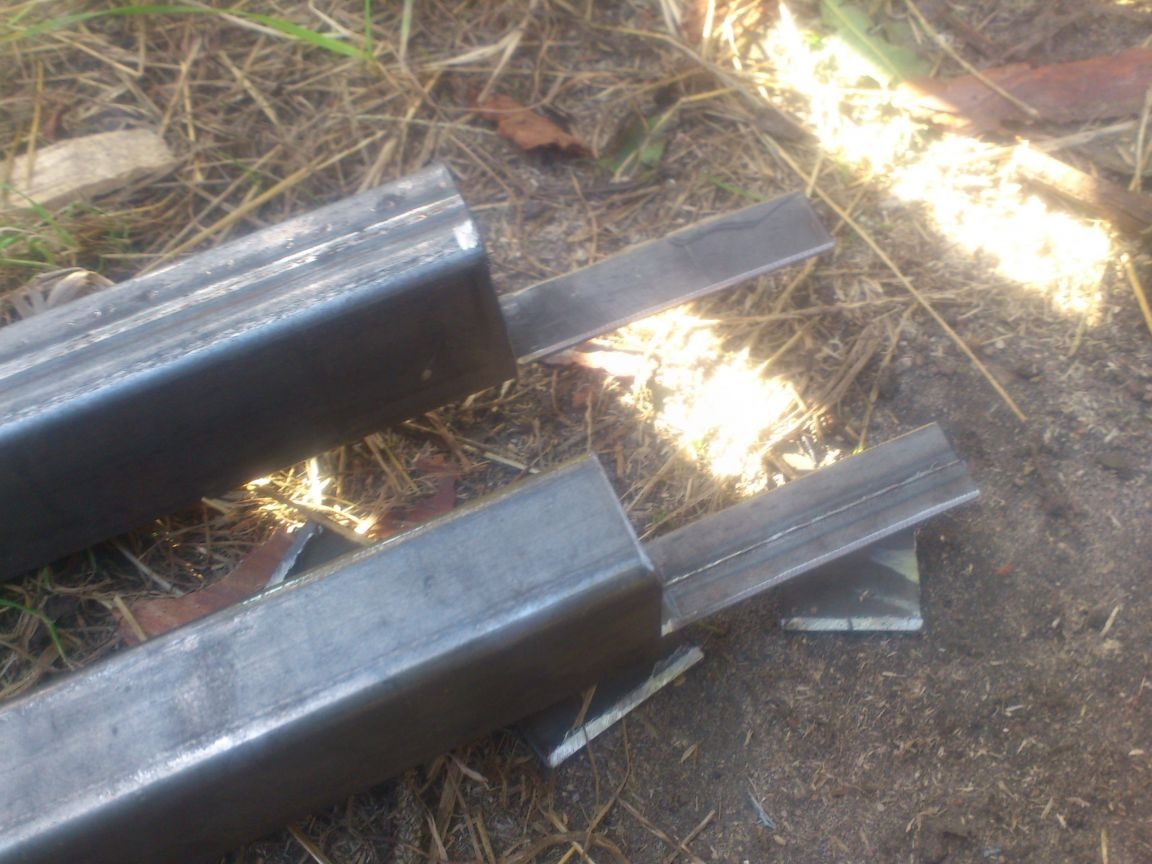
.. It remains to compensate for it at the other end. This time I made the same “tail” on the inner pipe, and now I have bent it not in, but out:

Now, if you put one into the other, then they will not hang out - differences in size are compensated. Moreover, the thickening at the end of the inner one acts as a limiter - when pulled “to full” it meets the curved edge of the outer one, prevents one from popping out of the other and, moreover, ensures that the “telescopic part” necessary for stiffness is inside minimum construction.
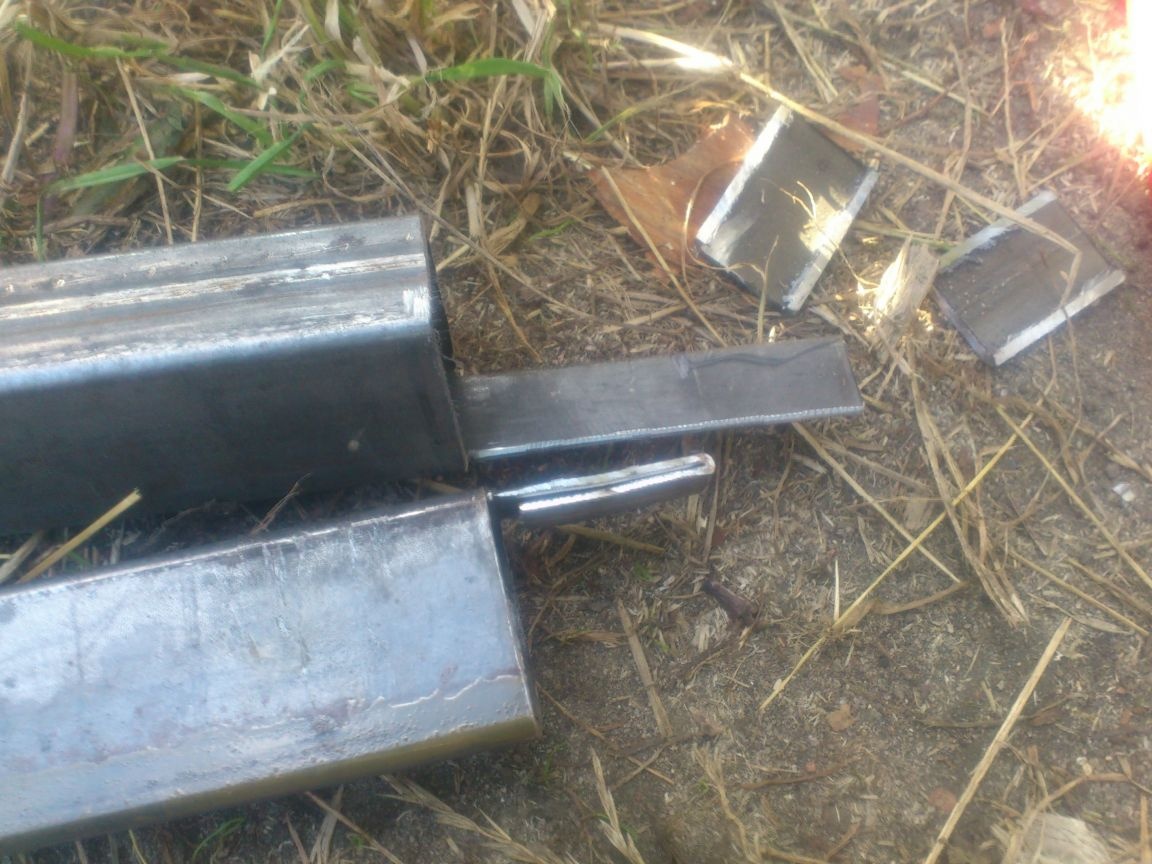
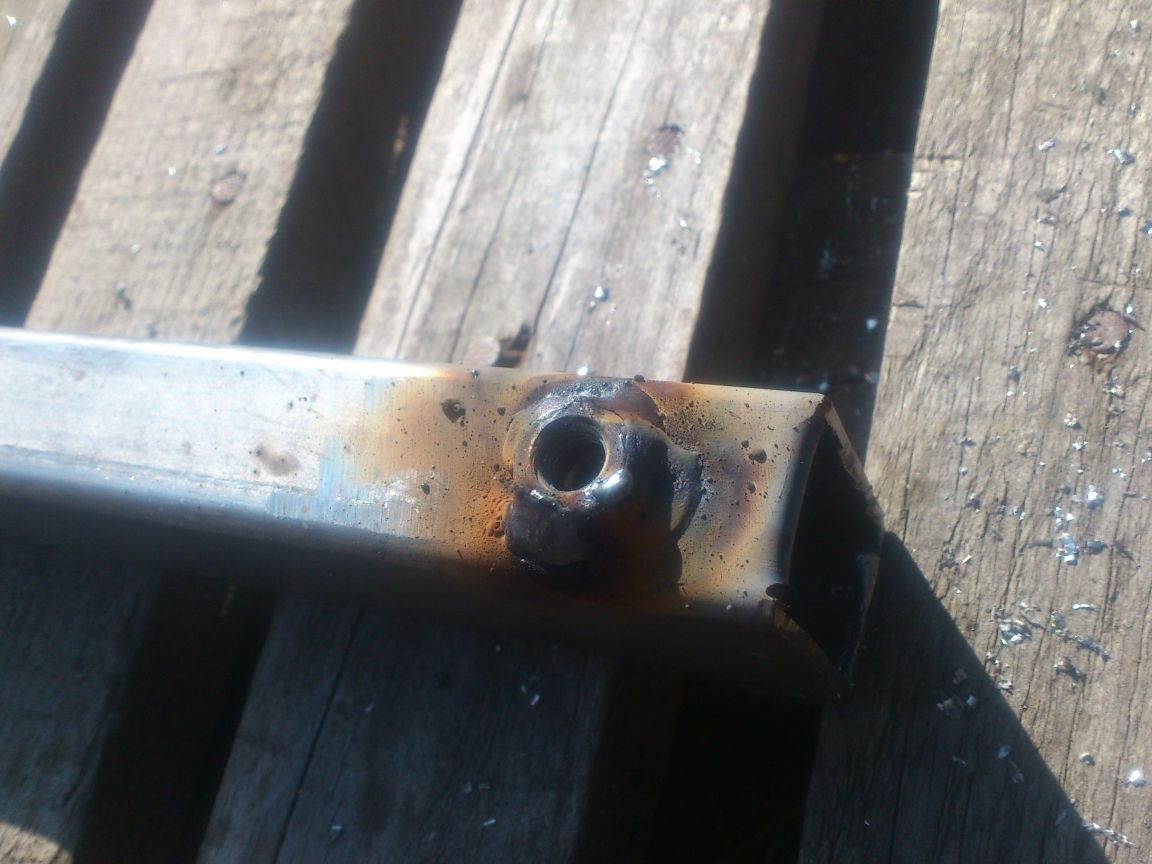
It remains to make a fixation in the right position ... For this, I drilled holes about 10 mm in diameter at the ends of the outer pipes, right through the sections bent inwards (Approximately - because at the construction site I only had a step drill)))):
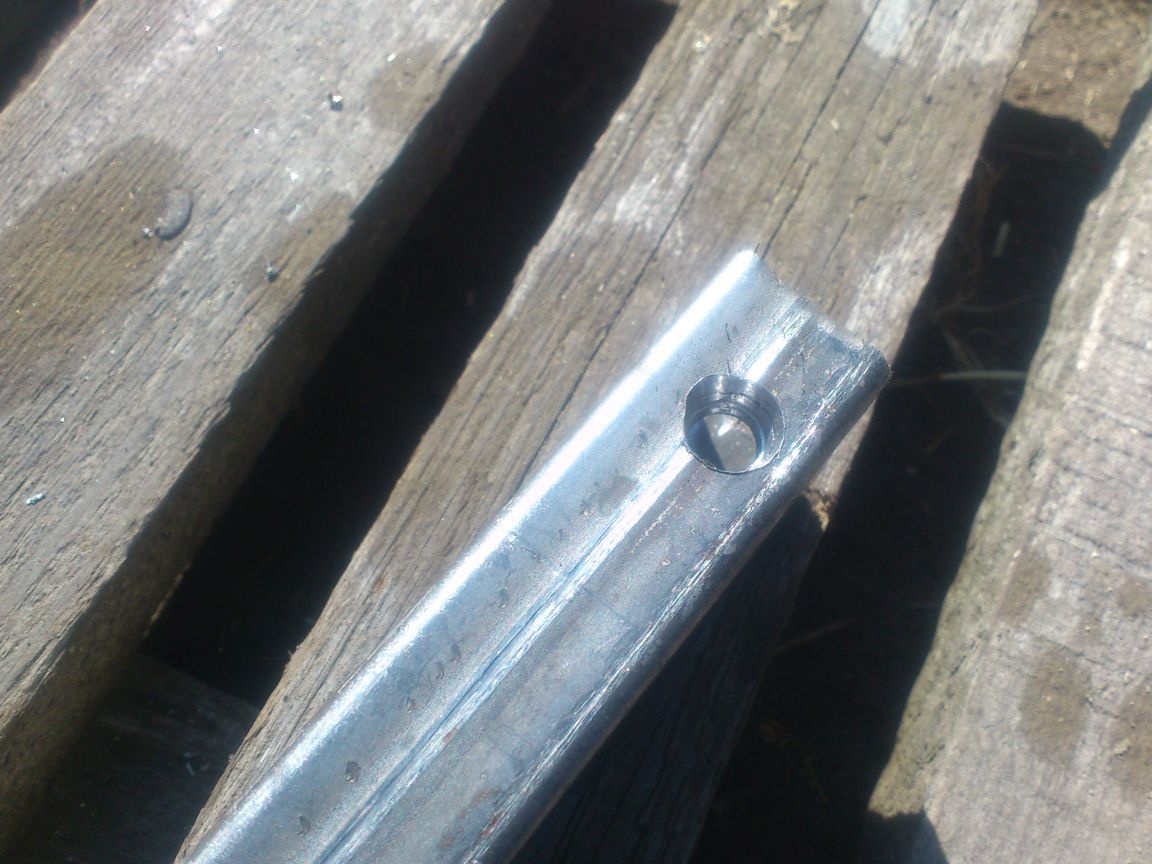
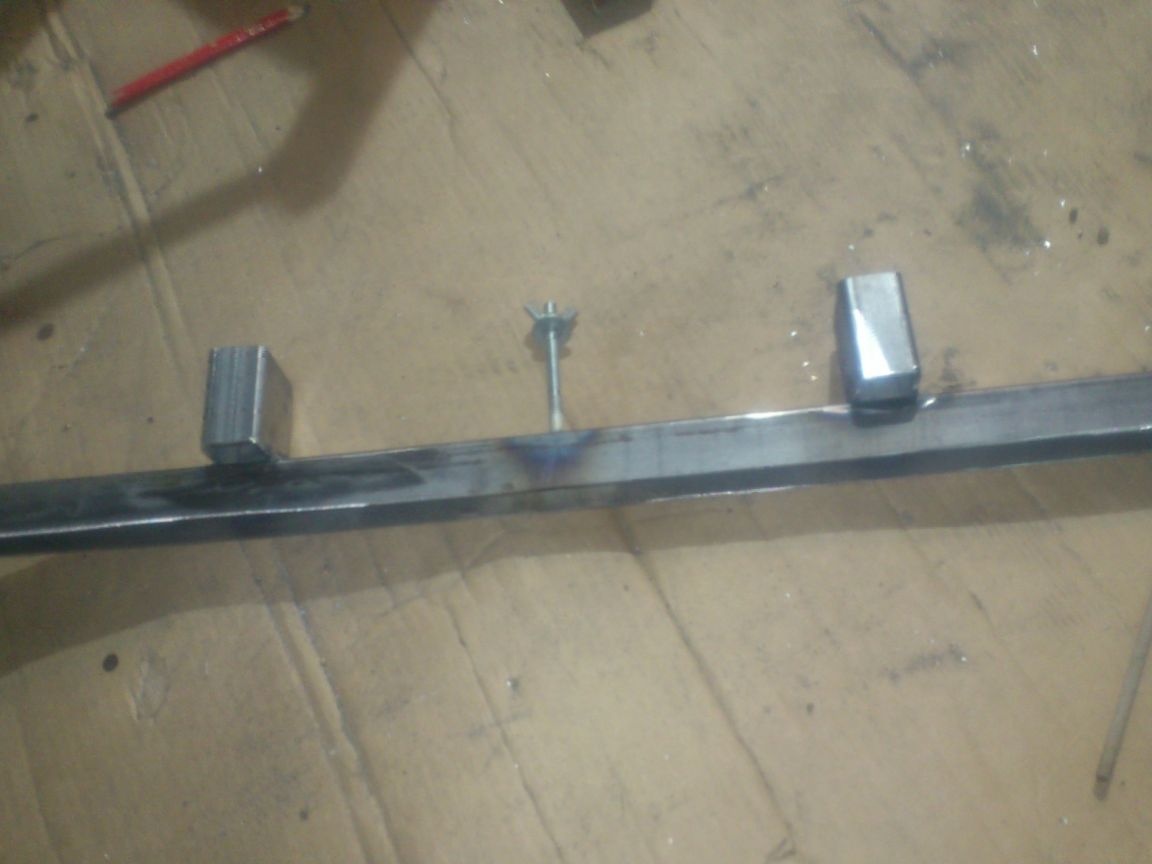
..And welded over them M8 nuts:
It remains to assemble the entire structure together. At the same time (important) I placed the emphasis, as I said earlier, not at a right angle, but at a blunt one. After all, the staircase itself will be slightly inclined to the wall, and this will slightly compensate for the position of the stop. Moreover, if it is at a right angle, then the extended telescopic part will be held only by the clamp of screws, which is not enough, and they will most likely add up! And at a dull angle, the load on the screws is not large, because the pipes will be clamped "by surprise" by the weight of the stairs and the person.
At the same time, I welded jumpers and spacers from the pipe 15 to 15:
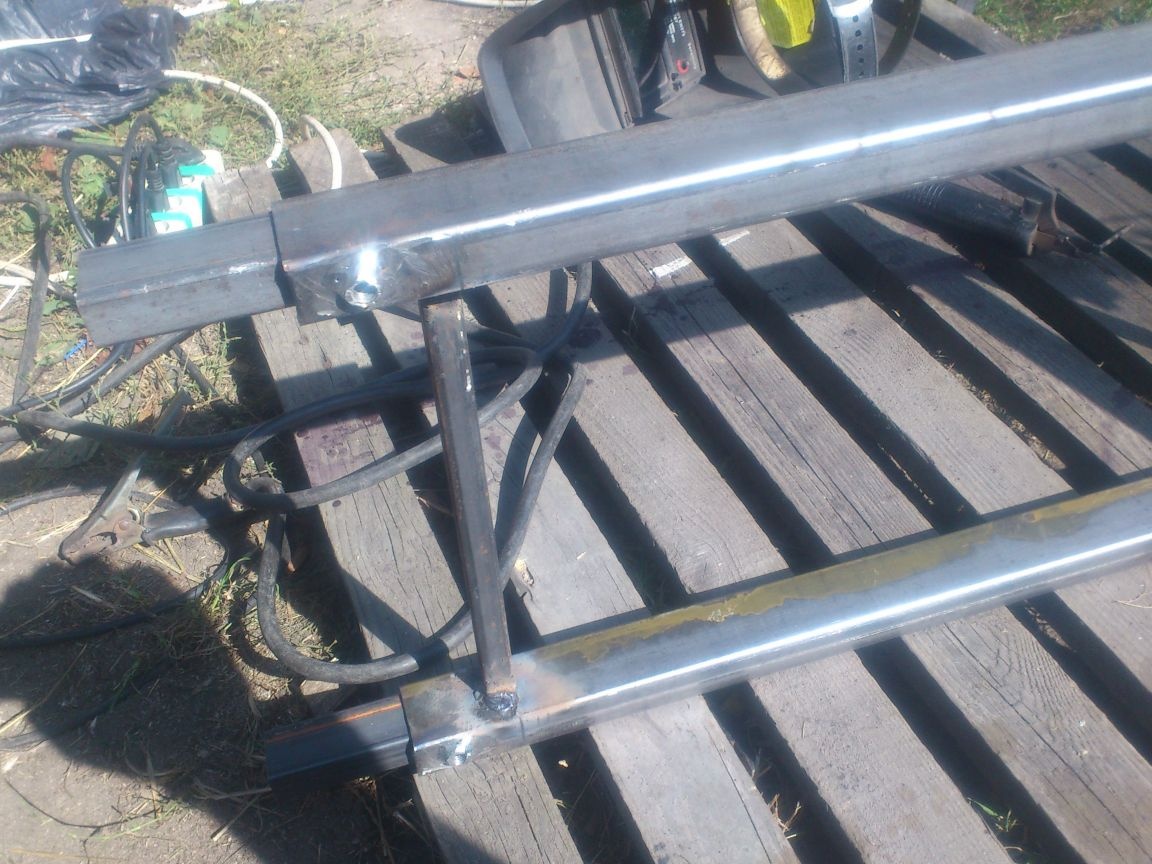
Well then, the emphasis is ready. Now you need to fix it to the stairs. According to my plan, the emphasis is placed inside the more protruding side walls, pressing against the crossbars and gliding freely in the longitudinal plane. This will allow you to adjust the position of the emphasis on the stairs along its entire length. It remains to make a bracket with which it will be fixed to the stairs in the desired position. I also made it from a 30 by 20 mm pipe:


.... Remember, I warned you that you do not need to throw out the U-shaped pieces of a 40 to 25 pipe? ... Now they come in handy:
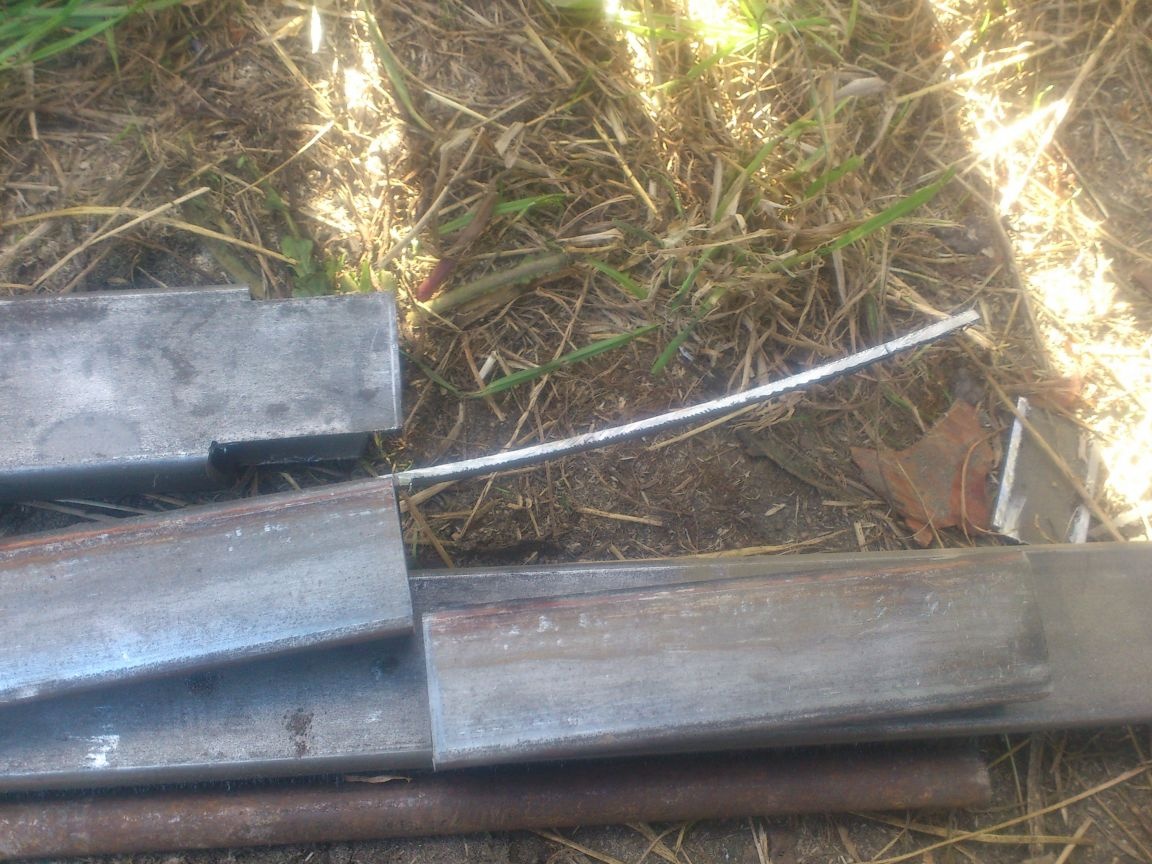
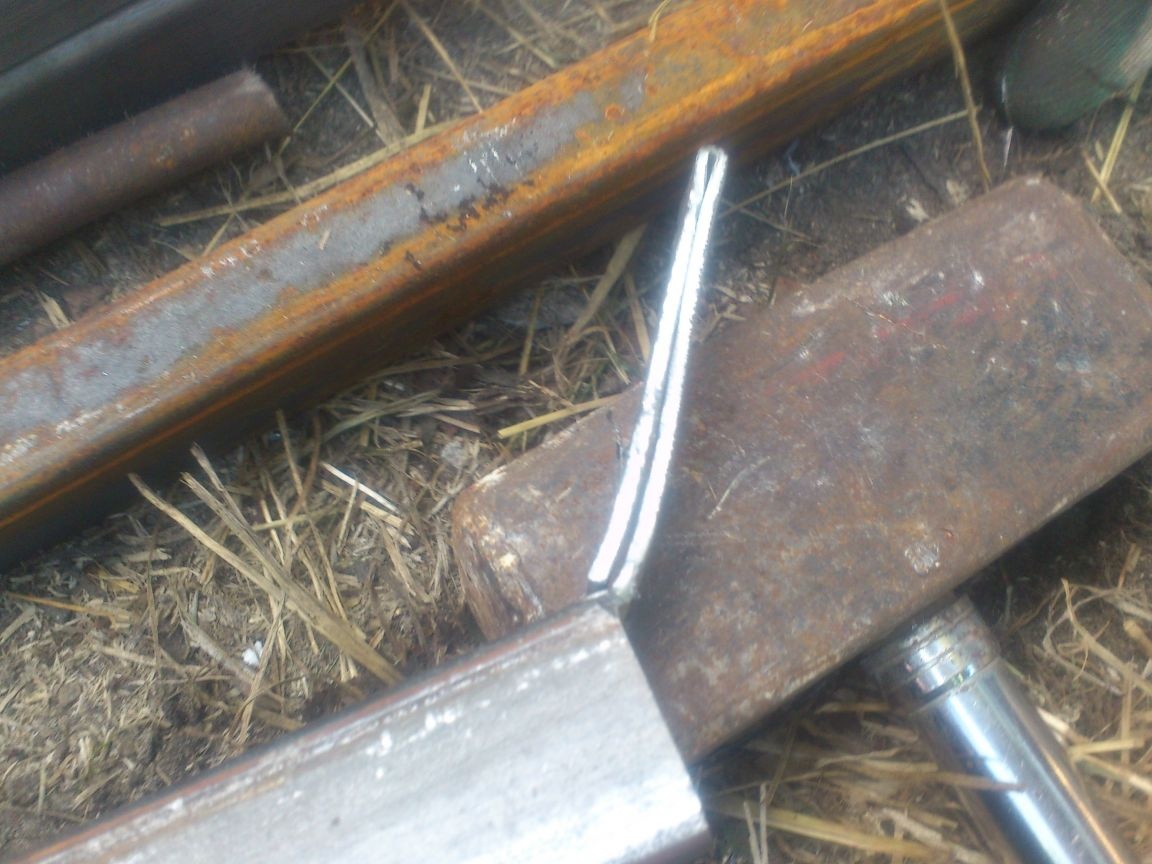
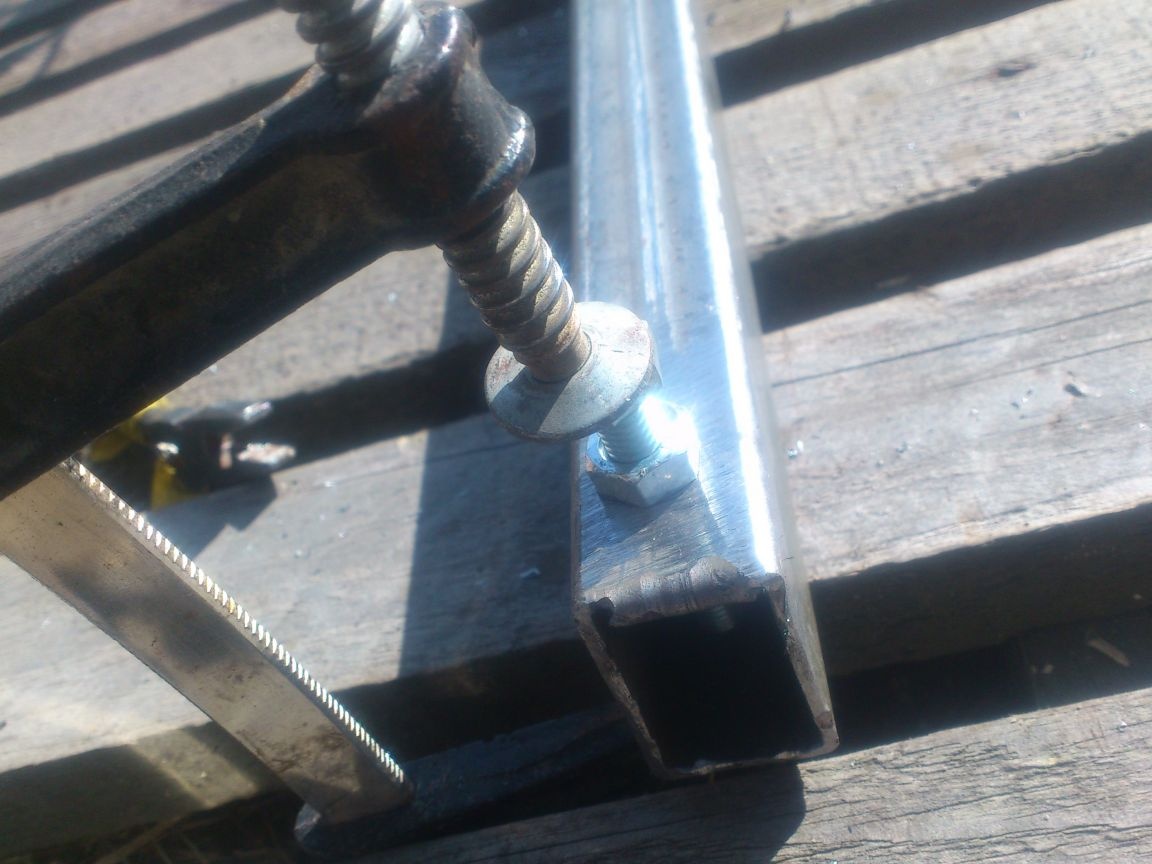
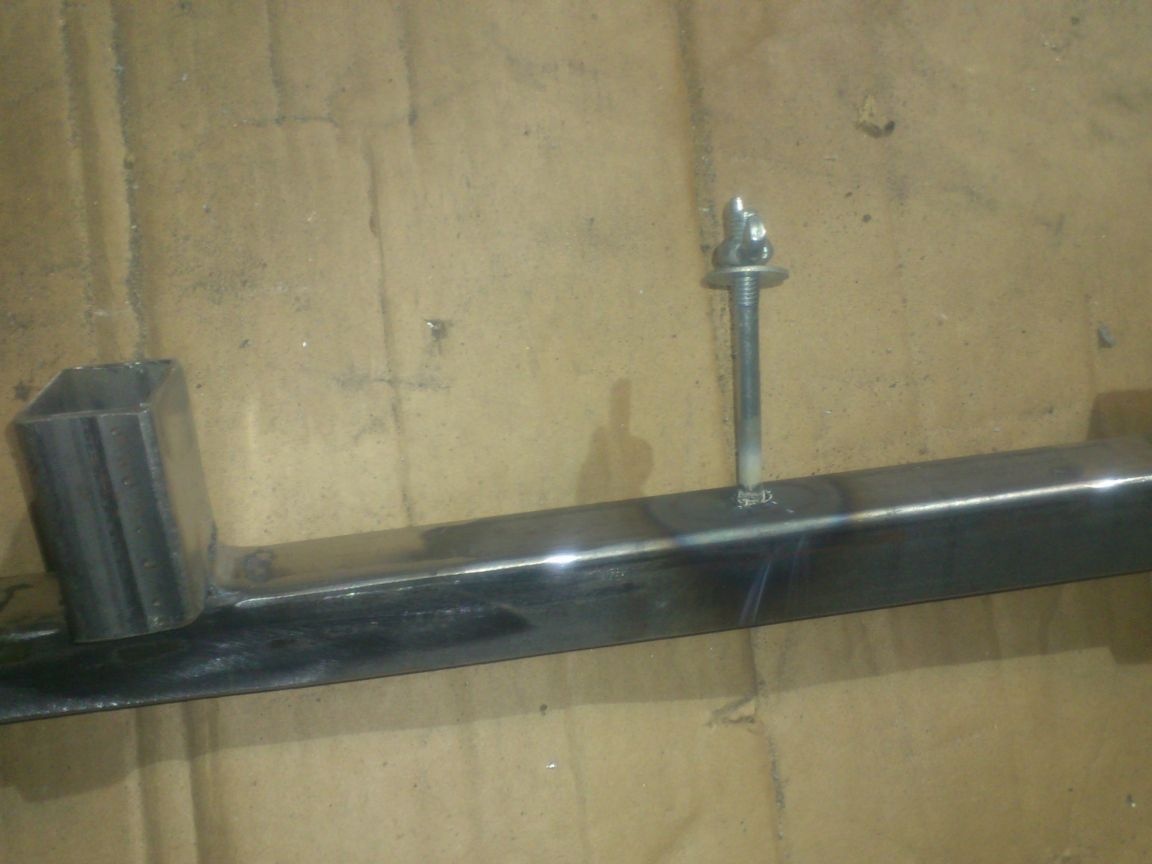
Such a bracket fits tightly on the stairs and also slides along it on the “slide”, maintaining a perpendicular position. Now we drill two holes and insert the segments of the M10 hairpin:
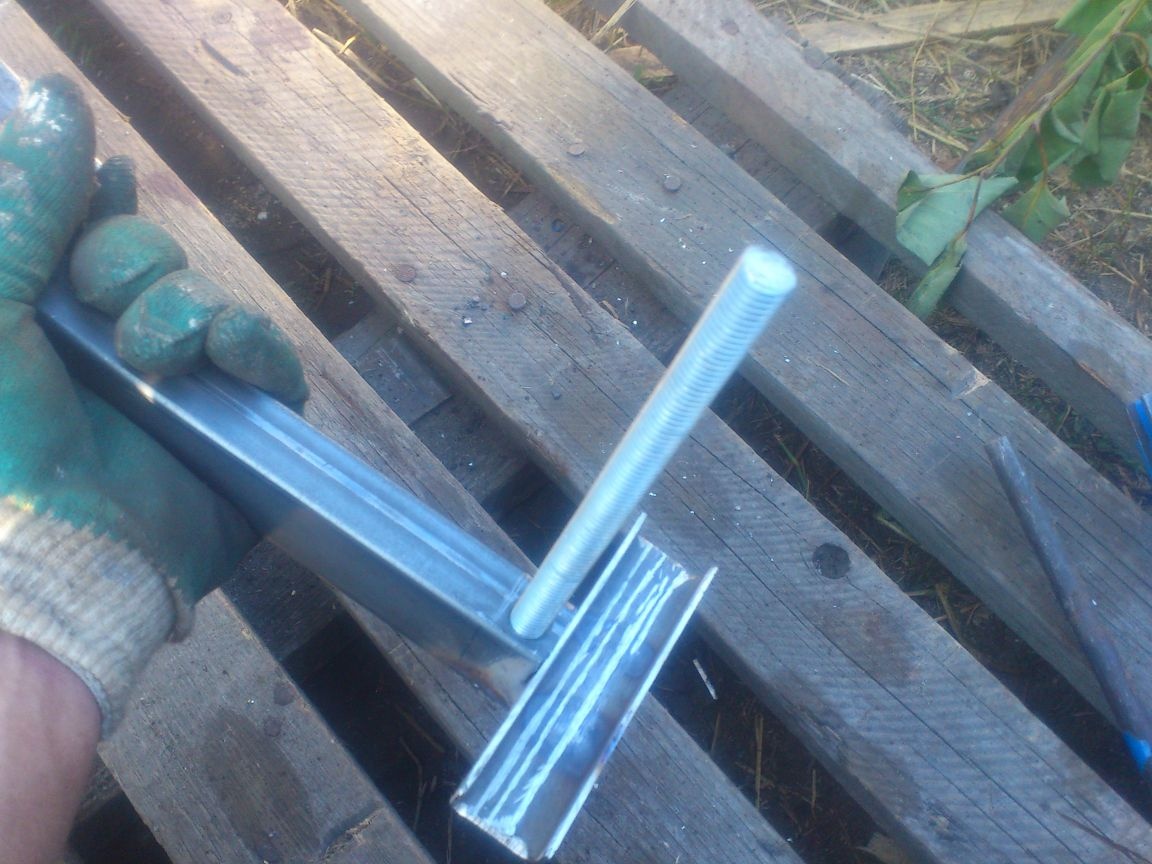
And weld them from the back:
In the emphasis, we also drill two holes into which the studs will enter:
We do this not in the middle, but shifted down. So under the weight of a person, all the emphasis will be pressed against the stairs, trying to break the studs (But their strength is more than enough), and the friction force will securely fix it.
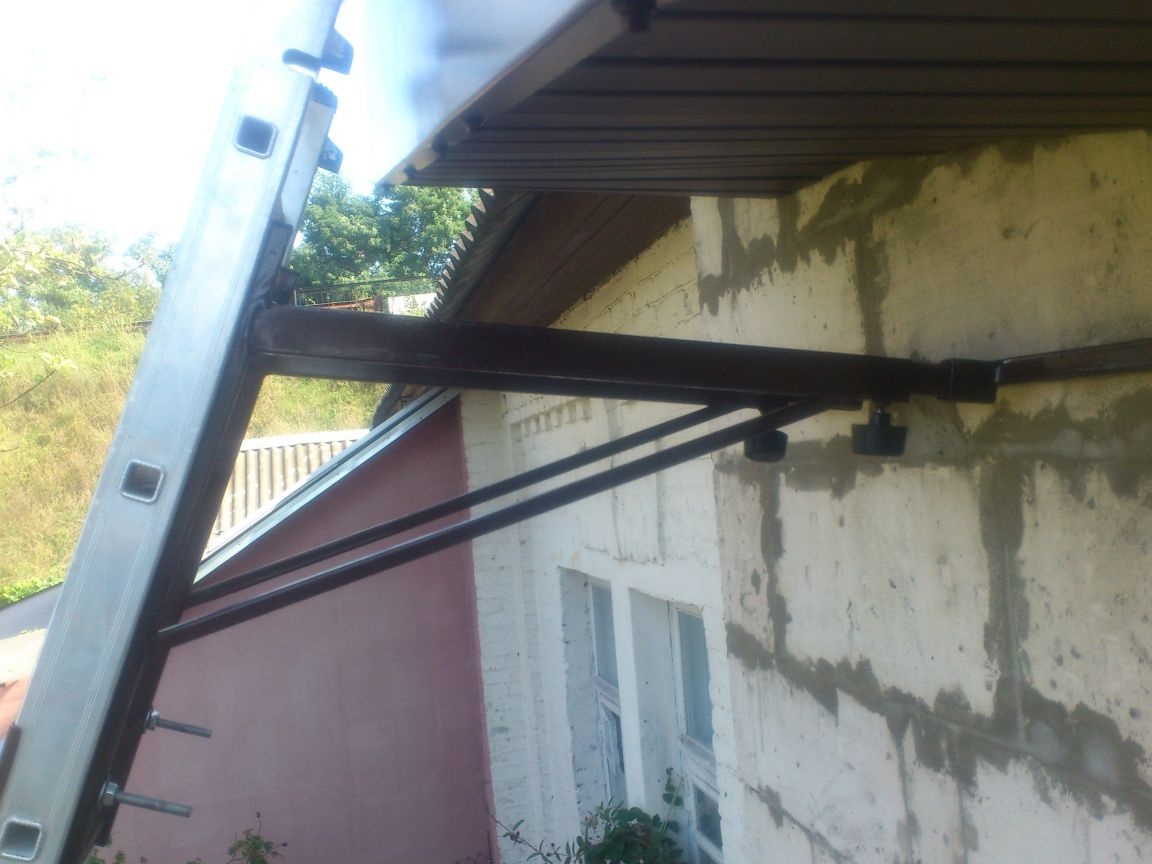
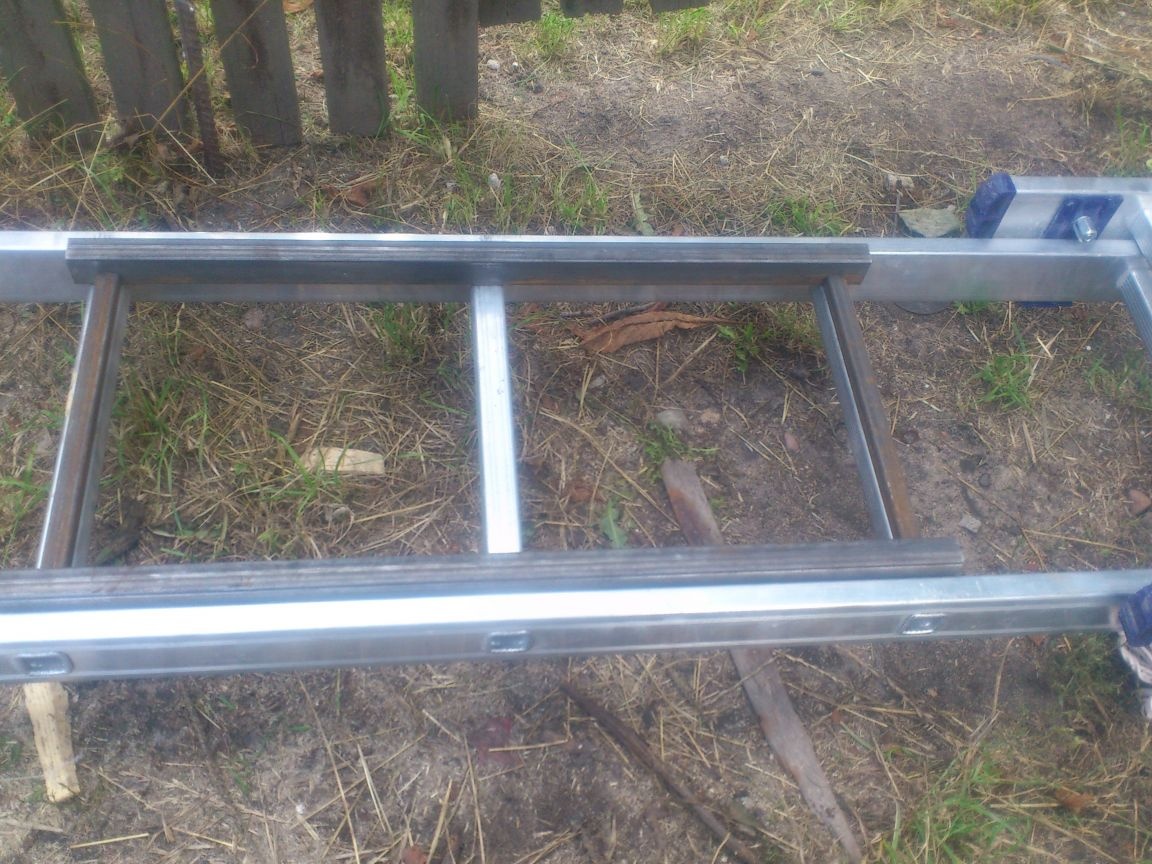
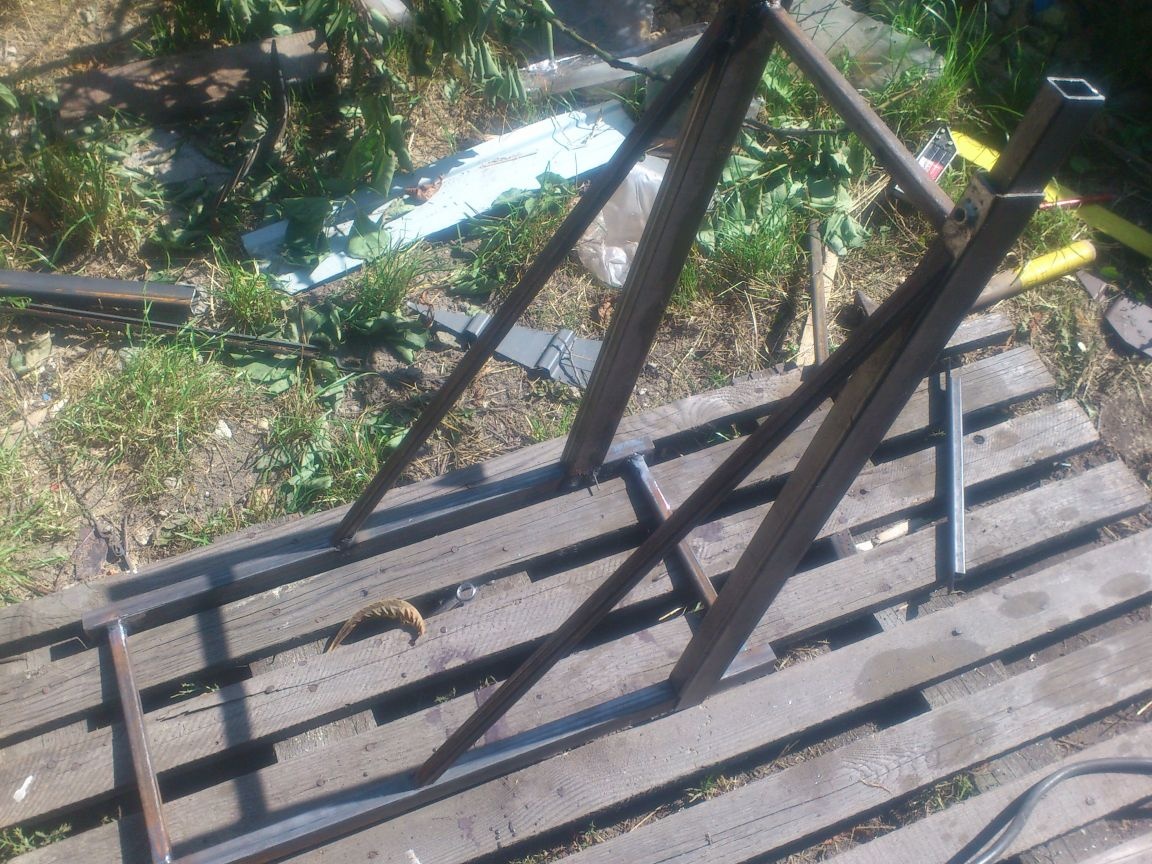
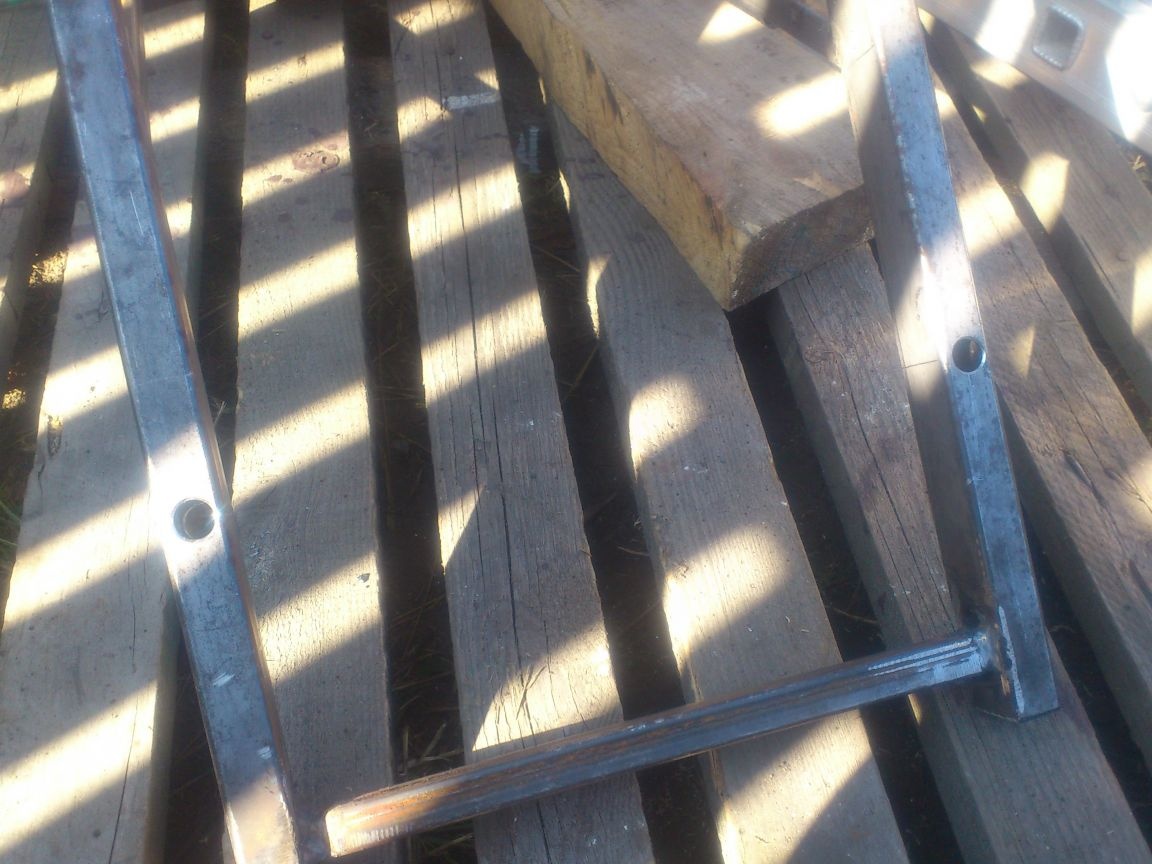
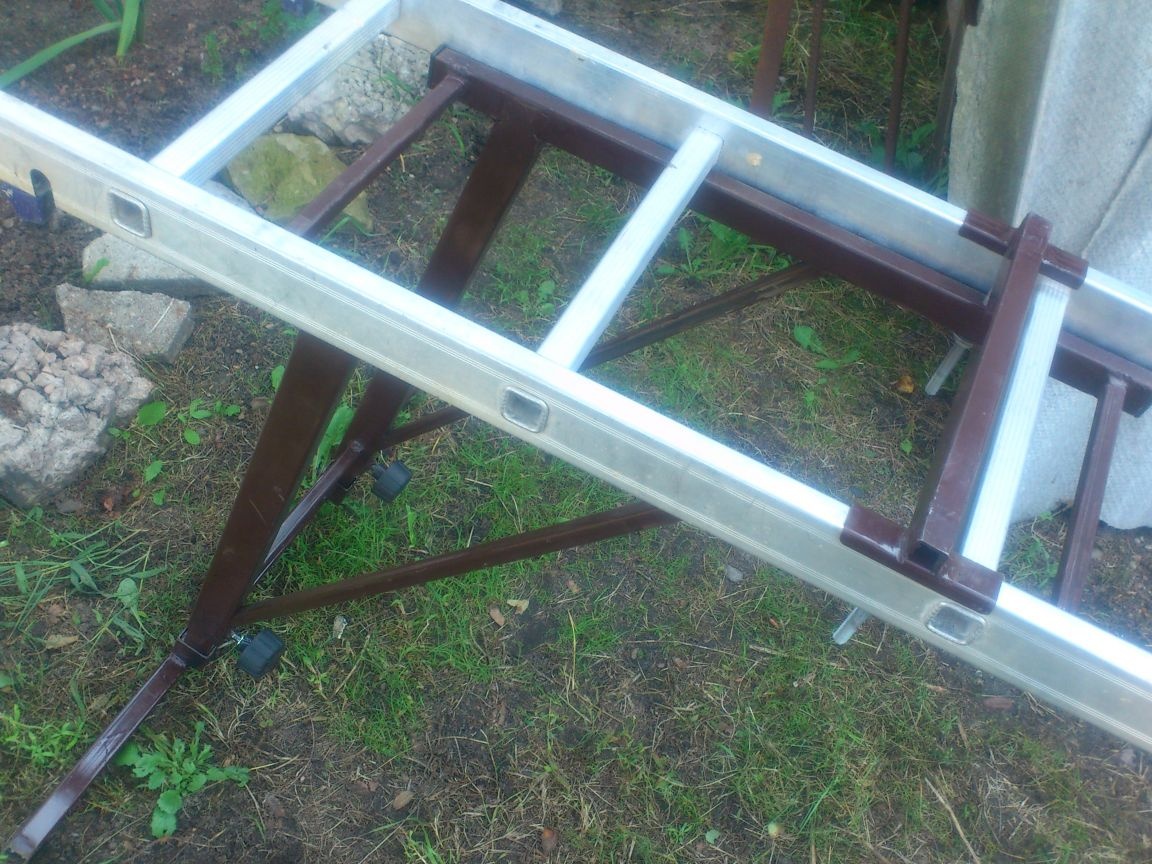
That’s almost all. Having fixed the emphasis, I could not resist and tested my product:
As you can see, he allowed the ladder to be attached to a rather complex plane, without resting it on protruding parapets.
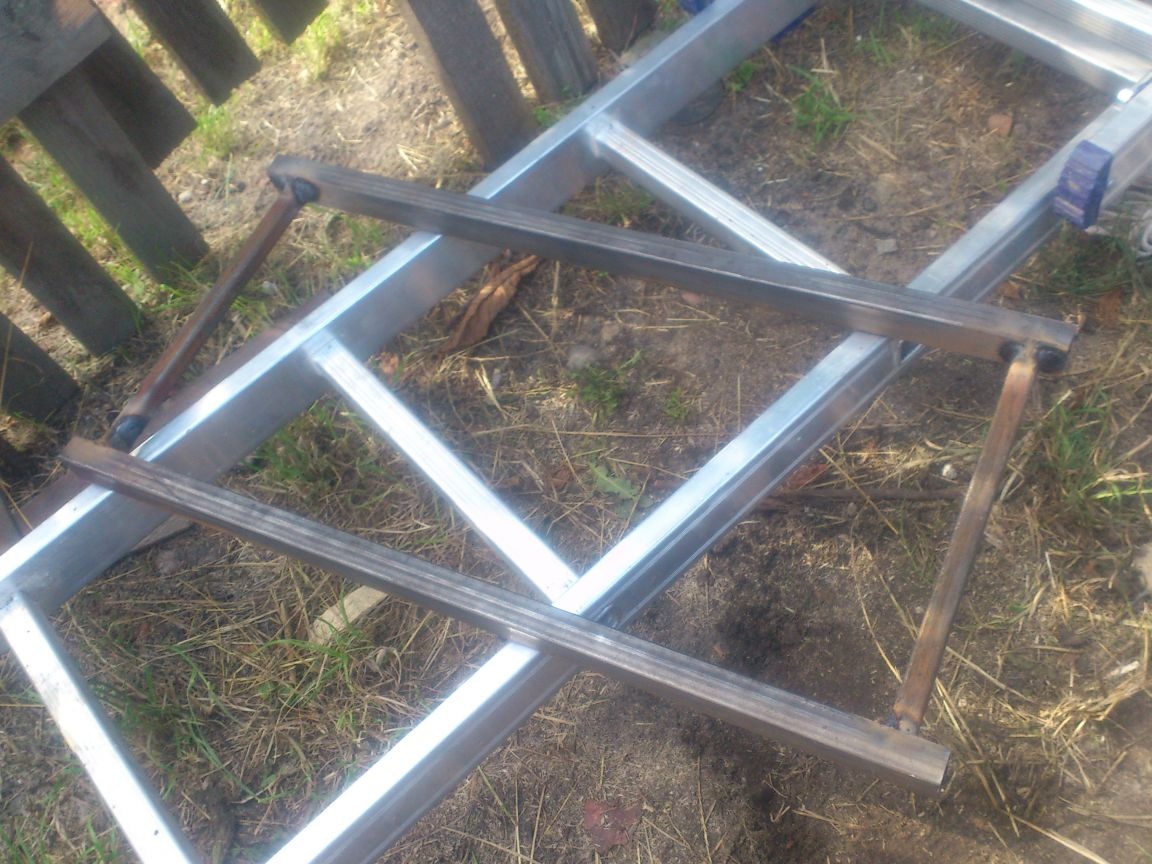
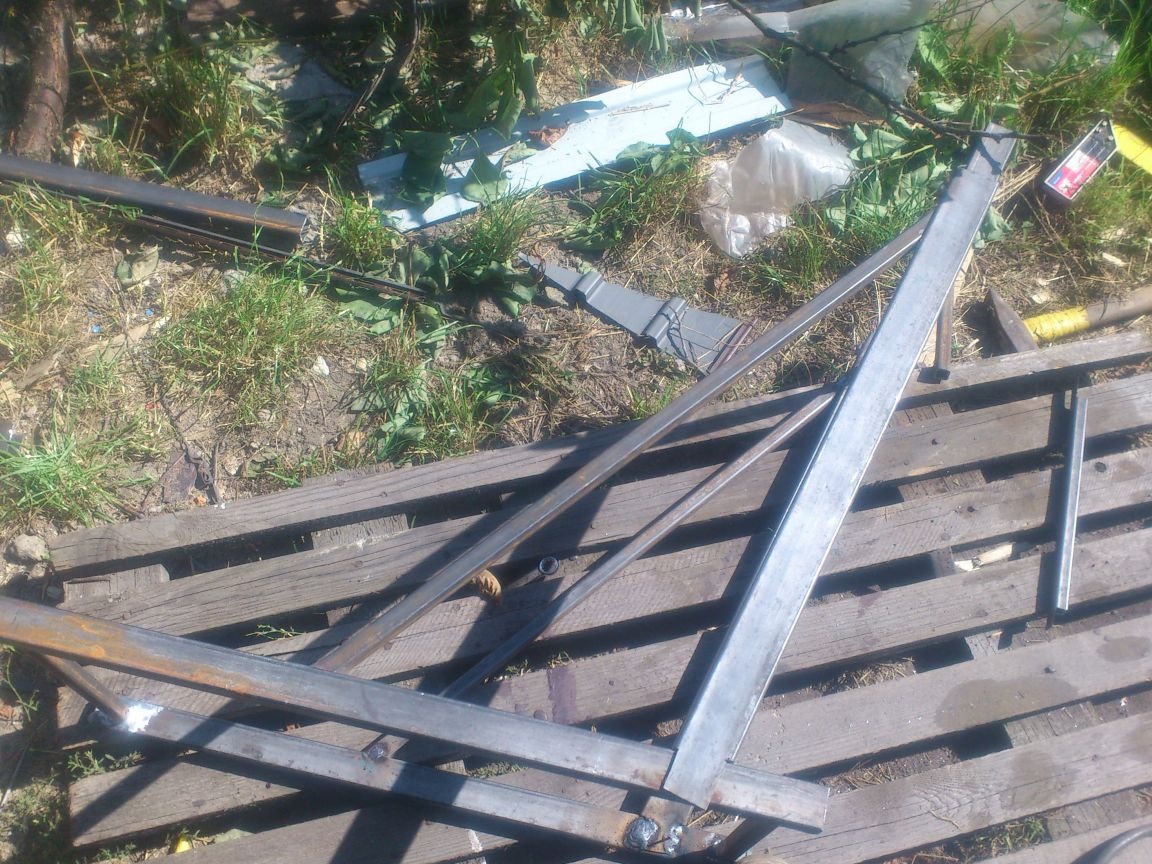
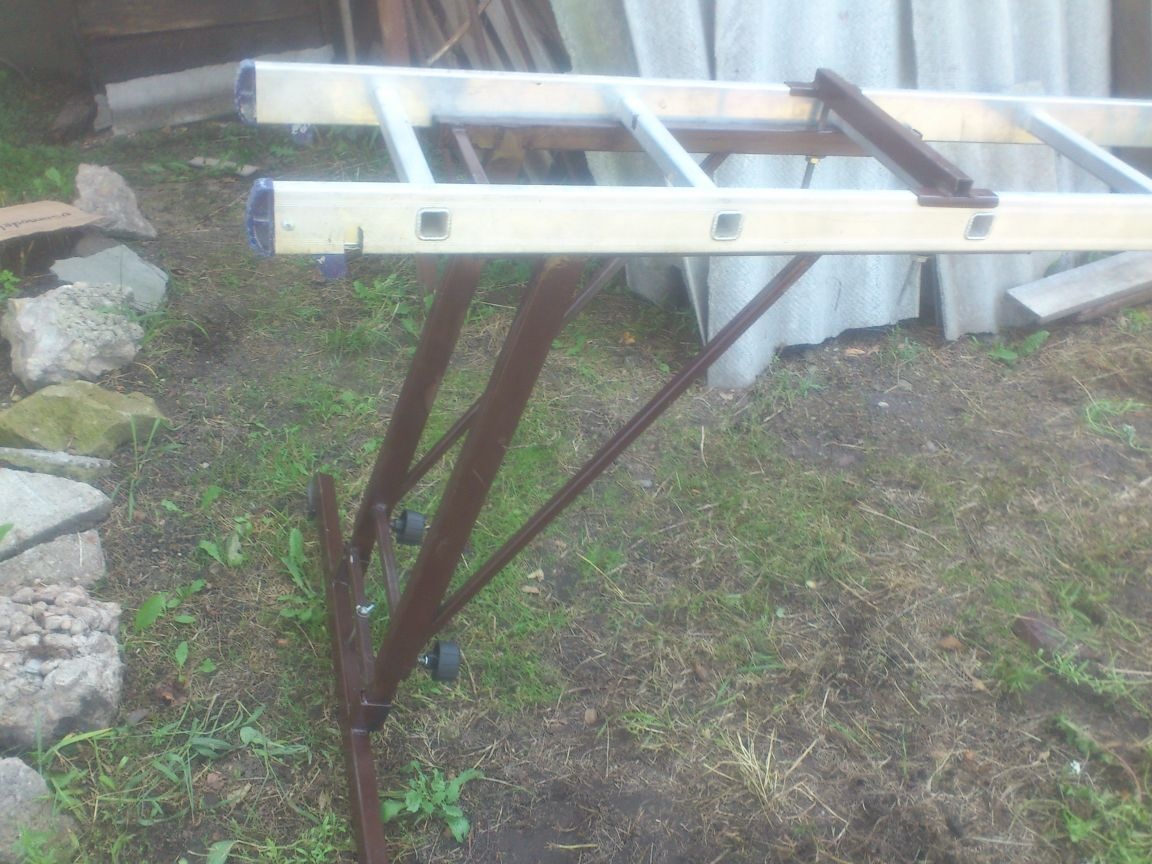
..But since the "legs" of the stop are at a small distance from each other, the ladder is able to stagger "from right to left." To exclude this, I decided to make a removable wide support bar. (Removable, because, perhaps, it will interfere somewhere - there is not a plane of sufficient width everywhere. Or, for example, you have to rest the ladder on the tree trunk and move away from it yourself. The emphasis will help, but the bar may not fit between branches)
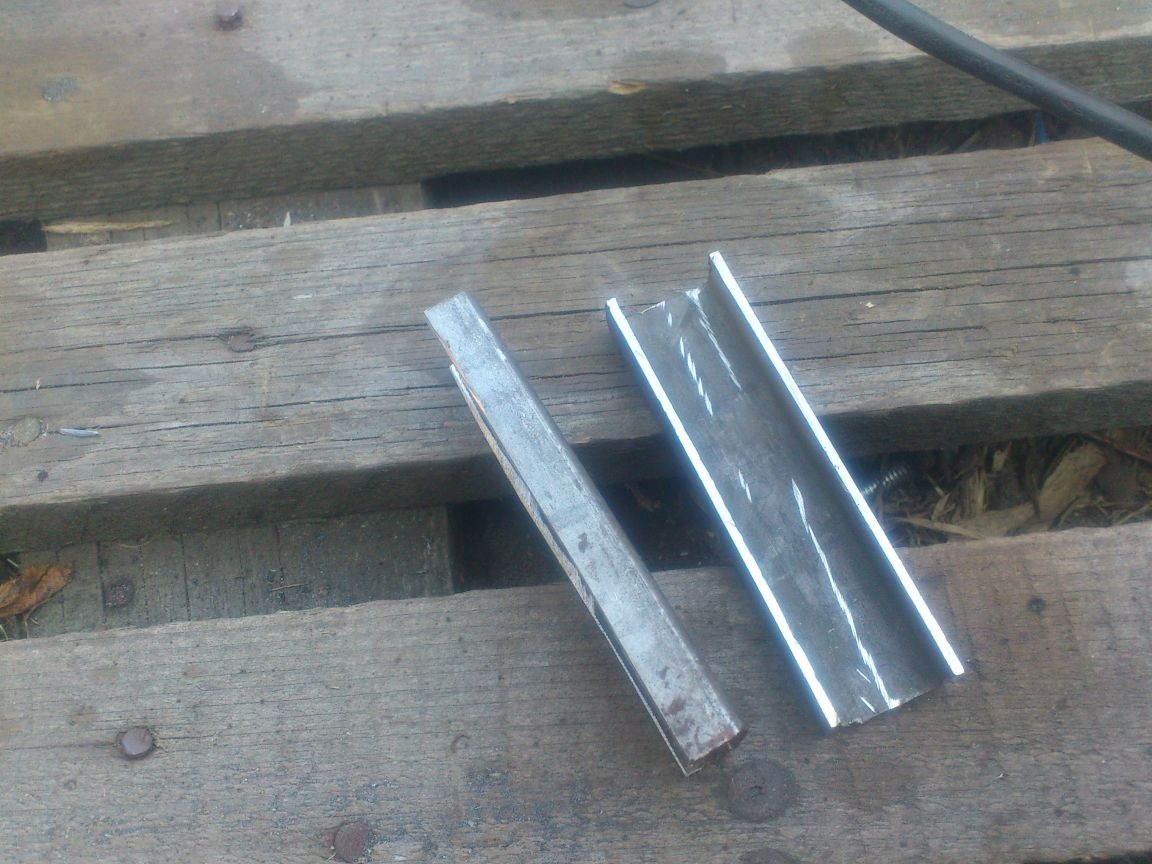
I cut it out of the pipe 20 to 30. To facilitate the design and make it more stable, I cut it as follows:

For fastening, I welded pipe trims with which she dresses on her “legs”. And for fixing in the middle, I drilled a hole and inserted a furniture bolt M6, with which it is attracted to the hole in the jumper. Bolt welded so as not to get lost ....)))))
All!!! It was already evening. Therefore, I painted the design of the spray can with brown paint (RAL 8017), which was available and went home ....
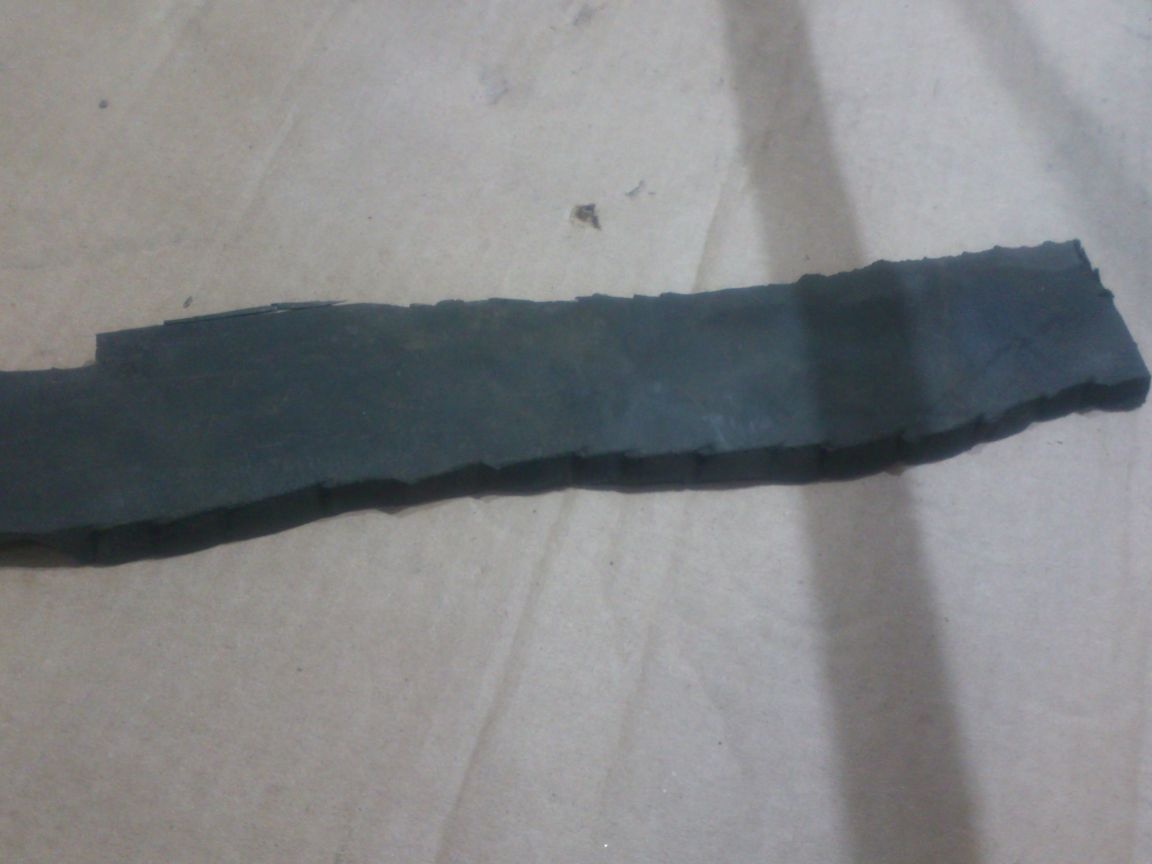
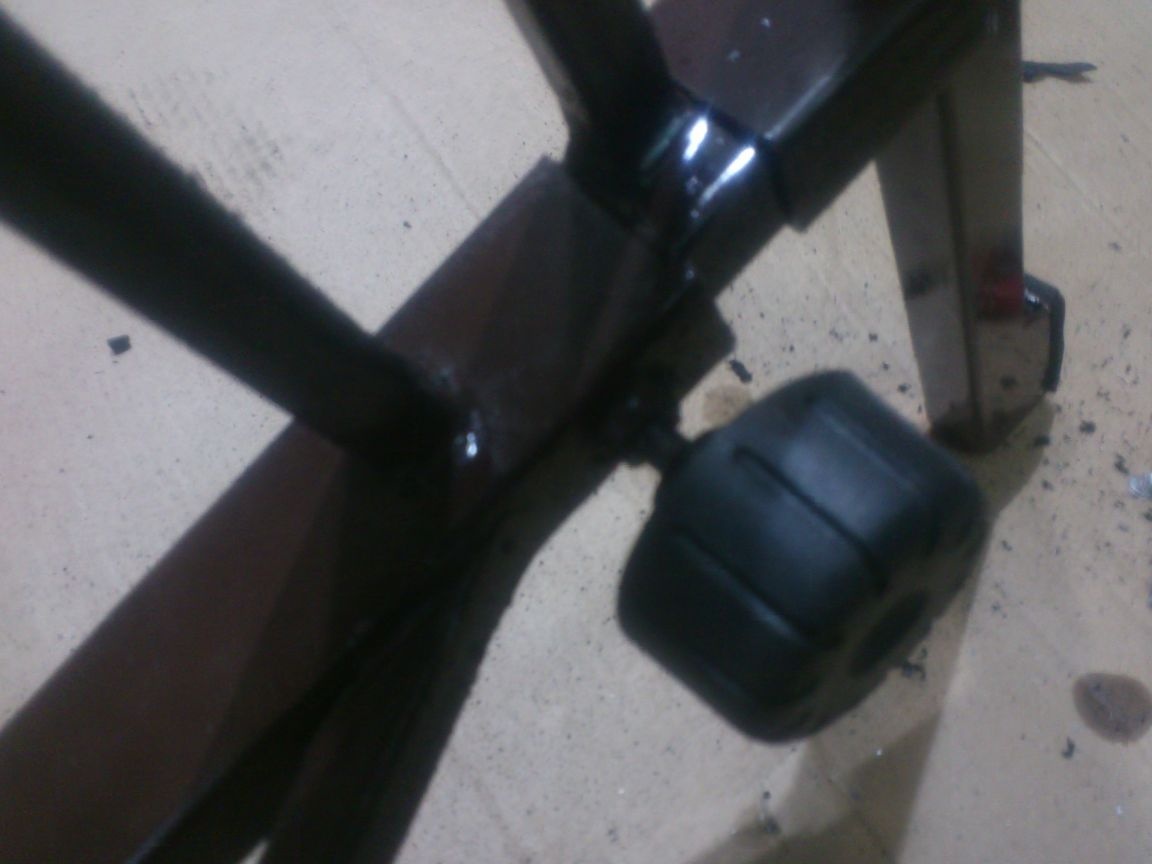
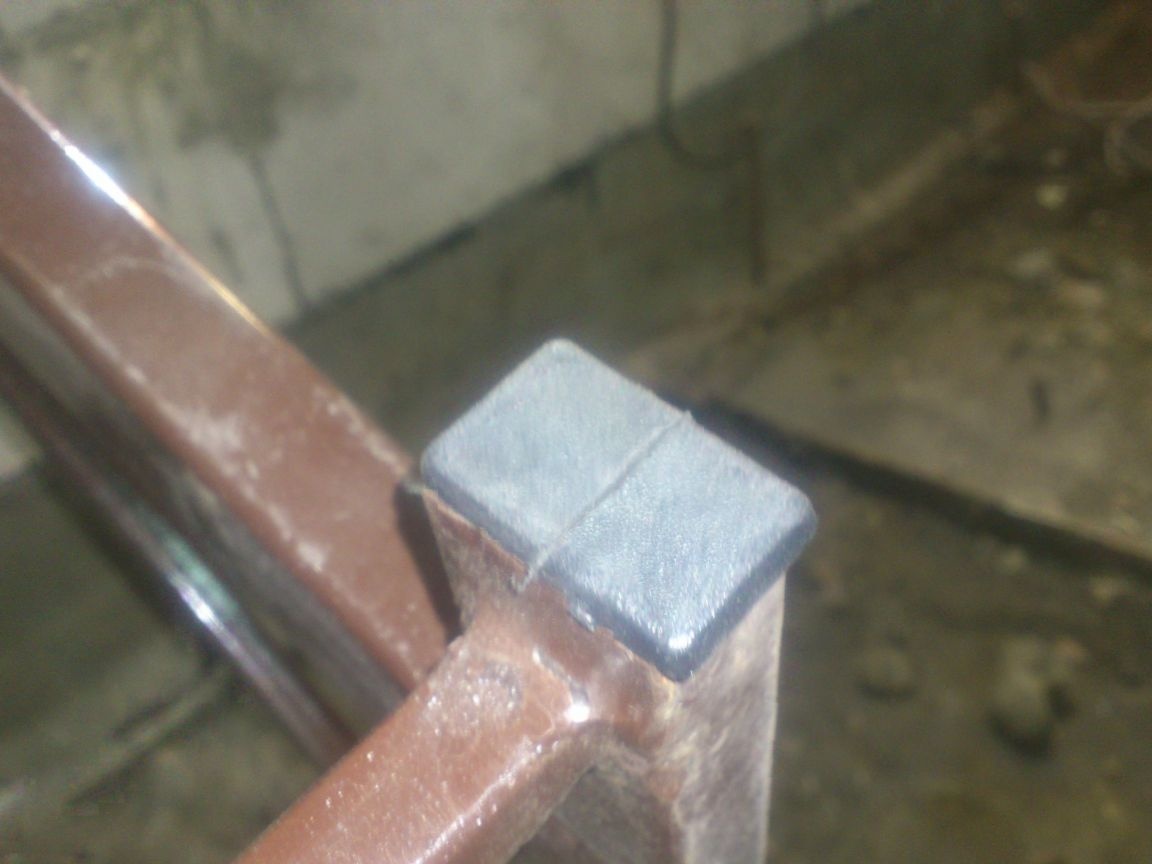
In the morning (it was Saturday) it dried up and I “finished” it - I riveted the rubber plates and hammered the plugs into the open ends of the pipes.
I made the pads from a piece of thick rubber (Already 8mm), which was lying under my feet for a long time ...I just (or, as the youth put it, stupidly)))) riveted the rubber with a riveter:
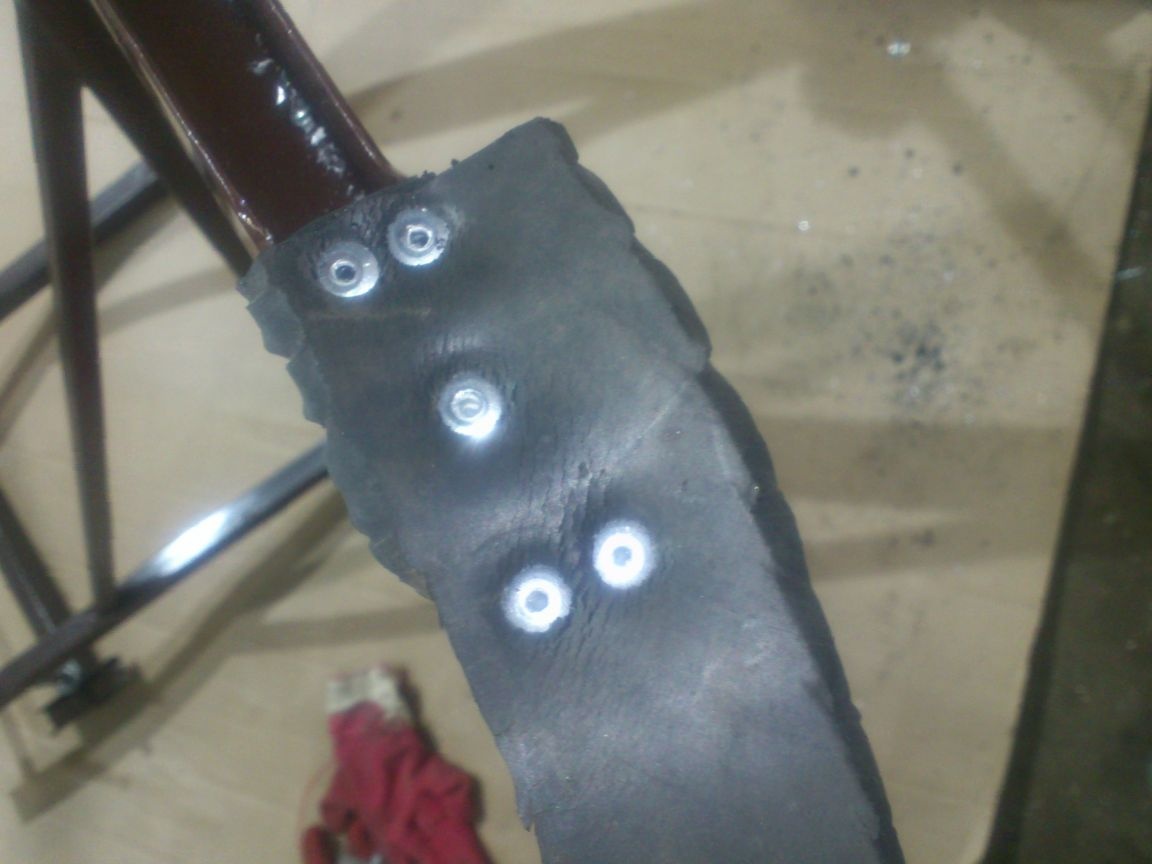
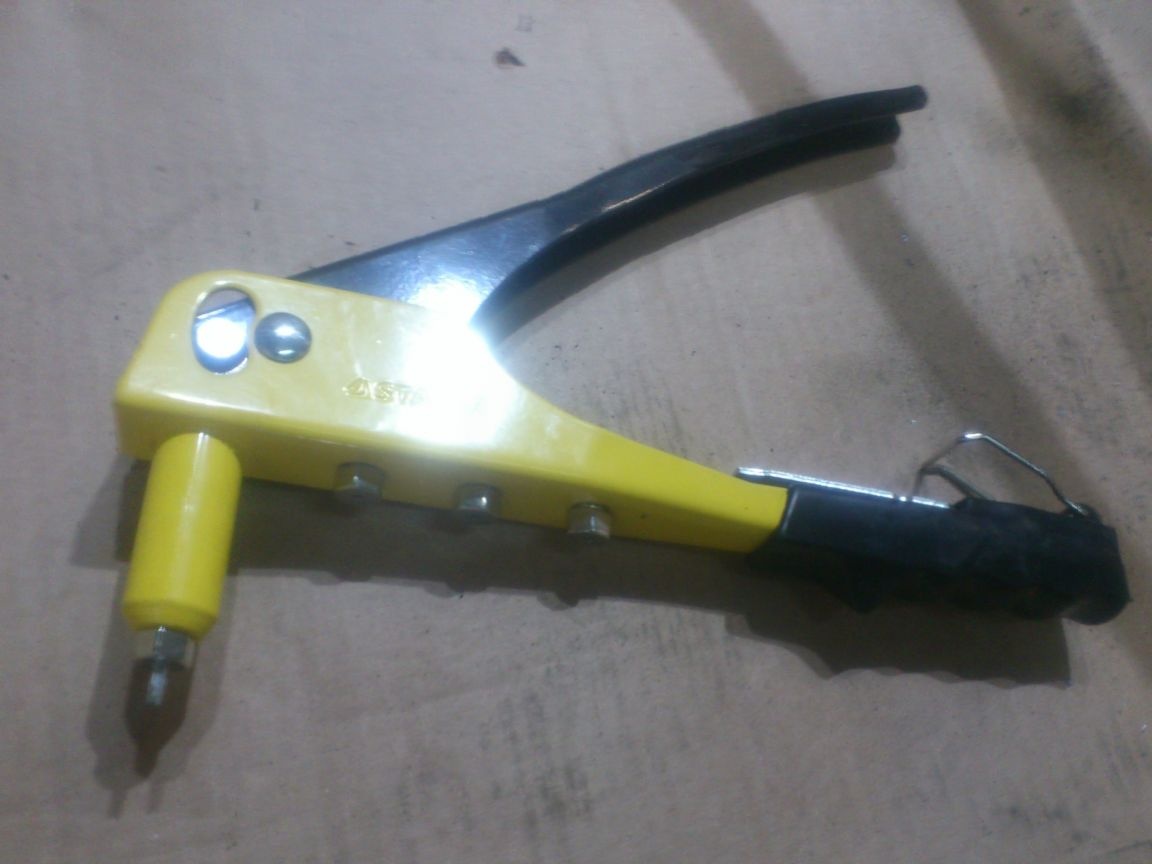
By the way, at the same time I tested my new riveter, which I bought on Ozone at some unbelievably low sale price for the money earned on this site))))):
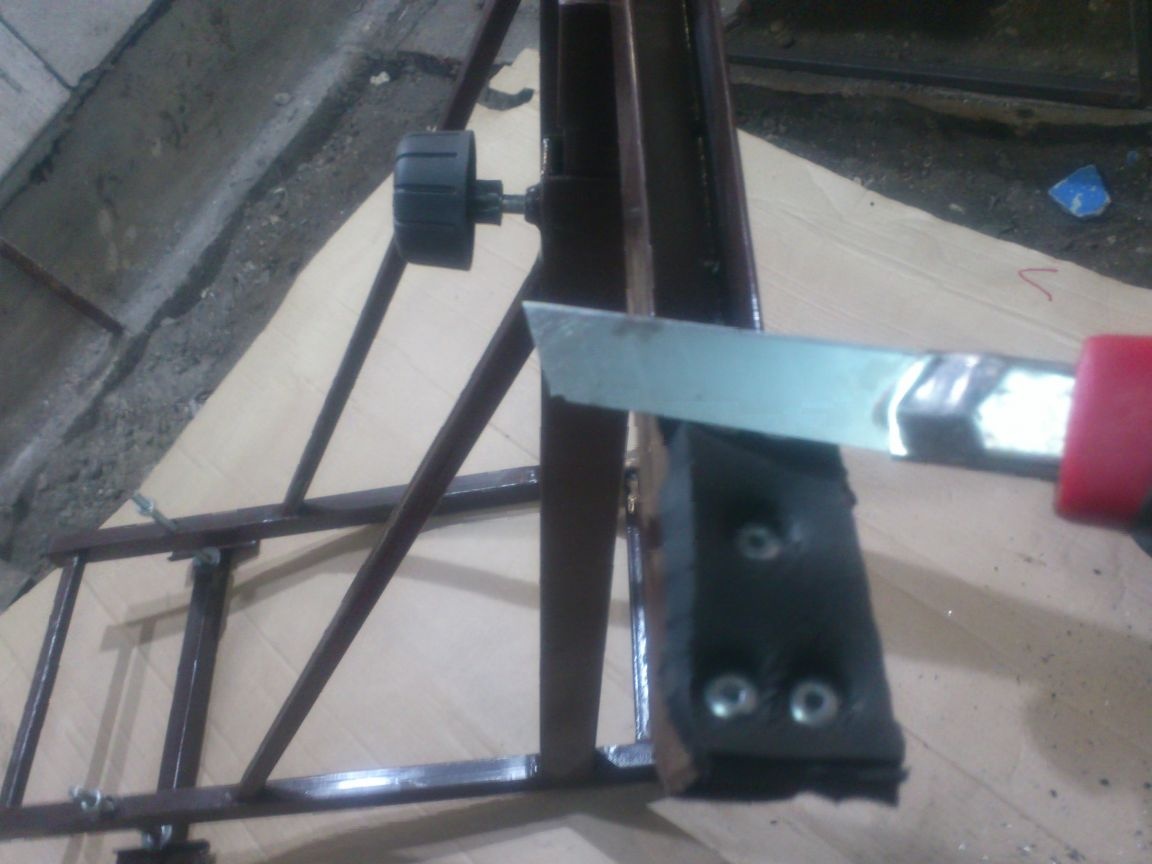
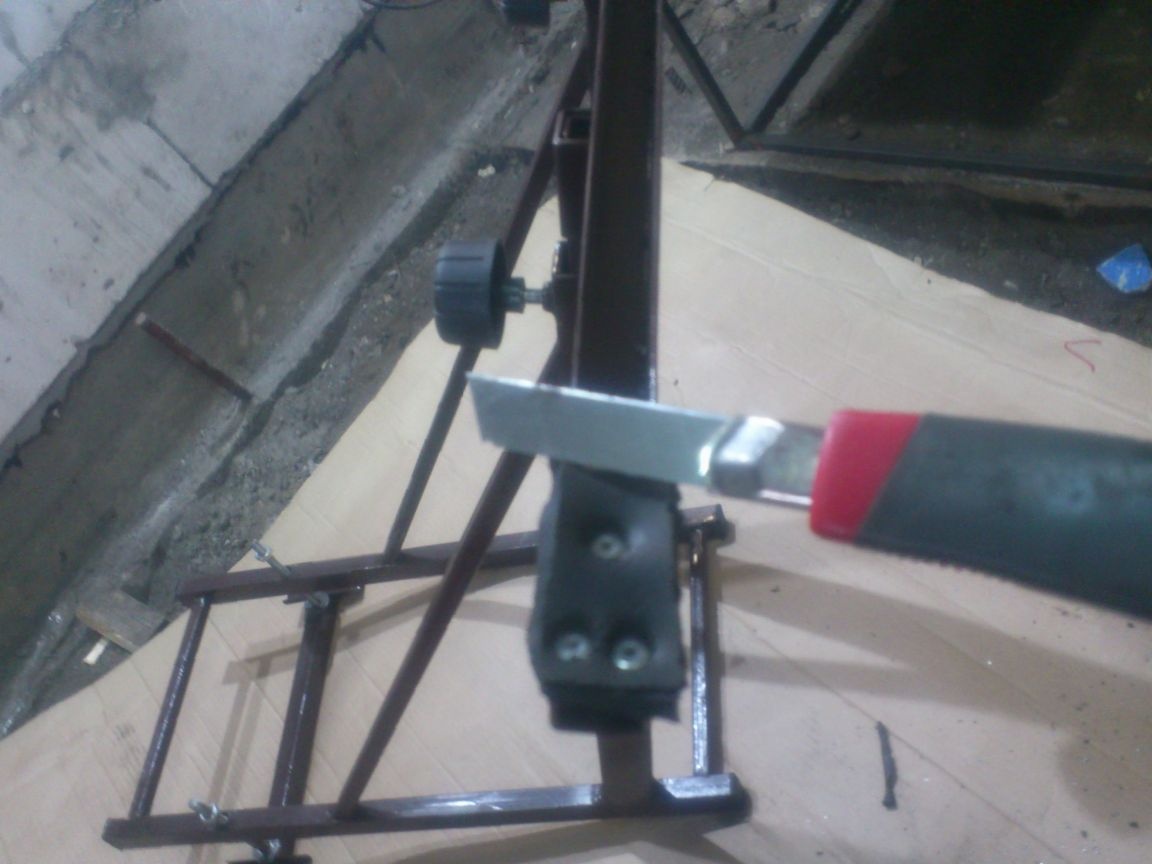
After that, I cut off the excess with a knife and turned it in an emery-petal circle with the help of a “grinder”:

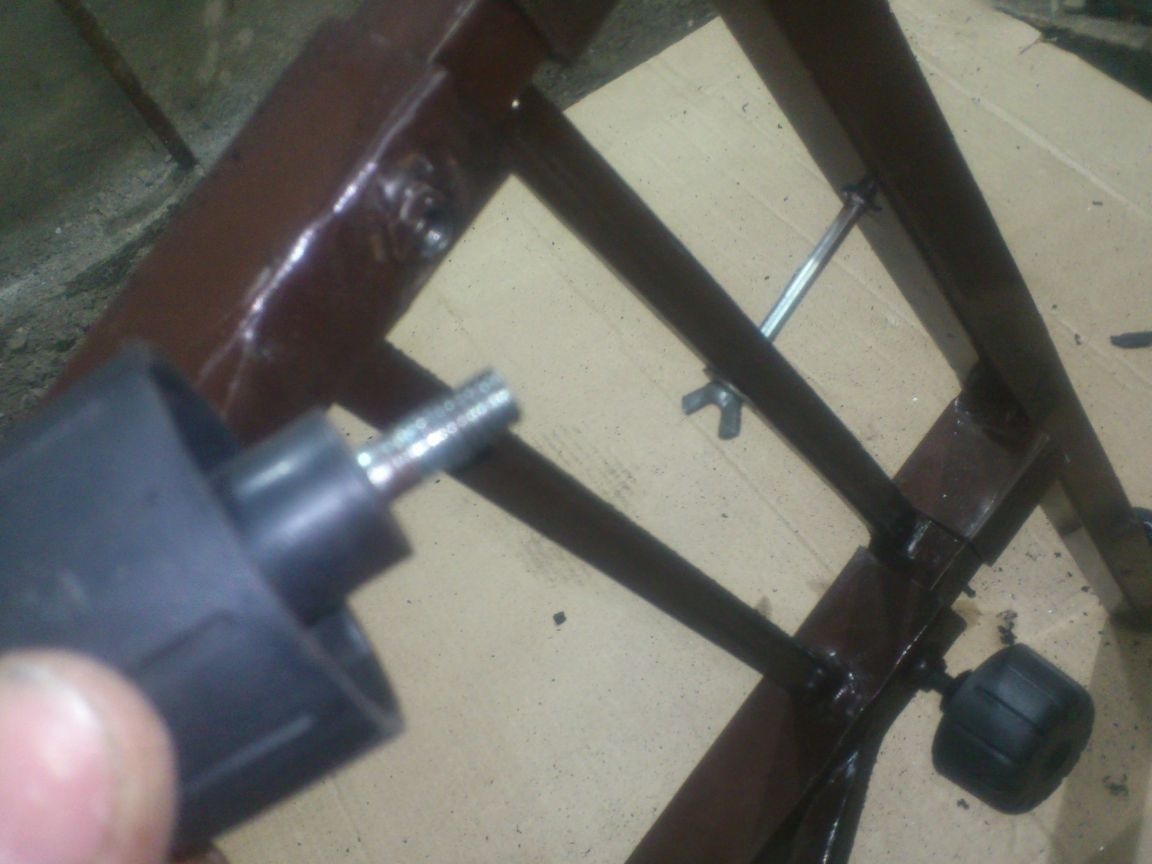
I replaced the M8 fixing screws with the screws from office chairs. (In their chairs, sometimes the thread at the plastic itself breaks down, since they are screwed there into sheet metal. So I collected these. Another piece of thread works here, and they are screwed into a full-size nut:
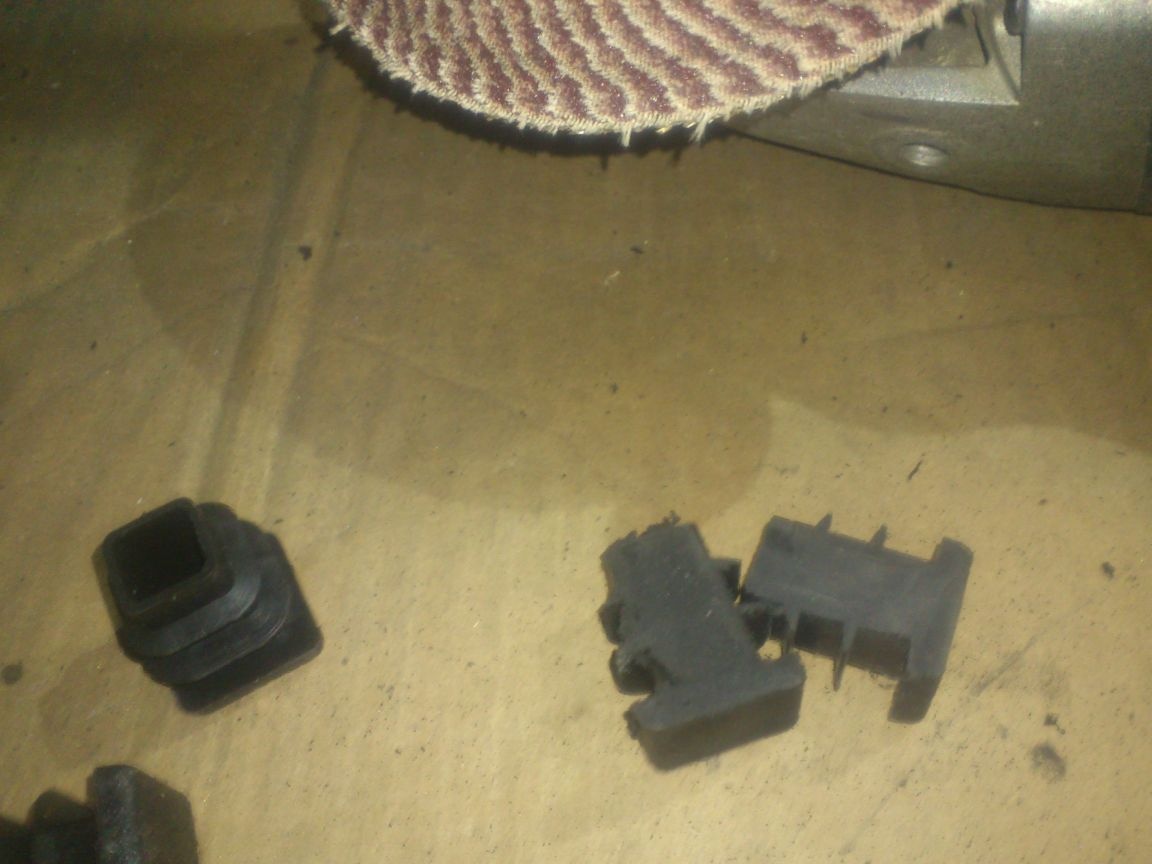
It turned out that there are no plugs with a cross section of 20 by 30 in my zagashniks .... But if I put it aside for later, the product will probably remain unfinished .... And therefore, I took the plugs 20 to 20:
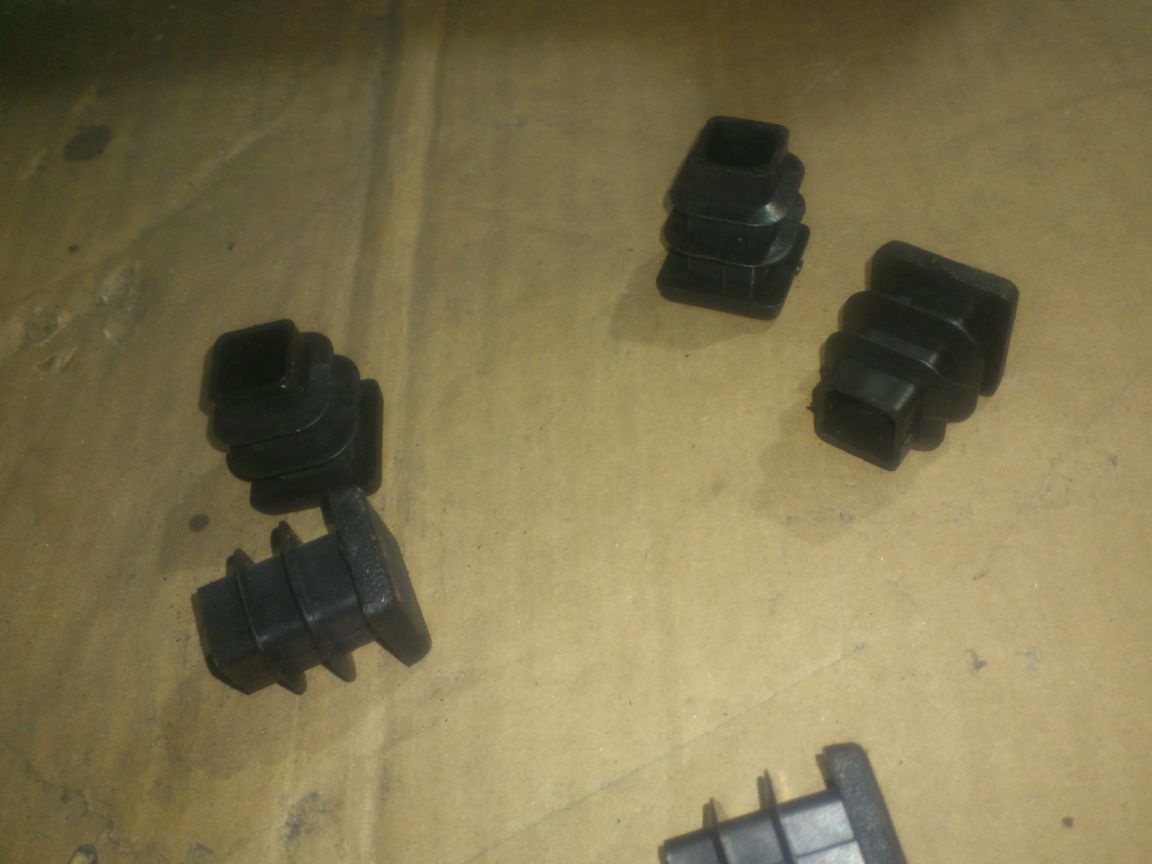
I sawed, and scored two ...
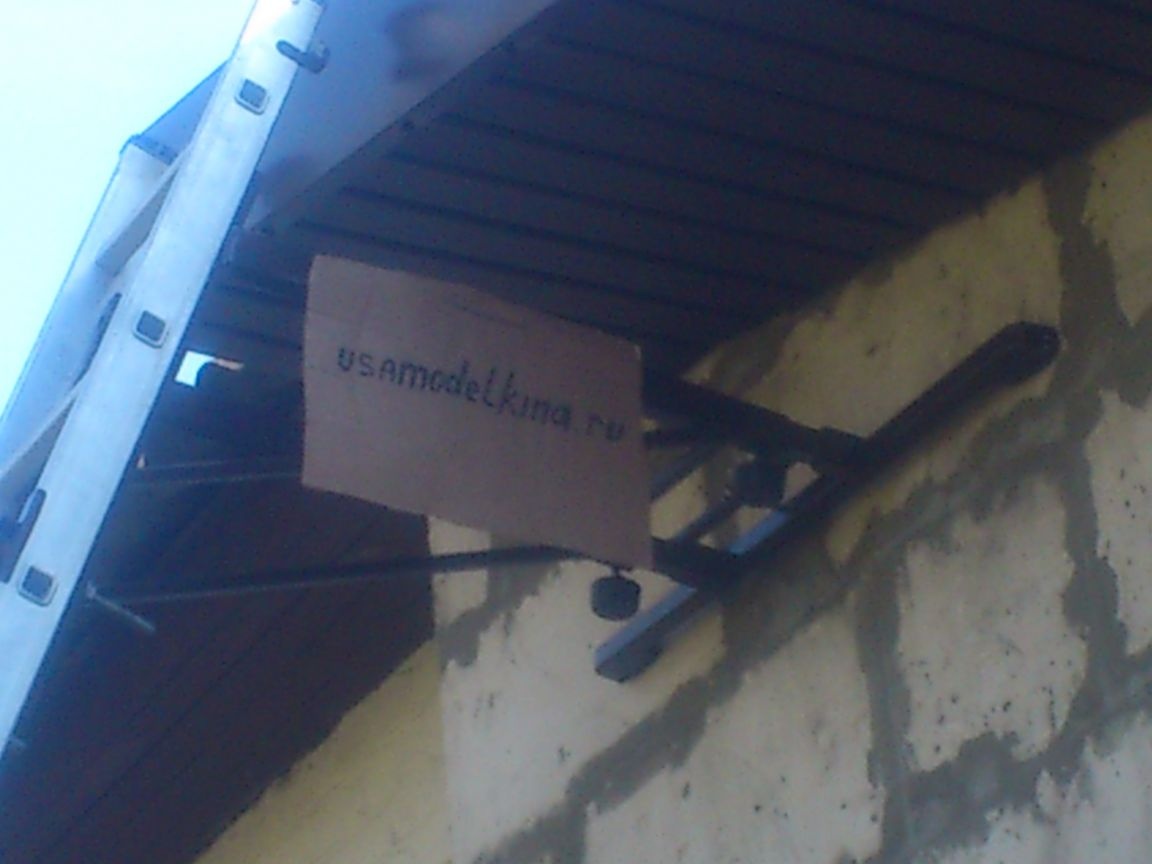
On the same day, using this device, I completely “cultivated” all the overhangs of the roof, and then climbed onto the roof and adjoined the roof to the pediment of the house ....
And, importantly, easily and safely several times got off and climbed back!
There was an idea to fix on it some kind of drawer, which can be taken at a height taken with you. But then she threw her away. I just made a shelf from a piece of OSB, which can then be lifted and put on the crossbars. And he drilled a hole in it and secured a carbine, which is convenient to fasten the extension cord so that it "does not run away." (This was all finalized later, during operation, so the photo is no longer ....
... All ... Thank you for your attention ..
I hope someone will find it useful ....