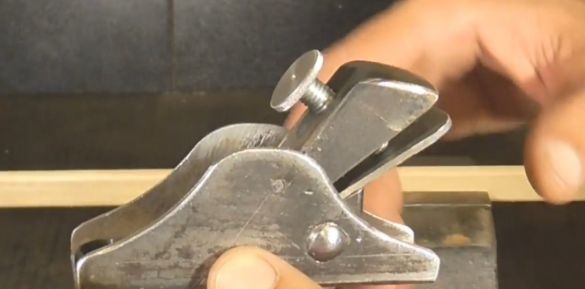
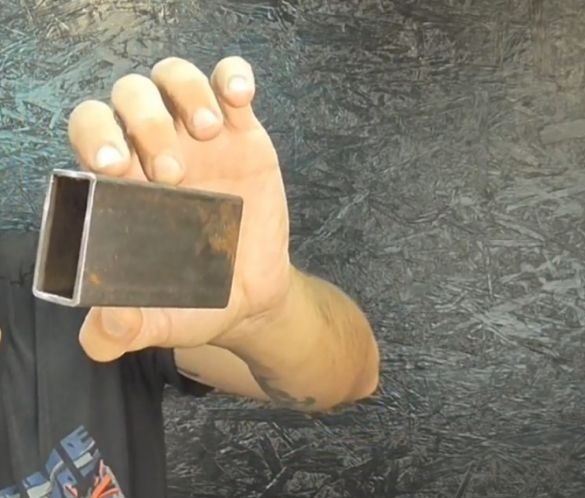
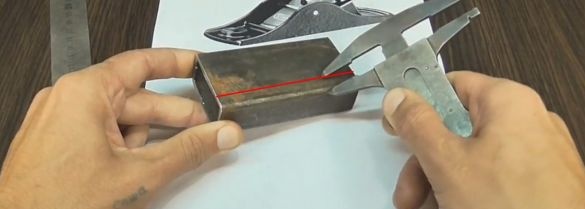
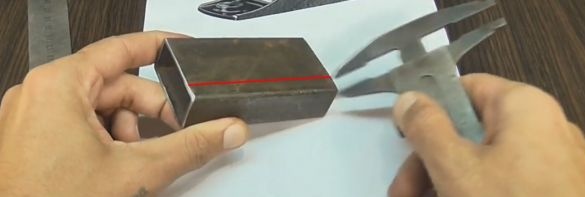
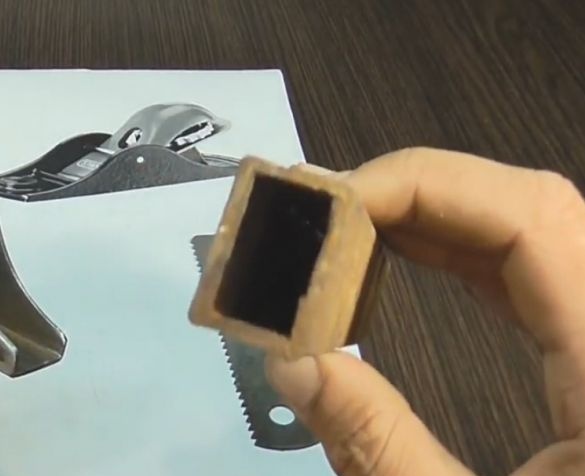
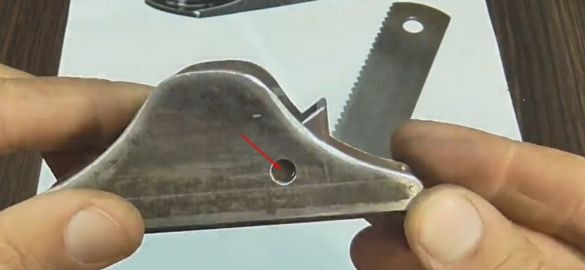
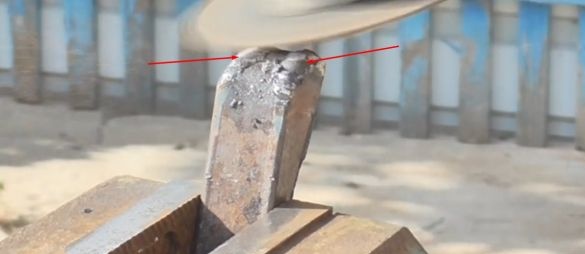
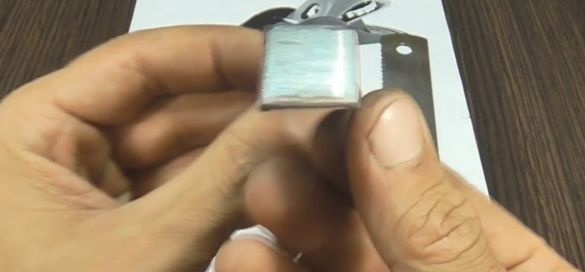
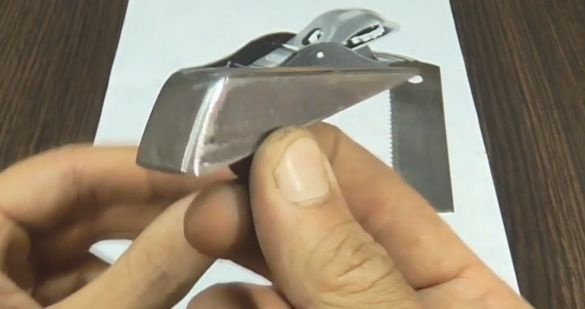
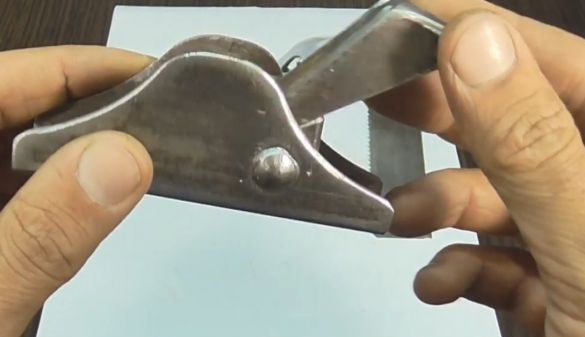
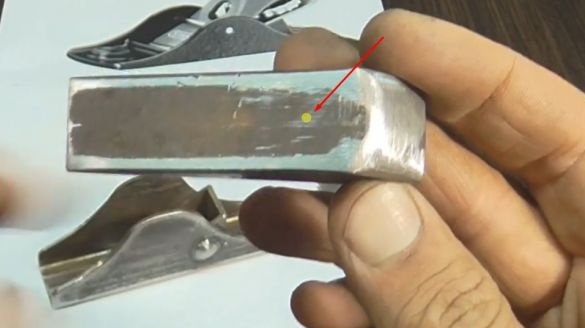
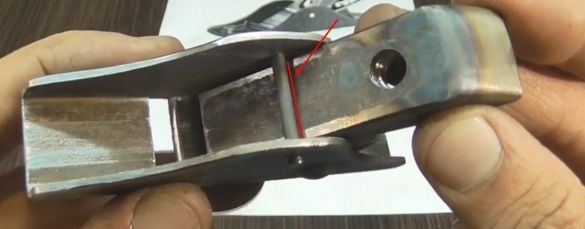
Good time to all. Today I want to tell how the author made a mini planer do it yourself. (As the author says, such a compact planer can be useful both for processing small wooden parts and for larger ones, for example, a holder for gardening tools, a door or a window leaf.) And for a start, the author took a piece of steel profile 25 * 50 * 95 mm. From it he will make a planer body.
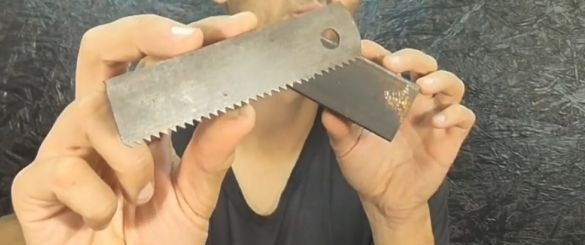
And for the knife, the author took a piece of rapite cloth from a mechanical saw.
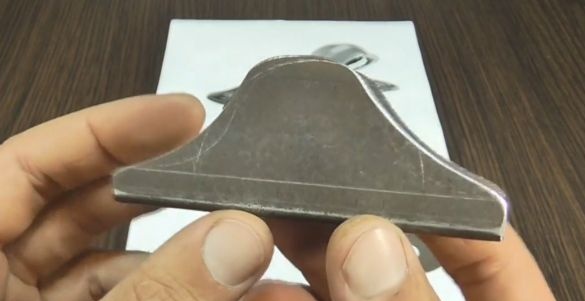
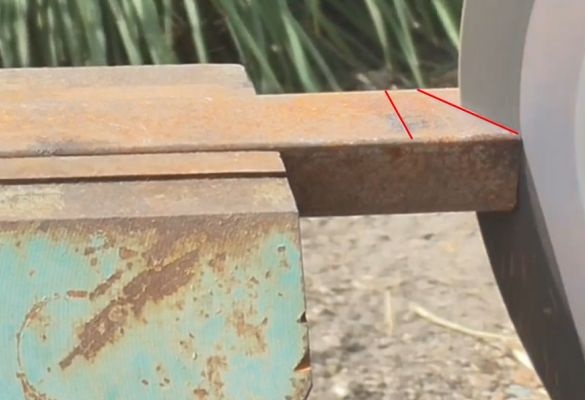
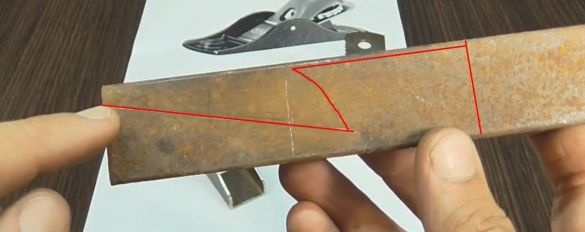
And he set about making the case. First, he measured 1 cm from the edge of the profile and drew a straight line from the opposite side, did the same.
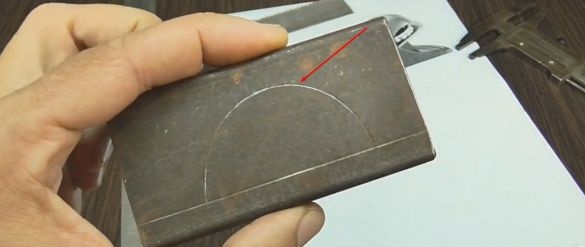
Then he took a skein of electrical tape squeezed it a little and attached to the profile drew a hemisphere.
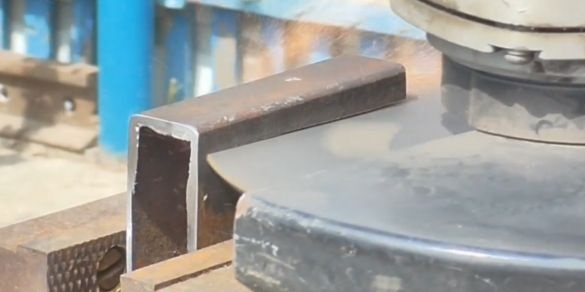
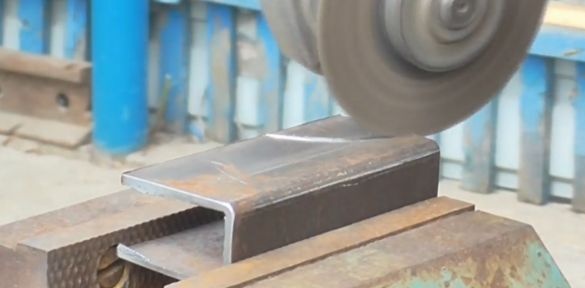
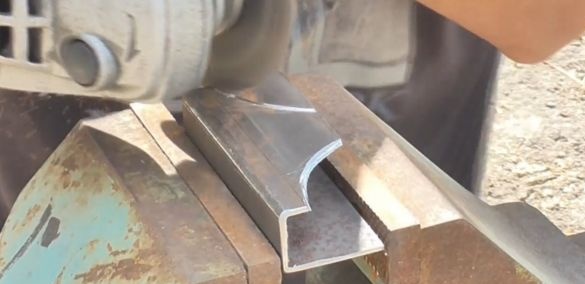
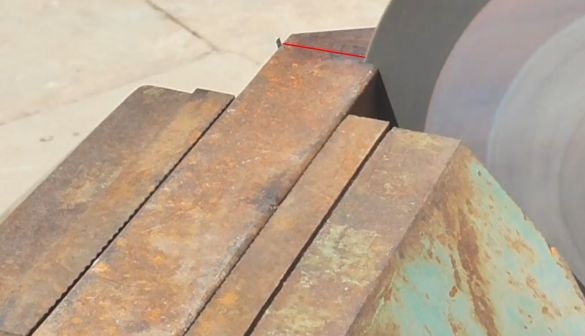
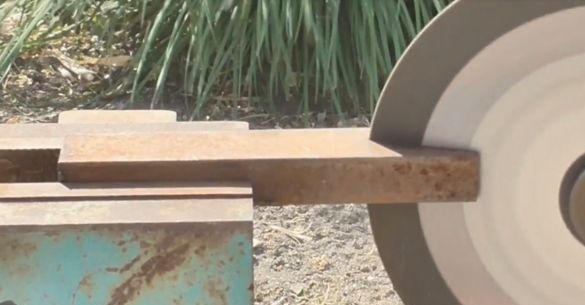
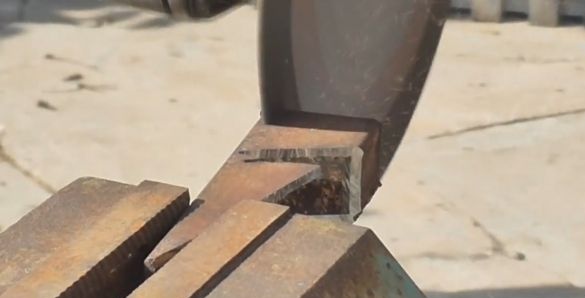
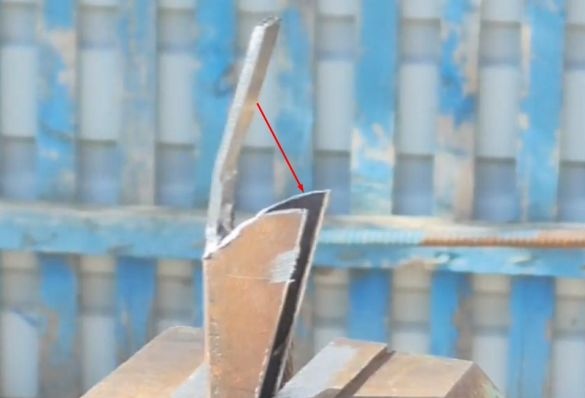
Then the author took the angle grinder and cut off everything that was not needed.
Then he grinded all sharp corners on the grinder, thereby correcting the planer body.
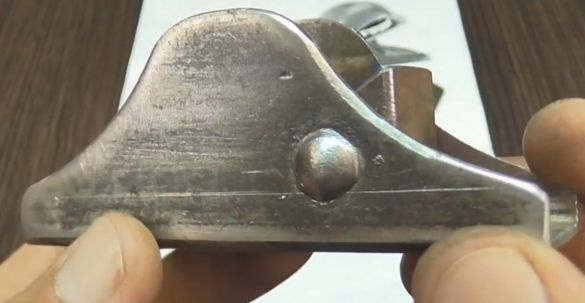
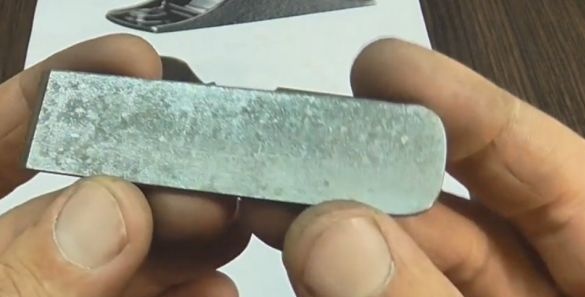
Here is a case he got.
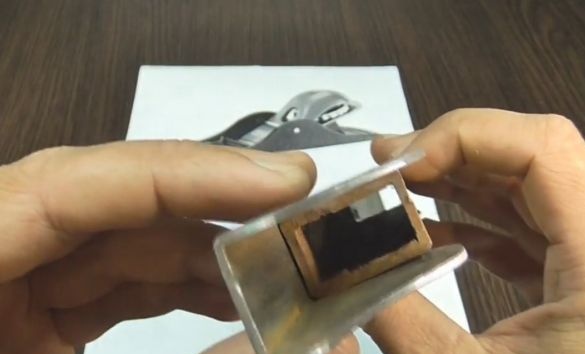
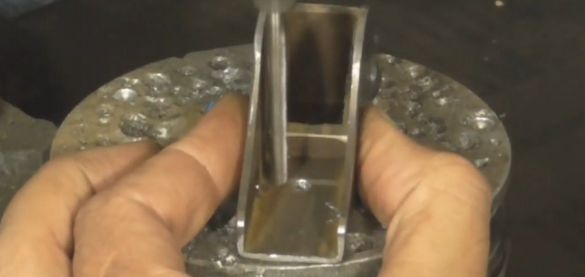
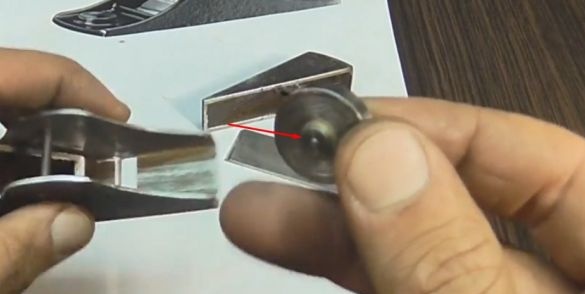
Then the author proceeded to the manufacture of the next part which will fasten the knife in a planer. For her, he took a piece of profile, but already smaller.
It should go into the planer body.
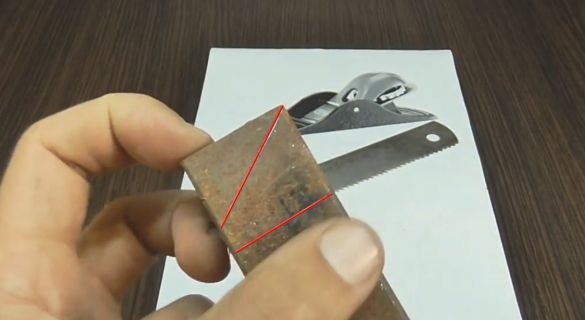
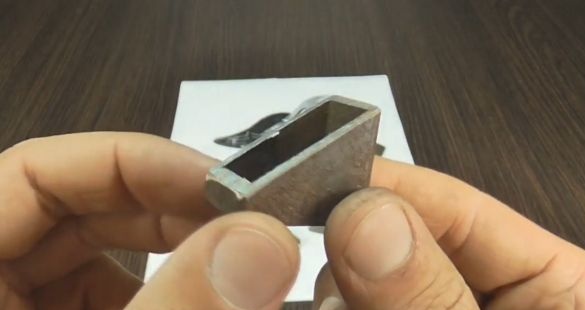
From this profile, the author needs such a triangle.
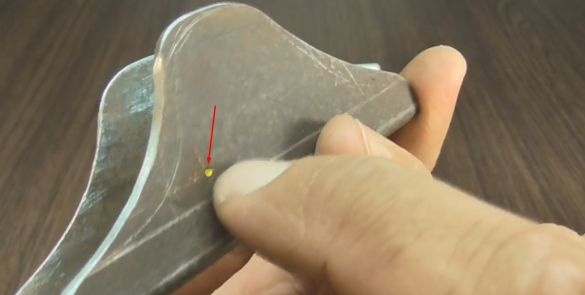
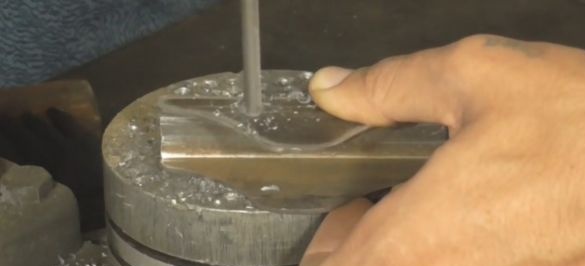
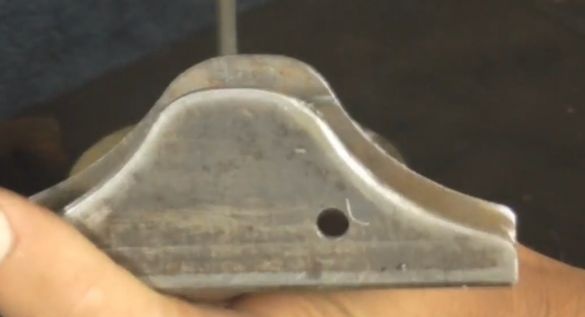
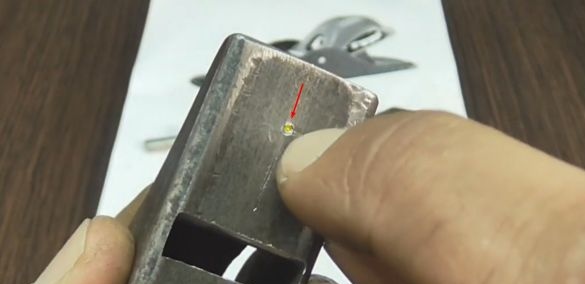
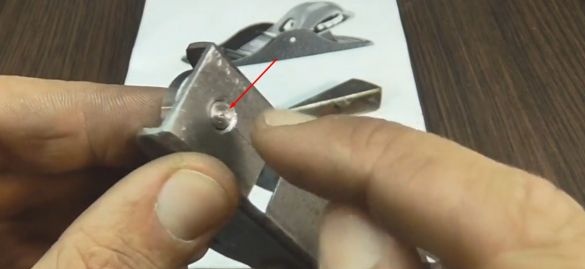
To fix this part, the author made a hole on the body in this place
on the reverse side too.
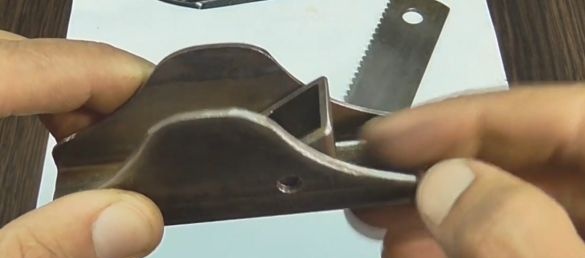
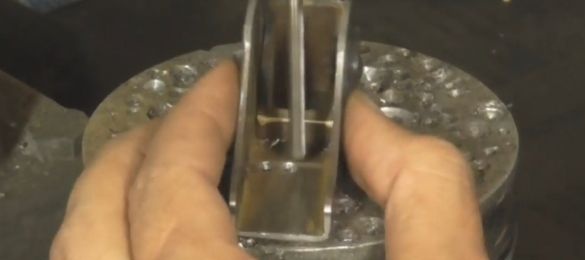
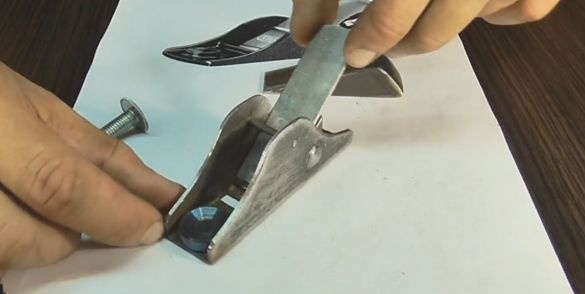
Then he inserted a triangular piece into the body
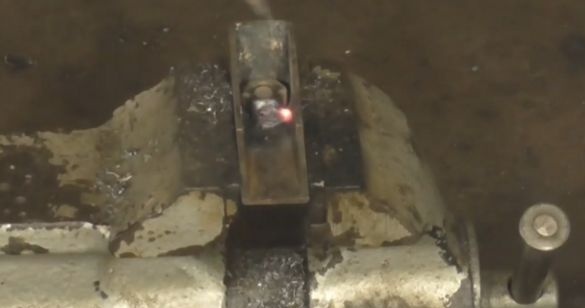
and through the holes welded these parts together.
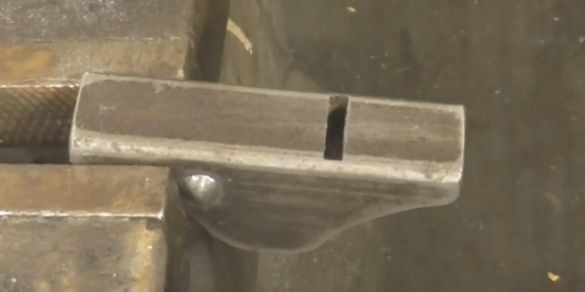
Further, on the case, the author noted the place where you need to make a slot, and the cutting part of the knife will protrude from it.
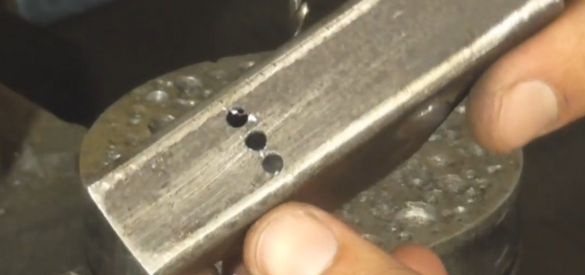
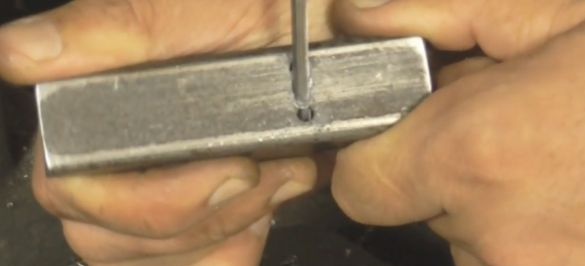
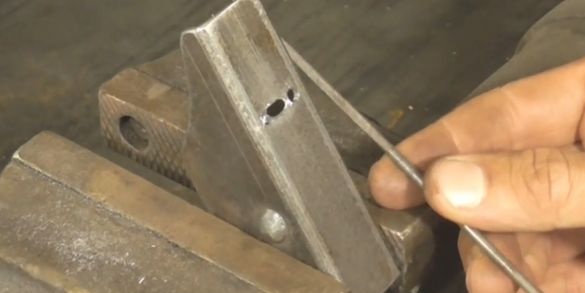
To do this, from the beginning he drilled several holes in the marked strip
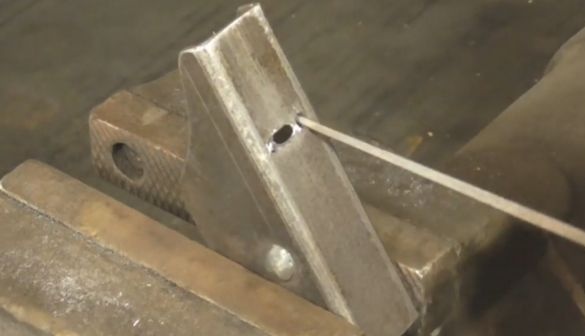
Then he drilled these holes a little.
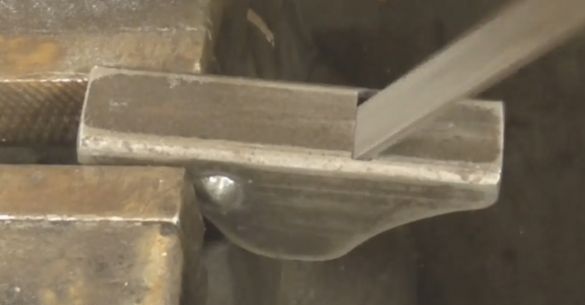
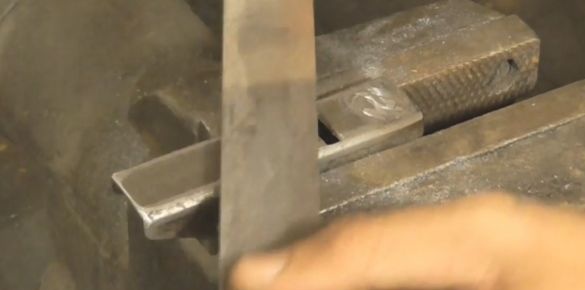
Further, the author was boring a notch with a file.
And in the end, he tweaked the slot with a file.
Then the author proceeded to the details (wedge) that will fix the knife. On a smaller profile, he made just such a markup.
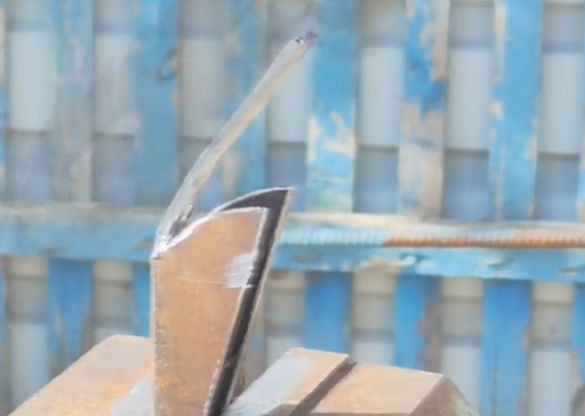
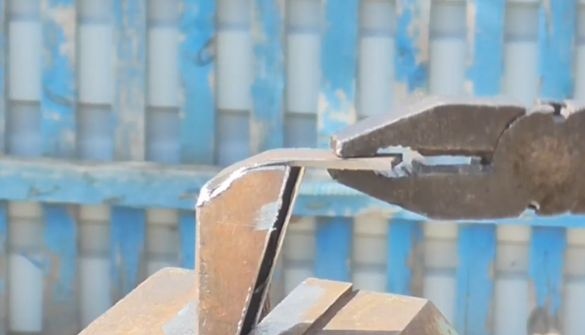
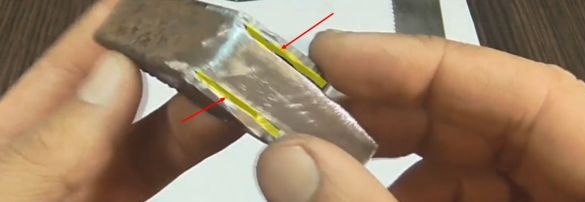
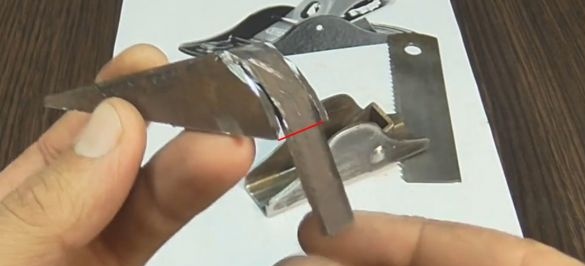
Here's what the author did. Then he bent the tail of this part to the notch on the part.
And in these places he boiled.
He cut off the excess part.
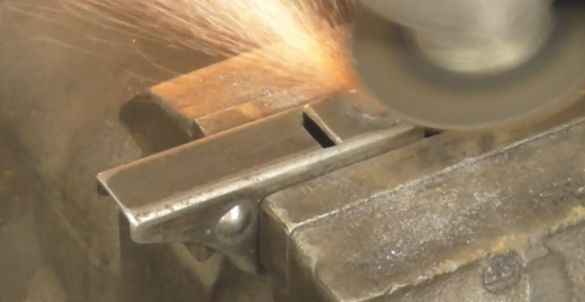
Then the author sharpened the weld points to a smooth surface.
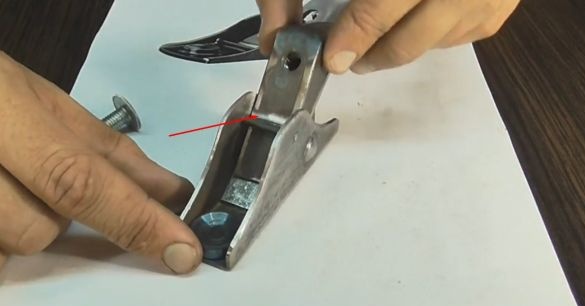
Then tried on a finished wedge
and outlined a place for the hole.
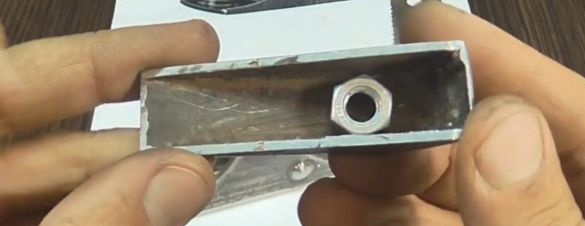
After he drilled holes, the author put a nut on the inside of the hole
and scald it.
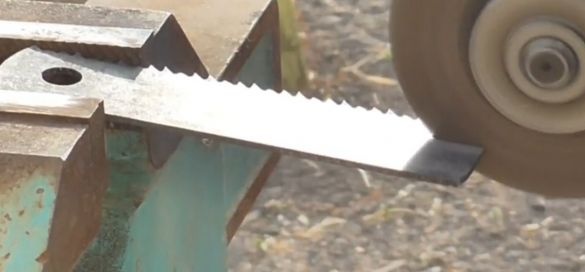
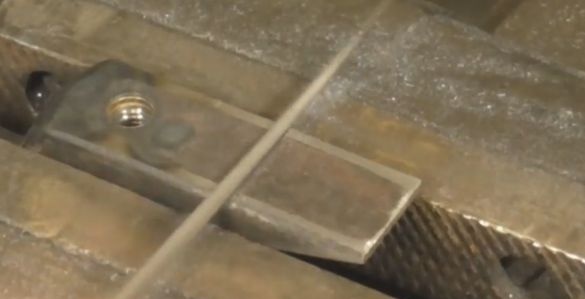
After that, he set about making a knife. He cut off the canvas (the width of the canvas should be equal to the internal size of the body.)
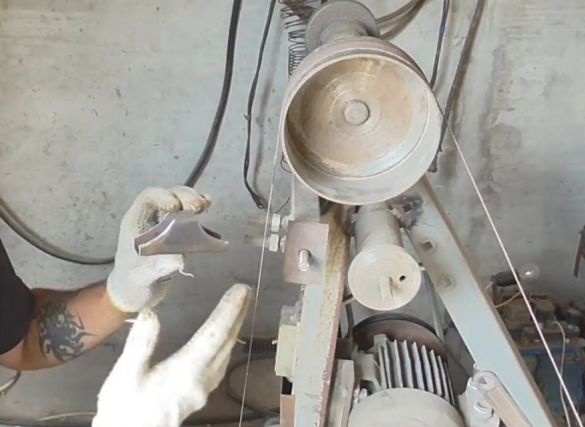
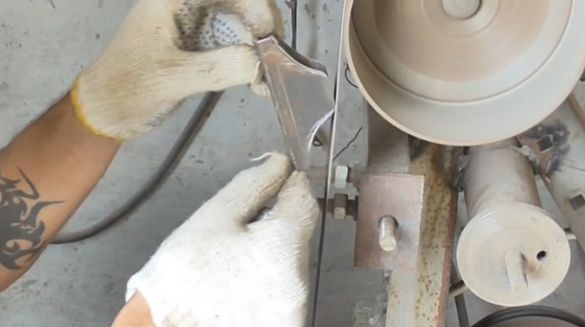
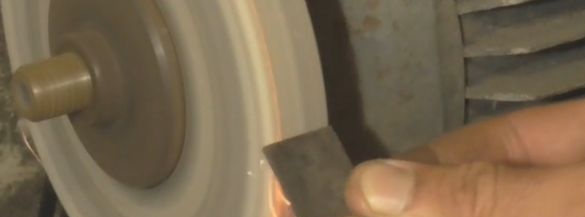
The author sharpened the knife in this way, first on an emery,
He sharpened sharp edges from one edge, then sharpened the other edge.
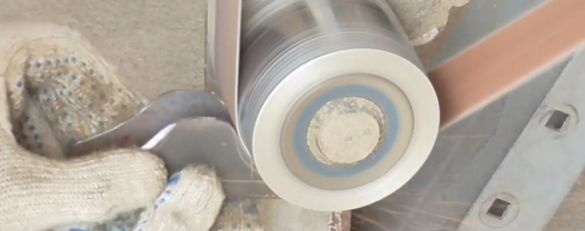
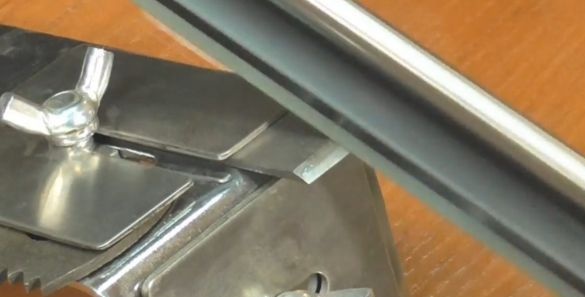
Then, on a knife sharpener, he brought the sharpness of the knife to perfection.
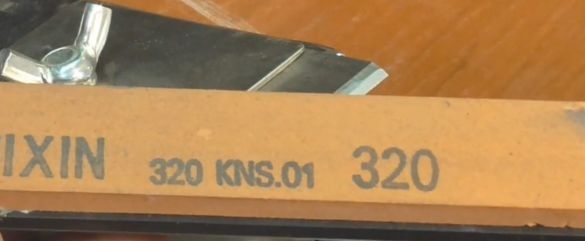
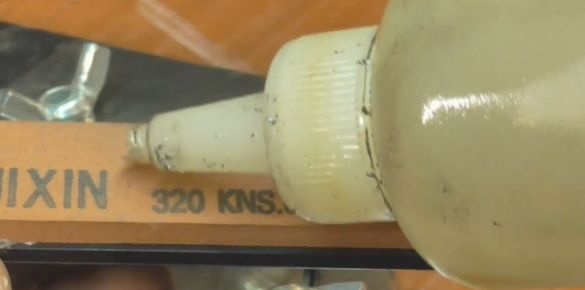
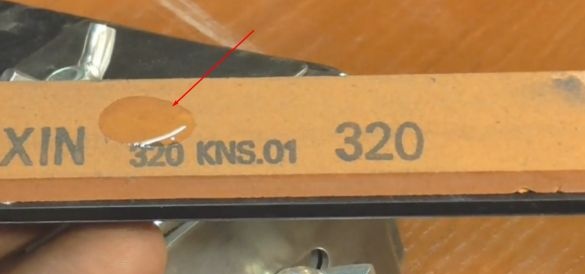
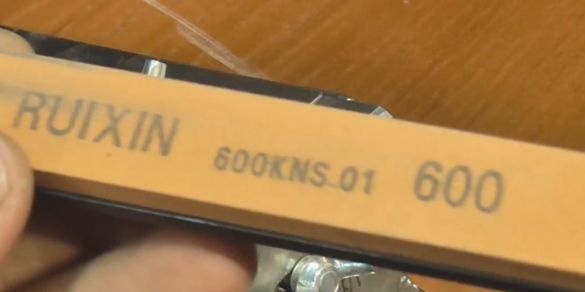
As he sharpened, the author changed stones with finer grain; during sharpening, he applied a few drops of oil to the stone.
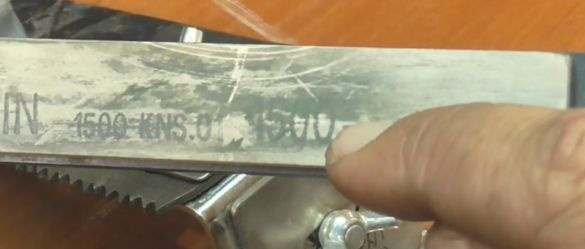
The author made the finishing sharpening with a stone with a grain size of 1500.
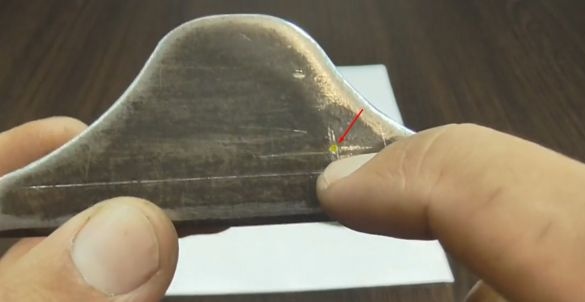
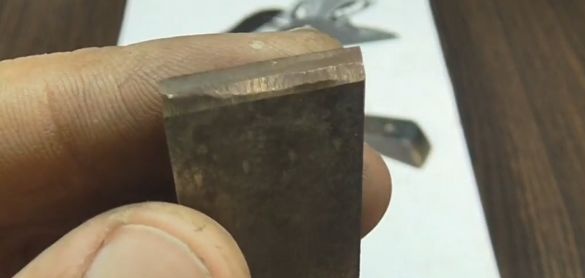
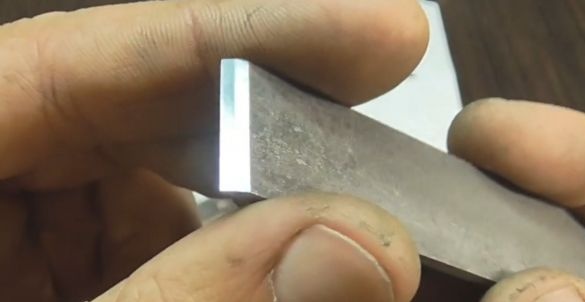
And here is the result of sharpening the author.
Then, to stop the wedge, the author made a through hole in this place
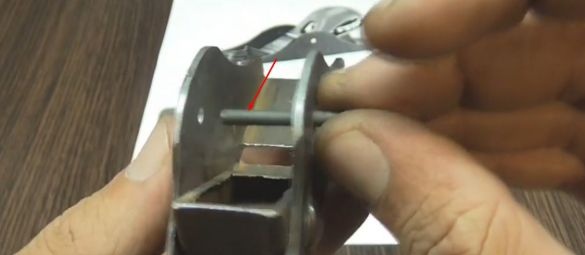
and inserted the cotter pin, which he made of a screw.
Now, on the wedge, the author will make the round file not a large depression under the forelock.
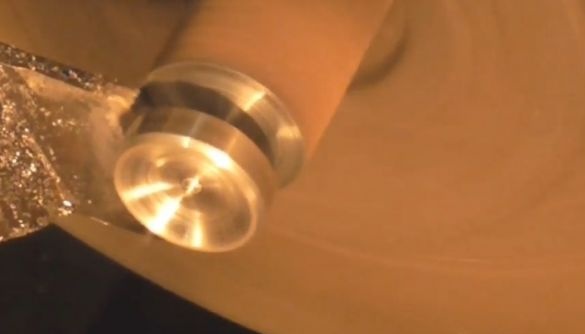
And in the end, the author has to do one more detail, it will serve for more convenient work with the tool. The author will carve out this detail from the round timber.
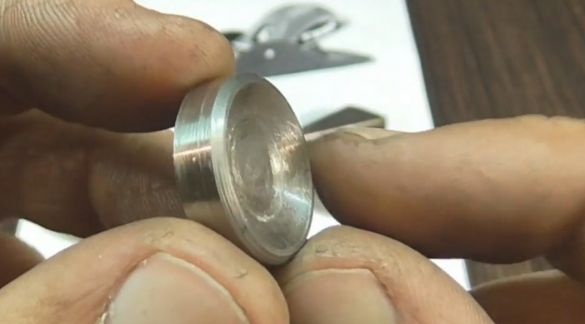
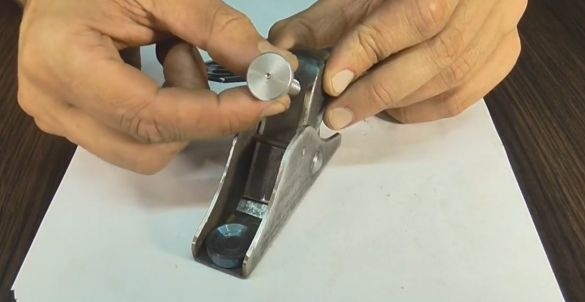
Here is a kind of button made by the author, on the one hand, she’s not a big hollow,
and on the other there is a small ledge, with the help of this ledge the author will fasten this part to the plane.
Drilling a hole on the body,
he inserted this part with a ledge into the hole.
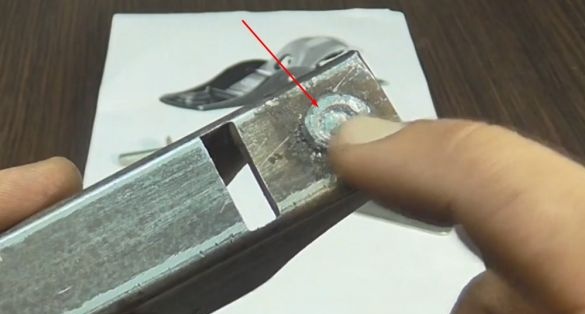
And scalded.
Then he turned the welding spot to a smooth surface.
and filed across the entire plane of the planer.
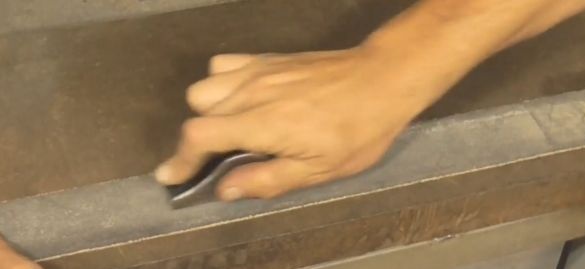
And in the end, the author polished this plane on fine sandpaper.
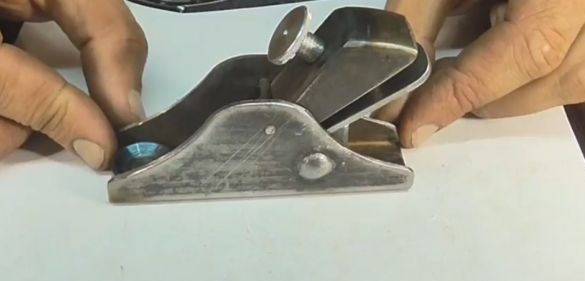
Well, the time has come for the author to collect a planer.
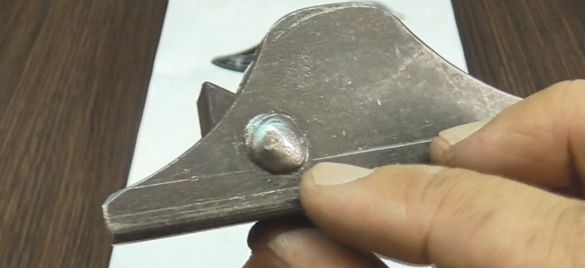
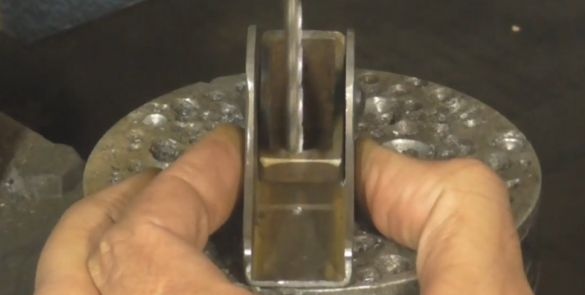
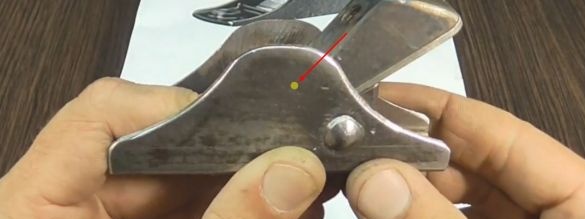
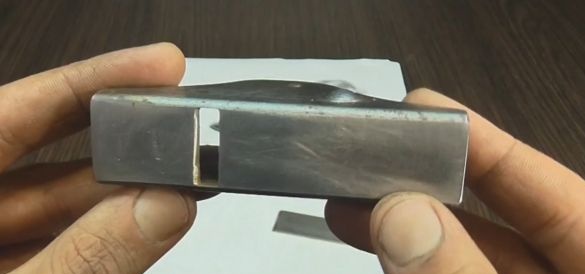
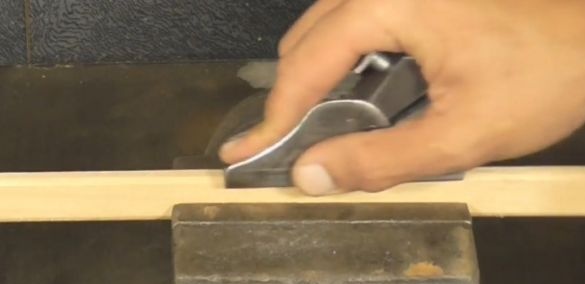
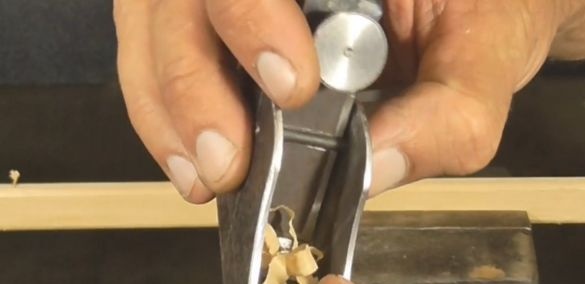
Here is such a mini planer turned out by the author.
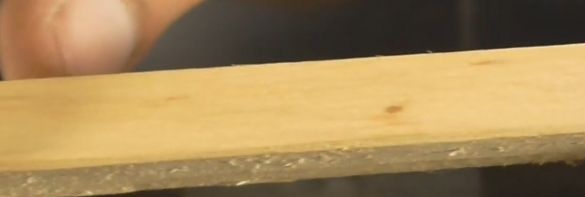
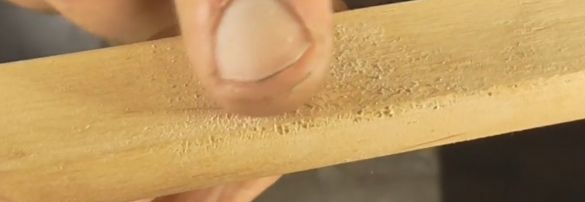
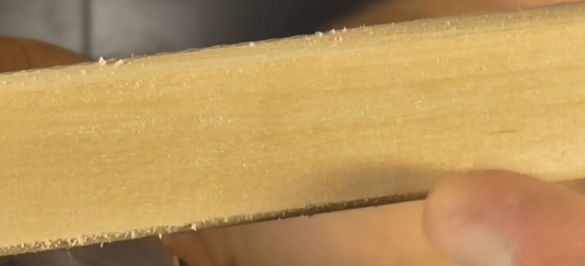
According to the author, a mini planer perfectly does its job. The surface after processing with this plane is flat and smooth.
Before processing.
After processing.
Movie about homemade:

