Good day to all.
Somehow, shortly before my daughter’s birthday, I got an idea. Usually on her birthdays I prepare all sorts of contests, buy prizes for guests, give medals to the winners, etc. In general, I am entertaining children. And the idea was this: why not arrange something like a lottery? Somehow, right away, the basic rules formed in my head, and after deliberation, I liked the idea more and more. But the rules are the rules, and what will ensure the randomness of the choice and the very attractiveness of the process? But do not throw pieces of paper with crosses in a hat, after all, the 21st century is in the yard.
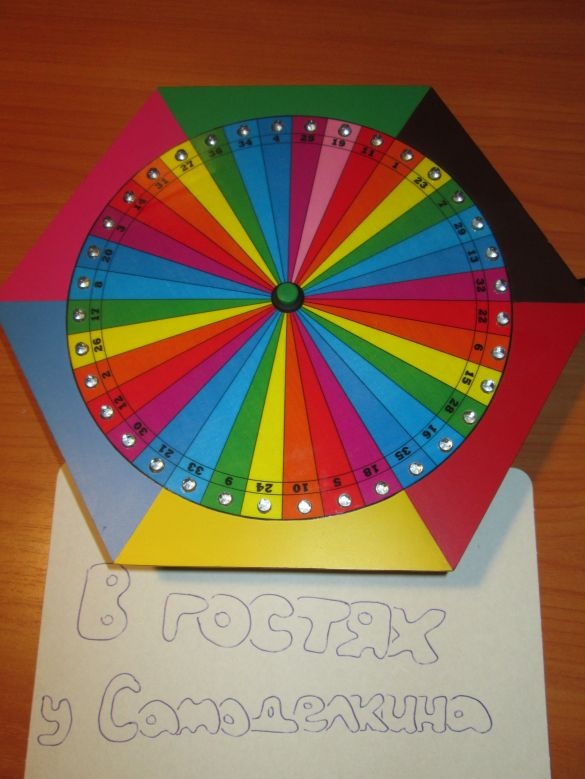
Actually, the requirements for the device themselves came up quite quickly too: it will be something like a circular field with sectors numbered and painted in different colors, it should be bright colors, tri-color RGB LEDs will be used in it (I once saw on Aliexpress - a notch in my head left), the PIC microcontroller will manage all this business. To add some bells and whistles and expand opportunities at this stage, I considered it inappropriate. nevertheless, before the birthday there was a rather limited period of time. This can be postponed until later.
Well then, go ahead!
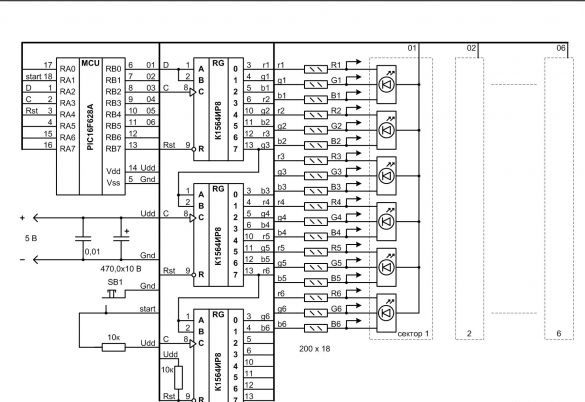
Naturally, I first think over and draw a diagram. Management, as expected, from the microcontroller. I use shift registers as buffer elements. In total, the device has 36 LEDs. The circuit is powered from a stabilized 5V source. It is logical to use one of the widespread USB adapters for this.
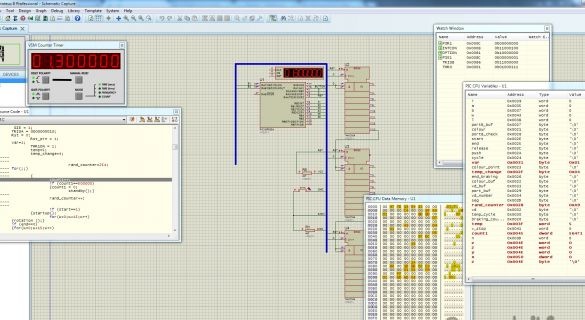
Then I write the program and debug it in Proteus.
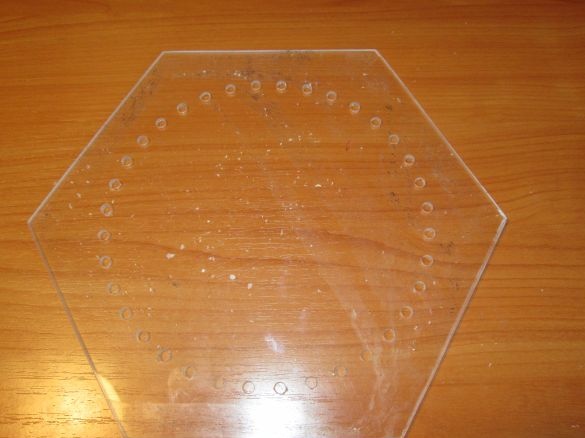
The next stage, which I consider to be one of the most important when creating any device, is the design of the case and its appearance. I decided to make the case from plexiglass, and the decorative coating from laminated paper and self-adhesive film.
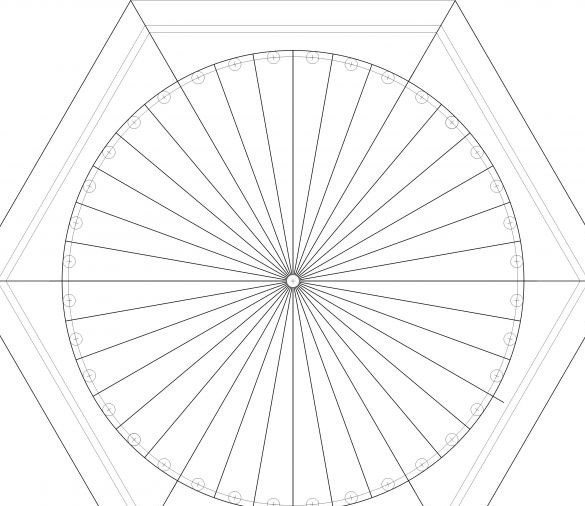
I draw a case on a computer (top view) ...
I draw a case on a computer (top view) ...
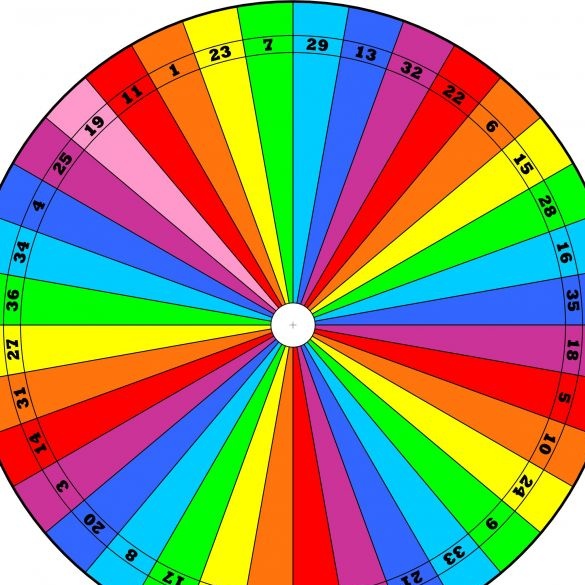
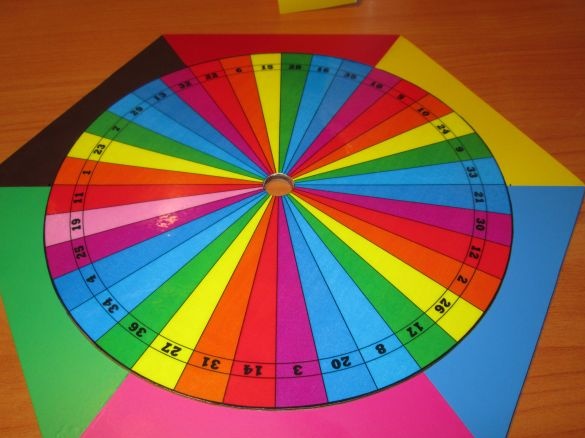
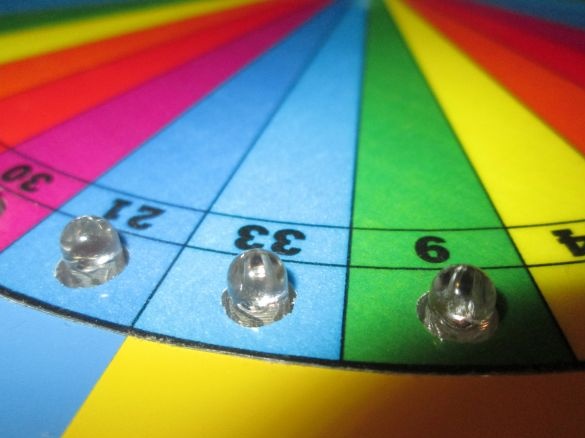
... and the field itself with sectors. Since all children know the colors of the rainbow, I paint sectors accordingly. But due to the fact that there are 36 of them on the field, one falls out of the spectrum. For fun, you can find him.
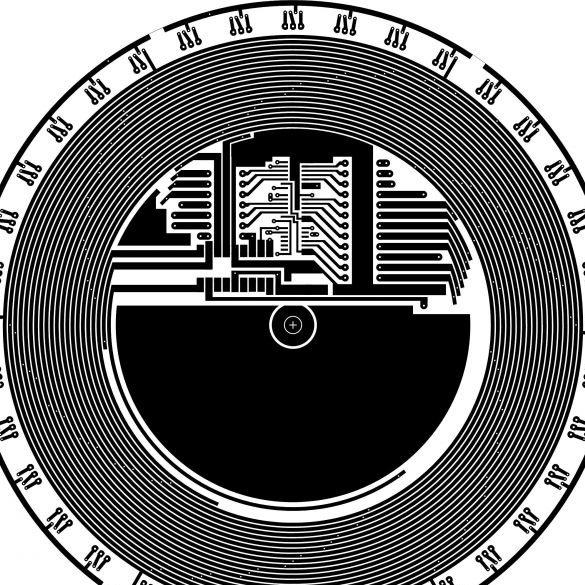
Now that the dimensions of the case and the location of the elements of the device on it are determined, I proceed to the development of a printed circuit board, which is very difficult.
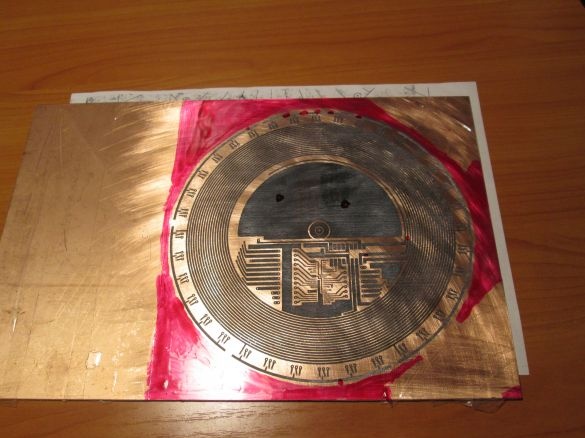
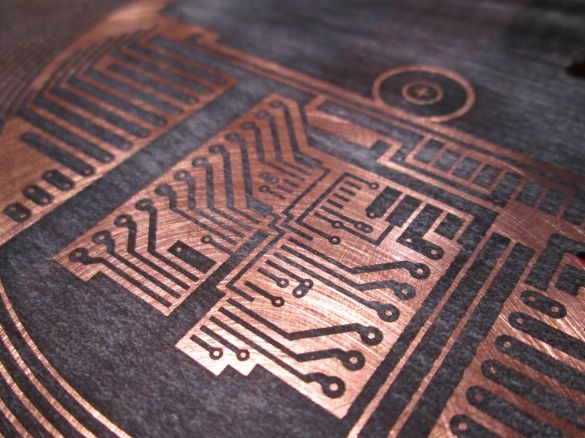
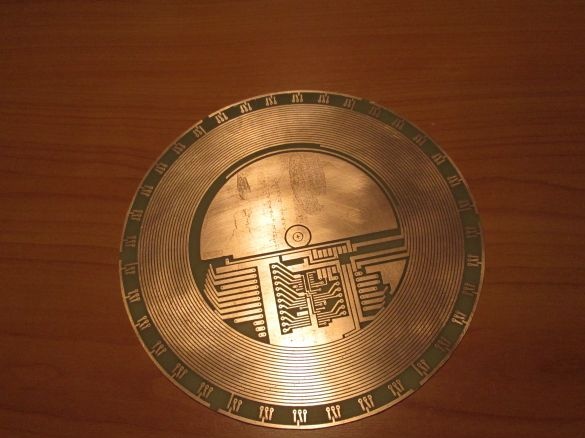
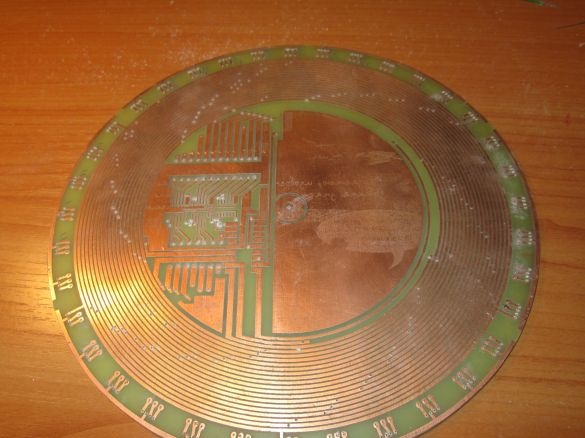
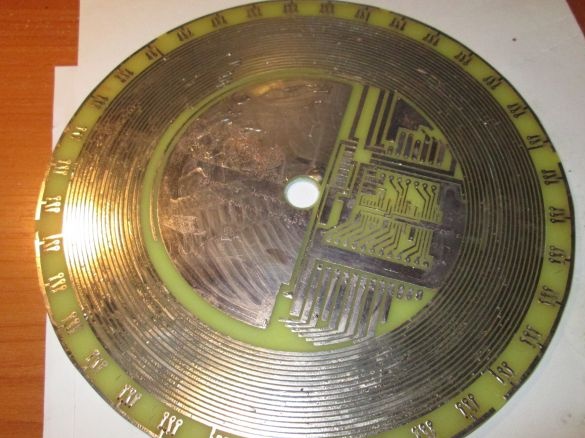
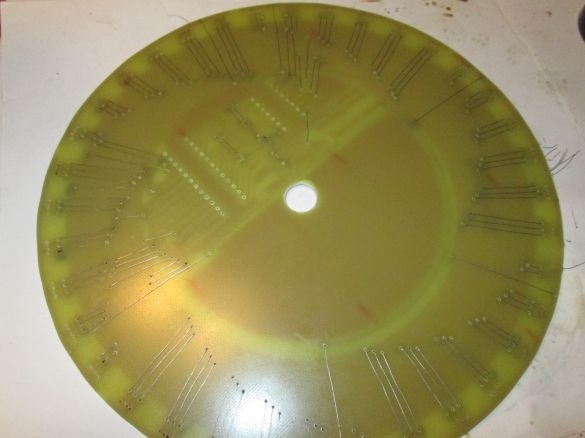
Then, as usual, using a laser-ironing technology, I make a printed circuit board.
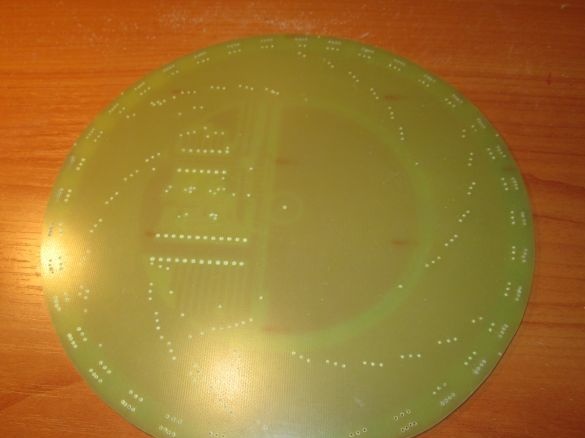
Now you can drill holes and irradiate the printed tracks.
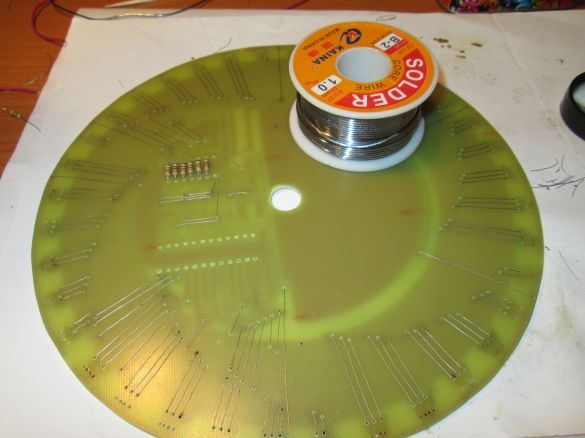
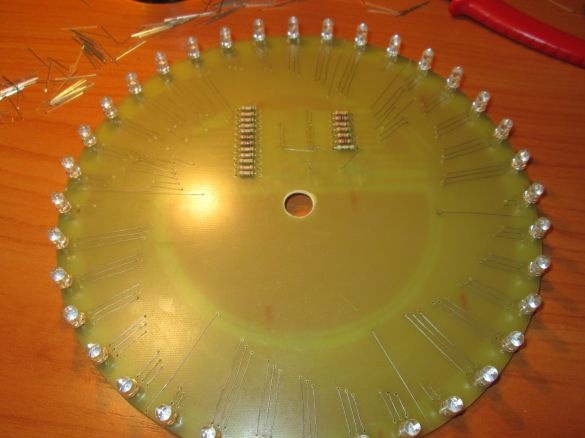
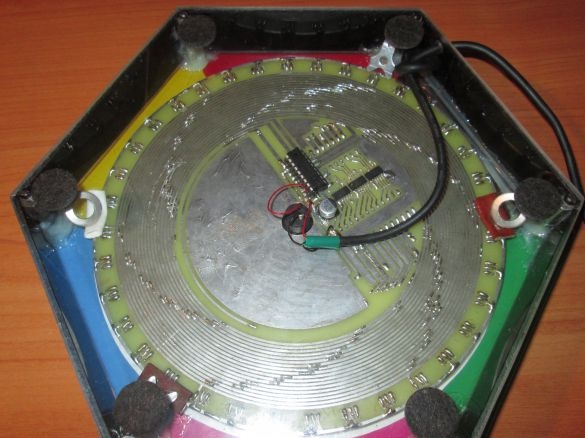
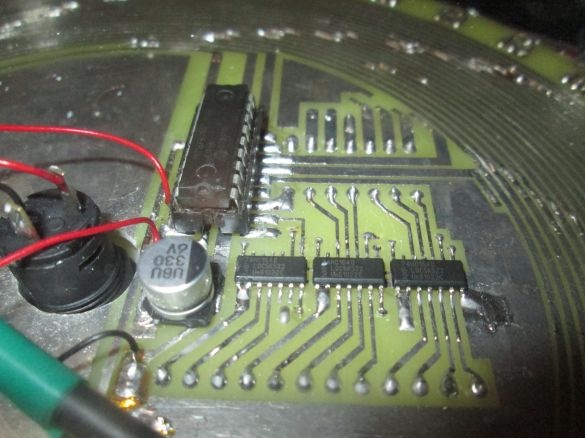
Before soldering resistors, microcircuits, LEDs and other details, I install jumper wires on the board. Due to the peculiarities of the circuit, a rather large number of them was accumulated - about 140 pieces. This is definitely the largest number of jumpers that I had to install on one board.
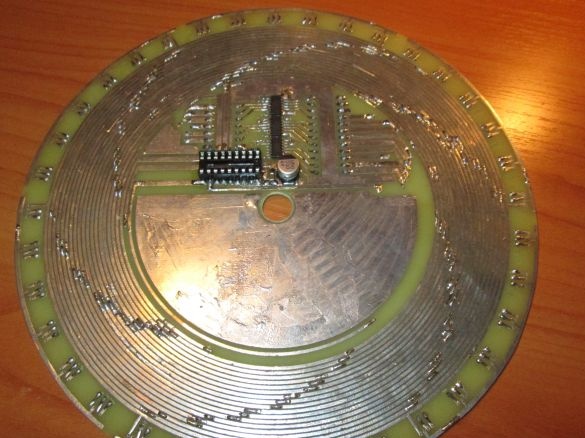
Well, now you can solder the other parts.
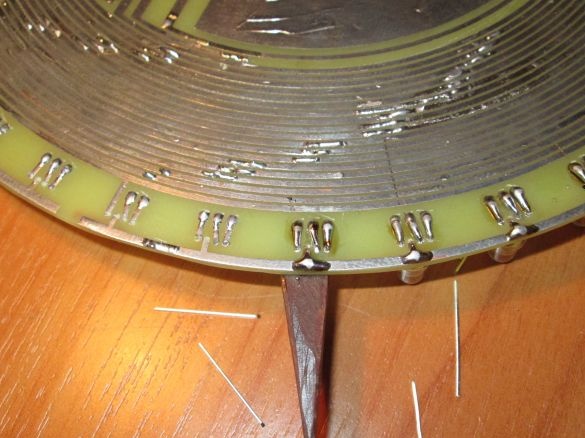
In order for all the LEDs to be at the same distance from the surface of the printed circuit board, I make a template from a piece of a five-millimeter getinax and use it when soldering.
Finally, all the LEDs and other parts (except the button) are sealed!
Then I make the top panel.
First, I glue the external sectors with a self-adhesive film, and then I glue the playing field, after removing the excess film.
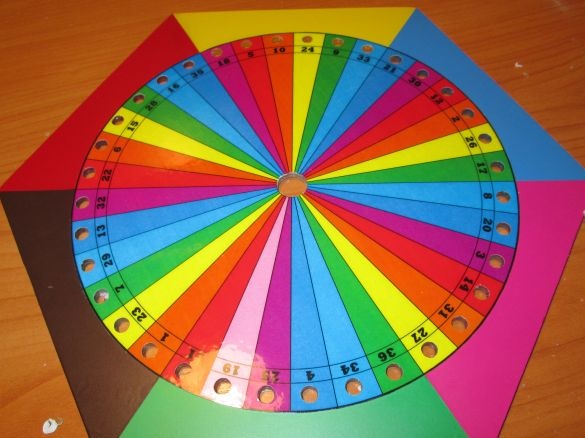
After that, with a sharp scalpel, I cut holes in the laminated paper for the LEDs.
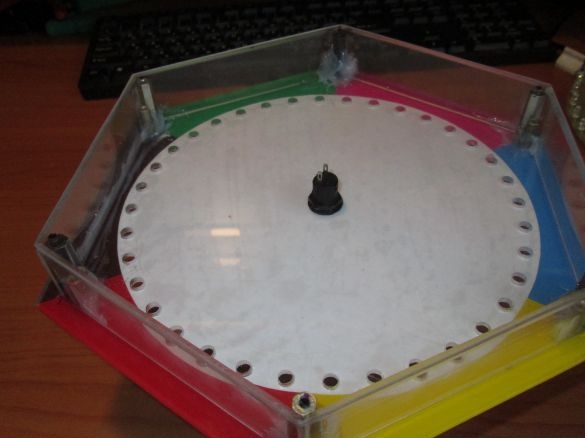
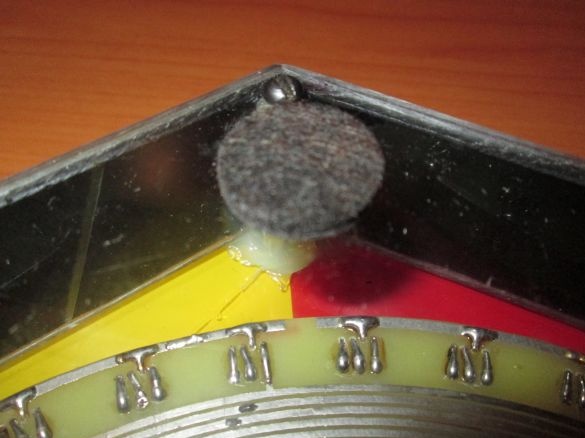
Then I glue the remaining parts of the case, install a button on the top panel, fix the board inside, connect the power cable (it, in turn, connects to any USB adapter), screw the bottom cover onto which I stick the felt circles. I cover the side surfaces of the lower part of the body with a black self-adhesive film.
And then, finally, the device assembly.
How does it work? When you press the button in a circle, the LEDs light up at an increasing speed for 3 revolutions, then there is a gradual decrease in speed to a complete stop. The LED on which the rotation has ended flashes. This is the "prize sector." Then, if the button is not pressed for about 15 seconds, the device enters standby mode. When in standby mode with a certain frequency of 3 turns, the LEDs light up, indicating that the device is turned on. The choice of the last LED, as well as the colors with which the LEDs are lit, is randomly selected and depends on the time at which the button is pressed. The winning conditions can be determined, for example, the color of the LED, or the color of the sector, or the dropped number.
Of course, it is rather difficult to describe the operation of such devices, where visual perception plays a large role. However, I hope that the general idea of using this device is clear. By the way, my daughter and her girlfriends really liked it. In more detail, the entire process of manufacturing and operation is shown in the video.
[media = https: //youtu.be/yNx8CsfDQFk]
Of course, due to time constraints, the device turned out to be quite simple, but later I would like to add various functions, especially since several input / output ports remained unused on the microcontroller. For example, enter the mode of playing dice (by the way, do all of them periodically have their unsuccessful searches, or only in our house?). Or add visual and sound effects. Yes, you never know what else ... It would also be necessary to transfer the device to power from built-in batteries or accumulators, because it is not always convenient to use power from a 220 V outlet. Well, that's all in the future. So far, what happened is what happened.
Schemes and firmware in the attachment:


