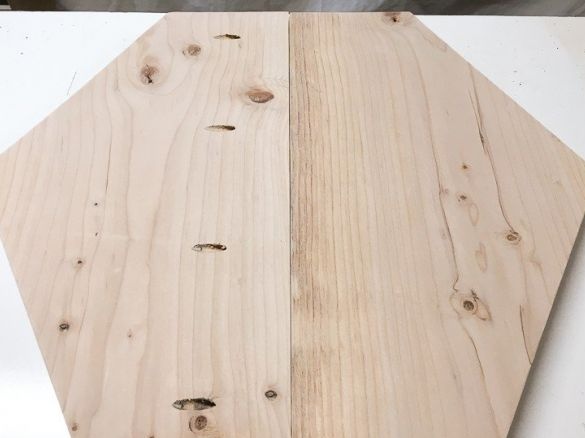
Just wonder how many useful and beautiful things you can do it yourself to make from the remnants of boards and bars that clutter our workshops and garages for months and years.
A large-scale unofficial contest is taking place on the Internet for the most impressive furniture product from outright garbage. And you, believe me, are mistaken if you think that such furniture It looks funny and ridiculous. On the contrary, tables, chests of drawers, and chairs are becoming more and more like exhibition pieces of modern stylish furniture of some expensive furniture salon.
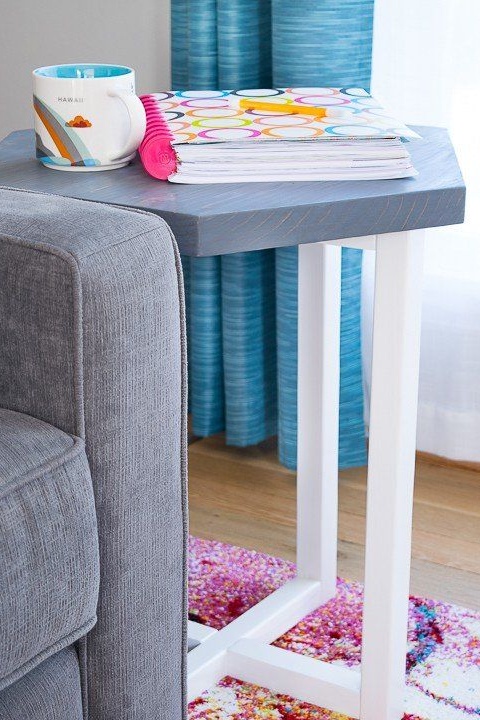
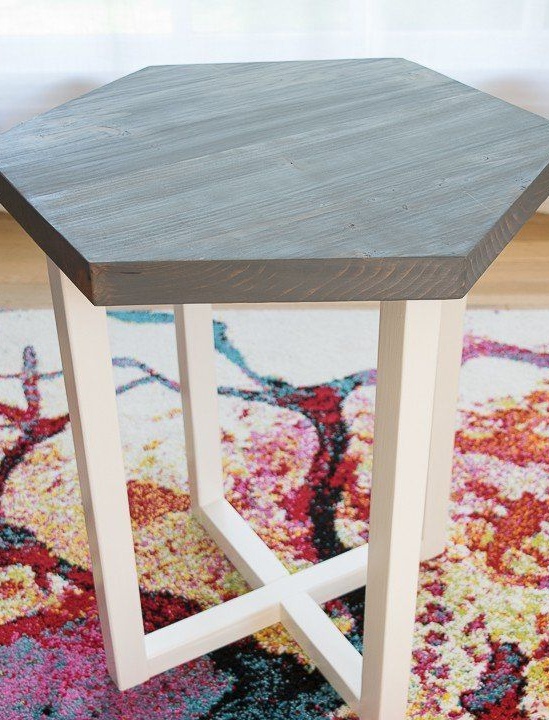
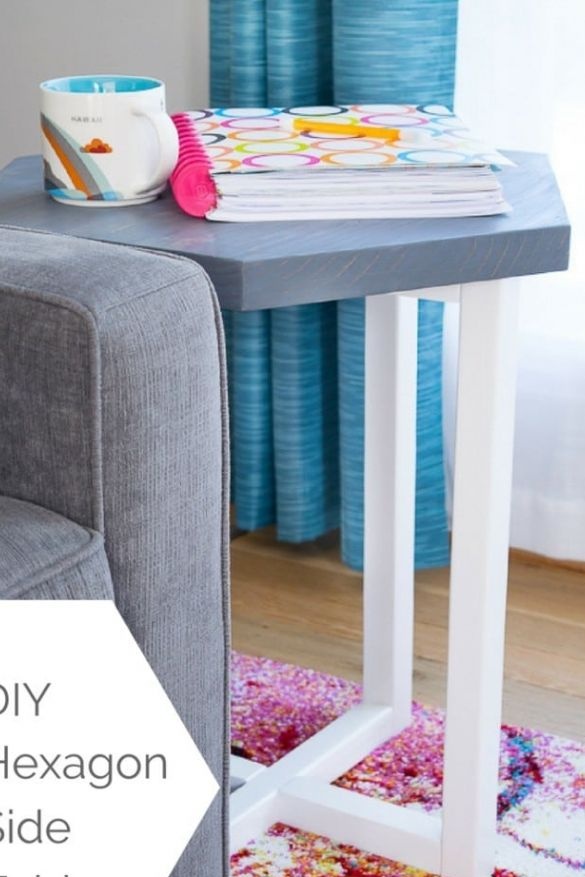
The race of ideas continues, and today you will learn how to make a hexagonal table of natural wood with your own hands. Its table top is made in the form of a hexagon. This idea should appeal to lovers of the golden section, because the hexagon is perhaps the most ideal and harmonious geometric figure.
For work you will need:
Materials:
- pine board with a thickness of 50 mm for the manufacture of countertops;
- pine bars with a section of 40 or 50 mm for the table frame;
- glue for woodwork;
- resistant white paint for painting the frame;
- resistant gray-blue paint with a loose coating and a metallic effect for coloring countertops;
- wear-resistant furniture varnish;
- furniture screws and screws for fastening metal corners;
- metal corner connectors.
Instruments:
- jigsaw;
- miter saw if necessary;
- screwdriver;
- electric drill;
- an orbital or tape grinder;
- fine sandpaper;
- paint brushes;
- building tape measure and square;
- protractor;
- paper or cardboard for patterns;
- scissors;
- a pencil.
Step One: Finding Materials
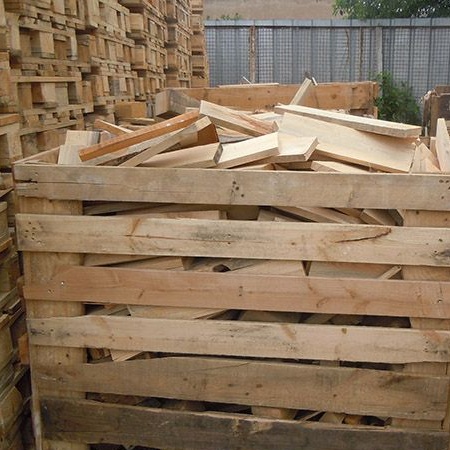
It would be blasphemy to buy new materials for the implementation of this project. No, however, it will take only a couple of short pieces of boards and the remnants of bars with a section of 40 x 40 or 50 x 50 mm left over from previous work.
If this is one of your first works, you will still have to visit a construction supermarket. Look for short boards and bars, which usually go on sale at a substantial discount.
Do not forget that you can use used materials. The author of this master class did just that. He used boards from the old shelf, which he had previously processed on a surface planer.
From the same boards he made bars of the necessary section. It so happened that part of the trash finally found its true purpose in this wonderful furniture project.
You can also make a countertop from two layers of pine plywood glued together. However, the use of natural wood is always nicer.
Step Two: Detailing and Part Layout
In this master class there are no ready-made computer circuits with detailing and exact dimensions of all structural elements, so decide on the final dimensions of the structure yourself.
The author settled on a 300 mm countertop. If it seems too small for you, increase the declared sizes. Also determine the height of the table and the distance between the legs.
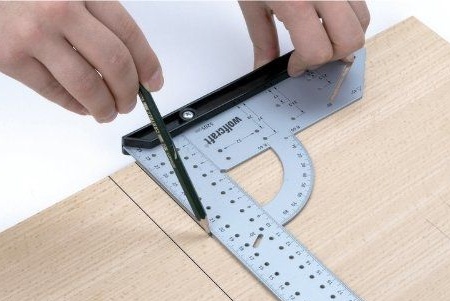
List on paper all the details that you will need in the process. Indicate their exact dimensions. Mark out using a square and a pencil.
Step Three: Build a Hexagonal Countertop on Paper
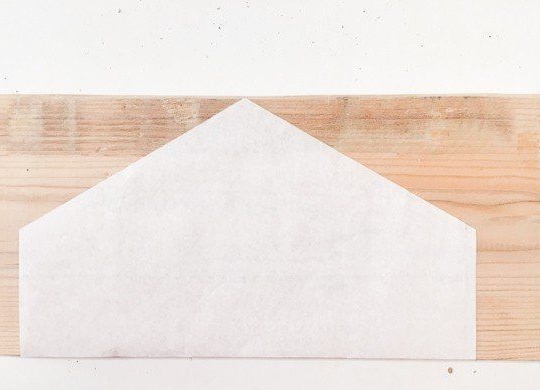
To make a pattern for a hexagonal countertop is not an easy task. But you can handle it with a bang. For work, you will need thick paper or cardboard, a ruler, a protractor, a pencil and an eraser, if necessary.
Suppose the diameter of your countertop is 30 cm. In this case, its radius will be: 30 cm: 2 = 15 cm. This is the distance from the center of the countertop to each of its corners.
Visually identify the center of your paper sheet and mark the point. Draw two strictly perpendicular solid lines through it for convenience. Use a square for this.
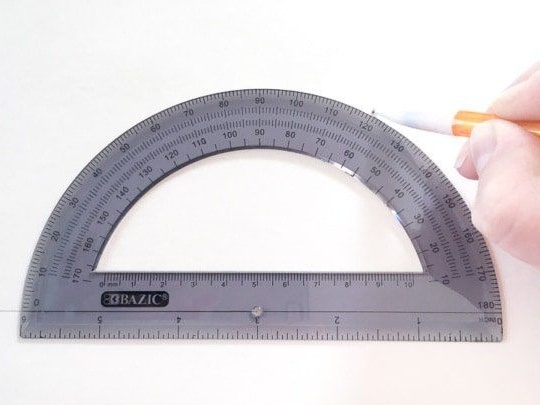
Place the protractor on a line in the center of the drawing and mark the points at 60 and 120about. Draw straight lines through the center and each of these points. On the received lines, lay aside 15 cm and mark the points. These points are the corners of your countertop.
Measure with a ruler the length of one of the faces. Divide it in half and set the resulting value down from the points that indicate the two side corners.
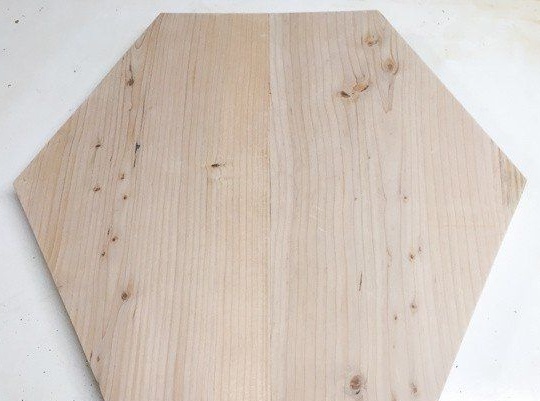
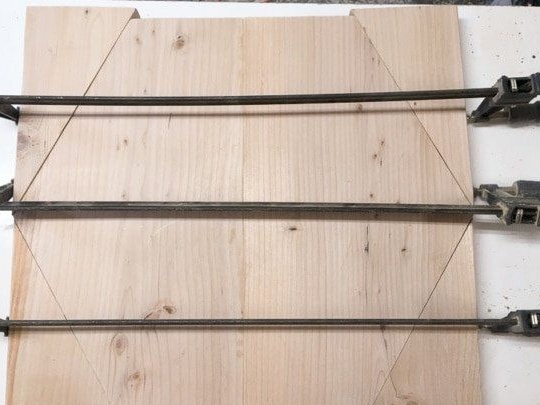
The countertop is made of two elements, as a board with a width of 30-35 cm is hard to find. And in order for all the faces to be the same size, you needed to put aside half the size on each of the parts. When adding two elements, you get a hexagon with even angles and edges.
Fourth step: manufacturing and processing of parts
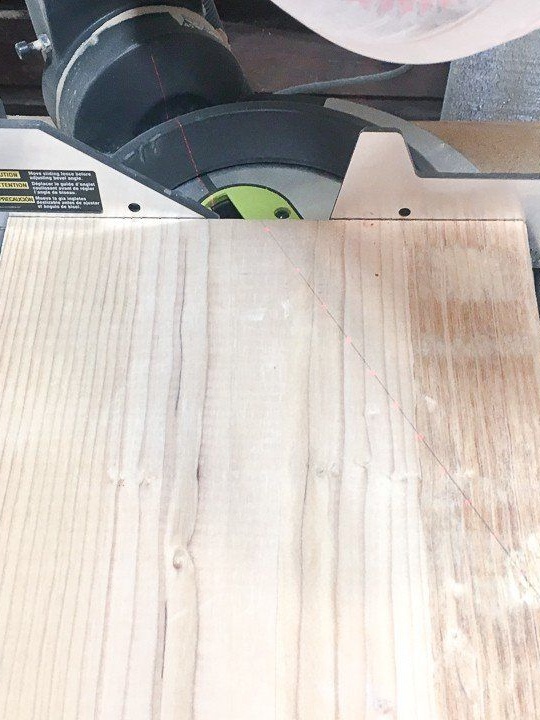
Cut a paper pattern for the countertop, lay it on the board and circle around the contour. Using a jigsaw, cut two identical parts.
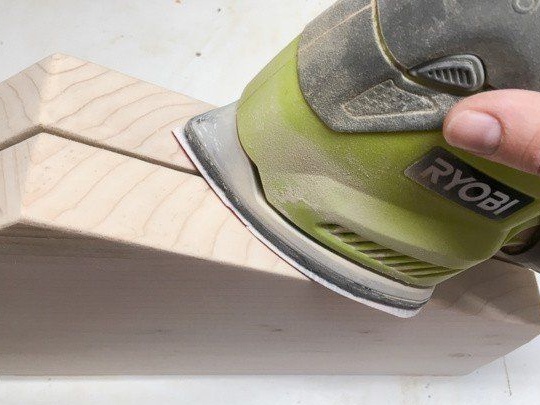
Attach them and make sure that both parts fit snugly together. If the edges are uneven, hand over them with a belt sander or sandpaper manually.
Saw the bar into the details of the length you need and grind them until a smooth and pleasant to the touch surface is formed.
Attach the details of the countertop to each other as shown in the photo and grind the edges of the faces and corners so that they all have the same shape and shape.
Step Five: Assembling the Hexagon Table
Start the assembly with the manufacture of countertops. Apply a little glue to the connecting edge of one of the parts and firmly press the other to it. Place the countertop in the clamps until the glue has completely hardened. Grind the surface again to remove excess glue and smooth the seam. With a careful fit, it will be completely invisible.
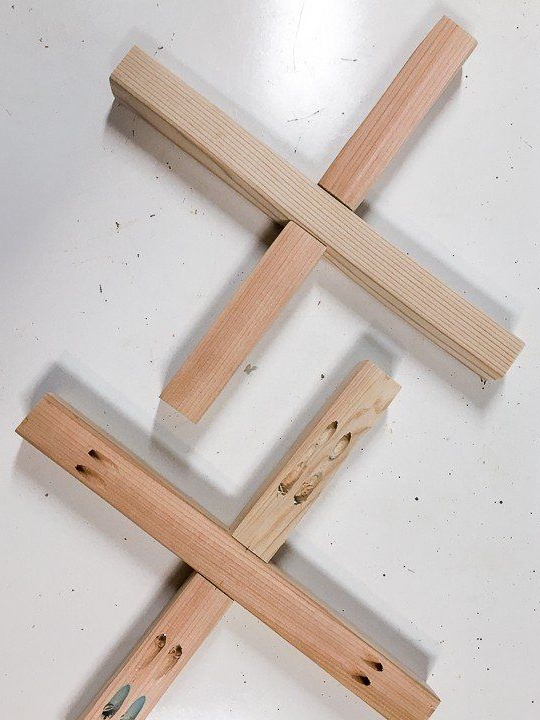
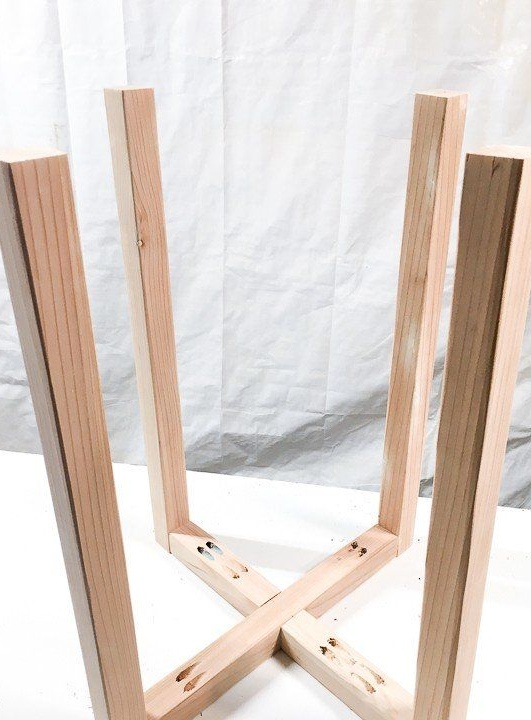
Assemble the crosses for the table frame. For each crosspiece you can use three parts (one main and two side) or two (two guides with grooves cut out).
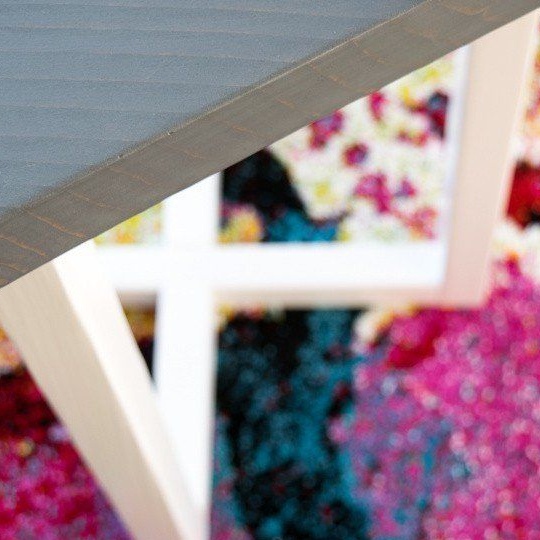
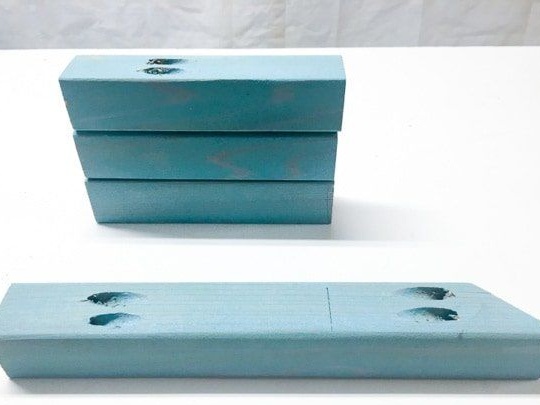
Make pocket holes for the screws at an angle and fasten the parts of the crosspieces. Attach the legs. Use wood glue to strengthen the joints. Remove excess adhesive thoroughly with a damp cloth. After drying, they can be removed with fine sandpaper.
Step Six: Wood Processing
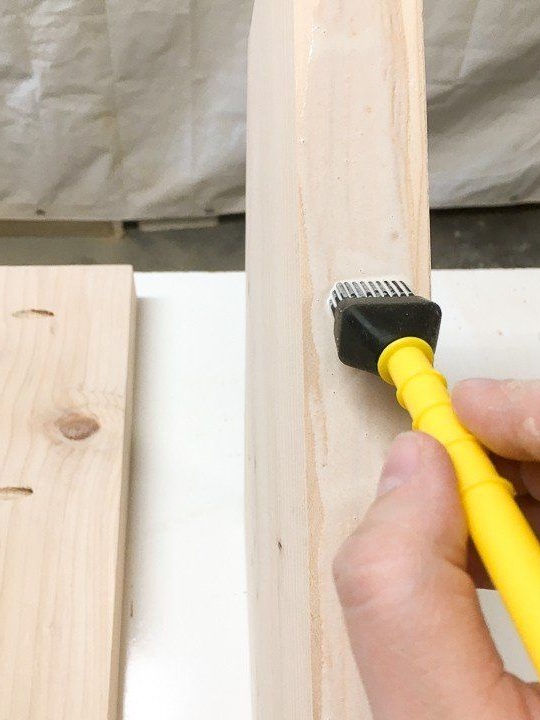
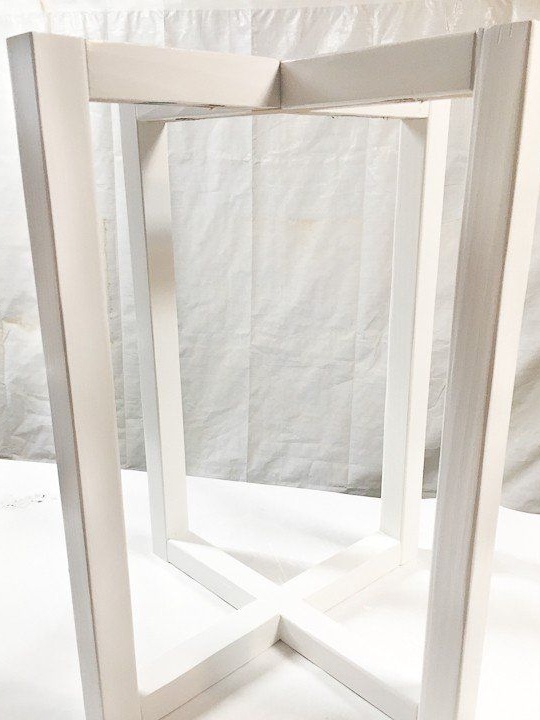
The author painted the frame with white semi-gloss paint.If you use varnish, select a paint that matches its type, otherwise the varnish may peel off or lie unevenly. All work will be spoiled.
Apply two to three coats of paint, waiting for each of them to dry. Apply two to five layers of furniture varnish on top of the paint. Use only that varnish for varnishing of furniture, which gives a persistent creative coating. All other varnishes are not suitable for use in furniture production, since they do not have the necessary wear resistance.
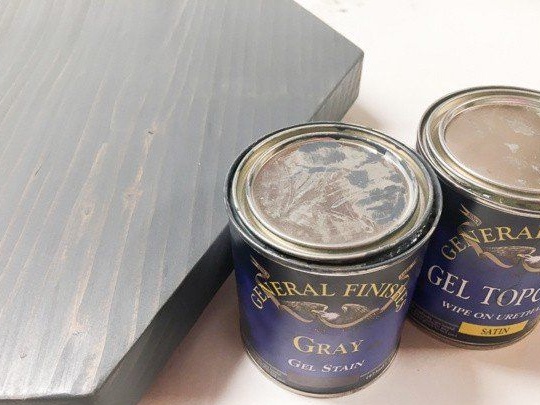
To paint the countertops, the author used gray with a blue undertones paint with a metallic sheen. If possible, choose a paint with a loose coating in order to partially preserve the natural texture of wood. Apply one to two coats of paint and two to five coats of furniture varnish. Let the countertop dry thoroughly.
Seventh step: attach the countertop
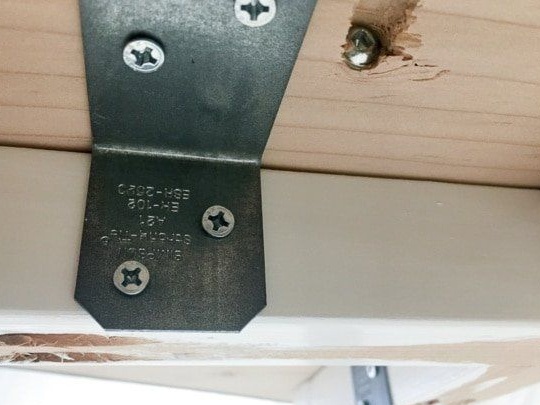
The thing remains for small: attach the countertop to the base of the frame. This time the author did not use glue or screws. Instead, he used metal corners and self-tapping screws.
Lay the countertop on the frame and make sure it is level. Mark the joints and proceed to screw the metal corners. Pick up small wood screws for them.
The work is over, and from the unnecessary remnants of wood you created a truly small miracle of the furniture industry!
