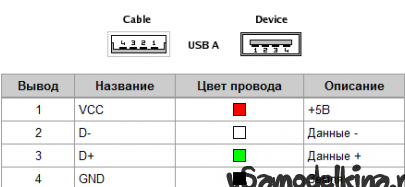
The idea is not entirely traditional, but, to my surprise, a search on the Internet showed several aroma lamps for USB. Most liked the following.
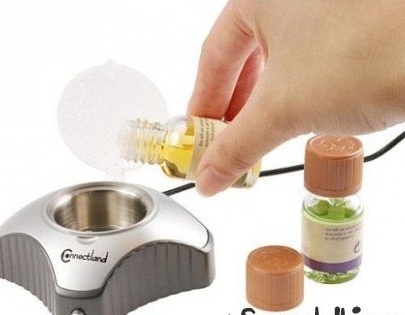
However, it has disadvantages. Firstly, it’s not so easy for me to buy (I don’t really like ordering via the Internet). Secondly, the price is about 1,500 rubles, which, in my opinion, is expensive for such a simple device. Thirdly, it really hurts her computer appearance, cheap plastic and so on.
If you will not be confused by the appearance, then as a aroma lamp you can use a USB stand with a heated mug. This is a more common computer accessory and finding it is not a problem. Just pick up a very small saucer for it, metal or ceramic, or a metal cork of suitable sizes, and place it instead of a mug.
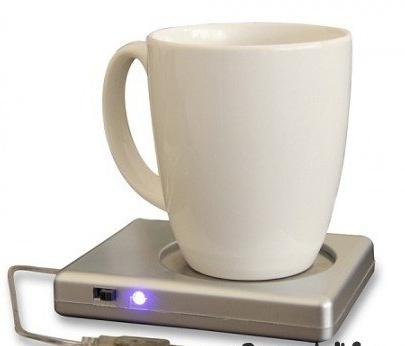
This option also seemed to me not very interesting. The first minus was solved, but the other two were not.
Since the search on the Internet did not give anything better, there was a desire to make an aroma lamp for USB do it yourself. Fortunately, there is nothing complicated.
The simplest way to get heat is with resistors. The USB 2.0 port is 5V 500mA, hence:
R = V / I = 5 / 0.5 = 10 Ohms.
This we got the resistance for resistors. I decided to play it safe a bit (so as not to get overloaded) and focused on a little more resistance - 11-12 ohms. To dissipate the generated heat, you need to have, say, two 2W resistors. I didn’t have such at hand, but there were resistors of different resistance at 0.5W. Since in total you need to get 4W, then 8 such resistors are required. I took the resistors to 91 ohms, the parallel connection of which gave 11.4 ohms.
P = V² / R = 5² / 11.4 = 2.2 watts.
This is the real power that will be allocated.
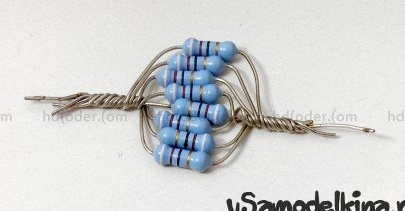
The resistors are located in one plane. He twisted the conclusions between himself, then soldered.

Now, in fact, it was necessary to determine the capacity to be heated.
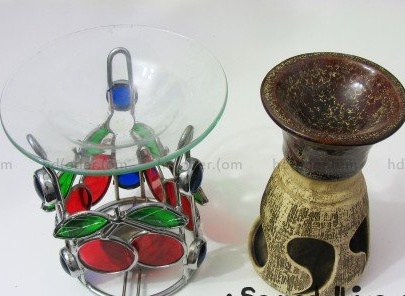
I had two old aroma lamps working with candles, but they didn’t really fit. The first with a glass saucer is too open, the wires will hang ugly in plain sight.The second has a one-piece housing, which is not realistic to heat the top of with resistors - it's like a radiator, all the heat will be dissipated.
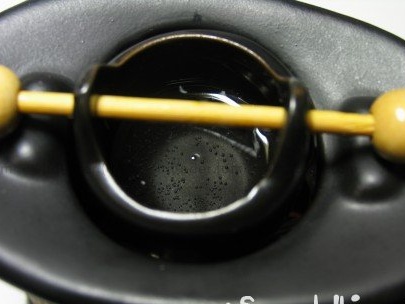
I found an aroma lamp in the store, again under the candle, which had an attractive appearance, the cost was only 199 rubles and an independent container for essential oil.
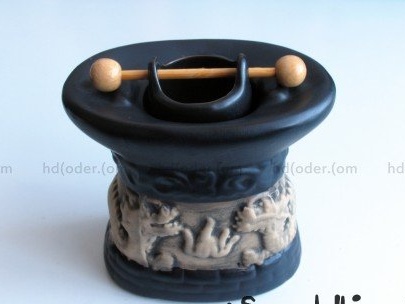
Its design is such that the container does not come in contact with the body of the aroma lamp - it rests on a wooden stick - this is what I needed.
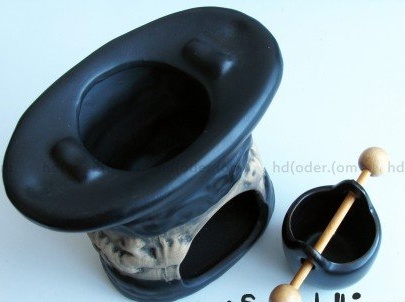
The bottom of the container for the essential oil is flat - this is also a clear plus, the resistors to it will fit very tightly. The only problem is how to attach the resistors? Stick on? This is bad! After all, there will be heating and, accordingly, the smell of glue. I came across ordinary stationery clips ... From a pair of such clips (to increase the length) I got a pretty good holder.
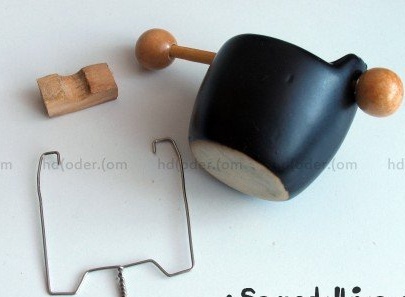
The holder form was made so that it springs securely holding resistors. As a layer between the resistors and the holder - an ordinary wooden sliver. To ensure good heat transfer I used thermal grease.
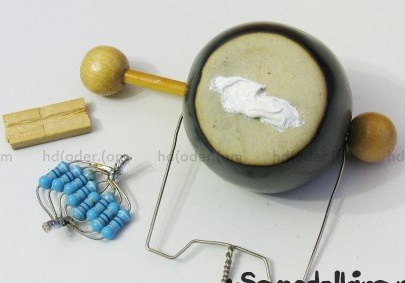
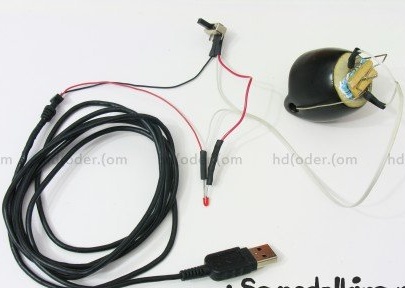
The following is an already assembled version. It remains only to connect it to USB.
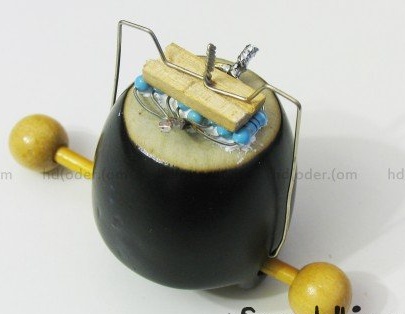
To connect to USB, I used a cable from an old USB mouse.
Power is taken from the red and black wires.
The simplest scheme. For convenience, I added a switch to it to turn on and off the aroma lamp without pulling out the USB cable. I also added an LED to it so that you can determine when the aroma lamp is working.
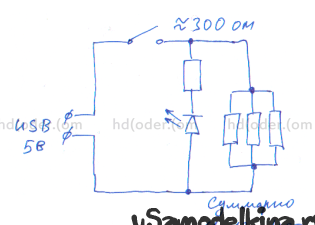
Everything is soldered in 5 minutes.
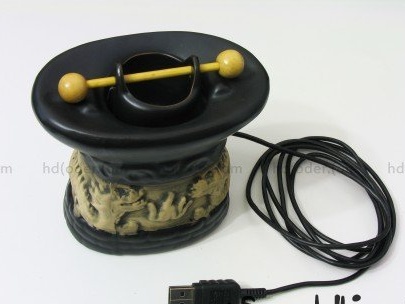
Further, everything was placed in the case. Wires, so as not to tear, I fastened with an adhesive gun directly to the inner surface. In the same way I fixed the switch and the LED.
Everything turned out quite neatly. The appearance of the aroma lamp has not changed.
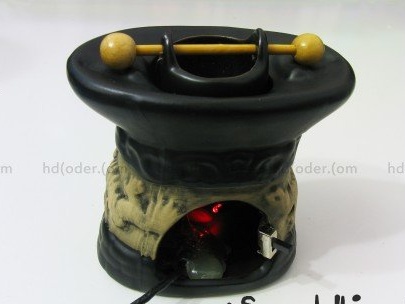
The LED lights up inside. The brightness is small and can not be seen if you look at the aroma lamp in front.
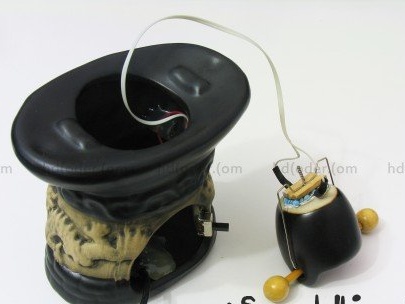
The wires were specially made with a margin so that the container for essential oils could be freely removed if necessary.
USB impressions are only positive. She is now decorating my computer desk.
As for the intensity of heating, if the container is empty, you can touch the bottom briefly, but the finger does not withstand the temperature. Unfortunately, I don’t have a thermometer. If you pour water with essential oil (pour about 1 cm), then after about 5 minutes, bubbles appear at the bottom. In this state, it remains. This is enough, the aroma goes. Of course, there is no boiling water or obvious steam, but water has a temperature that the finger also does not withstand.
