
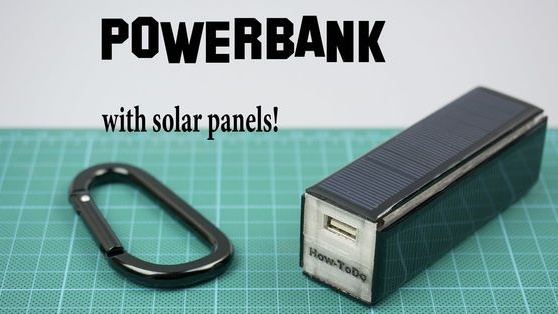
Imagine a small charger that charges itself, just lying in the sun, and indeed in the daytime. It is convenient to take such a device with you to nature, going on a hike, and indeed an irreplaceable thing.
A similar adaptation can be made and do it yourself, you need solar panels, a battery and some electronics.
All you need to do is collect all the details and come up with a case. What exactly is needed for this and how everything is done, we will consider in order.
Materials and tools for homemade:
- a battery for PowerBank (by the way, you can equip panels with a ready-made PowerBank);
- solar panels;
- charge controller;
- USB-outputs for charging devices;
- suitable housing (can be printed on a 3D printer);
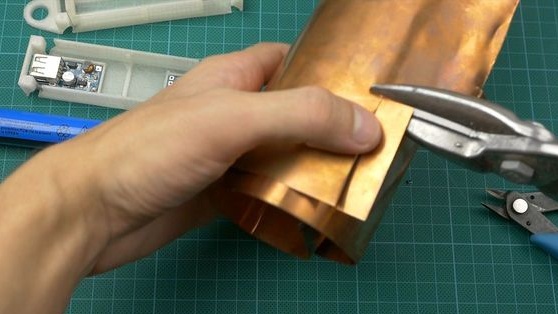
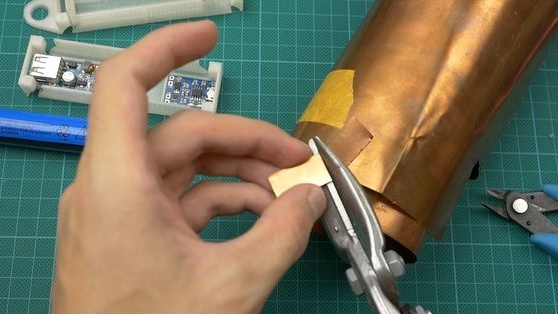
- battery holder (the author makes of brass);
- wiring;
- soldering iron with solder;
- scissors for metal;
- hot glue;
- shrink and other little things.
Homemade manufacturing process:
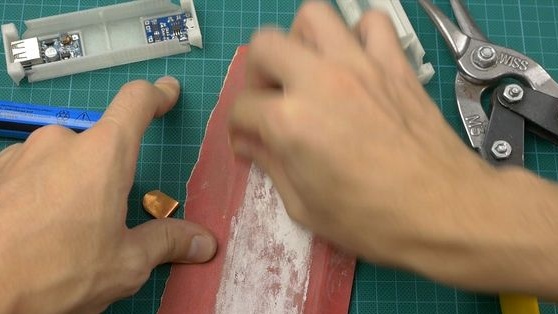
Step one. Case for device
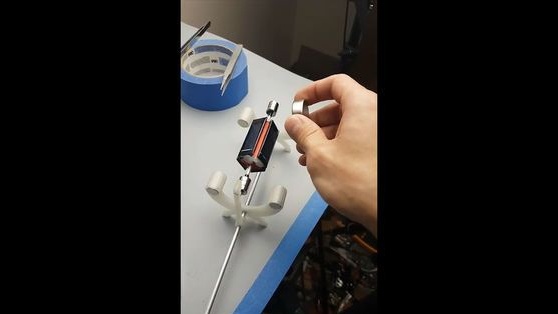
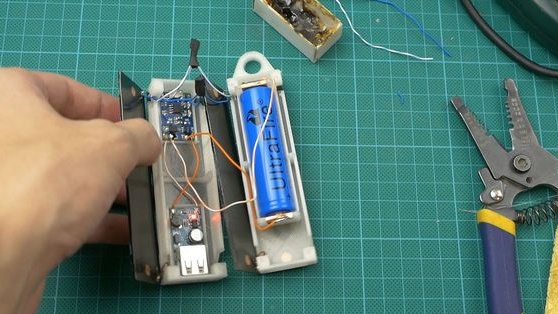
It all started with the fact that the author tried to assemble a magnetic floating engine on solar panels, but he did not succeed. After that, it was decided to assemble PowerBank on solar panels. The battery, it was decided to choose a small (18650), it is suitable only for emergency recharging, which will allow you to make a call and so on. But you can choose the amount of charger depending on your needs.
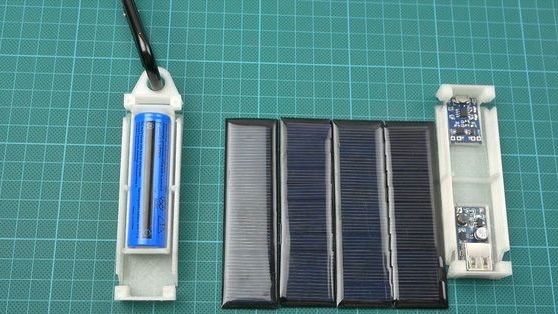
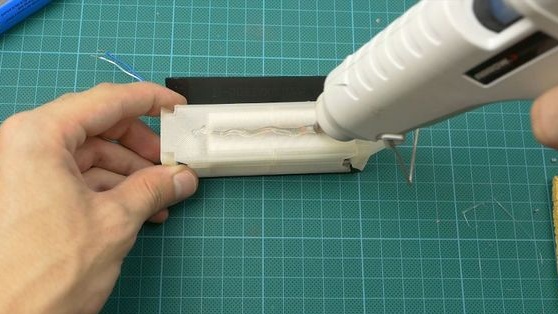
The first step is to prepare the case, the author prints it on a 3D printer. But you can pick up just the right box.
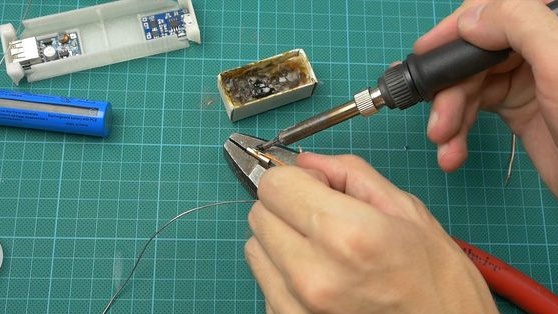
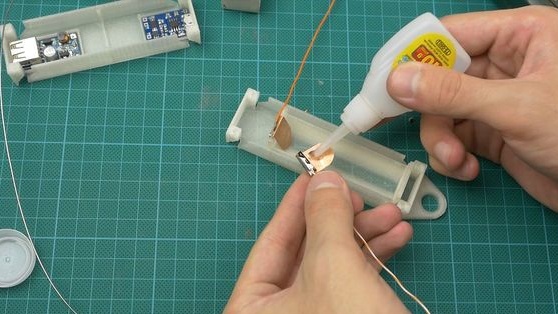
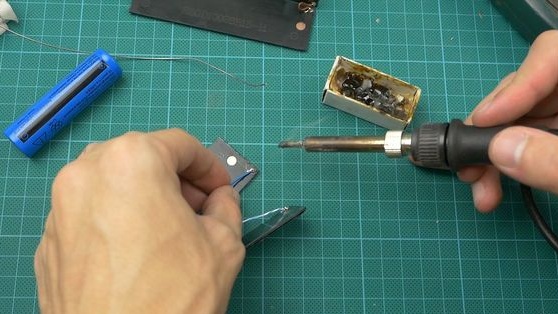
Step Two Battery holder
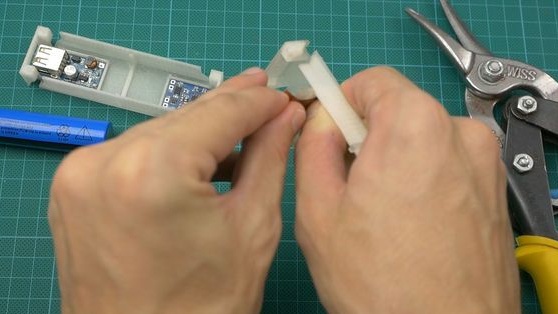
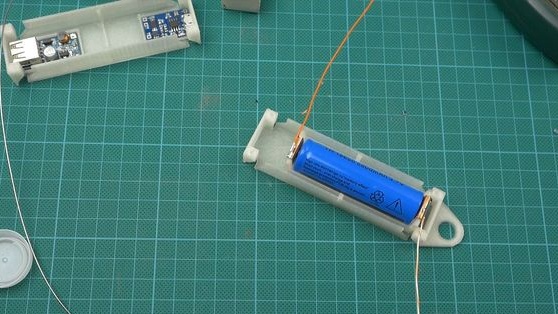
The place where the author installed the battery was already provided on the case. It remains only to make and establish contacts. He decided to make them out of a sheet of brass. It is necessary to cut the desired length of the plate and then bend in half to form springs. The wires are soldered to the plates. Well, then the contacts are set in place and fastened with hot glue. To squeeze the contacts, you can insert the battery into the case.
In extreme cases, the wires can simply be soldered to the battery, if it is not planned to change it often.
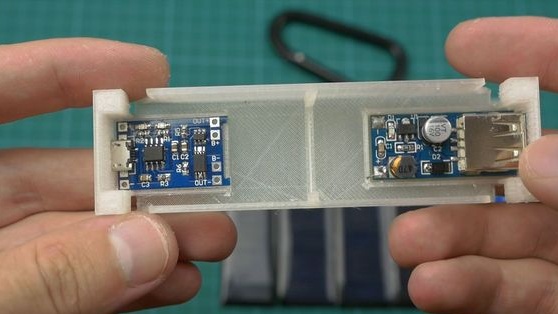
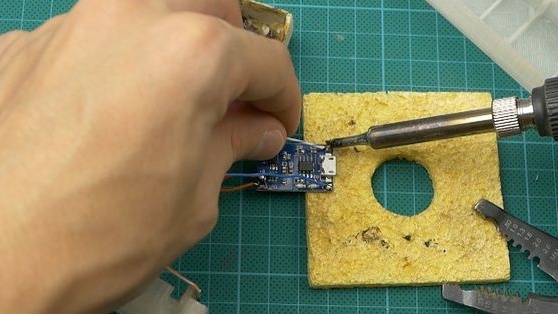
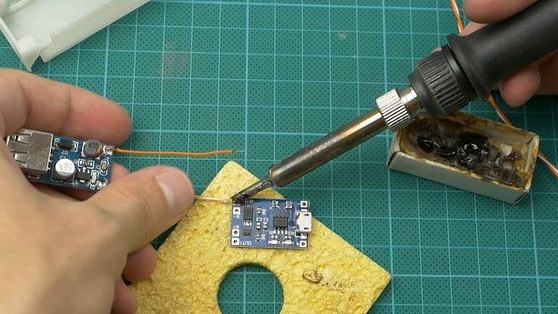
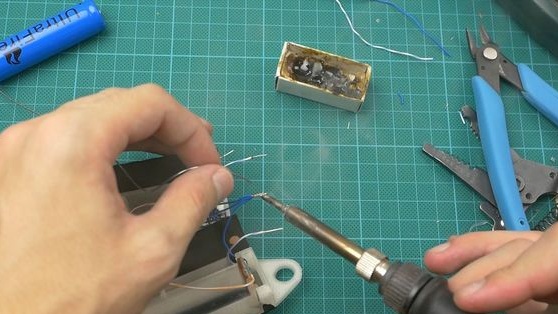
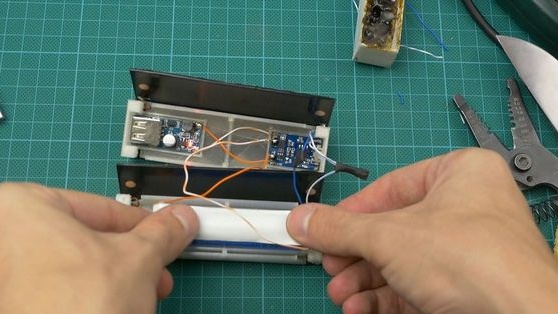
Step ThreeElectronics assembly
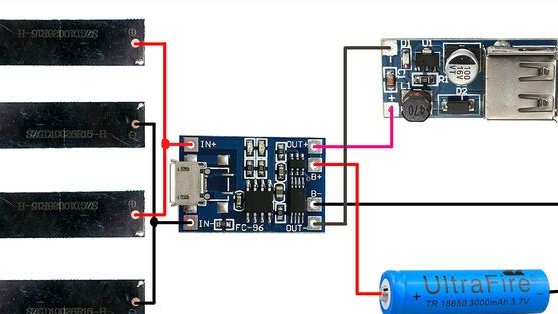
All electronics are assembled as shown in the diagram. You need to work slowly, as the elements are small. In order not to melt the excess with a soldering iron, an aluminum plate can be put under the board, it will work like a radiator.
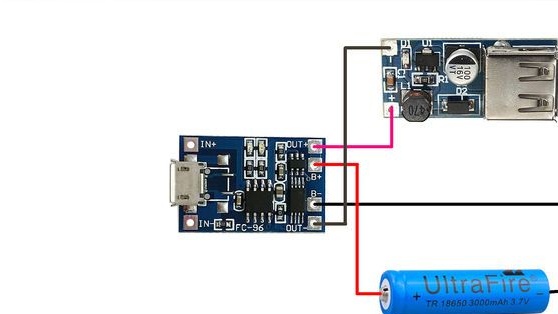
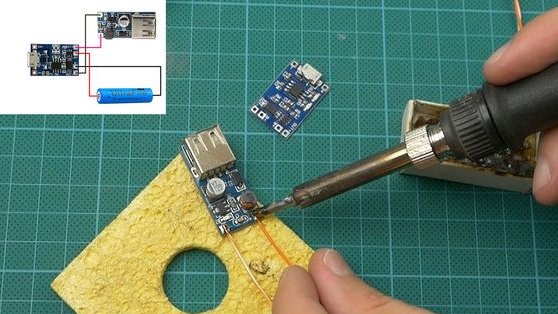
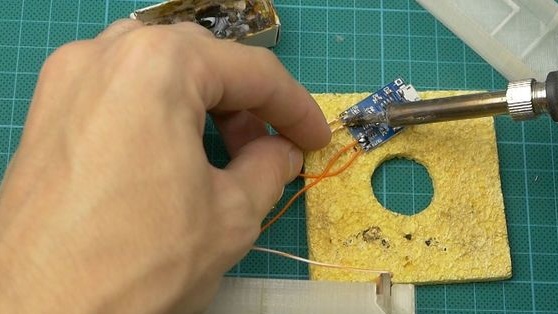

Plus and minus from the battery is connected to the corresponding contacts of the charging module, and the charger output to the input of the amplifier 5V DC-DC. Solar panels connect to micro USB.
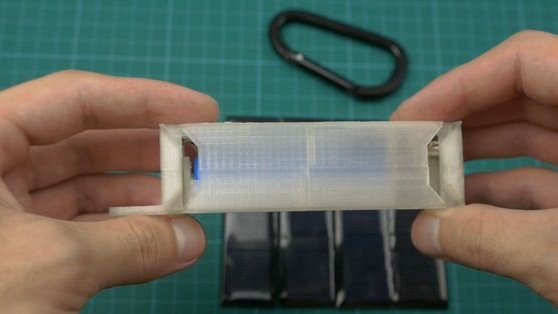
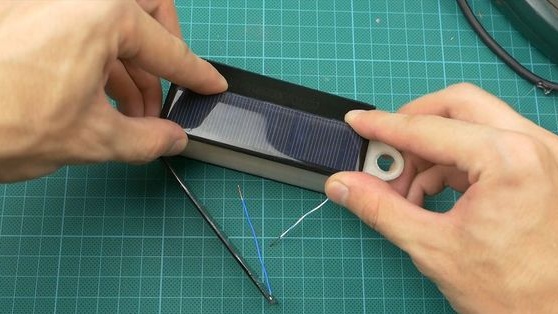
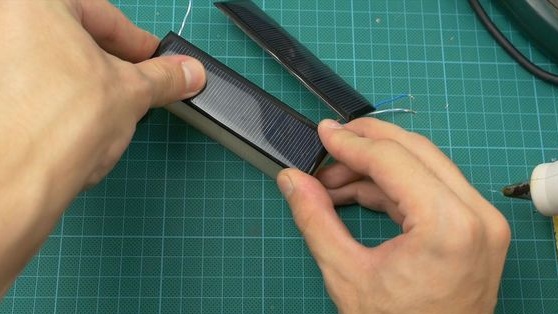
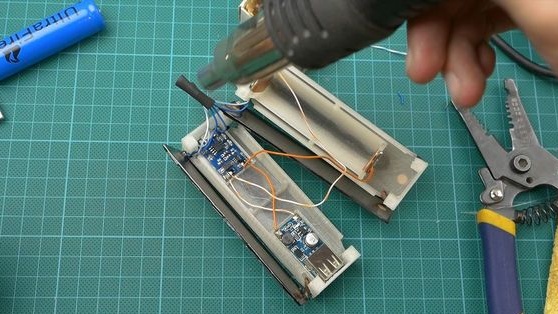
Step Four Connection of solar panels
Solar panels need to be connected in series-parallel. That is, you will need to make two jumpers, in general, everything, as in the diagram. Then it remains only to solder the wires to the charging module.
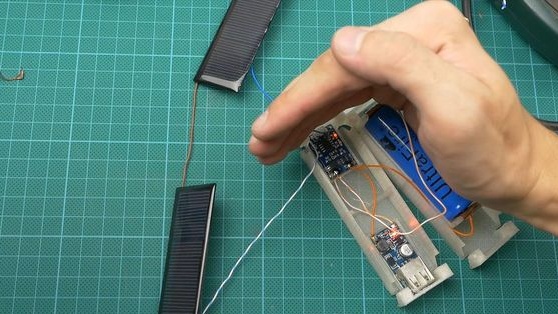
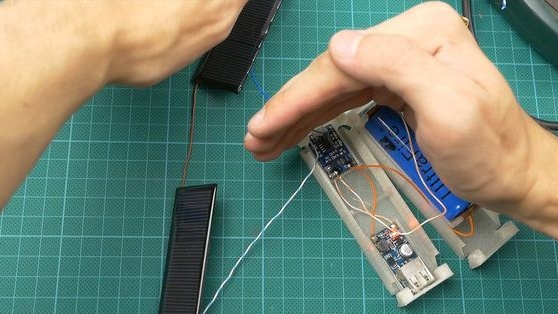
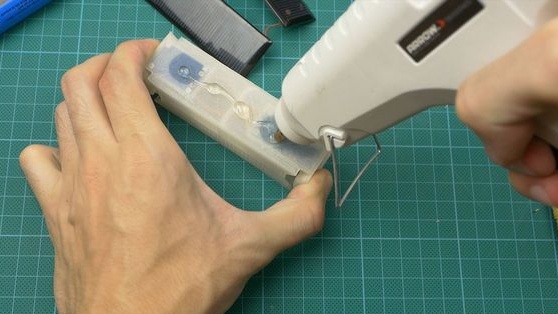
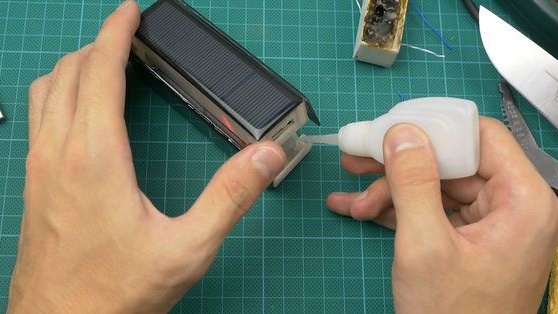
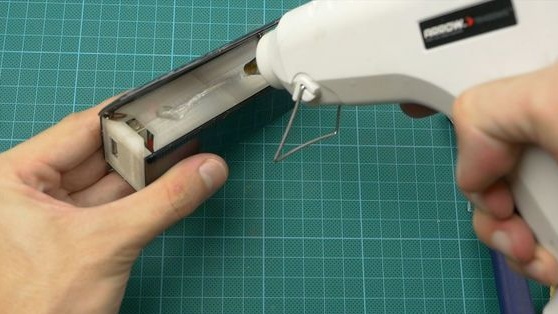
Step Five Assembling the design
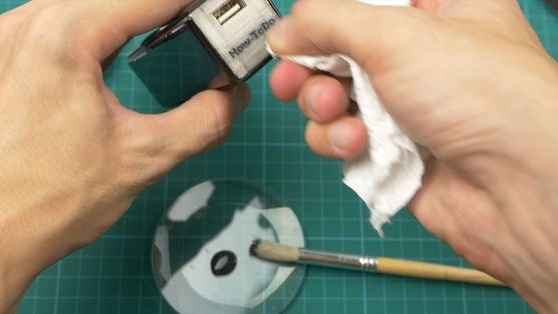
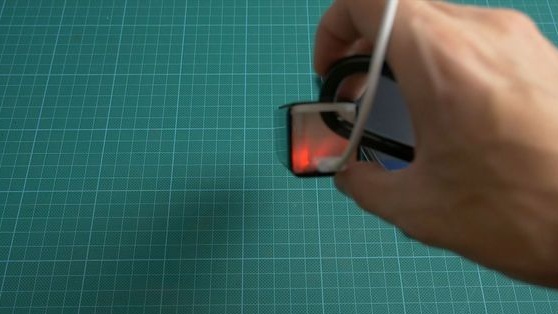
In conclusion, the whole thing is going on hot glue. Before assembly, it is advisable to test everything. You need to discharge the battery and then try to charge it in the sun. If everything works, you can collect.

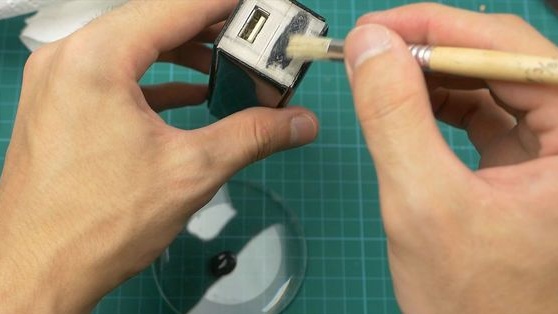
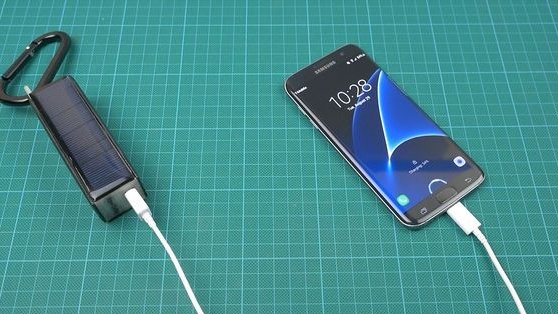
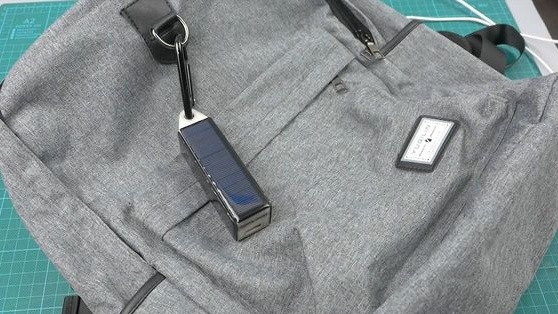
That's all, the homemade product is ready. According to the author, he did it for emergencies, so that if necessary, you could make a couple of calls or listen to music. Charging can be attached to the backpack from the outside, so that it is always recharged from solar energy.