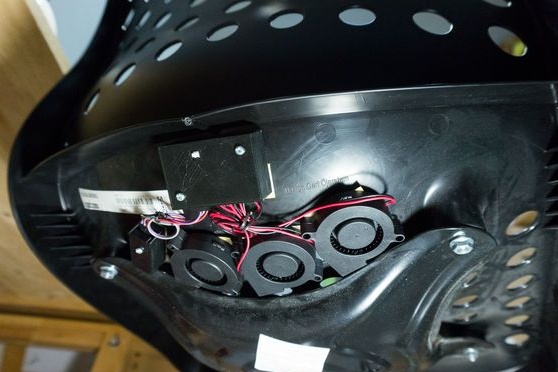
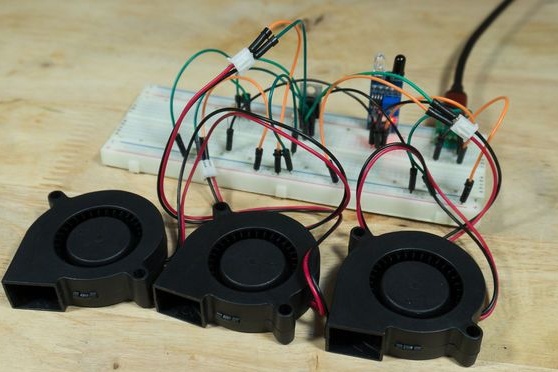
When it is very hot outside, there is an urgent need for cooling. And many probably noticed how, when sitting on a chair, the back or the back seat itself sweats at times. One author decided to fix this problem by equipping his chair with propellers. Now it will be comfortable to sit in the heat, because your causal place will be cooled by three propellers!
The main advantage of this homemade can be considered a control system. Fans begin to rotate only when a person sits on a chair, and when you leave, everything turns off by itself. Coolers can be installed wherever you want, for example, a couple of fans can be put on the table so that they blow in the face and so on.
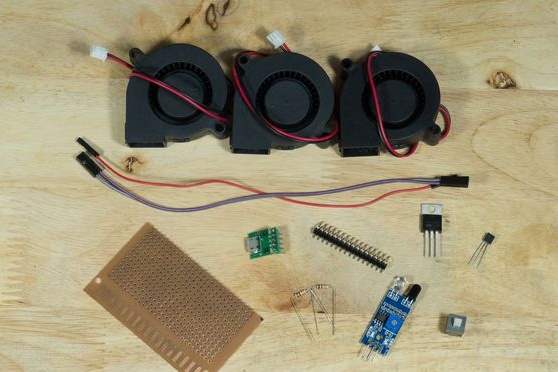
Materials and tools for homemade:
- brushless DC fans (you can take coolers from the computer);
- two 10 kΩ resistors;
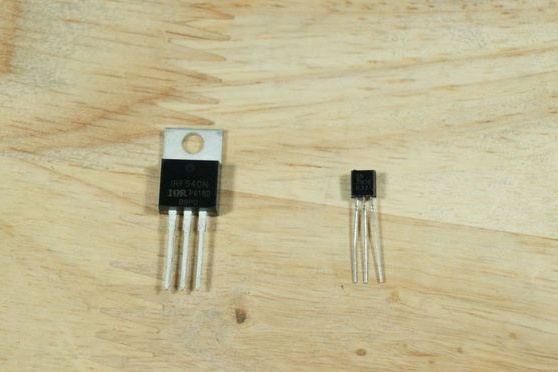
- 1x MOSFET IRF540N;
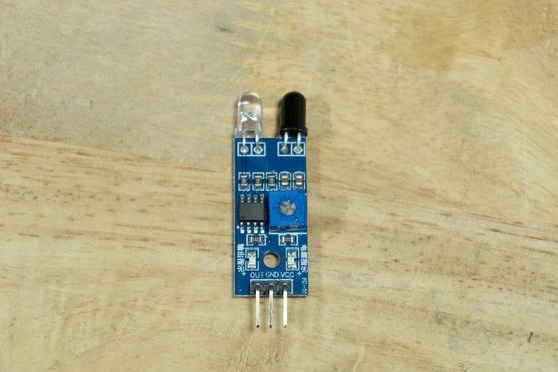
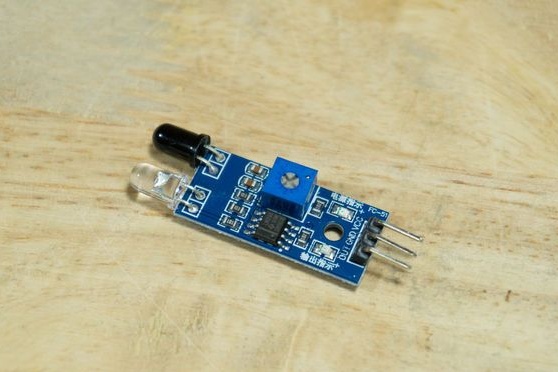
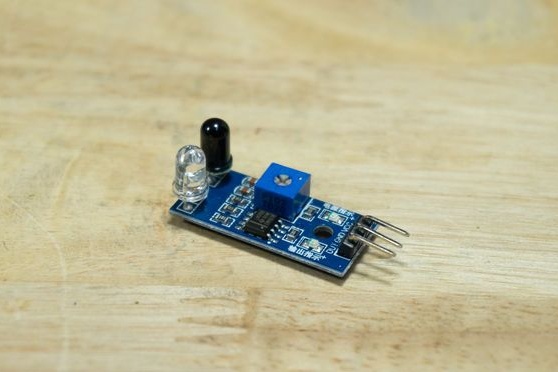
- 1x IR infrared module;
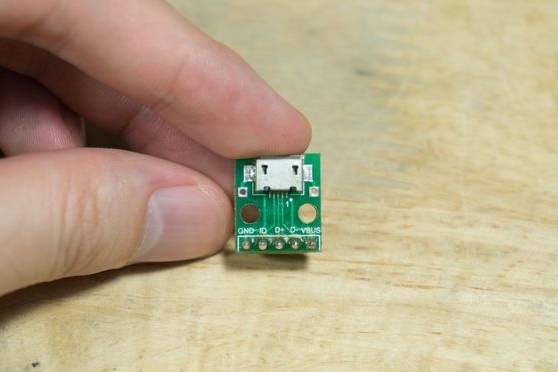
- 1x Micro B USB Breakout Board;
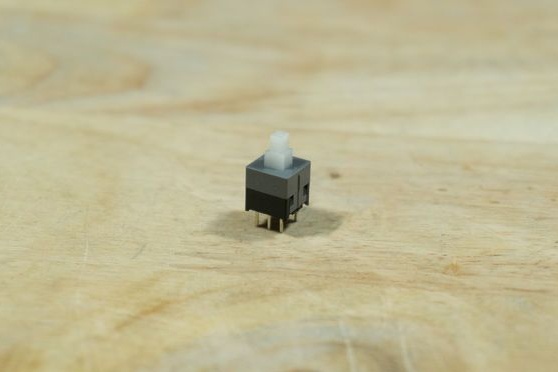
- 1x 6Pin Push Tactile Power Micro Switch Self lock On / Off button Latch 7x7mm;
- 90-pin connector;
- 3x wire Dupont FF;
- 2x screws M3 x 15 mm;
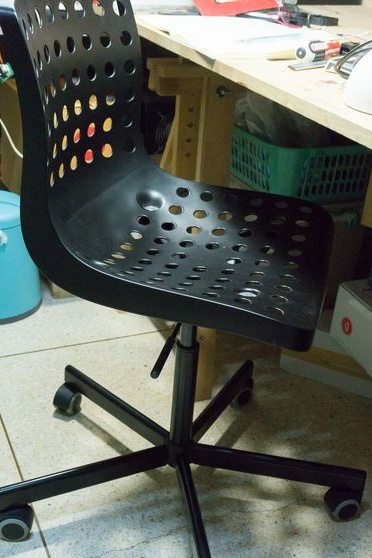
- Chair 1x SKÅLBERG from IKEA;
- 3D-printed parts.
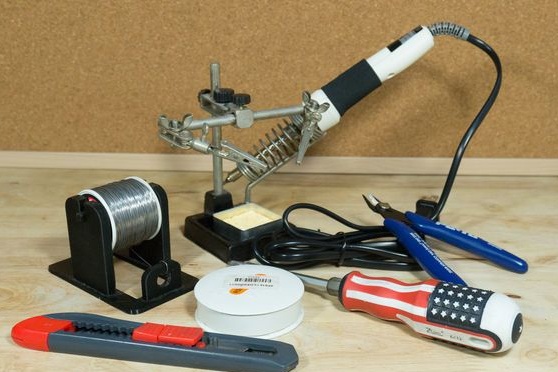
Of the tools you will need: a soldering iron with solder, screwdrivers, a knife and so on.
Homemade manufacturing process:
Step one. Preparing Perfboard
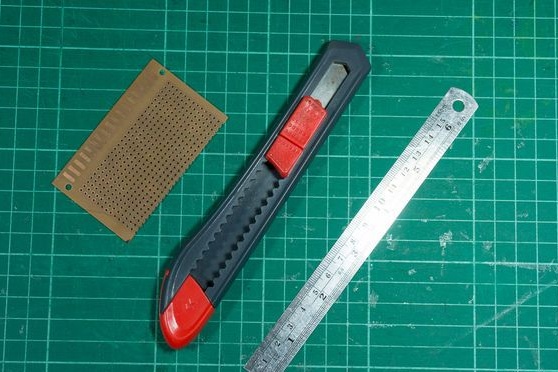
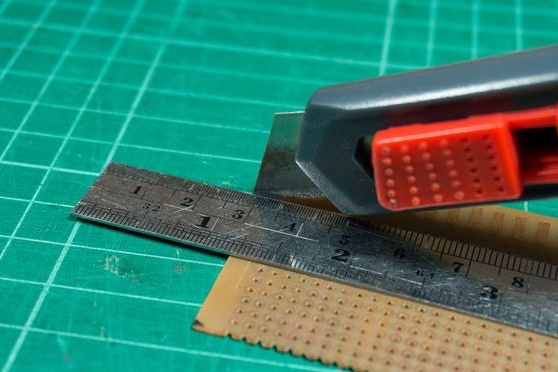
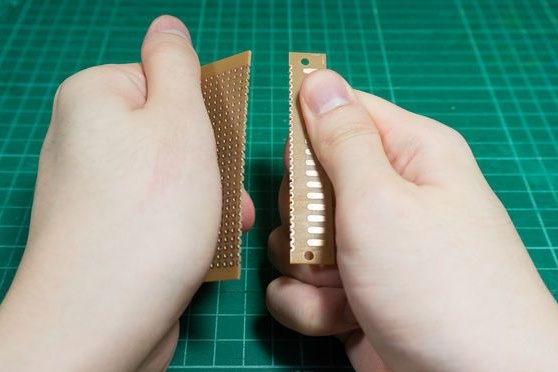
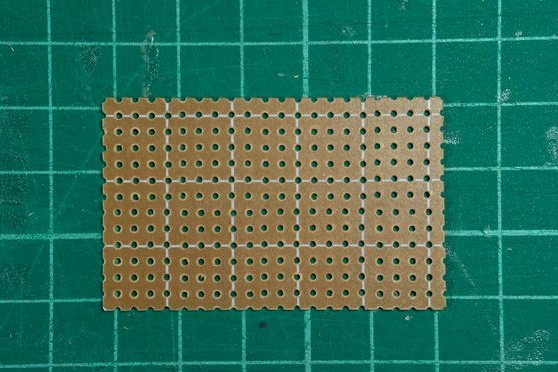
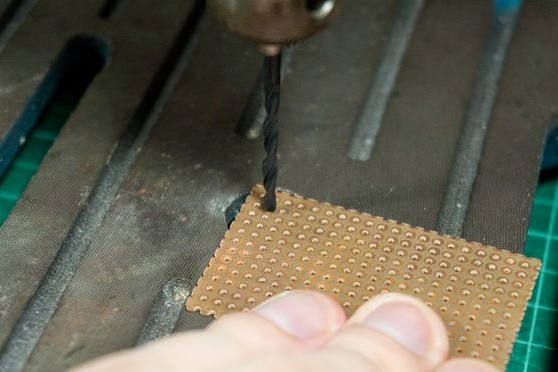
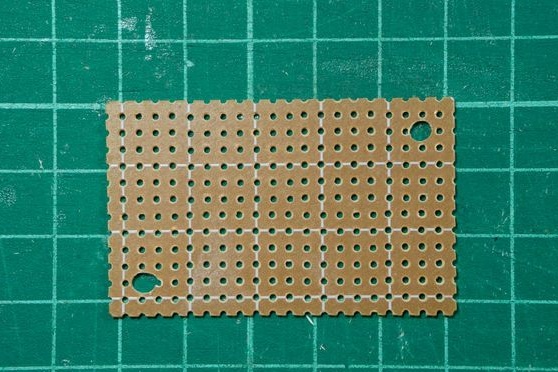
The author begins the assembly with the preparation of the printed circuit board. First, you need to cut off excess from it. Then an office knife and a ruler come to the rescue. You need to attach the ruler to the board and hold it with a knife a couple of times. Then you can simply break it off, it should break off at the place of cutting. The final piece should have a size of 14 * 20 points.
In conclusion, at the corners of the sheet, you need to drill two holes with a diameter of 7/64 inches, where exactly, you can see in the photo.
Step Two Prepare electronic the details
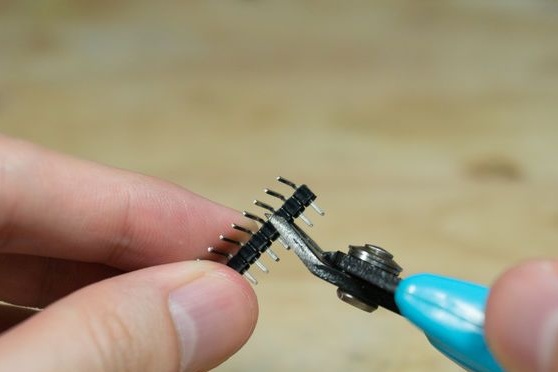
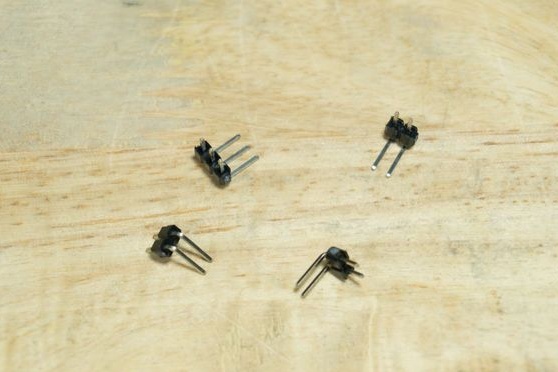
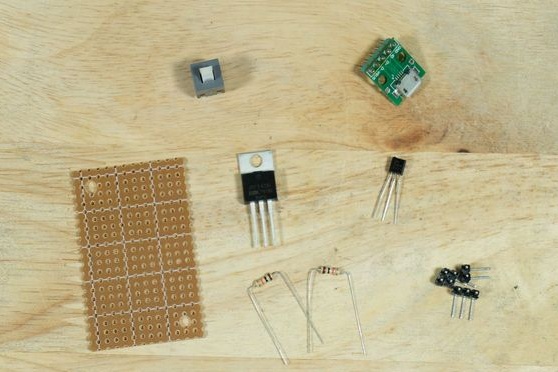
At the next stage, the author prepares all the necessary components. You need to cut one piece of a 1x3 pin and three pieces of a 1x2 pin. Here you will need nippers
As for the LED and IR emitter, they need to be bent at an angle of 90 degrees.
Step Three We assemble the electrical circuit
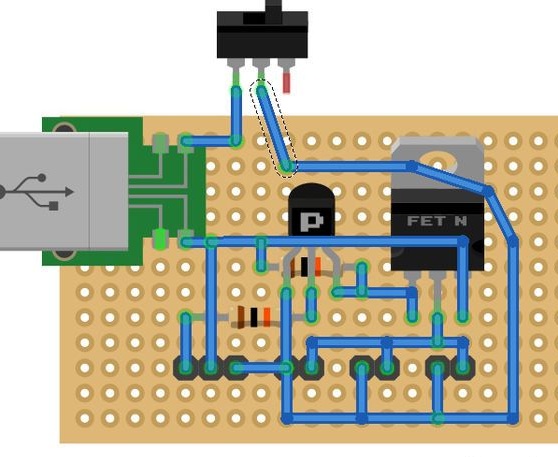
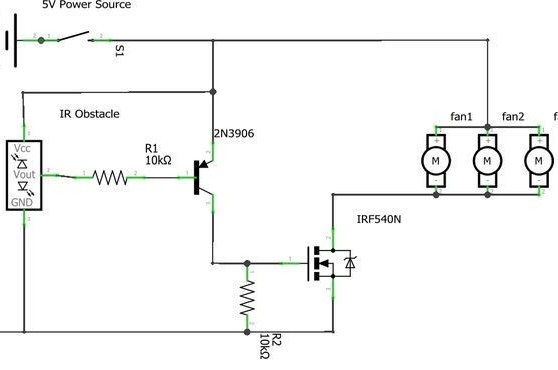
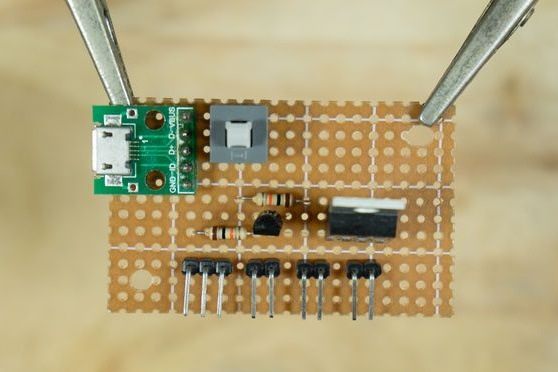
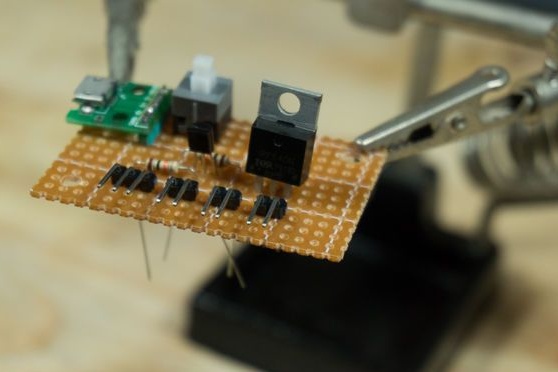
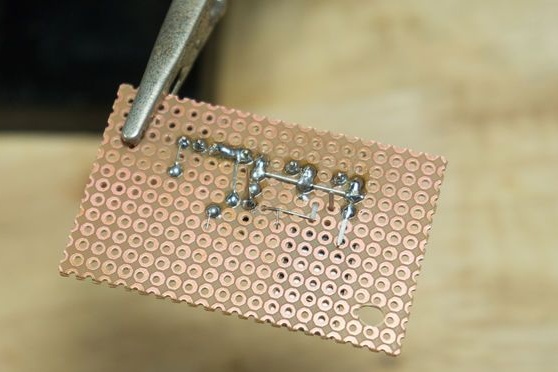
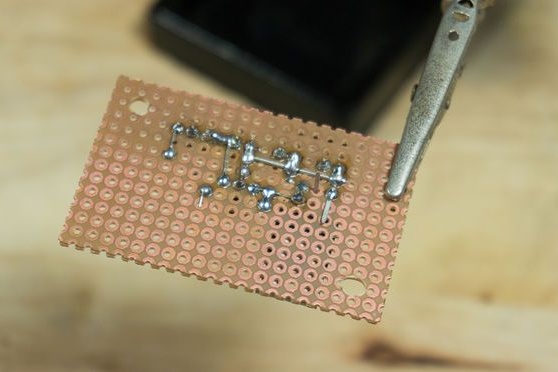
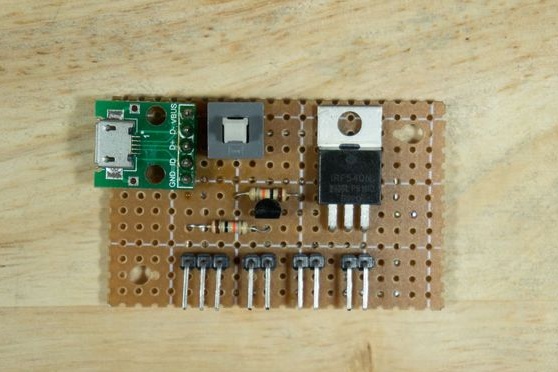
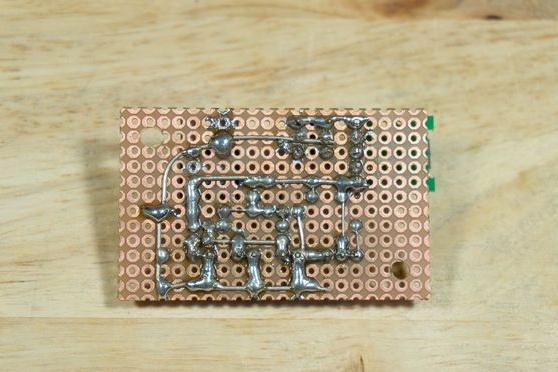
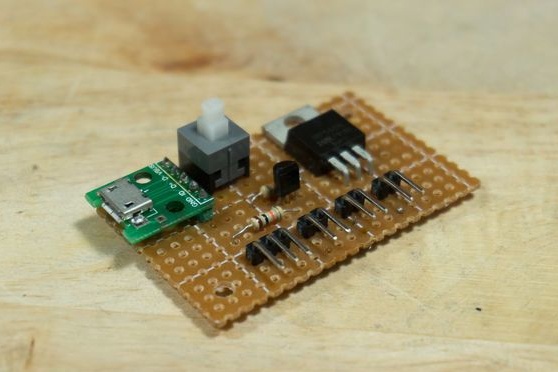
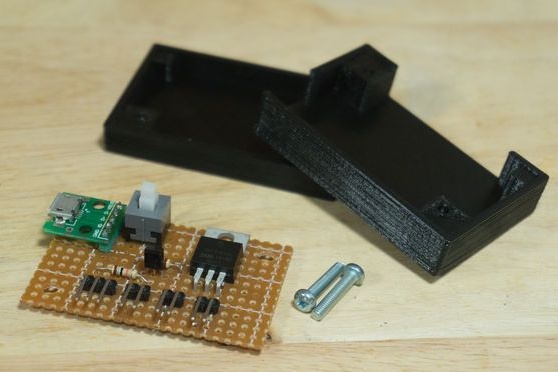
Next, we arm ourselves with a soldering iron and collect all the details on the board. Here you need to follow the scheme as in the photo. As connections, you can use all the same legs of the parts.
Step Four Adjust the sensor response distance
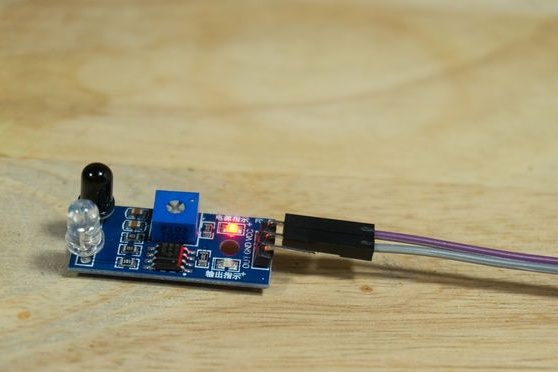
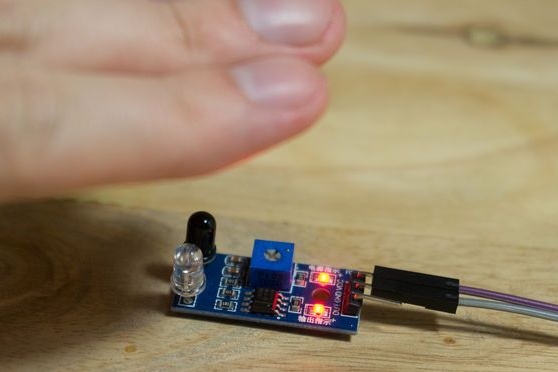
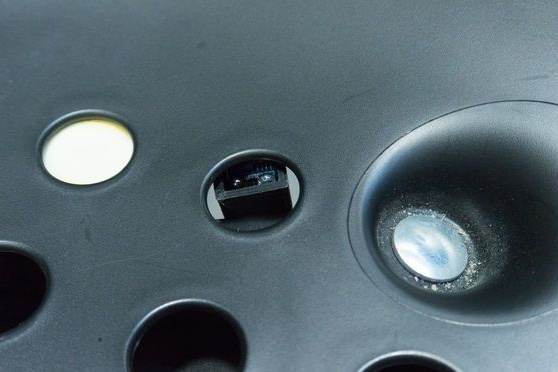
In order for the sensor to work exactly when you sit on a chair, you need to configure it correctly. For the author, it works at a distance of 2-3 cm. To adjust the infrared obstacle warning module, you need to connect it to a power source without connecting the OUT terminal.Well, then turning the knob, we achieve the desired value. The CCW parameter decreases the distance, and the CW parameter increases.
Step Five Putting the circuit in the case
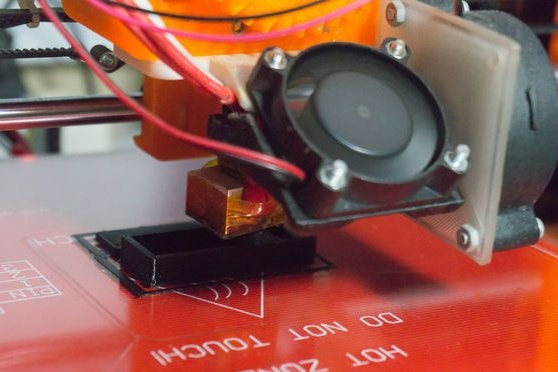
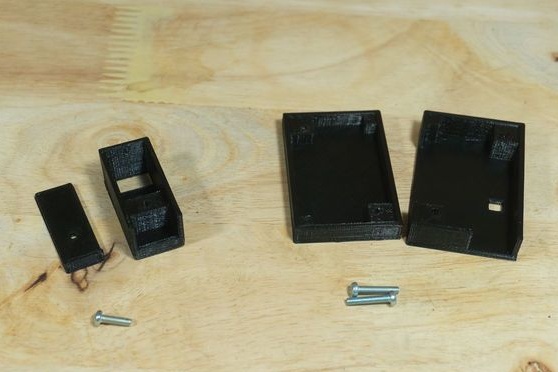
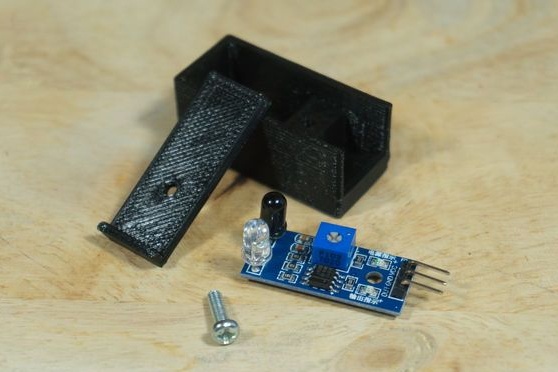
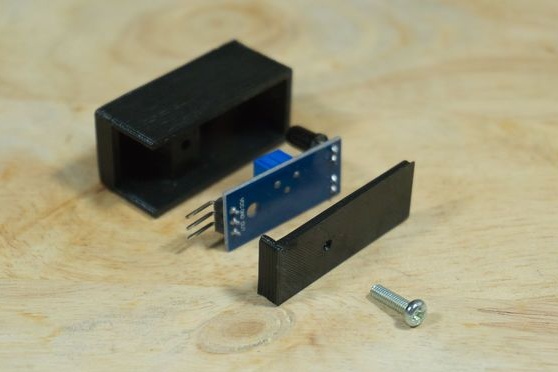
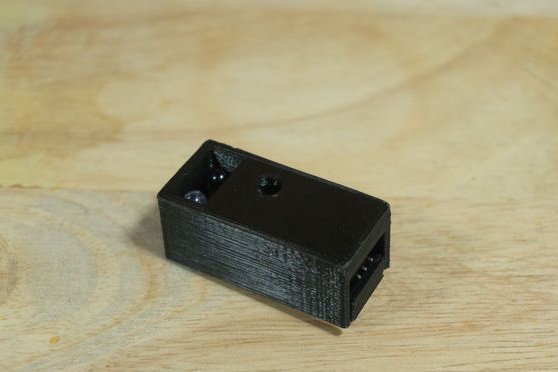
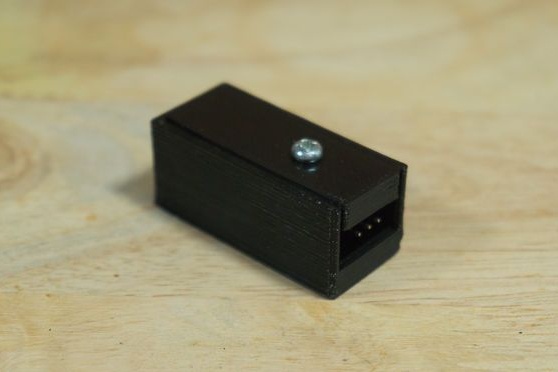
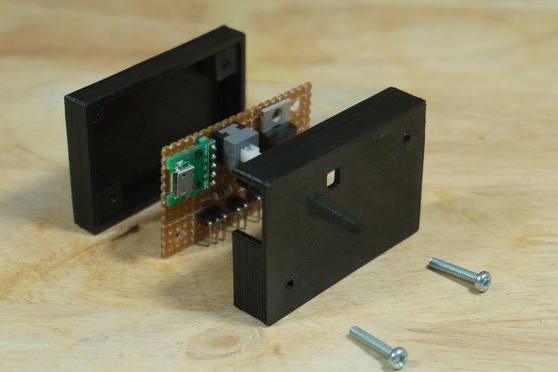
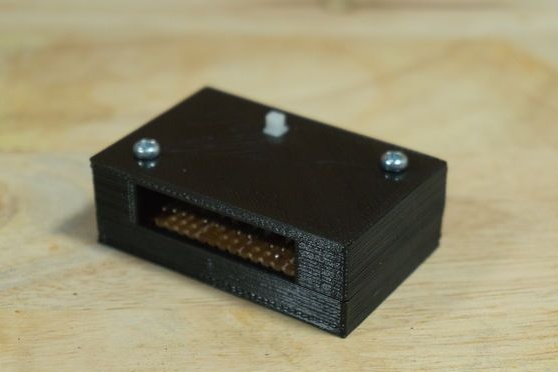
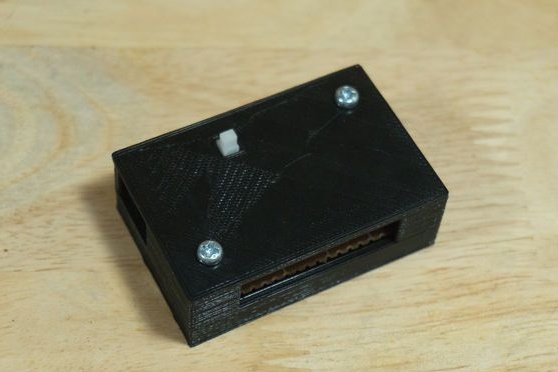
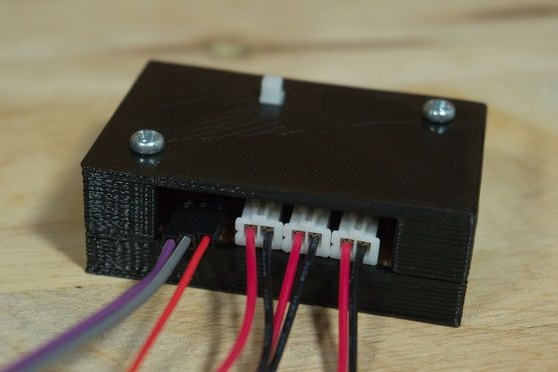
The author printed the case on a 3D printer. But you can do it yourself with a suitable box. In extreme cases, you can print the case to order. Next, the halves are securely connected with screws.
Step Six Connecting components
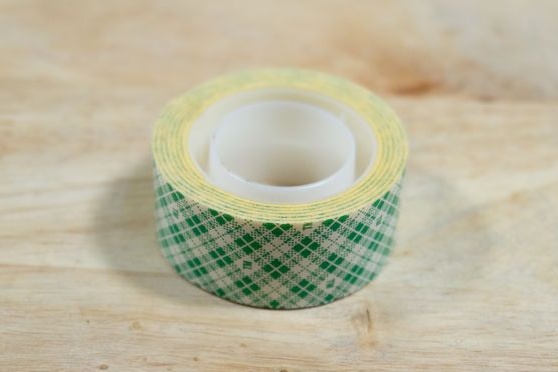
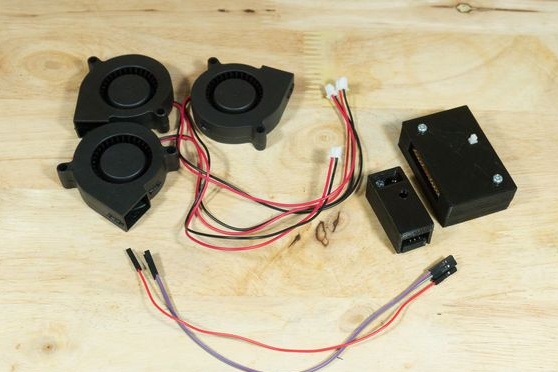
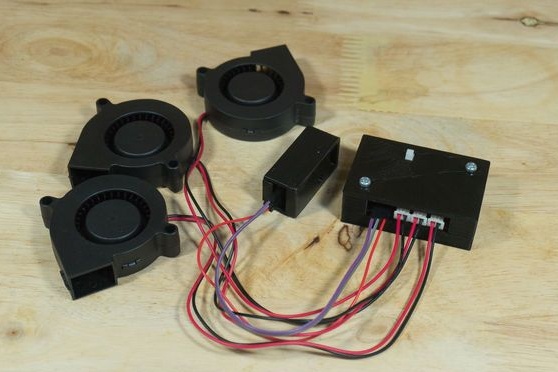
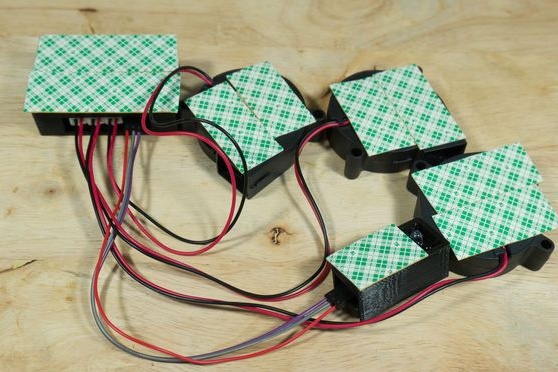
Now all the elements can be connected using wires. There should not be any problems. Styrofoam tape is fastened on top of the installed parts.
Seventh step. Conclusion
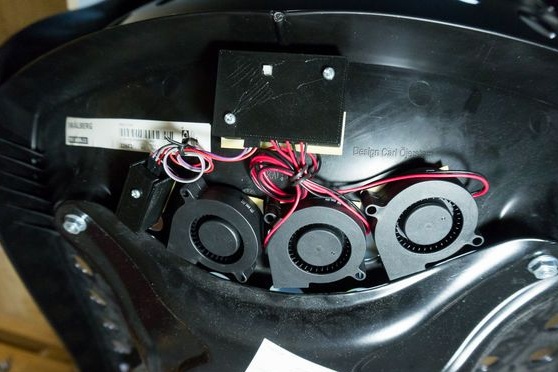
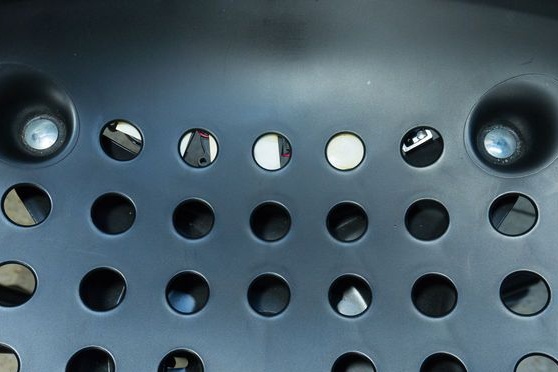
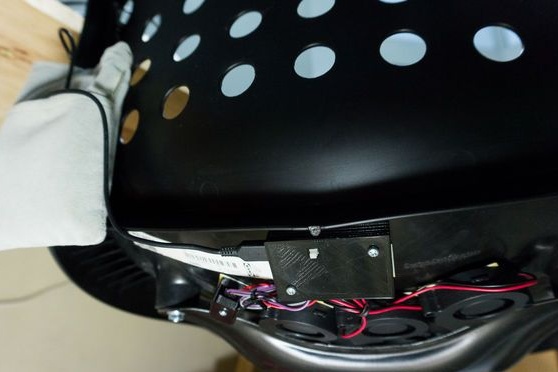
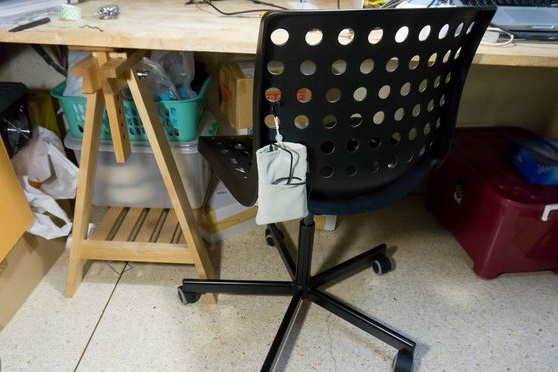
Now all that remains is to attach the fans and the controller to the chair in the necessary places and connect the homemade product to the power source. Work with such a homemade product will be much more comfortable. You can use a battery or power supply as power.

Required 3D Printing Files
