
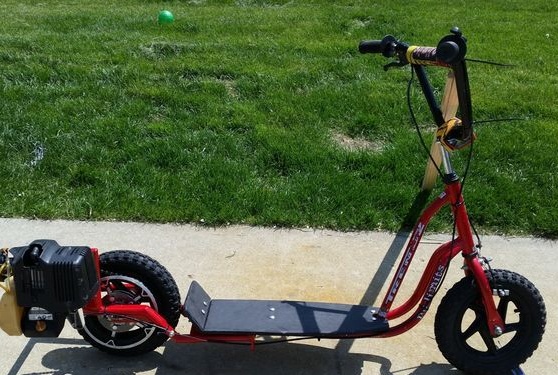
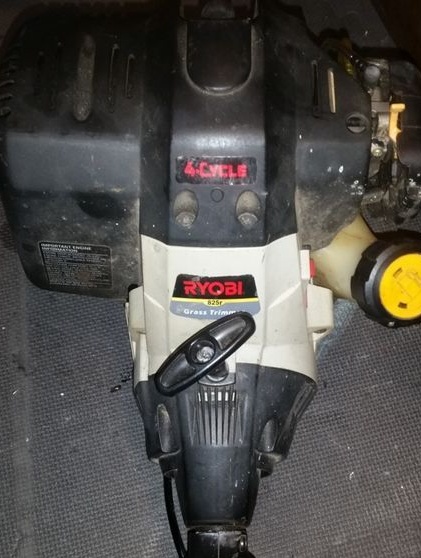
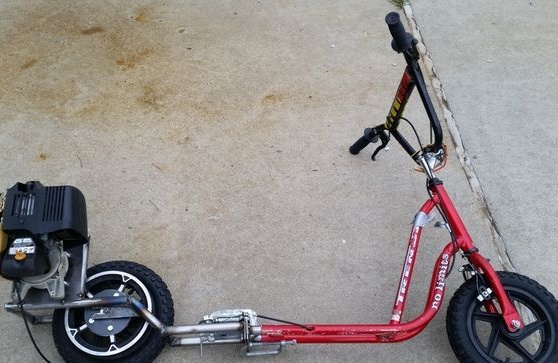
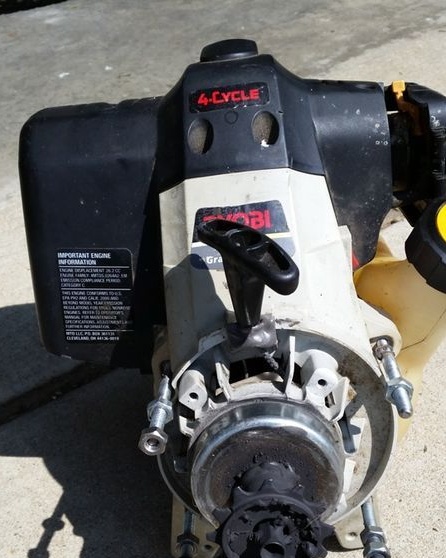
If you like tinkering at something the garage, make a unique mode of transport, this instruction is just for you. Here you will learn how to equip your scooter with a gasoline engine. As a power unit, the author decided to use an unnecessary motor from the trimmer. Similarly, you can put the engine from a chainsaw, lawn mower and so on.
Materials and tools for homemade:
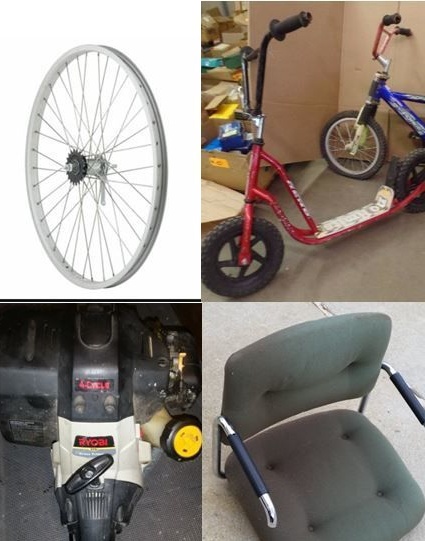
- old scooter (can be done from scratch);
- engine from a brushcutter;
- bicycle wheels (go to spare parts);
- bicycle chain;
- metal pipes (found in an unnecessary chair);
- cable for throttle control;
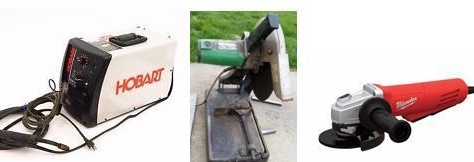
- welding;
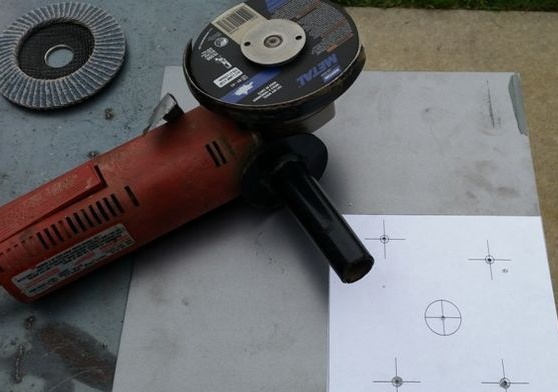
- grinder;
- paint
- wrenches, screwdrivers and more.
The process of making a gas scooter:
Step one. Freewheel
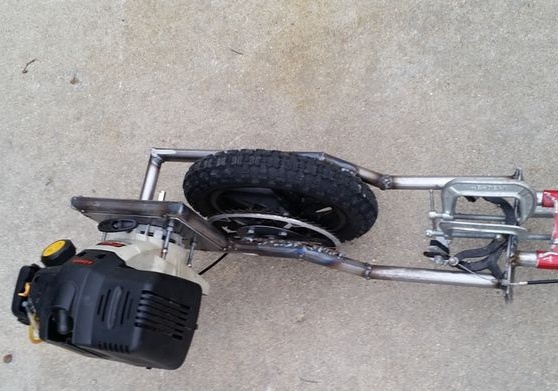
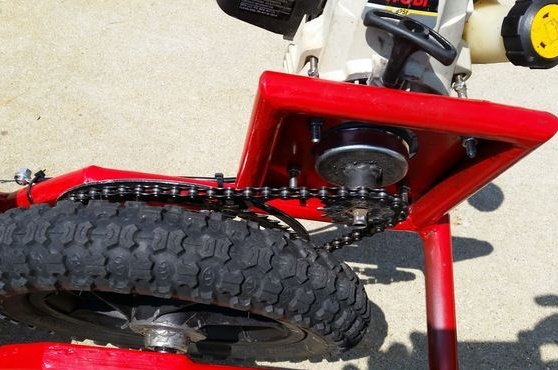
A feature of this homemade work is that the rear wheel here is connected to the engine through a bicycle hub. This means that by gaining a certain speed and dropping the gas, you can roll by inertia. But this is very convenient, because it allows you to save fuel to a large extent, and also to prevent engine overheating.
In other similar versions, the torque is transmitted directly to the bus, which is not very professional.
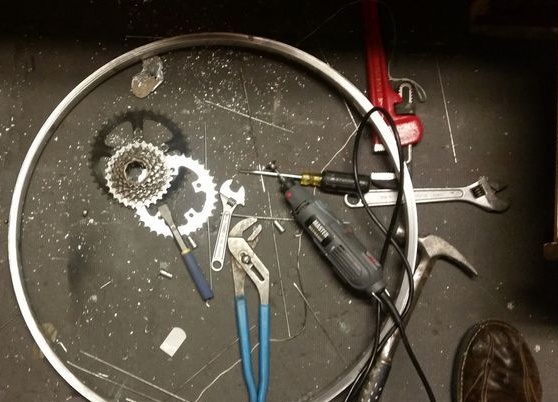
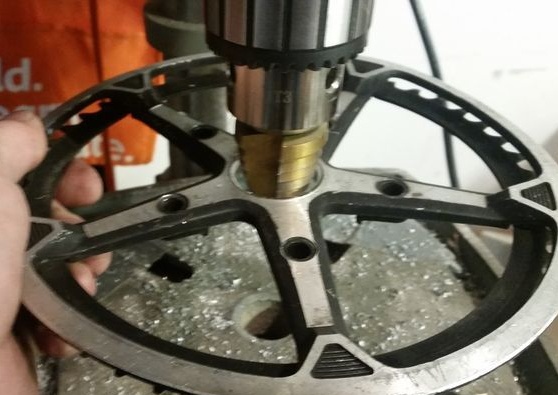
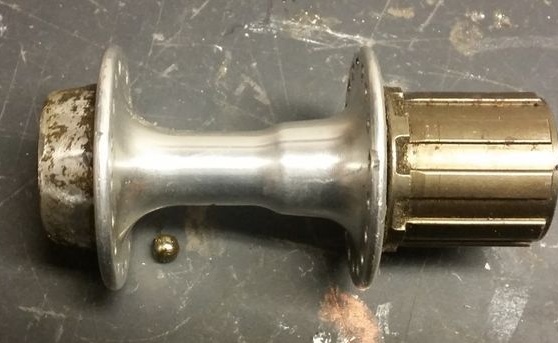
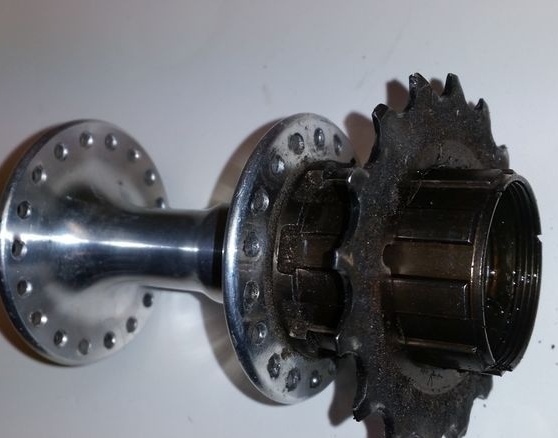
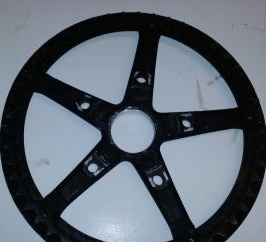
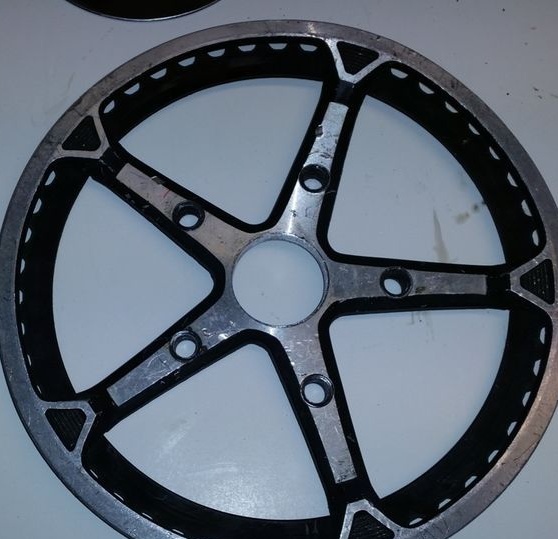
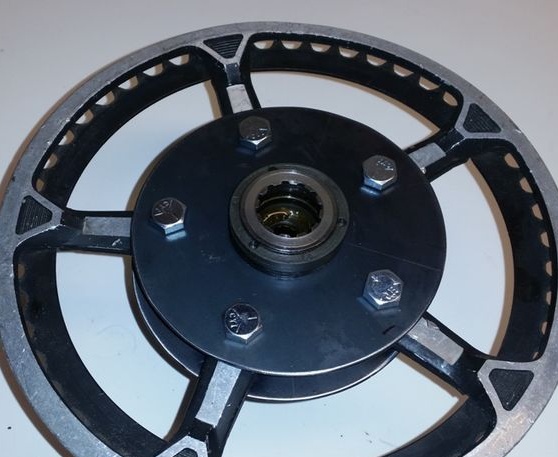
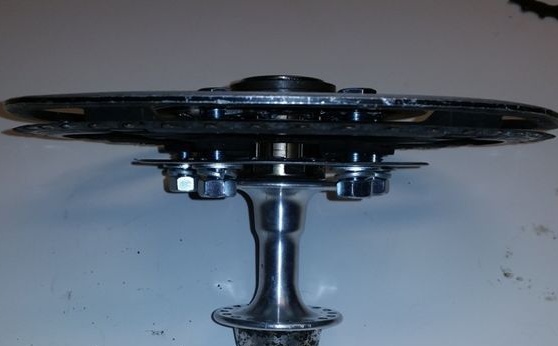

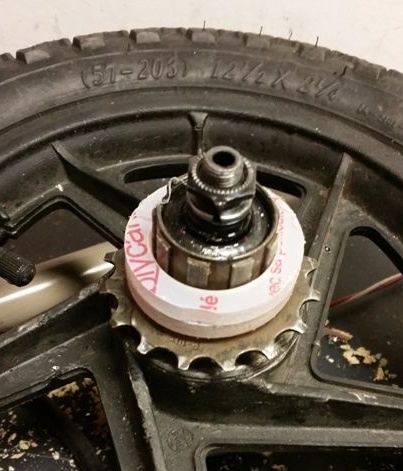
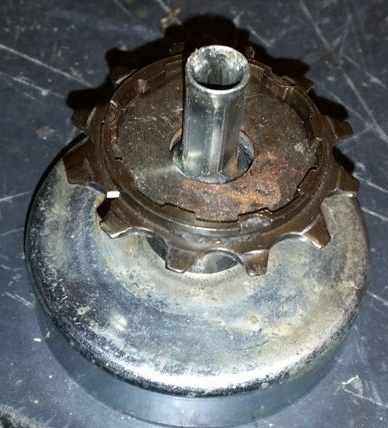
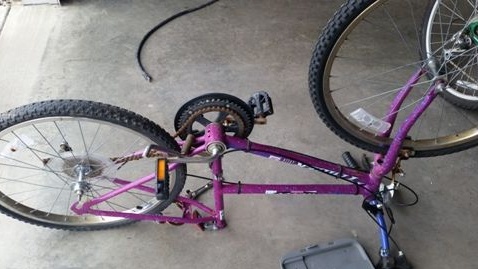
It all starts with the fact that you need to disassemble the rear wheel of the bicycle and remove the entire carriage assembly, cutting the spokes. Next, you need to remove extra stars from it, since we do not need them, we need to leave only one. There should be a large sprocket on the wheel, and a small one on the engine. It is important to determine the engine speed so that the scooter is not too fast.

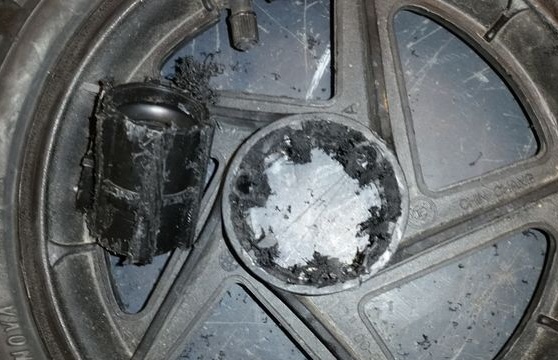
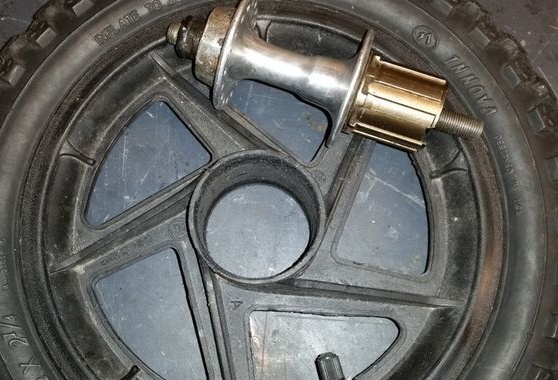
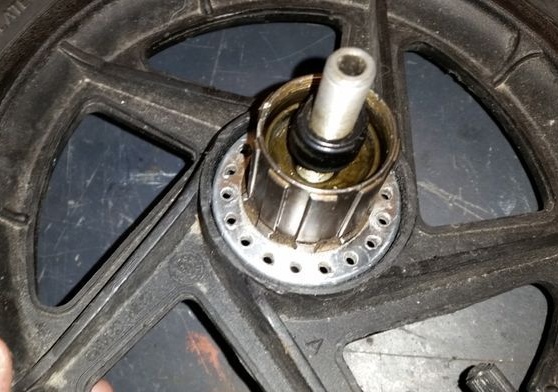
As for the installation of the carriage, he will have to tinker here. You may need to make some gaskets, bushings, and so on to put everything together.
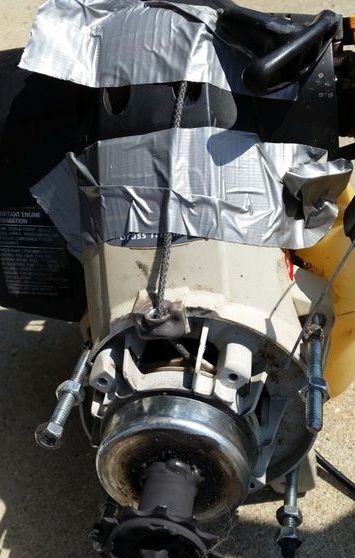
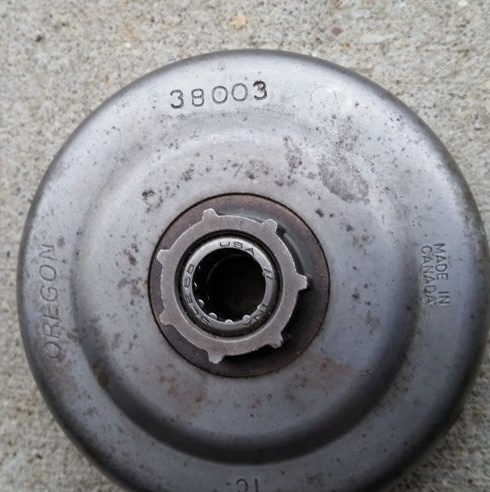
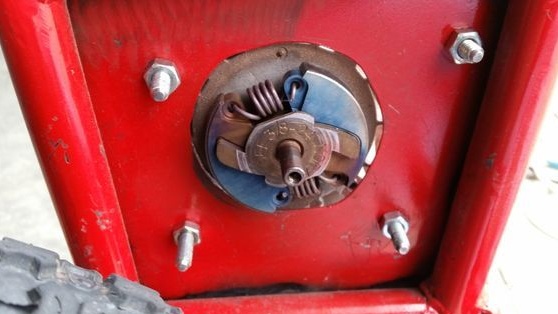
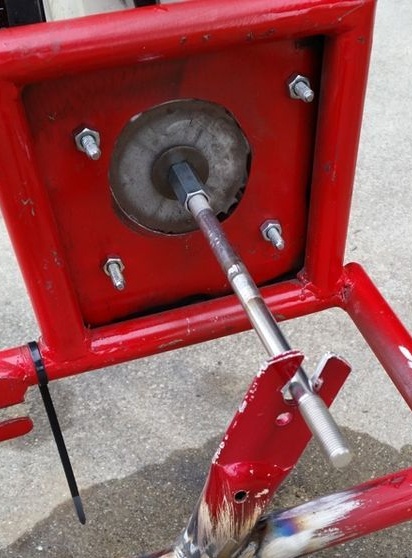
Step Two Installing an asterisk on the engine
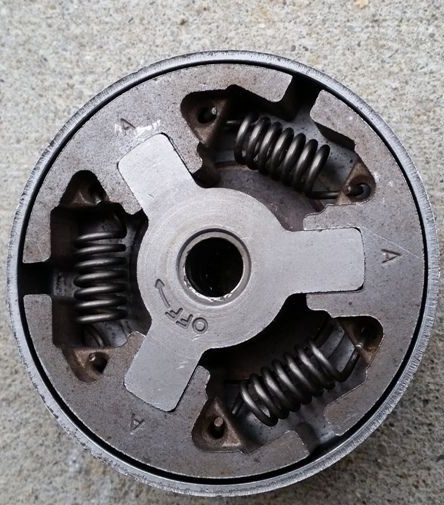
Benzokosa are different, the author needed one that is equipped with a centrifugal clutch. Otherwise, if it is not there, it will be very difficult to use a scooter, because when you start the engine, he will immediately leave.And so the engine will work at idle without any problems, and will start moving only with an increase in crankshaft speed.
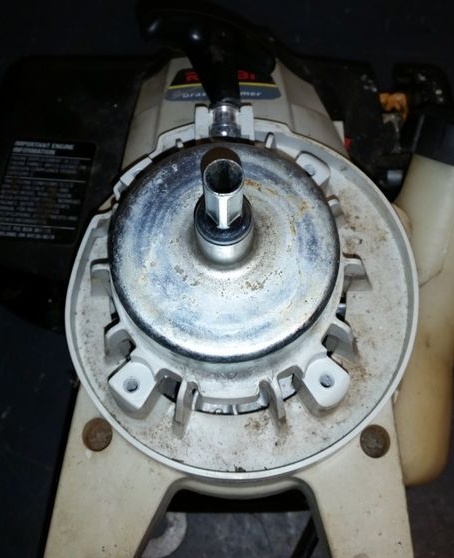
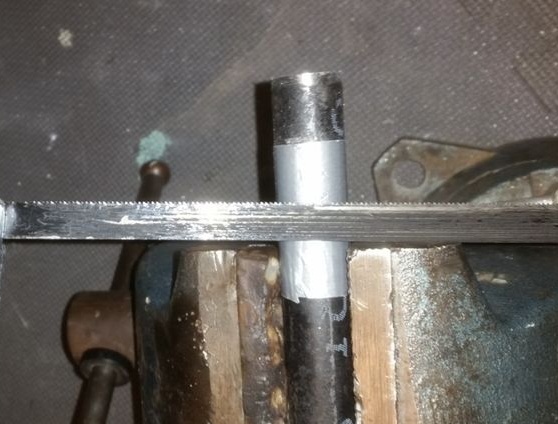

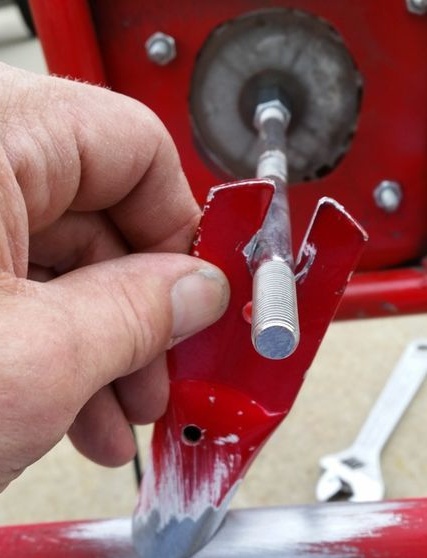
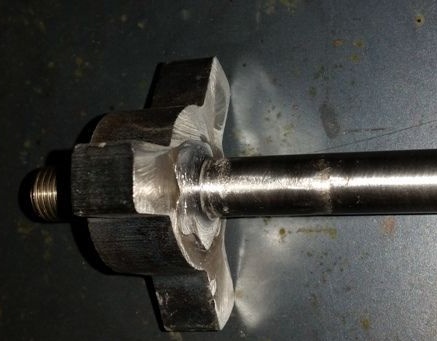
From the engine of the braid you need to cut off a piece of the shaft that goes to the knife, that is, the area behind the clutch. As a result, there will remain a shaft to which the sprocket is welded. The asterisk needs to be properly centered. Most likely, you will have to pick up or make a sleeve.
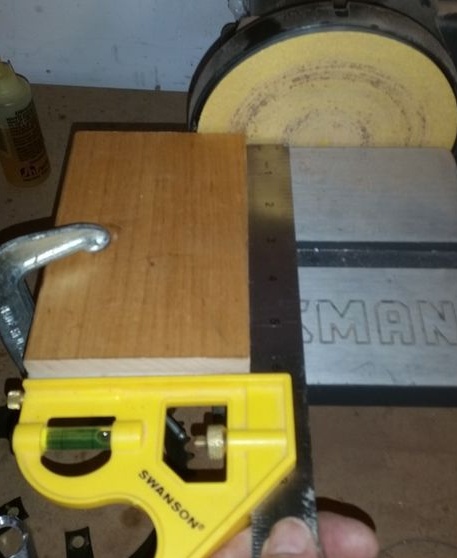
Step Three Frame layout
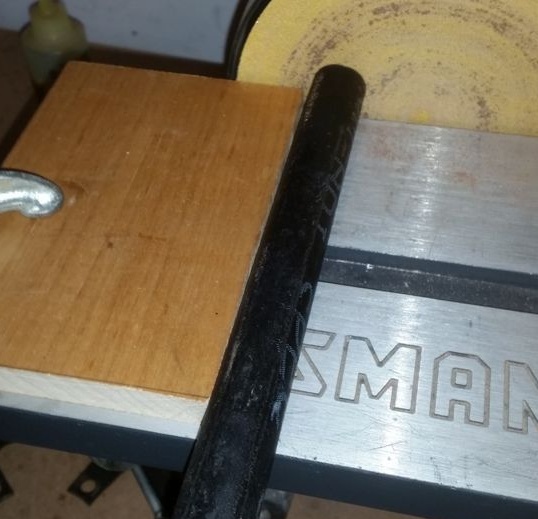
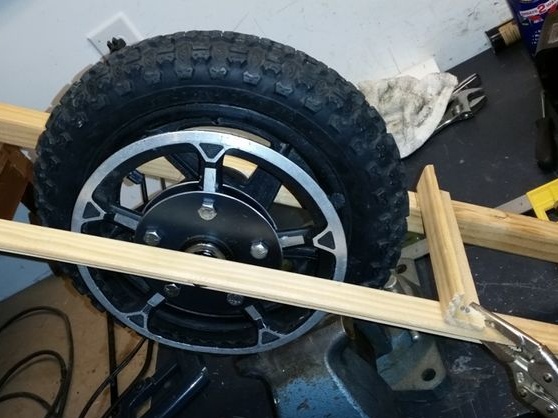
At first, the author made a wooden frame to determine the creation of a metal one. The problem was that the mounting of the new rear wheel did not fit the old frame.
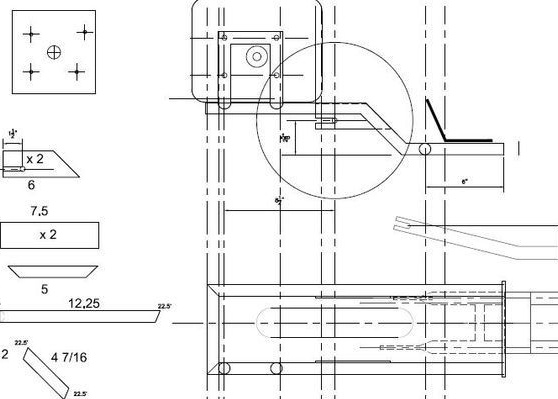
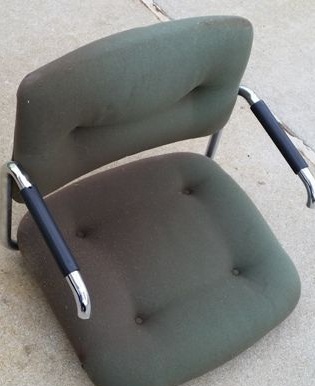
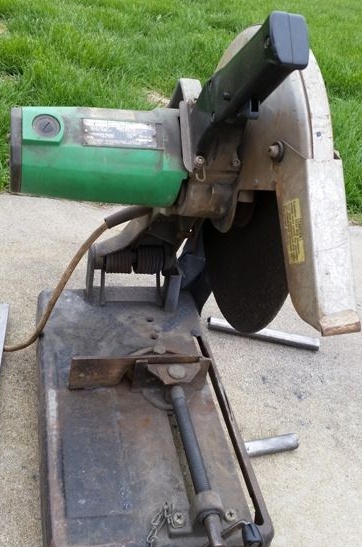
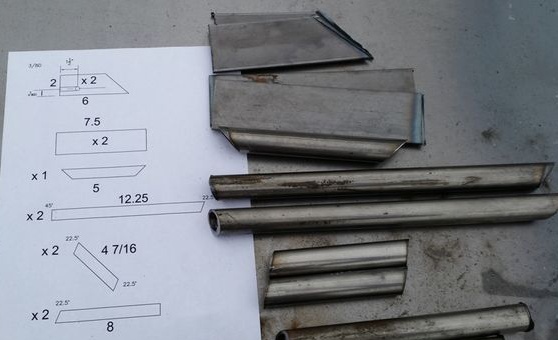
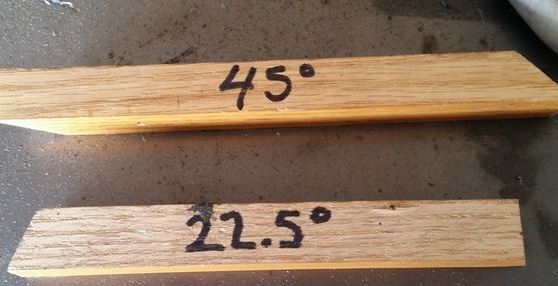
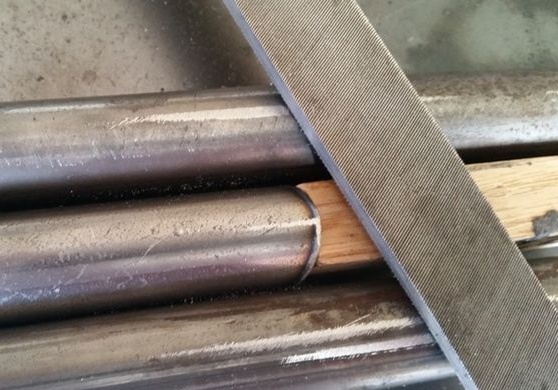
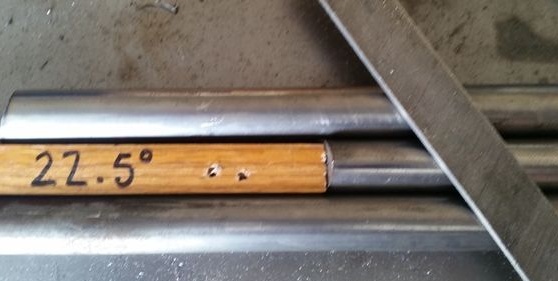

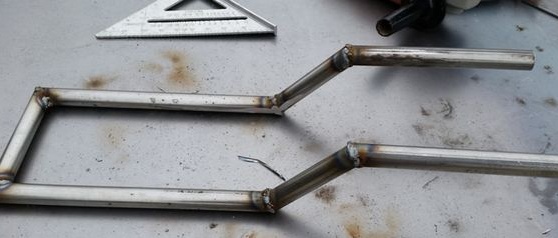
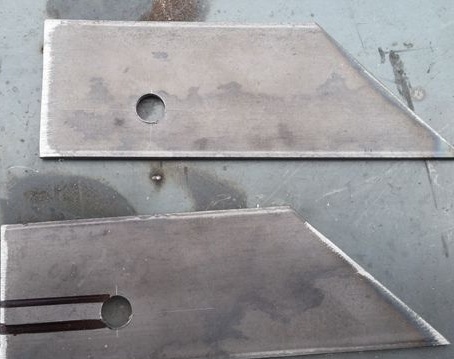
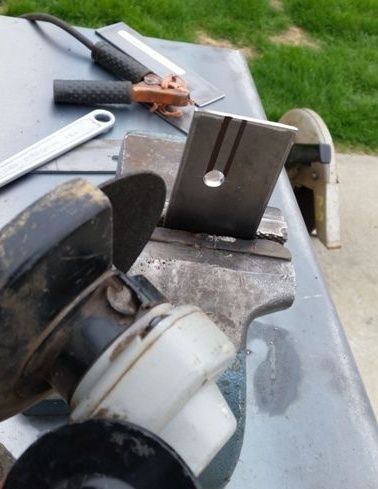
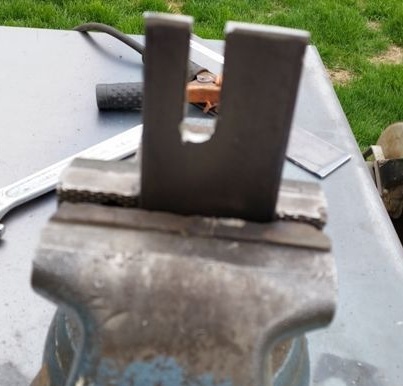
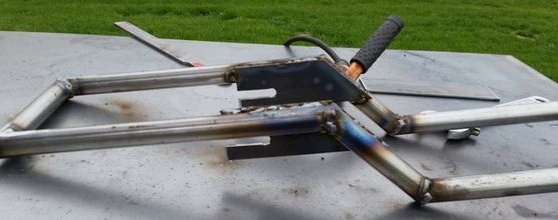

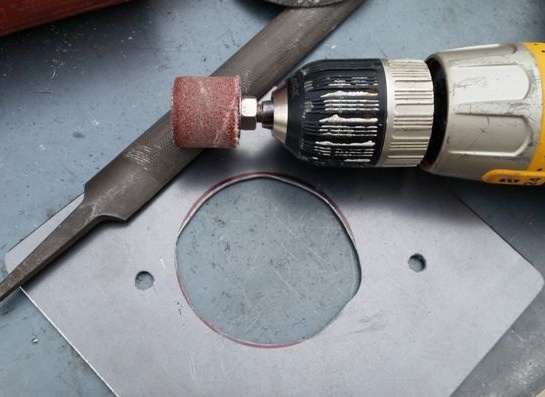
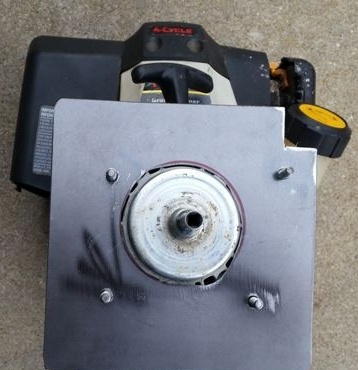
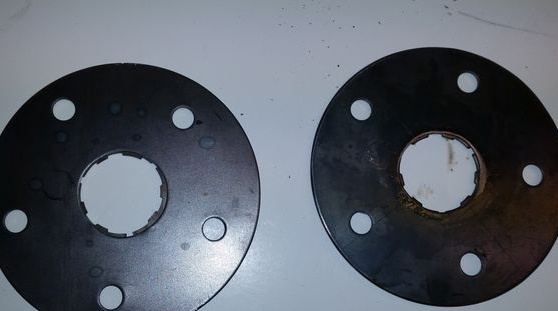
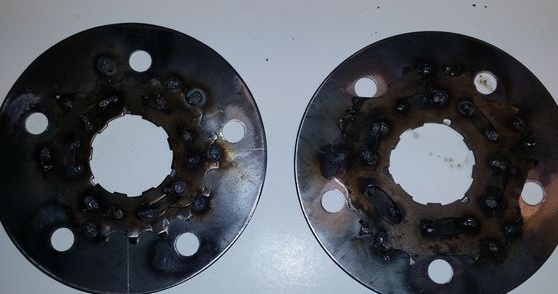
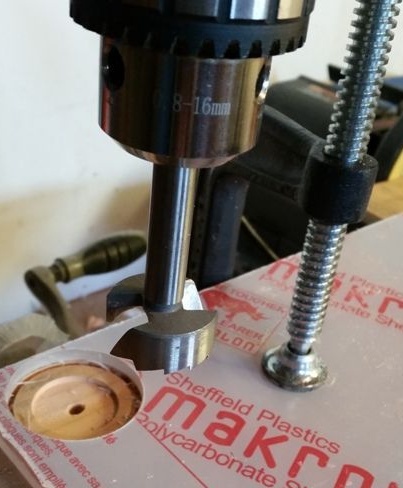
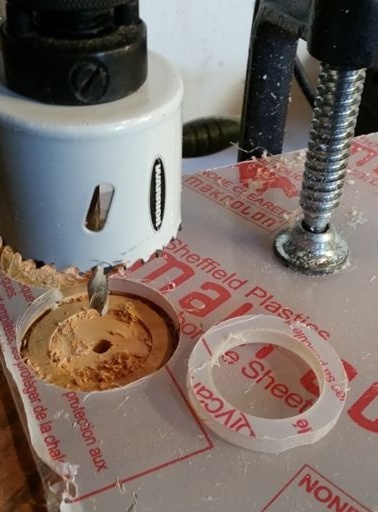
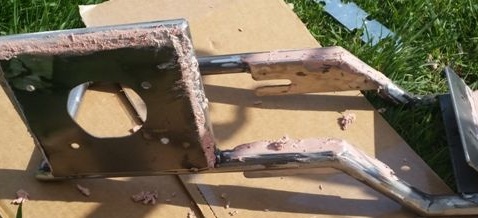
As a result, it was necessary to make another rear fork. It should hold not only the wheel, but also the engine. An armchair came to help here, in other words, steel pipes are needed. Well, then the pipes are cut exactly according to the scheme and well welded. Under the engine, you need to mount, for such purposes, you will need a piece of a strong steel plate. In it, in the center, you need to cut a hole for the clutch, and also drill four mounting holes for mounting the motor. Well, this sheet is welded to the rear fork.
Step Four Assembly
Now everything can be put together.
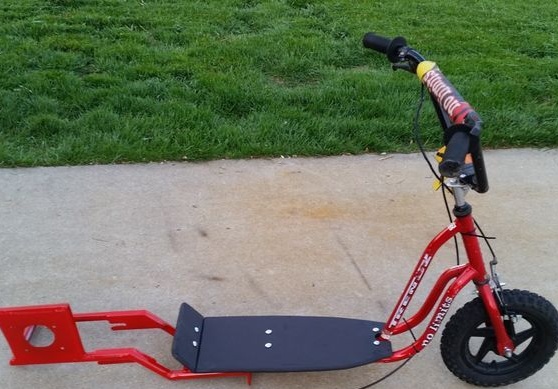
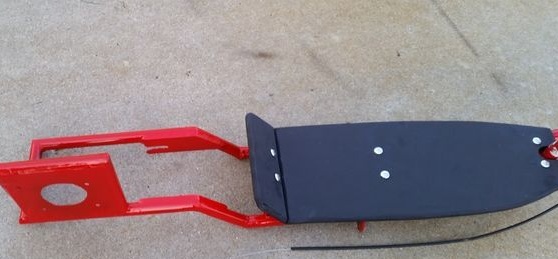
Step Five Painting
At this stage, the author paints the frame. If the native board has become poor or not at all, then it can be made from a sheet of plywood, and then painted. Size is selected according to needs.

Step Six We connect the engine
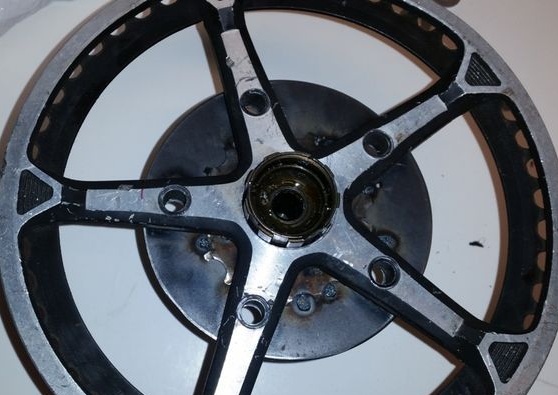
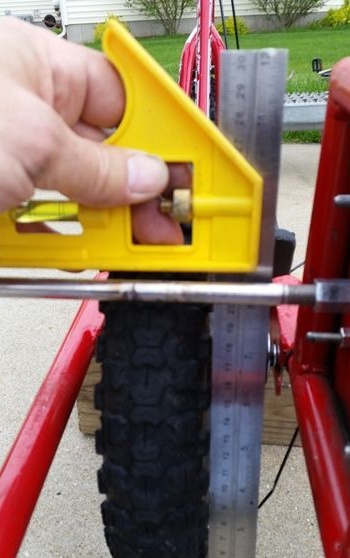
After painting, the engine is installed in place and everything is finally assembled. It is important to pull the chain, otherwise it will fly off. Before riding, you need to spin the rear wheel, and make sure that all the stars are centered and are clearly opposite each other.
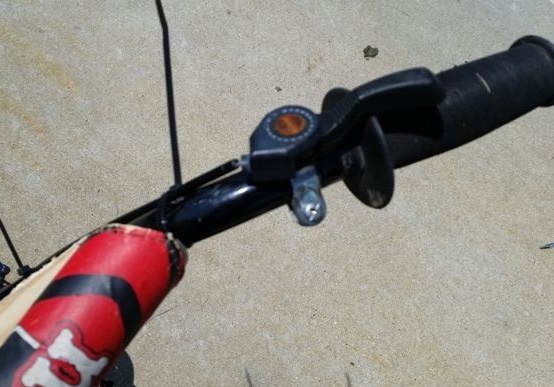
To control the motor, you will need to connect the ignition button, as well as the throttle control cable. However, the button can not be displayed on the steering wheel, but the throttle handle will be needed. As a cable, you can use a cable from the brakes of a bicycle or from shifting gears. As for the handle, the throttle handle can be made from the gear shift knob, throwing out excess parts from it, as a result, the handle will spin freely. Well, or, as a last resort, you can control the throttle with the help of the bicycle braking handle, but this is not very convenient, since you can mix everything up while driving.

Seventh step. Test
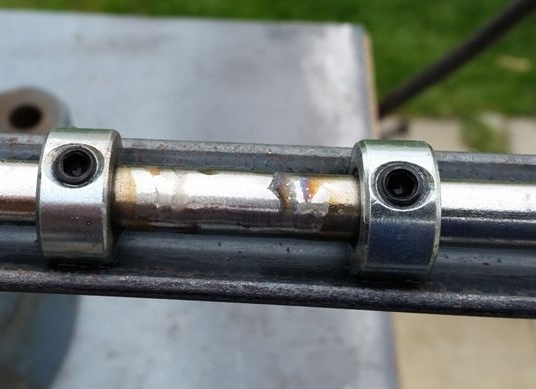
Tests have shown that the scooter needs to be further developed. So, for example, the author had a problem with the alignment of the stars. It was also decided to install a smaller sprocket on the engine, this will increase power.

Step Eight. Improvements
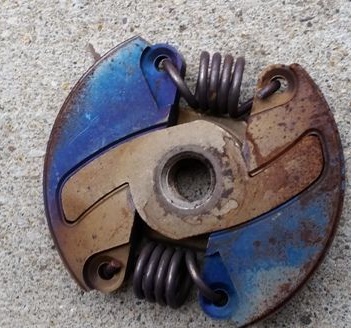
Since the first tests were not very successful, the author burned the centrifugal clutch, the metal changed its color to blue, which indicates that the steel has weakened. As a result, a new clutch from a chainsaw was purchased. A feature here was the presence of a floating star. By welding the drive sprocket here, the drive link is now self-centered on the engine.
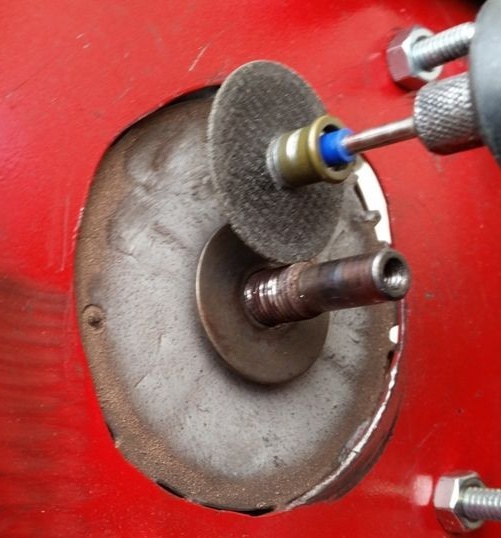

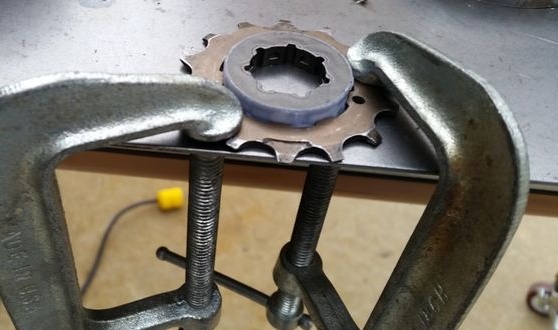
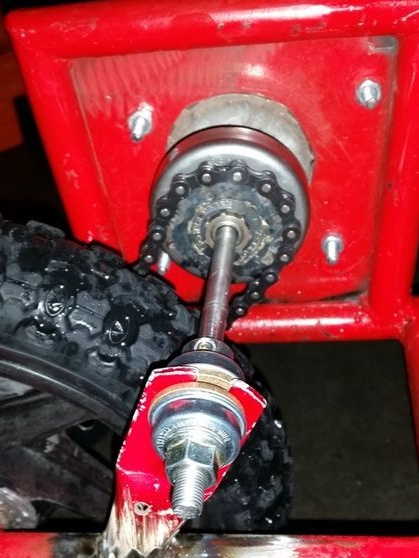
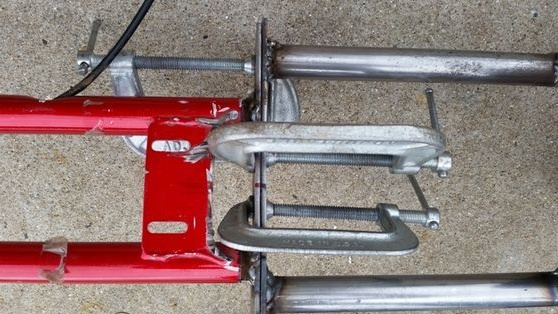
To further strengthen the clutch axis, a steel axis and bearing were found, and an additional bracket was welded to the frame. Now the axis has already two bearings, which significantly reduced the clutch load. The axis is connected with a nut, since there is a thread on the axis of the engine.
View online file: