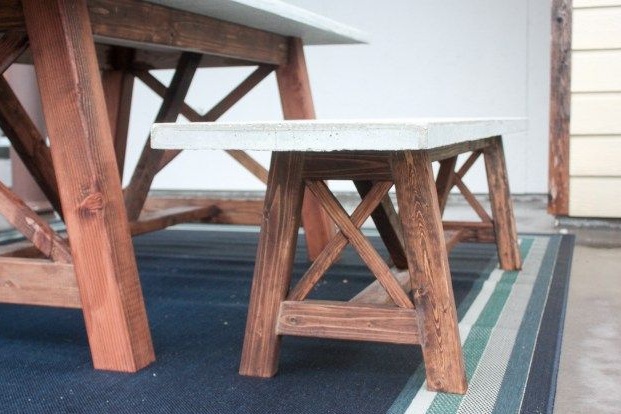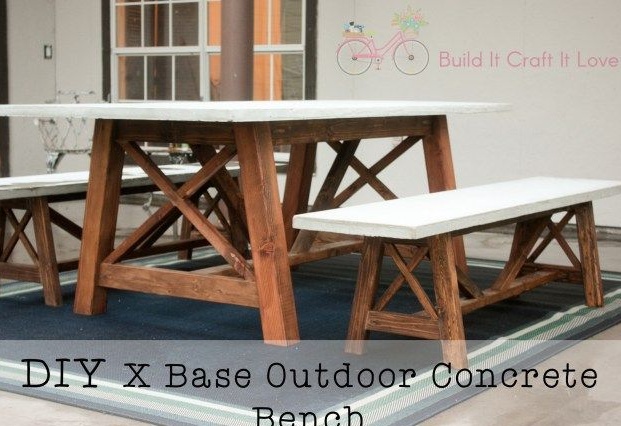
Progress does not stand still, and concrete countertops, however, as well as concrete bases for benches, you will not surprise anyone. Yes, natural wood and concrete are perfectly combined with each other.
Moreover, a kind of original combination allows you to produce a very practical garden and street furniture, in which the wooden frame of the product is reliably protected from the adverse effects of precipitation.
Moreover, concrete bases for furniture can be produced without any problems in conditions home workshop. To do this, you will need a homemade or proprietary vibrating table. It allows you to make dense concrete without air bubbles, so that the products are particularly durable.
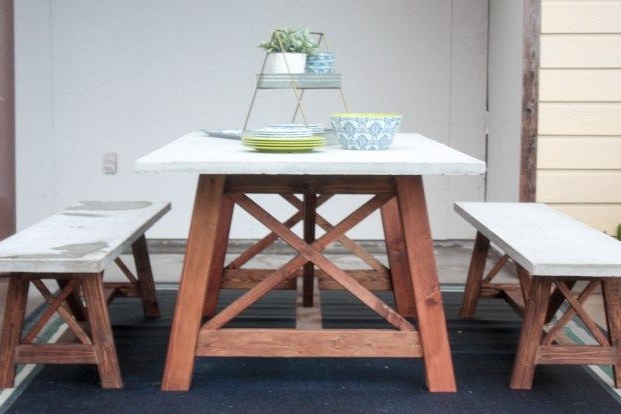
The author of this workshop will be happy to tell you how do it yourself make this wonderful dining set consisting of a table and benches. For work you will need:
Materials:
1. ingredients for concrete:
- cement (possibly white);
- river sand;
- water;
- plasticizer (can be partially compensated by dishwashing detergent);
- white dye.
2. lumber from pine or any dense hardwood:
- boards for the manufacture of the frame;
- a bar for the manufacture of legs;
- slats for decorating and strengthening the frame.
3. glue for woodwork;
4. glue for fixing on a wooden base of concrete structures: universal silicone or tiled;
5. furniture screws or wood screws;
6. protective and decorative coating for wood: varnish, natural or decorative oils, drying oil - to choose from;
7. varnish for stone, brick and concrete (if necessary);
8. plywood, self-tapping screws, slats and silicone for the manufacture of molds for concrete.
Instruments:
- vibrating table or diligent efforts of a pair of guys;
- miter saw or circular;
- electric drill;
- screwdriver;
- grinder;
- container for concrete preparation, measuring buckets, shovel;
- electric construction mixer or concrete mixer (you can use the nozzle on the drill);
- paint brushes and soft tissue, if necessary;
- a grinder with a grinding wheel for grinding concrete;
- building tape measure and square;
- a pencil.
Step One: Concrete Preparation
If you try a little, then on sale you can find special bulk mixes for the manufacture of decorative concrete.At home, it is used for the production of flower pots, details of souvenirs, figurines, sculptures and other things. Concrete furniture elements belong to this "other".
Such mixtures already contain all the necessary ingredients in the required proportions. You just have to add water and dye, if the latter is not in the composition.
Of course, such concrete can be prepared independently. You will need a concrete mixer or a construction mixer to mix the mortar. With small volumes of materials, you can also use a special metal nozzle on the drill, which perfectly replaces the mixer.
Mix cement and sand in the required proportions. Dilute the plasticizer in water. If for some reason you do not want to use a plasticizer, replace it with a regular dishwashing detergent. Pour the liquid into the dry mixture and mix the concrete. Add dye and mix thoroughly.
Step two: the manufacture of concrete structures for tables and benches
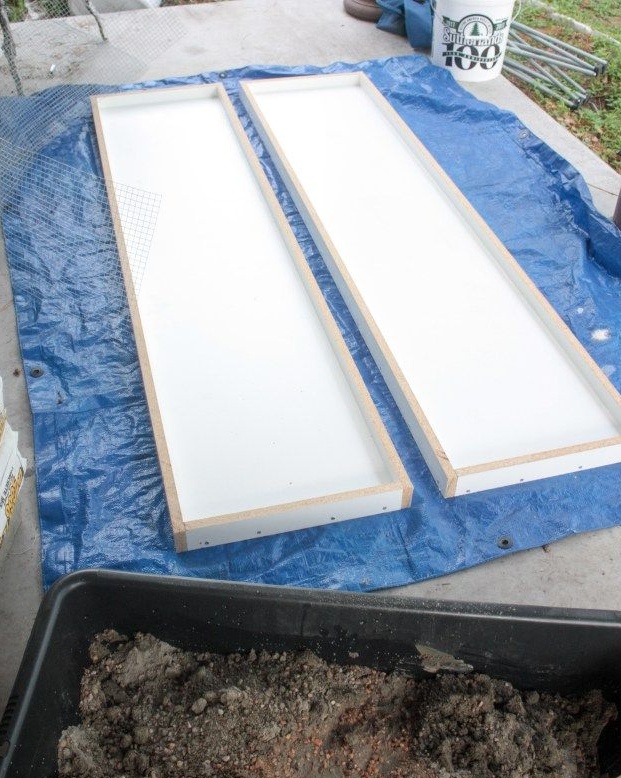
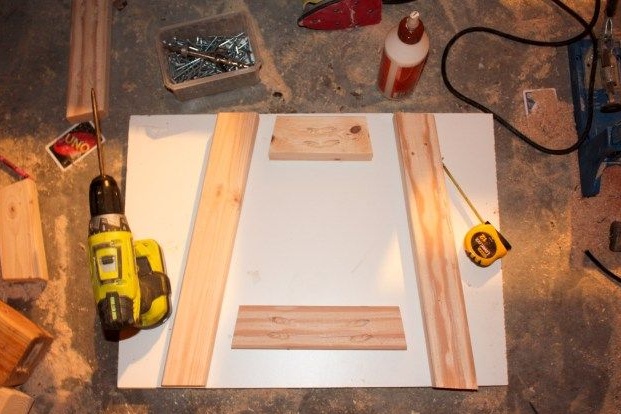
From wooden slats and plywood, make molds for concrete. Use screws to connect parts. Carefully seal all slots with silicone. Cover the bottom of the mold with a thick film or sprinkle evenly with fine sand.
Fill the forms with the solution and place on the vibrating table. The author took the help of his friends, who for an hour depicted the efforts of a vibrating table. In fact, make it simple device you can do it yourself. And on how to make a homemade vibrating table, read on our website.
Leave the molds with concrete for a couple of days until completely solidified. Do not keep them warm or in the sun. On the contrary, place the shapes in the shade under the canopy. At too high air temperatures, wet the surface of the concrete with spray water at least a couple of times a day.
Carefully remove the concrete slabs from the molds. If the front surface is not as perfect as you would like, you will have to grind it. Use for these purposes a grinder or grinder and a special wheel for grinding concrete and brick.
Third step: detailing, marking of the details of the wooden frame and their manufacture
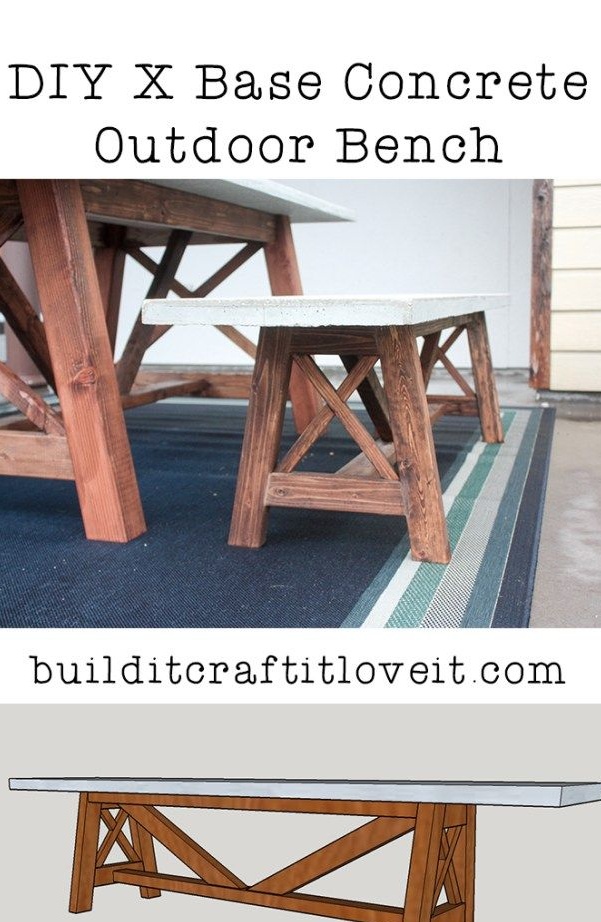
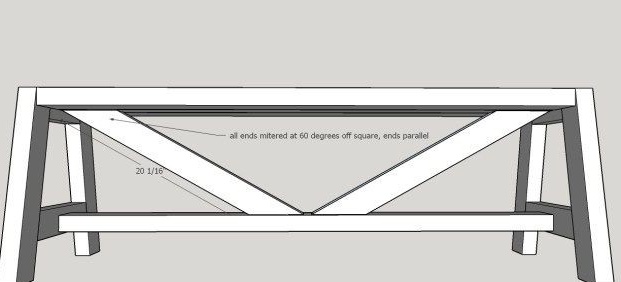
For convenience, the author made a schematic drawing of the shop. The table is made on the same principle. This will allow you to better see the individual details of the structures, and you will need a great many of them.
Therefore, immediately get ready for the fact that you need to somehow name all the details, write it out on a sheet of paper and, on the contrary, indicate their exact sizes. Otherwise the hour is not equal - you will get confused.
To make the legs of the table and the base under the tabletop, you will need a thick bar with a square section of 70 x 70 mm. A smaller block will go to the frame: 40 x 50 mm or 40 x 60 mm. You will also need slats for decorating and strengthening the frame.
Do not forget that a concrete countertop is not an easy pleasure, therefore, lumber should correspond to it in terms of its strength and reliability. But oak or acacia is better not to use. Otherwise, the final weight of the product will be completely unbearable and it will be difficult to rearrange it.
Mark the parts. Please note that many of them are cut at an angle. For example, the legs of the table and benches, as well as supporting rails. Keep this in mind as you work.
Saw the bars and slats on the details of the frame for the table and benches. Use any tool available to you for this. A miter saw is the most preferred one.
Grind all the parts carefully before you begin assembling the frames. In principle, the volume of materials allows grinding on the machine. It can be ordered at the nearest carpentry workshop. However, a hand tool, such as a tape or orbital sander, will do.
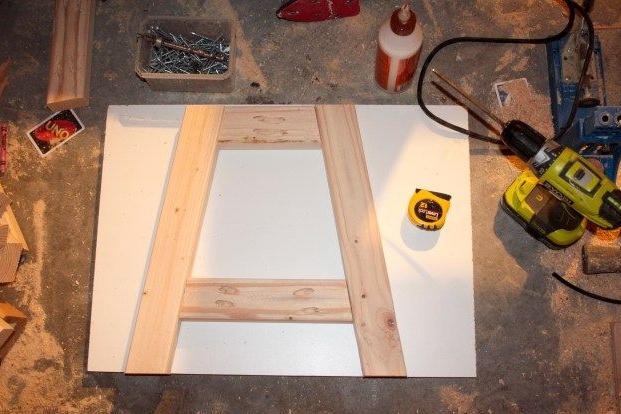
Step Four: Assembling the Wood Frame
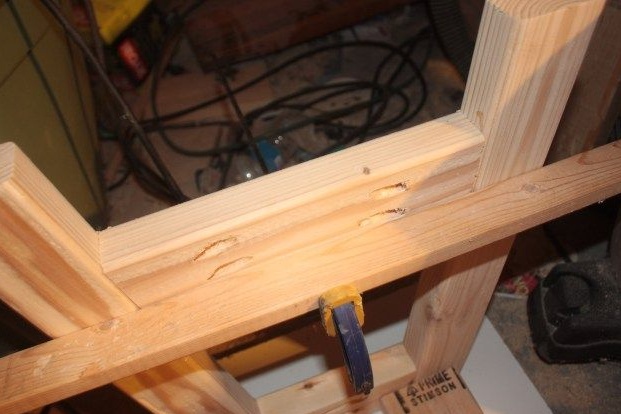
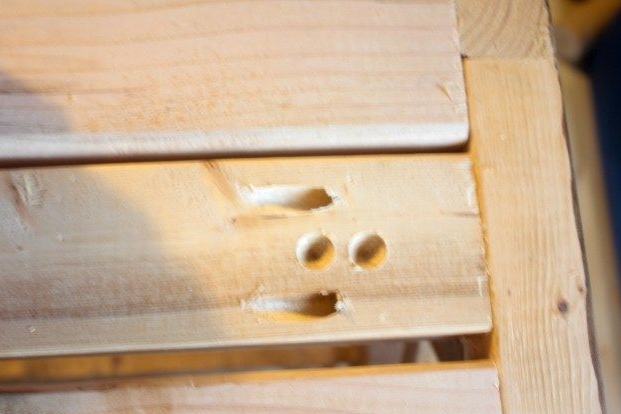
Start assembling the frame. Train for the sake of starting with a bench. On all details, identify the joints and drill inclined pocket holes for self-tapping screws or furniture screws.
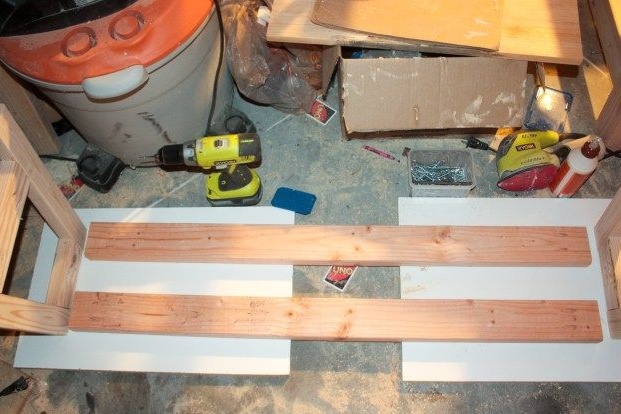
Apply wood glue to the joint, join the parts and tighten the screw, fixing the joint. Thus, assemble the side panels of the bench and connect them with the longitudinal parts of the frame, which will serve as the basis for concrete seats.
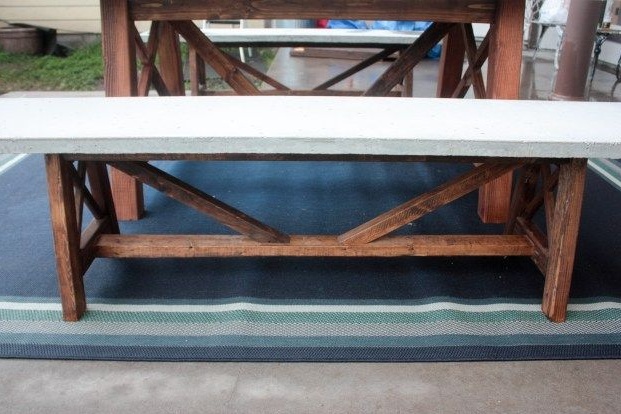
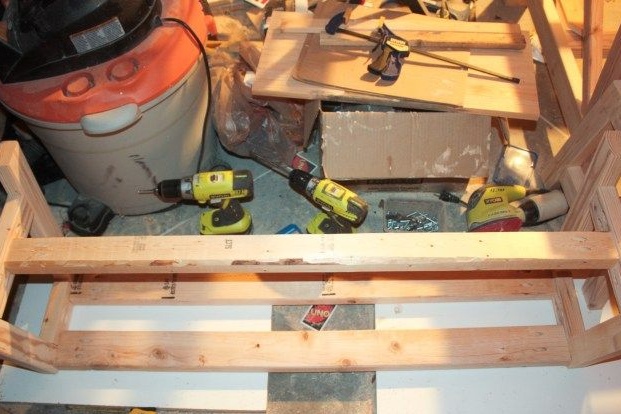
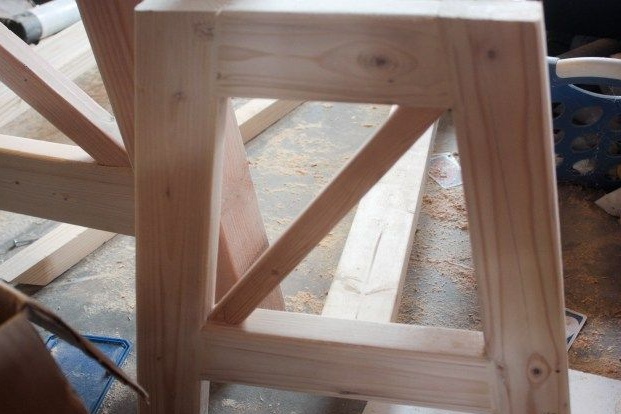
Install the lower strut and two diagonal crossbars, as well as the decorative rails on the side panels. In the same way, collect a second bench and get to the table.
The principle of operation is approximately the same: assemble the side A-shaped panels, connect them with the details of the upper trim, attach the lower strut, diagonal worktop support bars and decorative X-shaped slats on the sides. Do not forget to use glue - let a heavy concrete countertop always stand before your eyes. So you will always be vigilant.
Step Five: protective and decorative processing of wood and concrete structures
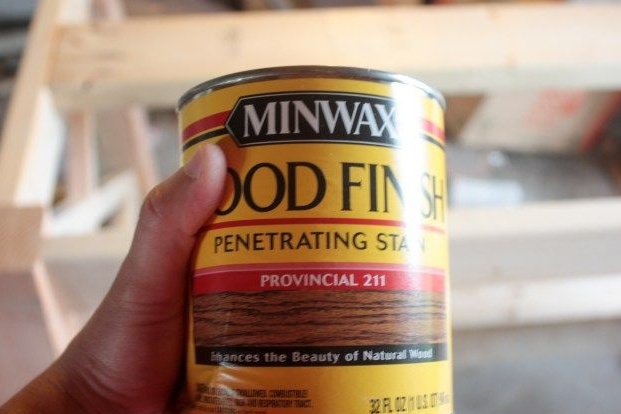
To protect wood, use toner and furniture waterproof varnish as a protective coating.
For toning, choose decorative toner oils or stain for alcohol. You can also reduce the amount of work a little and immediately choose the right permanent varnish-toner. However, choose exclusively waterproof formulations that provide a solid and hard coating.
Apply the varnish in several layers, allowing each of them to dry properly. Interlayer grinding can be used to create a more durable and wear-resistant coating that lasts for decades.
Step Six: Lock the Concrete Worktop and Concrete Bench Seats
There is the final touch. Set your dining set to a permanent place of residence and proceed with gluing concrete seats and countertops.
In the USA, universal silicone glue is often used for this purpose, which creates an adhesion that is unusually tear resistant. But do not confuse glue with silicone sealant. The latter is generally not intended for gluing any materials.
Instead of such an adhesive, you can pick up a good tile adhesive, which is designed for work on wooden surfaces. In this regard, consult with a specialist, because the concrete slab is still heavy and will not become any easier.
The surface of concrete structures can be varnished. To do this, it is better to choose a special varnish for work on stone, brick and concrete. However, it costs a lot of money. You can also experiment with ordinary varnishes, which give a hard coating after hardening.