

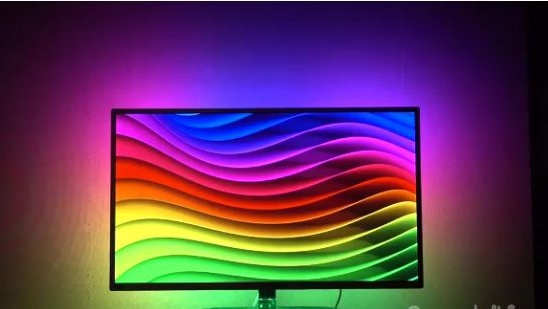
Hi the inhabitants of our site! Today I will tell and show how to make the monitor dynamic backlight.
Surely you know that sitting at a computer in the dark is bad for the eyes, and this is because of the contrasting line between the monitor and the dark. Therefore, to reduce the load on the eyes, you need backlight. Of course, you can get by with a table lamp, but to create more comfort, well, or just for beauty.

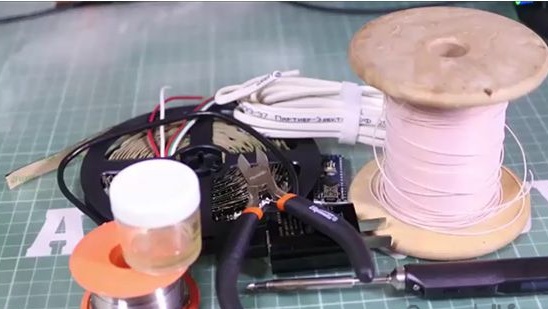
For dynamic backlight we need:
1) Addressable LED strip.
2) Resistor from 200-500 Ohms.
3) Arduino.
4) Thick and thin wire.
5) Solder.
6) Soldering iron.
7) Flux.
8) Electrical tape
9) Nippers
Assembly and setup:
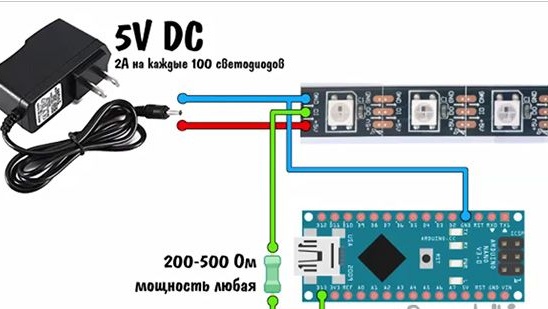
1) We will connect everything as in the scheme below. The scheme itself is simple to disgrace. The tape is connected from the power supply to 5V (the author of this homemade product will connect it to the computer's power supply), the ground of the tape and the DI pin are connected to the arduino, and the DI pin is through the resistor, that's all. Thus, the tape is powered by the computer’s power supply, and the arduino from the computer’s USB and through USB receives information for the LED strip.
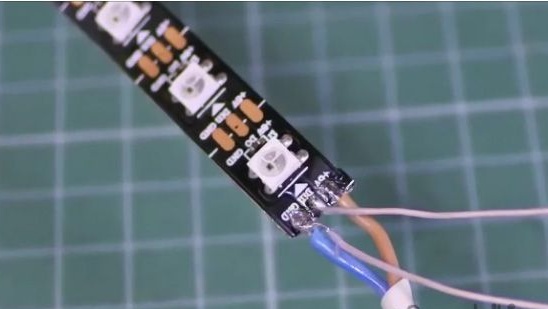
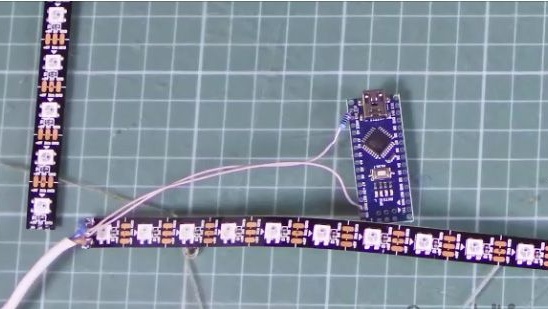
2) To begin with, take a thick wire that goes to the power supply and a thin one for arduino, we clean, tin and solder everything as in the photo below.
3) Next, solder two thin wires to the arduino, not forgetting the resistor.
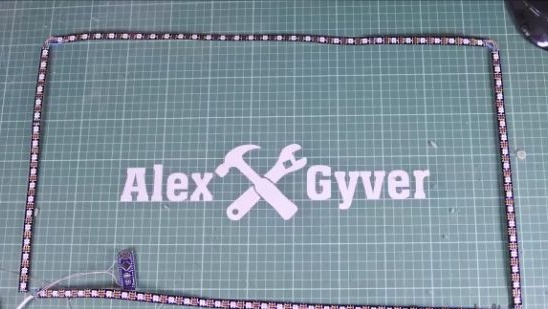
4) Now the most interesting thing is to fix the tape on the monitor. The number of LEDs on the left and on the right should be the same, for example, twenty on the left and twenty on the right, the same above and below, for example thirty from above and thirty from below, this is very important.
5) We lay out the tape on the table. A rectangle with the desired length and width and with the right number of LEDs as in the photo below. Note that the beginning of the tape with the DI pin is in the lower left corner as well, and the end of the tape is also in the lower left corner, this is also very important.
6) Well, we glue the tape to the monitor and arduino on two sided tape.
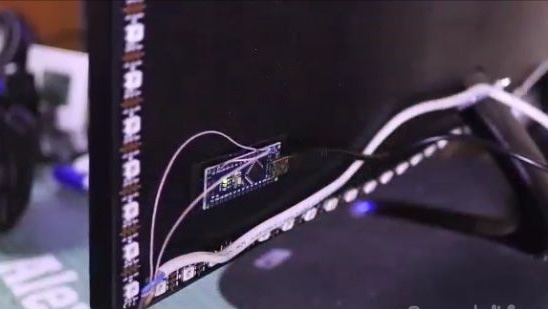
7) Now we connect power to the tape and arduino via USB to the computer.
8) We flash arduino. The firmware and instructions on how to do this can be viewed at.
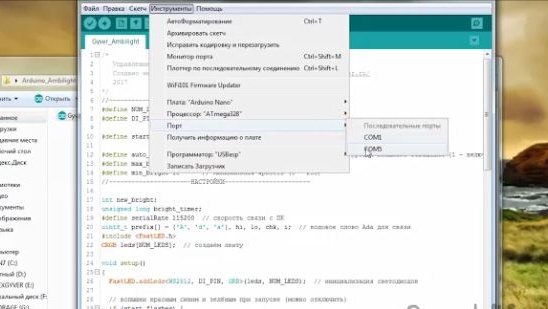
9) Next, open the firmware file. We look where you connected the arduino and remember, then go to the “tools” and look for the “port” and select the USB port to which you connected the arduino and select it. In our case, this is port number five.
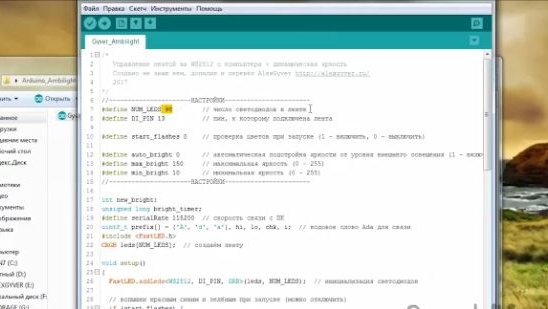
10) Then in the first setting (highlighted in yellow, in the photo below) we indicate our number of LEDs. And finish the firmware.
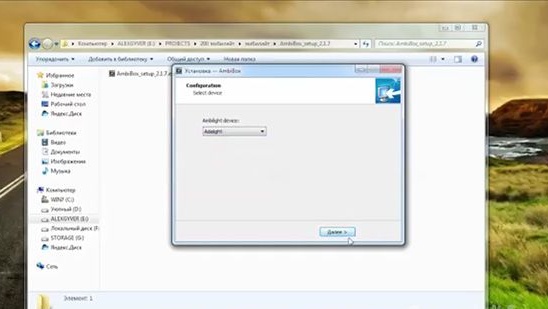
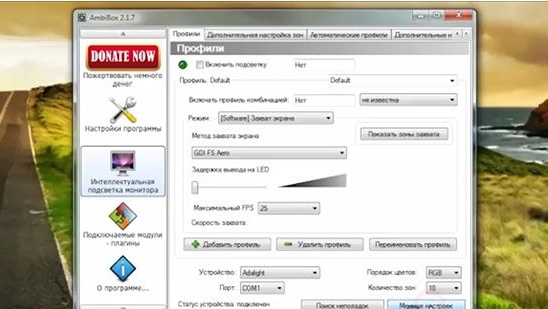
11) Now install the AmbiBox program, it will be in the archive with the firmware. Everything is simple there.But in the end, when choosing a device, you need to specify "Adalight".
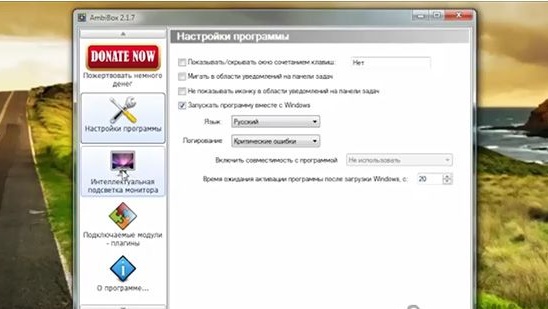
12) We launch. Immediately put the Russian language. And automatically turn on when you start the computer, so that this program does not interfere with starting the computer, put a delay of 20s.
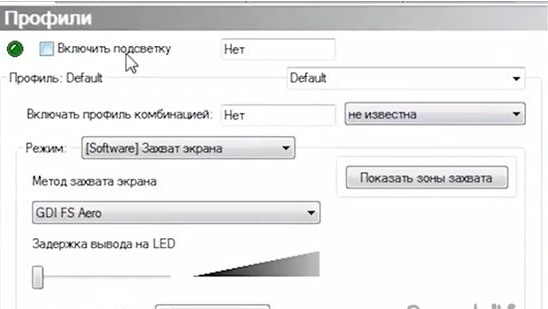
13) And now we go to the next tab and immediately click on “more settings”.
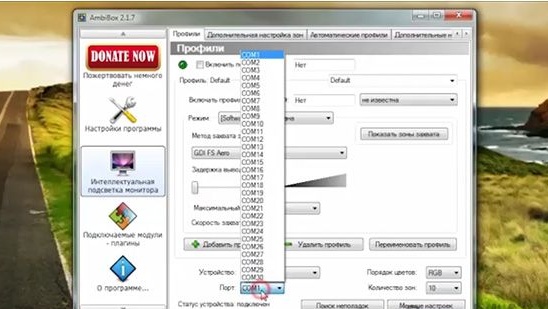
14) Do not be scared and remember the number of the USB port to which the arduino is connected and select the desired port.
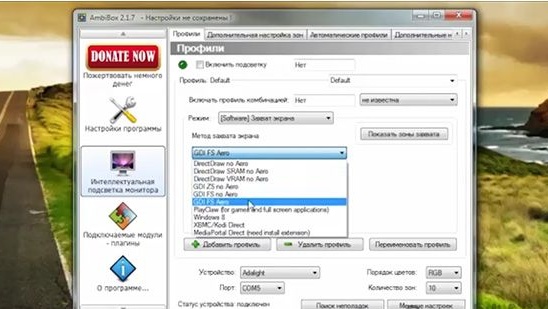
15) Further in the program, we can choose the mode of capturing color from the screen. Only the first six work for the author, but you can poke yourself and choose the mode that suits you or just works. The author chose the “GDI FS Aero” mode. The distinguishing feature of this mode is that standard transparent windows will be displayed on the backlight.
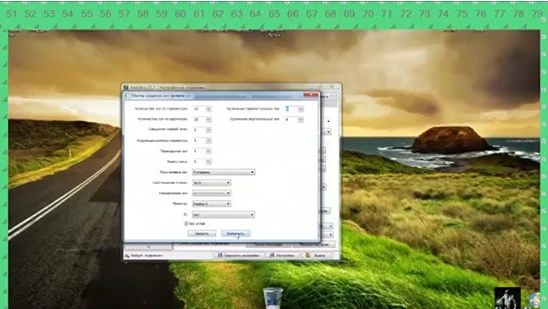
16) Click “show capture zones” and see that they are completely, not configured. First, select the number of your LEDs.

17) The program should reboot. Then click on the zone setup wizard. And we customize your parameters into the program, you can see an example in the photo below. I also advise increasing the setting areas of color, so the result will be prettier.
18) That's all, check the box to turn on the backlight.
Total:

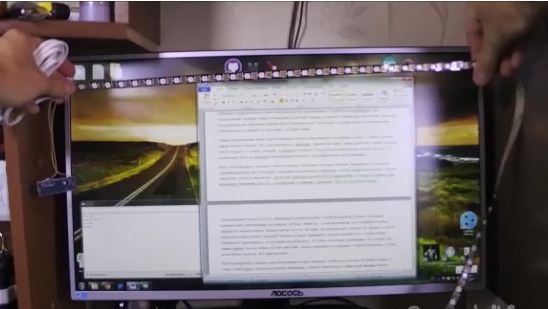
It turned out pretty nice, it’s especially nice to watch movies with such a highlight. Tests also showed a gluttony of this design on average 750MA. And if the arduino is connected to the computer, then it does not turn off, you have to connect and disconnect the arduino from the computer each time. You can also watch a video assembly of this homemade product.