Garden furniture becoming more popular. If earlier the garden set began somewhere on a bench by the fence and at best ended with a street dining table, today people are increasingly going outside the house in their construction and design studies.
Improving the space of the garden and the yard as a whole pays off handsomely, because it allows you to spend a lot of time outside the house. Yes, not horrible, but with comfort and convenience.
Exquisite flower beds, pergolas, cozy gazebos, playgrounds and a patio - these are just a few of the things that a handy craftsman can do it yourself build and craft in the garden.
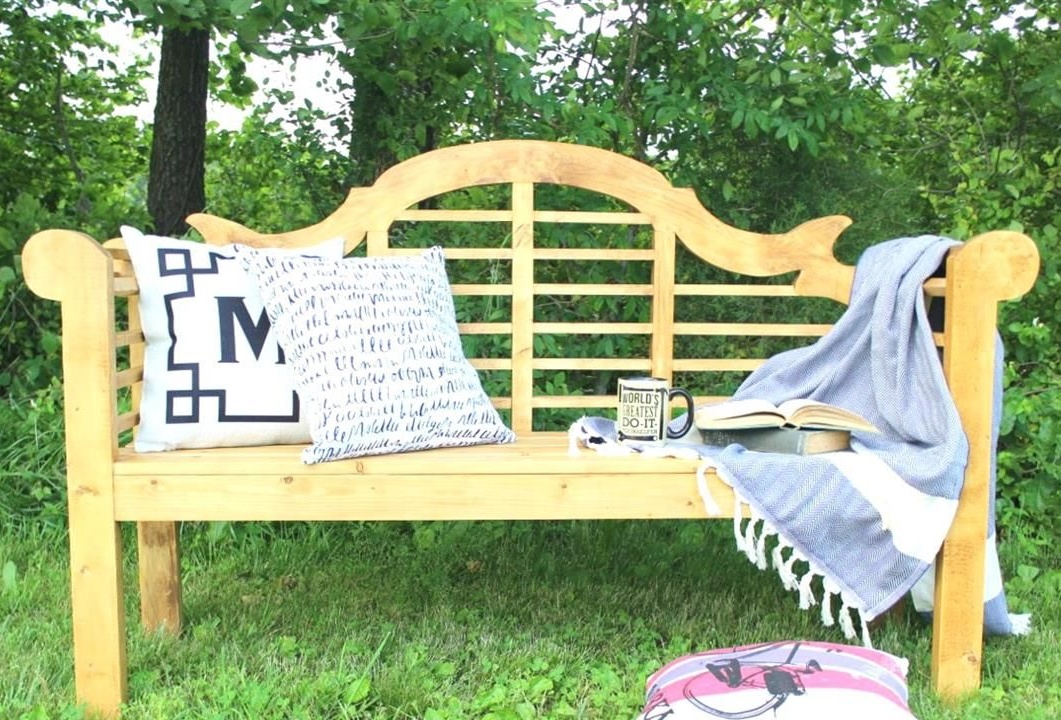
But let's start with something not so large-scale, for example, with a classic outdoor piece of furniture - a bench. It will be a little more complicated than the shops on which our grandmothers were resting outside the yard. A bench is the same bench, but with a back. It gives much more possibilities for the wizard’s imagination and is able to acquire even the most unthinkable forms.
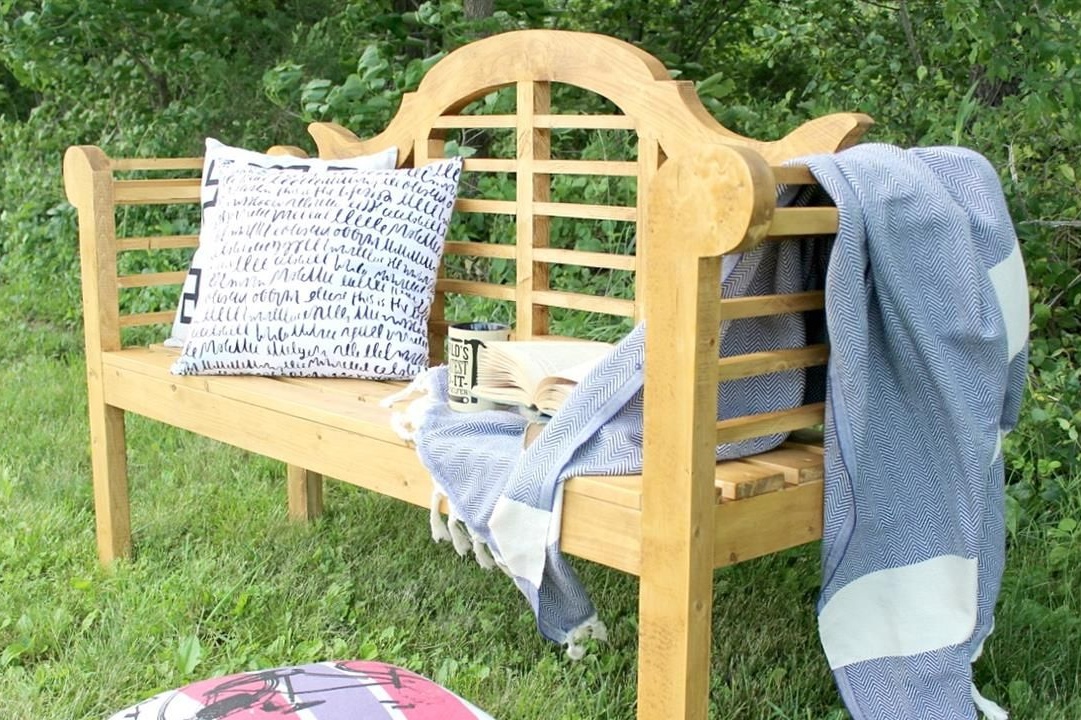
The author of this master class did not fall into extravagance and shared instructions on how to make a very beautiful bench for a garden or terrace. It consists entirely of natural wood and has a number of curly elements with which it will be very interesting for a beginner to work with.
In order to make a street bench yourself, you will need:
Materials:
- pine boards (maple or oak is also suitable);
- glue for woodwork;
- a means to protect wood, for example varnish with a matte effect;
- furniture screws or wood screws, nails;
- paper or cardboard for the manufacture of patterns;
- putty on wood.
Instruments:
- jigsaw;
- electric drill;
- the orbital sander;
- screwdriver;
- miter saw or hand saw for wood;
- pneumatic nail gun or ordinary carpentry hammer;
- clamps and clamps;
- building tape measure and pencil;
- paint brushes;
- putty knife.
Step One: Selecting and Preprocessing Materials
Use only those types of wood that are considered to be the most resistant to the effects of adverse atmospheric phenomena. First of all, it is dense and heavy wood, such as oak or maple. The pine popular in domestic countries is perfect. Coniferous resins significantly slow down the process of rotting wood.
If you do not have woodworking machines, make sure that all lumber is planed. Grinding with such small volumes of materials can be easily done manually with a grinder.
You can use second-hand wood, but in this case, you need to plan the boards in order to remove the upper aged layer and adjust the material in thickness.
Step two: sketch, manufacturing patterns and marking details
Draft your future bench on paper if you plan to make any changes to this project. So you can better understand what parts the product consists of and how many you need.
Decide on the dimensions of the bench and draw a diagram where the dimensions of each of its elements are indicated. This work will take a lot of time, but will help to avoid mistakes in the manufacturing process of parts and save you a lot of nerves.
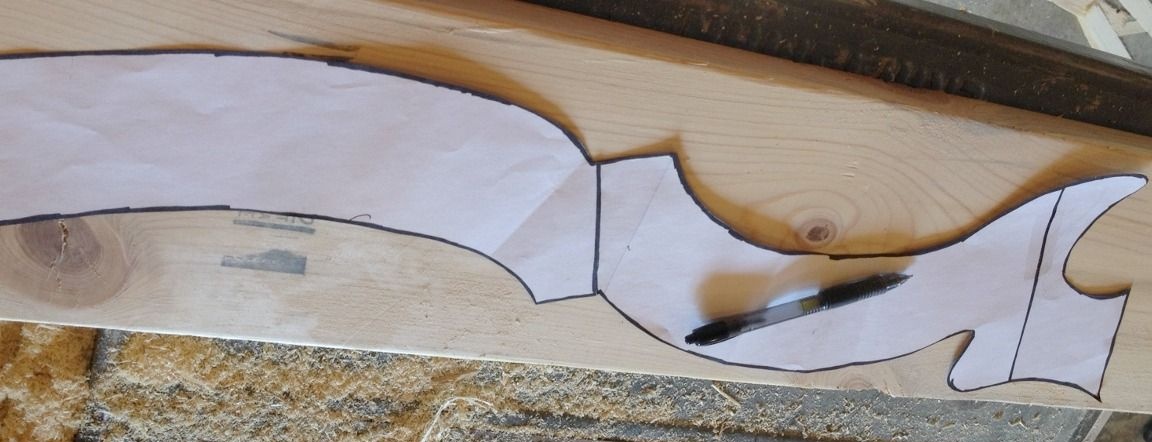
Once you have decided on the list of parts, you can begin to manufacture paper patterns. In principle, you can skip this step and draw the contours of curly elements directly on wooden boards. But practice shows that when working with patterns, things move faster, because you can correct them, make changes, or simply replace them with others at any time.
So, draw on the paper the contours of the curly elements in their real scale. In order to get smooth and smooth lines, use improvised material such as cups, baking tins and more. You can also use a sewing plastic pattern. Finding it and buying it at a sewing store is easy.
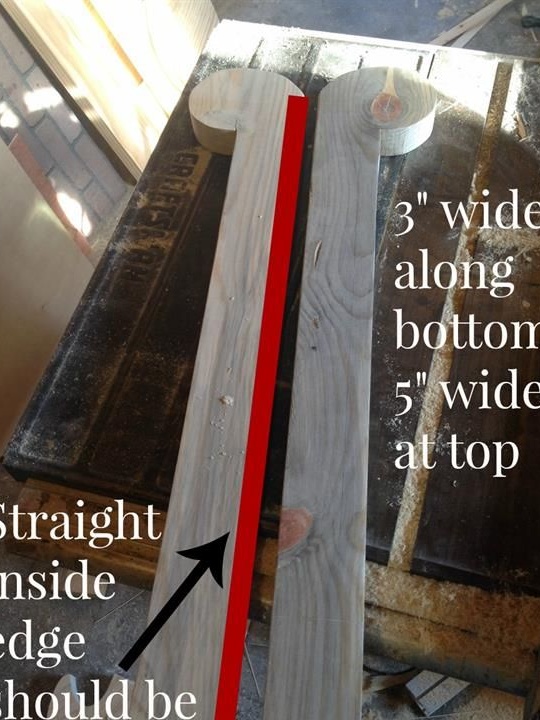
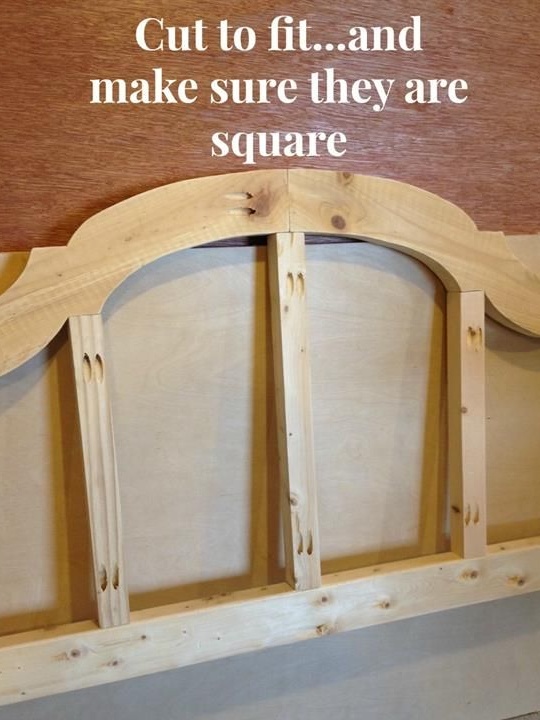
Prepare paper patterns for the upper part of the bylts, as well as for the top of the back. Moreover, the last element is composite. It has a sufficiently large width and does not fit in any way within a single wooden board. Therefore, the author divided the back into two equal parts: right and left.
Thus, you will need three patterns: one for making bylts and two for making the back. Cut the paper patterns along the contour, attach to the boards and circle around the contour.
In addition, mark out the base strapping for the seat, the details of the seat itself, the three frame struts of the backrest and the battens for lining the calves and backrest. You can make your own reiki from a pine board using a circular saw or a jigsaw.
Step three: manufacturing and processing of parts
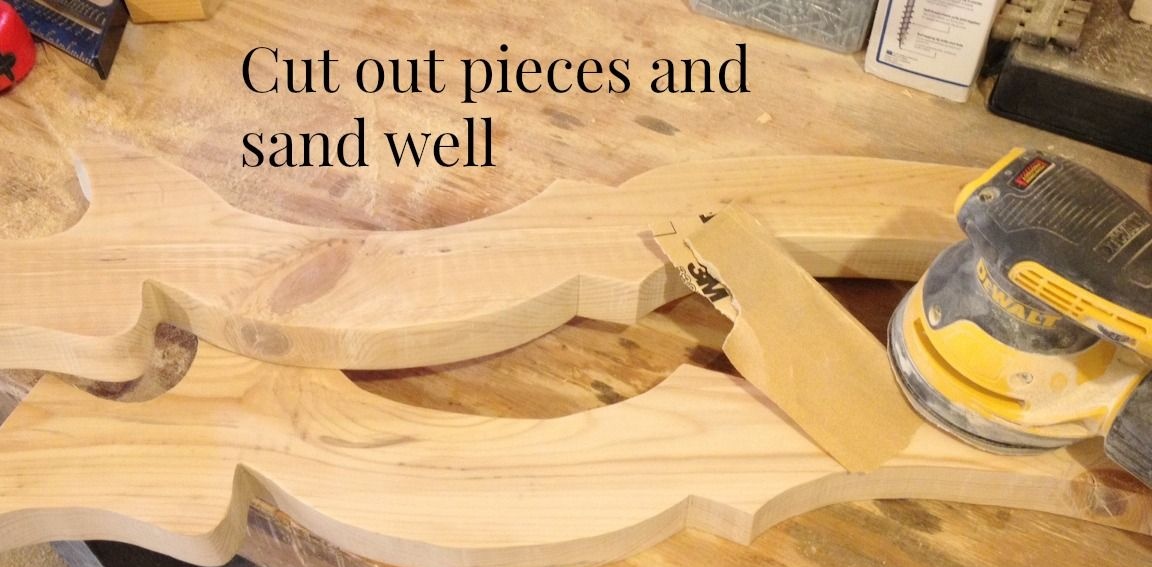
Start making parts. Saw the curly elements of the back and byts with an electric jigsaw. Since the details of the backrest are identical and should not have any differences in size, cut both of them at the same time. In order that the boards do not fit during the work with a jigsaw, connect them together for a while with small screws.
Saw marked rails and boards into pieces of the required length. Grind wooden parts carefully with a grinder. It is better to carry out grinding before assembly, otherwise some areas will be inaccessible to you.
Think about where the holes for the screws on each part will be located and drill them with an electric drill. The author used secret diagonal connections.
Step Four: Build the Bench
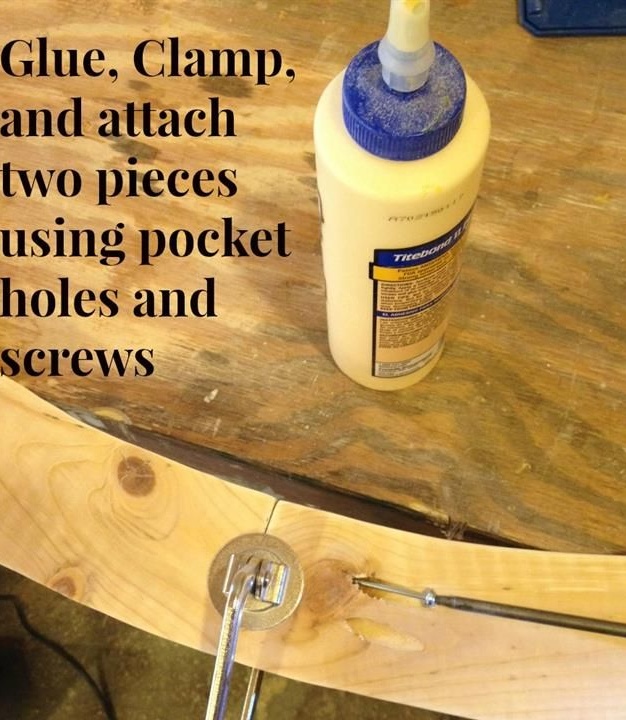
Start from the back. Join the top of the backrest from two prefabricated parts. Use a clamp to screw in screws and glue to fix and tighten the joint. Apply a little glue to the joint, hold the parts together for a few seconds, clamp with a clamp and screw the screws into the holes.
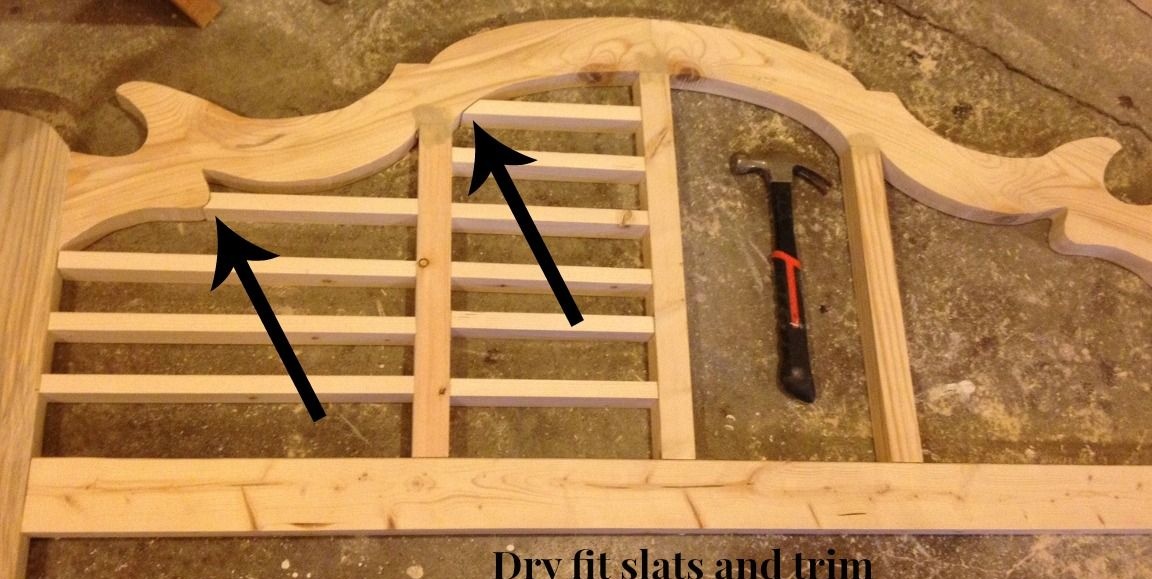
Assemble the backrest frame and strengthen it with three additional bars. The author did not use joints in the groove. If you are ready to follow his example, do not forget to use glue in the process, otherwise the connections will loosen over time and the product will become worthless.
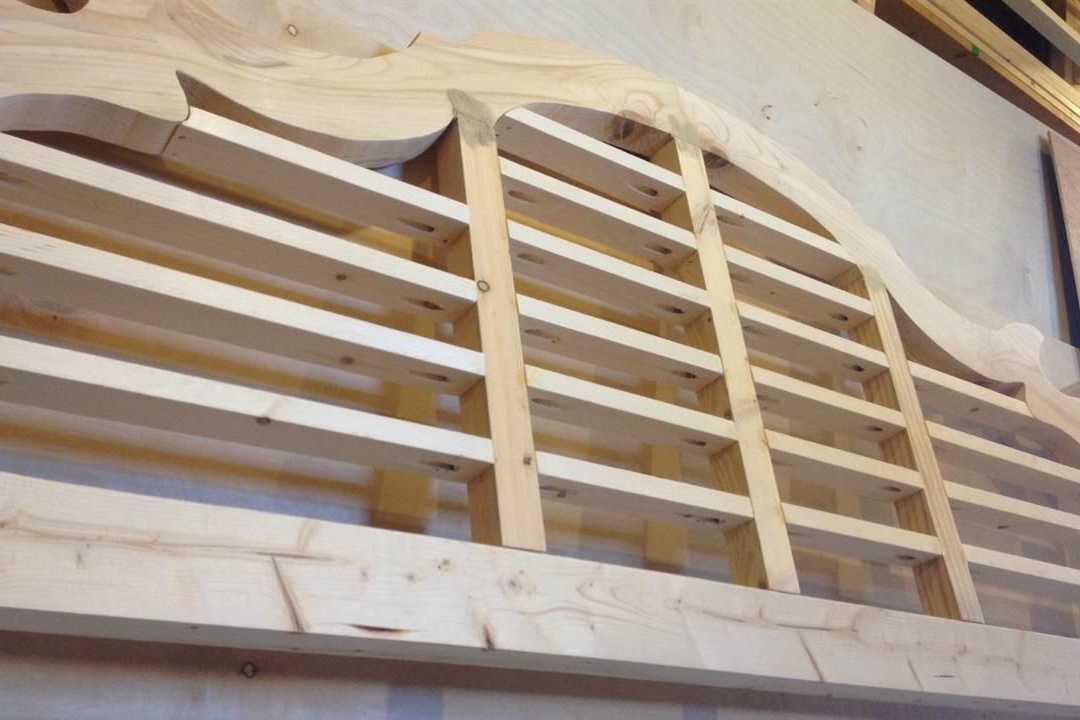
Sheathe the backrest with slats as shown in the photo. To attach each rail, use two screws on each side.
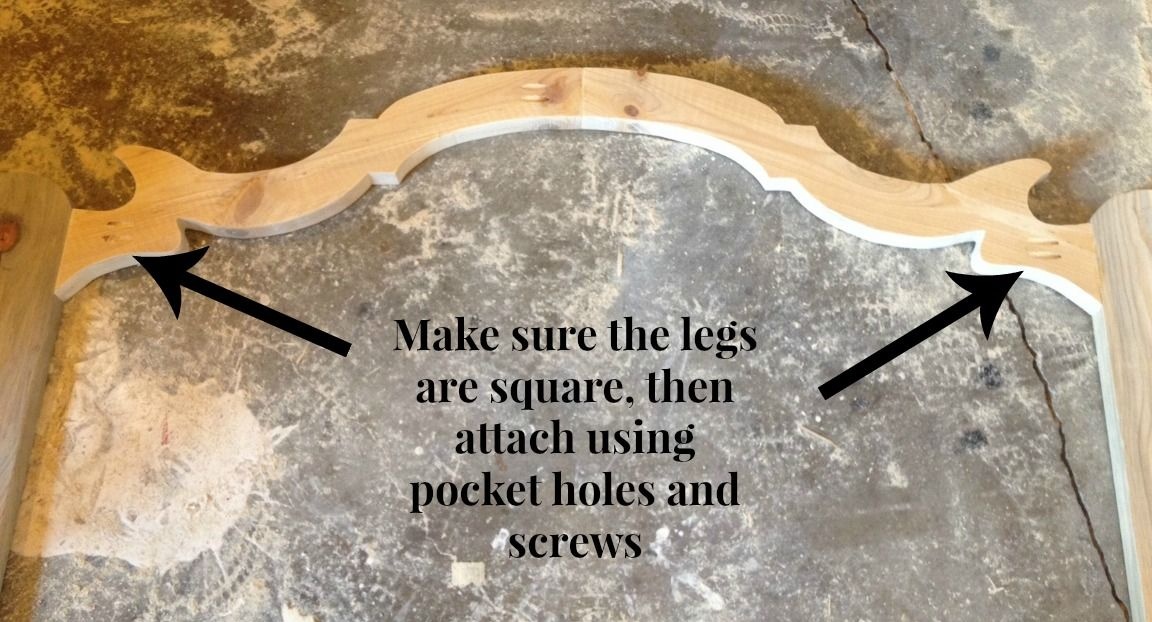
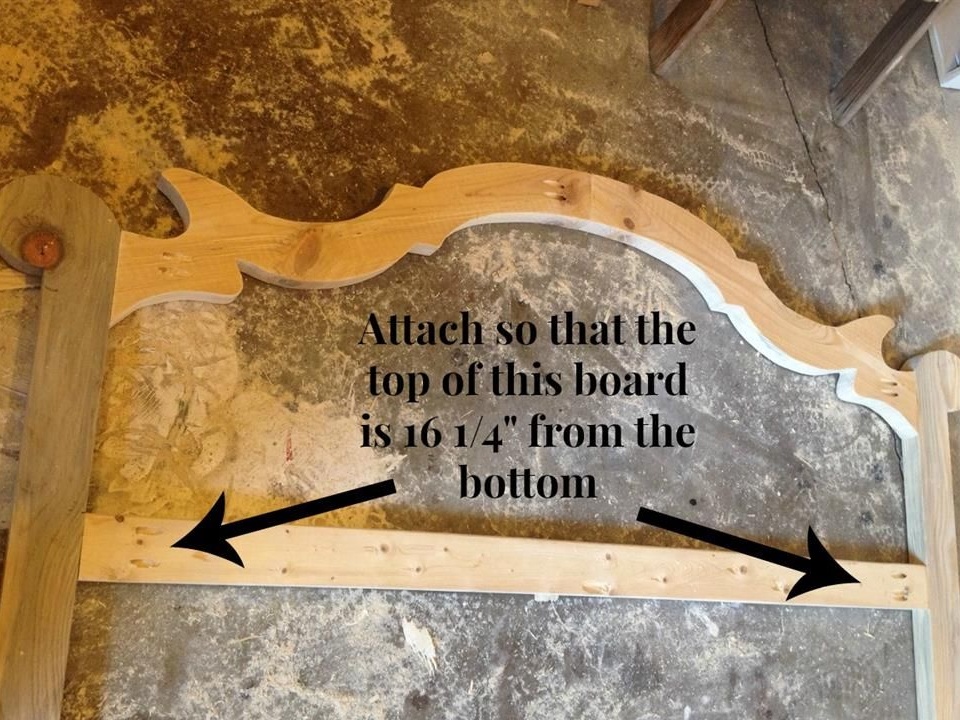
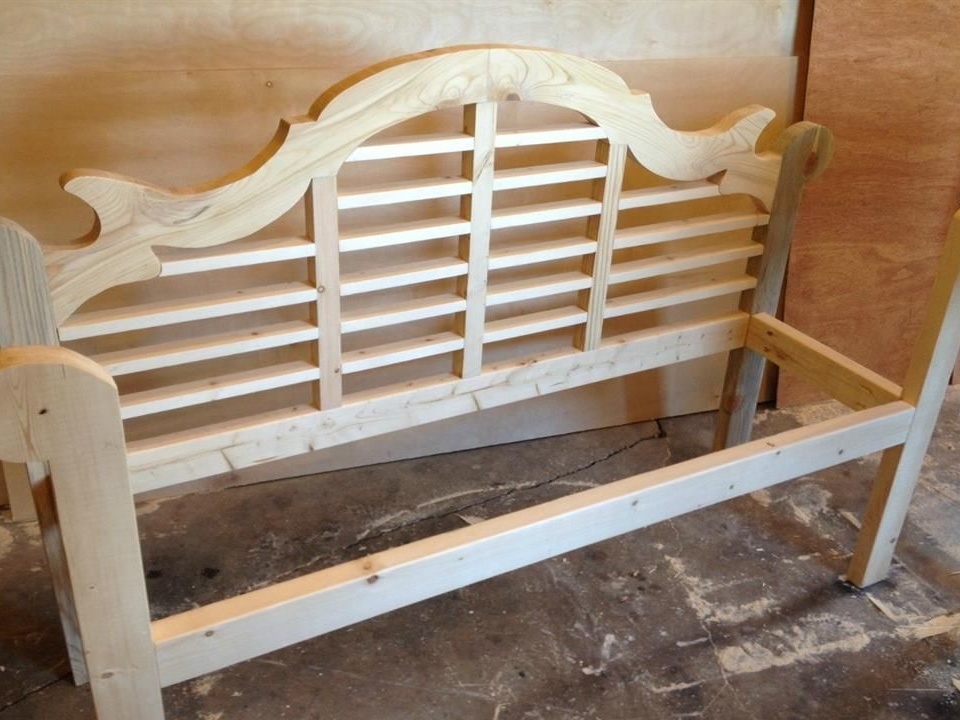
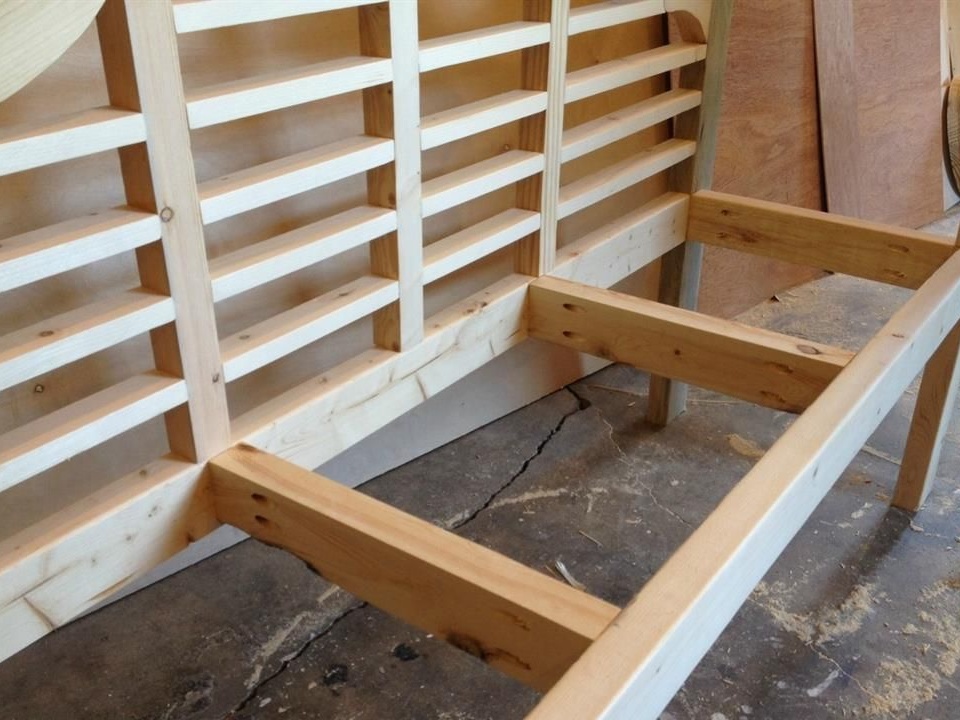
Now proceed with the assembly of the bench frame. It consists of a back, long curly legs and three strapping bars. Use all the same non-groove joints in combination with glue.
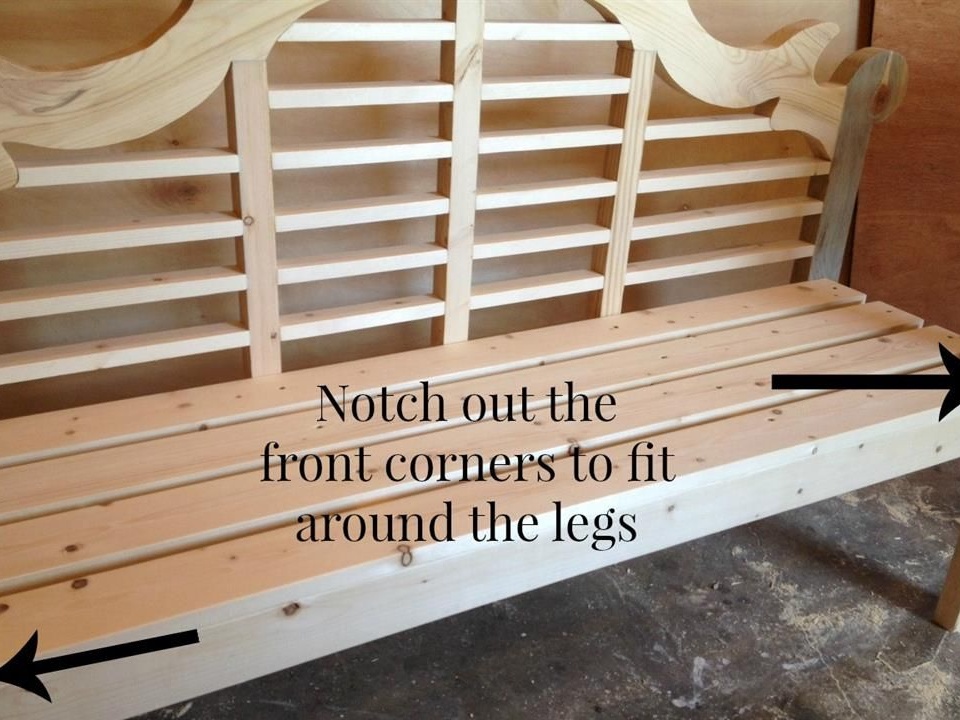
Add cross bars for the seat frame. Given the length of the bench, two crossbars will be enough. Sew the seat with boards. You can use nails here instead of screws.
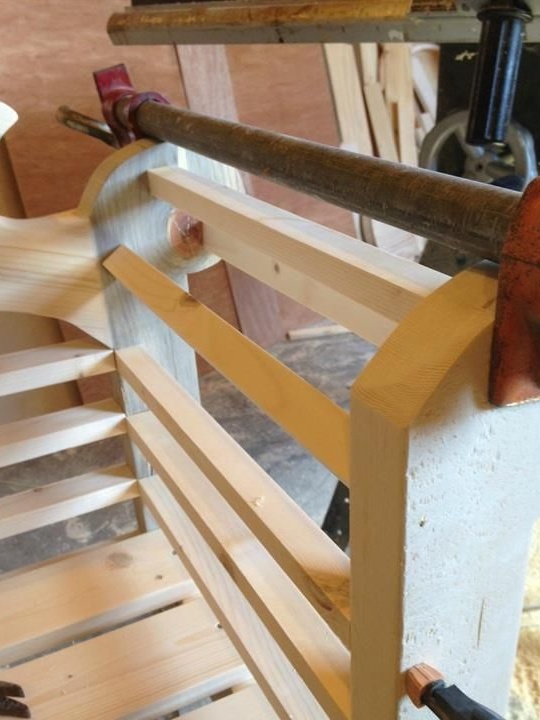
Finally, fasten the slats to the past. Please note that the two top rails on each side go to a rounding and are not located like the previous three (see photo below).
Step Five: Surface Pretreatment and Wood Processing
Fill the screw holes with epoxy or wood putty. Epoxy is an unusually strong material, but it is easier to work with putty.
Choose reliable compounds for puttying wood. Do not forget that the bench will be outdoors and all materials used must be moisture resistant.
After the putty has hardened, sand with fine-grained emery paper and proceed to the protective treatment of wood.
If you plan to install a bench under a canopy, the choice of a protective agent for wood will not be difficult. With equal success, you could use, say, natural or mineral oils, as well as drying oil. In addition, the bench can be painted, varnished or treated with protective and decorative toner oil.
In case the bench is constantly located in the open air, wood processing should be more radical.
You can stay on waterproof varnish, among which there are also varnish and toner imitating valuable wood species. Before varnishing, the bench can be painted or left as it is so that the varnish emphasizes the texture of natural wood.
If you want to achieve the most natural effect, use varnish with a matte effect. They do not give shine, but reliably protect the tree from decay and various kinds of damage.