The truth is that the Internet is a storehouse of useful information. People here share valuable knowledge and original ideas, opening for each other more and more new perspectives.
A person without experience and skills gets a unique opportunity to organize furniture production for himself in home conditions. There are many detailed workshops with ready-made schemes that will help to make any furniture, if you have the necessary tools and a penchant for craft.
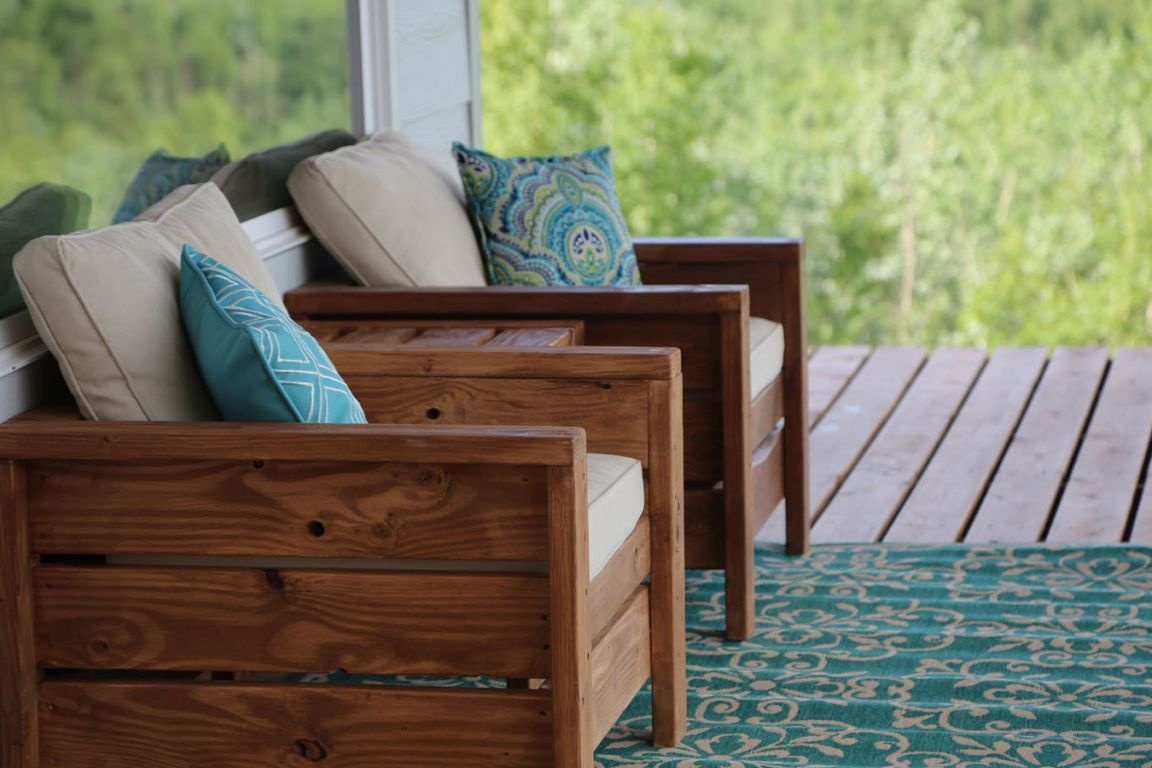
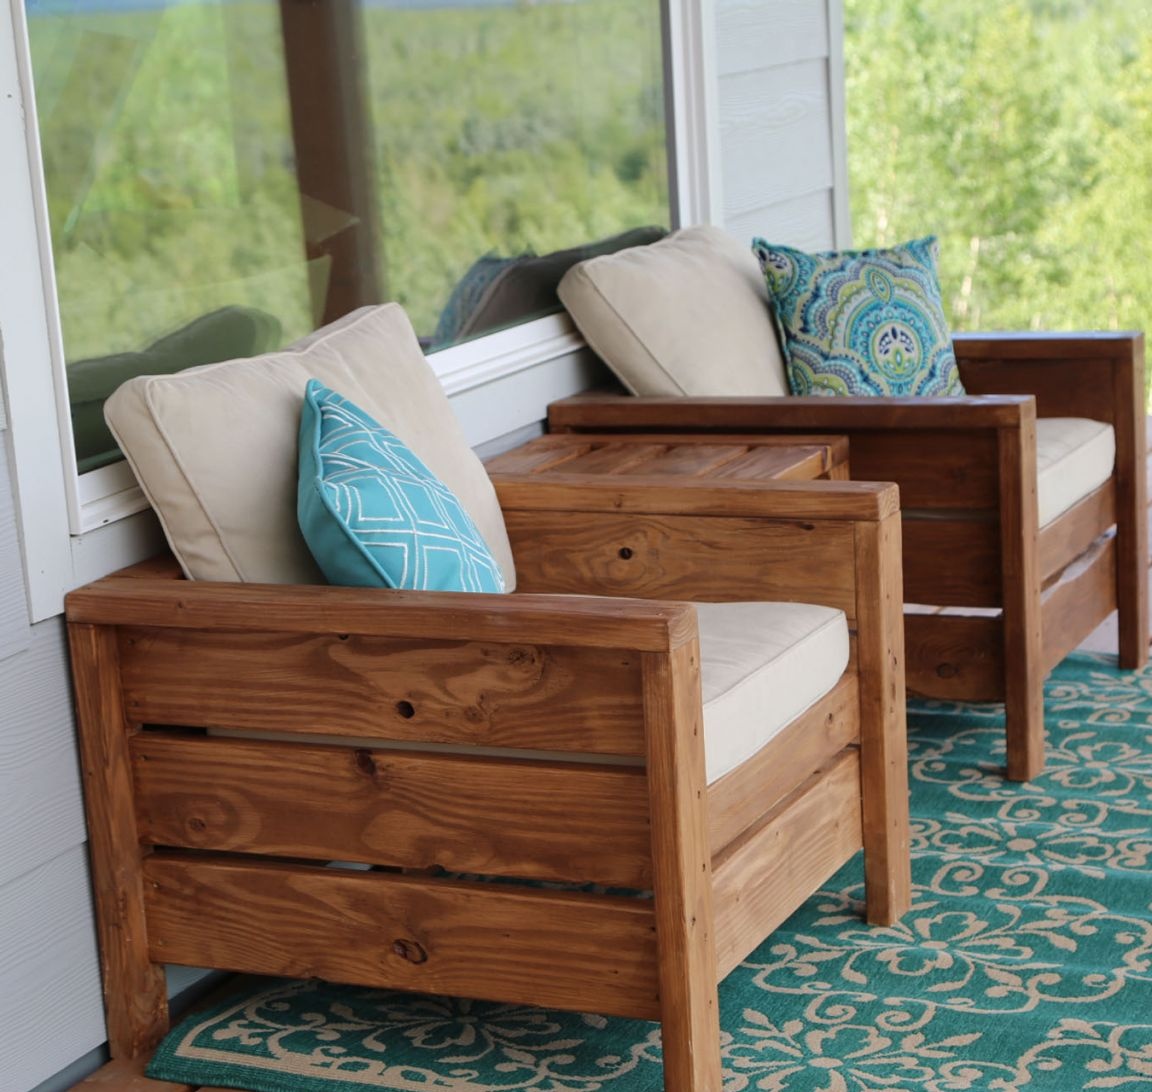
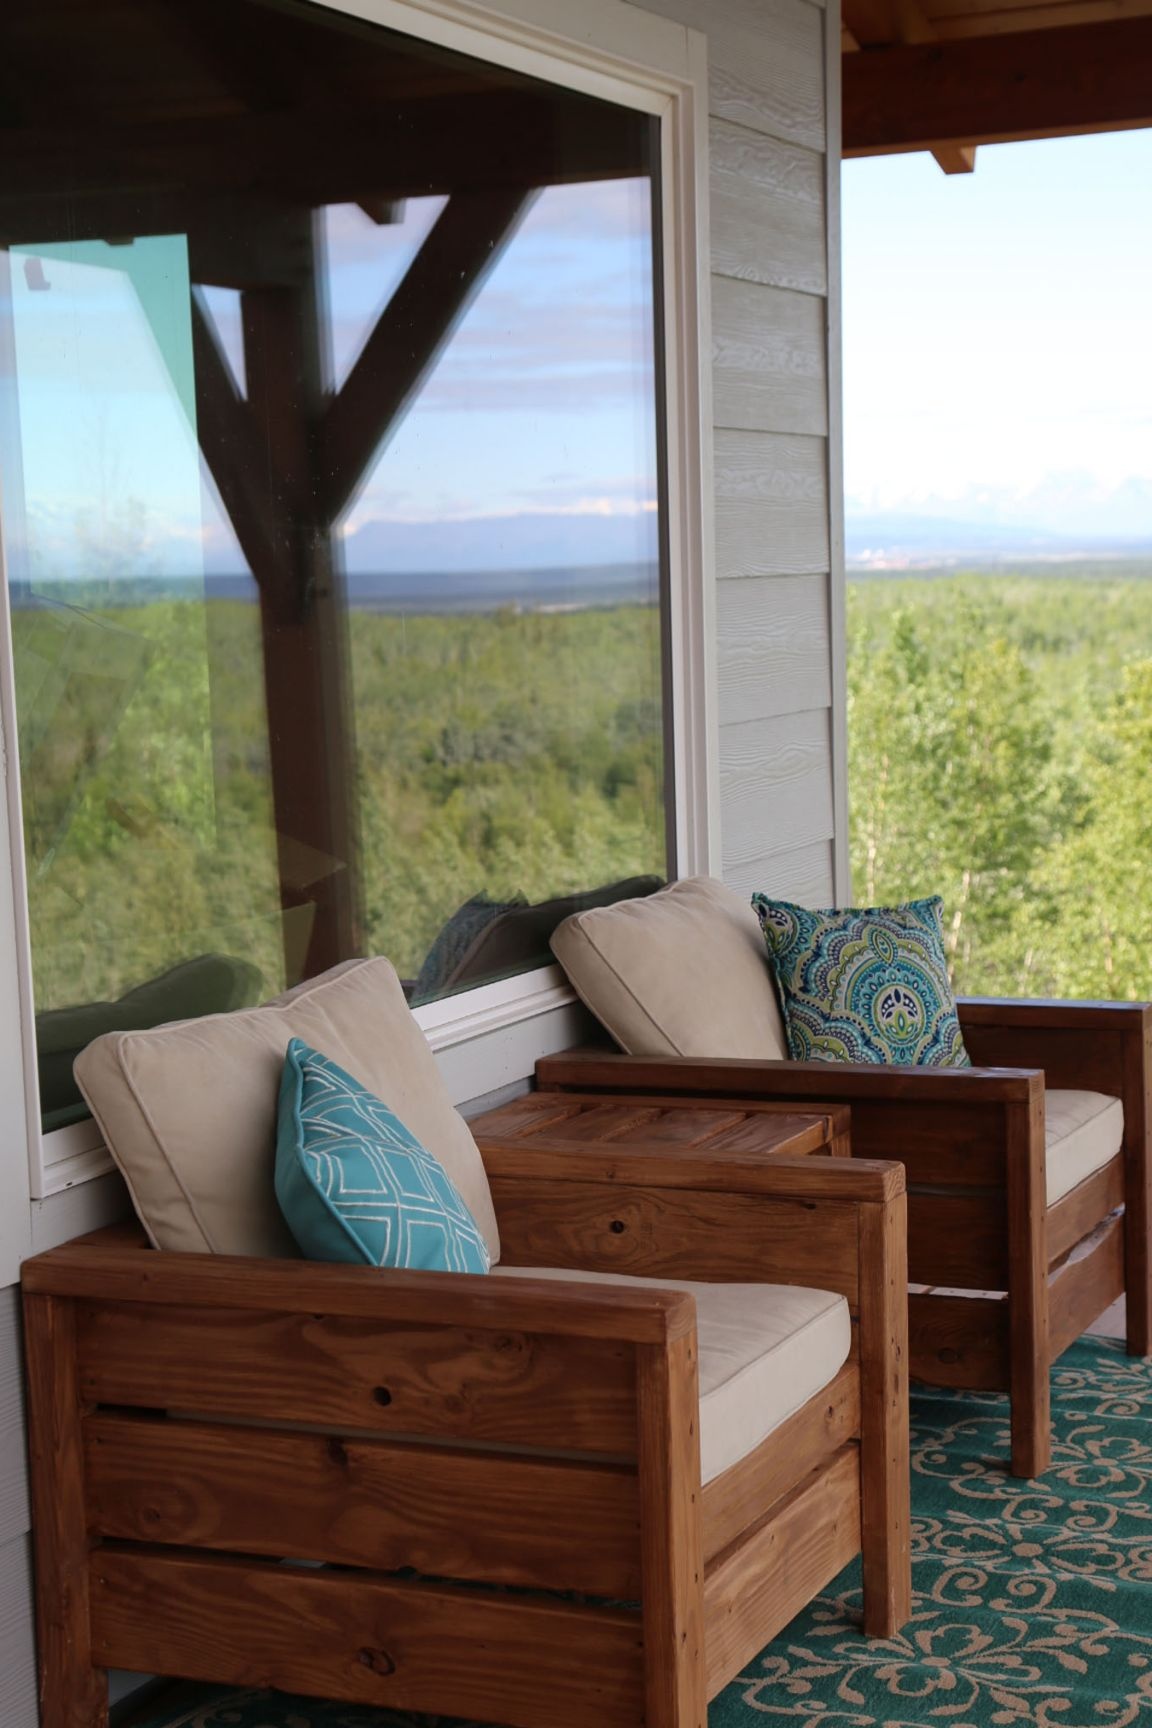
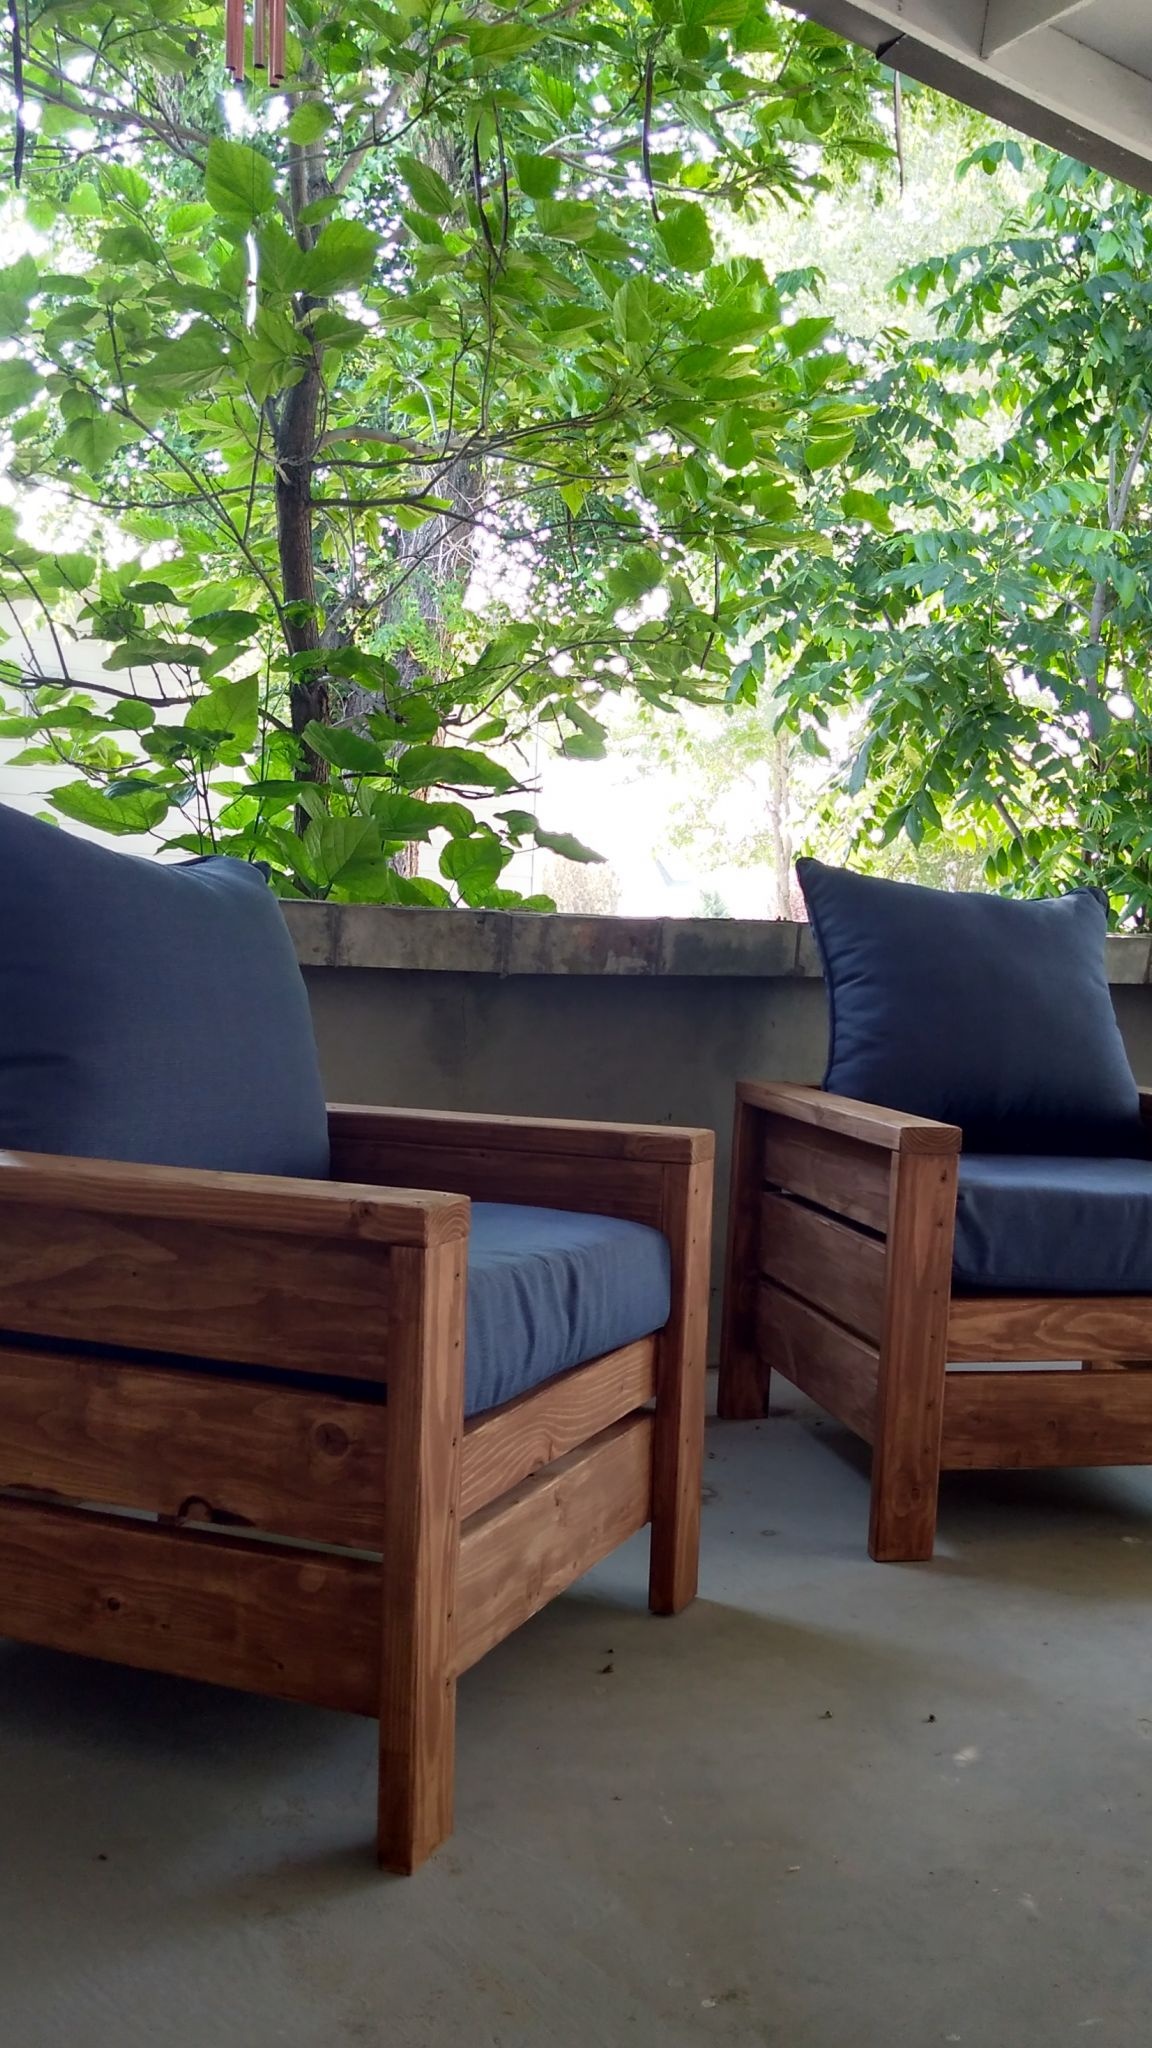
Of course, it’s worth starting with simple projects, such as what is presented in this master class. The well-known in narrow circles skilled worker Anna White prepared for everyone a detailed instruction that tells how to make a simple chair from boards for a house or a terrace with your own hands.
Ready-made, it is equipped with stylish pillows. You can also make them do it yourself. In short, Anna will tell us about this.
In this project, you can use the simplest lumber, which does not require processing on a milling machine and the manufacture of complex groove joints.
Gather materials and prepare everything you need before you get started. You will need:
Materials:
1. 50 mm thick pine board:
- 4 pcs x 50 x 100 x 550 mm - leg parts;
- 2 pcs x 50 x 100 x 810 mm - details of the armrests;
- 6 pcs x 50 x 150 x 710 mm - details of the side paneling;
- 2 pcs x 30 x 30 x 710 mm - rails for seat parts;
- 4 pcs x 50 x 150 x 620 mm - backrest parts and the lower part of the front panel;
- 2 pcs x 50 x 100 x 620 mm - the upper part of the back and the upper part of the front panel;
- 5 pcs x 50 x 100 x 620 mm - seat parts.
2. glue for woodwork;
3. furniture screws;
4. stain or protective decorative oil for wood processing and toning;
5. furniture lacquer with a transparent coating or lacquer-toner.
Instruments:
- circular saw or miter saw for sawing boards;
- grinder;
- electric drill;
- screwdriver;
- paint brushes;
- soft, lint-free cloth for oil;
- building tape measure and square;
- a pencil.
Step one: detailing and marking parts
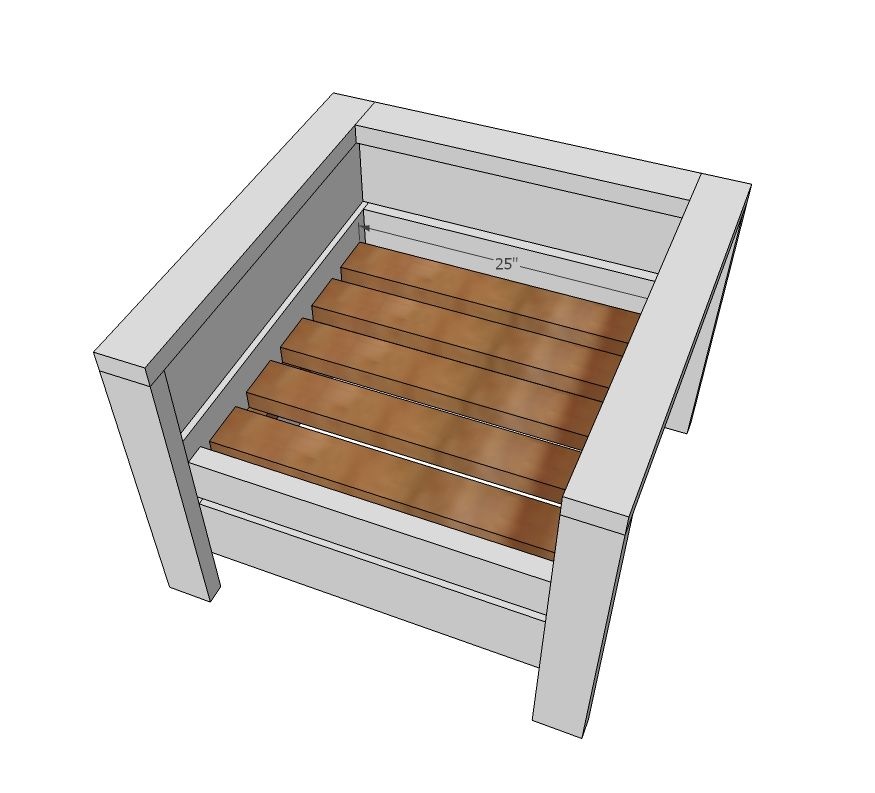
Determining the final dimensions of the chair, the author proceeded from the size of the seat and pillows for him. The seat is an even square with sides of 620 mm. If you want to change the dimensions of the chair, all the sizes indicated in the master class will have to be counted.
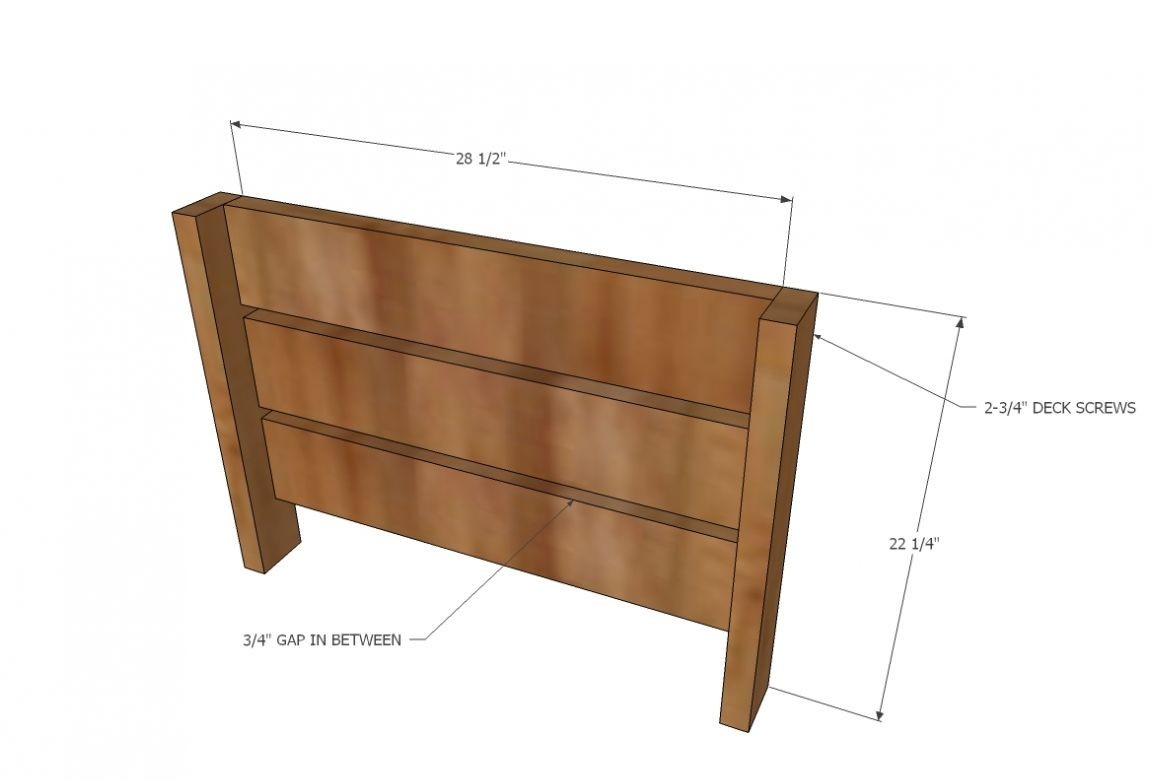
Otherwise, take advantage of these wonderful detailed diagrams and write out on paper all the details that you will need to work. Indicate the exact size of each part. You can find their list in the list of materials for this master class.
Before you begin, make sure that all your boards are planed to the same thickness, otherwise the finished chair will look like a typical example of handicraft production. Such processing of boards is carried out on a thicknesser. In extreme cases, you can order it in the workshop, but it is better to initially select lumber, processed properly.
Mark the parts of the chair using a pencil and a square. The square is a particularly useful tool if you plan to cut the boards manually with a hacksaw.
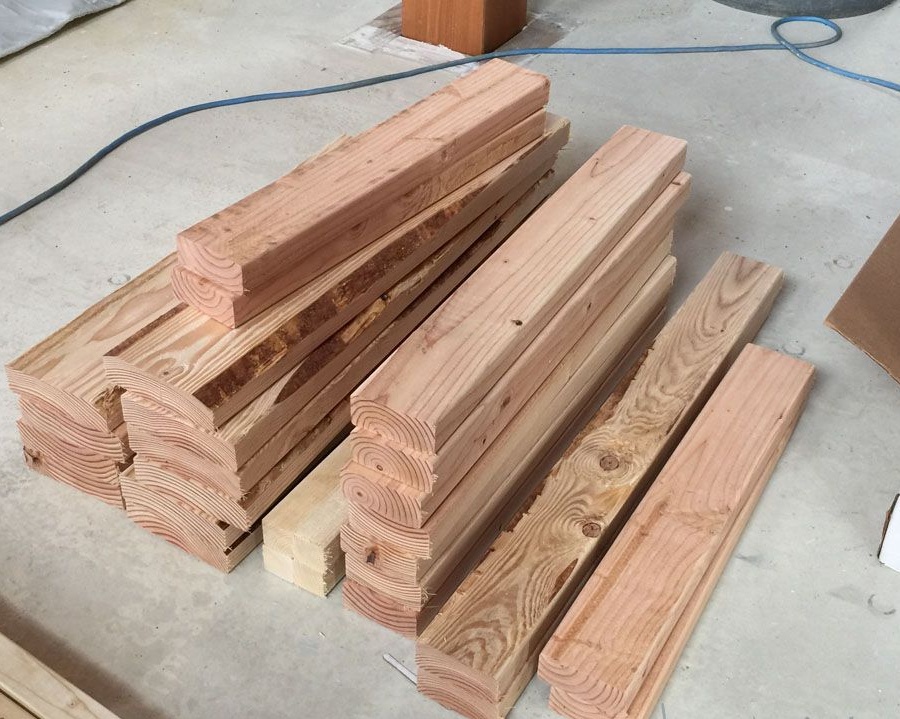
Step two: making parts from boards
You will need thick boards with a thickness of 50 mm, but different widths: 100 and 150 mm. In addition, prepare a rail no longer than 30 mm for the manufacture of base parts for the seat.
Saw the board into pieces of the required length using a miter saw or a hand circular. Both of these tools allow you to make perfectly even cuts, which is very important in furniture production.
If you are using a hacksaw for wood, prepare for the fact that the cuts will have to be adjusted manually for neat tight joints.
Grind all details in any way convenient for you. For example, an electric grinder. To sand the pine, a piece of the bar will fit with sandpaper fixed on it. True, such work will take much more time.
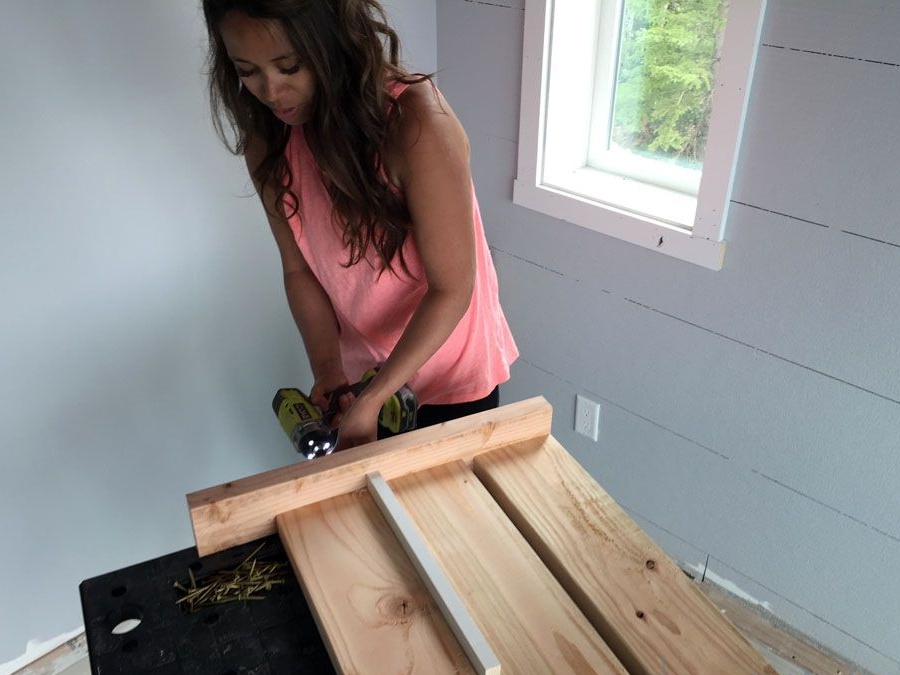
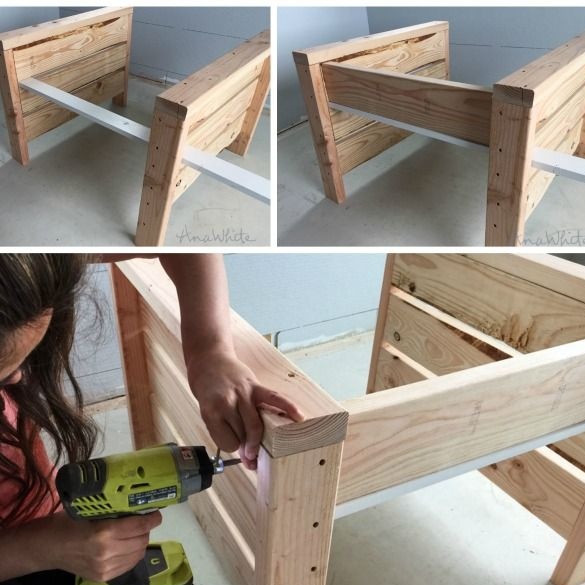
Step Three: Assembling a Wooden Chair
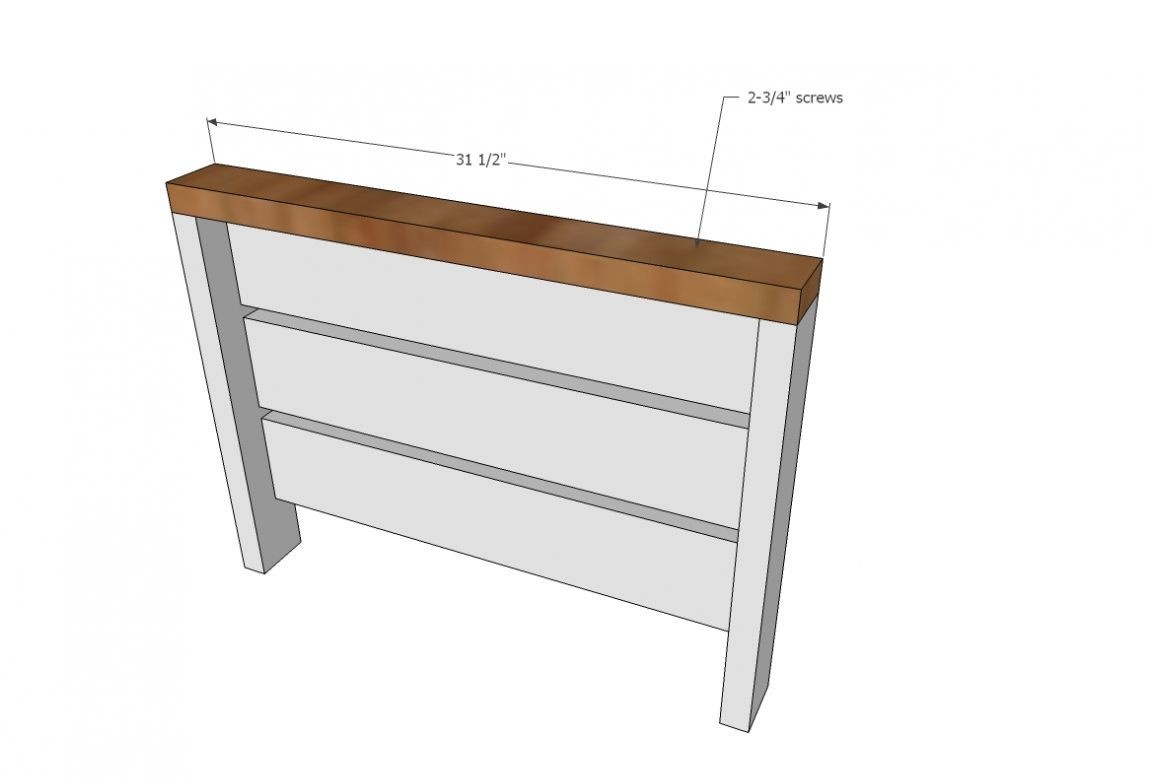
The author advises starting assembly from the side panels of the chair. In order for the gap between the details of the sheathing to remain the same, she used a rail of the desired thickness.
Attach the trim parts to the legs with a gap of approximately 20 mm. In the places where the screws are screwed in, pre-drill holes so that the boards do not crack.
If you want the chair to serve you for a long time, use glue. In this case, apply a little wood glue to the joint, press the parts together and tighten the screw or self-tapping screw.
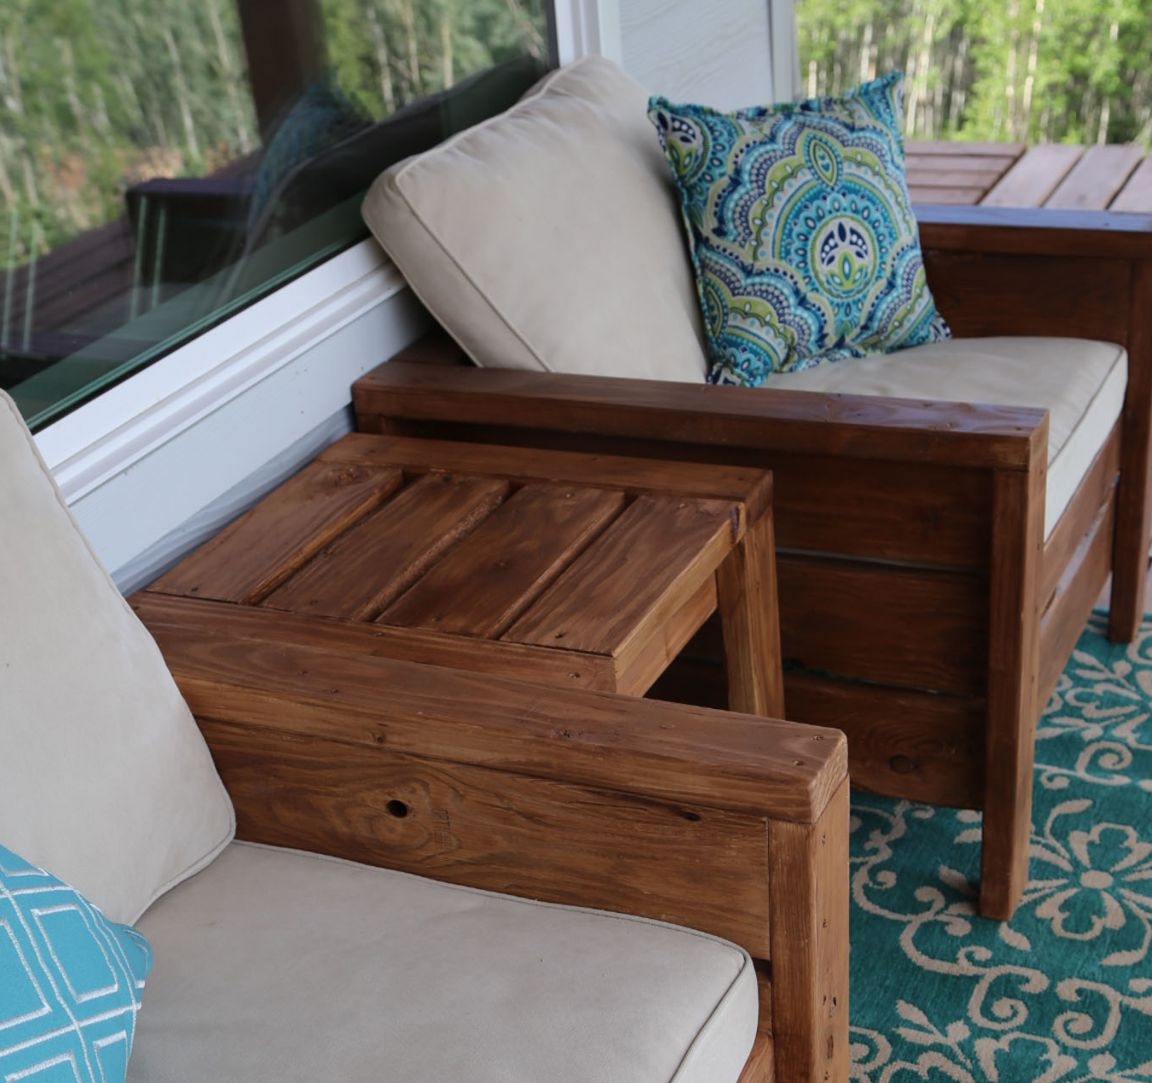
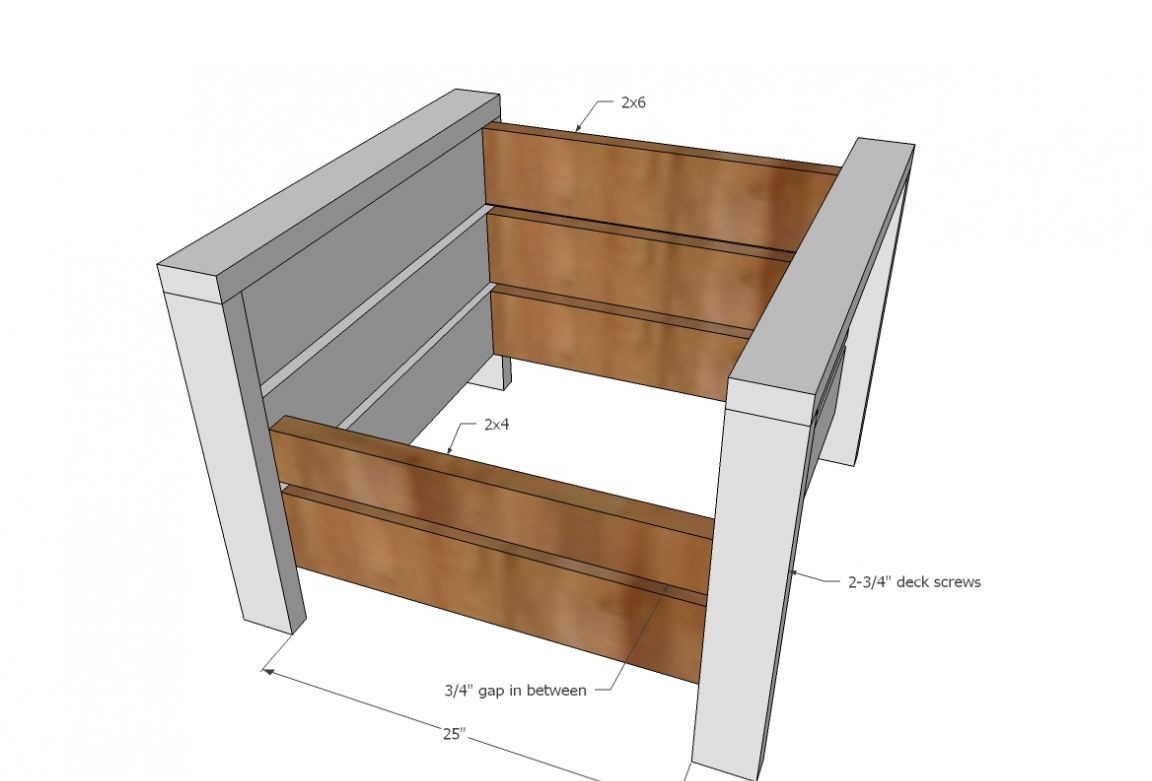
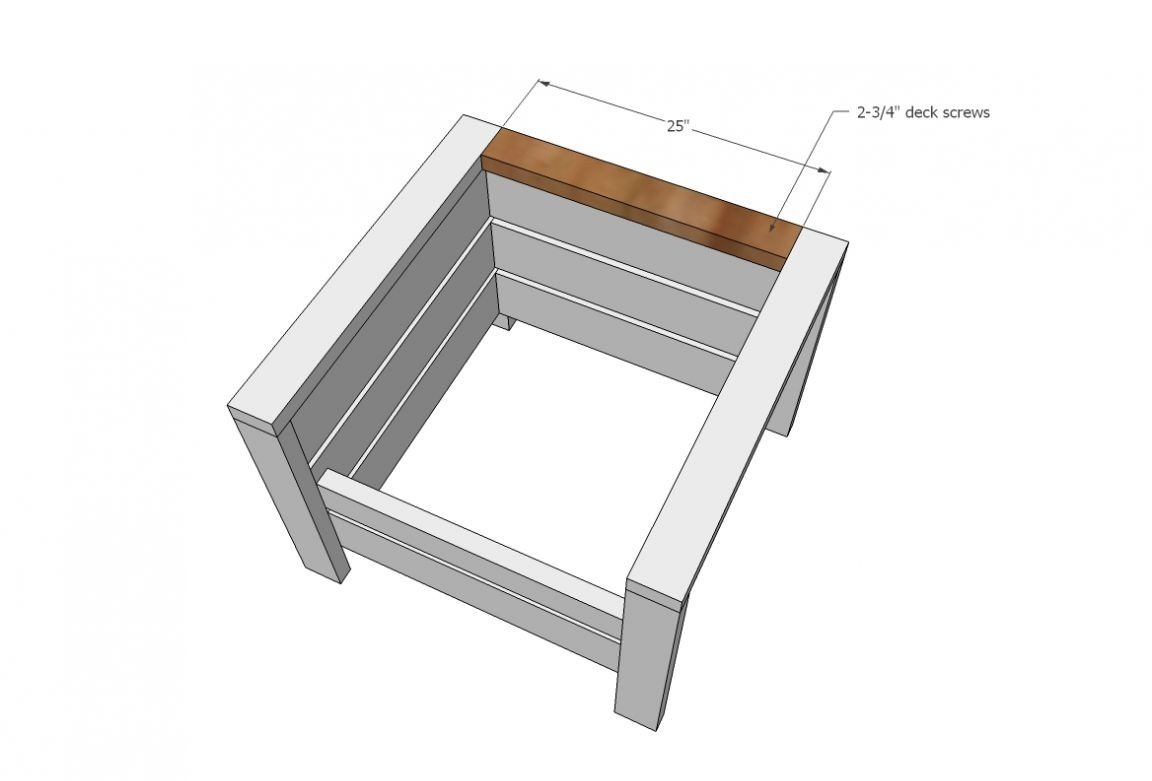
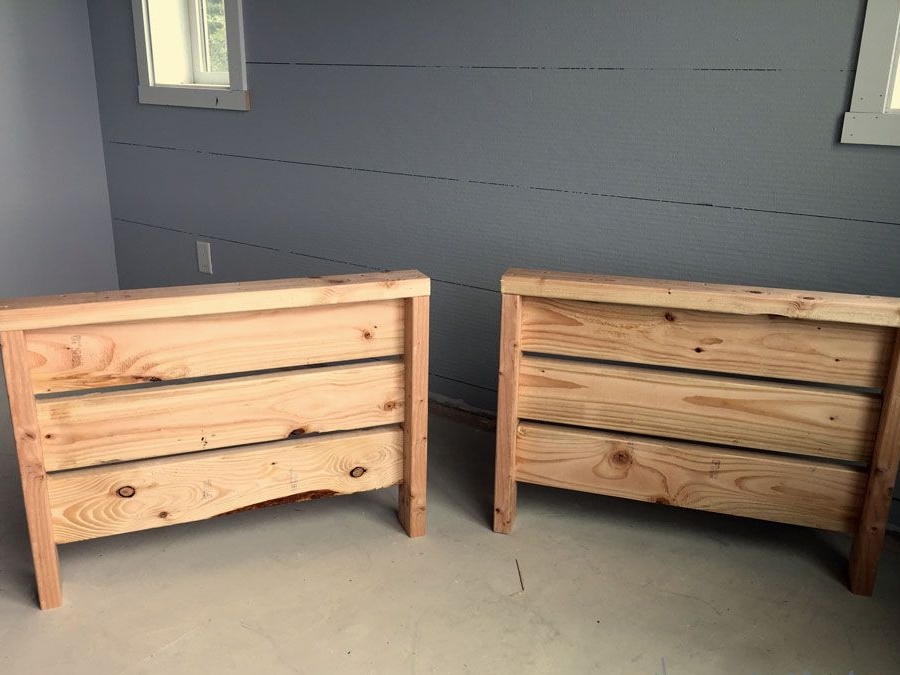
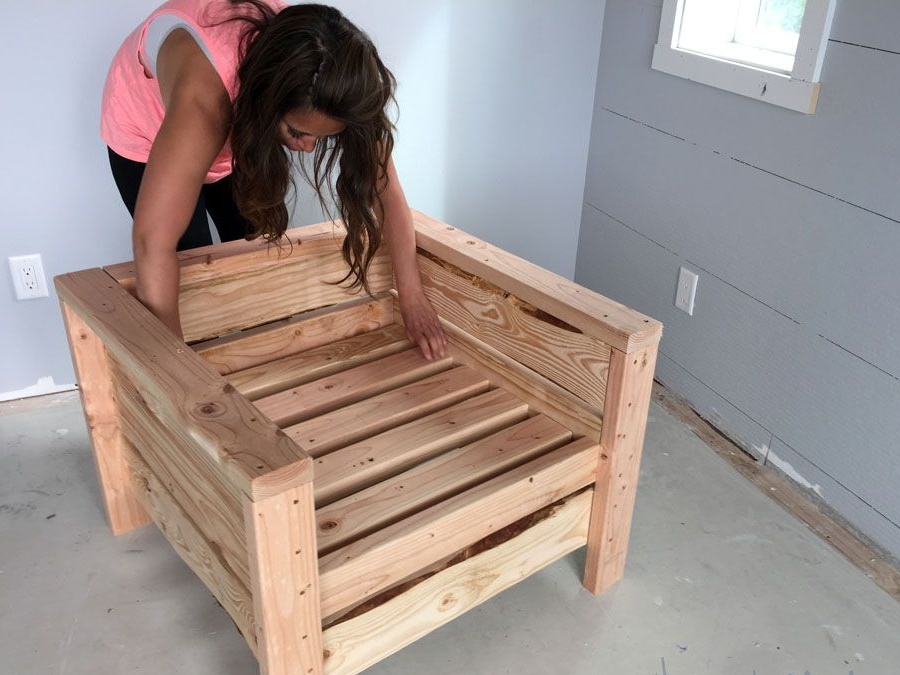
On each of the side panels, fix the armrest and connect the sides to each other with the upper part of the back. Please note that on the inside of the chair all the details of the lining are flush with the frame, and along the outer contour they are somewhat recessed inward.
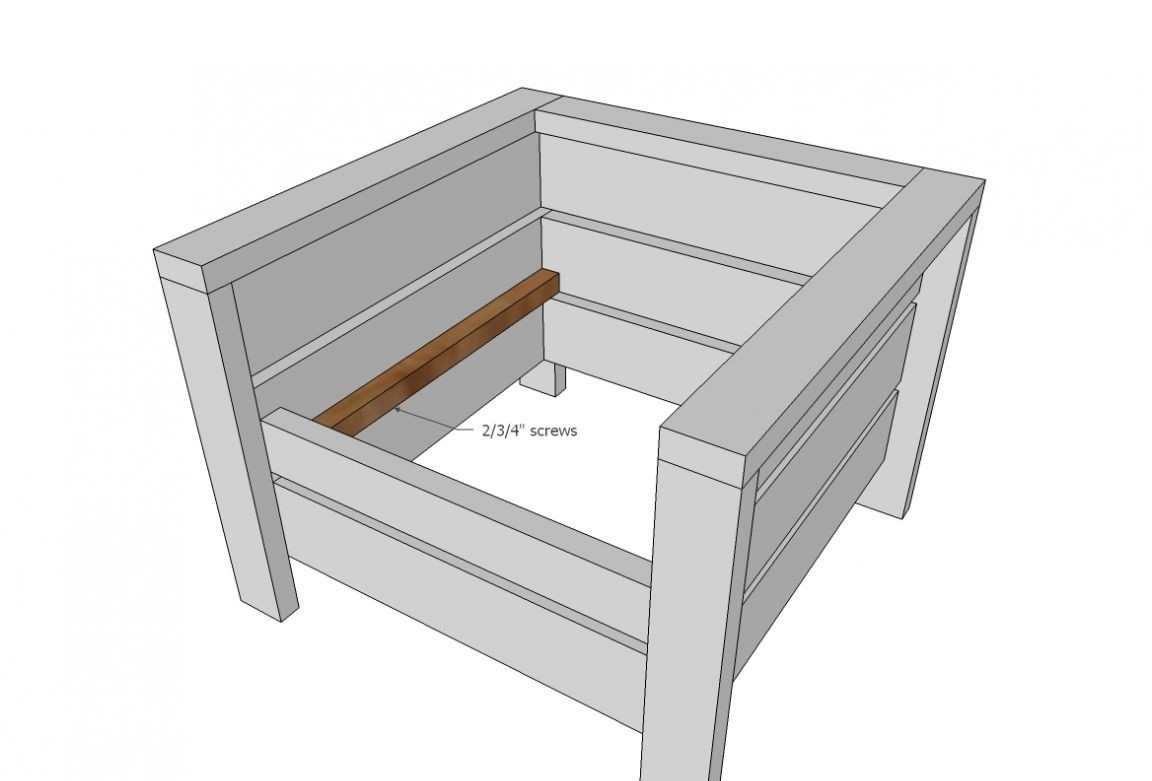
Pass your work rail between the sidewall trim, place the upper part of the backrest in the proper place and fix it with screws. Screw the remaining backrest elements.
On the front panel, fasten the wide board at the bottom, and the top 100 mm narrow. Sew in the seat and, to complete the assembly, secure the upper part of the backrest by placing it flat.
Try to screw the screws in the same vertical line so that the work looks neater.
After some time, when the chairs have already passed the test in everyday life, the author advises to fasten the seat parts so that it itself is located slightly at an angle. So it will be much more comfortable to sit. The same can be said about the back of the chair.
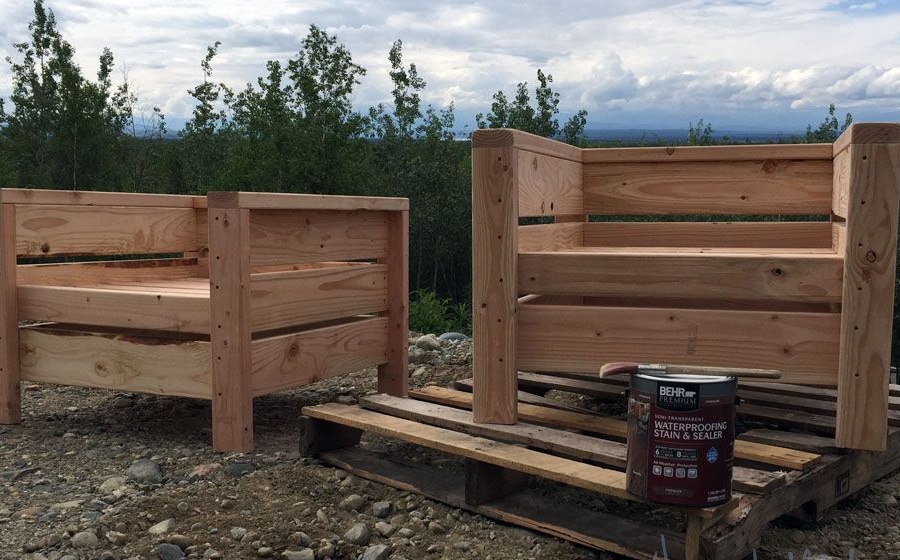
Step Four: Wood Processing
The author used a special protective and decorative waterproof toner with a translucent coating. This is a favorite wood treatment on the US paint and varnish market.
It is convenient in that it makes it easy to apply the composition and repeat this procedure at any time in order to refresh the product. In this case, the entire preparation of the surface for re-painting is reduced to its easy grinding by hand with sandpaper.
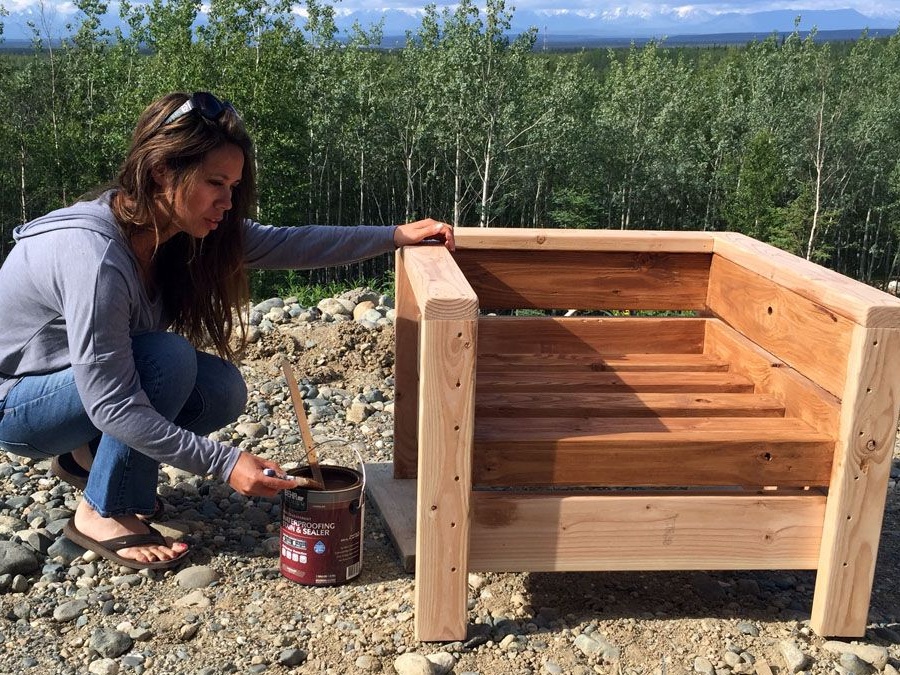
You can also use alcohol stain in combination with several layers of furniture varnish or, say, natural drying oil.
Apply a stain with a brush along the fibers and try not to touch the already painted over spots, otherwise the tone will be heterogeneous.
A good alternative is also a decorative toner oil, which not only mimics valuable wood species, but also protects the tree from rot, mold and mildew, as well as moisture.
You can varnish a chair with matt furniture varnish in order to extend its life. Do not use water-based varnishes, as they do not have a sufficient level of strength and wear off quickly.
Apply the varnish in several layers, grinding each previous layer as soon as it hardens. Use fine-grained emery paper for this, and grind it yourself carefully, without much pressure. Finishing coat of varnish is not necessary.
Step Five: The Final Touch
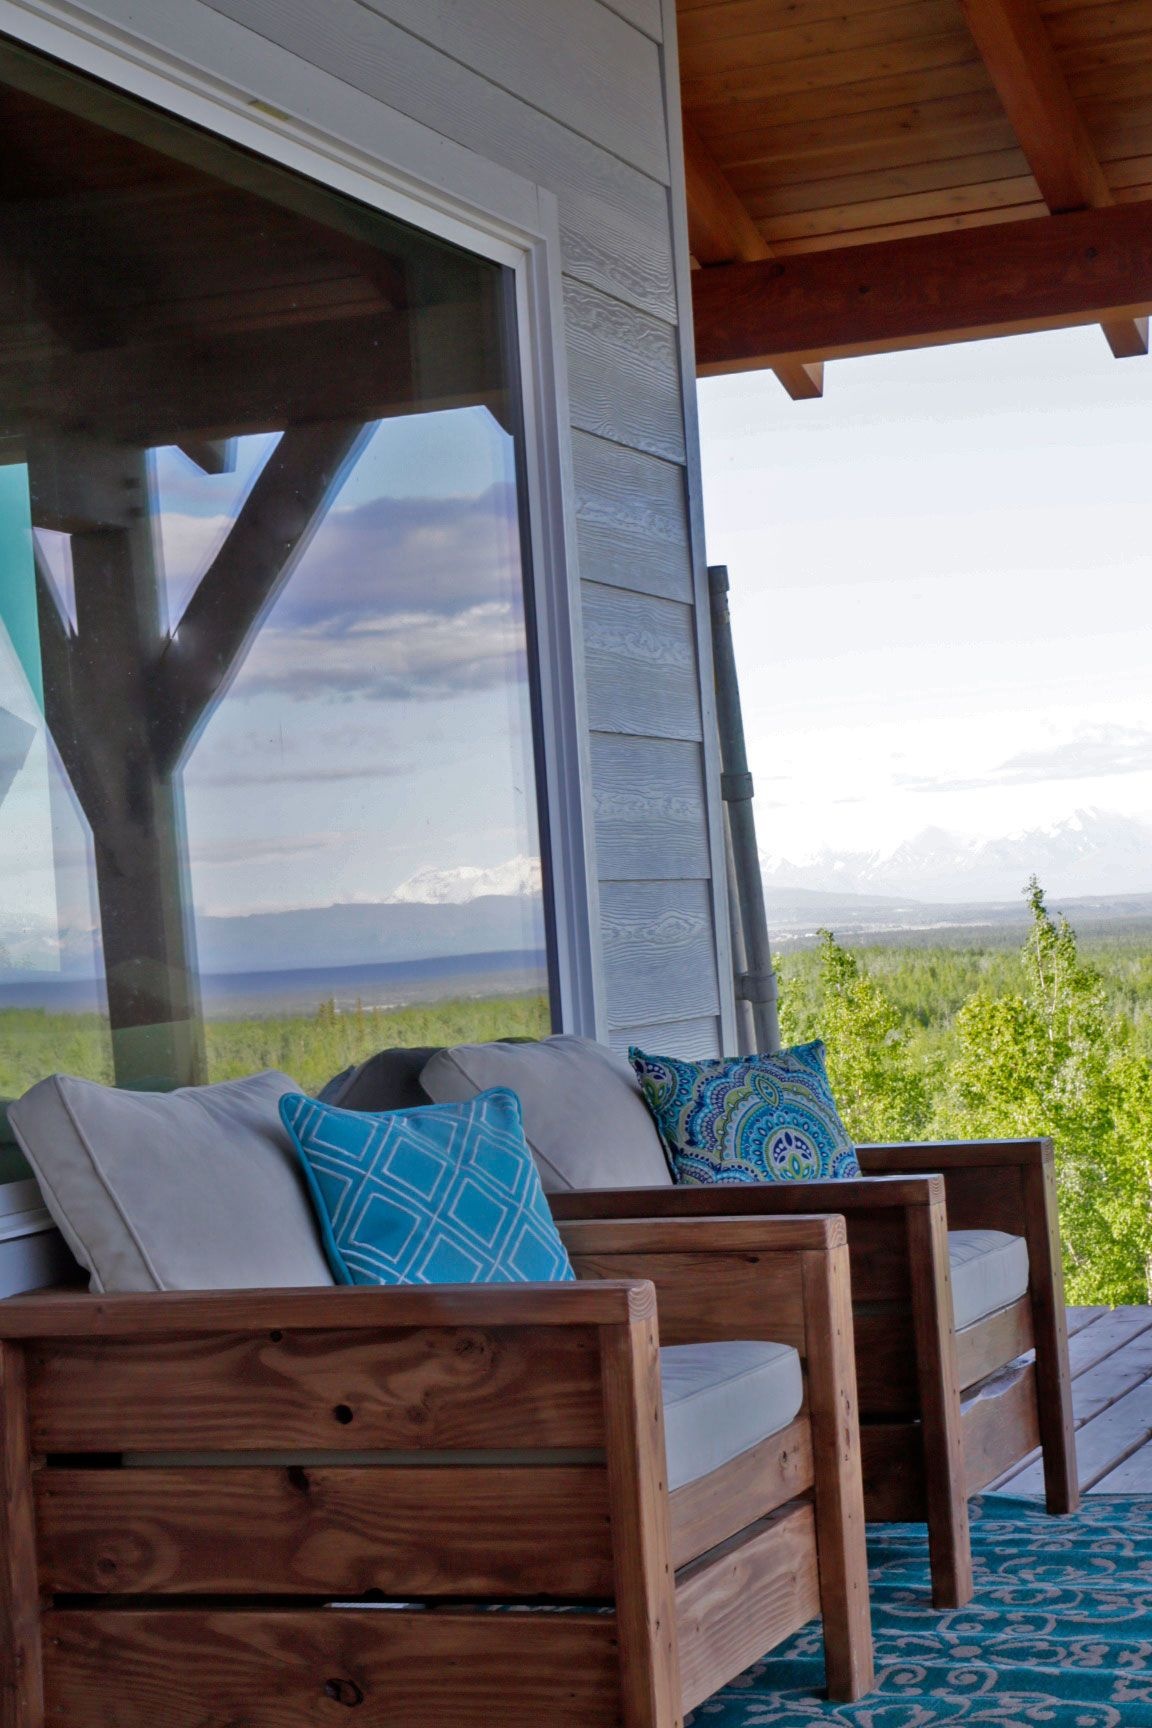
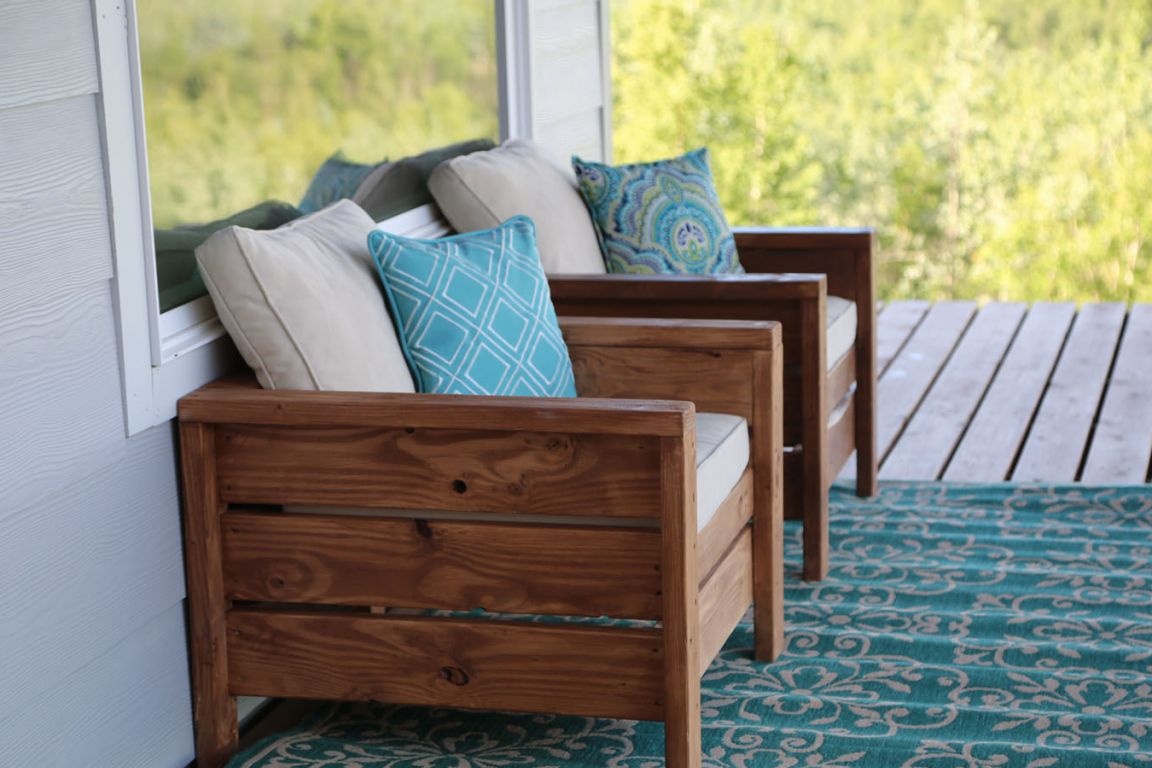
Plain furniture like this wooden armchair needs beautiful textiles. The author used ready-made furniture pillows with floral ornaments.
However, pillows can be made with your own hands. To do this, you will need foam rubber (preferably furniture, high strength), batting or thin foam rubber to give the pillows a shape and extra volume, as well as durable threads, a suitable fabric and a sewing machine.
Cut thick foam into pieces of the sizes you need. In this case, into squares with sides of 600 mm. Wrap them in one or two layers of thin foam or batting. Attach the fabric and determine in place how much you need for sewing covers.
You can also make covers in advance according to the patterns and, based on their size and shape, prepare the filler.
If you plan to wash the covers, and always keep the pillows clean, sew the covers from a simple dense fabric and make a removable zipper set that you can always remove and wash in the typewriter.