One of the differences of furniture, made in the Art Nouveau style, it is considered to be straight clean lines and unpretentious designs striving for minimalism. Such furniture surprisingly organically fits into almost any interior and harmoniously combines practicality along with functionality.
Modern today is perhaps the most common style in interior design. From fashionable and experimental, Art Nouveau quietly migrated to the section of traditional styles of interior design. The very ones to which people certainly return every twenty to thirty years.
The author of this workshop offers do it yourself make a coffee table in modern style. Its design is simple and unpretentious, but processing will require due skill and effort. As a result, the table is made very high quality and will completely pass for the exhibit of the eminent furniture salon.
This time you will need high-quality material of the first grade, which you can purchase at a construction supermarket or a carpentry workshop. In the meantime, let's decide on a set of materials and tools that you will need to work:
Materials:
- a bar made of natural wood with a cross section of approximately 70 x 150 mm for the manufacture of legs and countertops;
- glue for woodwork;
- protective and decorative oil toner (you can use two tones in turn);
- resistant furniture varnish with a matte effect;
- furniture screws;
- metal corners with plastic decorative overlays.
Instruments:
- a circular saw;
- miter saw if necessary;
- orbital or belt sander;
- electric drill;
- screwdriver;
- fine sandpaper;
- construction ruler and square;
- a pencil;
- A soft, lint-free cloth for rubbing wood with oil.
Step One: Detailing, Sizing, and Part Layout
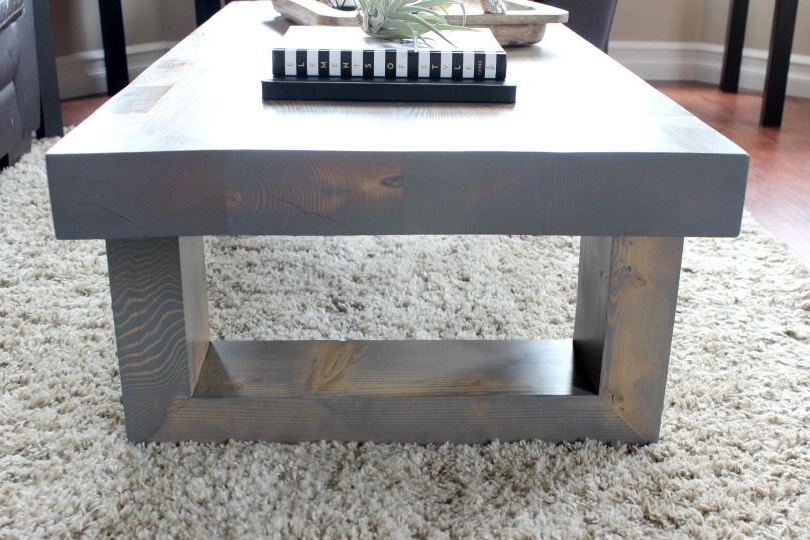
As a sketch, use the visual image of this table in the photo. You will need a 70 x 150 mm burs for making all the structural parts: from the tabletop to the legs. Very convenient, agree.
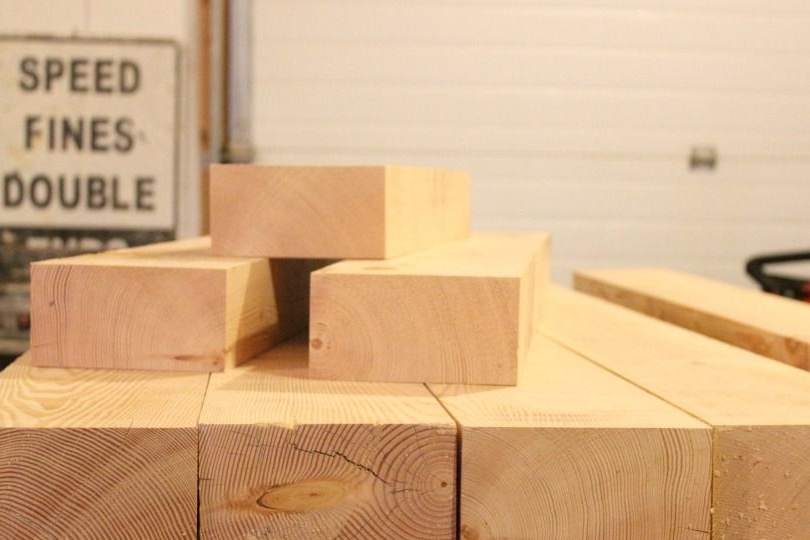
Choose a well-dried timber without large knots, with a beautiful natural pattern of wood fibers. The tree should have a pleasant smell and uniform fresh shade. Avoid cracked materials as they are dried without technology.
The beam should be planed and have the same thickness, otherwise the processing of parts threatens you with a long tedious and inefficient work. The smoother the surface of the wood, the less you will have to operate your grinder.
List on paper a list of the parts you will need. You will need four parts of the countertop and three parts of each of the U-shaped legs. We’ll have to work on the details of the legs. Please note that at the joints with each other, they are sawed at an angle of 45 degrees, and a groove is planned in the area of attachment to the countertop.
Carefully consider all sizes and indicate on the paper the parameters of each part. Lay out blanks for countertops with a small margin of 2-3 cm on each side. Mark up all other parts as well. For convenience, use a construction square.
Step two: manufacturing of parts and their preliminary grinding
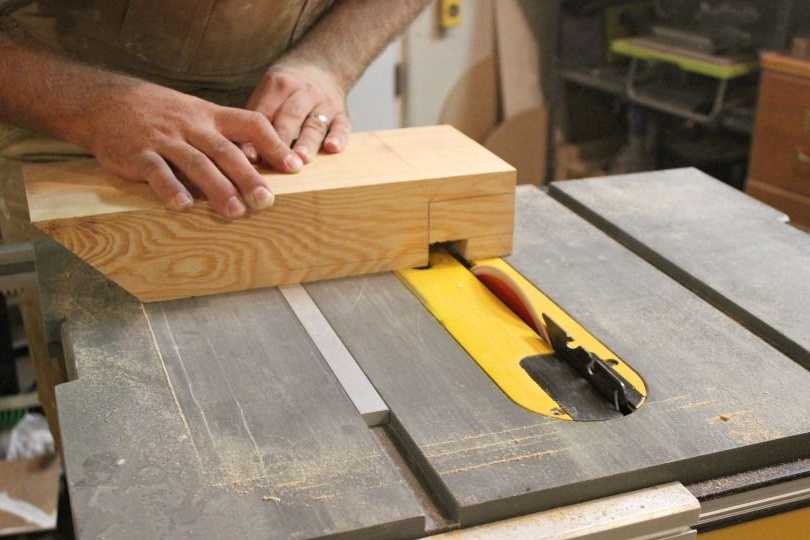
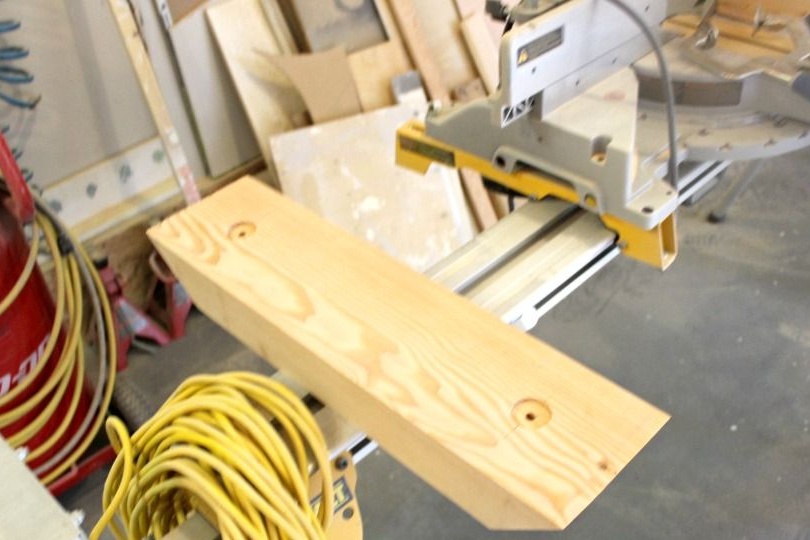
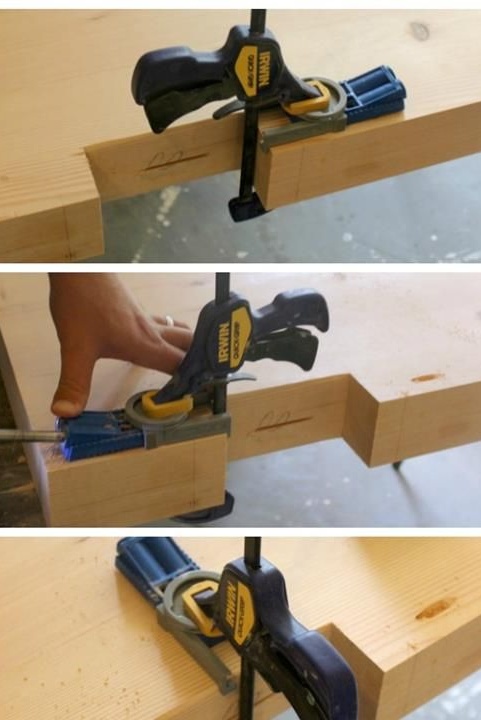
Saw the beam into pieces of the required length. Saw the parts of the legs at an angle of 45aboutdock them and make sure they are snug against each other. If the cutting angle has not been observed, the workpieces will have to be customized. Make sure that the total length of the parts is preserved.
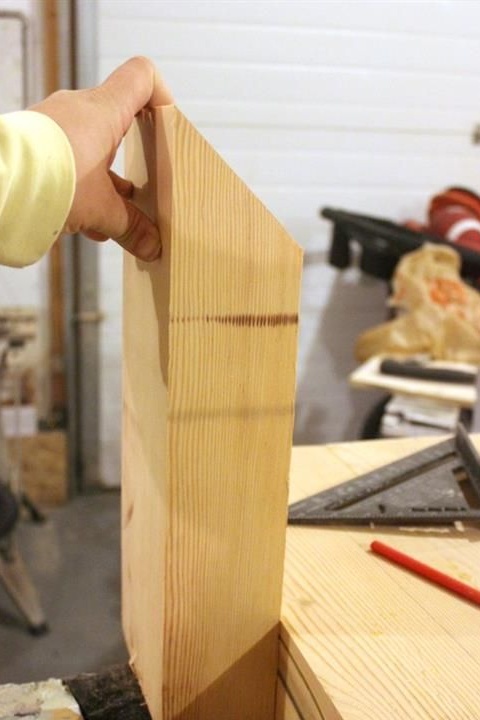
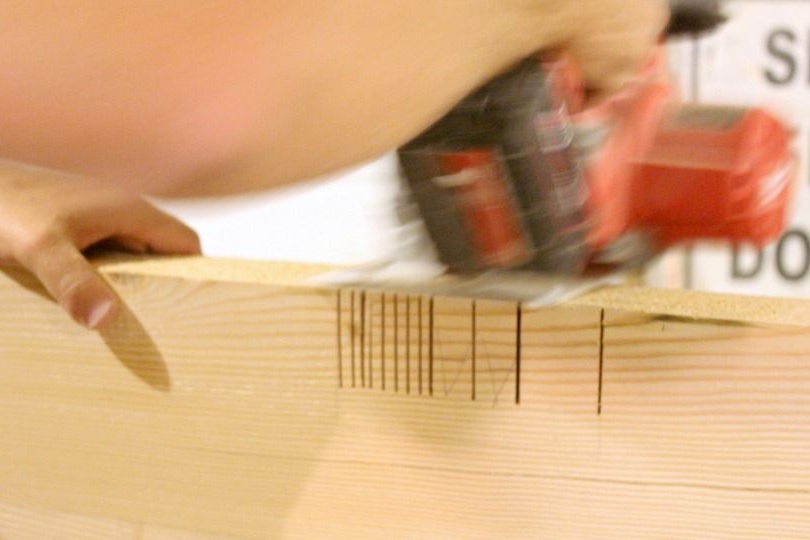
From the edge where the U-shaped legs are attached to the countertop, make a groove. Carefully markup and use a circular saw to make several cuts. Remove excess wood to form a groove. Grind its surface thoroughly, removing all unnecessary. This is a delicate job, so take your time and work carefully. Do not remove too much at a time, because you can’t glue the excess wood back and you will have to redo the workpiece if something happens.
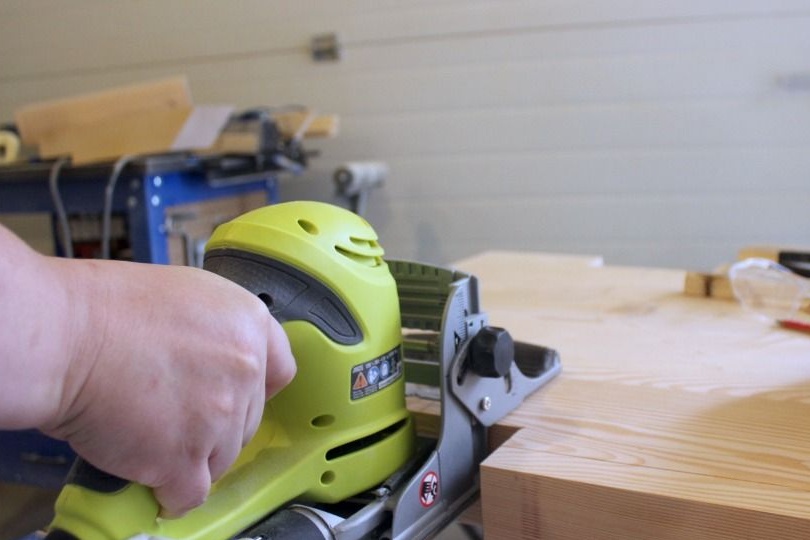
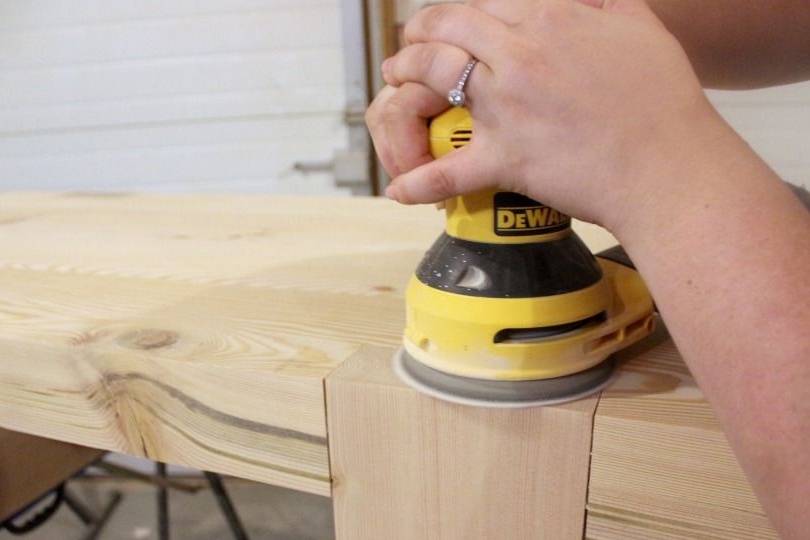
Grind all workpieces. After assembly, the table also expects grinding, so work only in those places where it is necessary. A belt sander is preferable in this case, however, an orbital sander will also work. Work immediately with the entire surface of the grinding wheel, in order to remove the same amount of material evenly over the entire surface.
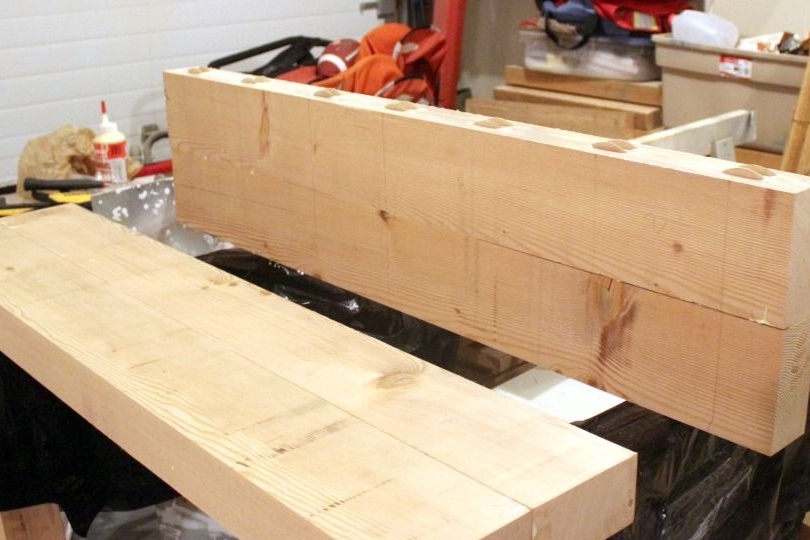
Step Three: Worktops and Grooves
Start assembling the worktop parts. The beam is pre-adjusted in thickness, so it will be easier to work with it. The author used small flat semicircular grooves. They allow you to quickly dock the details by level. If you want to add to the tabletop and the attachment points of the legs of strength, such a groove connection will be pointless.
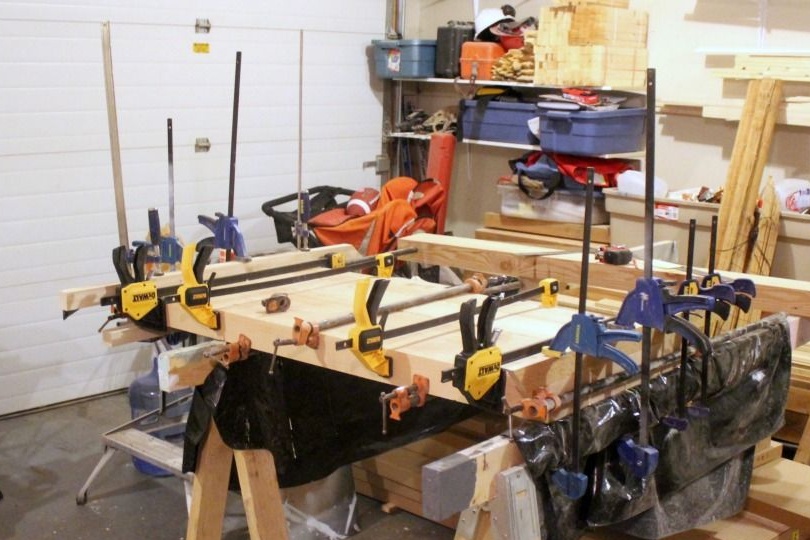
In this case, it is better to use the connection on spikes or a quarter. Evenly apply glue to the ends of the parts, connect the grooves and clamp the countertop with several clamps for a day, until the glue hardens properly.
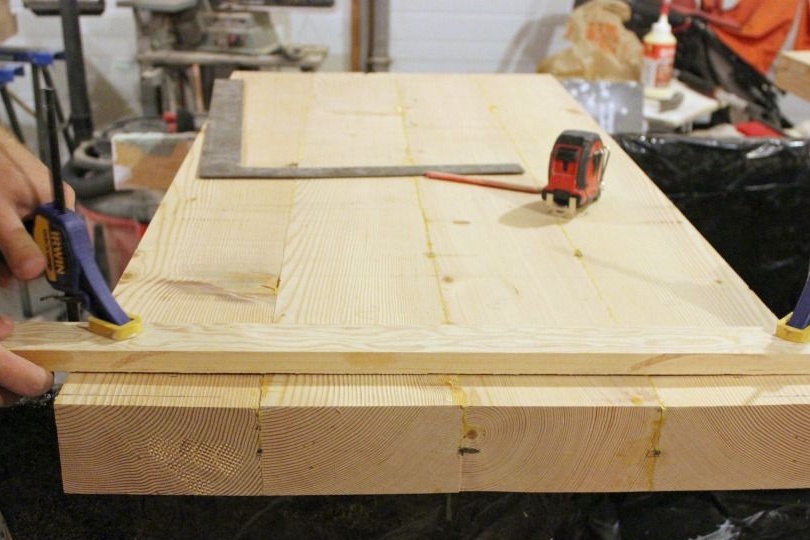
Attach the base of the foot to the tabletop prepared in this way and mark the connection. Cut the groove in the same way as with the leg itself. The author here used small flat grooves, however, they do not affect the strength of the structure.
Fourth step: final assembly of the table and finishing grinding
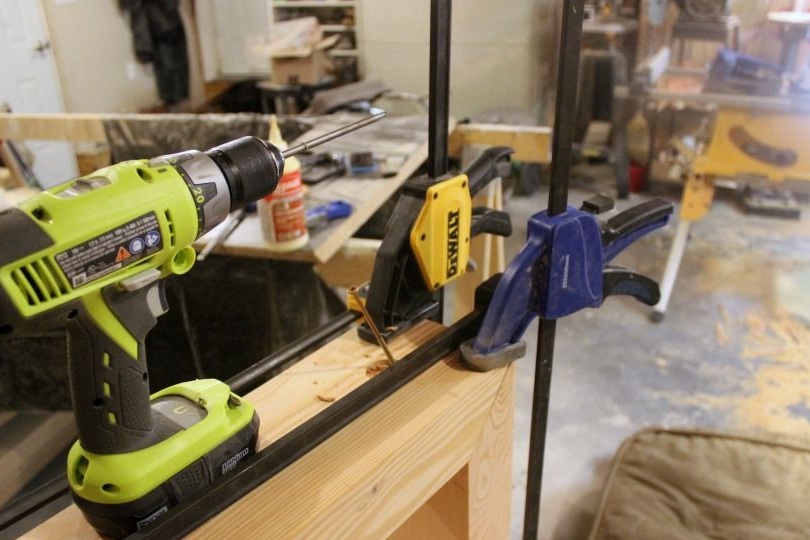
Assemble the U-shaped legs using glue and screws. The corners of the legs are fixed with screws as shown in the photo below. For each screw connection, pre-drill a hole to prevent wood from cracking.
Since you took up the drill, it's time to make pocket diagonal holes for screws for attaching the legs. For this purpose, the author used a special clamp with a device for drilling diagonal holes. It is quite possible to do without it.
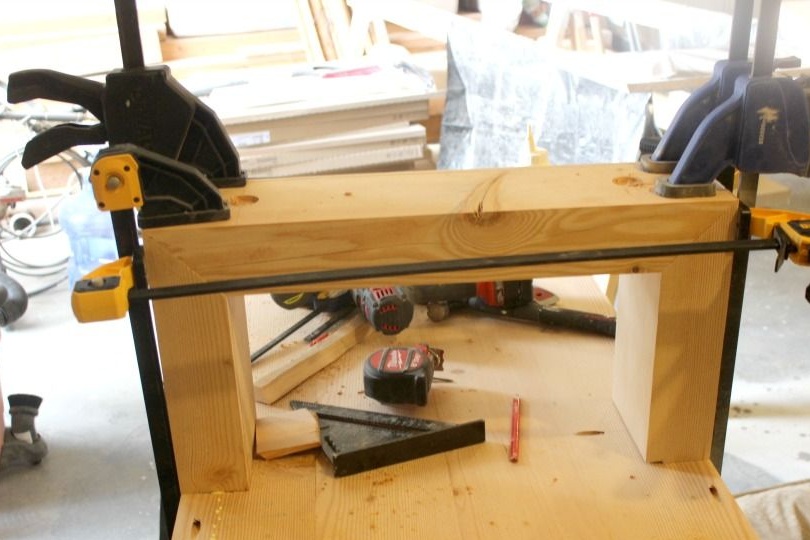
Fix the elements of the legs on the countertop using glue. Clamp the entire structure in clamps until the glue hardens. Screw in the screws to secure the connection.
You can also use metal corners for additional fixing of legs and to give a design of rigidity. On sale there are metal corners with decorative plastic overlays. However, even without overlays, corners from the side will not be visible.
Finish grinding until the entire structure is turned into a monolithic product. If the parts fit neatly, it will.Before sanding, fill the pocket holes with screw caps with sealant and wait until it is completely dry. Grind the rests of sealant.
Step Five: treating the table with protective decorative oil and varnishing
The author used a special gel stain from Varathane. If you are unable to find something similar on sale, choose a protective-decorative toner oil that matches the shade.
Although, to achieve a similar effect, you will need two shades of oil: a dark gray tone and light - for bleaching wood.
Use dark oil as a base. Apply the first coat with a soft, lint-free cloth, rubbing it carefully into the wood surface. Wait until the wood is completely dry and if the tone is not deep enough, apply a second coat of dark oil. Let it soak in well.
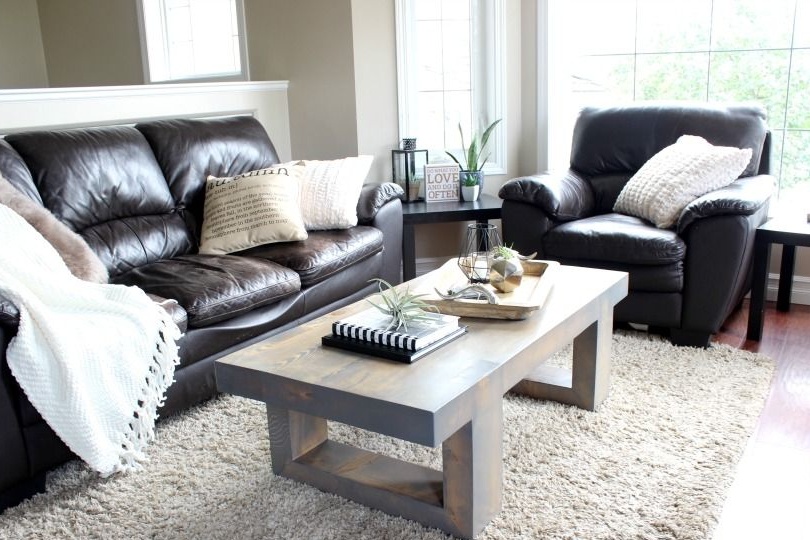
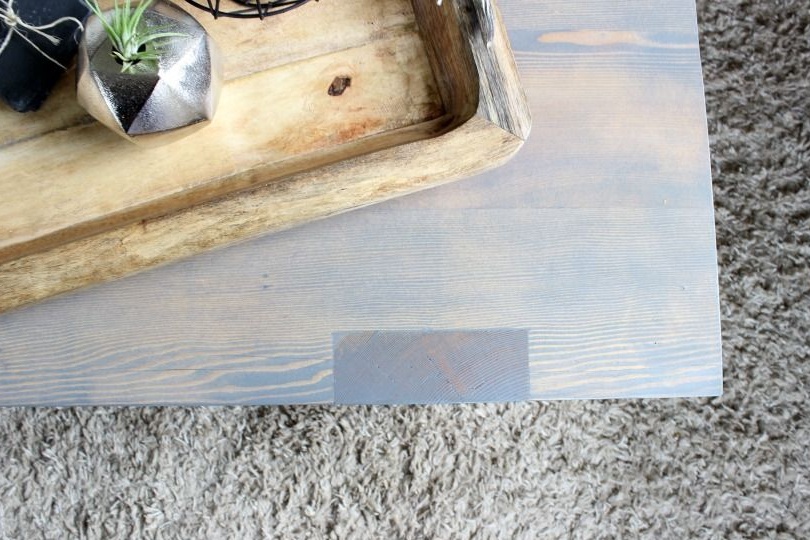
In the photo you see that the table, as if made of dark wood, but its surface is covered with a velvet whitish coating. In order to achieve a similar effect, you will need a second oil designed to lighten the wood. Apply it in a single layer, sometimes not too evenly and leave the table for a while so that the oil is absorbed.
To protect the wood, the author used varnish. Choose a durable varnish specifically designed for varnishing furniture. After drying, it does not scratch. You can use this reliable indicator in the selection process.
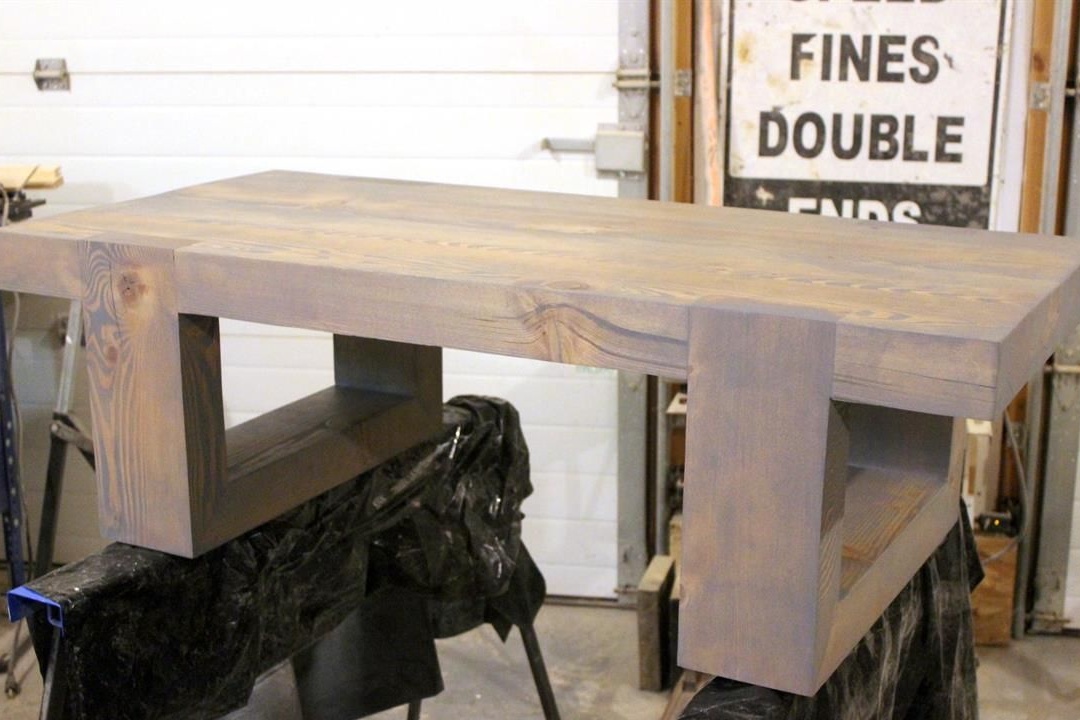
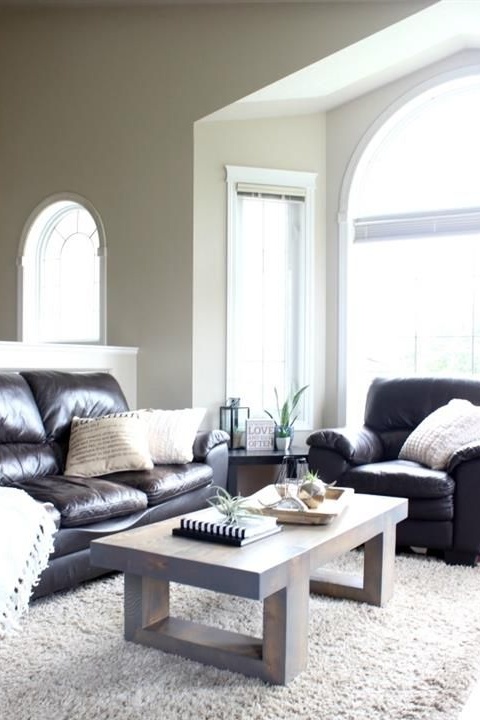
The table is ready and will be a worthy addition to even the most sophisticated living room set.