Not every novice master can boast of having a large number of power tools in their arsenal. And about woodworking machines and there is no question. After all, when buying such expensive equipment you, at least, should expect that it is not today, so tomorrow it will pay off with interest. But how much longer will it take to learn and acquire the necessary skills?
A modern look at interior design allows manufacturing furniture from raw wood. In this case, you simply do not need any machines, and many power tools can be replaced with manual ones.
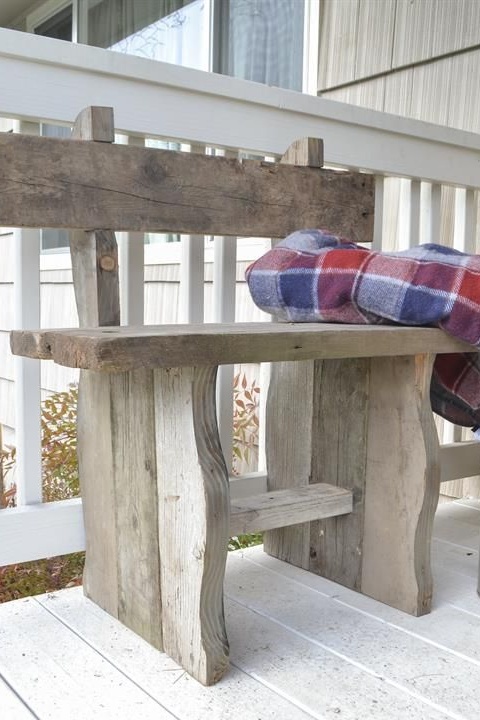
The author of this workshop offers you to make a rustic rustic bench from old raw boards. The material requires neither planing nor grinding. And even sawing boards should be carried out only in those areas where it will not be available to the eye in the finished product.
In order to do it yourself and without special costs to make a street bench in a rustic way, you will need:
Materials:
- old but strong boards;
- glue for woodwork;
- furniture screws or wood screws;
- nails;
- matte varnish, mineral oil or varnish if necessary.
Instruments:
- a manual hacksaw for wood (miter or circular saw, jigsaw, etc.);
- manual or electric drill for drilling holes for screws;
- Phillips screwdriver or screwdriver;
- hammer;
- clamps;
- fine sandpaper;
- if necessary - soap solution, brush and soft, lint-free cloth for cleaning wood;
- a paint brush or clean cloth for soaking the tree with oils or drying oil.
Step one: material selection and preliminary preparation
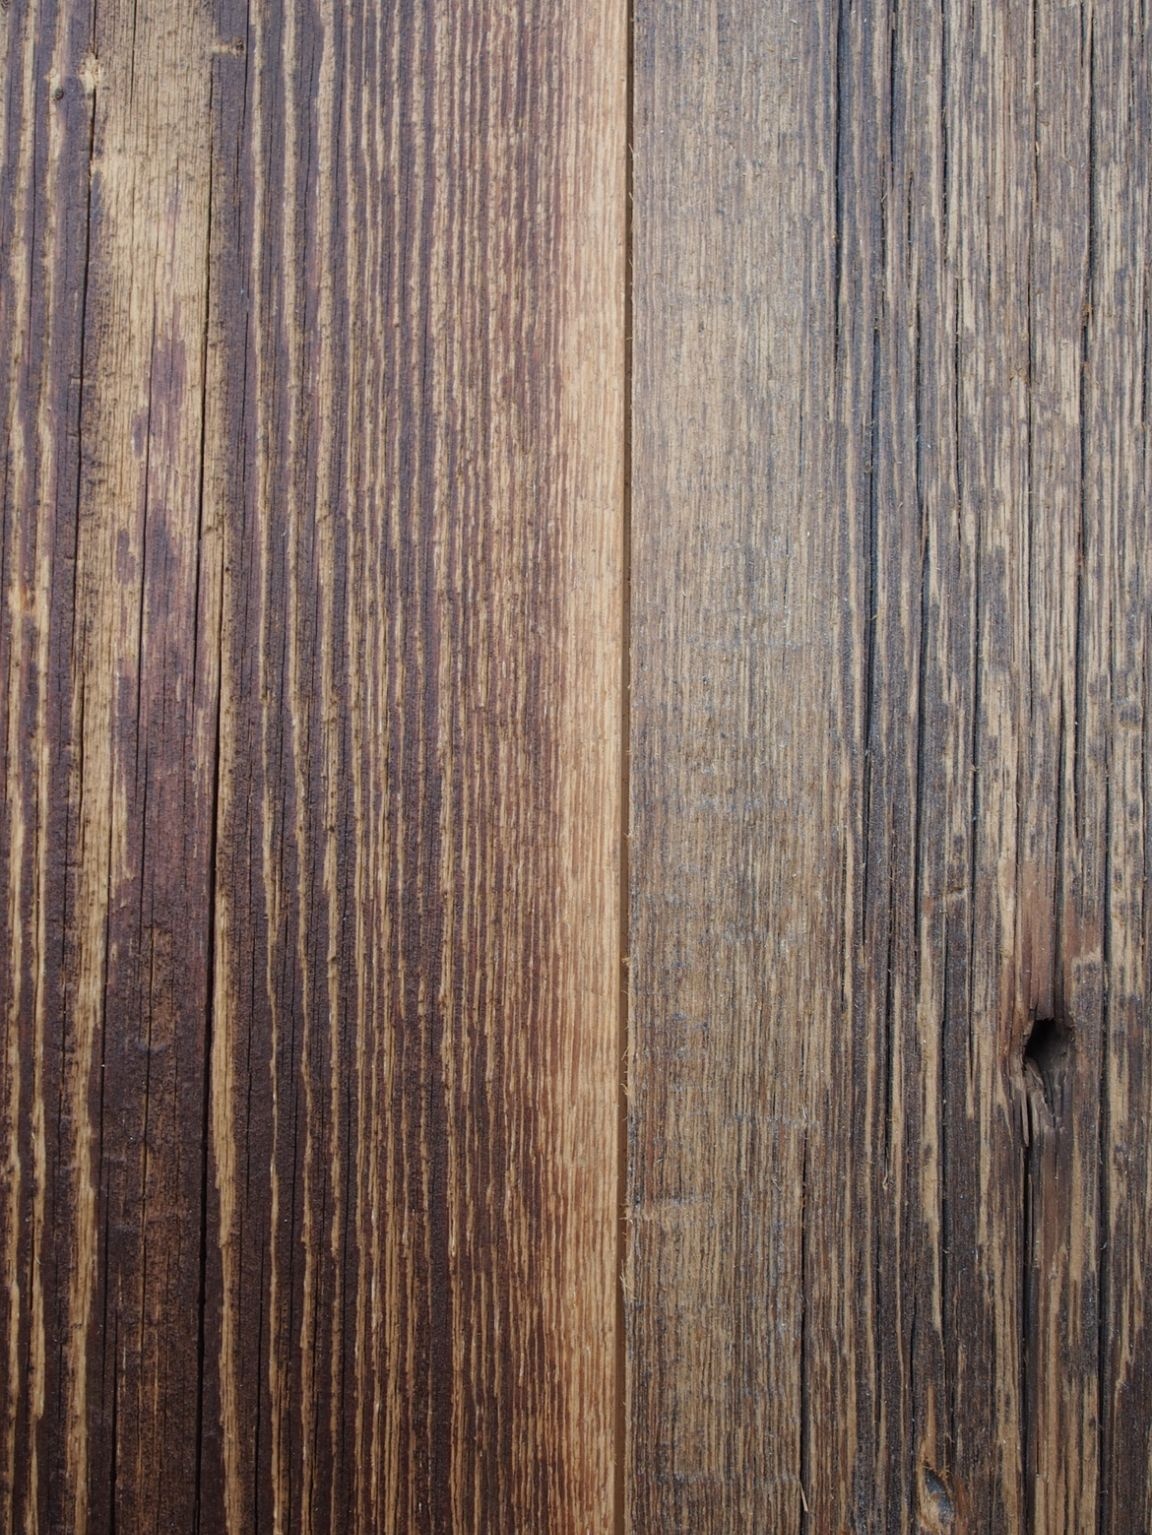
The author used old raw boards. All material defects are visible on the photo, including cracks and knots knocked out. In this case, all this is not of particular importance. The main thing is to select untwisted boards without rot and decayed areas. They still need to be sturdy and durable. Do not use wet material. Dry the tree indoors or under a canopy until, when tapped, it begins to make a booming muffled sound.
If the boards are dirty, they will have to be washed. Fill the basin with warm water, add a little dishwashing detergent or the remnants of laundry soap and wash the boards with a rag, removing areas of contamination. If necessary, use a brush. Dry the boards.
Consult in advance and pick up glue for woodwork. Since the bench will be located on the street, it must be waterproof.
Step two: marking parts and their manufacture
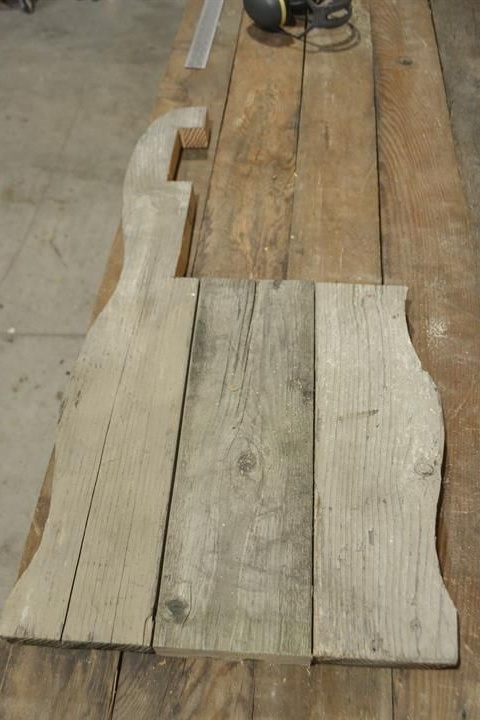
Decide on the size of the finished product. How long and wide will the seat be and at what height will it be? Also determine the height of the back. Calculate the size based on the amount of material that you have. Well, if for the manufacture of seats you can pick up boards that do not require cutting. So, the bench will look more natural in the style conceived for it.
Start drawing details. Learn to draw by hand right on whiteboards designed for work. Many eminent masters do just that, which allows them to create more natural forms of furniture.
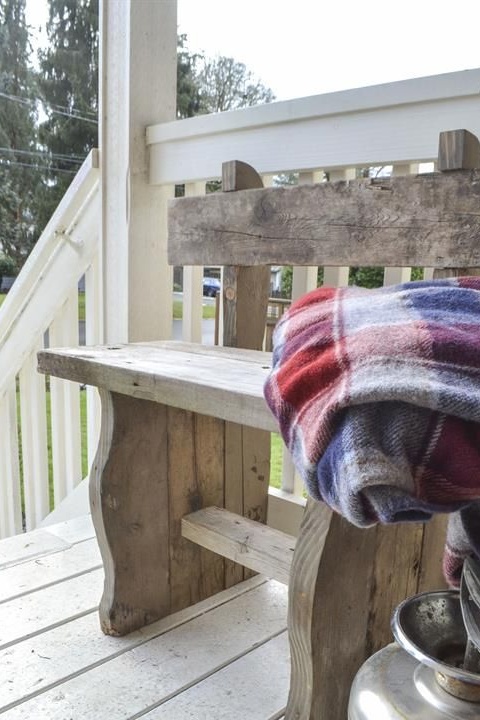
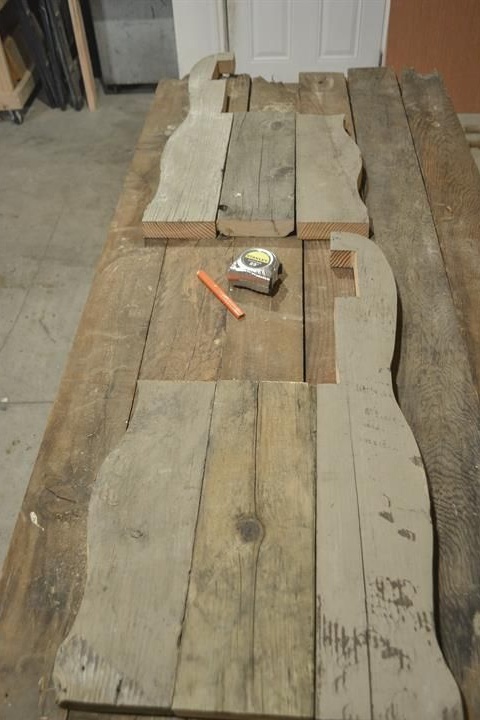
Each sidewall consists of three parts. One of them supports the back, so it will be long. Mark on it a groove for the longitudinal support bar. In profile, the bench has several curly shapes, so consider this in the process of marking parts.
You can make the back a little flat. If the width of the board allows, cut off its upper part diagonally, so that the supporting block for the back is located a little further and forms a slope.
Mark along the length of the bench a block for the back. In addition, you will need a connecting bar for the sidewalls and seat parts.
Cut out all the elements in size. Use a hacksaw or any power tool available to you, such as a circular saw or chainsaw.
You can also achieve the figured outlines of the details of the sidewalls with the help of a hand tool, including a regular sharp knife for woodcarving. However, much faster such work can be done using an electric jigsaw.
Step Three: Assembly
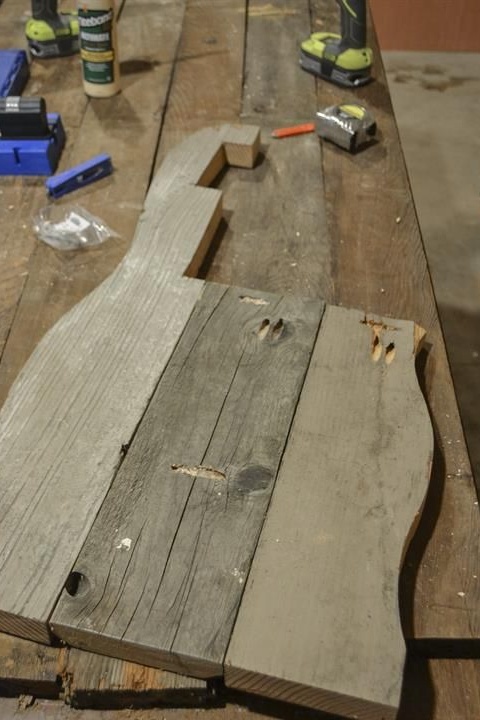
In the assembly process, the author used diagonal countersunk holes for furniture screws. As a rule, they are located in places inaccessible to the eye. They can be filled with sealant and painted over. Or leave it as it is, when it comes to the manufacture of less critical products.
Among other things, such diagonal joints allow avoiding the manufacture of grooves, which are sometimes impossible to do due to the lack of a manual milling machine or milling machine.
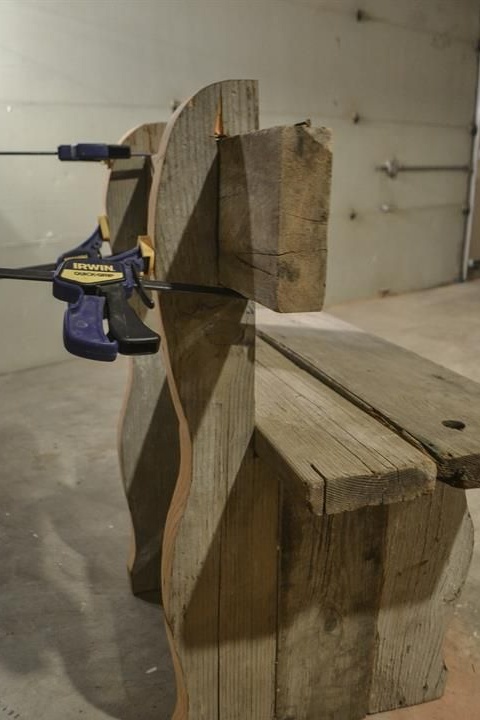
Be sure to use glue to give the joints the necessary strength. In the process of gluing parts you will need a pair of clamps. This is an indispensable tool for any furniture maker.
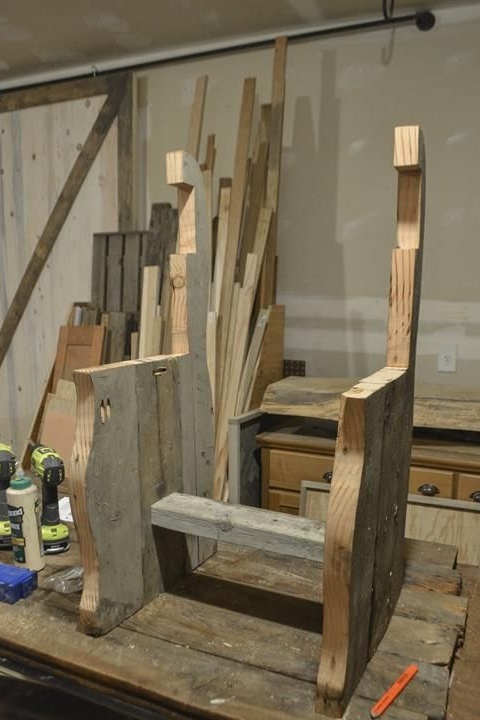
Start by assembling the sidewalls. Glue each of them from three parts, using glue for woodwork and clamps. Remove excess glue with a damp cloth before setting.
Connect the sidewalls with a short bar on the bottom. This time, use not only glue, but also screws. Fasten seat parts with screws to pre-drilled countersunk holes. Do not forget about glue. Finish work by locking the backrest bar.
In general, the adhesive not only gives strength to the joints, but also ensures that the structure does not become loose over time and does not require repair. Such products are pleasant to use, they seem strong and reliable.
Step Four: Wood Processing
Despite the careful selection of materials for his project, the author still had to cut the materials where he would like to preserve his naturally aged appearance. At the cut, the wood was light, and the whole idea came to naught.
However, the author found a wonderful way out. He used a diluted stain to mask sections. First, he polished the excess to imitate the raw edge of the boards, and then tinted the saw, until he achieved the desired shade.
To give the product a neater appearance, walk lightly on the surface with fine-grained emery paper. However, first fill the holes for the screws with epoxy sealant and let it harden.
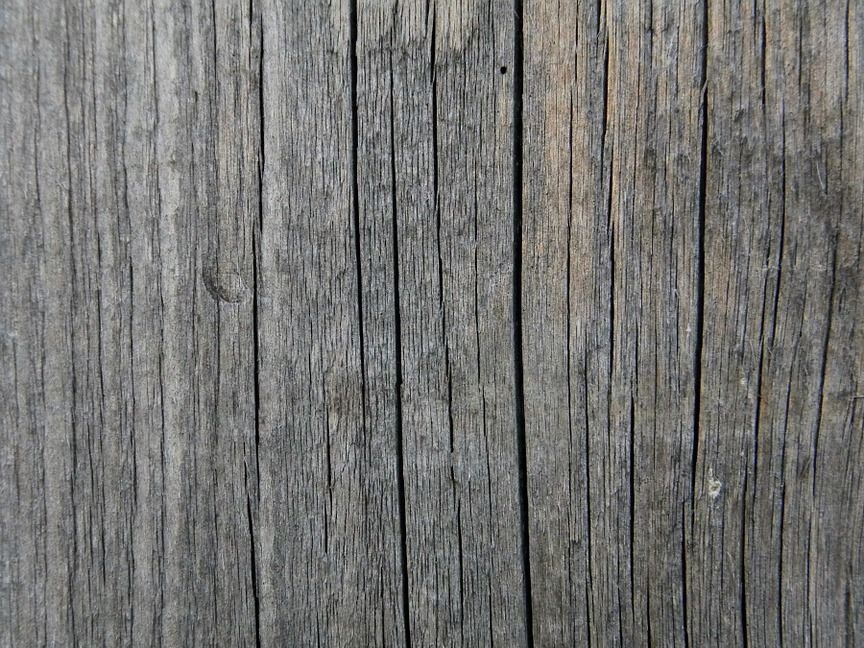
You can leave the wood unprocessed. During prolonged storage and exposure to a natural tree of adverse factors, its upper layer darkens and undergoes a number of changes. In fact, in this way, the wood protects itself from more significant damage. Therefore, even in its raw form, it will serve you for many more years. However, it all depends on the type of wood.
If you like to experiment with compounds for protective and decorative processing of wood, this is a great opportunity for you. The tree is cleaned of dirt and polished, its surface is ready for painting.
Of course, you made a lot of efforts in order to preserve its natural appearance and natural texture. Therefore, there can be no talk of paints. Decorative oils, toners, varnish-toners and glossy varnishes are also unlikely to suit you. What remains?
First of all, oils. Natural, mineral or drying oil - they are perfect for wood processing. Oils penetrate the upper layers of the tree and seal its pores, which partially prevents the penetration of moisture deep into the wood. You will also get the opportunity to carry out light wet cleaning as regularly as you would like. Oils also give the tree a slight velvety shine and emphasize its natural texture and color.
Secondly, you could use matte varnish to protect the wood from harmful external influences. It gives a durable reliable coating, but it looks very organic and natural on the surface of a natural wood. Choose a moisture resistant varnish for outdoor use.
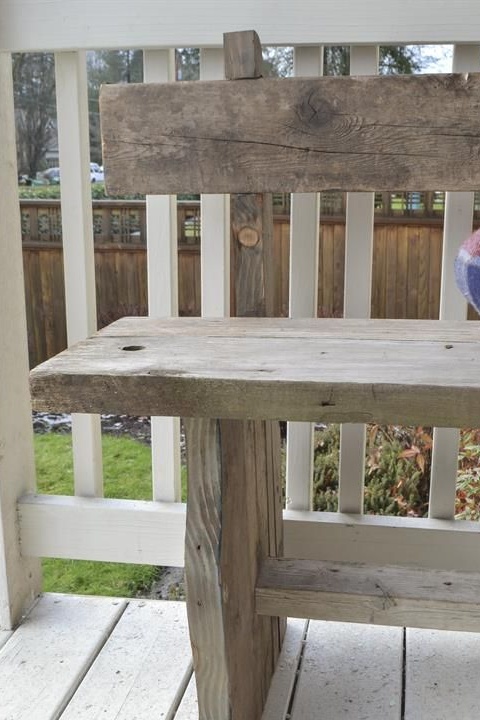
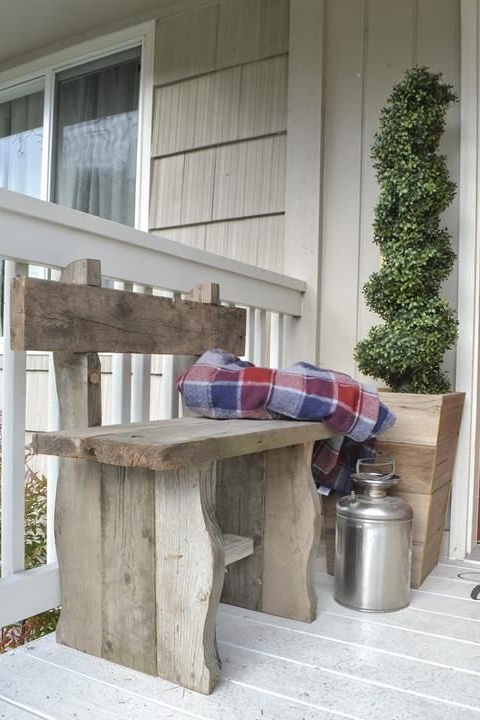
The street bench is ready in a rustic way!