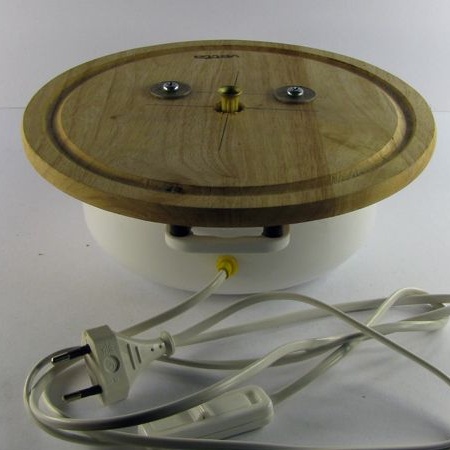
In a previous article, we looked at how Master made on the basis of an old microwave oven. Since this platform was made for friends, the author decided to make himself another, more powerful. For its manufacture, the master needed the following
Tools and materials:
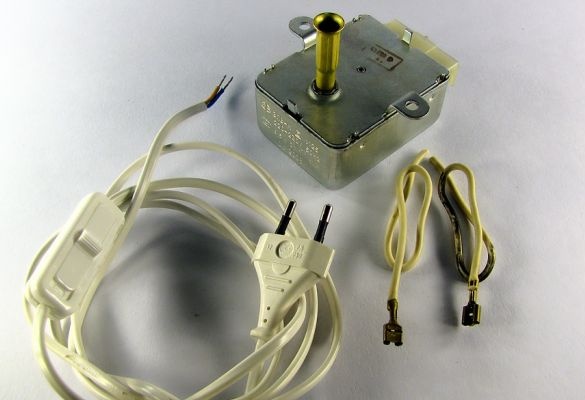
- power wire with switch and plug;
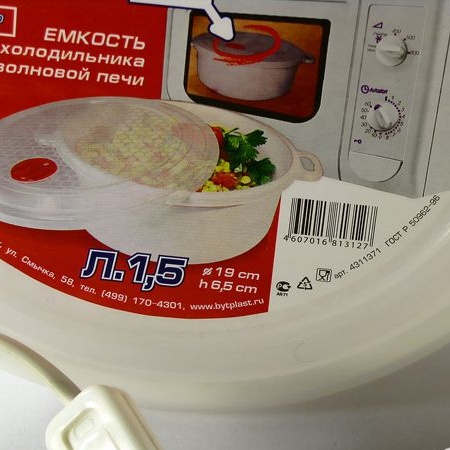
- container - 1 pc;
- motor reducer - 1 pc;
1pcs scooter;
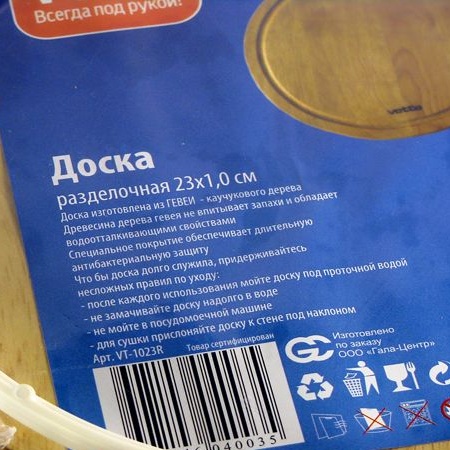
- chopping boards -2 pcs;
- wires with stamps-2 pcs;
- tray (optional);
- rubber tube - 1 pc;
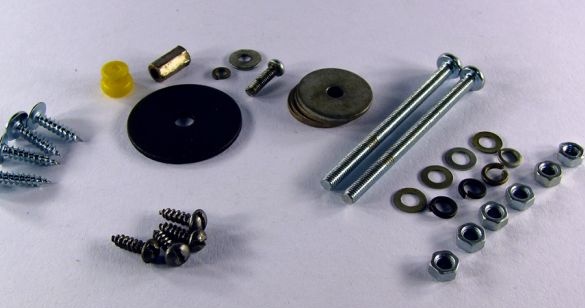
- self-tapping screws 3,5X15mm - 4 pcs;
- rubber sleeve under the wire - 1 pc;
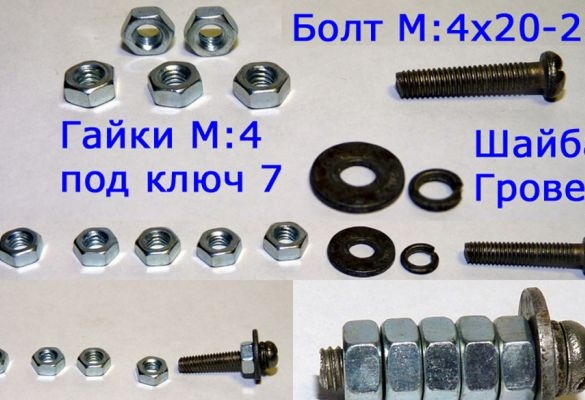
- nut M: 4X20mm - 1 pc;
- washer M: 6 - 1 pc;
-3X10mm screws. - 4 things;
- M bolt: 4 with washer and Grover - 1 pc;
- M washers: 5 - 8 pcs;
-bolt M: 5X60mm - 2pcs;
Grover M: 5 - 4 pcs;
-file;
-screwdriver;
-keys;
-drill;
-line;
-pencil;
-calipers;
-knife;
-insulating tape;
- pliers;
Step One: Adapter
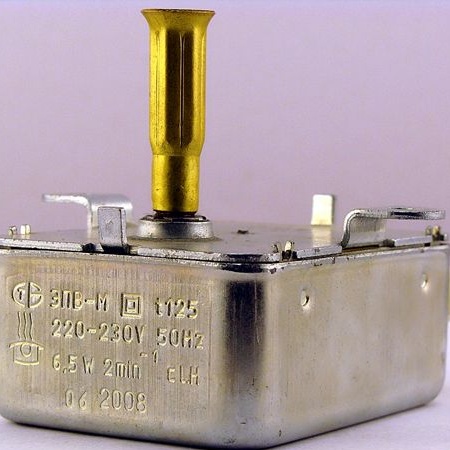
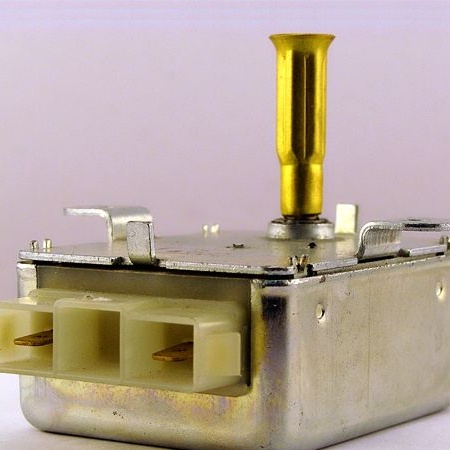
The master took the motor reducer from the grill. Such motor gearboxes are produced by plants in Russia and Belarus.
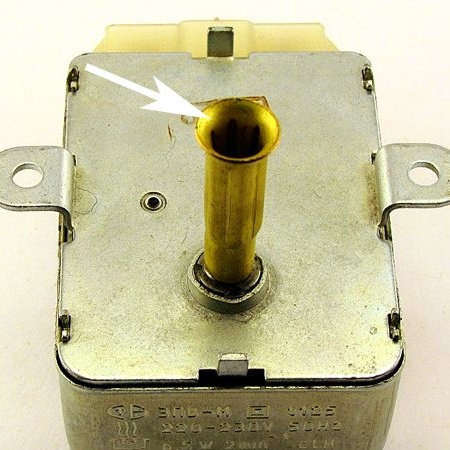
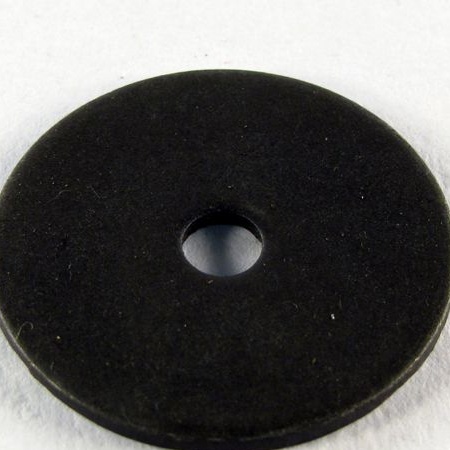
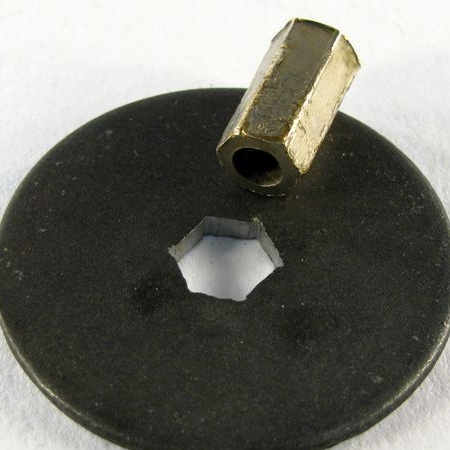
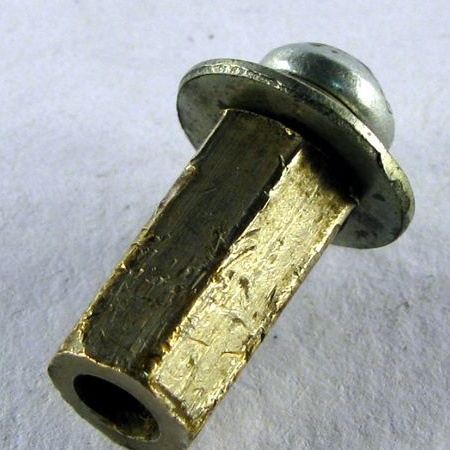
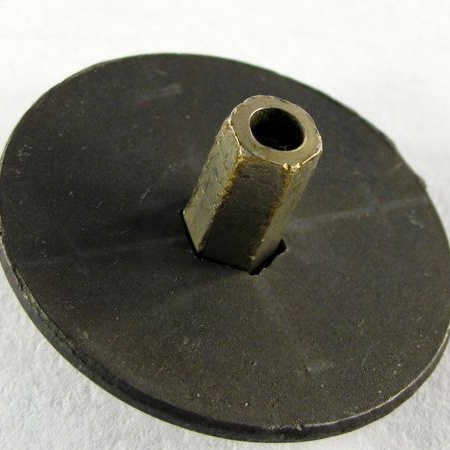
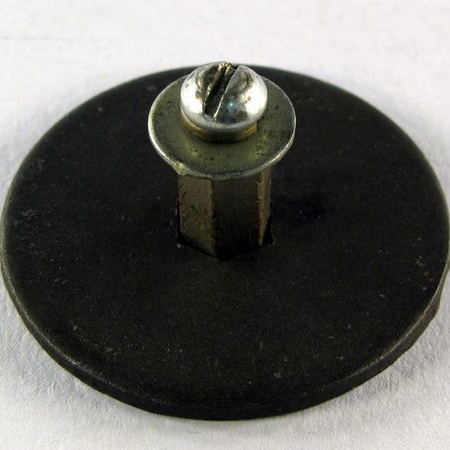
A hexagonal sleeve is installed on the gearmotor. In this sleeve, the author decided to install a long turn-key nut M: 4 on 7. In the center of the washer M: 6, with a diameter of 40 mm, the master bores a hole under the edge of the nut. To avoid axial loads on the adapter, the hole in the washer should be slightly larger than the nut. In this case, the load will be transferred to the roller. Screws a bolt with washer and grover into the nut.
If there is no long nut in stock, you can replace it with a bolt with standard nuts screwed onto it.
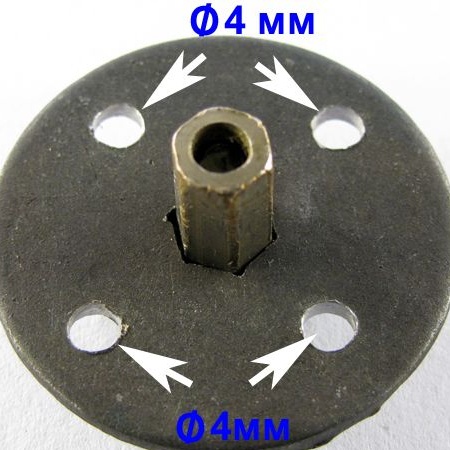
Drills four holes with a diameter of 4 mm in the washer.
Step Two: Swivel
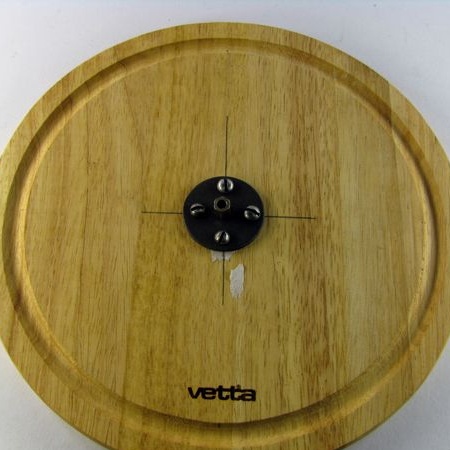
Like last homemadeThe groove selected on the cutting board is the same as the diameter of the roller. Marks the center of the board. Drills a through hole with a diameter of 3 mm. On the reverse side, makes a selection with a diameter of 18 mm under the bolt head.
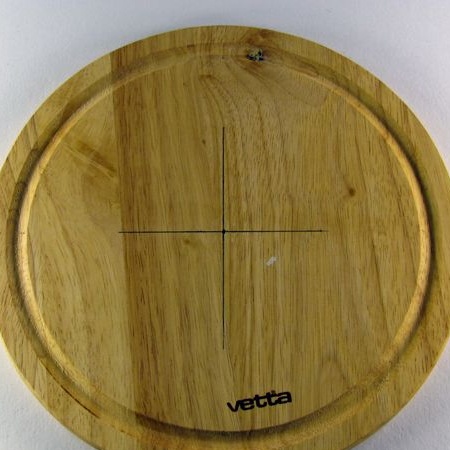
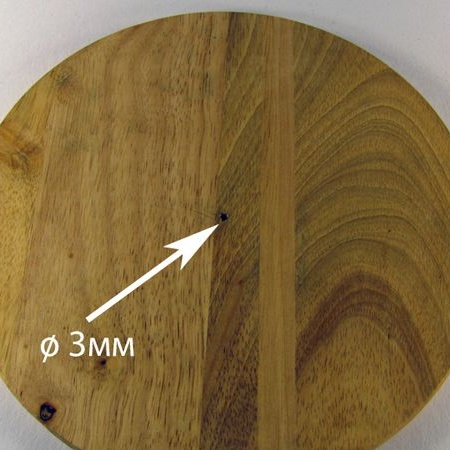
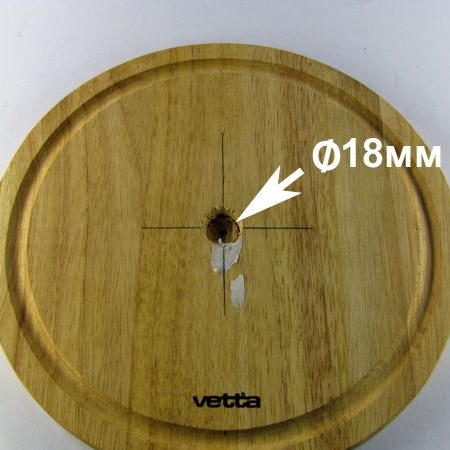
Marks and drills holes for mounting the washer. Screws the adapter to the board.
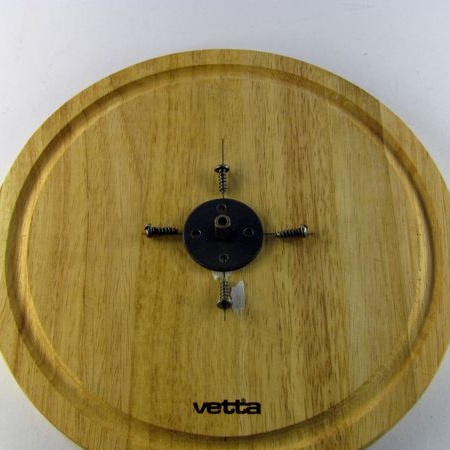
Step Three: Foundation
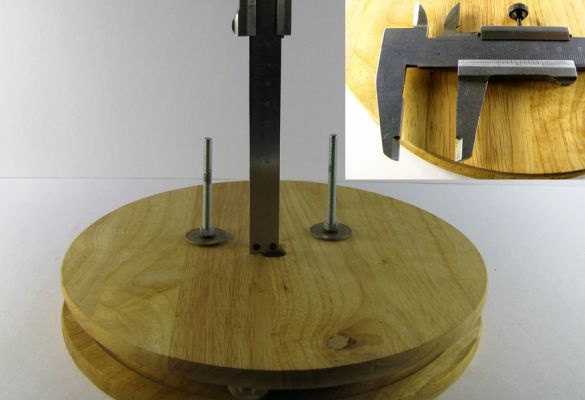
In the second board marks the hole according to the photo.
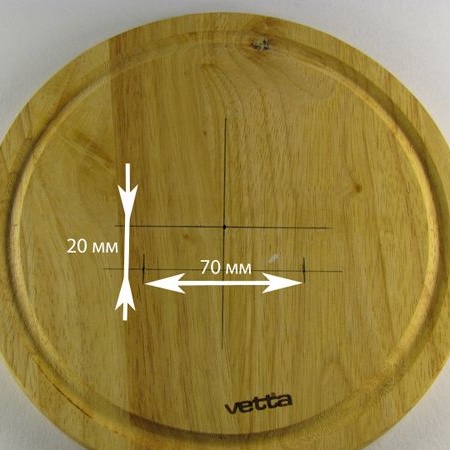
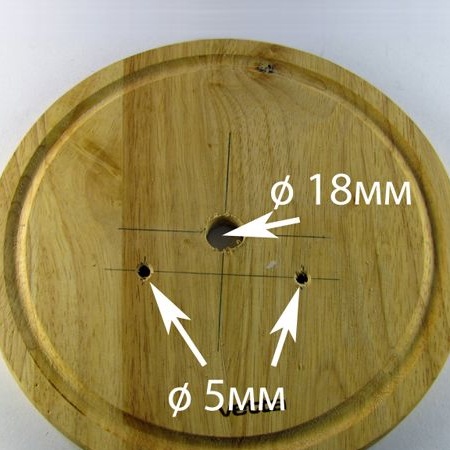
Drills holes with a diameter of 18 mm under the gearmotor sleeve. Drills two holes with a diameter of 5 mm for mounting.
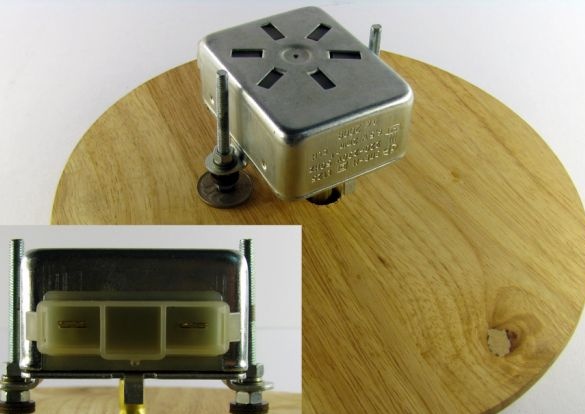
Fastens the gearmotor mounting bolts to the board.
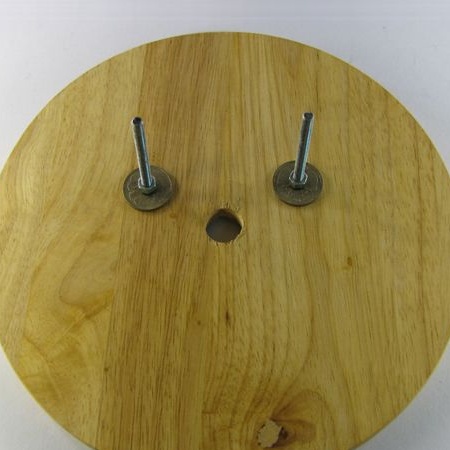
Installs the roller and swivel part. Measures the distance between the outer edges of the board + 10 mm. This is necessary to calculate at what distance to fix the gearmotor from the surface of the board.
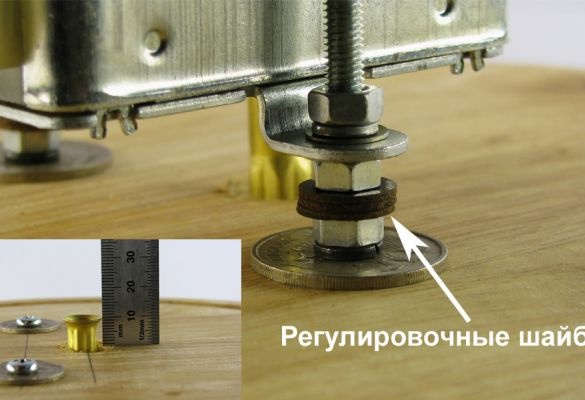
Secures the gearmotor. Using washers, adjusts the distance.
Step Four: Casing
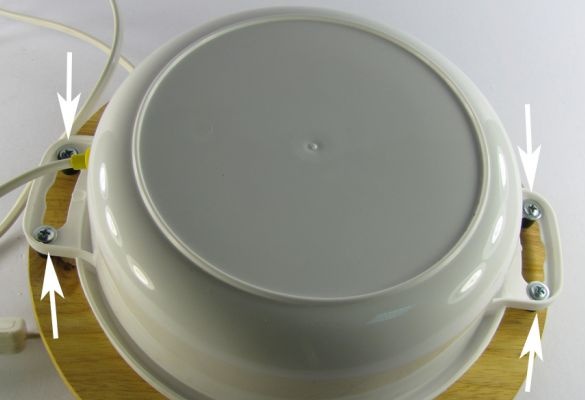
The author made a protective casing from a box for storing and heating food.
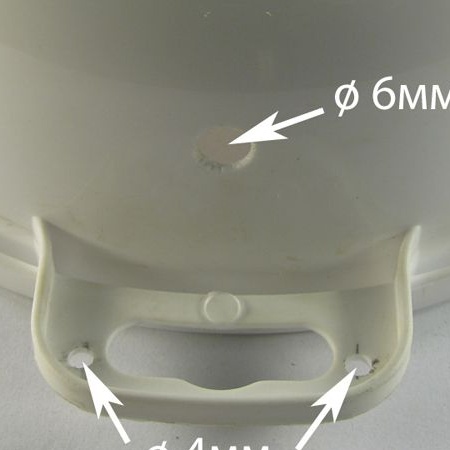
Four mounting holes with a diameter of 4 mm are drilled into the handle. In the side part, drills a hole for a wire with a diameter of 6 mm Installs a rubber grommet in the side hole and pulls the wire into it.
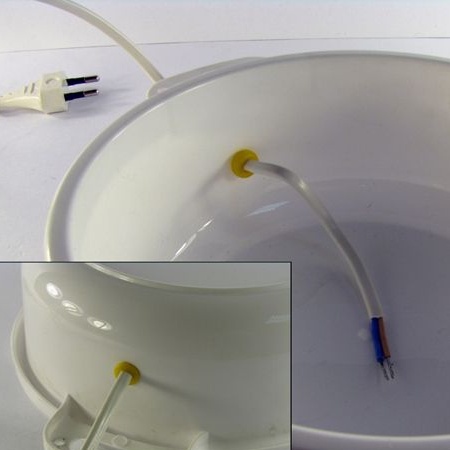
On the base of the platform marks and drills holes for mounting the casing.
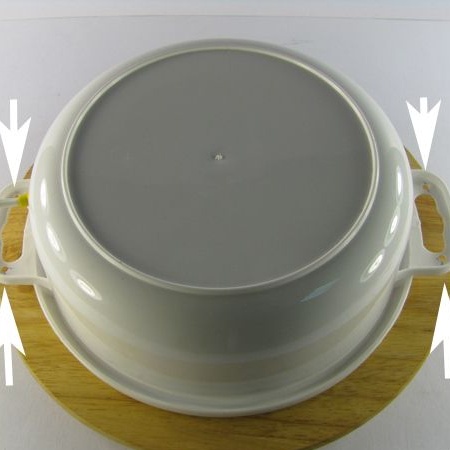
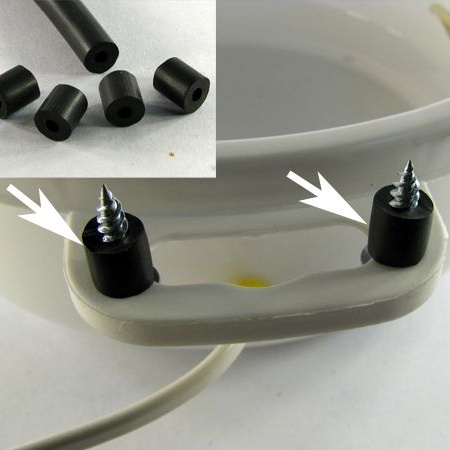
To remove the difference between the handle and the base, I cut four rubber bushings. Installed them on the screws.
Sets the terminals. The terminal wire splices with the power wire. Splices isolate.
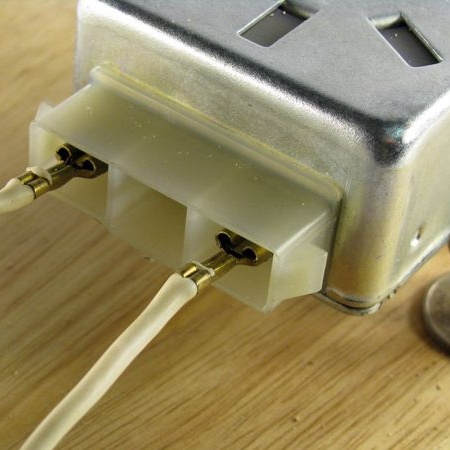
Screws the casing to the base.
Sets the swivel part.

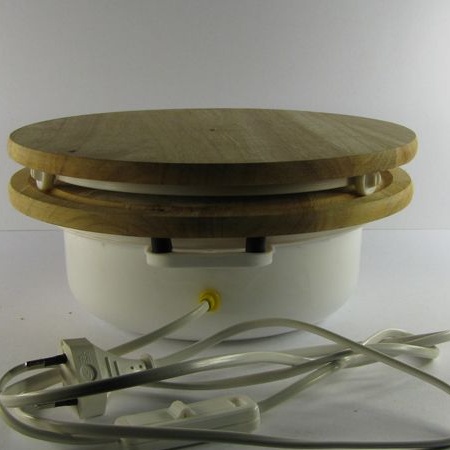
To center the tray, the author made a hole. Centering was done with an awl.
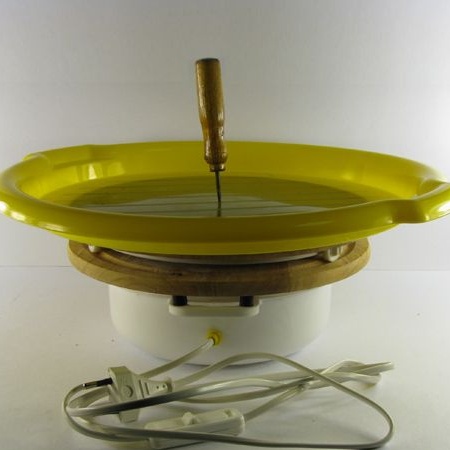
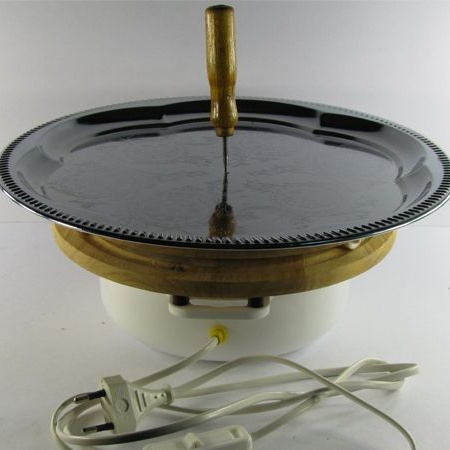
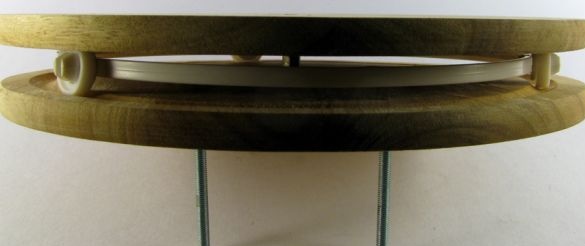
The turntable is ready. Examples of the platform.
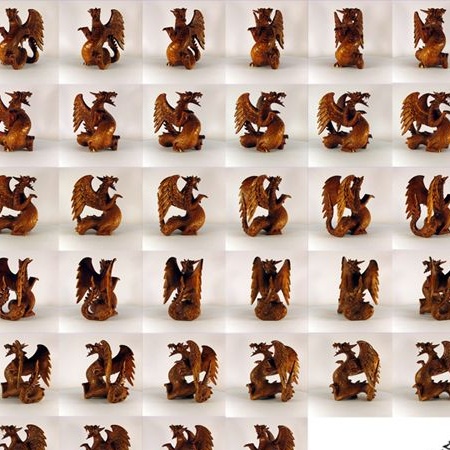
Well, now you can "wash" successfully completed work.

