

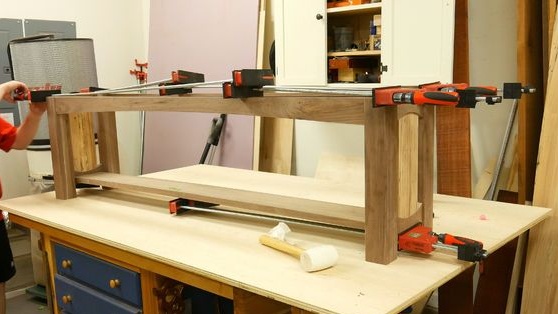
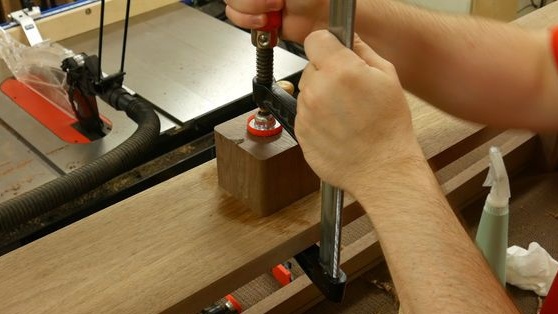
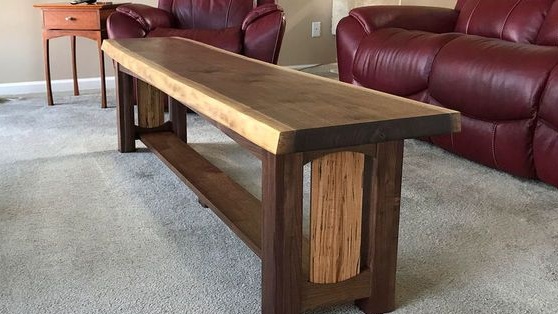
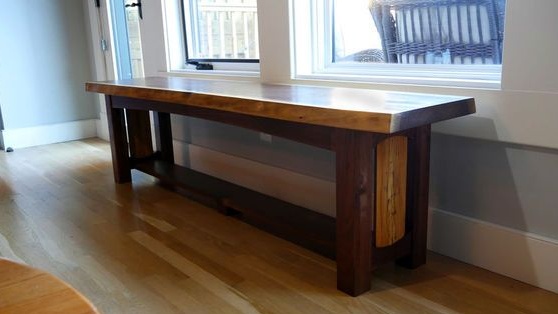
The author made this bench specially for his girlfriend, namely for her new home. Design and material were chosen together, we decided that the bench should be made of walnut wood. Walnut is a very beautiful tree and durable, products from it can stand for more than one century.
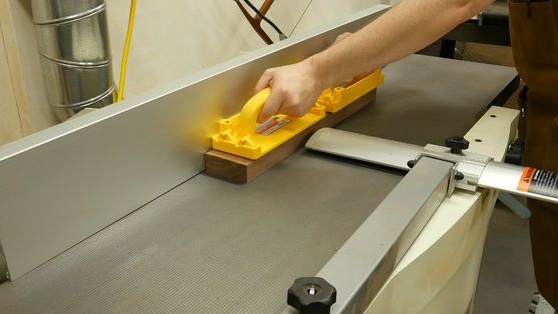
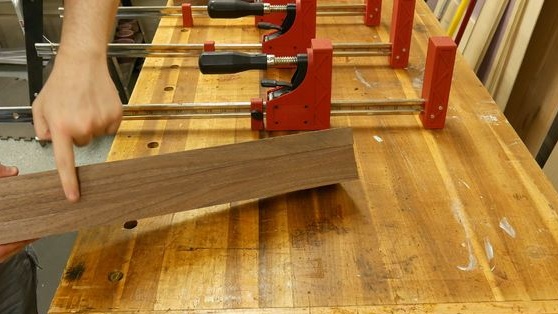
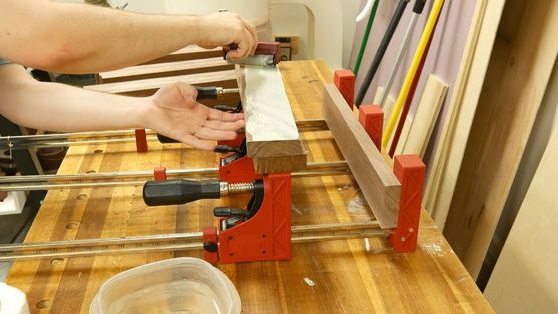
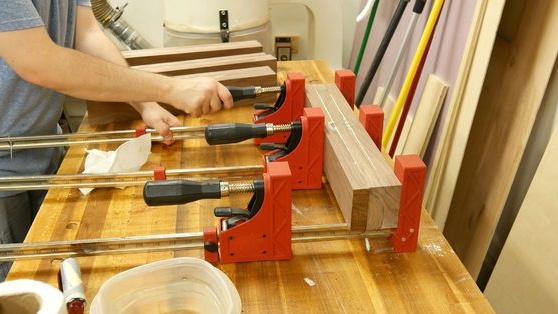
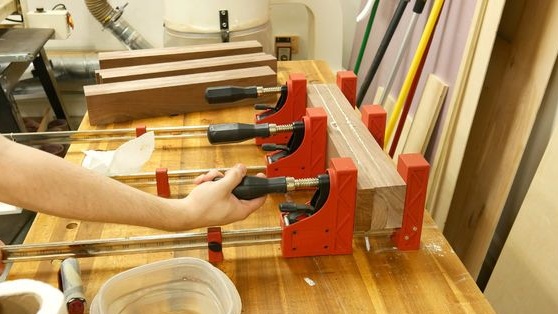
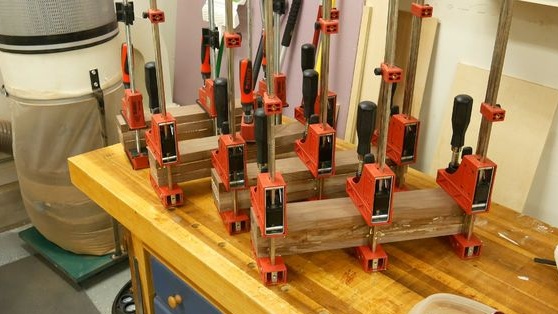
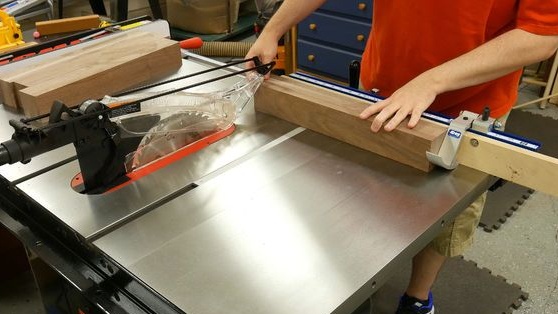
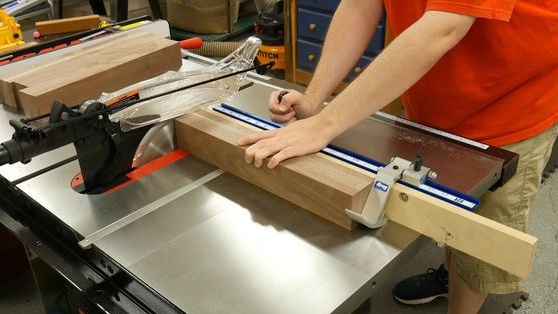
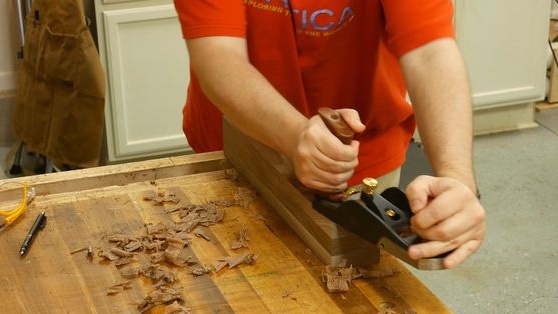
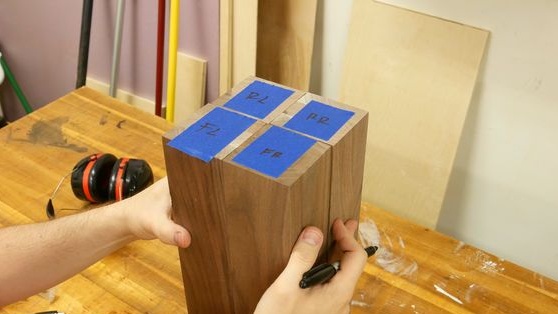
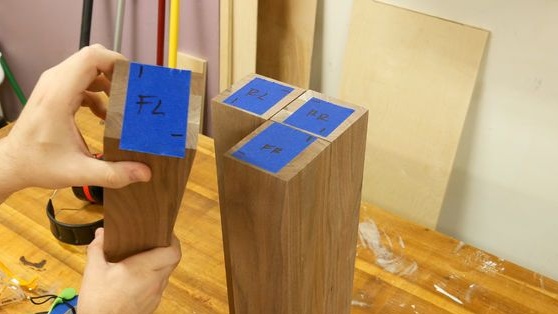
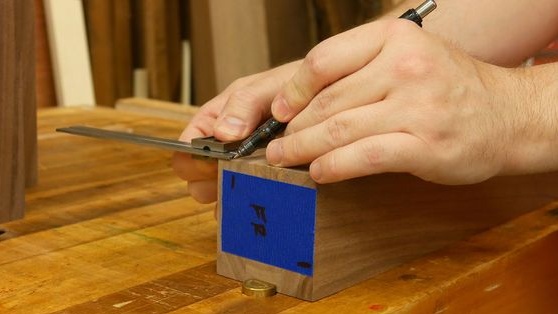
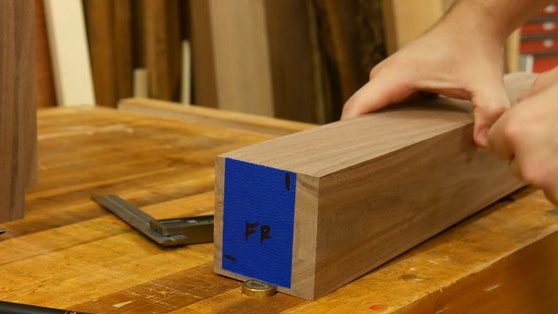
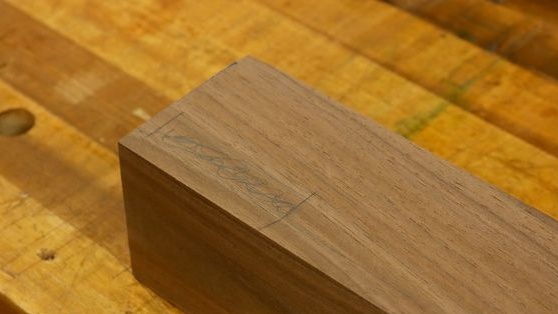
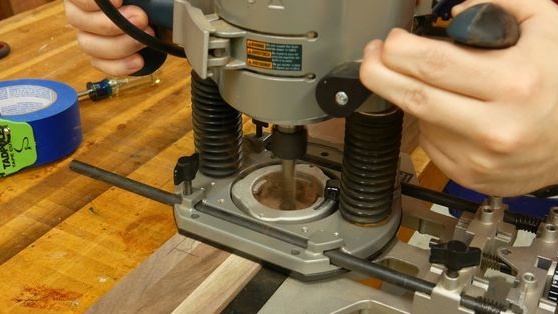
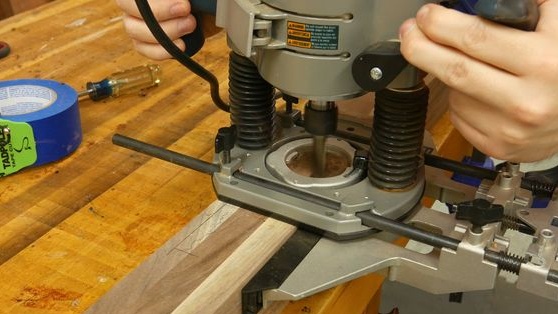
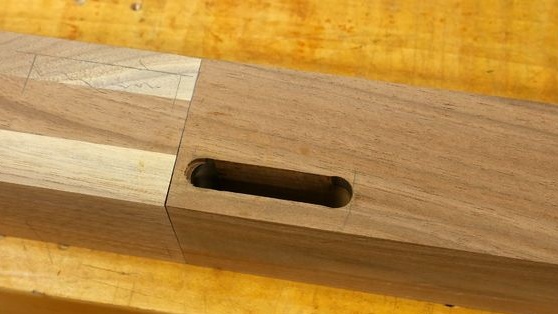
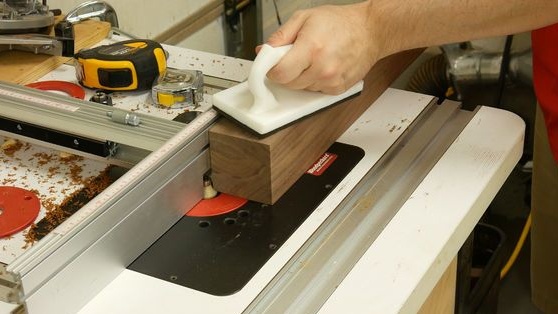
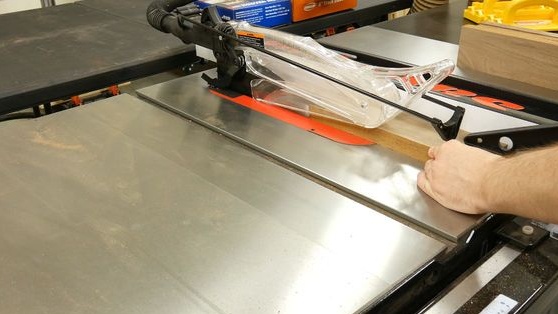
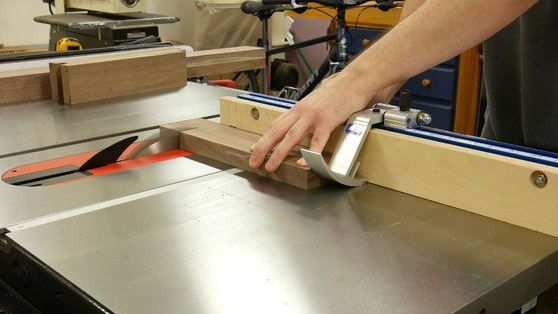
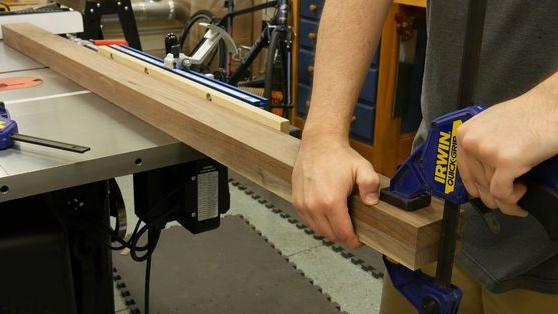
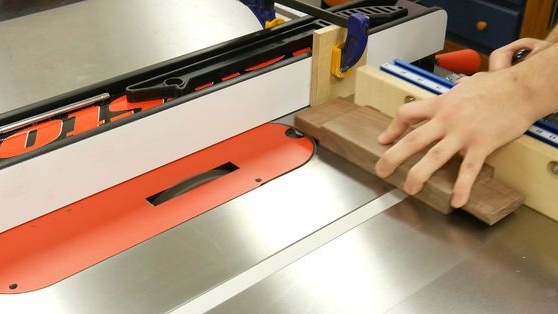
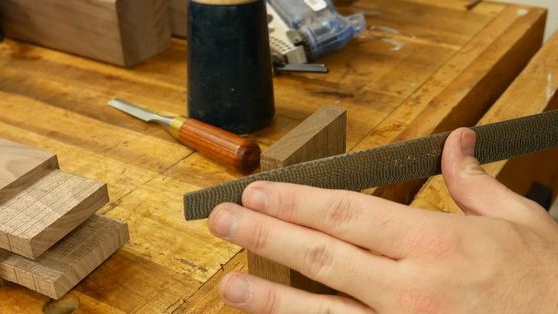
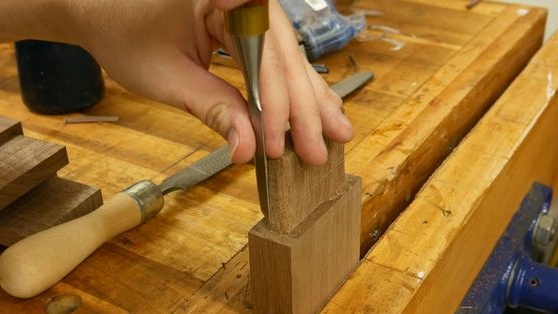
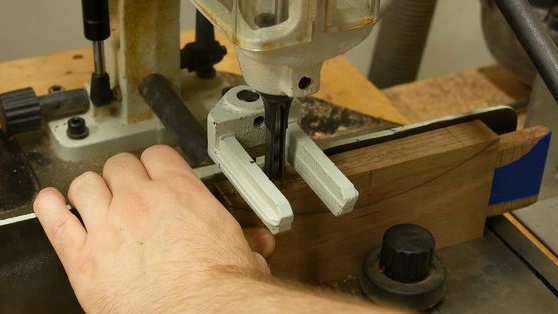
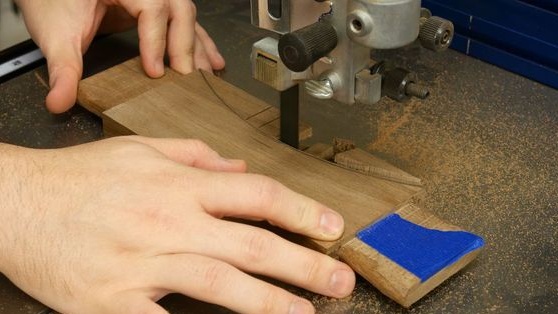
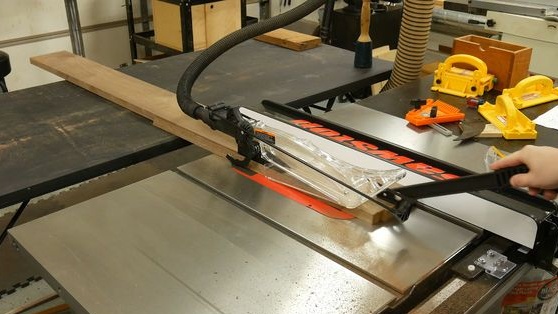
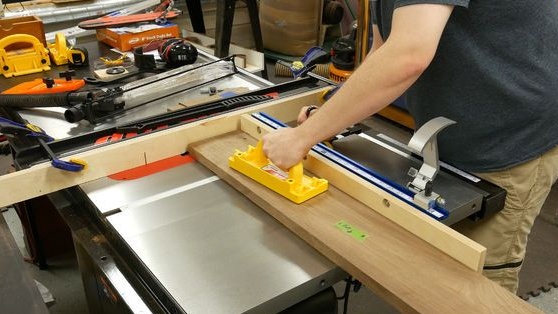
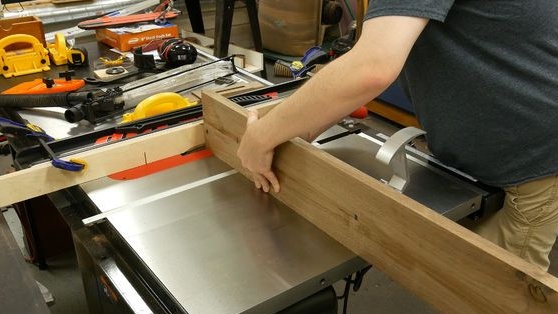
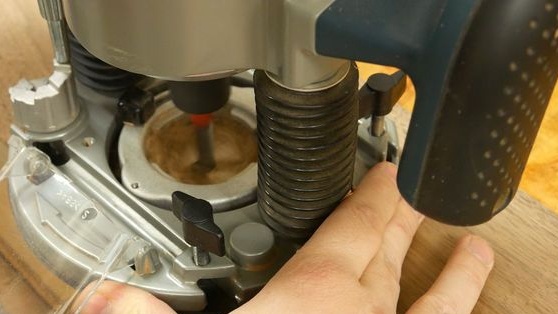
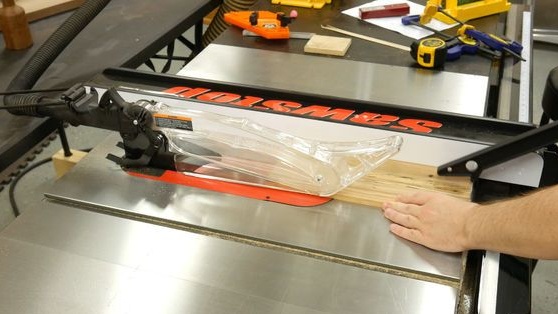
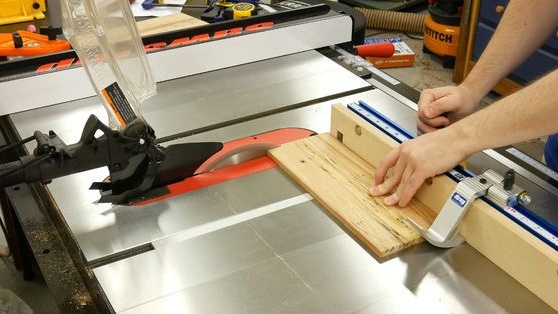
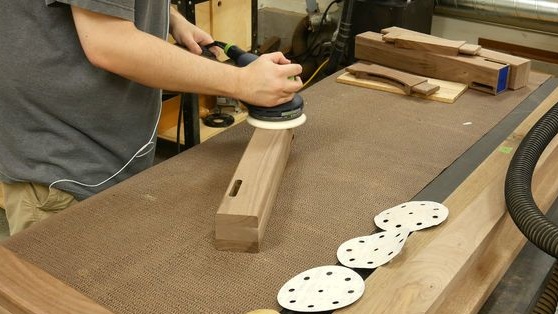
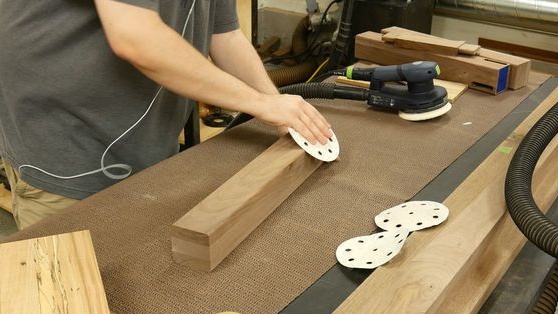
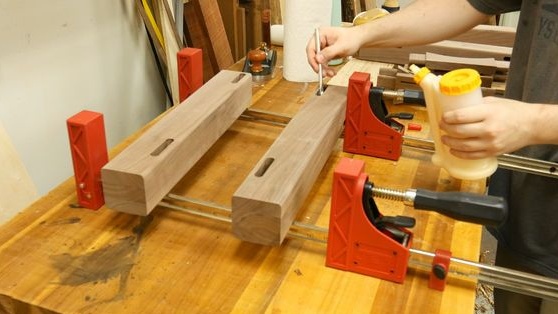
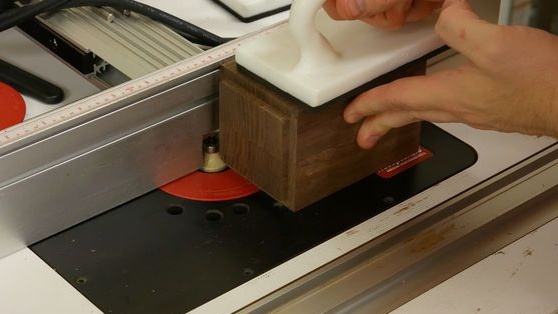
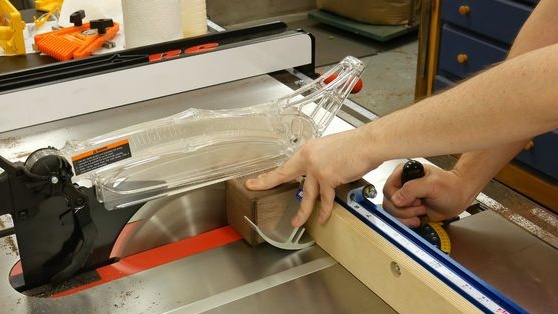
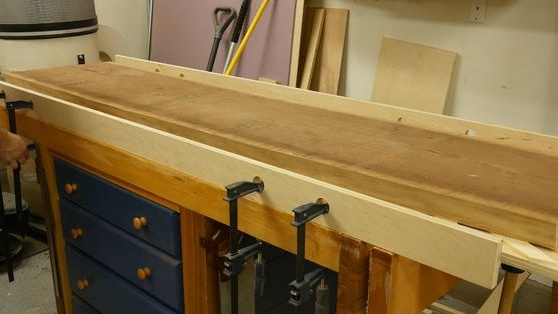
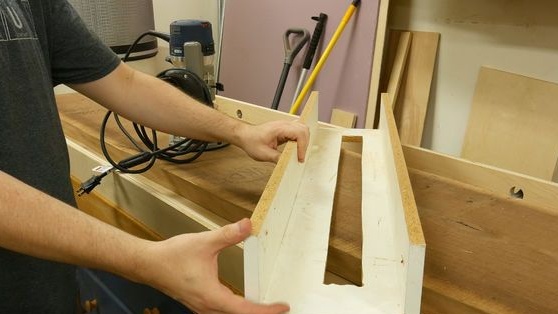
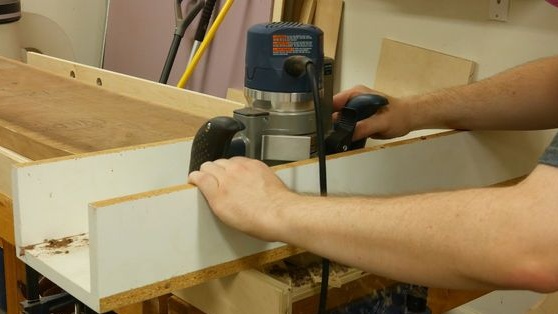
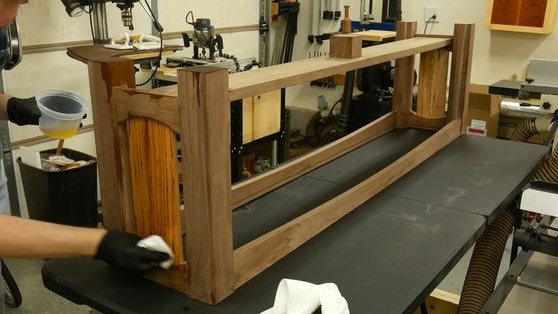
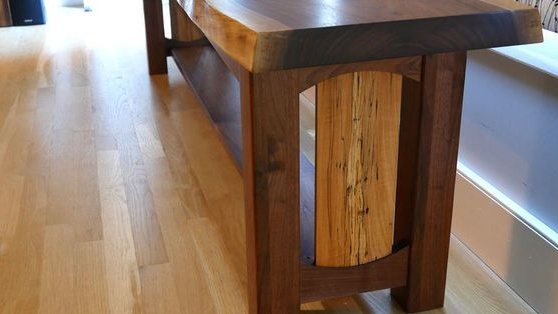
The author made the legs for the bench from home-made veneer, namely, he glued several blanks together and pulled them together with clamps, in this position they should lie for at least 24 hours so that the glue dries. Further, the author processes the blanks with a surface gage and an ordinary manual plane, thereby leveling the edges of the legs. Then in the leg grooves are selected using a milling cutter or drill bit.
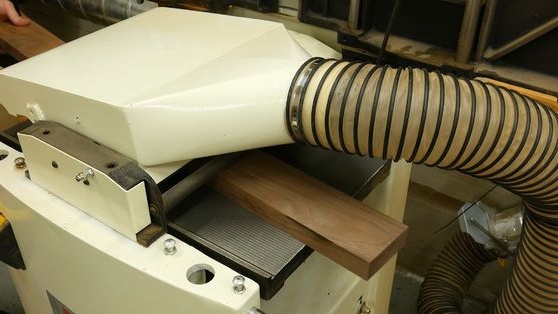
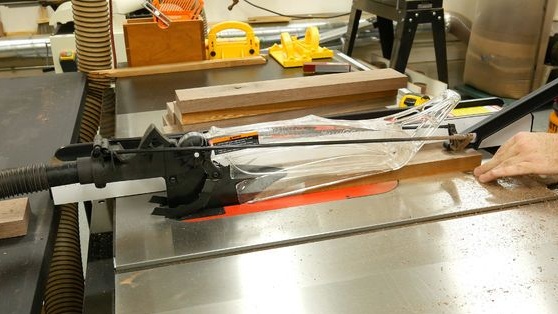
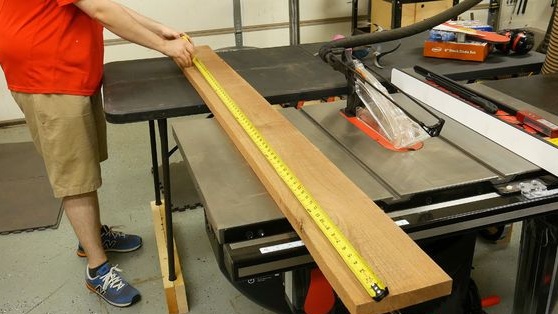
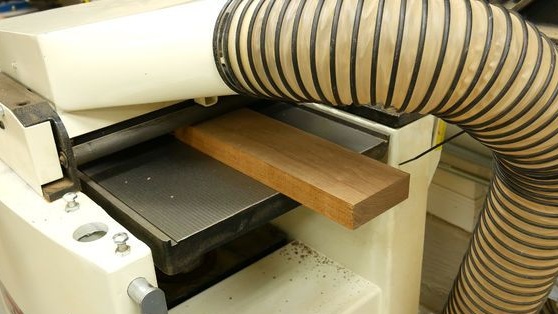
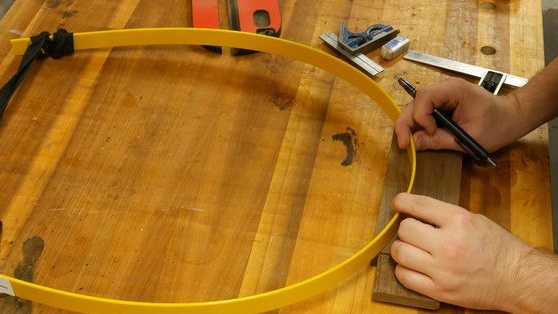
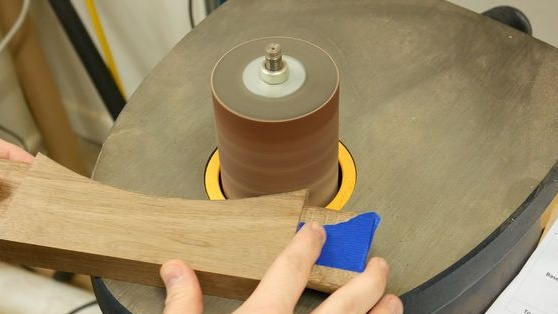
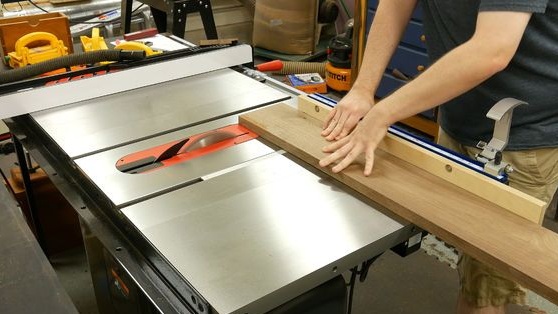
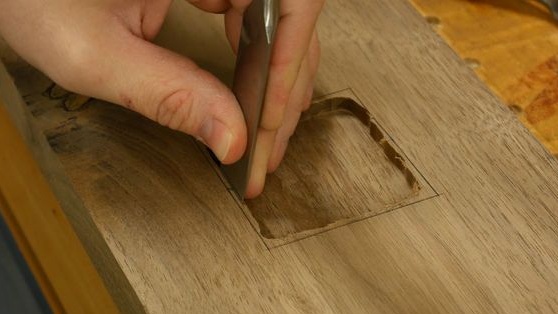
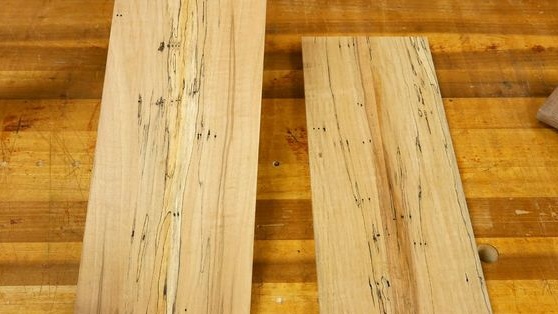
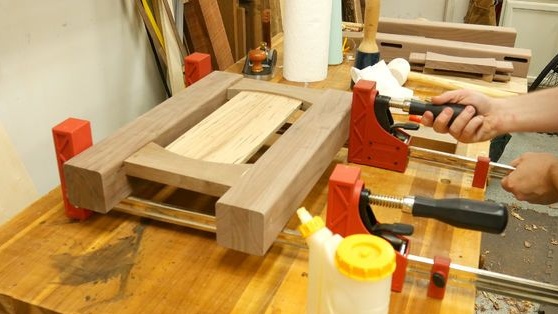
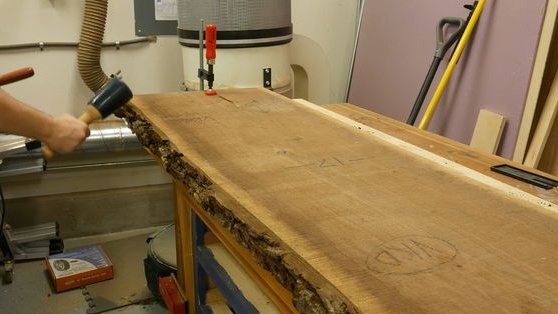
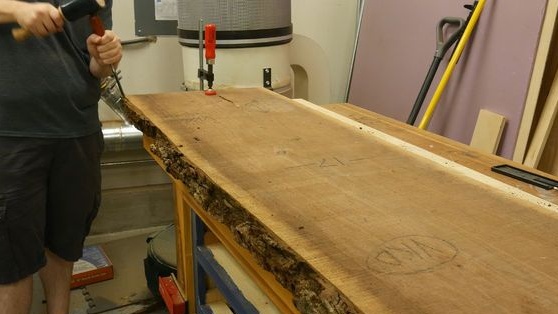
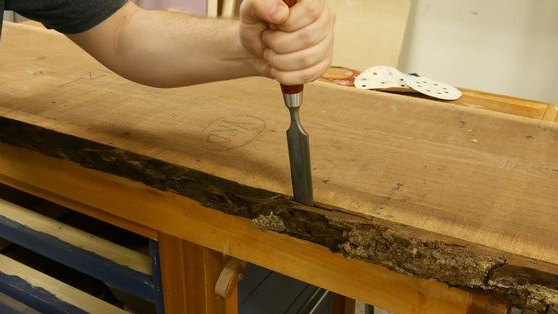
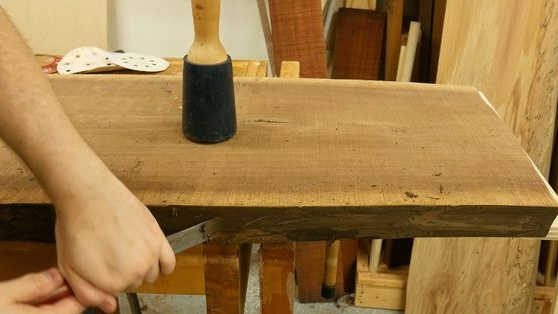
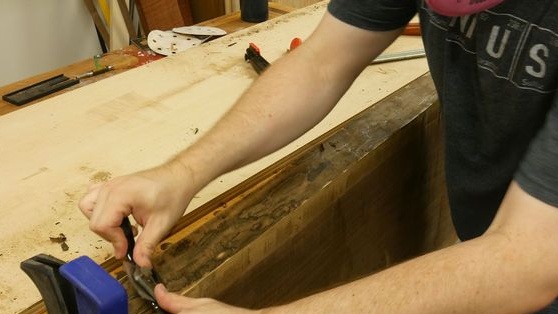
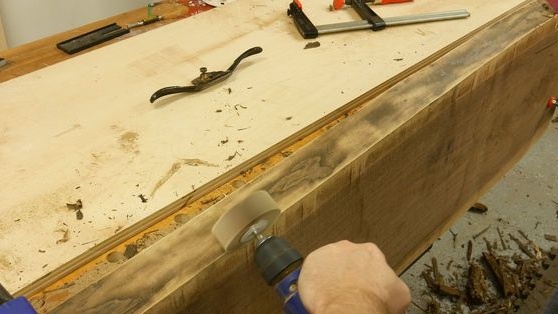
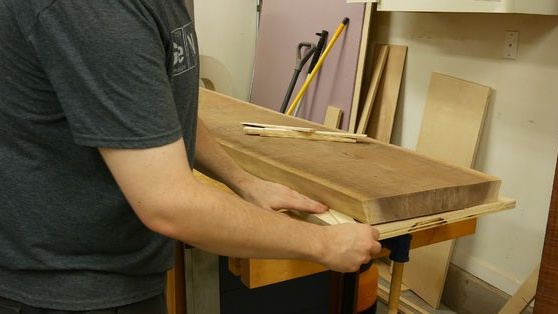
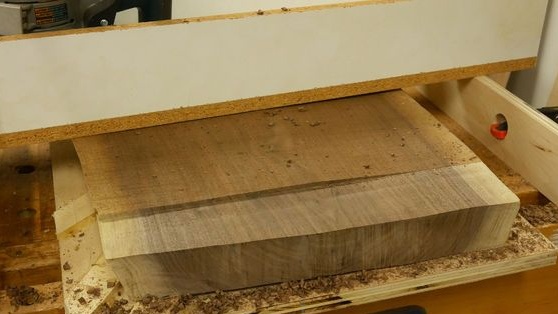
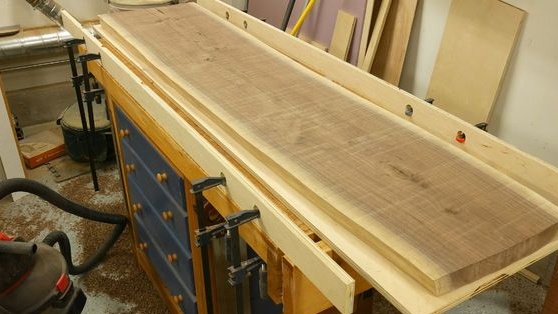
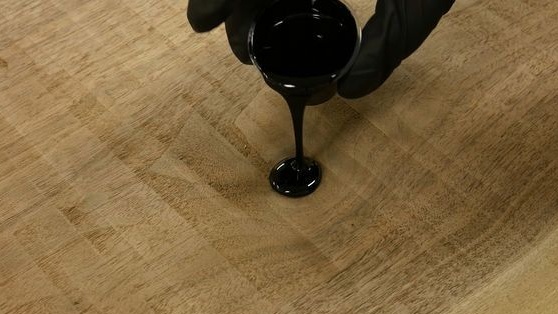
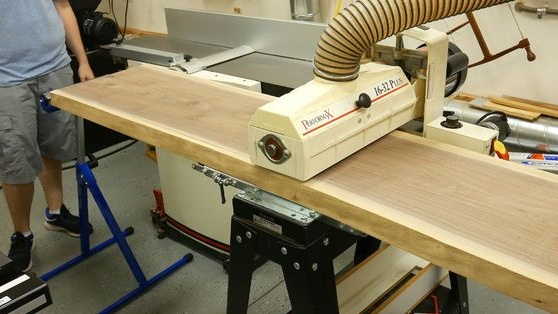
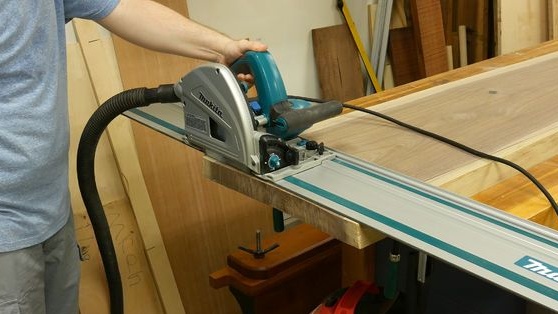
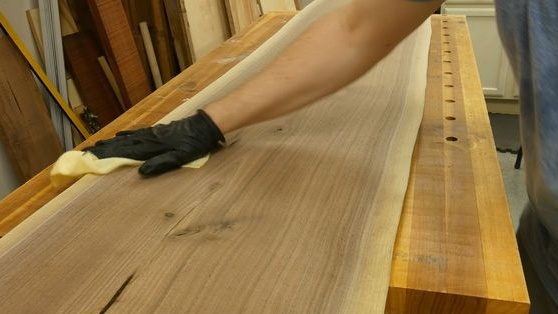
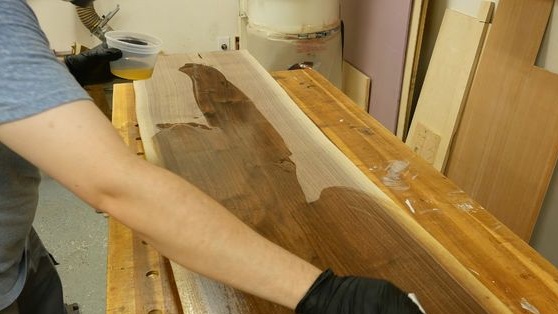
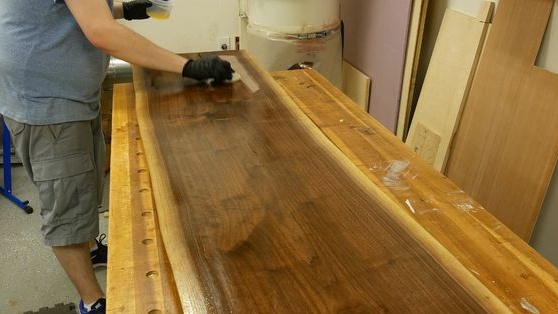
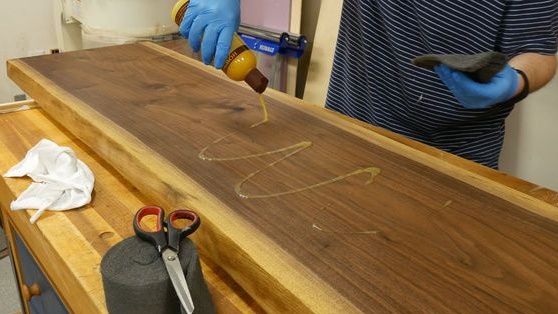
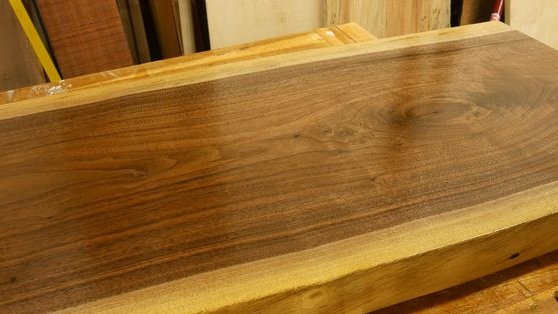
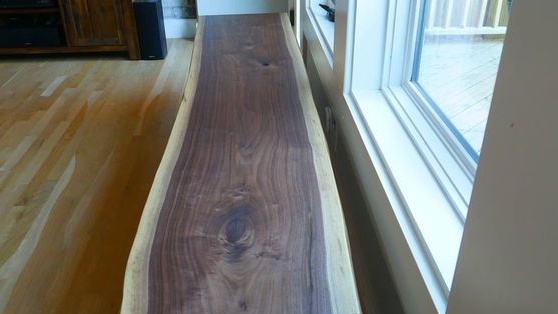
The master made inserts from maple so that they stand out with their color against the background of the bench. The bench seat is made in the form of a solid board of walnut wood, the bark is pre-cleaned, and the surface is passed through a thicknesser. After which it is sanded and then coated with stain and varnish.
And so, let's take a closer look at how the master made the bench.
Materials
1. wood (walnut)
2. wood glue
3. stain
4. varnish
5. wood (maple)
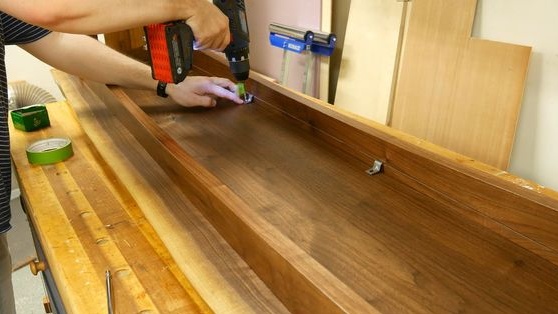
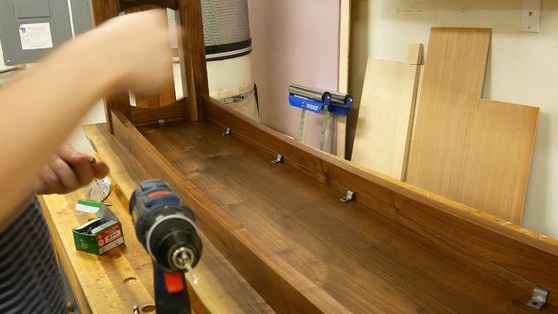
6. fastener
Instruments
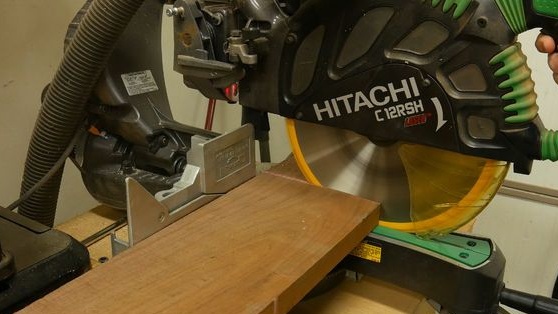
1. circular cutting saw
2. drilling machine
3. Thicknesser
4. screwdriver
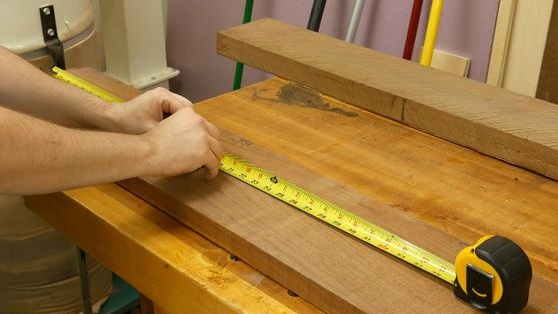
5. roulette
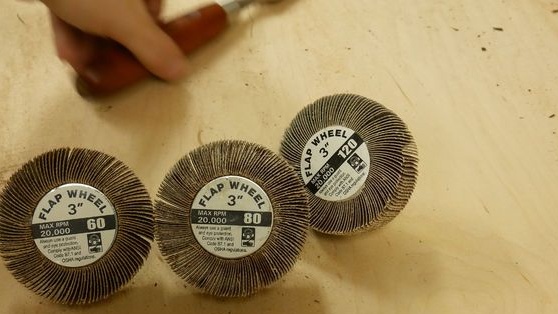
6. grinding machine
7. drill bit
8. chisel
9. pencil
10. brush
11. mallet
Step-by-step instructions for creating a walnut bench do it yourself.
The work was very painstaking and interesting, the author shot a detailed photo and video report in order to convey to the audience as much as possible all the subtleties and nuances in the carpentry. Let's watch a movie, and then take a look at the photos.
Unfortunately, the video is in English and there is no translation into Russian, but by and large the main points are clear even without words.
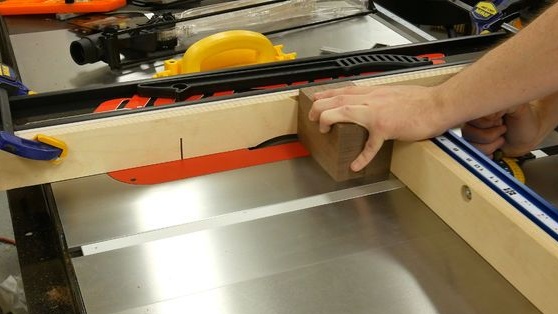
First, the master prepared the blanks for the legs, and then glued them together.


That's all, thank you all for your attention!
Come visit often and do not miss the latest in the world of homemade goods!