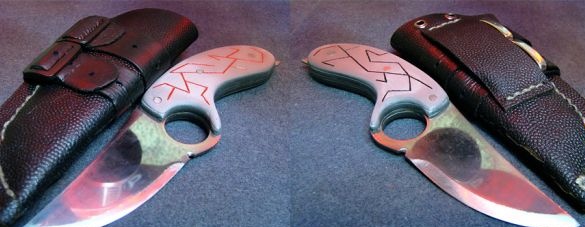
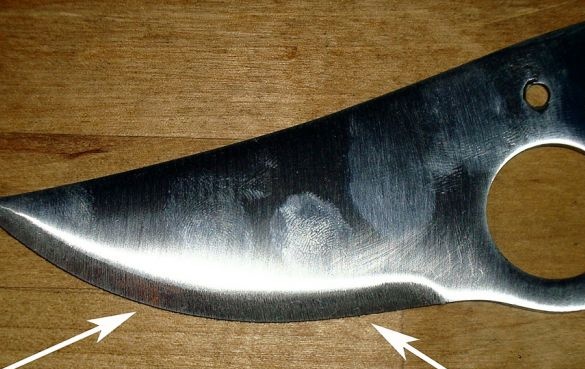
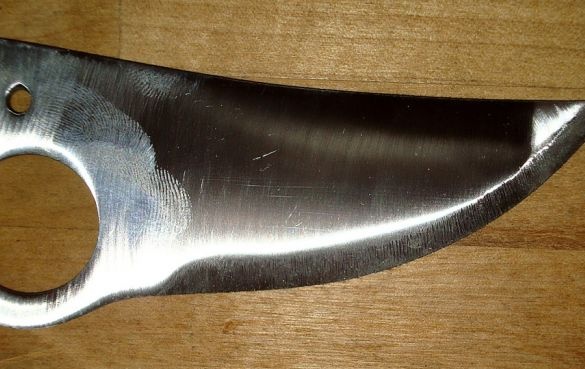
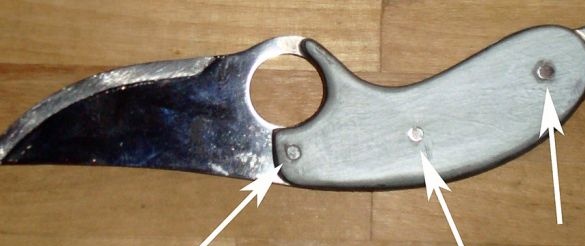
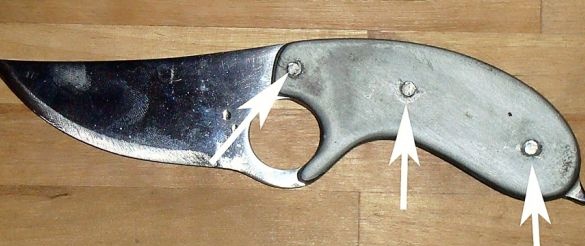
In this article, we, together with the master, will go through all the stages of manufacturing a technical knife. For its manufacture, the master used the following
Tools and materials:
-Album sheet;
-Marker;
-Scissors;
-Disk for circular saw;
-USHMka;
-Drill;
-Drill;
-Acetone;
-Insulating tape;
-Stationery knife;
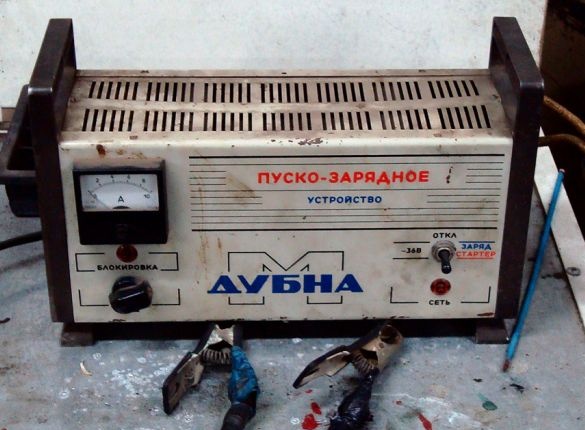
-Starting charger;
-Plastic canister;
- Corner;
-Metal plate;
-Fasteners;
-Salt;
-Water;
- Files;
-Nadfiles;
-Grinding wheels;
-A nozzle for a drill (for grinding wheels);
-Grinder;
-Plastic;
-Screwdriver;
- Clamps;
-Glue;
-Vise;
-Plywood;
-Engraver;
-Paint;
Step One: Template
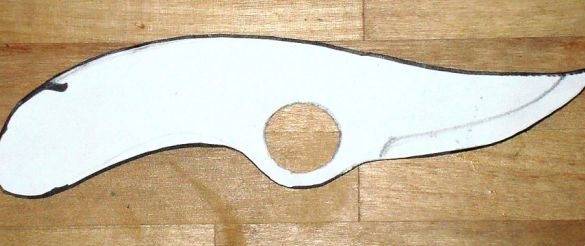
First you need to come up with a knife shape. On the album sheet draws the shape of the future knife. Cuts along the contour.
Step Two: Harvesting
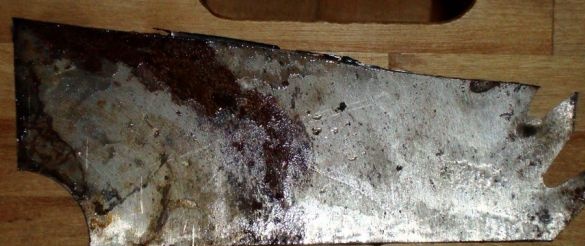
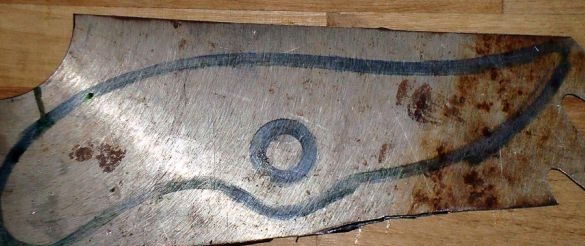
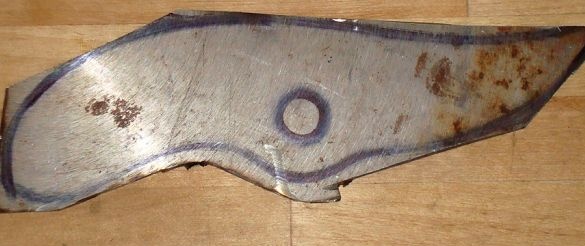
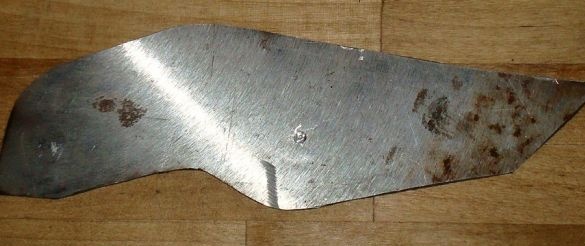
The master himself decided to make the knife out of an old circular disk made back in the USSR. Attaches a template to the workpiece and draws a marker around it. A USHMkoy cuts off excess metal and gives the future knife a shape.
Step Three: Holes
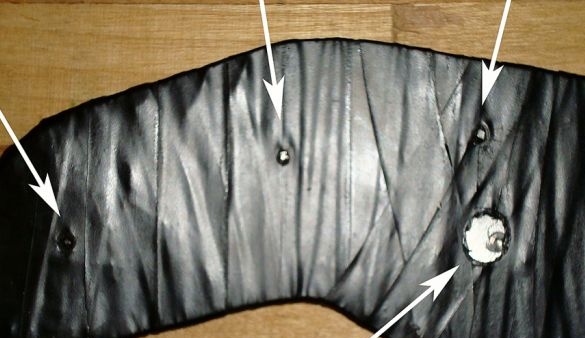
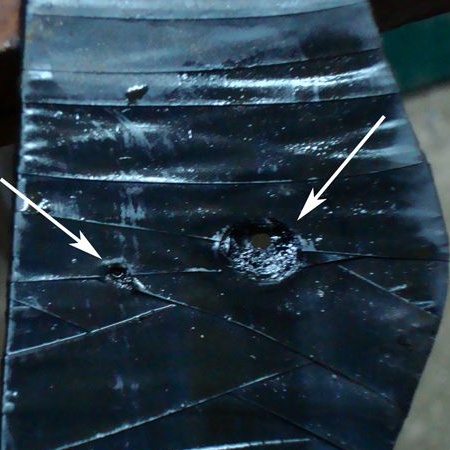
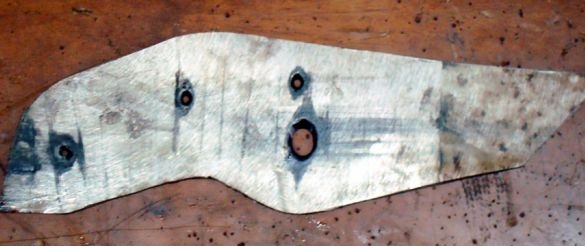
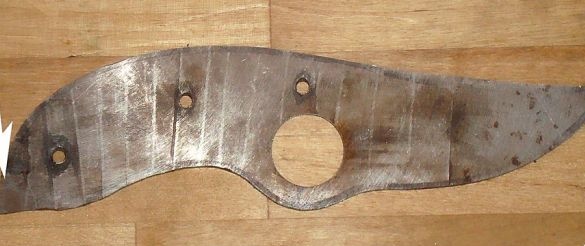
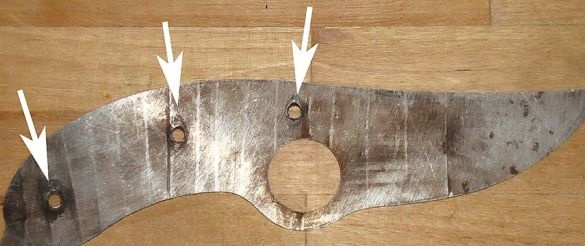
The next step is the author makes holes in the workpiece. The attempt to drill did not succeed. After several spoiled drills, the master decided to go the other way.
It was decided to make the holes in a galvanic manner.
Combustible gas is released during the galvanization process. Work must be carried out in a well-ventilated area.
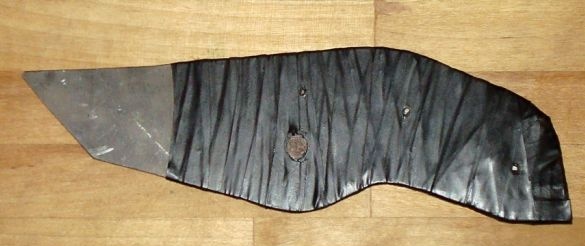
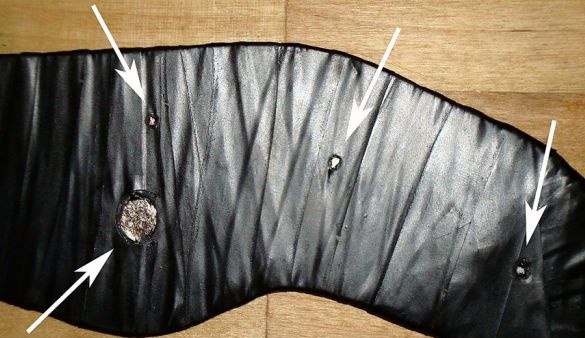
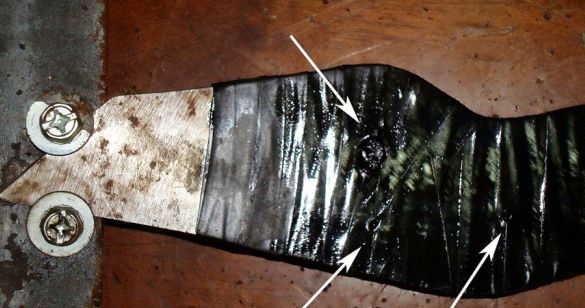
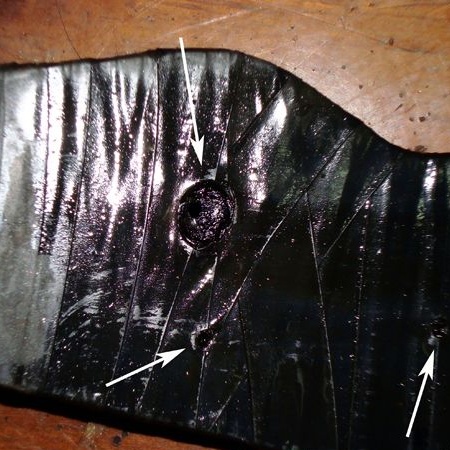
Degreases the knife with acetone. Covers with electrical tape (you can use varnish in place of electrical tape). With a clerical knife, on both sides, in the places of the holes, makes cuts to metal.
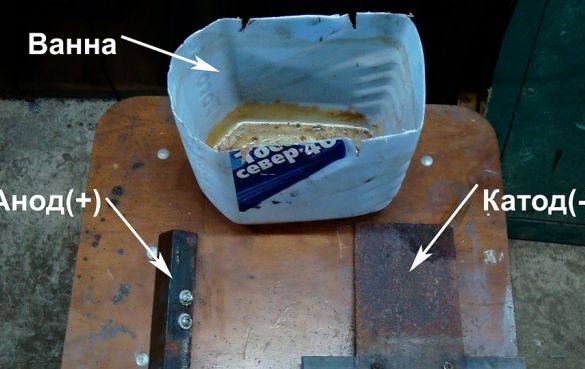
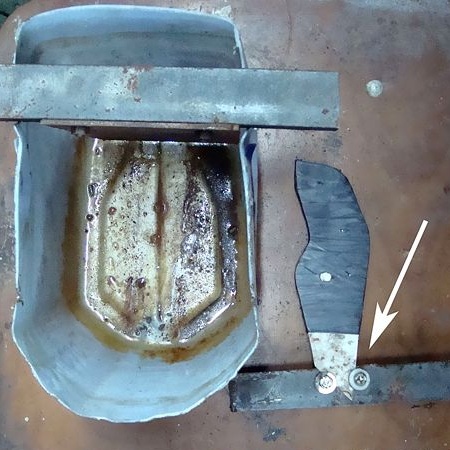
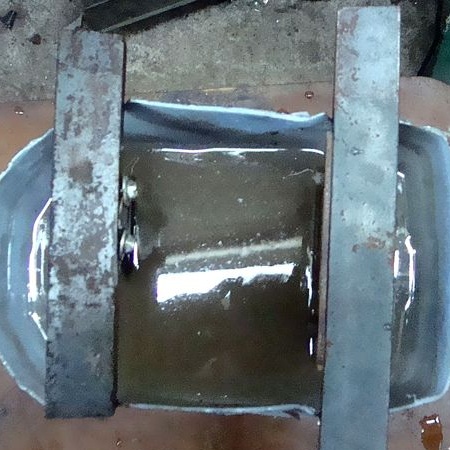
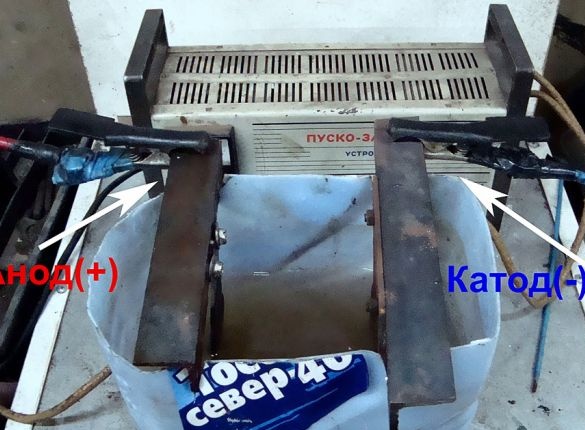
Now you need to prepare everything for electroplating. The charger, the author used as a power source. Capacity cut out of a plastic canister. I made an anode and a cathode from two corners and a metal plate. On the anode will be secured, using two bolts with washers, the workpiece. Having dissolved a pack of salt in water, I prepared an electrolyte. Secures the knife to the anode. Puts in a container. Pours electrolyte into the tank.
The electrolyte level should be 2 cm below the insulated edge.
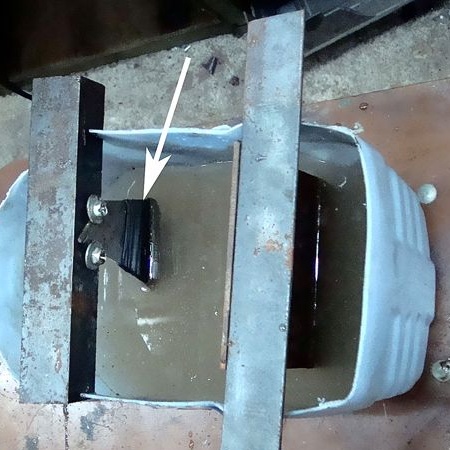
The positive contact of the launcher-charger connects to the anode, negative to the cathode. The entire process took about 20 minutes from the author.Periodically, the author pulled out a blank and checked. After the holes of small diameter were ready, the master sealed them with electrical tape and continued the process.
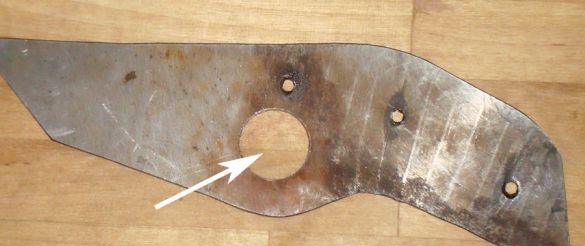
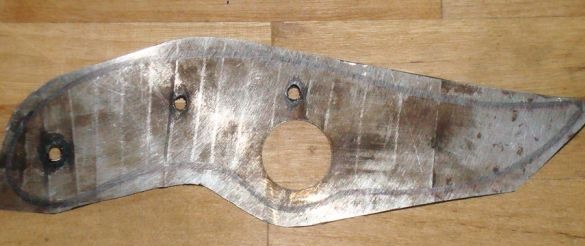
The holes are ready. Removes insulation.
Step Four: Processing
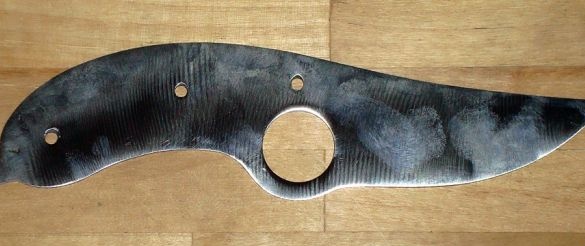
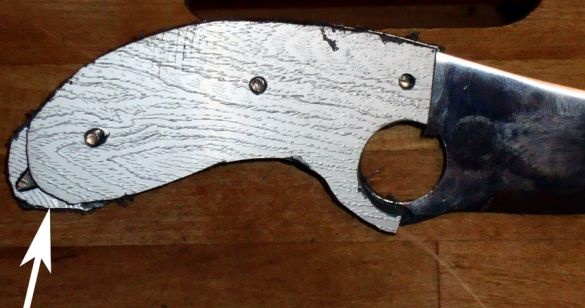
It handles holes with a file and files. With the help of a sharpener and angle grinder gives the knife the final shape. On the back of the knife forms a spike.
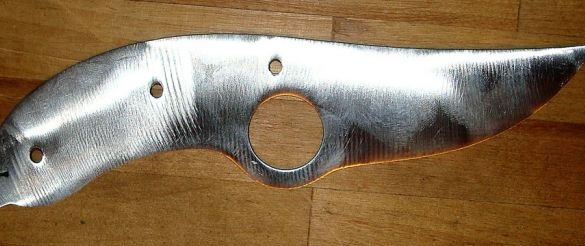
It processes the surface of the knife with sandpaper. From large to smaller.
Does the downhill.
Step Five: Pen
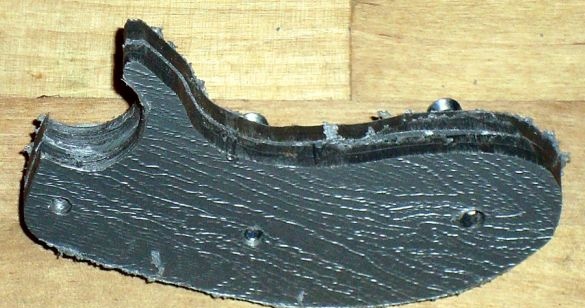
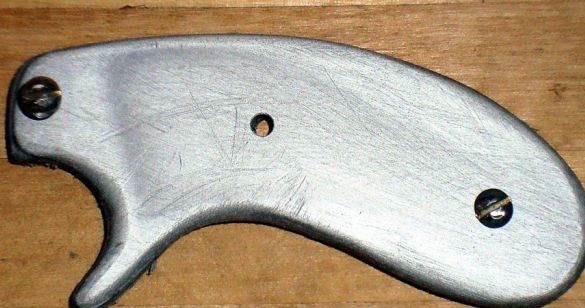
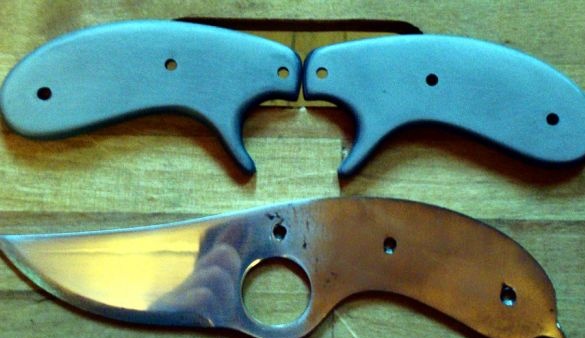
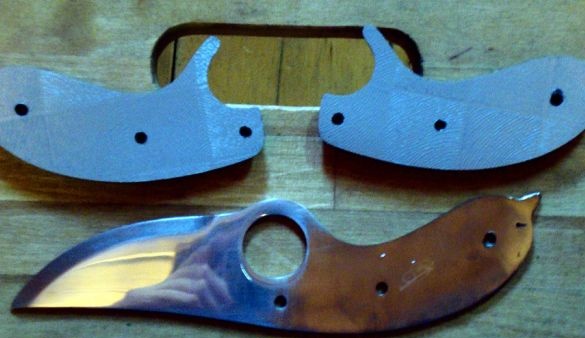
The master’s pen was made of plastic. I cut the blanks, fixed them on the handle. The processing was carried out with a file and on a grinding machine.
Sanded with sandpaper.
Tries and finally adjusts the pads.
Step Six: Build
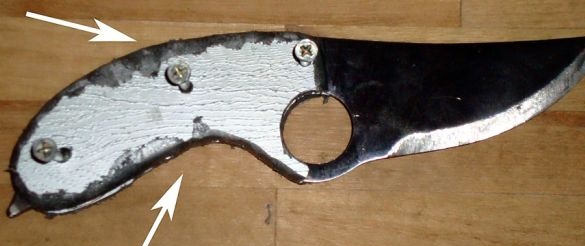
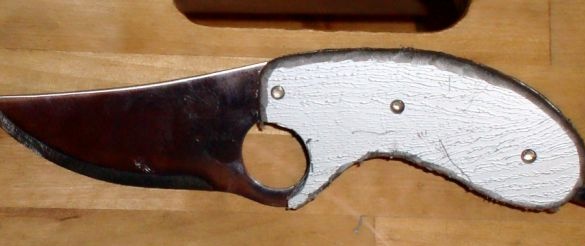
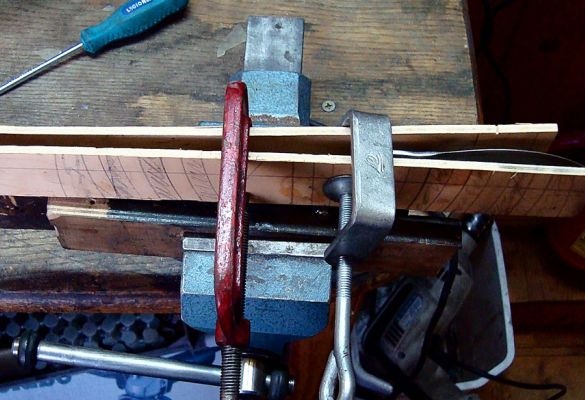
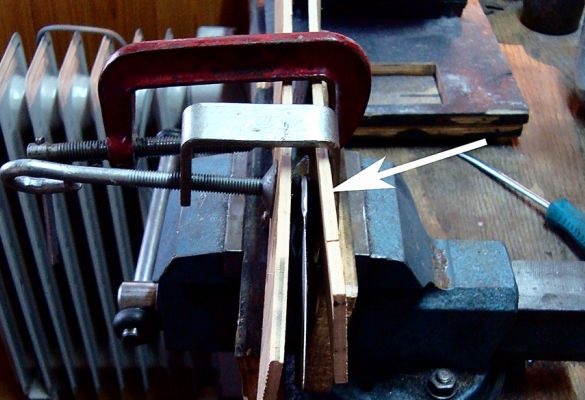
The author decided to stick on the pads. Degrease the surface and apply glue to it. The surfaces to be glued are fixed with a vice and clamps.
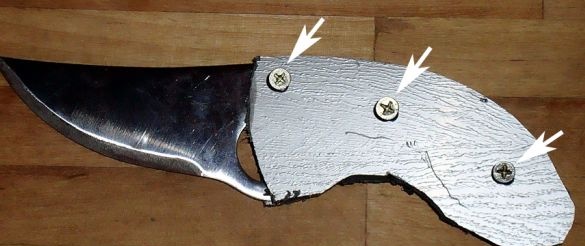
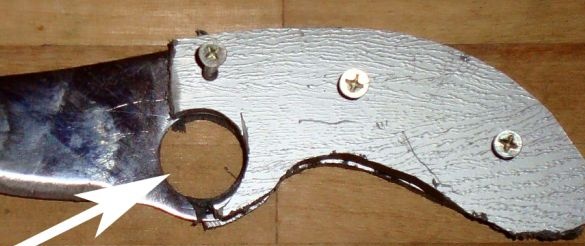
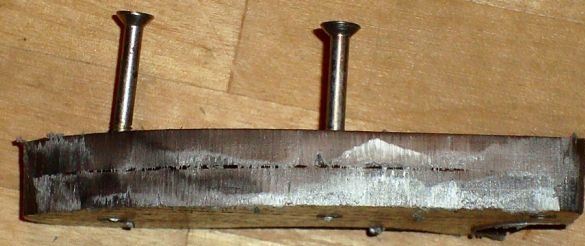
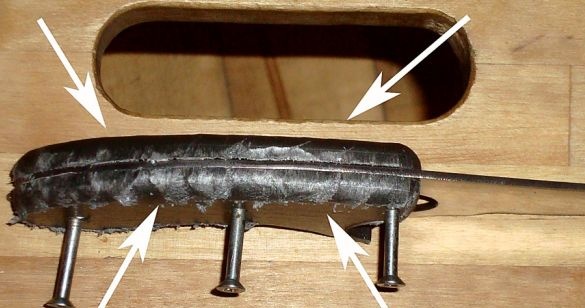
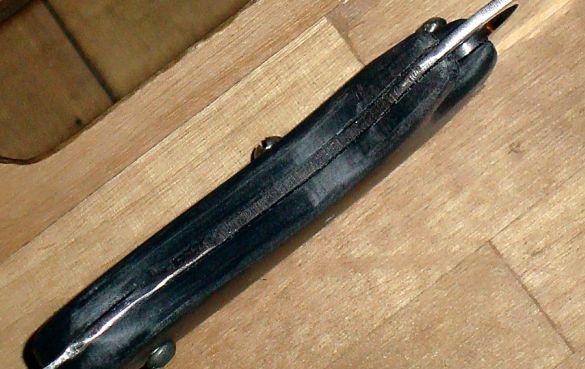
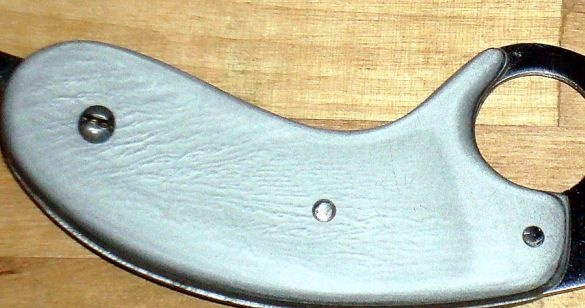
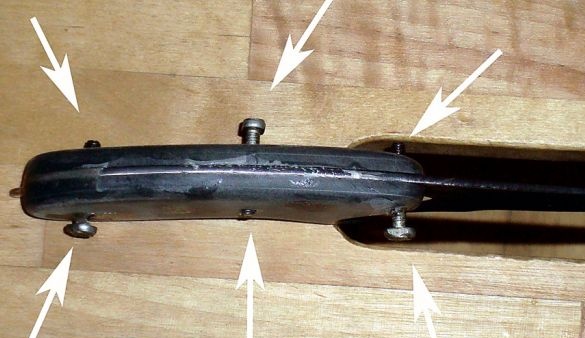
After gluing, installs the bolts. Trim the excess. Grinds.
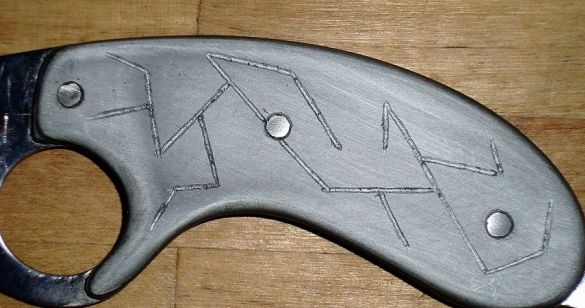
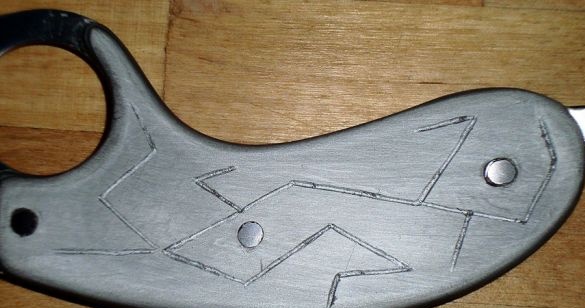
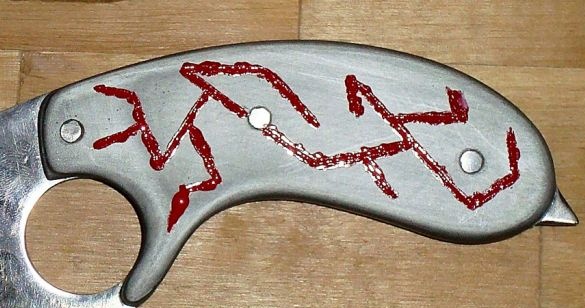
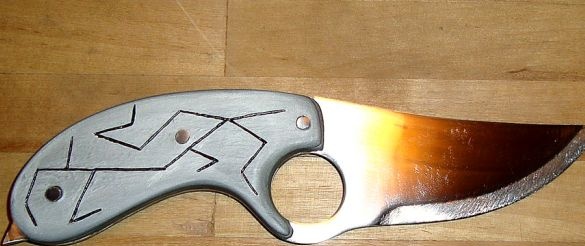
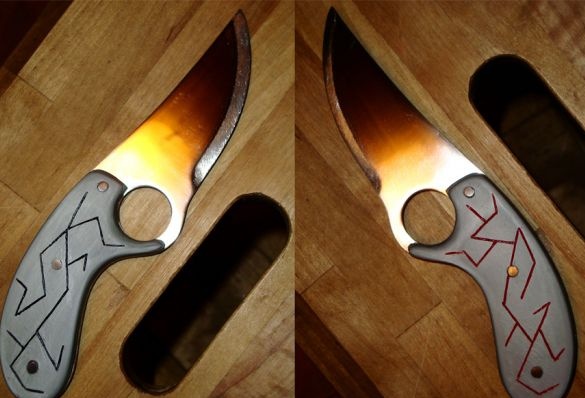
Engraver makes a pattern on the handle. Draws a pattern on one side of red, and on the other black paint.
Grinds both sides of the handle again.
Now it remains to grind the blade.
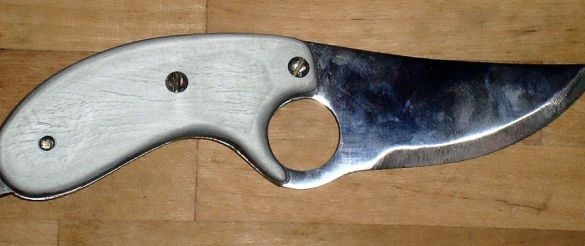
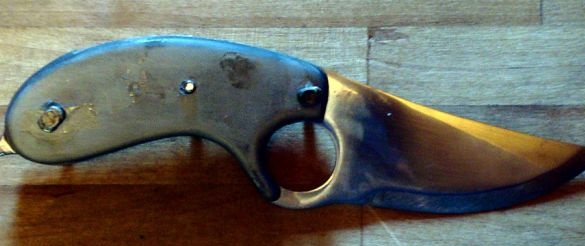
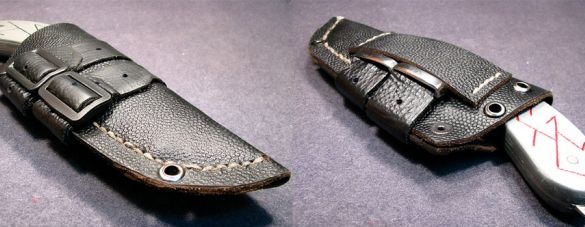
The knife is ready. A good knife needs good sheath, although this is already material for another article.

