
Despite the apparent complexity of the manufacturing process of a monolithic rubber floor, the volume and complexity of the work required does not exceed those costs that are required when installing a concrete floor.
What is necessary for the manufacture of a monolithic floor?
The main "ingredient" of the monolithic floor is rubber crumb. In order to save time, money and own resources, it is recommended to purchase finished products. If in accessible use there is a special crushing machine, then you can cook the crumb yourself. As the starting material, old car tires are used. Before sending the wheels for recycling, it is necessary to remove all metal elements from them. For the production of a monolithic floor, the size of the fraction should not exceed 4 mm. Otherwise, the quality of the final product will deteriorate.
In our case, the author uses a ready-made rubber crumb, which can be purchased at a hardware store or directly purchased from the manufacturer (the latter option in most cases is cheaper, sometimes even taking into account the service of shipping goods).
To complete the work you will need:
- crumb rubber (7 kg);
- adhesive polyurethane adhesive - ADV-65 (1.5 kg) (you can take another);
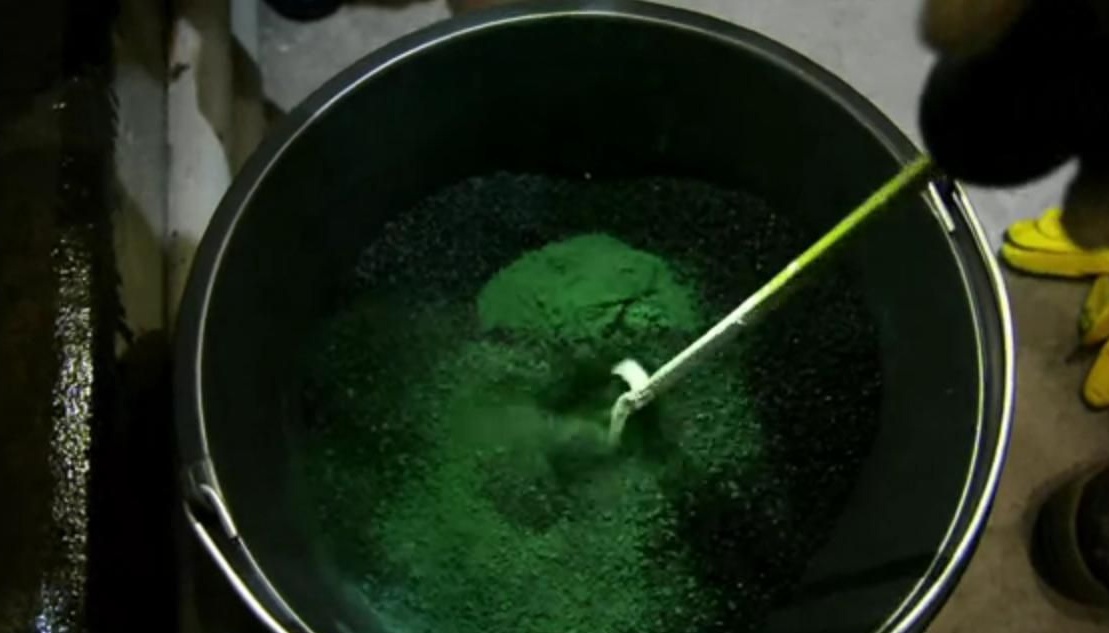
- coloring pigment (300 gr); hand mixer or concrete mixer;
- crumb rubber (7 kg);
- adhesive polyurethane adhesive - ADV-65 (1.5 kg) (you can take another);
- coloring pigment (300 gr)
- hand mixer or concrete mixer;
- bucket;
- roller for even distribution and compaction of building material;
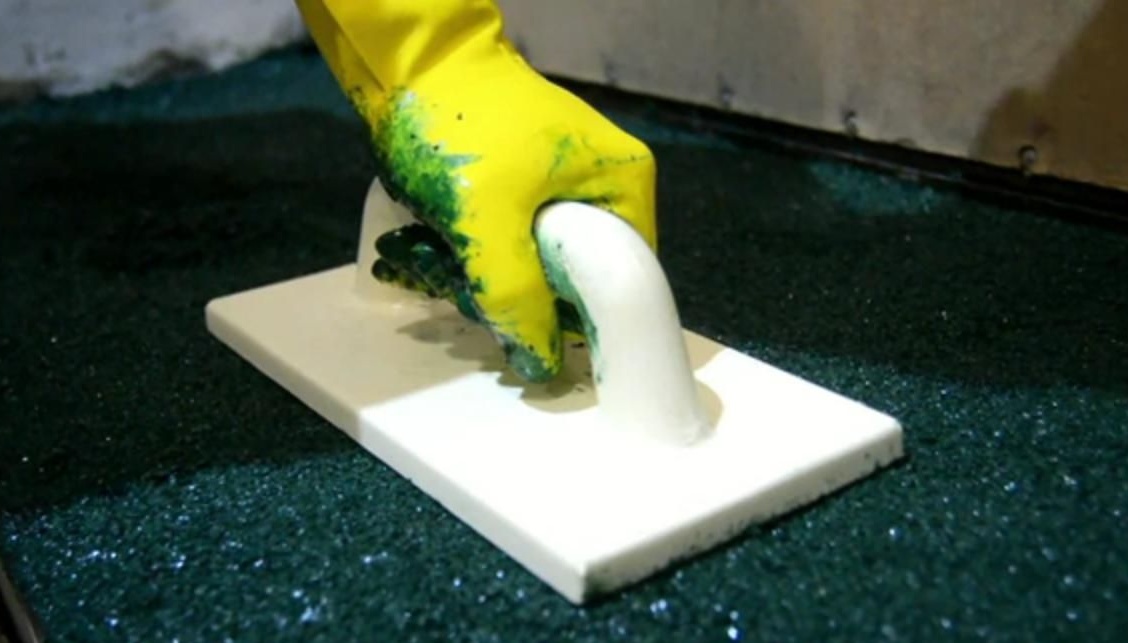
- foam spatula;
- rule
- lighthouses;
- primer;
The dye can not be used if the initial color of the crushed rubber suits.
Work Stages
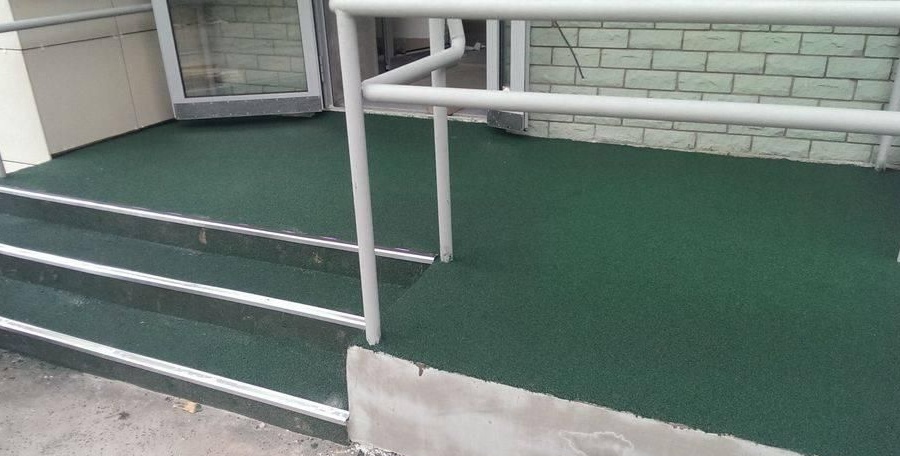
It is recommended to carry out works on laying a monolithic floor of rubber crumb at a temperature not lower than +10about. Otherwise, the curing time of the material increases and the quality of the polyurethane adhesive is lost. In the same way, you can fill the entrance steps into the house or other room, which will give them a fairly beautiful appearance and reduce the likelihood of falling due to the anti-slip surface.
By the example of the author, he will just show how to stack rubber crumb on the steps, but the principle of work is the same, both on a large volume and on a small one.
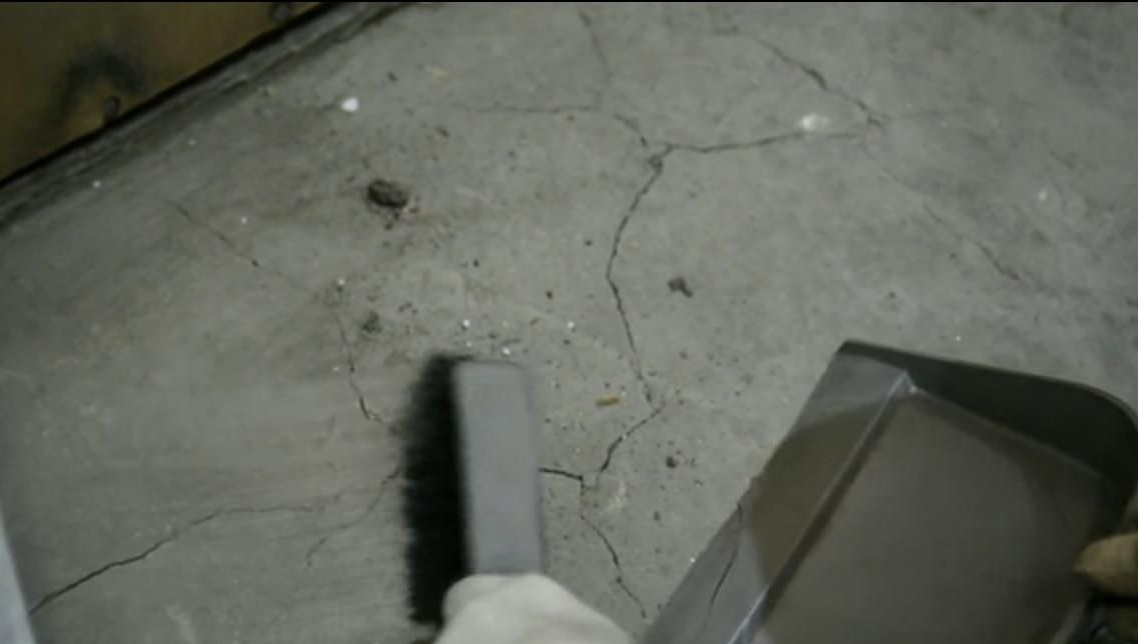
Stage 1. The surface on which the monolithic rubber floor will be poured must be prepared in advance. It is cleaned of debris and repaired by all existing defects (cracks, pits, etc.).
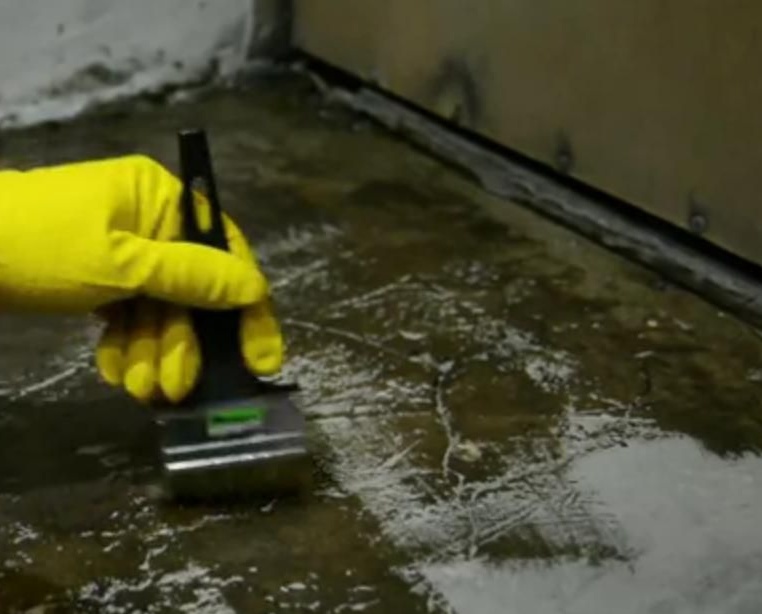
Stage 2. Priming the floor. The drying field can be waterproofed.
Stage 3. Installation of beacons. For convenience, it’s best not to make the lighthouses wide. The maximum distance must match the length of the rule. They allow you to make the surface as flat as possible. Lighthouse laying is recommended, both on a large area of casting of the rubber floor, and on the steps. If there is no need to create a perfectly flat plane, then this item can be skipped.
Stage 4. Mixing the mixture. It is not recommended to immediately knead a large volume of building material.
Stage 5. Uniform distribution of the finished mixture on the floor relative to the beacons (if any). You can lay the rubber crumb with a spatula, and level it with the rule.
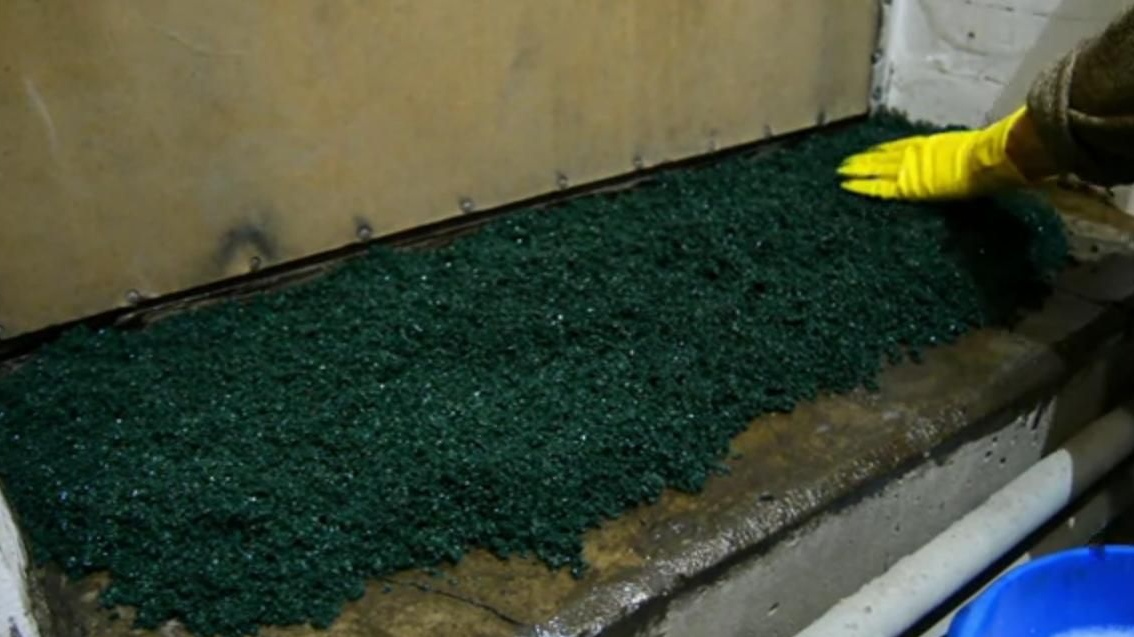
Stage 6. To make the surface denser, it is recommended to roll it with a roller, but if it is not there, you can continue to work with a foam spatula. Do not press the roller firmly. Strong sealing of the crumb rubber will increase the rigidity of the coating and reduce the frost resistance of the floor.
Stage 7. Drying. In order for the surface to be suitable for use, you will need to wait 24 hours. If you add a catalyst, then the time can be reduced by half.
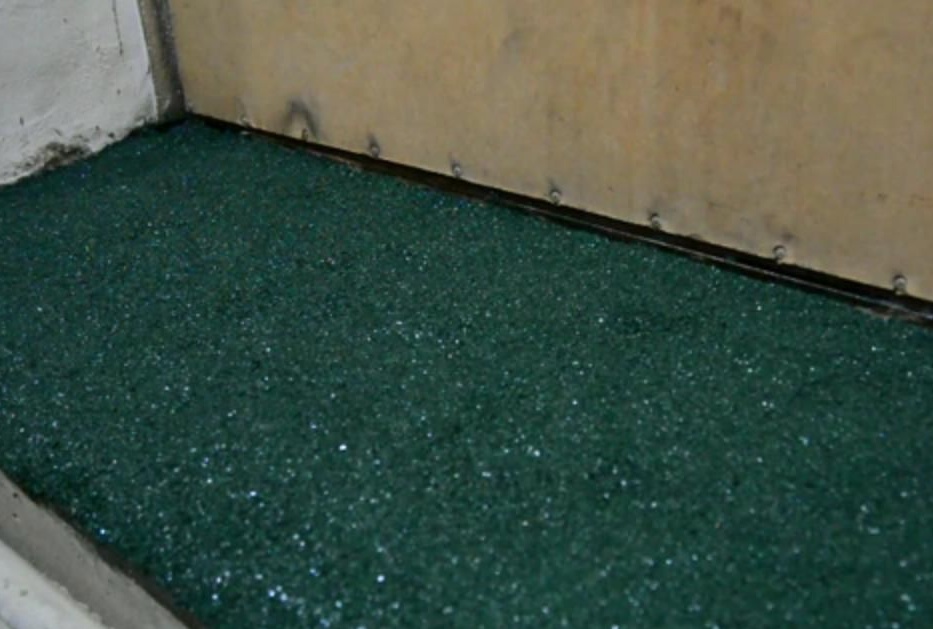
The end result is a smooth and even surface that you can make do it yourself fairly simple and fast.
Thanks for attention! All a successful repair!