Convenient storage systems for kitchen utensils, dishes and products are an invaluable gift for any woman. They help to keep the household clean and tidy and significantly save time on cleaning and cooking.
Unfortunately, genuinely useful and creative ideas remain out of sight of manufacturers. of furniture industrial scale. Even with a lot of desire and money, you are unlikely to be able to find something worthy and truly original on sale.
Meanwhile, such projects are often incredibly simple and affordable for their manufacture in conditions home workshop. In recent years, people increasingly prefer simple and comfortable furniture without any frills. Probably because it is the most versatile and functional.
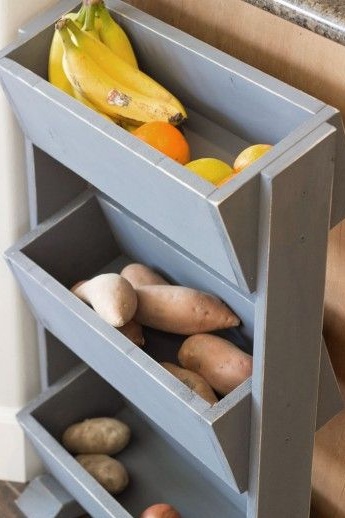
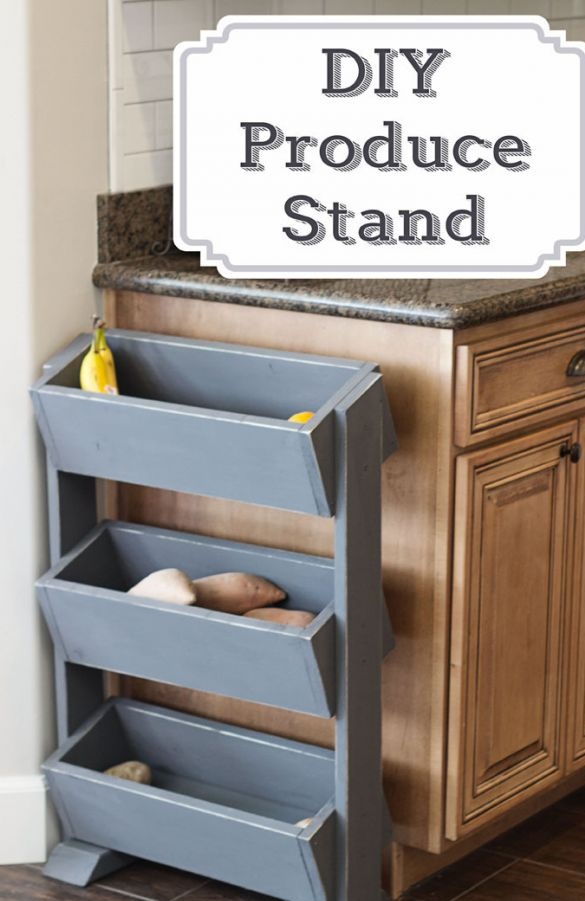
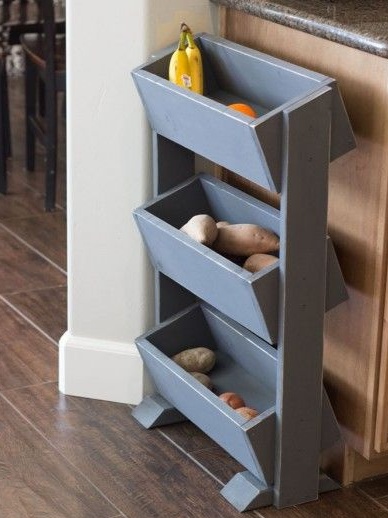
The stand from this workshop is successfully used by the author and some of his subscribers as shelves for storing fresh fruits and vegetables. However, with the same success, it is suitable for storing books, magazines or keeping pots with indoor plants in order.
In order to make this wooden stand for fruits and vegetables you will need:
Materials:
- a pine board of the first or second grade (the quality of the wood under the paint layer will not be visible);
- glue for woodwork;
- paint of any suitable shade, wear and moisture resistant;
- varnish for woodwork (optional), also waterproof;
- self-tapping screws.
Instruments:
- miter saw, circular or hacksaw on wood;
- grinder or grinder;
- electric drill;
- a screwdriver or a Phillips screwdriver;
- construction tape, square, ruler;
- a pencil;
- paint brushes or roller with a plastic pallet;
- sandpaper.
Step One: Finding Materials
In the process of implementing such simple projects, a rational choice of materials helps to save a lot. But what exactly can be done?
First, note that all the parts used to make the stand are very modest in size. This means that you do not need to buy or order long four-meter boards for immodest money. But the short sections of lumber in the construction hypermarket are significantly cheaper. Sometimes very significant.
Secondly, the stand will be painted with a dense opaque paint. It will hide all kinds of wood defects, such as blue or signs of aging in the form of a gray shade.Therefore, do not rush to choose boards of the first grade, glossy and fragrant, as if they had just been brought from the cutting.
If you wish, you can use material sawn from dead wood, which is always sold at low prices and is traditionally considered unsuitable for the manufacture of furniture. Such a statement is far from always true.
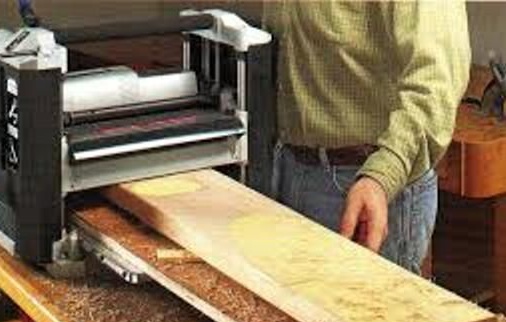
In addition, you can successfully use used boards, which after planing lose their grayed shell and acquire a very tempting appearance. To find such is not a problem. There would be a desire, but enough opportunities: disassembling old furniture, taking an inventory of the attic and the garage, search for friends, etc.
Step two: determine the dimensions of the stand, markup and make parts
Dimensions of the stand - a purely individual matter. As a rule, such pieces of furniture are made for a specific area of free space, sometimes very limited. So start by determining where the stand will be.
Also determine the number of trays, their depth, width and the spaces between them. All these parameters can always be tailored to individual needs. Trays can also be made different in size, if the amount of material allows you.
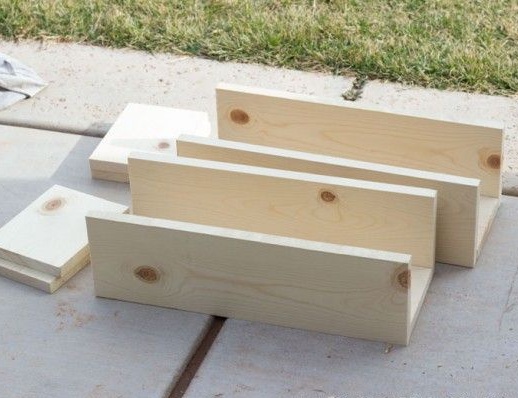
Decide on the overall dimensions of the stand and calculate the dimensions of each part. Write down all these data so as not to get confused in them during the work. Mark the parts and saw the boards into blanks of the required size.
Grind everything carefully. In principle, if you don’t have a grinder on hand, you can do without it. Well planed boards have a pretty decent look. And minor defects, such as roughness, can always be eliminated with sandpaper.
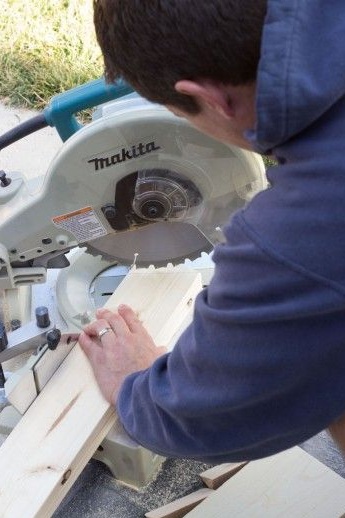
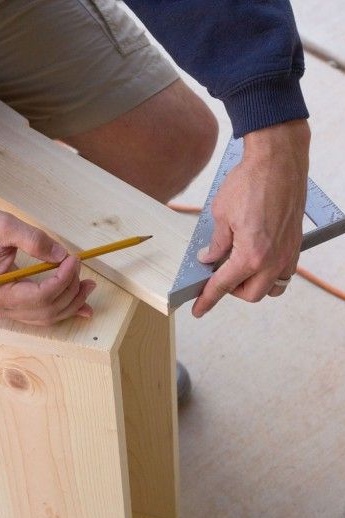
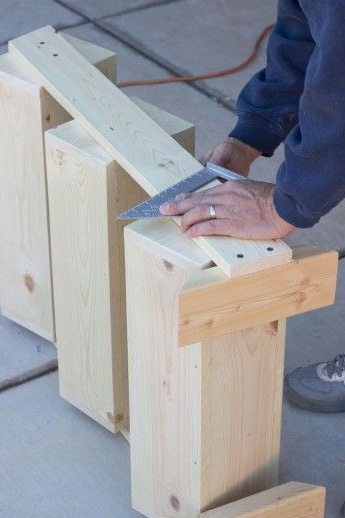
For sawing boards, the author used a miter saw. For our realities, this is not the most common tool, although it is very useful. All work can be carried out with a regular hacksaw on a tree with a sharp and small tooth. Guides are installed in the miter saw, which allow cutting at a strictly defined angle. You can use a square in the process of marking, drawing, thus, strictly right angles at 90about.
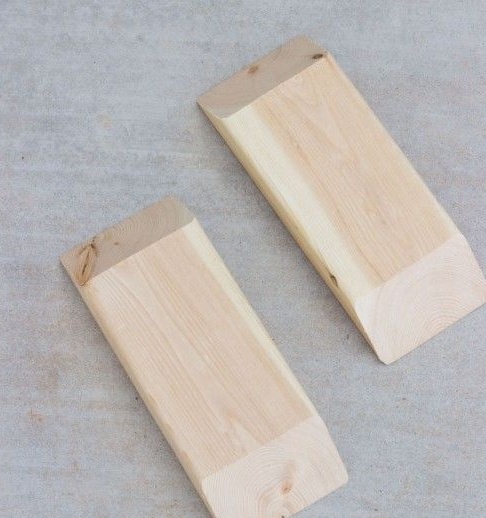
Saw the side racks at the top at the angle at which you are going to attach the stand trays. The legs consist of segments of a thick board and have beveled edges.
Step Three: Build a Stand
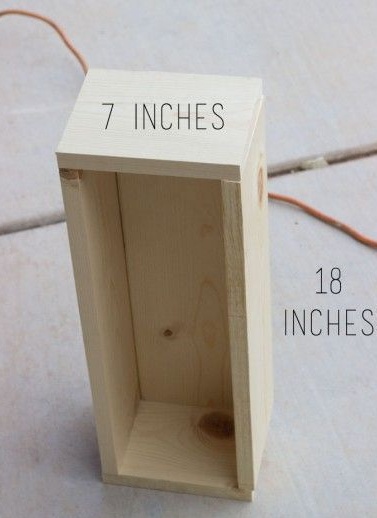
This time, in order to connect the details of the stand you will not need any special skills, such as the ability to drill pocket holes in different hard-to-reach places. Finished trays are attached to the racks from the inside with self-tapping screws. Externally, the mounts will be inaccessible to the eye.
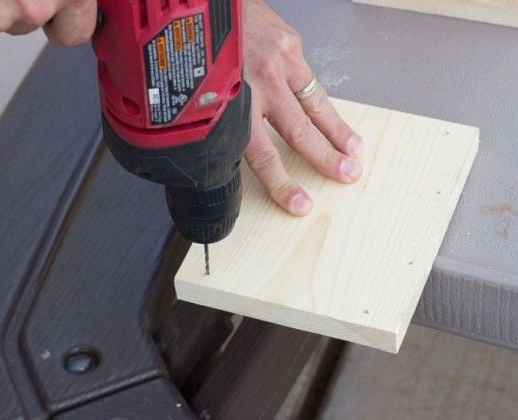
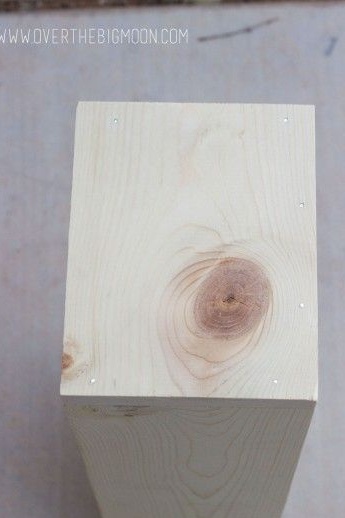
You can always collect trays using nails and a hammer. Hats of screws stand out much more against the background of a tree than do nails. However, please note that in order to prevent short workpieces from breaking when driving nails at the very edge, you need to make a hole with a drill whose diameter corresponds to or less than the diameter of the nails you have chosen. Drill holes also for self-tapping screws.
When assembling, you can apply glue for woodwork. So the trays will be stronger, and the work will be monumental. Despite the fact that this is just a stand for fruits. Apply a small amount of glue to the edges of the parts to be joined, and only then drive in nails or tighten the screws.
By the way, glue will be useful to you when attaching trays to racks. The design will be very strong and reliable due to this.
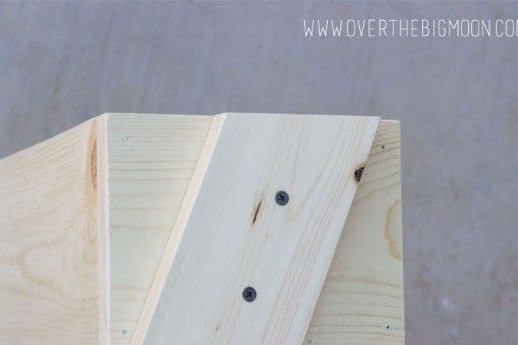
Assemble the trays and install the first one at the top, at the base of the beveled rack. Use two screws on each side. Fasten the legs at the bottom for easy assembly. Install the lower tray, observing the same slope.
To install the middle tray, measure and locate the middle of the remaining opening and mark the attachment points.Secure the tray with self-tapping screws.
Fourth step: painting the stand for fruits and vegetables
The painting process itself should not cause difficulties. You can paint an already assembled stand, or do it still before the final assembly. A matter of personal preference for organizing work.
Apply two to three coats of paint, allowing each of them to harden properly. You can use a paint brush or roller. After painting, the author polished the edges of the trays and racks in order to age them. Such a simple artistic technique, especially fashionable these days.
As for the choice of paint, it should be borne in mind that you are going to store food. The paint must have a stable and hard coating so that its components do not enter the food.
Some furniture paints, as well as high-quality alkyd enamels, possess such properties. If you wish, you can also apply a couple of layers of varnish on top of the paint, or choose a composition that works fine even without varnishing.
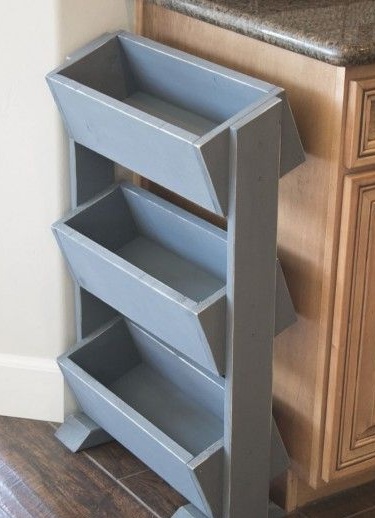
The stand is ready!
