Far from always easy furniture has an ordinary and trivial appearance. Moreover, simple projects are the easiest to modify, introducing into each of them something special, something that turns a furniture craft into a kind of art.
Nothing makes boredom so much as a gloomy stamped desktop, you see. He completely discourages to work and strive forward. But there are no hopeless situations in the world and a spark of enthusiasm and fun can be added to any process if desired.
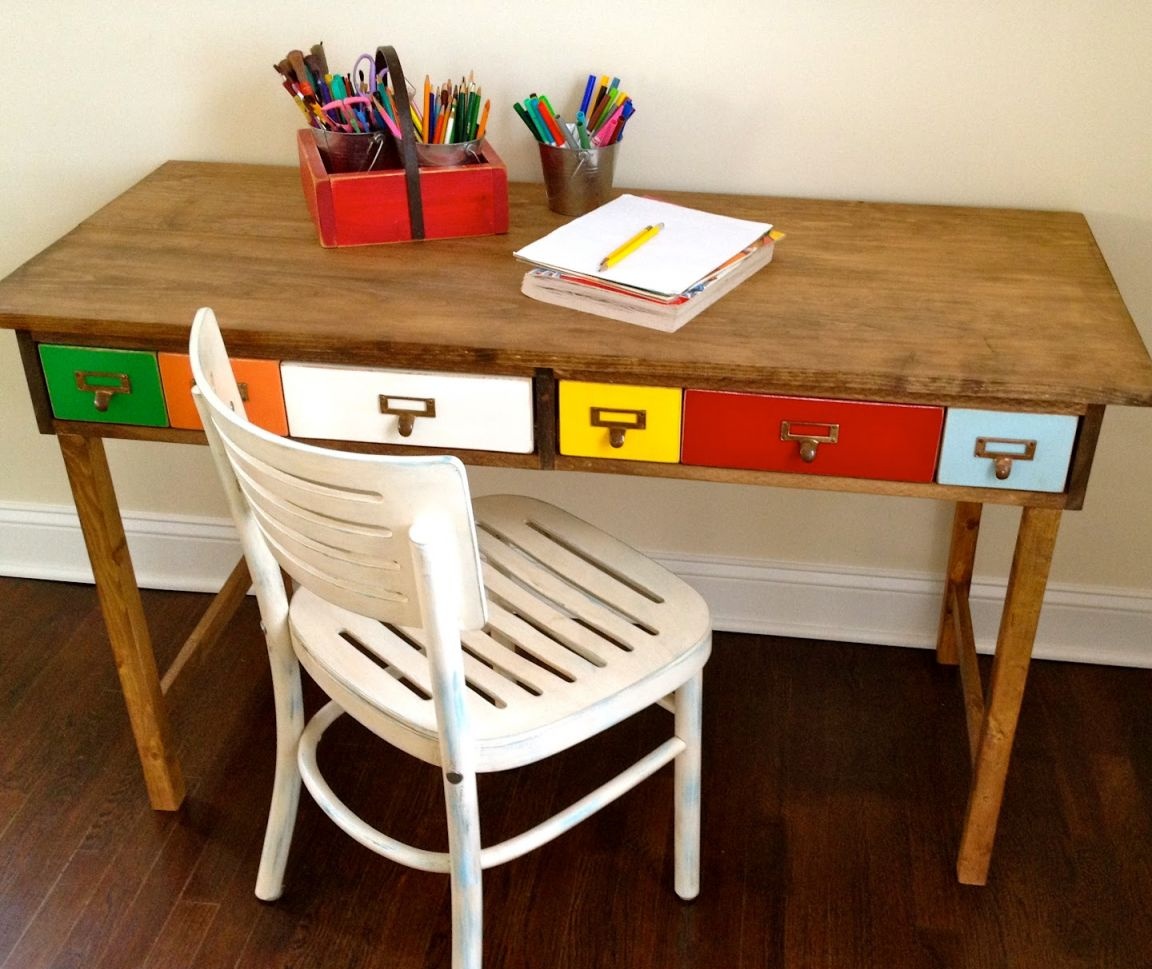
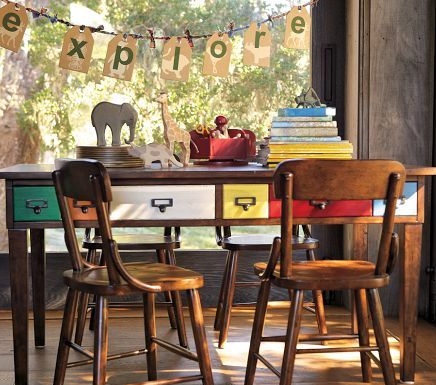
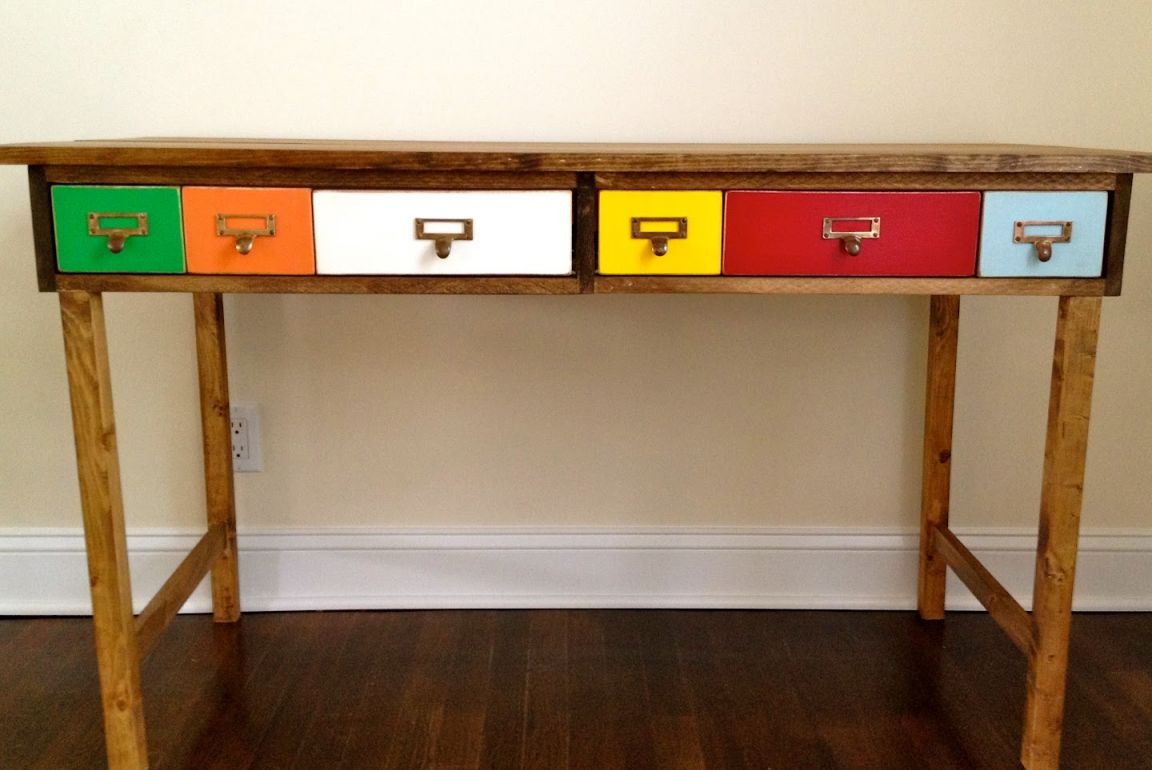
The table from this master class was originally conceived by its author as a table for children's entertainment. However, the project was so loved by blog visitors that the table was successfully made for the needs of adults. Now it is rightfully considered universal.
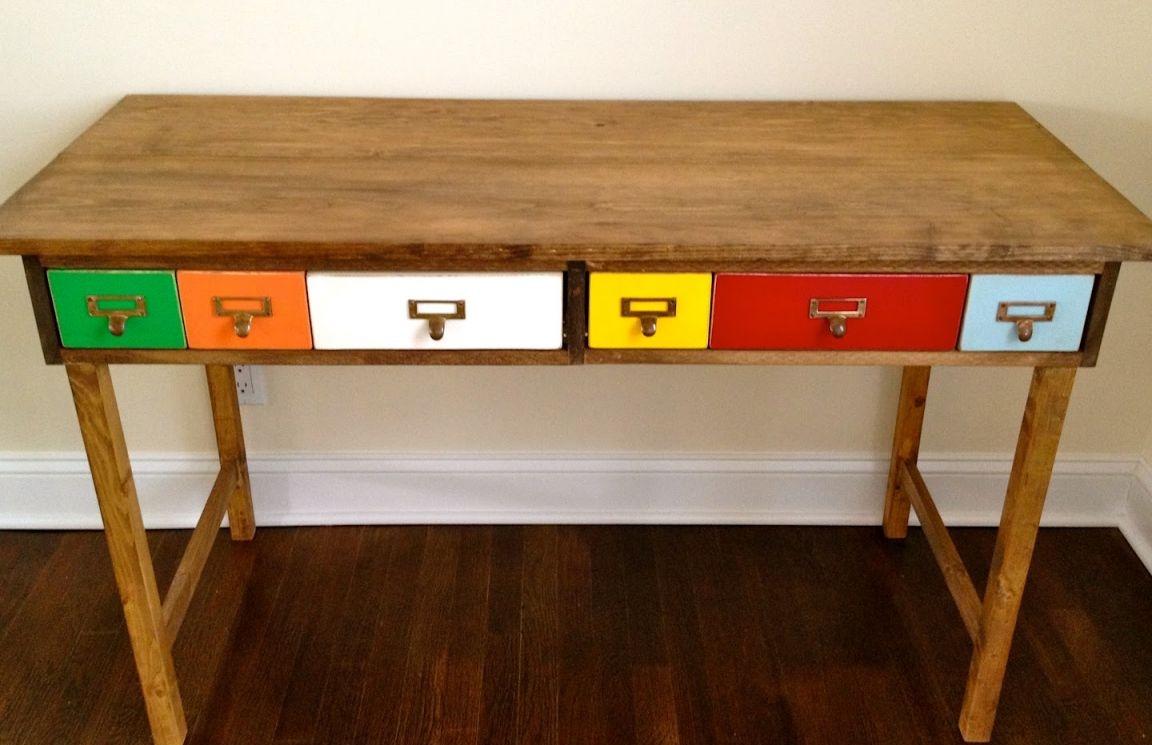
This desktop with colored drawers is made of natural wood and artificially aged. The principle of aging is, in principle, very popular in the USA and the table has not bypassed its attention.
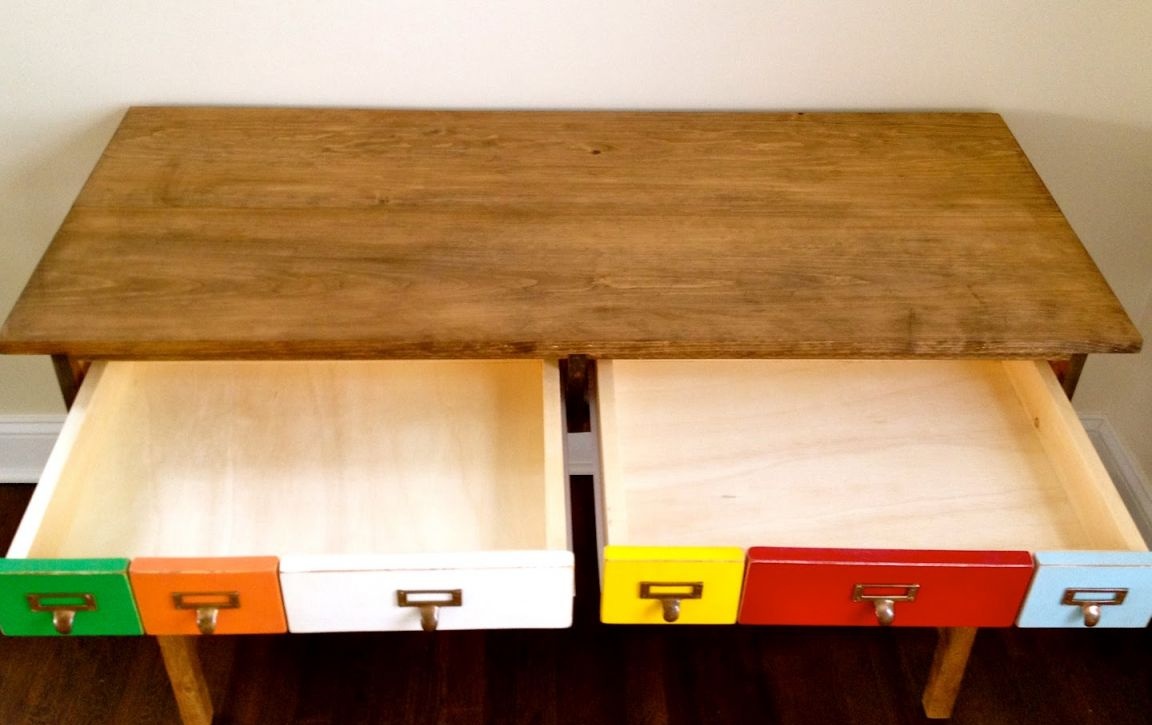
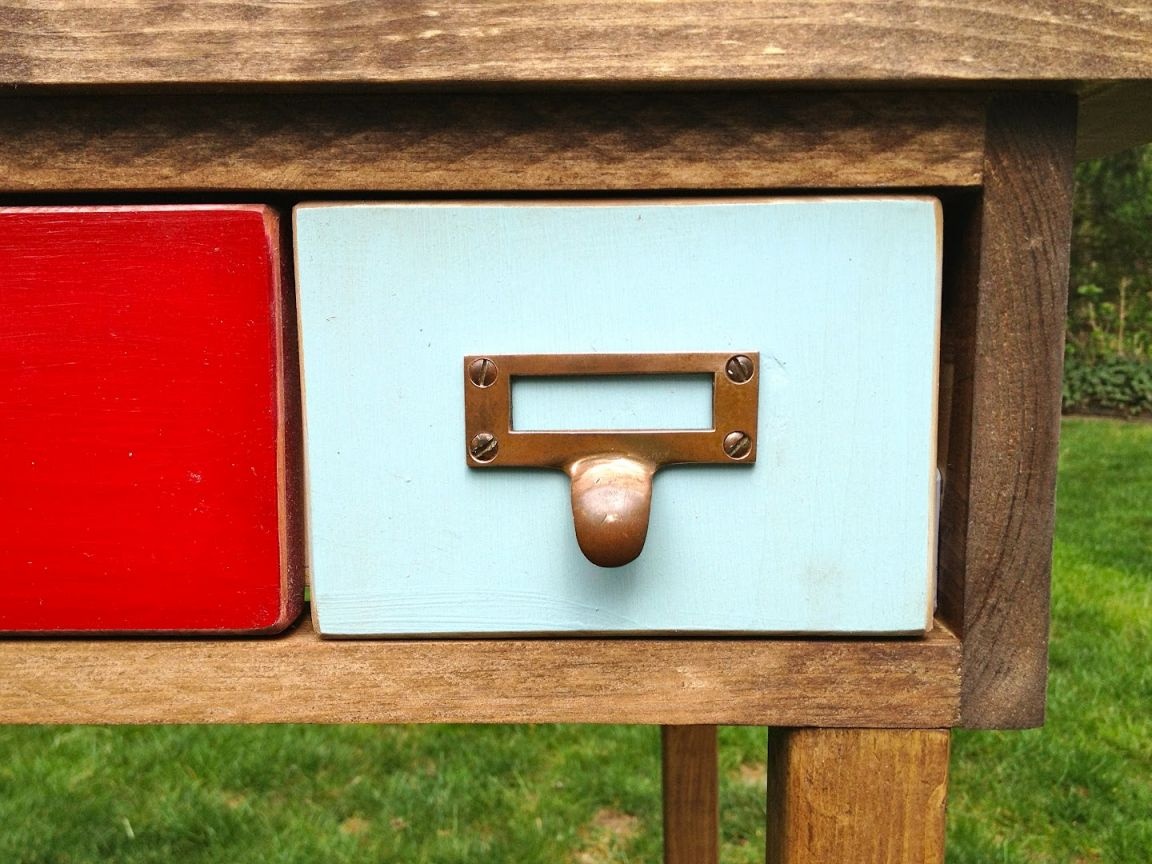
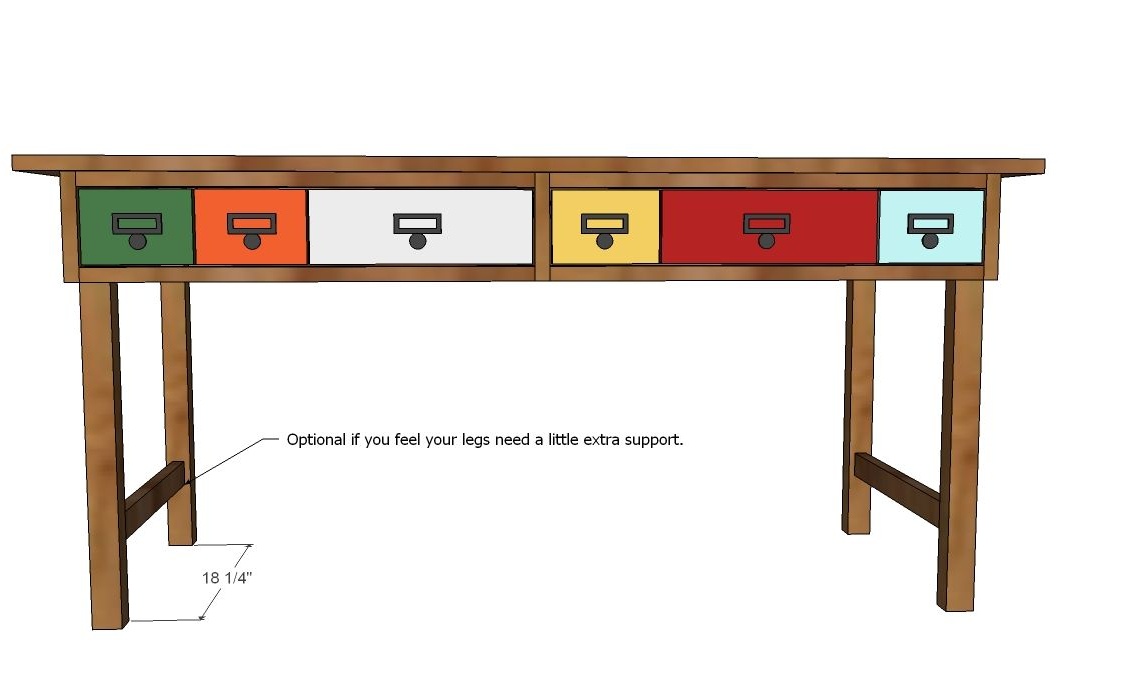
Despite the illusion of many drawers with antique bronze handles, there are only two in the table. Everything else is pure imitation.
In order to make such a table do it yourself, you will need:
Materials:
- pine or maple boards with a thickness of at least 30 mm;
- plywood for the manufacture of drawers;
- glue for connecting parts;
- multi-colored paints;
- resistant varnish for woodwork;
- furniture handles, preferably bronze or metal;
- furniture screws or wood screws.
Instruments:
- miter saw or circular saw for sawing boards;
- jigsaw optionally for working with plywood;
- electric drill;
- screwdriver;
- grinder;
- paint brushes;
- sandpaper;
- construction tape measure;
- a clip with a device for drilling pocket holes;
- square and ruler;
- a pencil.
Step one: determining and adjusting the size of the table and its individual parts
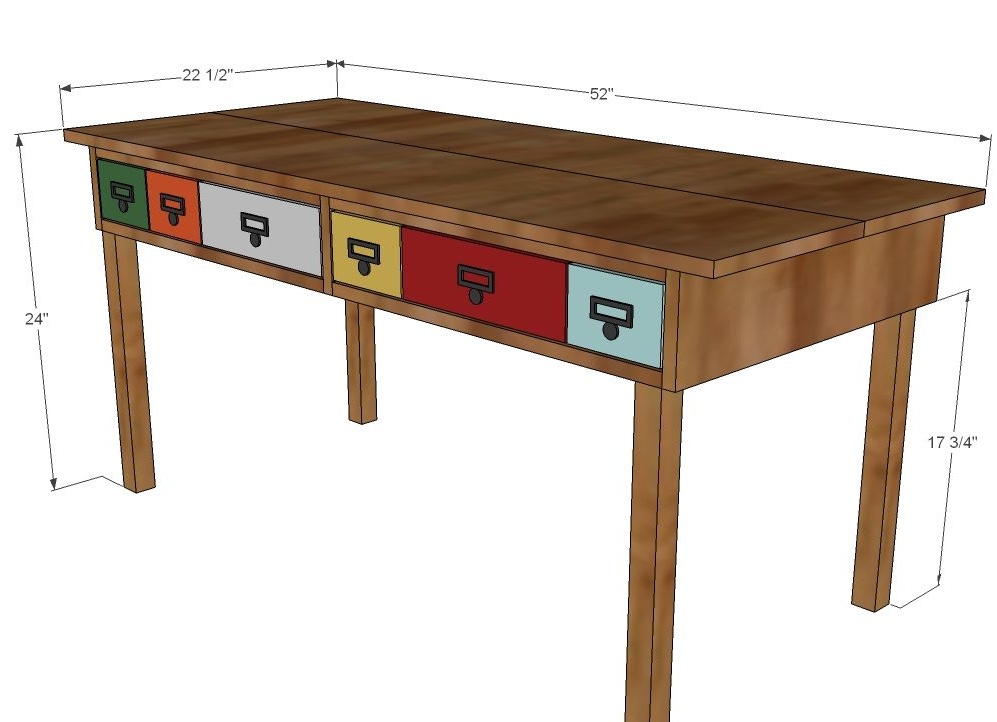
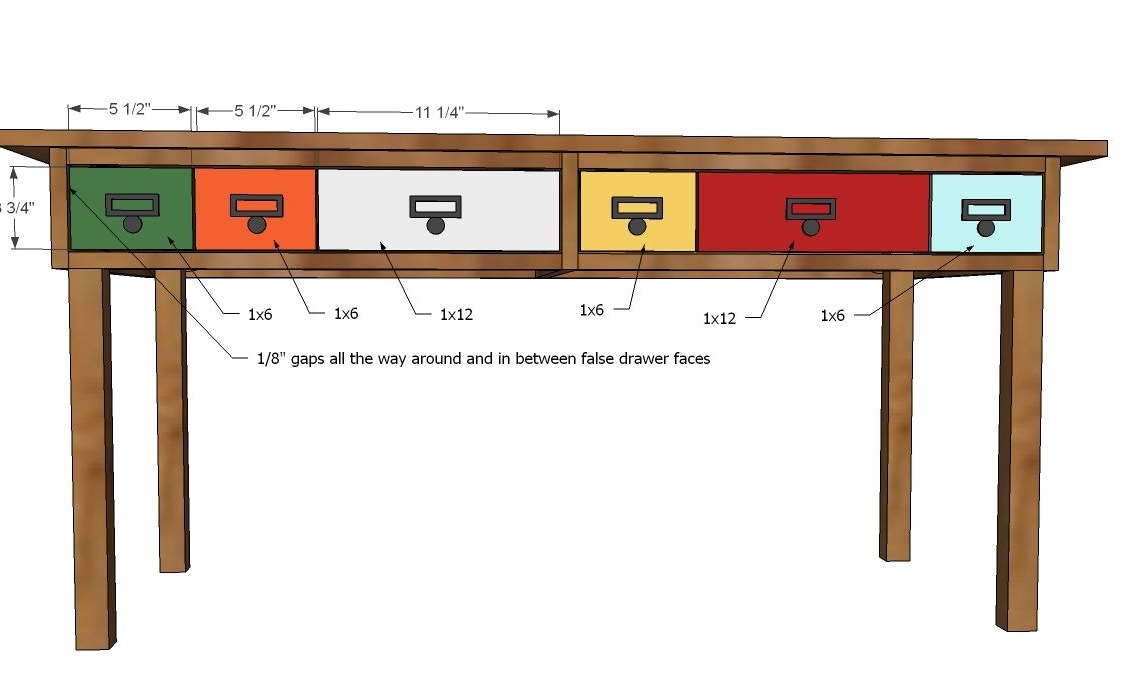
Table sizes from this workshop are in inches. Usually, when translating inches to centimeters, an error creeps into the calculations. Therefore, try to consider only the overall dimensions. The remaining parameters will have to be recalculated anew.
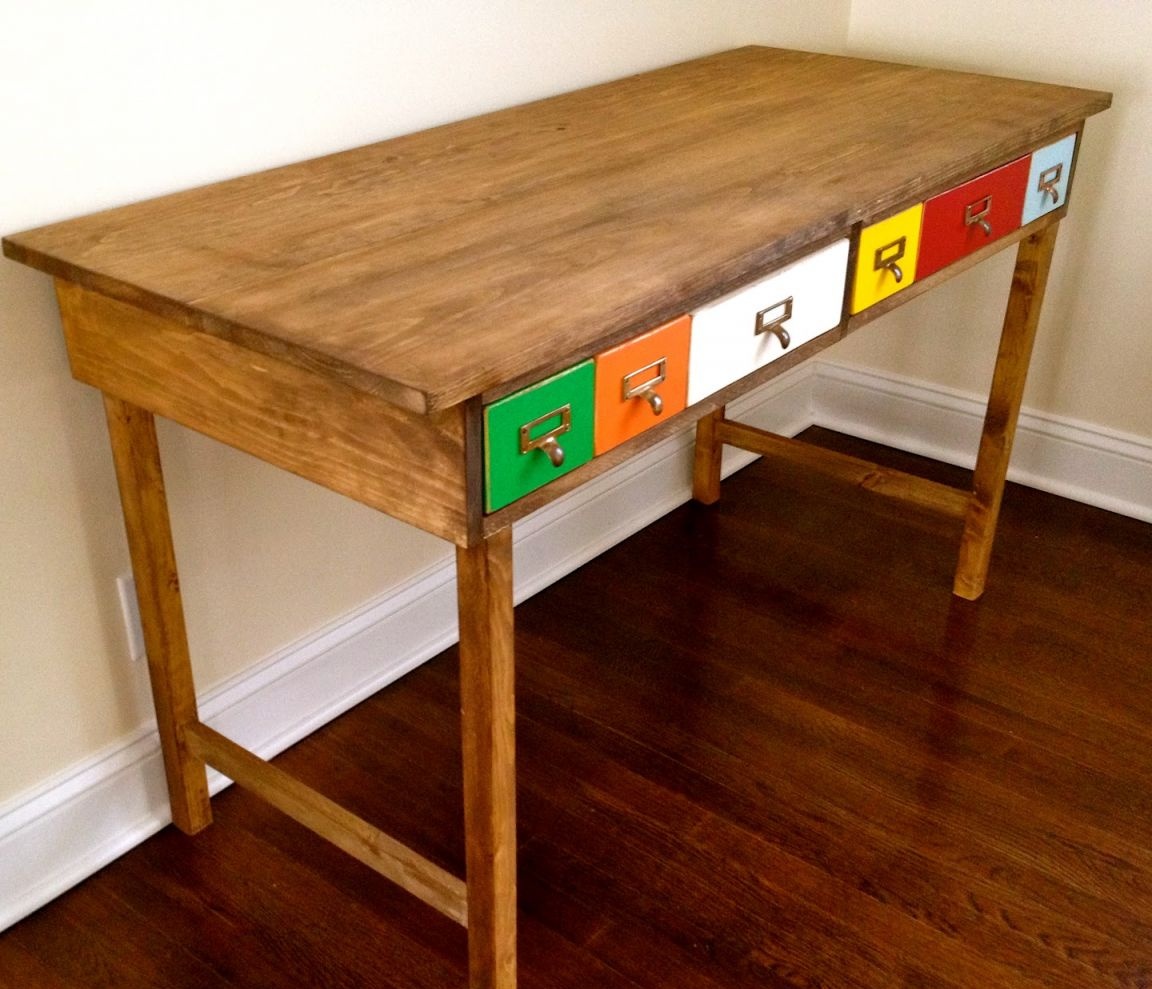
The dimensions of the countertops are 1300 mm x 560 mm. Its total height is 600 mm, and the length of the legs does not exceed 440 mm. Please note that the height of the table is designed for a child. For an adult, it should not be less than 700 - 750 mm. However, it all depends on your complexion.
You can find out approximate dimensions of parts by multiplying the value indicated in the master class by a factor of 2.5.
Step Two: Resize and Prepare Table Details
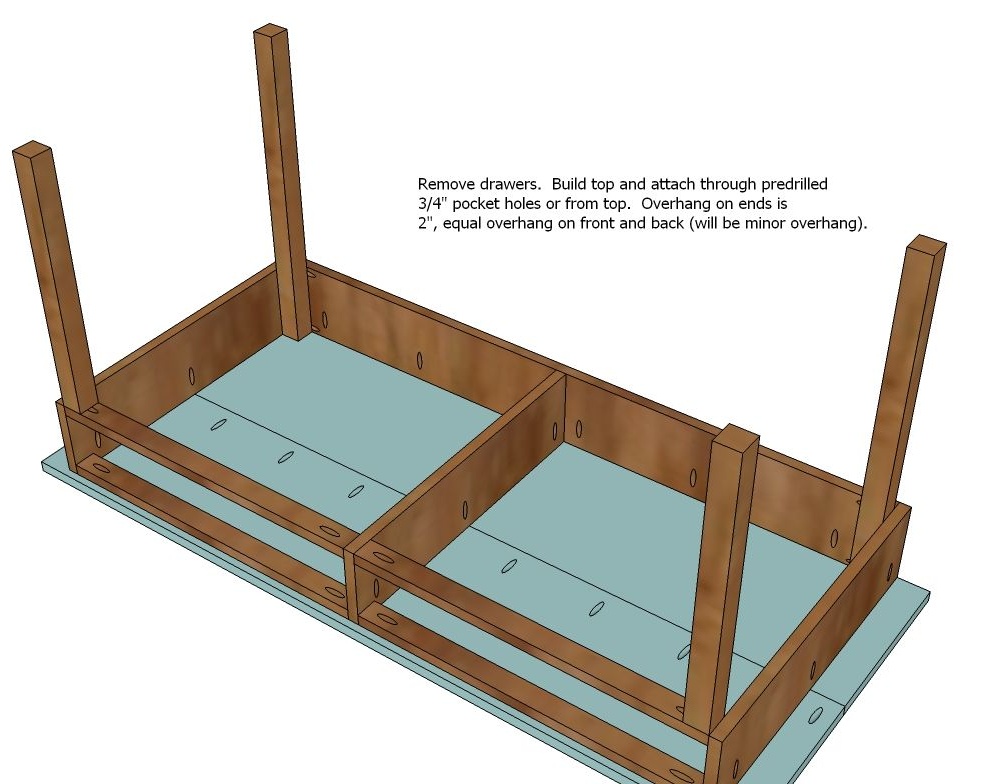
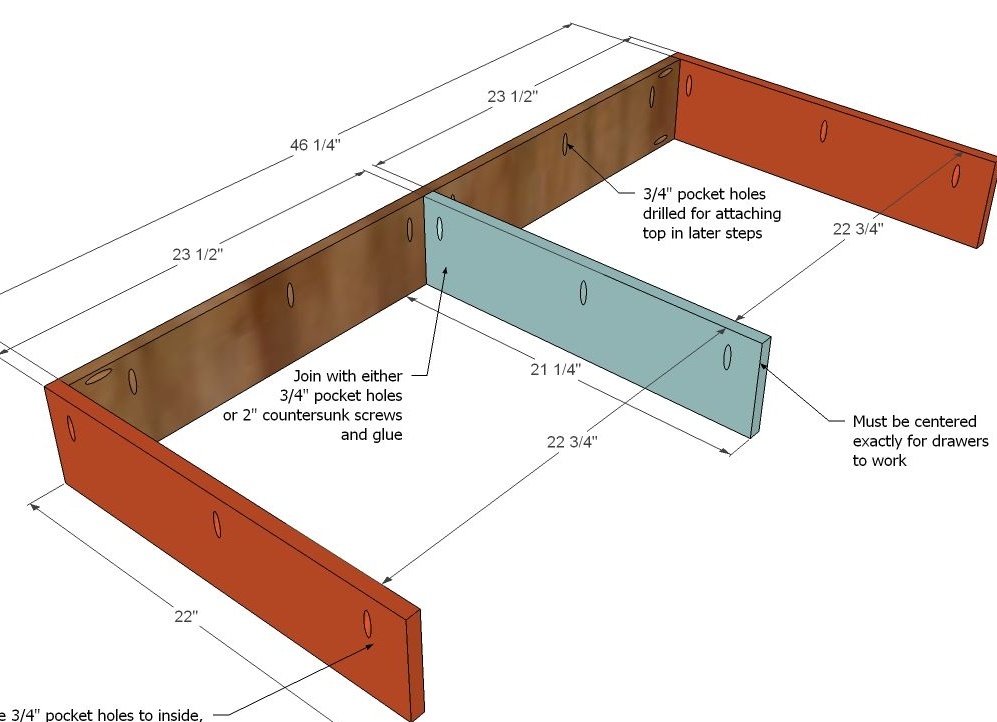
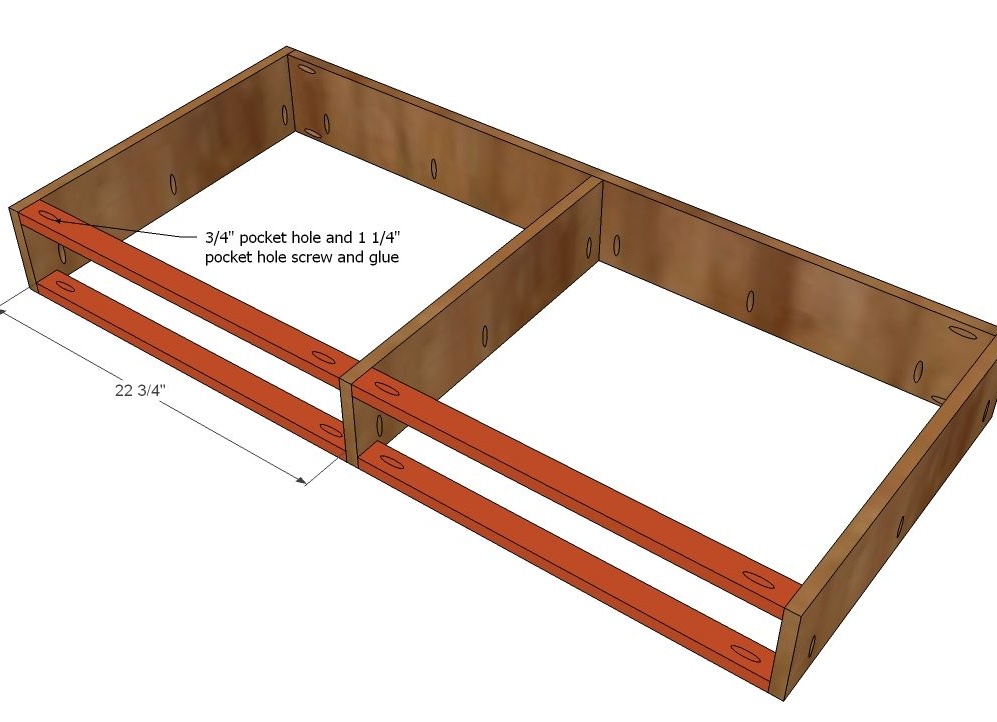
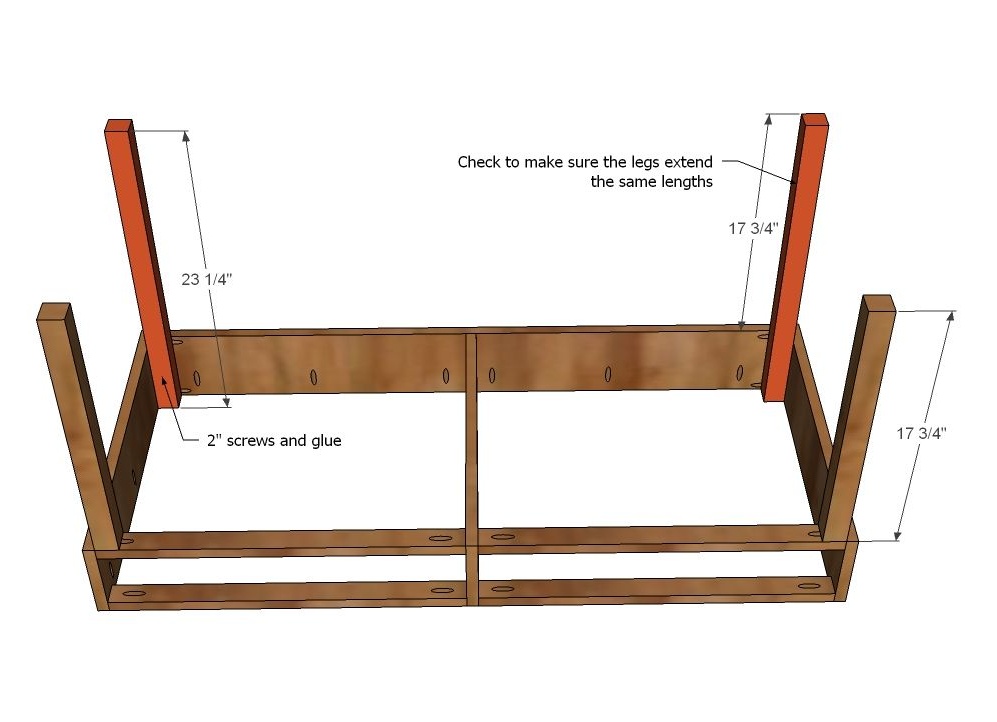
Mark the parts directly on the material. To make the table frame, you will need boards and slats. The frame consists of a longitudinal part, two side parts and a partition. On the side where the drawers will be installed, the author used slats to create cells. The design of the frame is visible in detail in one of the diagrams below.
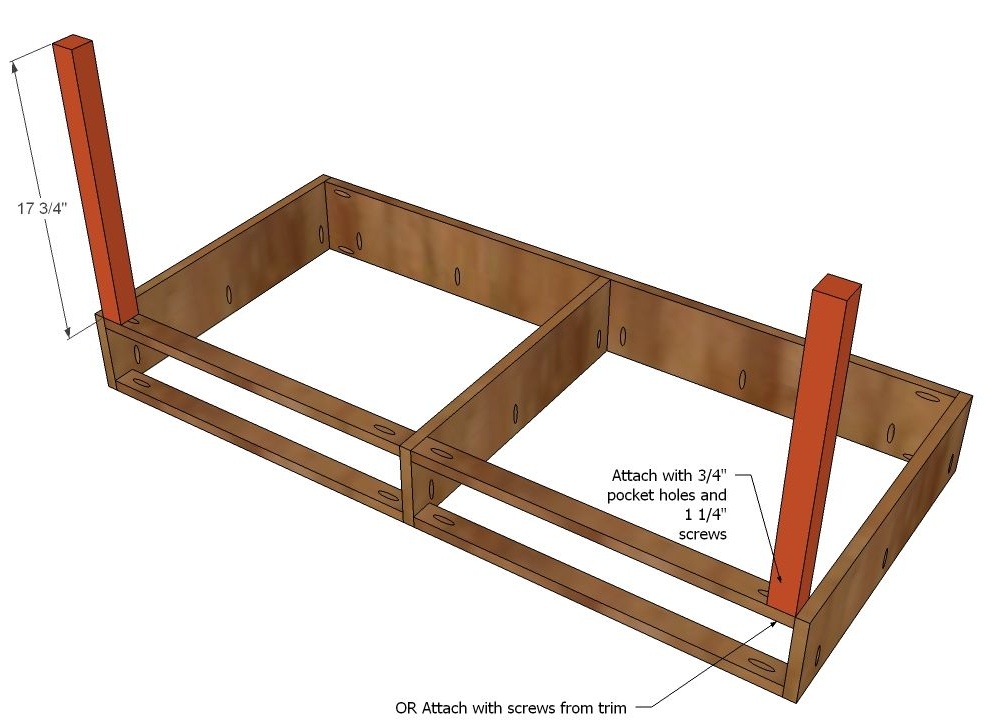
Also mark the legs and lower transverse partitions for them. Save the widest and most beautiful boards for countertops. They must be carefully planed on the thicknesser and have the same thickness. Mark 1300 mm each for the worktop.
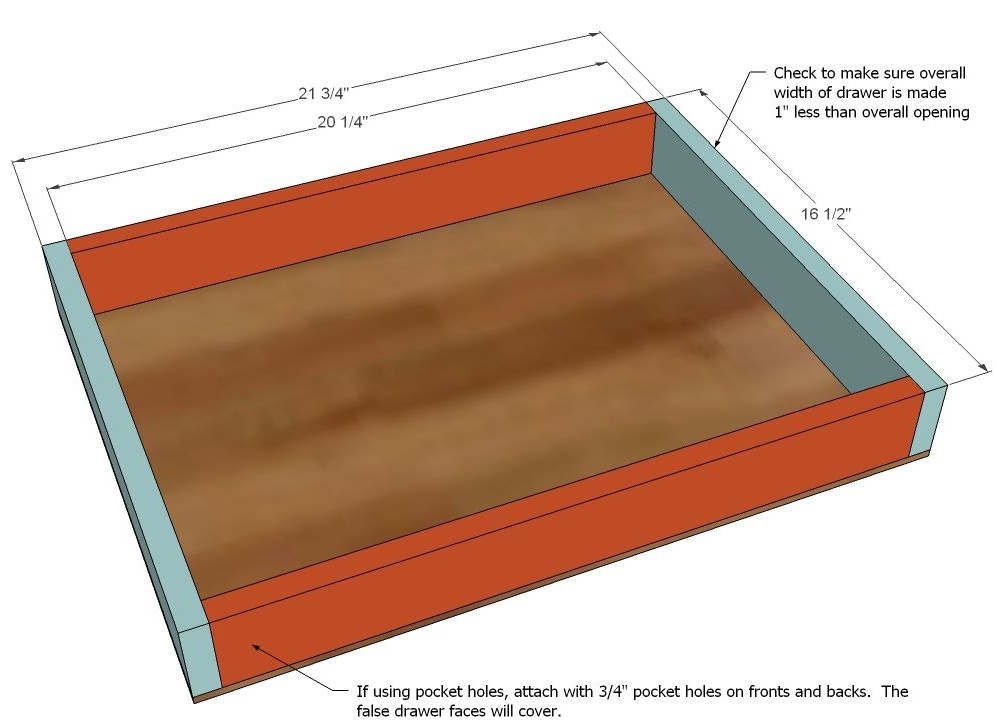
In addition, you will need plywood parts for two drawers. The external dimensions of each drawer are approximately 410 x 540 mm. Their height is 90 mm.
Prepare also blanks for facade linings on boxes. They will be painted in different colors. The dimensions of the blanks can be arbitrary, but in total, the total length of each three blanks should equal the length of the box, taking into account the decorative gaps between the blanks themselves.
Cut out all the details in size and grind thoroughly using a grinder. The edges of the decorative overlays on the boxes are slightly rounded according to the author's idea. Remove any roughness and prepare the surface for painting and varnishing.
Step Three: Prepare Decorative Slips for Drawers
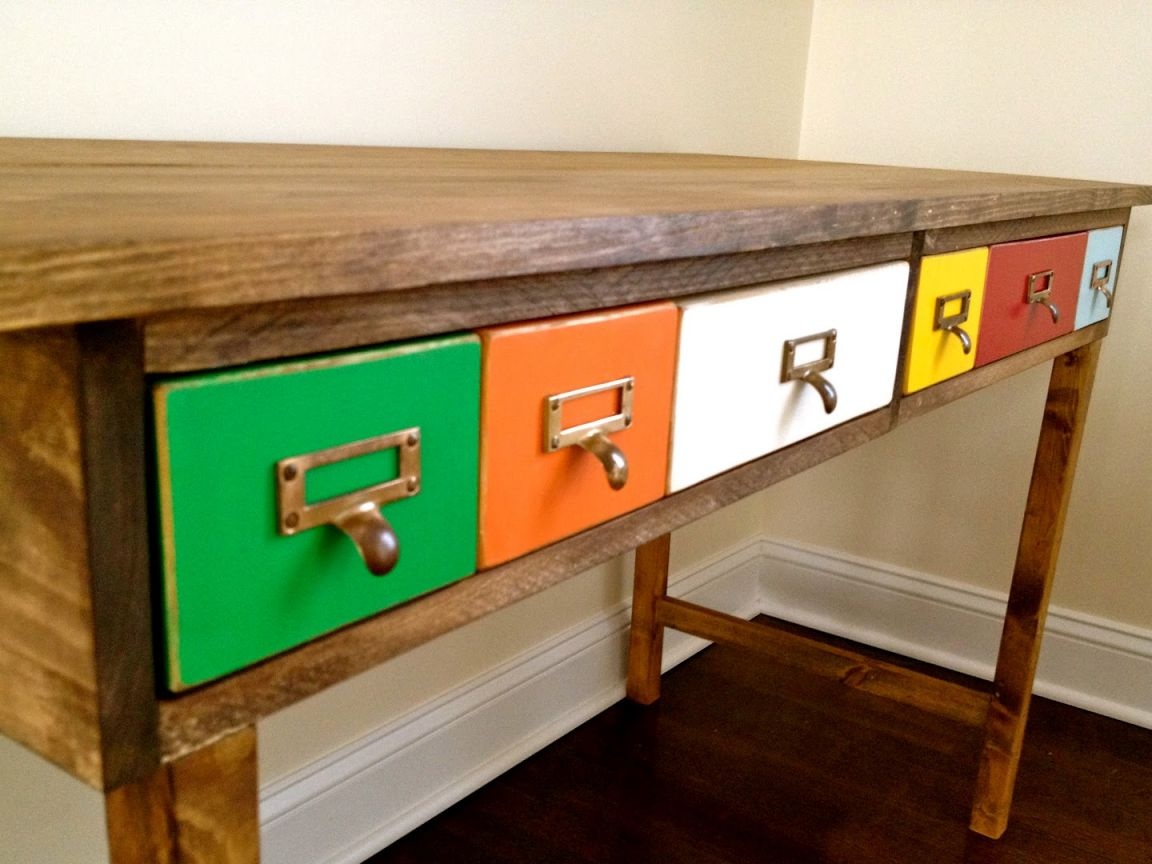
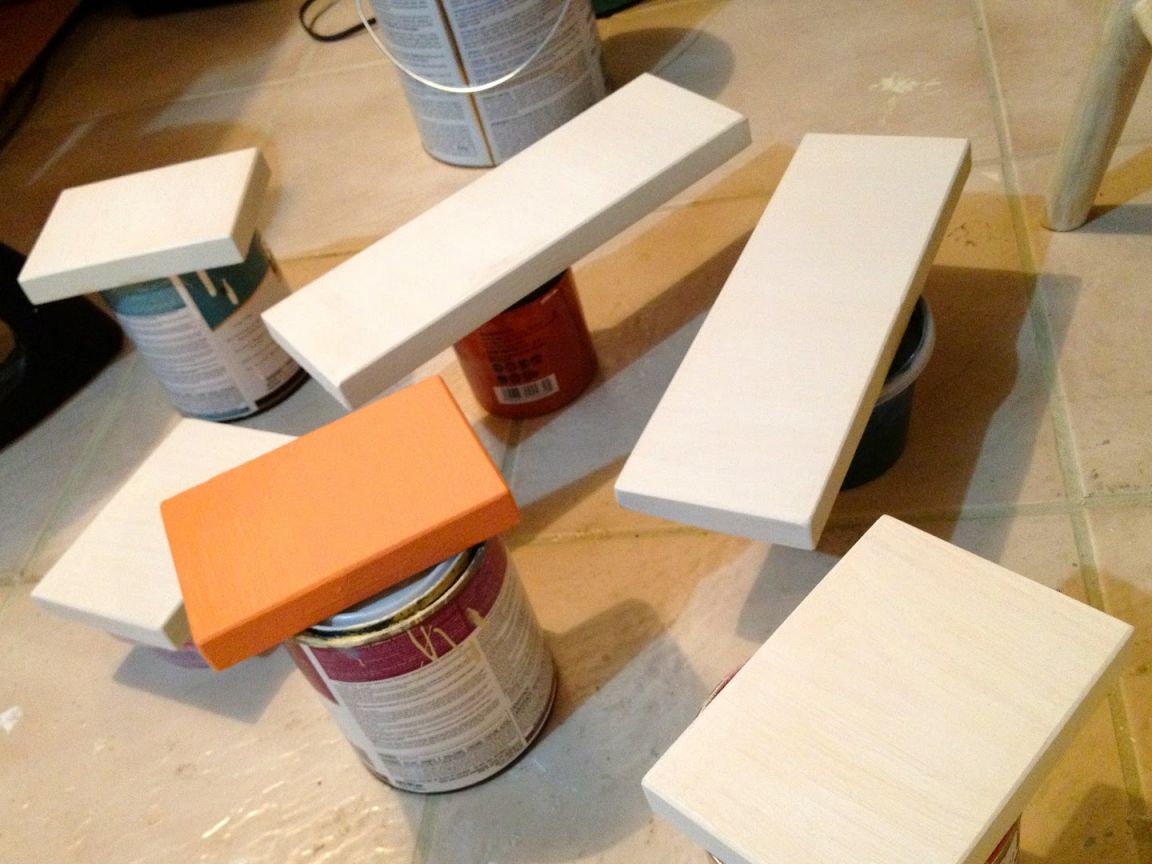
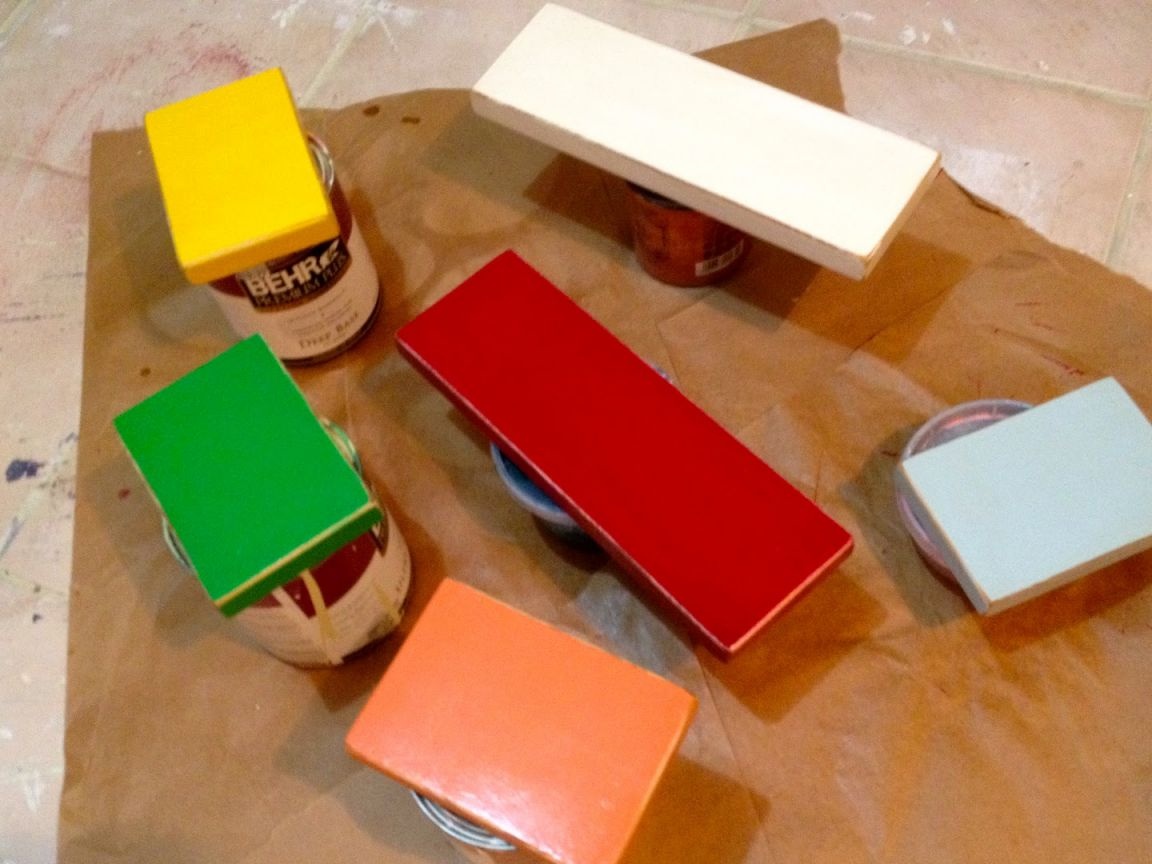
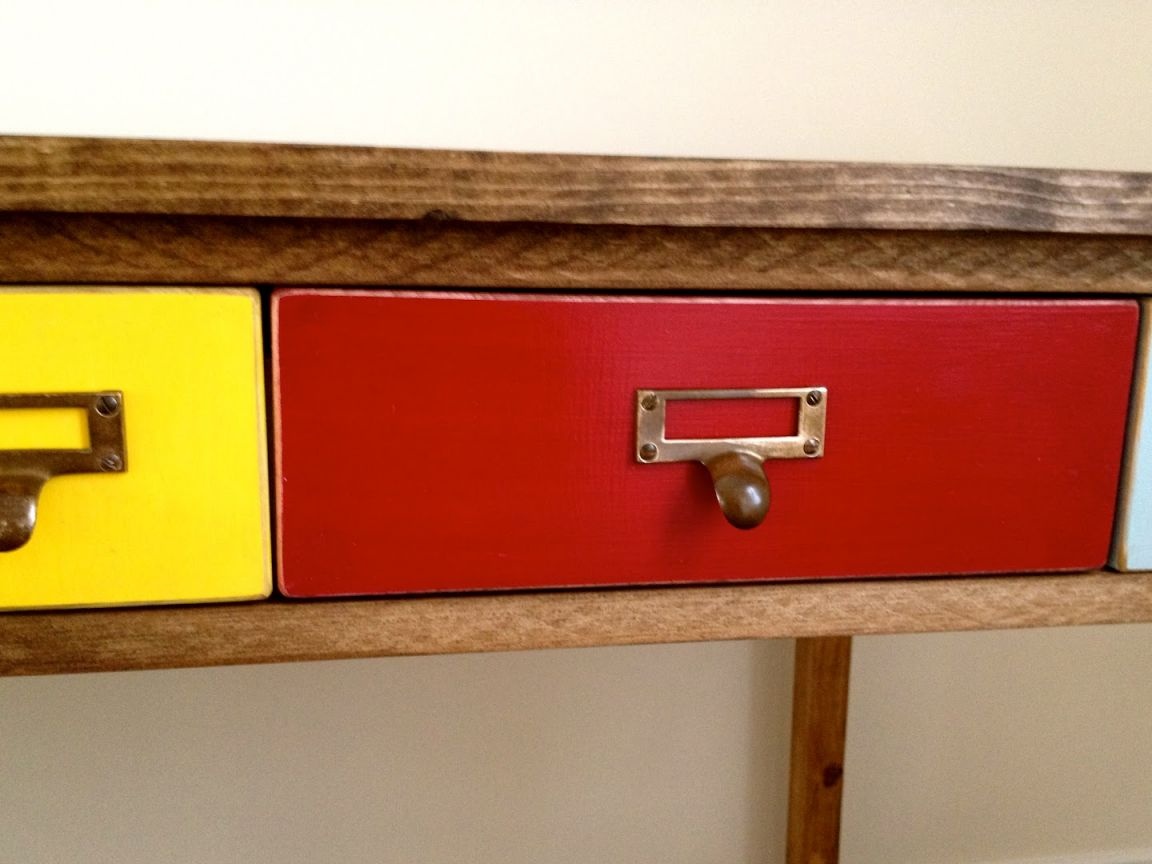
Decorative overlay pre-paint. Use resistant paints with a dense coating. For example, alkyd enamels or oil paints. The author used six colorful shades at once - one for each box, which gave the table a special charm.
Apply the paint in three to four layers and let it dry until the coating acquires a characteristic hardness. To age, go with fine-grained emery paper along the edges of the pads, removing the paint in those places where it usually erases after many years.
Fourth step: final assembly of the table
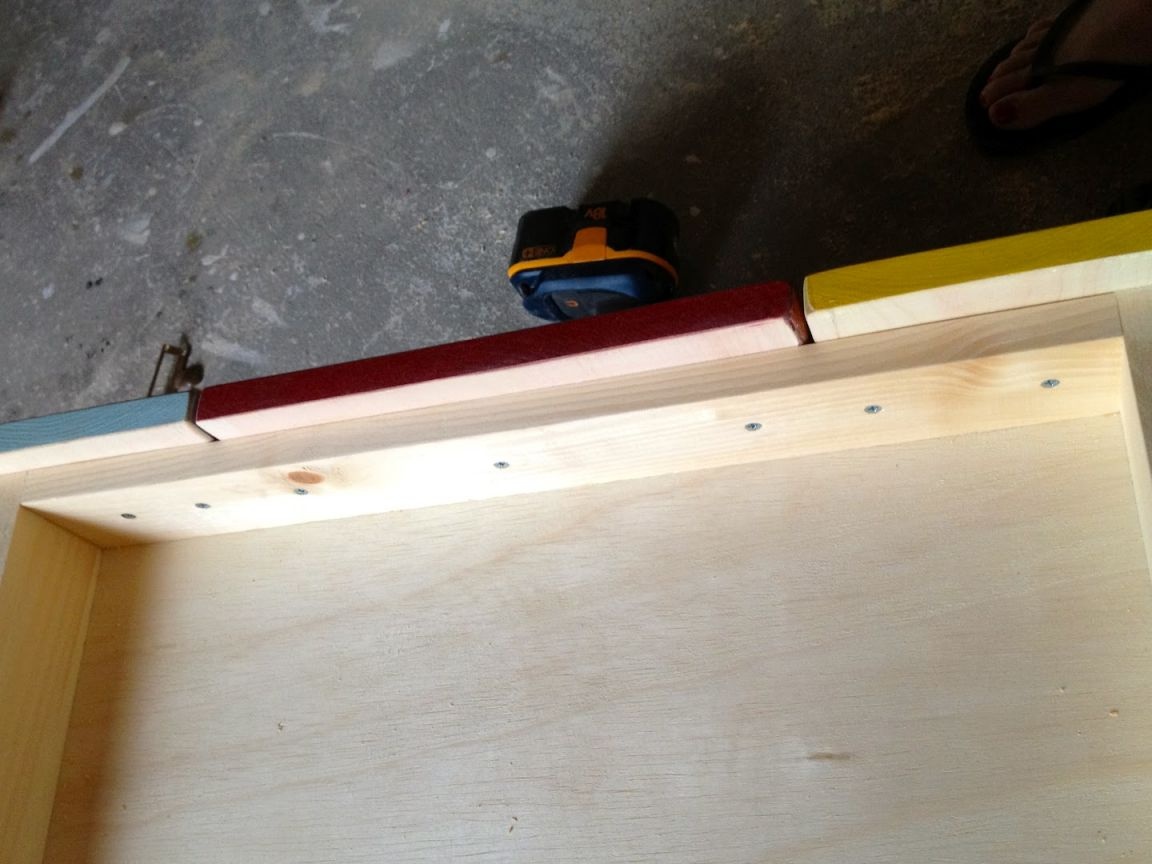
In the schematic drawings, the places of connection of the parts with the help of furniture screws and pocket holes are indicated. To drill pocket holes, the author used a clamp with a special device. You can do without it, having carefully honed the skill of drilling diagonal holes using an electric drill.
Drill holes for screws in advance and proceed with assembly. Proceed in the order in which the computer circuits from Sketch Up are presented.
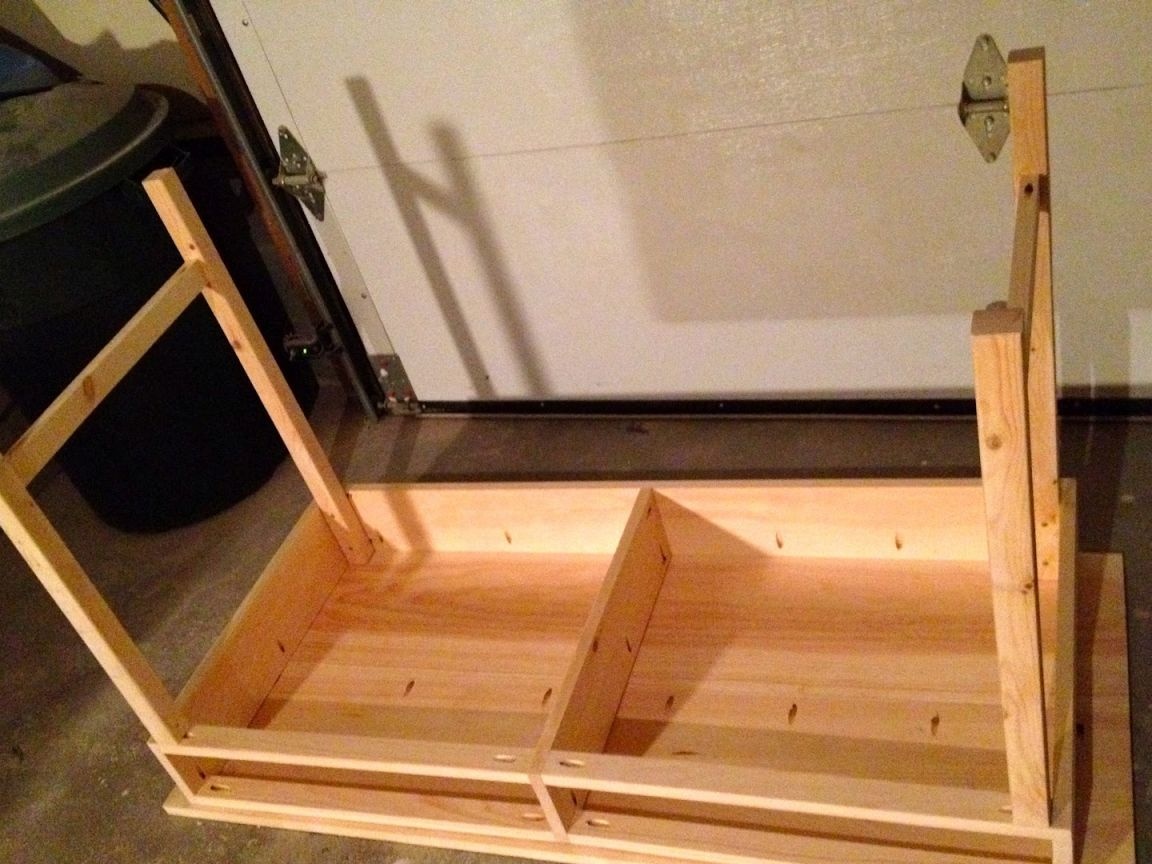
Start with the countertop frame. Assemble all the details, ending with the fastening of the rails. When connecting wooden elements, be sure to use glue. It will not allow the mounts to loosen over time.
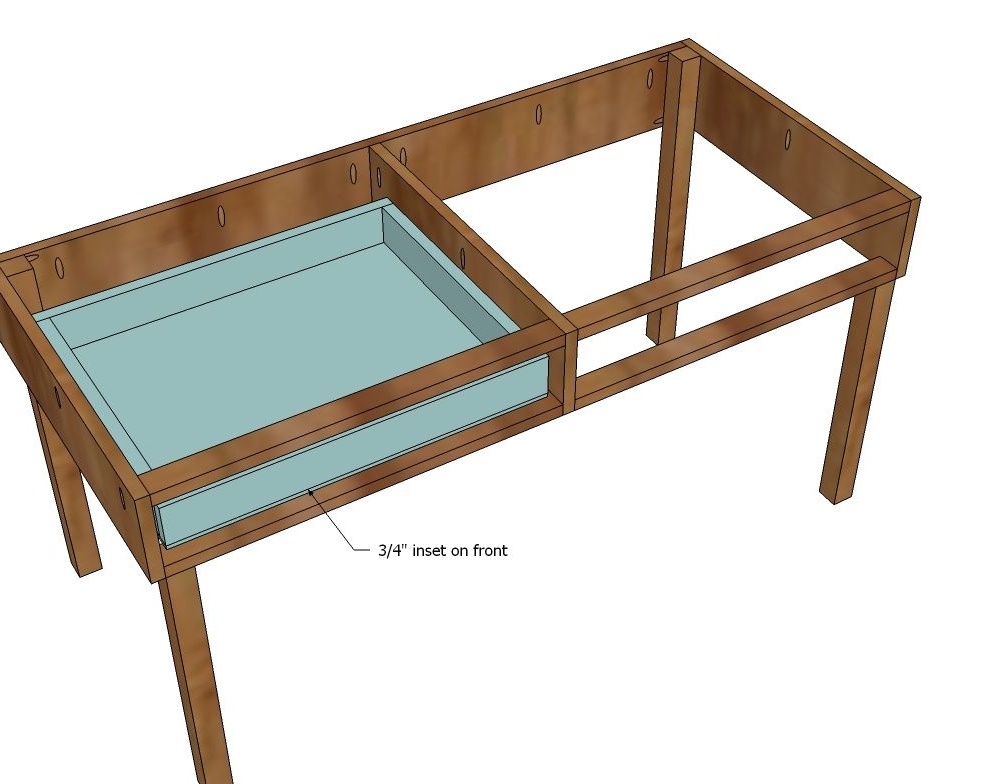
Attach the legs and install the cross bars between them. Assemble the two drawers. In size, they are slightly smaller than the cells, since you have taken into account the supply of space for fastening the retractable metal-plastic system in advance.
Fasten the drawer guides to the side walls of the cells. The author used a bottom mount system this time. Put the boxes in the cells and check how everything works. Lay the worktop blanks on top of the boards and make sure they fit snugly around the frame around the perimeter. Remove them, apply a little glue on the verge of the upper frame and place the boards back, firmly pressing them on top with some kind of weight.
When the glue hardens, additionally fix the countertop to the frame using furniture screws or metal connecting corners and small self-tapping screws. So, you will be sure that the table can be safely lifted by the countertop and rearranged, without fear that it will fall off.
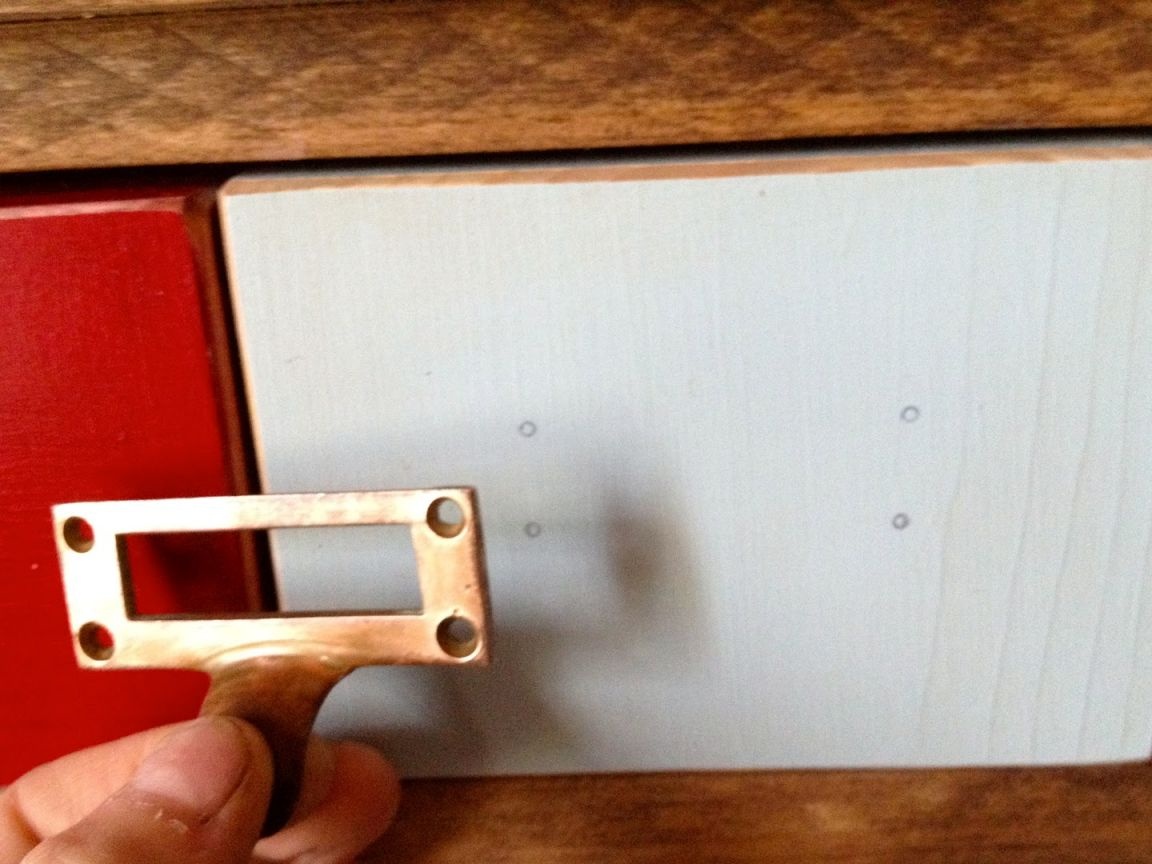
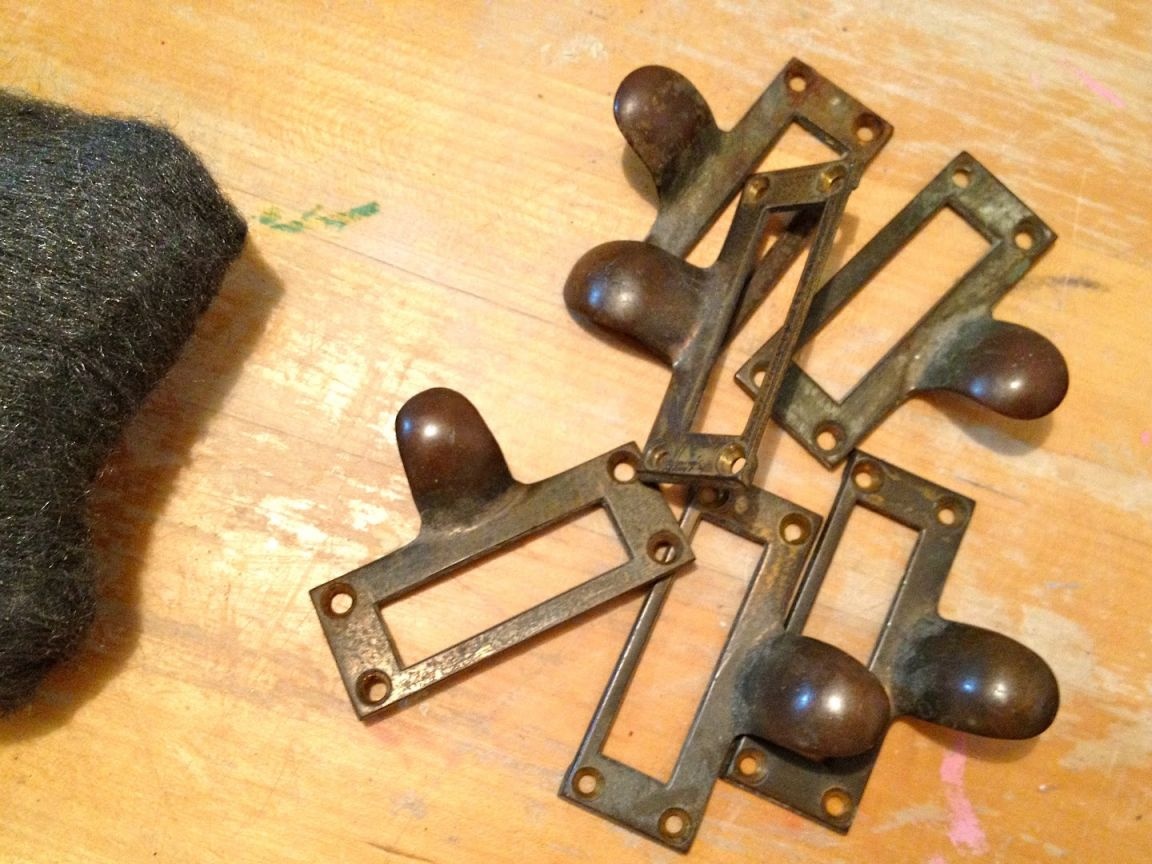
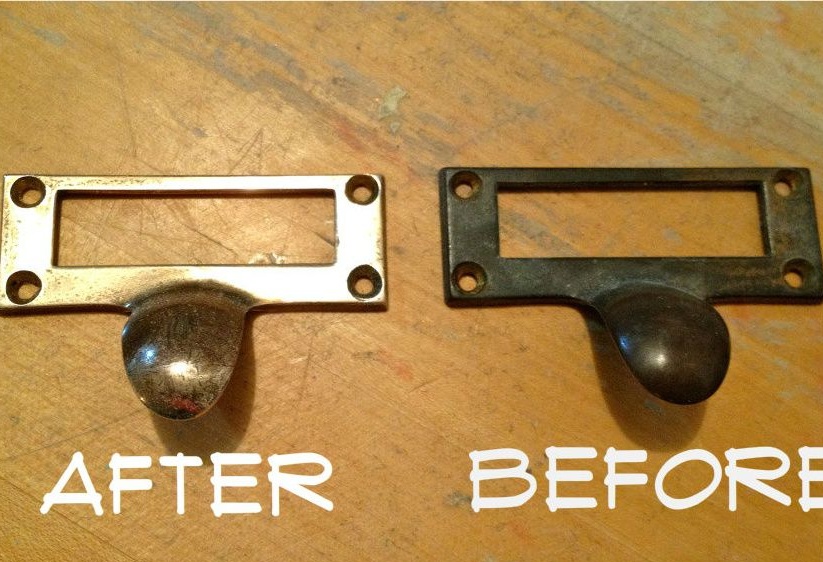
Glue decorative pads to the front panels of the drawers. They are located with a gap, keep this in mind. Secure the furniture handles by drilling holes for the screws. If you use old bronze or copper pens, like the author, carefully grind them and polish them to a shine. In order that the metal does not oxidize, it can be coated with special industrial compounds. Otherwise, the handles will have to be cleaned regularly.


Step Five: Varnishing
For fidelity, the author chose to cover the table surface with varnish. To do this, she used a tint varnish that mimics valuable woods. In other words, varnish toner. To find such a composition in our time is not a problem at all, especially if you are a regular at a construction hypermarket.
You will also need transparent varnish in order to process the pre-painted decorative panels of the drawers. Apply a couple of layers with a paint brush and let it dry properly.
Varnish toner can be replaced with a classic stain + varnish pair if desired. Perhaps this is a more economical solution. In any case, choose only high-quality varnishes with a hard, non-scratch coating.
Apply the varnish in several layers: from three to five, sanding each layer after it hardens well. Micro scratches allow the next layer of varnish to penetrate the previous one, adhesion is enhanced, and you get an unusually strong and professional coating that does not wear out for decades. Although much depends on the quality and type of varnish, of course.
So, a wooden table with colorful drawers is ready to decorate your home and your workdays!