
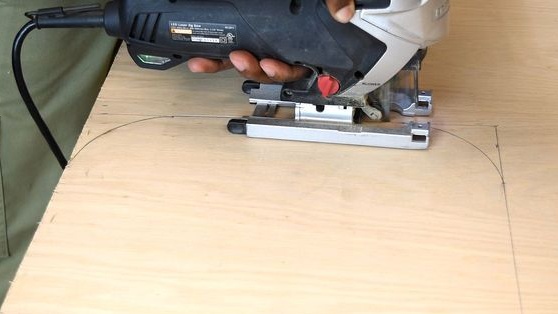
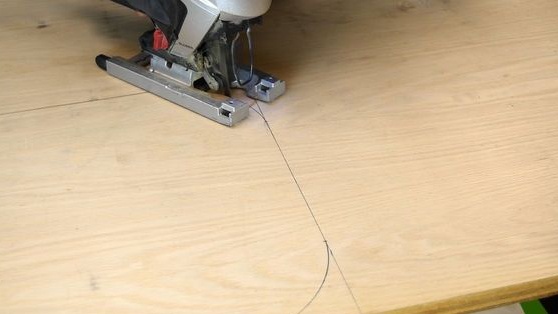
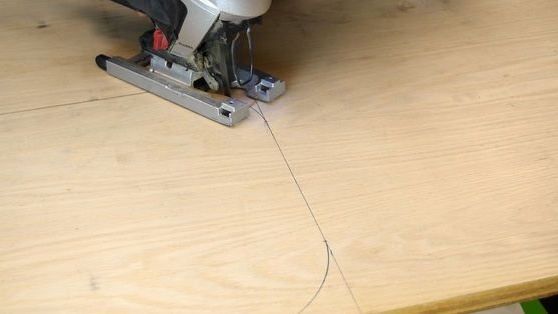
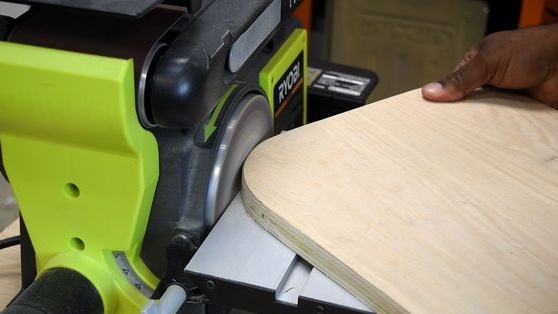
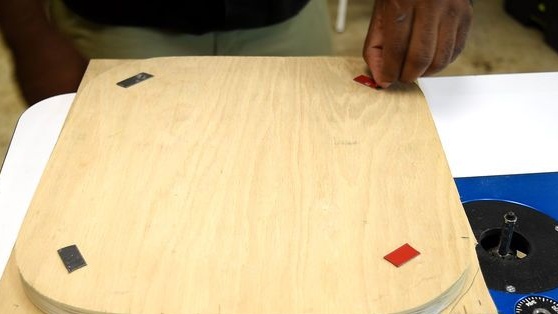
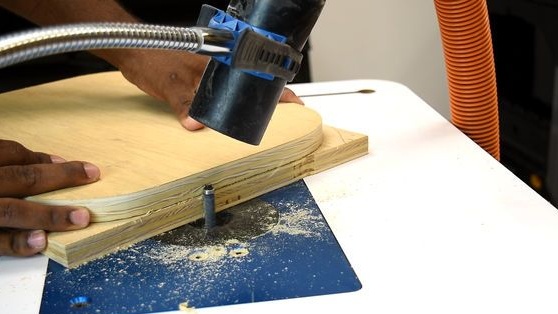
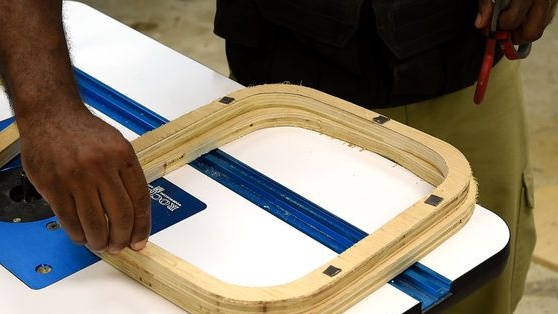
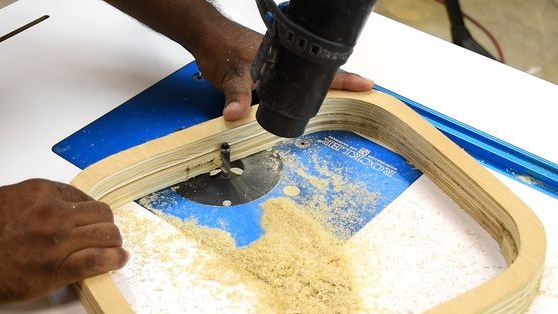
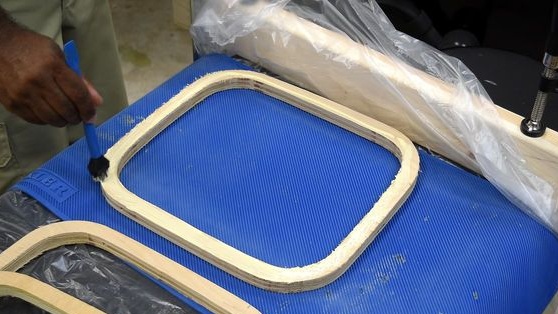
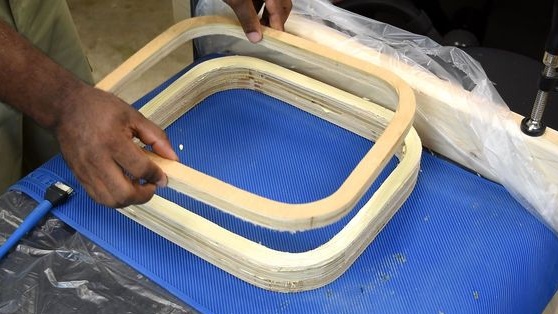
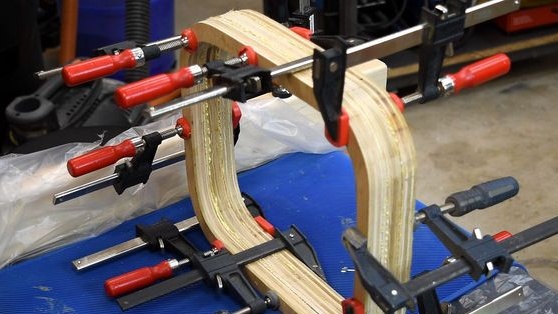
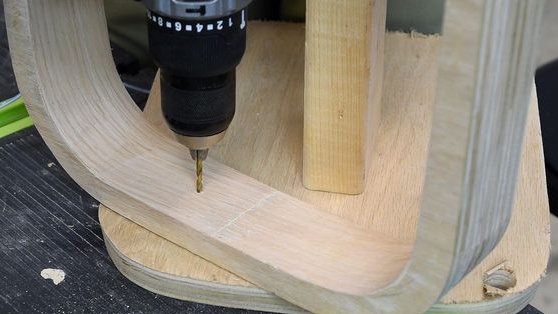
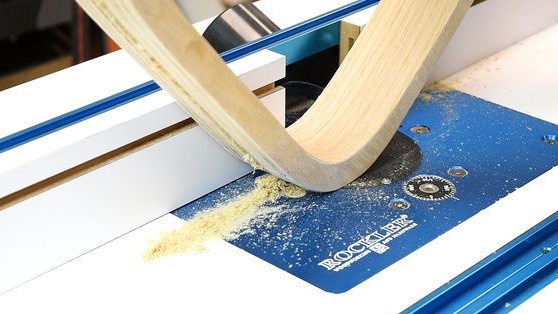
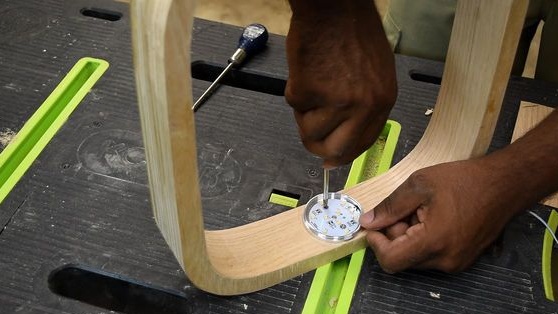
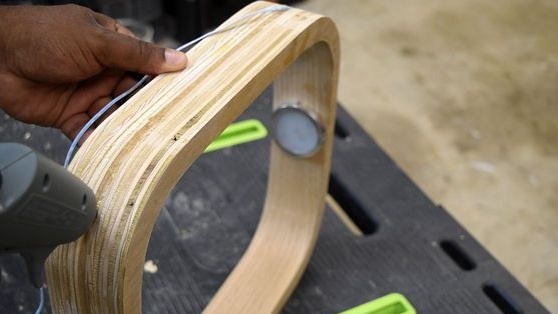
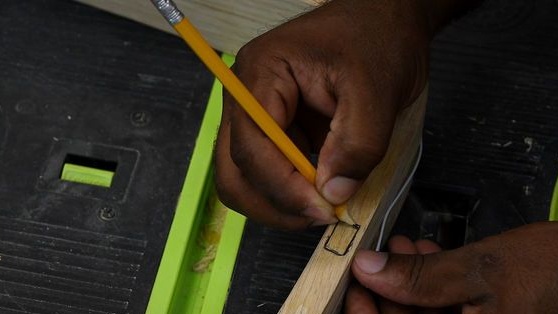
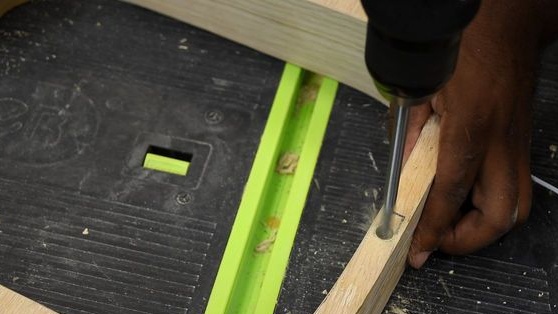
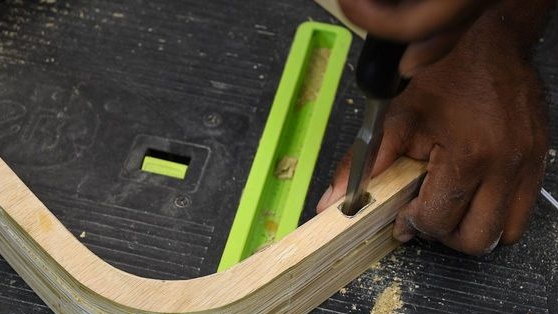
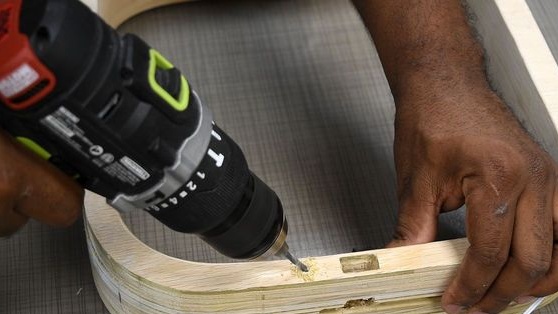
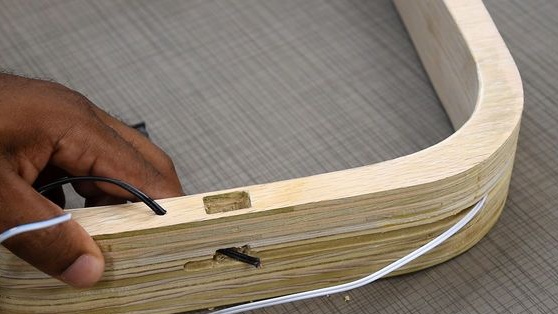
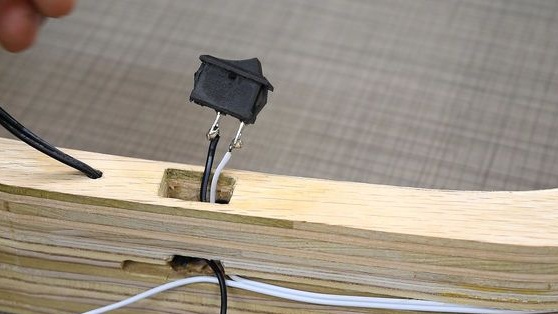
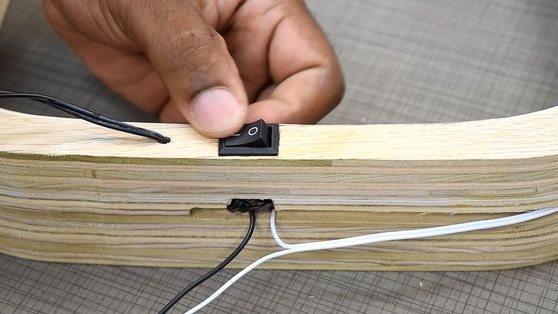
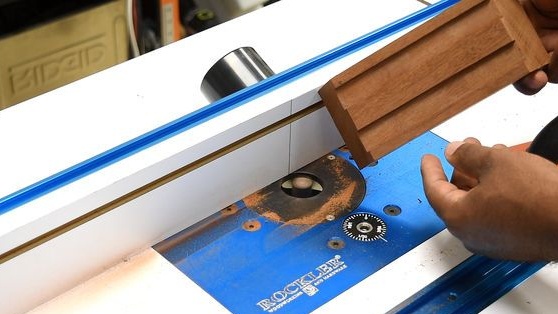
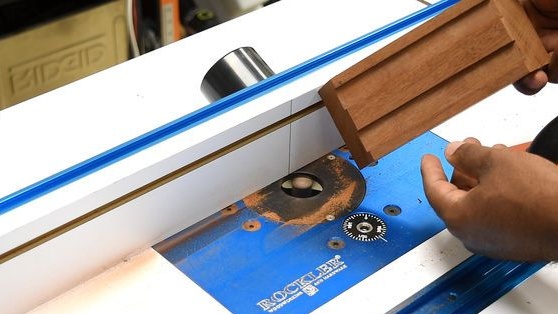
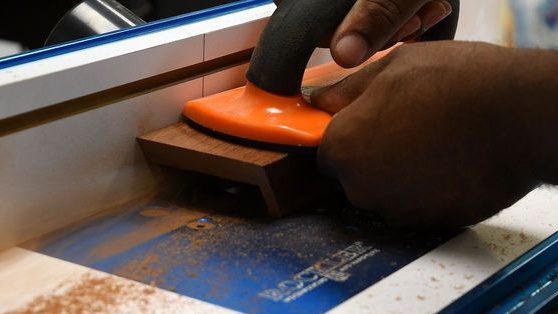
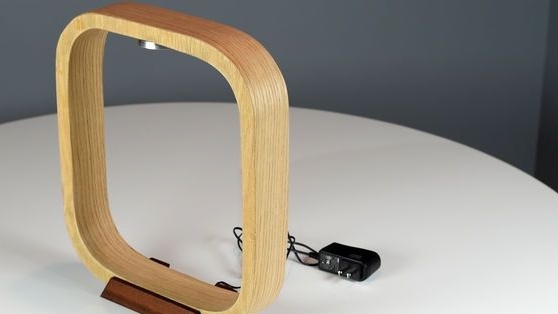
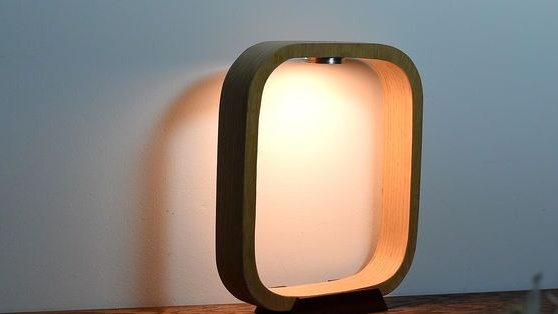
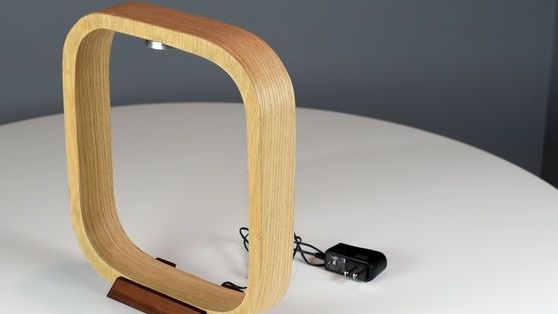
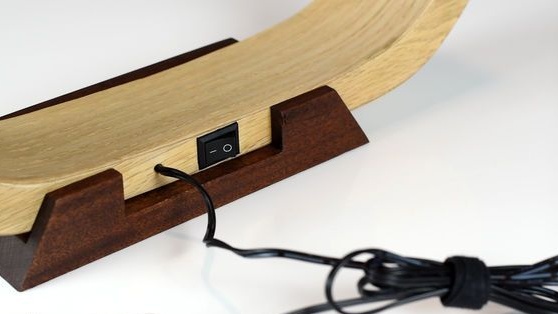
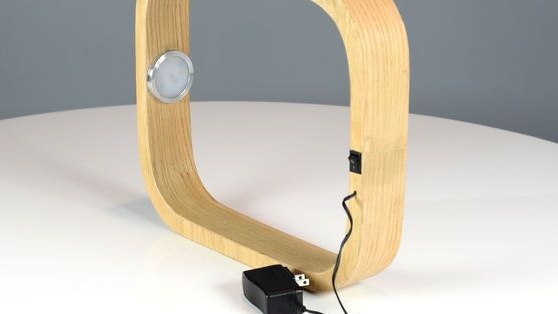
This lamp was created by the author from multilayer plywood, namely, three identical pieces were sawn, then holes were drilled in them along the edges and the inside was cut in the shape of a rectangle with rounded corners. The edges are machined and carefully sanded with sandpaper. After that, all three workpieces are glued together with carpentry glue, tightened with clamps and left in this position for at least a day. Further, when everything is thoroughly glued together and dries out, it will be necessary to select a groove for laying the electric wire, this is done using a milling cutter. An LED lamp in the form of a washer will be installed in the upper part, a hole must also be made under it, as well as a cavity in the wood for the switch insert (on-off)
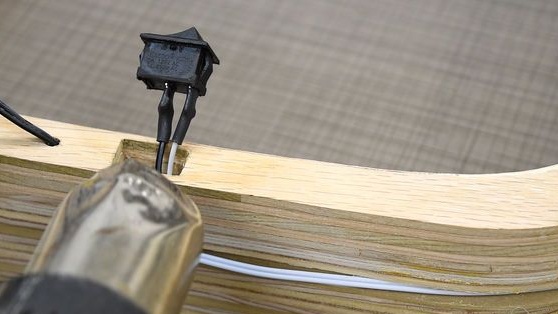
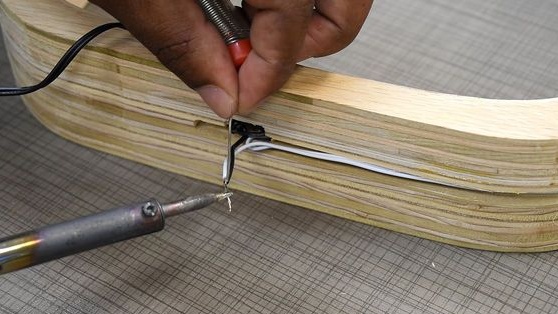
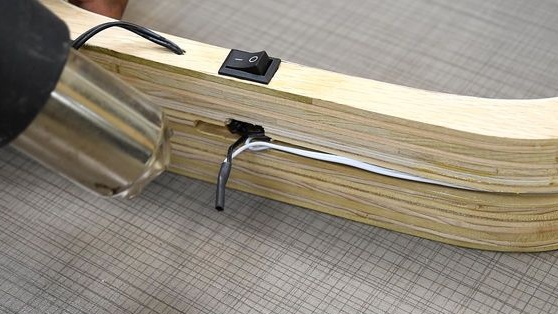
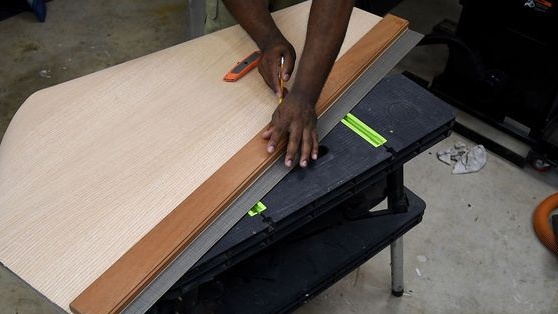
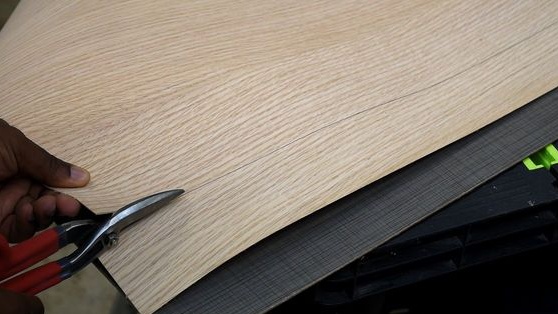
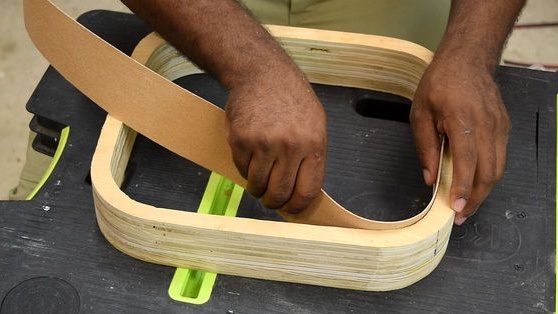
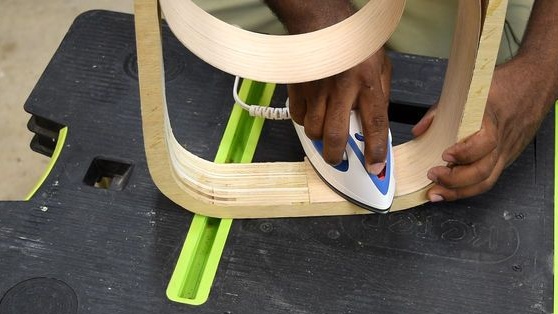
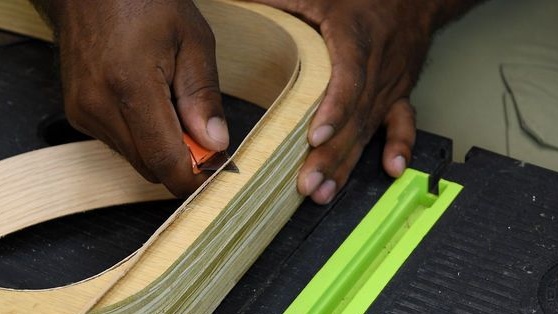
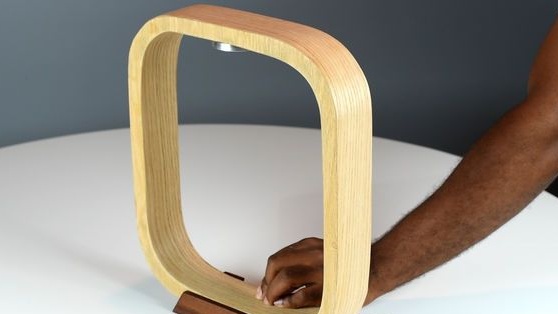
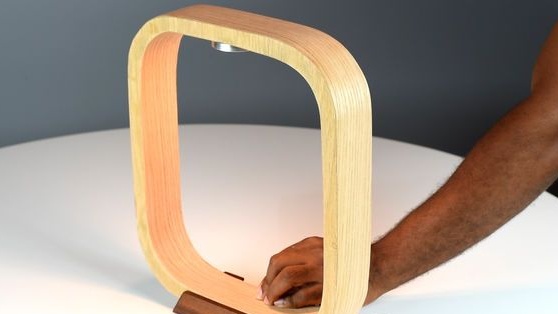
After all the operations done, an electric wire is laid, a lamp and a switch are installed, and then the case is laminated with a special film that imitates a tree pattern, cut strips of size are applied to the surface and smoothed with a hot iron. The stand is also made of wood and harmoniously fits into the concept of the lamp.
And so, let's look at how the author managed to make such an unusual table lamp.
Materials
1. multilayer plywood
2. electrical wire
3. switch (on-off)
4. wood grain film
5. wood glue
6. LED lamp
7. heat shrink tube
Instruments
1. jigsaw
2. router
3. drill
4. corner
5. ruler
6. pencil
7. milling cutter
8. brush
9. Chisel
10. sandpaper
Step-by-step instructions for making a table lamp made of wood with your own hands.
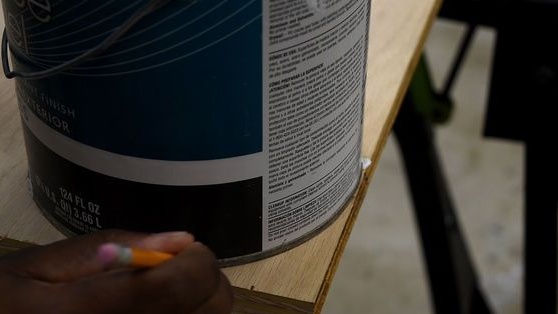
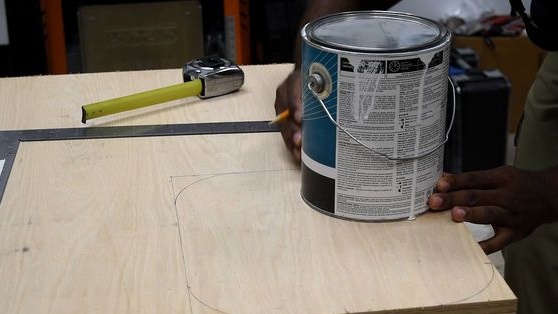
The first step was to find suitable pieces of plywood from scraps after previous work, because it makes no sense to dissolve whole sheets, and we get the double benefit of “waste to income”. The author uses the old metal bucket to mark out the outline of its bottom.
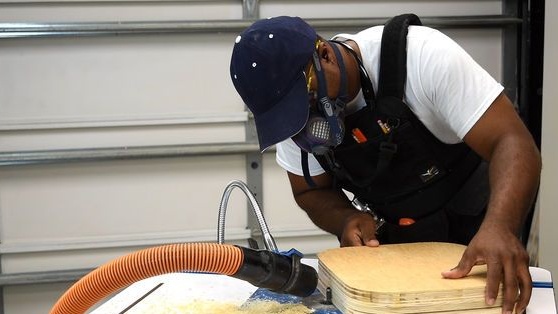
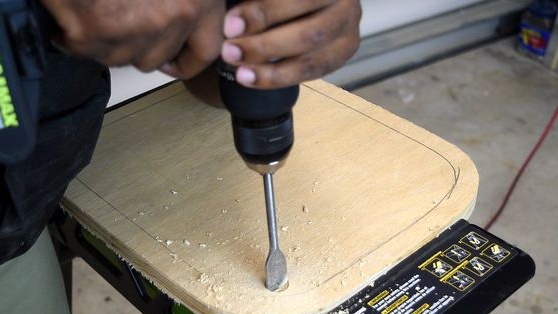
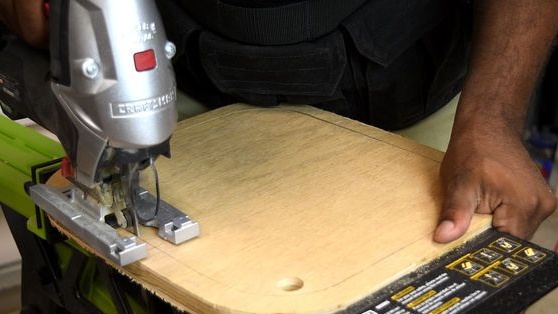
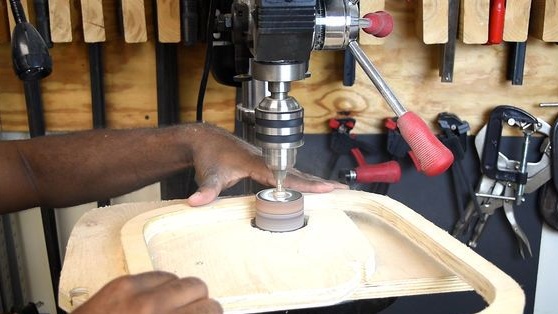
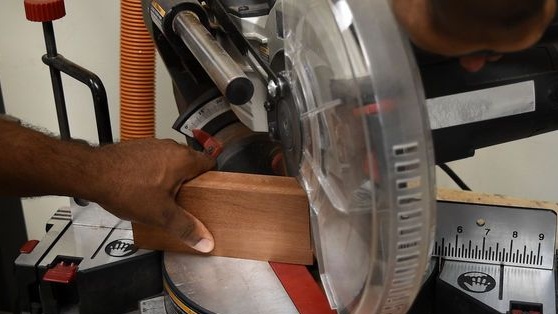
So take note, step-by-step instructions are provided for you. Go for it friends!
That's all, thank you all for your attention!
Come visit often and do not miss the latest in the world of homemade goods!
