Convenience and functionality of flipcharts, as well as blackboards for drawing with chalk and marker is beyond doubt. All these attributes have gained wide popularity among the audience from small to large. They are successfully used in educational institutions, offices and shops.
This sudden fashion for chalkboards caused their prices to skyrocket. In other words, the cost of the finished product is very modest, but its cost in retail chains leaves much to be desired.
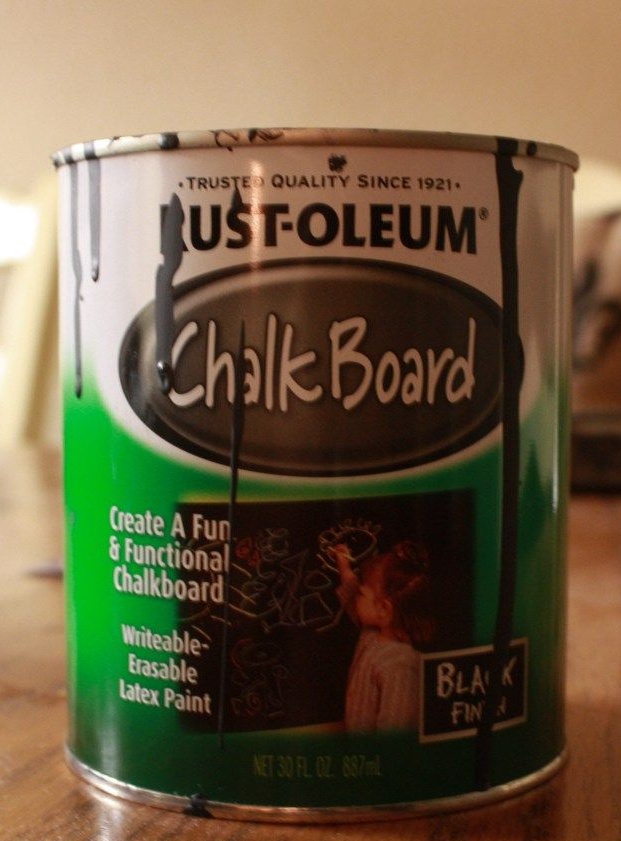
You will probably be pleased to know that such a mono board to make do it yourself in home conditions. For this, there are special paints that, after drying, create a surface suitable for drawing with chalk or markers.
Such a coating has abrasion resistance, it is not scratched and makes it easy to remove chalk residues from the surface with a dry or wet sponge. True, to find a similar paint and in our time is not easy. The easiest way to do this is by using the services of an online store.
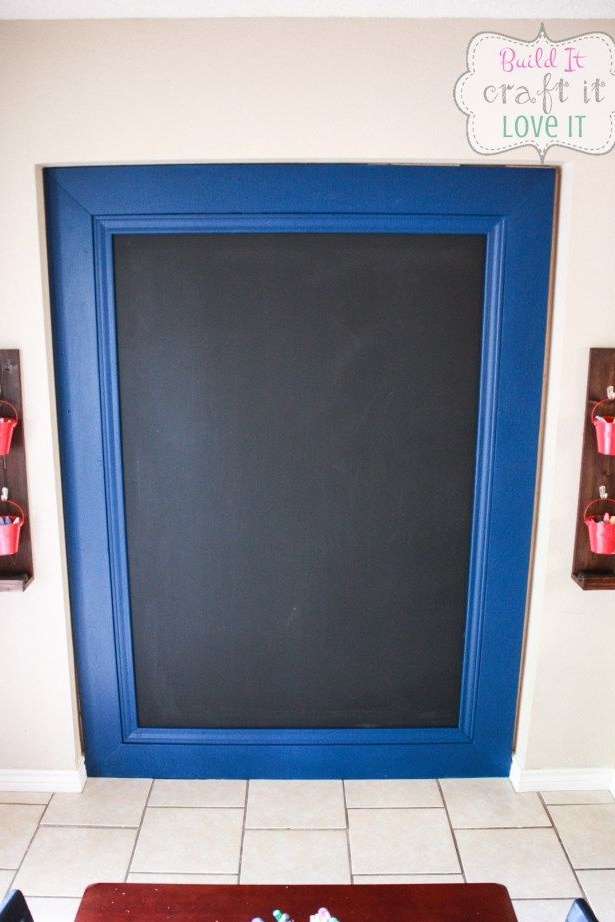
The author of this master class set out to ennoble the former doorway, which he had previously sewn up with boards. There were many options for how to turn the master with his imagination, but the opening was located in the nursery, so the solution should be acceptable for this. This solution turned out to be a home-made chalkboard made from floor to ceiling.
In order to make the same drawing board with your own hands you will need:
Materials:
- a sheet of thick plywood according to the size of the future board for drawing;
- a board for the manufacture of decorative cashing parts;
- wooden baseboard for the manufacture of volumetric frames;
- the remains of plywood for the frame;
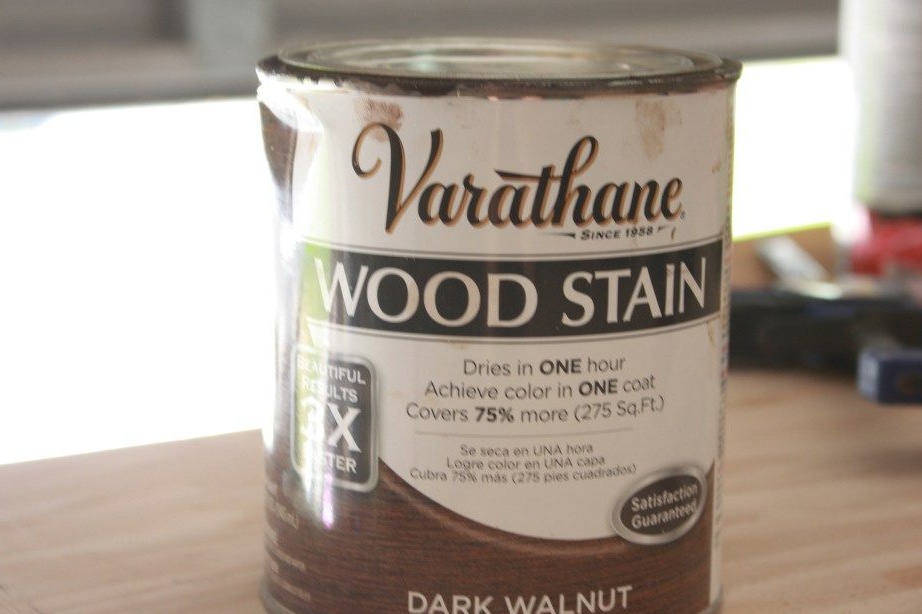
- paint to create a surface for drawing with chalk (markers);
- paint for painting the frame;
- varnish for woodwork;
- glue for wood;
- nails, screws;
- masking tape;
- board for the manufacture of shelves;
- attributes for drawing: colorful crayons (markers), a container for chalk, a sponge to erase chalk or marker.
Instruments:
- miter saw, circular or hacksaw on wood;
- grinder;
- screwdriver;
- pneumatic nail gun or joiner's hammer;
- paint brushes and roller with a tray for paint;
- building tape measure and square;
- a pencil.
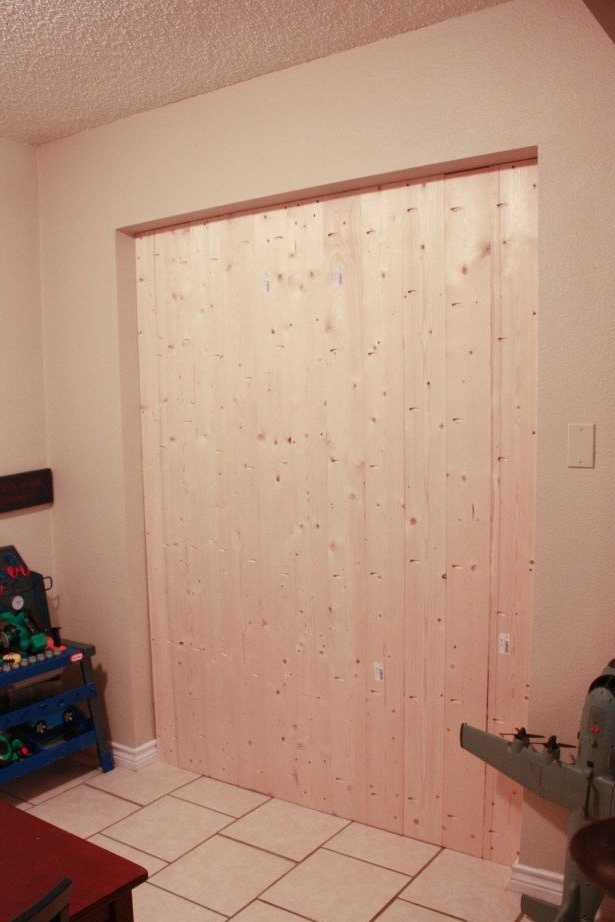
Step One: Preparing the Foundation
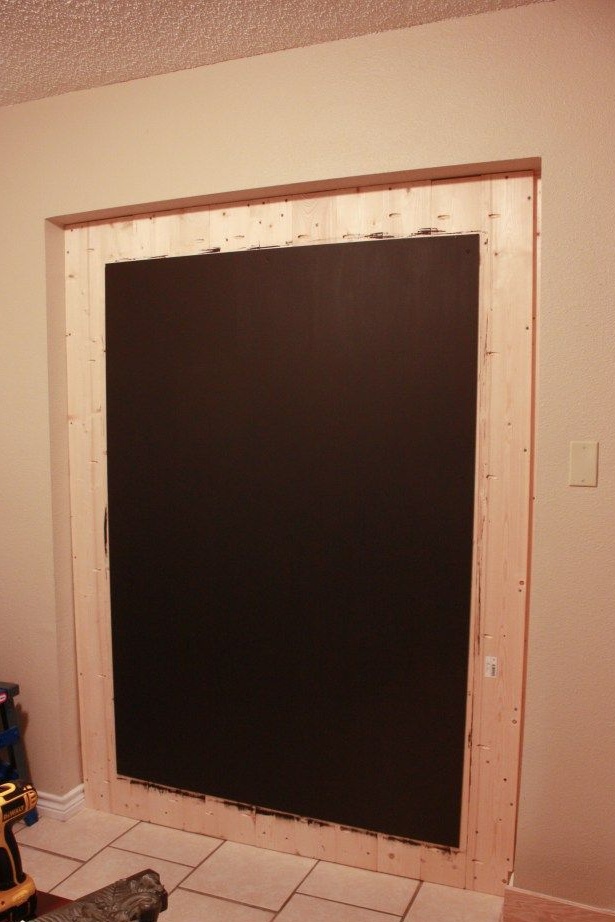
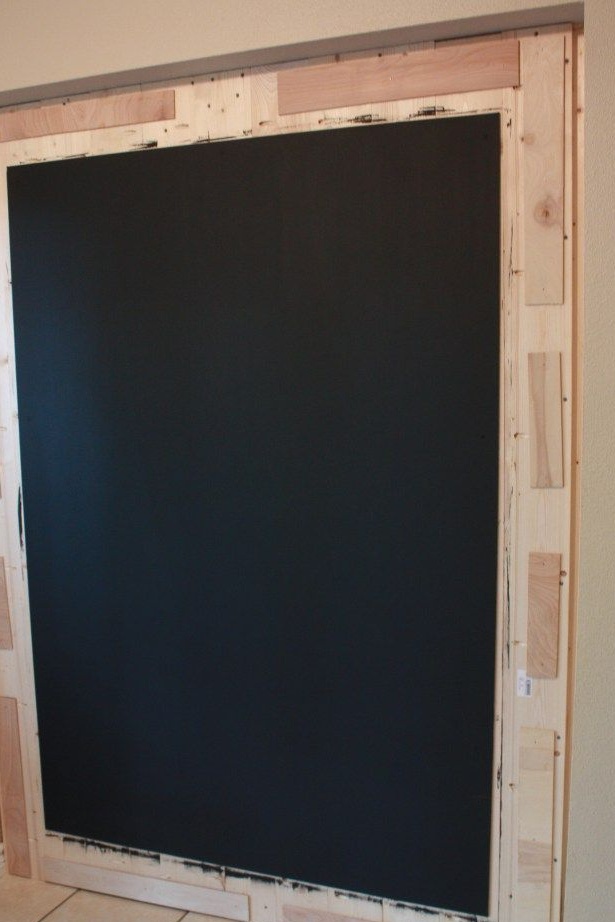
The author used a doorway as a basis for a drawing board, which he had previously sewn up with planed boards. Remember that the base should be as even as possible so that the plywood does not bend during the staining process.
You can also use two layers of plywood with sound insulation material between them. Plywood is cheaper than natural wood, so this will significantly reduce the cost of manufacturing a drawing board.
Saw a sheet of plywood to size and fasten it to the base around the perimeter. Use small wood screws for this. Connections should be located in places that are later covered by a wooden frame.
Ideally, the plane of the plywood sheet should be flat and smooth. However, if its quality does not suit you, grind the plywood base with a grinder. Use a nozzle with fine sandpaper.
Proceed to stain the base. To do this, you have already picked up a suitable paint in black or dark gray. Follow the instructions and apply the composition to the plywood in two or three layers using a roller. So, the paint is distributed evenly. Wait until the coating has completely dried and hardened. Paint should not stick to hands.
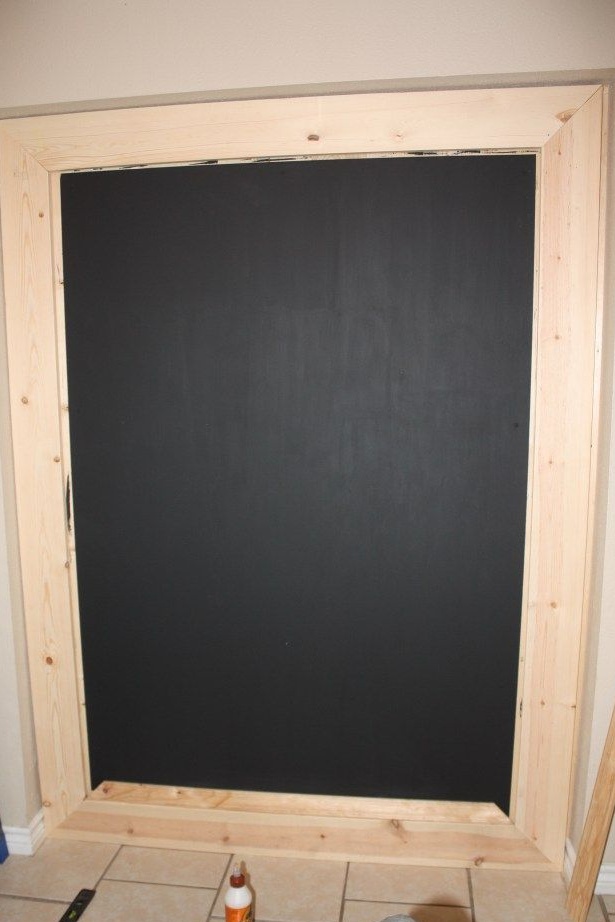
Step two: making a frame for a drawing board
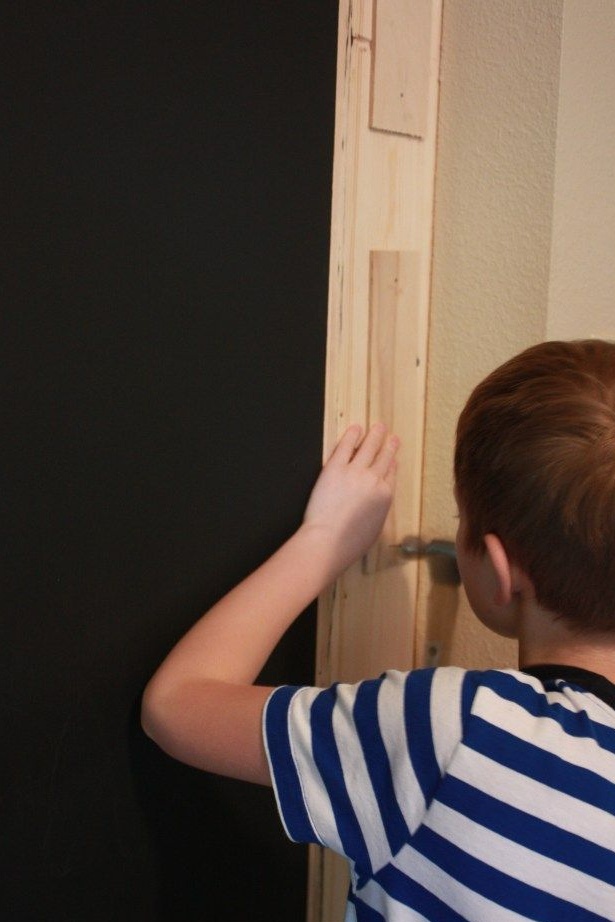
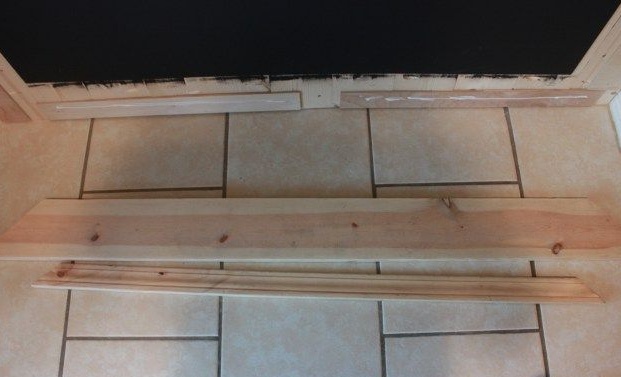
In order to arrange a beautiful and neat decorative frame, the author used a wooden board and skirting board and natural wood. However, it was assumed that the frame would be voluminous, and the thickness of the board would obviously not be enough for this.
In order to compensate for the thickness, he used pads from the remnants of plywood. This was enough, and the baseboard lay exactly flush with the board.
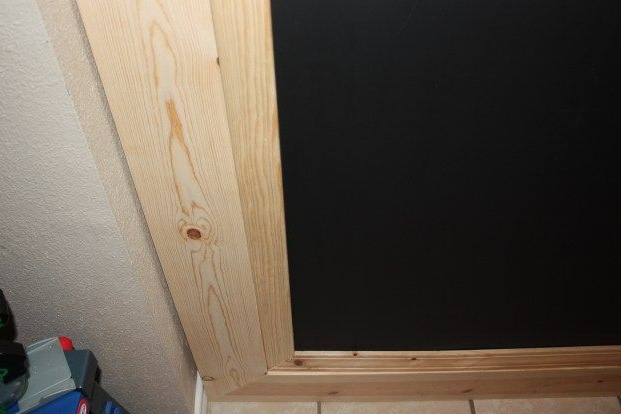
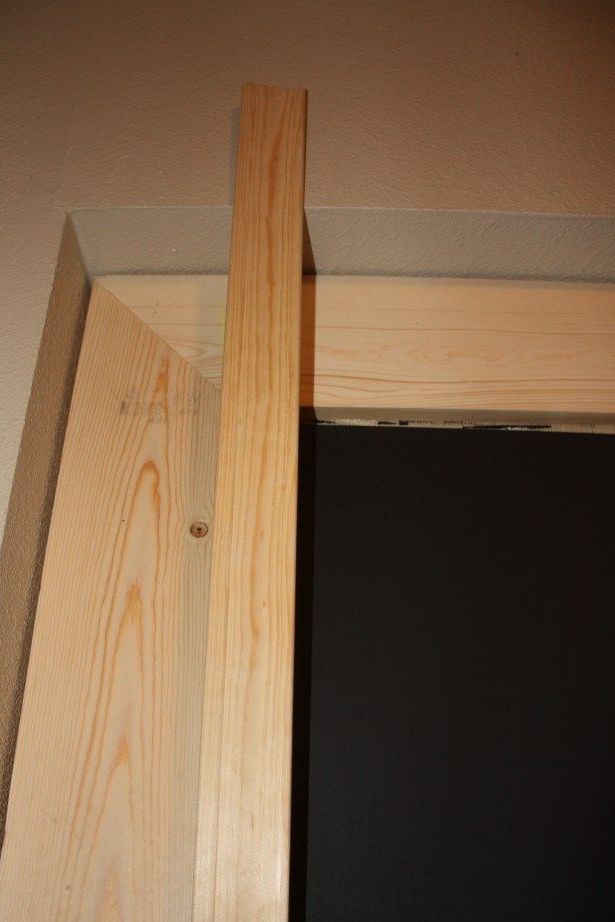
The author took all the necessary measurements and made frame parts, filing each at an angle of 45 degrees. With this you will help the construction square.
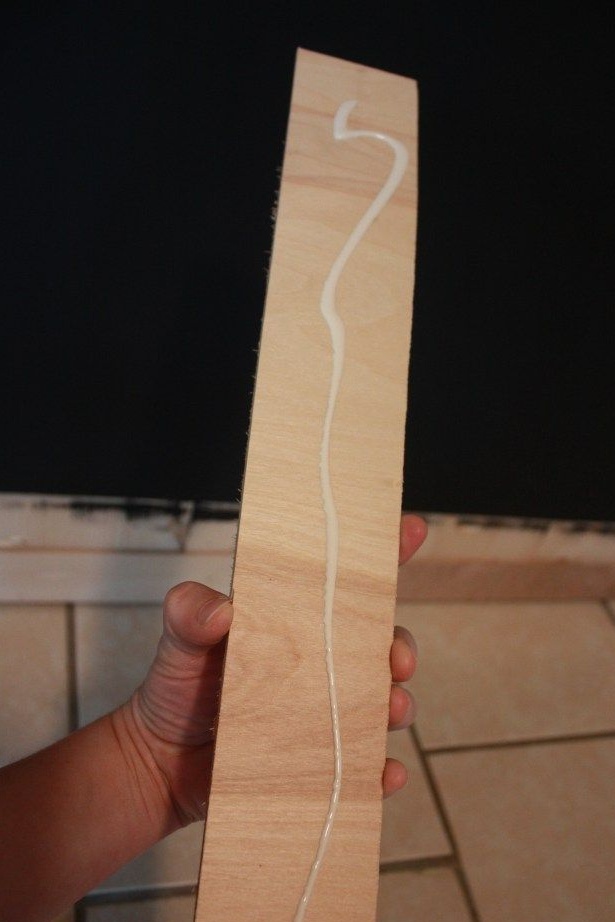
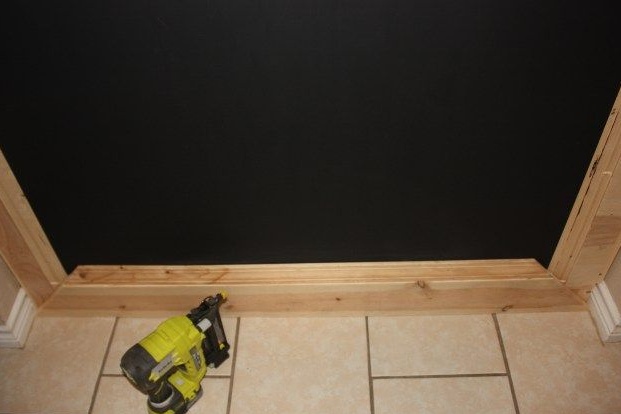
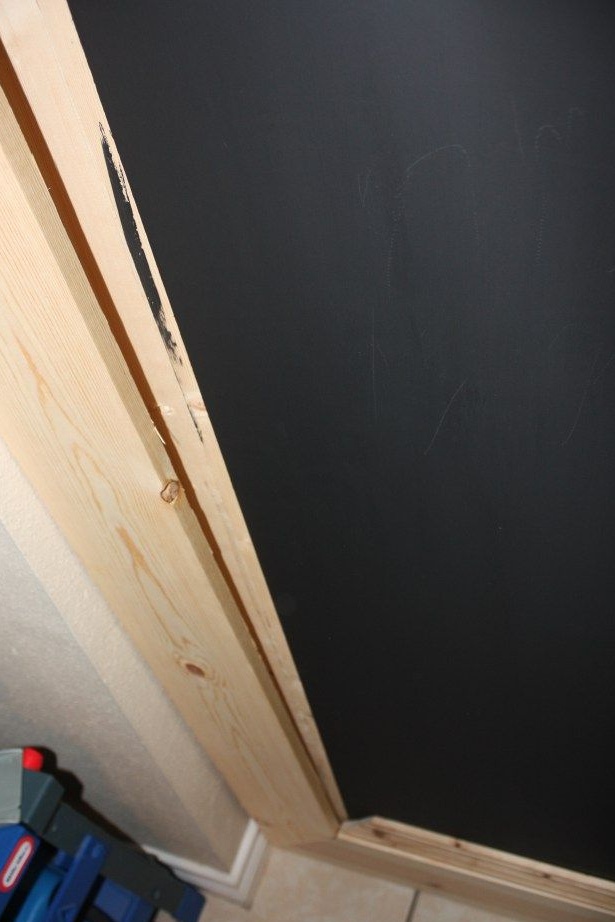
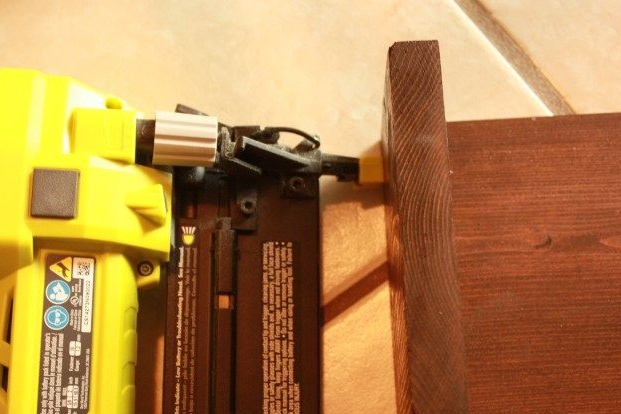
He glued pieces of plywood around the entire perimeter of the future frame, after which he secured a casing made of board on them. The end of the frame was sewn up by a wooden skirting board selected in width. He made all sizes and notes directly in the process of work.
To make the joints invisible, use small cloves instead of screws. These details do not bear any noticeable load, and there will be enough cloves.
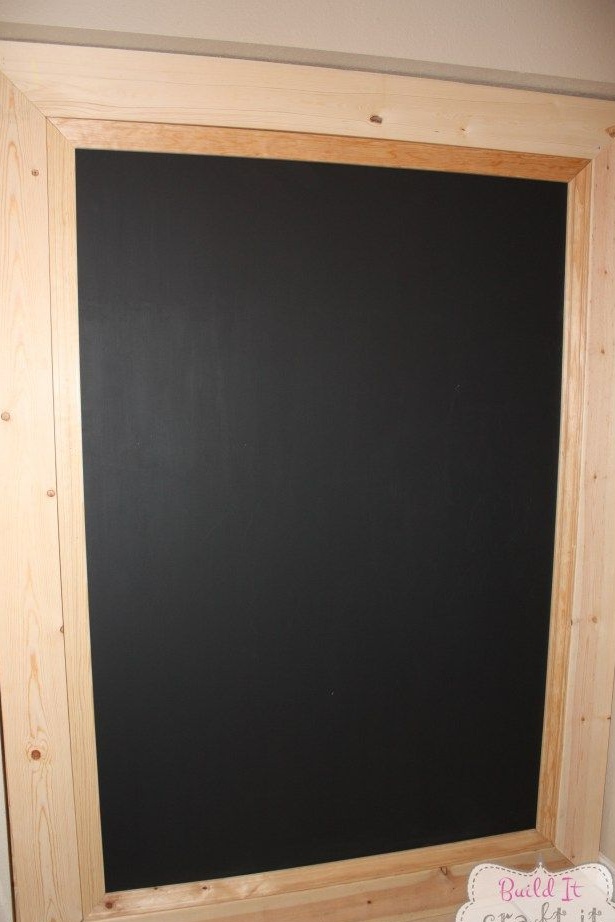
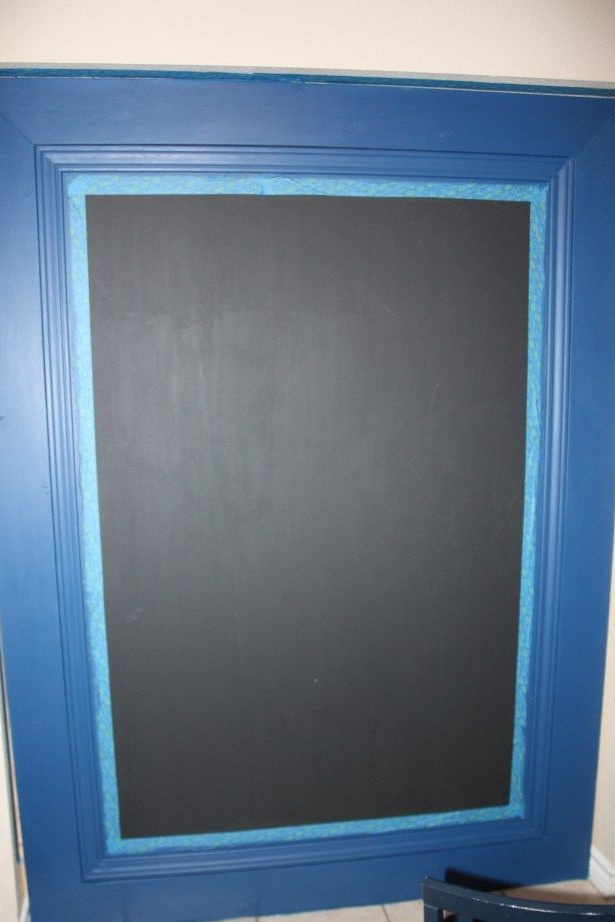
Step Three: Painting the Frame
Before painting the wooden frame, glue the edge of the drawing board with masking tape so as not to stain it. Apply the paint gently without spraying it, otherwise the work will be spoiled. Use a suitable paint brush for this.
The author picked up resistant paint of dark blue color. Choose wear-resistant oil or nitro paints if you do not plan to varnish the surface of the frame. Most of them are self-sufficient and do not require surface protection.
If you choose water-based paint, buy a pair of varnish in addition to it. Choose a permanent varnish based on alcohol or solvent. Apply the varnish in two or three layers, allowing each of them to dry according to the instructions. Remove masking tape.

Fourth step: make shelves for drawing attributes
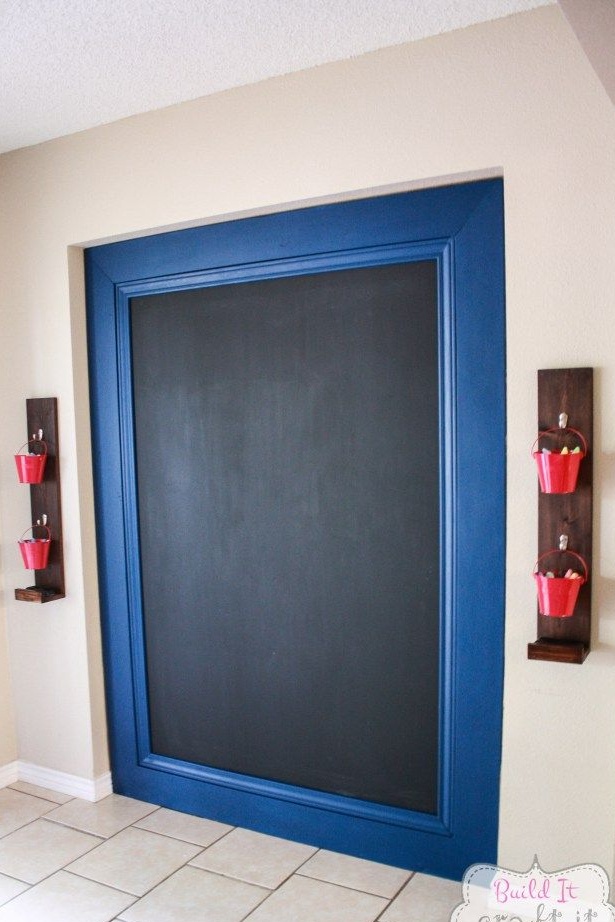
The author was not limited to one drawing board. He arranged simple convenient shelves for drawing paraphernalia on both sides.
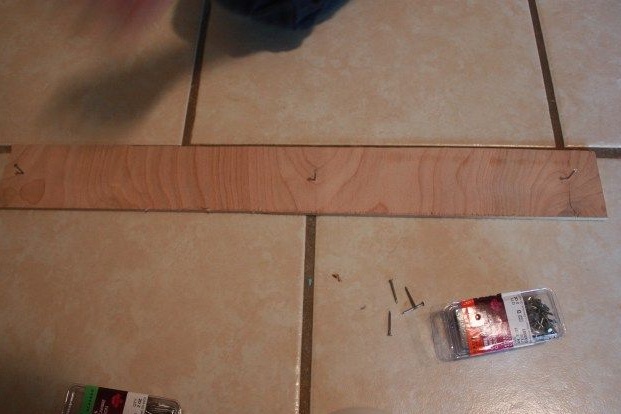
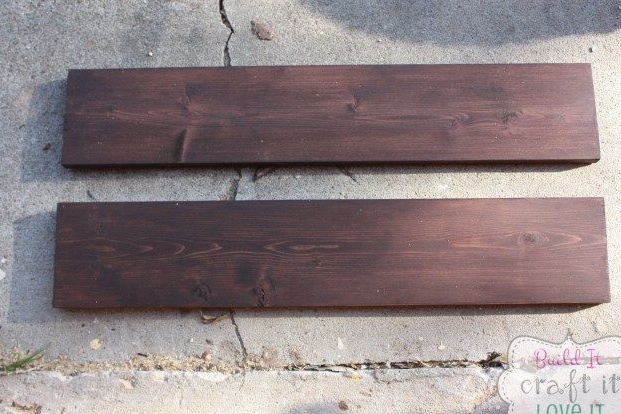
This will go to the remnants of the boards bought for the frame. You do not need a lot of material. Decide on the size of the shelves and cut the parts into pieces of the length you need. Grind the edges with a grinder. If the boards are not sanded beforehand, grind the surface of the parts as well. This is necessary so that the composition for painting lies evenly, and the paint itself is used economically.
Assemble the shelves with small studs and screws and paint the surface with any suitable product: paint, toner, stain or varnish.Some of them can and should be combined. For example, stain and varnish or toner and varnish.
The author used a gel-shaped toner. This is a completely self-sufficient tool, which also gives the wood water-repellent properties. However, it can also be successfully used together with varnish.
Step Five: Final Touch
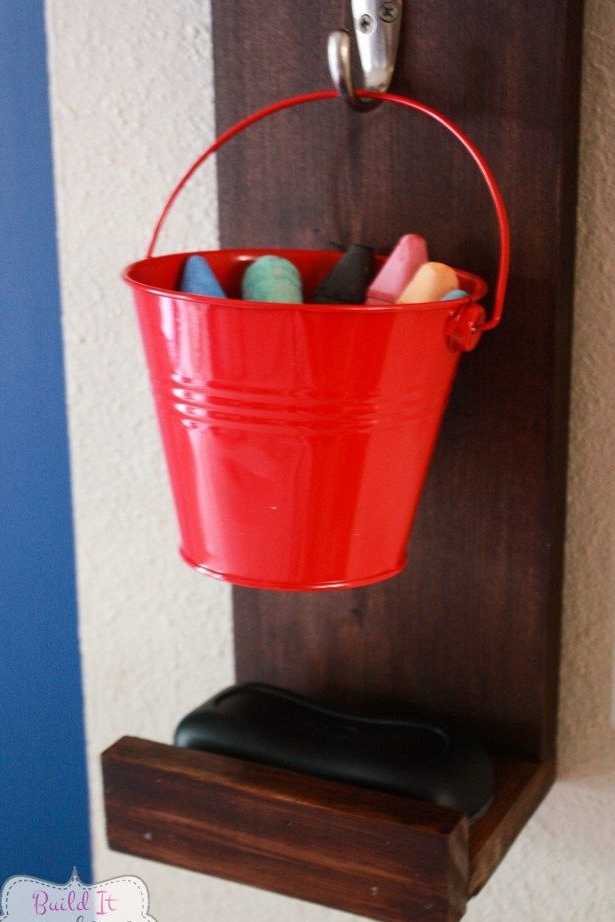
It remains for you to pick up crayons or markers, depending on the properties of the paint that you used to paint the working surface of the drawing board. Note that drawing with markers is more practical, but for small children color crayons will be enough.
Both the crayons and the marker are removed from the surface of the board with a dry sponge. It can be ordered and bought on the Internet, or you can try to make it yourself.
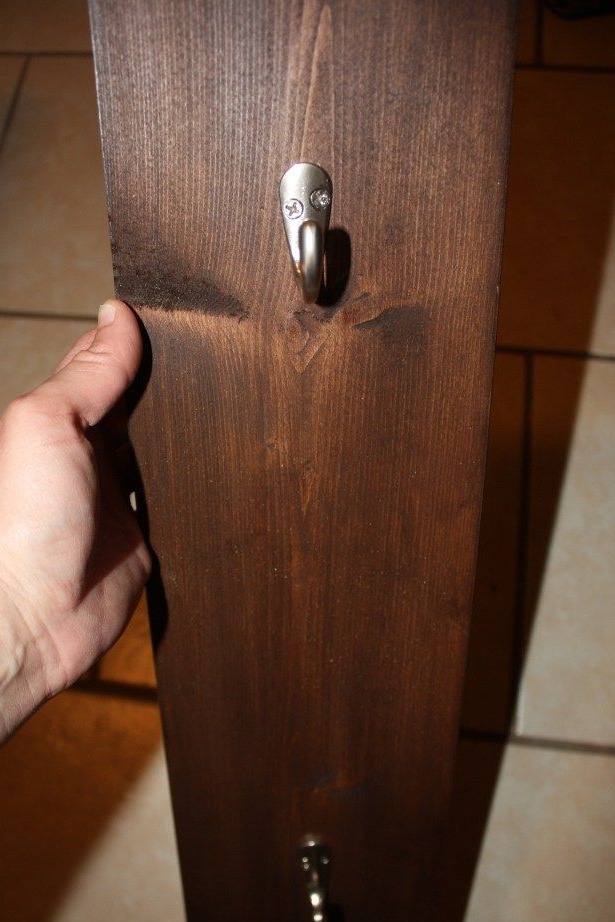
Lastly, pick up a suitable decorative crayon container to ensure complete order. The author used small metal buckets of bright red color for this.
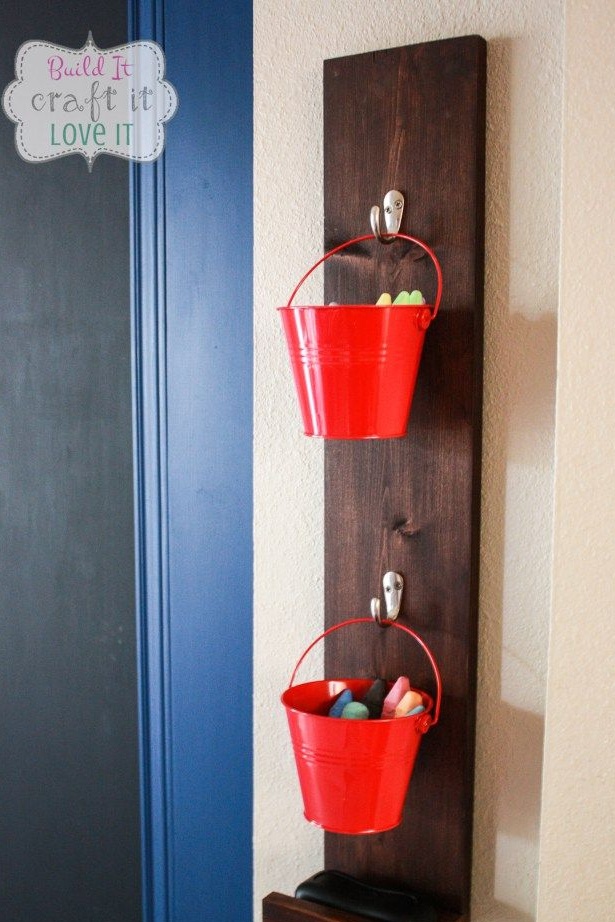
A chalkboard made by yourself is ready!