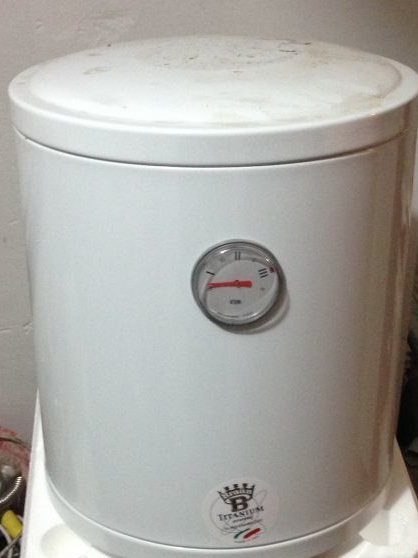
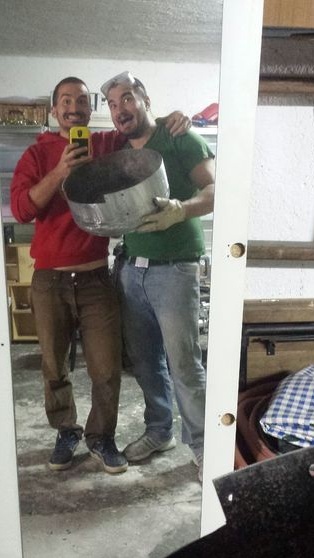
If you have an old boiler, do not rush to throw it away. From it you can make many interesting and useful things. In this particular case, we will consider how to make an excellent grill out of a boiler.
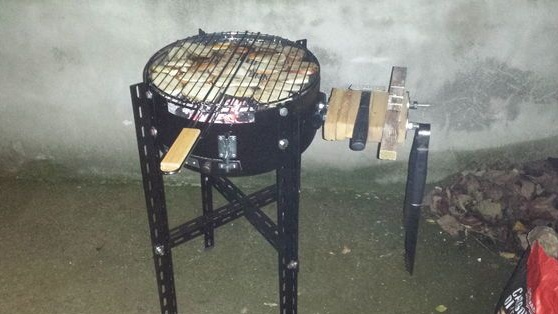
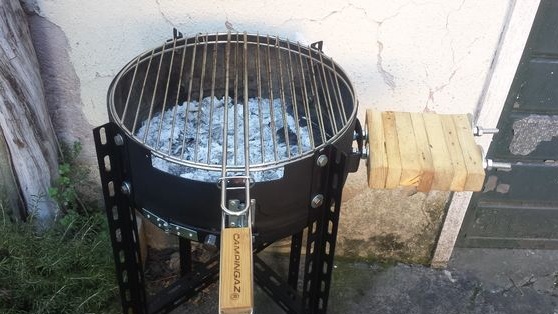
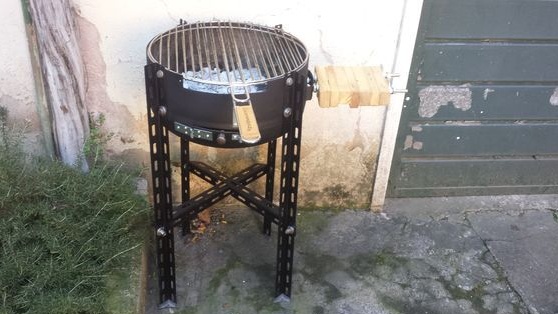
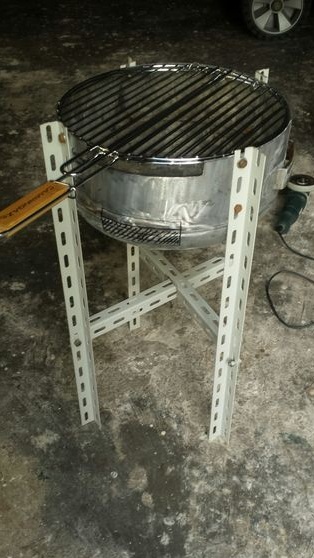
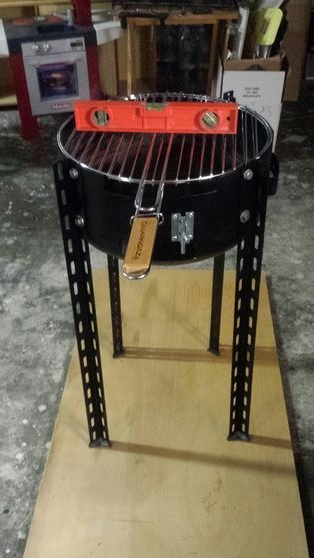
The author equipped his grill with four legs, and its height was 1 meter. The diameter of the grill is 40 cm, which is enough for domestic needs.
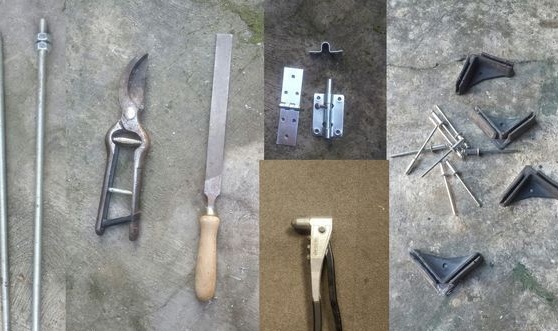
Materials and tools for homemade:
- old boiler;
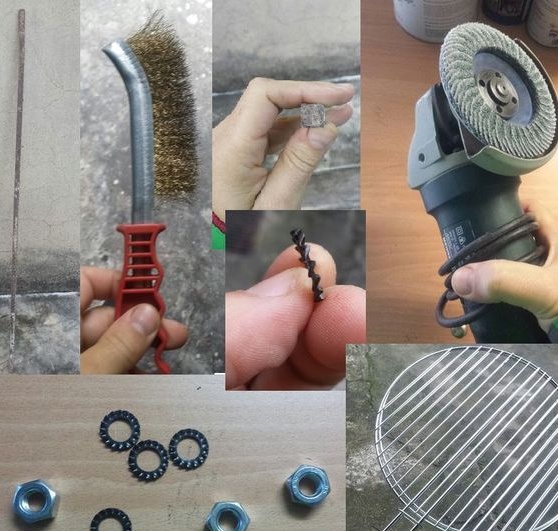
- a grinder with grinding and cutting discs;
- pliers, screwdrivers, wire cutters and other classic tools of the master;
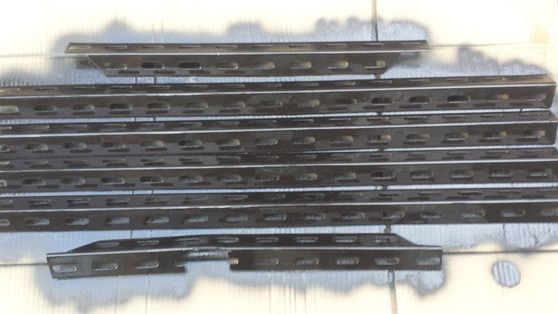
- a corner or other suitable material for creating legs;
- drill with drills;
- welding;
- heat-resistant paint (black by the author);
- a loop with a lock for blowing;
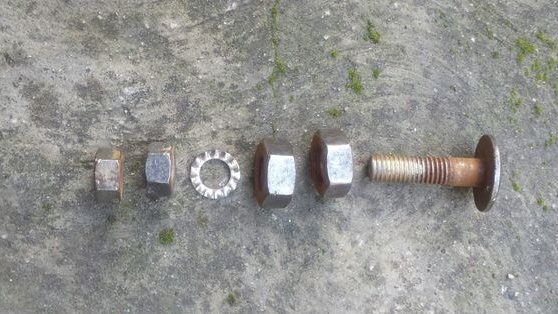
- bolts, nuts, washers and other fasteners;
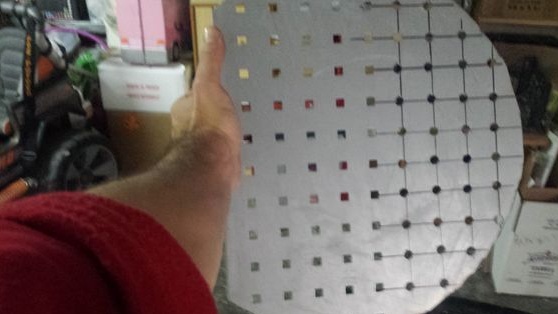
- a round grill.
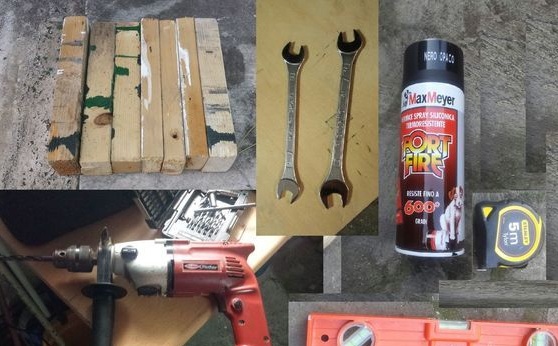
In general, a drill may not be needed, just the author decided to make everything collapsible, connecting the structure with bolts and nuts. You can basically weld it all up if all the parts are made of steel.
Grill manufacturing process:
Step one. Prepare the boiler
First of all, you need to take a boiler and remove all unnecessary. As a rule, boilers are finished with thermal insulation on top, so that they keep the water warm for a long time. This insulation must be thoroughly cleaned. Perhaps, first it will need to be cut off with a grinder or a sharp knife, depending on what the skin is made of. Well, then a grinder with a cleaning circle is taken and with it all the insulating material is removed.
It is important to remember that insulation left over when using the grill will begin to smoke.
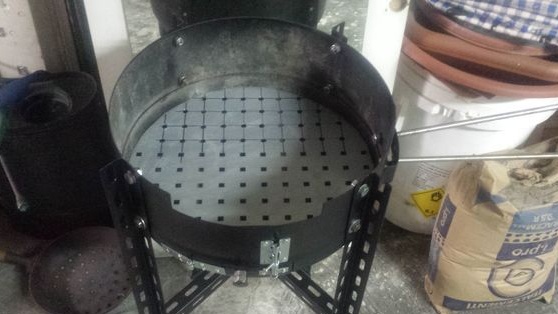
Step Two We cut a boiler
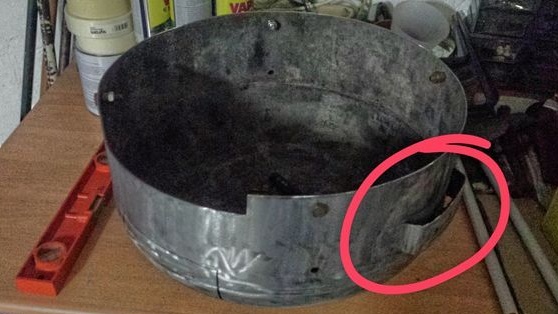
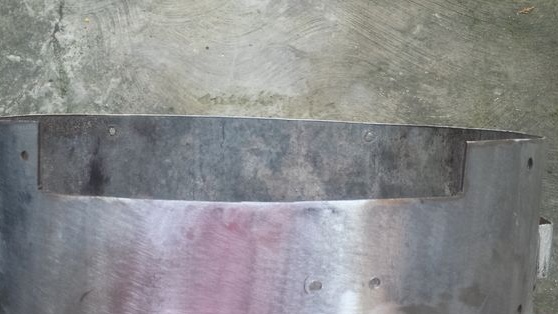
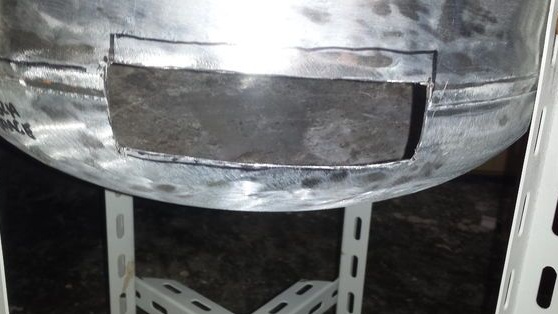
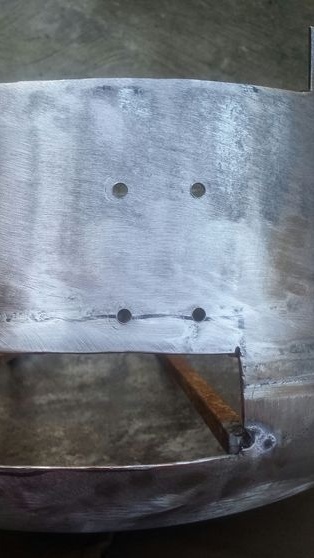
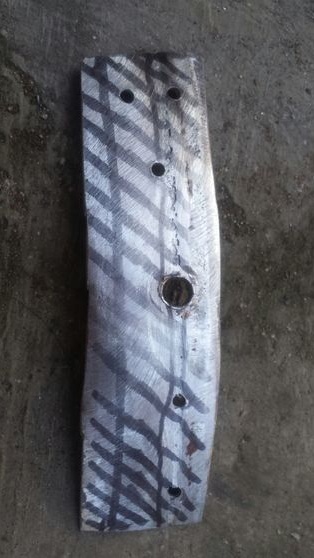
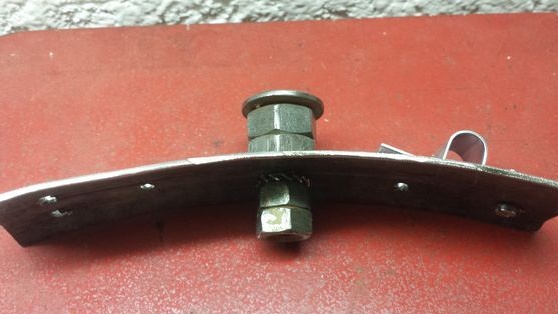
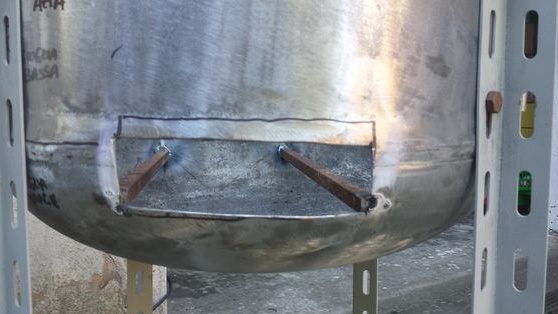
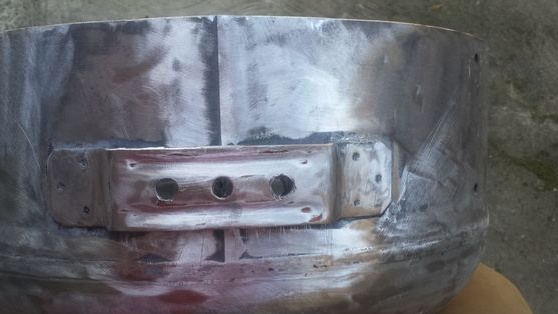
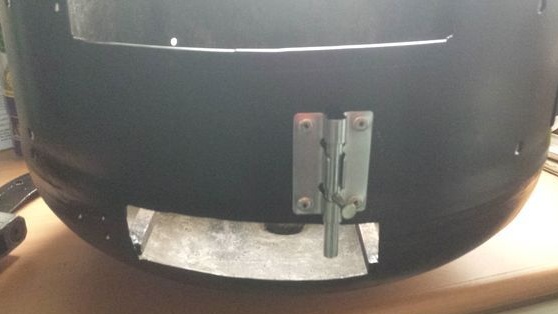
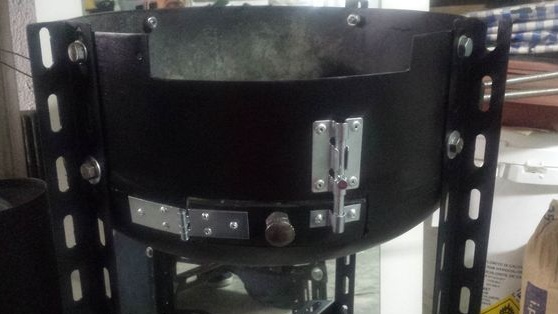
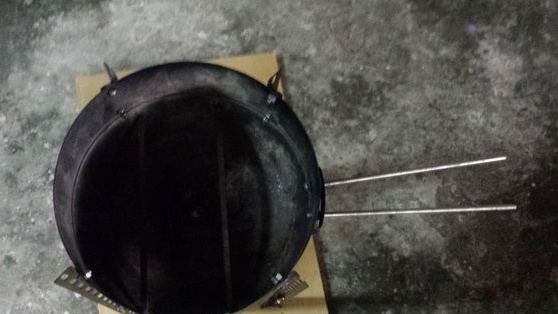
Now the boiler needs to be cut. Here you will need a grinder again. The author decided to choose the part of the tank where the bracket is located, with which the tank is attached to the wall. In the future, this bracket will be needed to assemble a wooden plate. In addition to this, the author also cut out an opening on the workpiece for the installation of a grate.

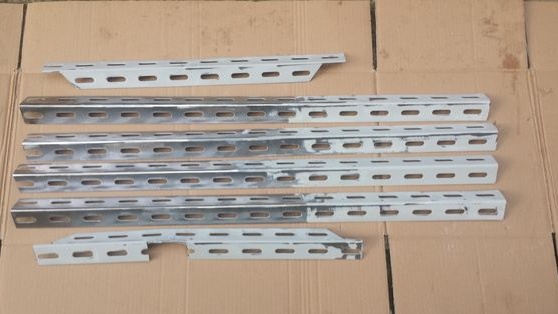
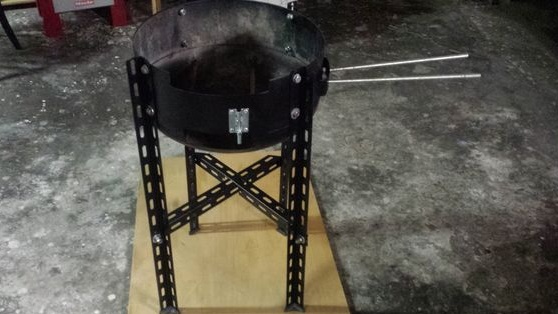
Step Three Making legs
The legs are made very simple, here you will need a steel corner or the elements of metal shelving, which the author used. For fastening, it was decided to use bolts. But for the simplicity of the procedure, everything can be joined by welding. As for the length, for the convenience of cooking, it was decided to make legs 75 cm long.
Step Four We fasten the legs
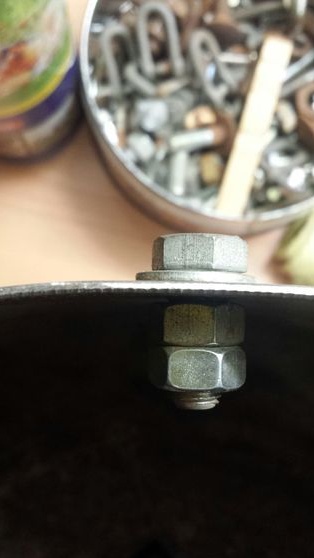
Using bolts with nuts as fastening legs, the author killed two birds with one stone with one blow. Thanks to the protruding screws, you can now install the grill.

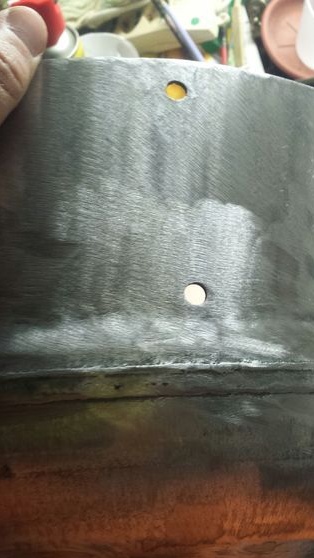
Each leg is fastened with two bolts with nuts, so under them you will need to drill holes in the tank. It is very important that the upper holes are at the same level, since the grill will be located here. It’s best to mark a couple of points from the top and then draw a line around. The legs should also be at the same distance from each other.
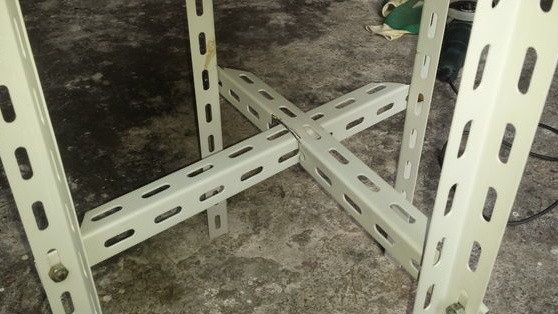
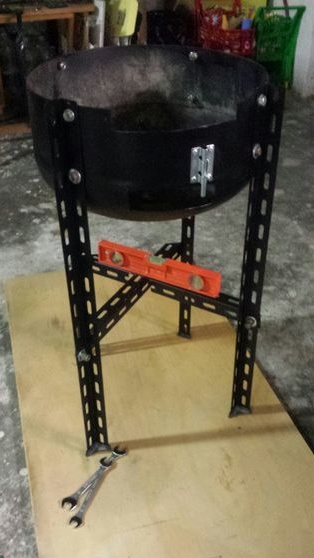
After assembly, it turned out that the grill is not very reliable. To make the legs stiffer, the author added a cross to the bottom.
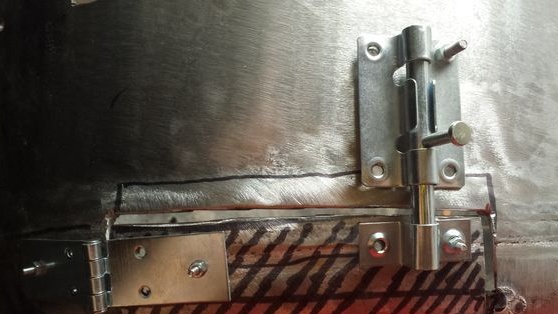
Step Five Grill blower
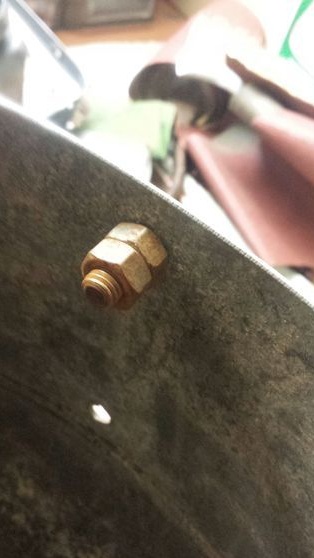
For the grill to work effectively, the author decided to equip it with a blower. To do this, cut a window at the bottom of the tank. The resulting plate does not need to be thrown away; a door is made of it. The door needs to be fixed on loops, and also to attach a deadbolt. It is important to take care of the handle, it should not actively conduct heat, as it will become very hot when using the grill. The author made it from a bolt and several nuts.
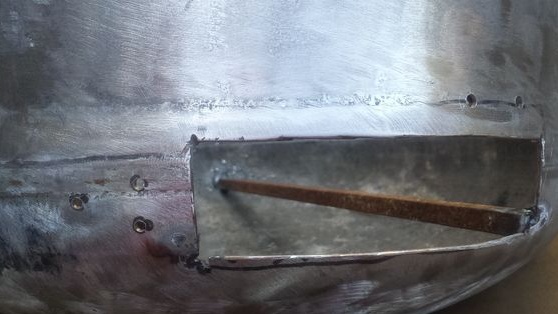
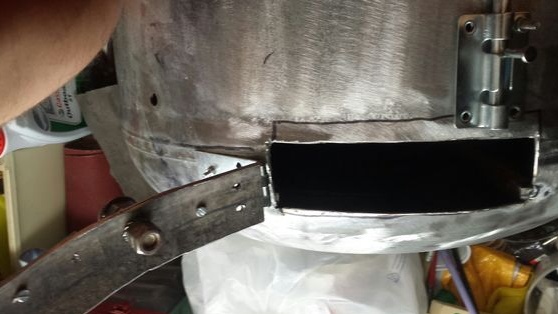
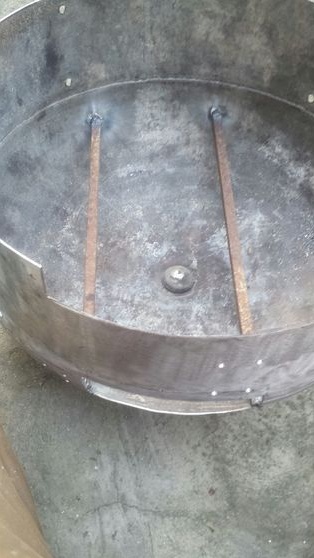
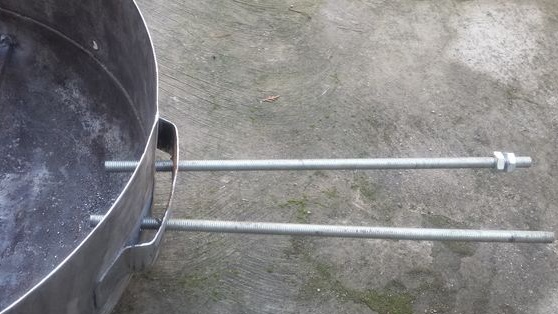
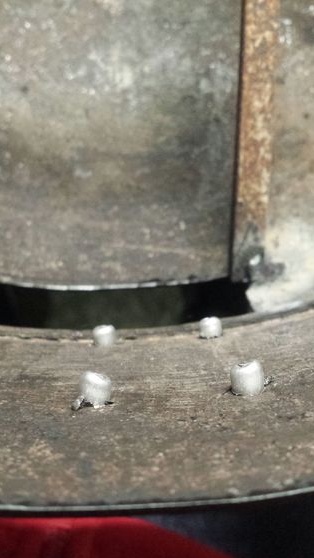
To fix the lower grill, two steel rods will be needed. Their author simply welds at the right level, cutting off the excess. If it is not possible to weld the rods, you can use threaded rods and fasten with nuts and washers.
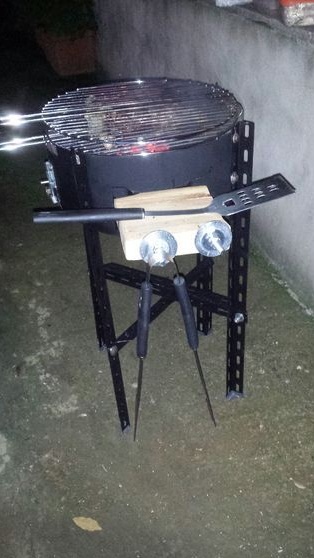
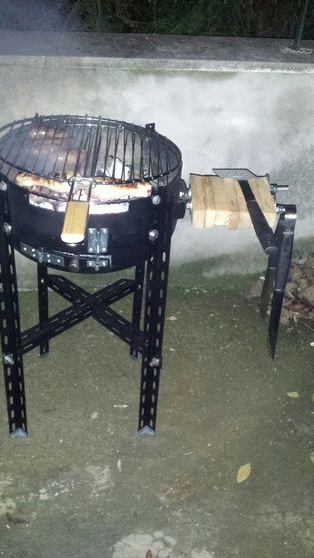
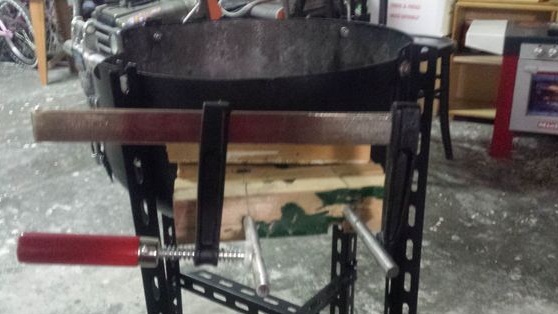
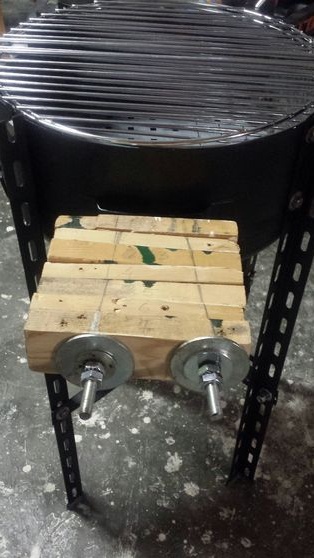
Step Six Mount for wood plate
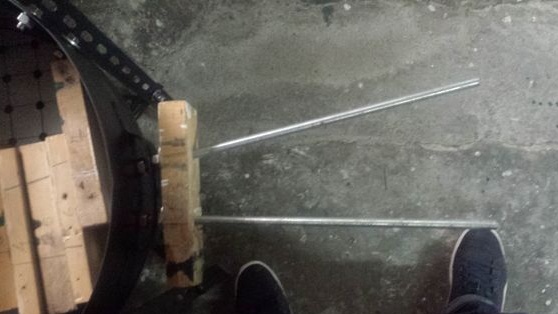
A wooden plate is a very convenient addition to the grill, although the grill itself must be well fixed. Here you can put dishes with cooked food and so on. For a wooden plate, the author drills holes in the bracket of the boiler, and then inserts threaded rods into them. Subsequently, these rods will be worn with wooden blocks and tightened with nuts.

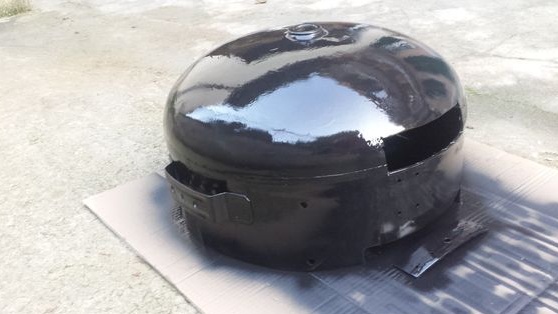
Seventh step. Painting
At this stage, the author paints a part made from a boiler. First you need to tear off all the rust and properly grind the surface. The paint here will need heat-resistant, since the container is very hot.
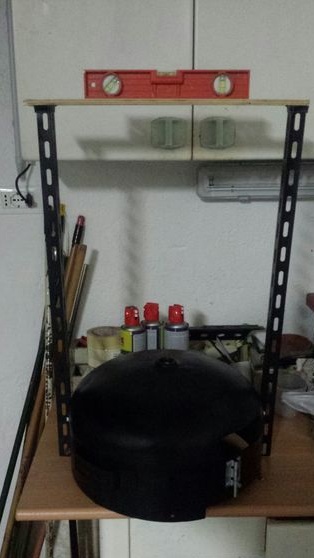
Step Eight. Assembly
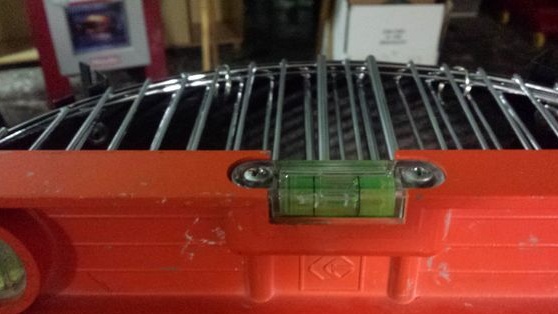
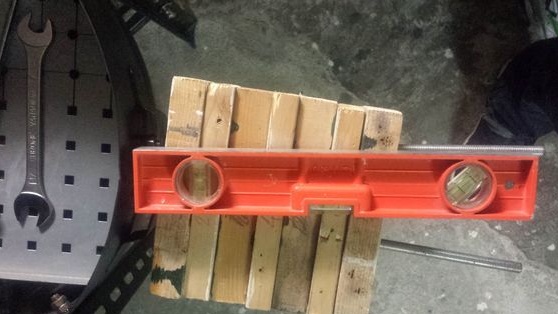
After painting, the entire structure is assembled again. Using the level, it is advisable to measure the inclination of the grill and adjust the legs.

Also now, the author secures the hinge and the blower valve. For such purposes rivets were used. Bolts with nuts can also be used.
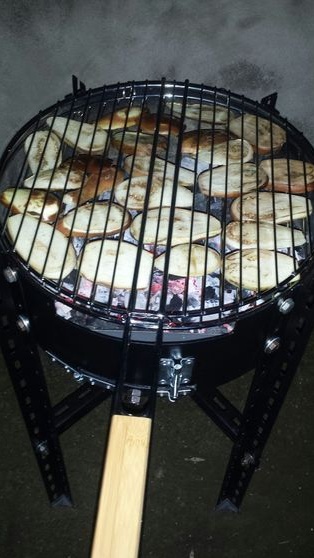
Step Nine. Fabrication and installation of internal grilles
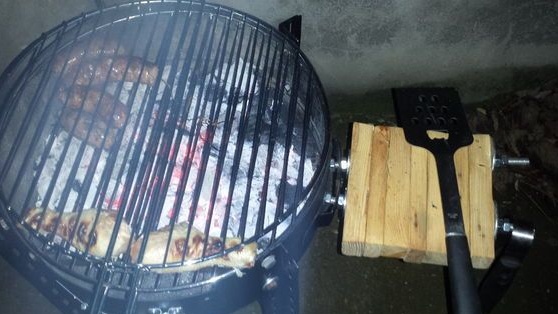
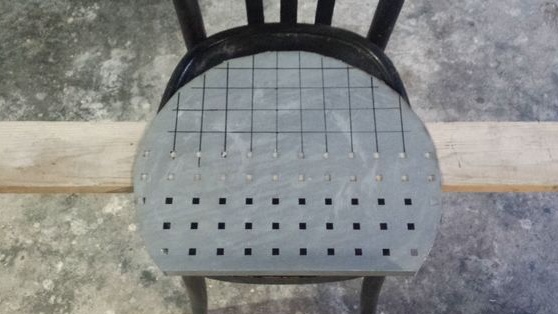
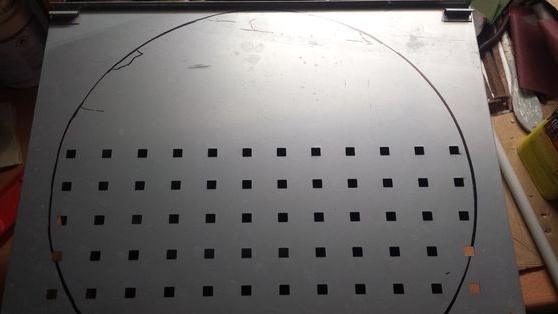
Coals will be loaded onto the internal grill, and air will flow from below, which will lead to good burning of coal. To make the grill, the author decided to use a steel plate, in which he simply drilled holes. The found plate already had a couple of rows of square holes. It is important that the plate is thick, since the coals form a high temperature during combustion.
Then it only remains to put the plate on the rods welded into the lower part.

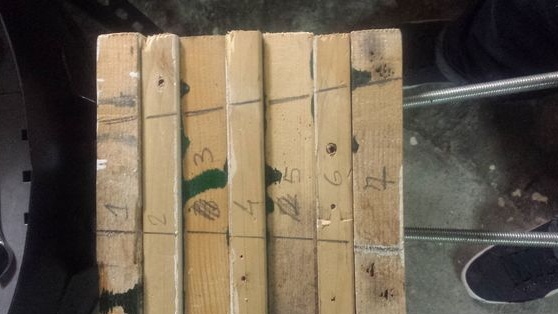
Step Ten We collect a wooden plate
The wood plate is assembled very simply. Here you will need wooden bars that need to be cut to size. Then, two holes are drilled into them, through which threaded rods will pass. The holes of the author are drilled in the form of the letter “V”.
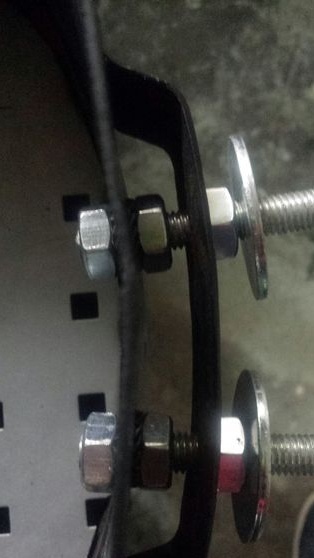

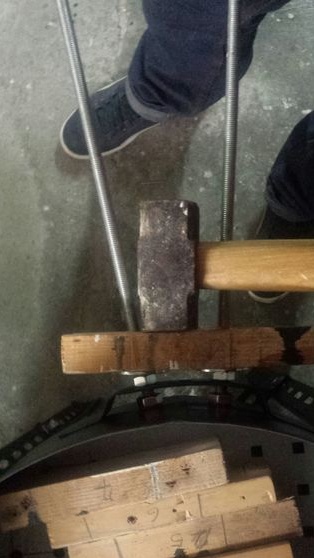
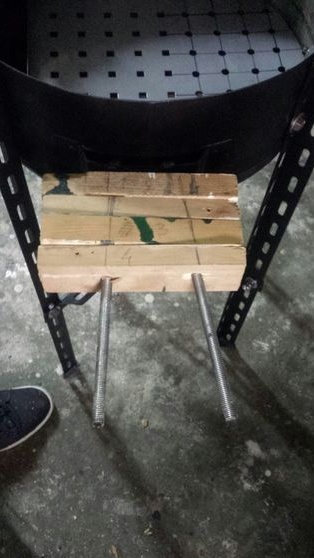
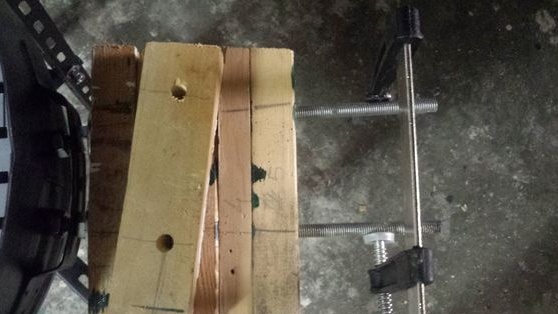
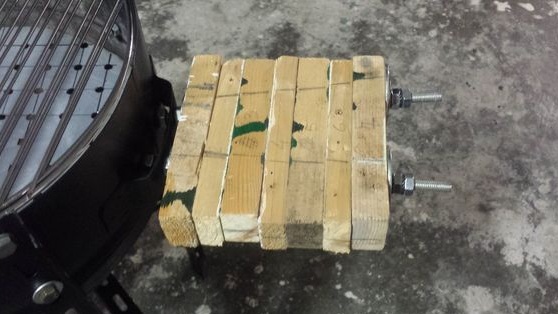
Well, then this whole sandwich is collected and tightened tightly with nuts. It is important to stock up on good large washers, since considerable effort is needed to tighten. Washers are laid on both sides. The author took 10 nuts to assemble. Two here act as a support, and two more on the other side press the wood. The remaining nuts are needed to fix the rods themselves. Tighten everything properly using wrenches.
As a result, a wooden plate can be properly sanded, and for protection it would be nice to paint it with protective varnish, paint and so on.
In conclusion, it should be mentioned that the grill must be securely fixed, otherwise, if you put something heavy on a wooden plate, the whole grill may turn over. It can be screwed to the floor or to a large heavy board.
Step 11. Getting started with the tests.
That's all. The grill is assembled, now it can be tested. According to the author, the project was successful and worth the effort.